#omg i'm sorry
Note
Please tell me your 5 five mendo features 😭
Omg my autism is kicking in, I'M SO SORRY,Do you mean features in like movies/shows he's been featured in or in feature like characteristics or facial/bodily features? I'm so sorry lmao xD I hope this comes off as weird <3
22 notes
·
View notes
Note
If anyone had been watching her venture, they may have thought she was being controlled by a toddler with a joystick for how often she turned 360 to change her mind and head back to the tower.
Don't. Don't. This is a bad idea. Just turn around, go another day. You can deal with the seizures on your own, you can deal with everything on your own, they could prescribe a medication that makes everything worse, what if you're triggered somehow? You could hurt people. You're putting them in danger. Just go back- but you're putting them in danger by refusing help, too-
Her breath came to a sudden halt, as did her feet, as she spotted the sign for the clinic down the hall. She could hardly remember stepping through the halls, she'd been so lost in her head. It was kind of disorienting.
Go in. Just get it over with. But the idea of someone in a white coat getting up in her face left her feeling like a feral cat cornered in an alley. So she spotted a nearby chair and went and sat down to collect herself.
Unfortunately she made the mistake of resting her hand on the chair next to her. Palm pressed against the metal grating, the material quivered and warped beneath her fingers. It had taken on a rippled texture by the time she noticed and tore them from the surface, swearing under her breath. She smushed her hands into her face, rubbing at her eyes before standing up. Alright, now that she had property damage checked off her list of things to do that afternoon, might as well see how this disaster of an idea would play out.
She approached the doorway, and stepped inside the office. She struggled not to gag at the smell of antiseptic. Her eyes roved about the office, taking in the lighting, the ticking nosies of the receptionist's keyboard, Sadie's discomfort was evident in the tension of her stance. She was just waiting for Hydra agents to spring out, as fight or flight kicked in. - sadiebrin
Trevor stopped typing as the woman stepped into the office. “Can I help you, ma’am?”
It wasn't uncommon to see patients having a hard time coming into medical. Quite a few of them had PTSD or past traumas that made coming in a problem. Trevor was used to it and had gotten good at seeing even the subtlest cues.
And this poor woman was having a time of it.
"There's nothing to worry about-I can assure you that you're safe here. Do you have an appointment?" he asked gently.
5 notes
·
View notes
Text

i really like how he sleeps with his head facing toward the center of the room and his feet against the wall
4K notes
·
View notes
Text
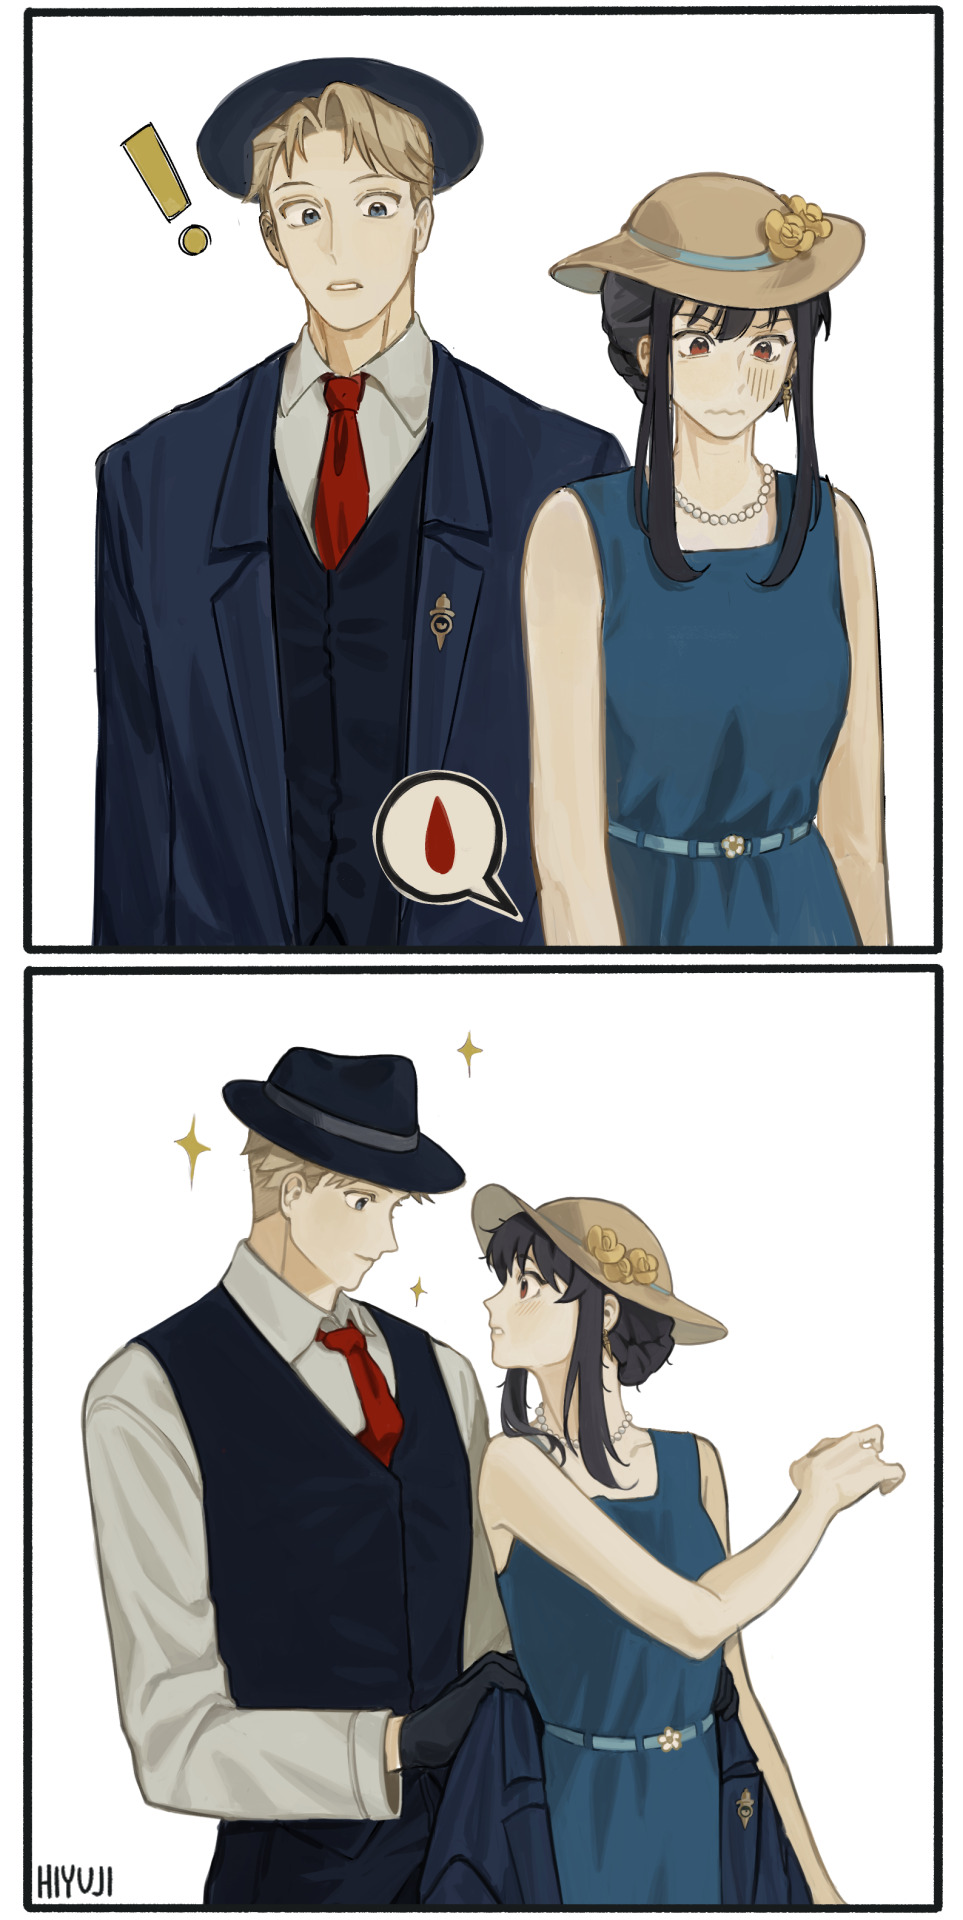
i've been thinkin about this since i watched the first ep of season 2 but what if yor gets a blood stain from all the walking and stuff and loid sees it and thinks she's on her period and
[ID (by @princess-of-purple-prose): A Spy x Family comic of Loid and Yor on their first date. Yor looks uncomfortable as she walks in front of Loid, and Loid looks surprised as he notices a spot of blood on her dress. He smiles earnestly and takes off his coat to tie it around Yor's waist. Yor looks surprised, and sparks float around Loid's face. End ID]
#spy x family#sxf#twiyor#yor forger#yor briar#loid forger#spy x family season 2 spoilers#illustration#I AM SO SORRY I'M A SUCKER FOR THESE KINDA TROPES OMG#my art#sxf fanart
10K notes
·
View notes
Note
Do lock shock and barrel ever do that thing where after you go clothes shopping you do a little fashion show to your friends to show off the new clothes? Also would shocks girlfriend join?

No fashion shows but we have noticed we've been looking...cooler lately 😎
#tnbc#MyArt#this was such a THROWBACK#I completely forgot about Shock's poncho and mesh spiderweb shirt#And Lock's like...pointy hand guards omg#Barrel had a rough deal from the start I'm so sorry my guy I just didn't know how to deviate from the movie material back then#Hope I made it up to ya this time around!
2K notes
·
View notes
Text


AYO EDEBIRI as Sydney Adamu
WILL POULTER as Luca
THE BEAR SEASON 3 | Episode 10 - Forever
Are you close? Yeah. Kind of best friends and kind of lost touch, so. It's nice to reconnect. Yeah, especially when it literally is like a best friend that you saw every day of your life and you kinda went through this sort of battle together.
Bonus:

#the bear spoilers#the bear s3#the bear#sydney x luca#sydluca#sydney adamu#luca the bear#ayo edebiri#will poulter#the bear fx#tvandfilm#cinematv#the bear hulu#sorry y'all but bye sydcarmy and i am now a sydluca shipper!#cuz how these two have more warmth in one scene than anything sydcarmy had all season????#i need sydney to get a partner that actually listens to her instead of arguing#and she radiated such feminine energy in this scene and omg if that don't show how relaxed she felt around him and safe too omg i need more#next season i better see him courting her cuz i'm done with whatever was up with carmy this season#they've literally destroyed any hope of sydcarmy even happening at this point :(#and look how he reacted when the other guy walked in - he wanted to be alone with sydney!!! T_T#AND THEIR HEIGHT DIFFERENCE OMGGG MY BIGGEST WEAKNESS!
1K notes
·
View notes
Text
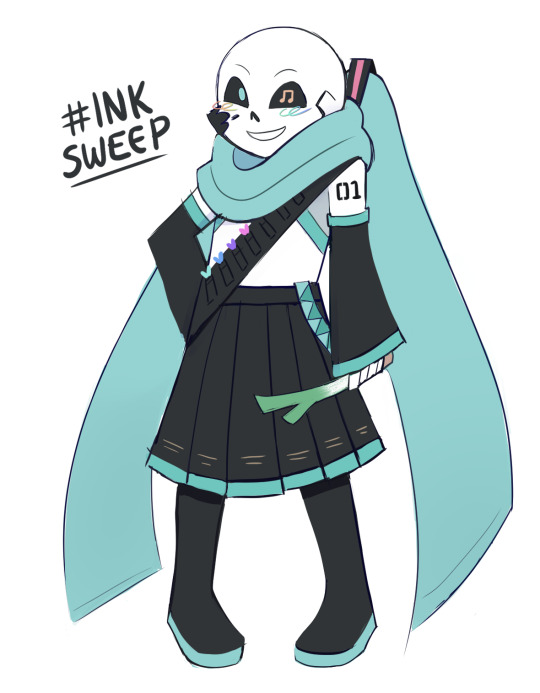
Hatsune Inku
Go to vote :33
chat...............
#can you tell that i'm going a bit insane#that 1% of difference could change at any moment lol#omg it already changed help#he's so cooked the next round but anyway#ink sans#undertale au#utmv#utmv fanart#ut au#should i tag hatsune miku#sorry if this has become annoying#sans au#sans polls#canvy drawings#hatsune inku
863 notes
·
View notes
Text

[240531] Music Bank :: WORK :: Wooyoung
#ateez#ateezlovenet#atzsource#kpopstages#ultkpop#kpopccc#kpopco#malegroupsnet#wooyoung#jung wooyoung#igm.gif#mine:atz#p: music bank#flashing tw#anniehae#majatual#lunanuggets#userzaynab#usertheos#lucieblr#userkngld#fordaniseyes#heyfio#blueberryshay#this stage is so gawd awful to colour omg never again i am NOT working for this anymore i'm so sorry
497 notes
·
View notes
Text
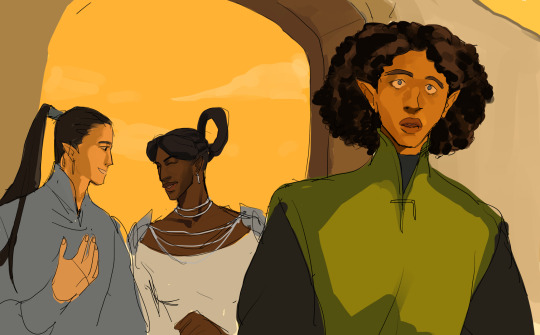
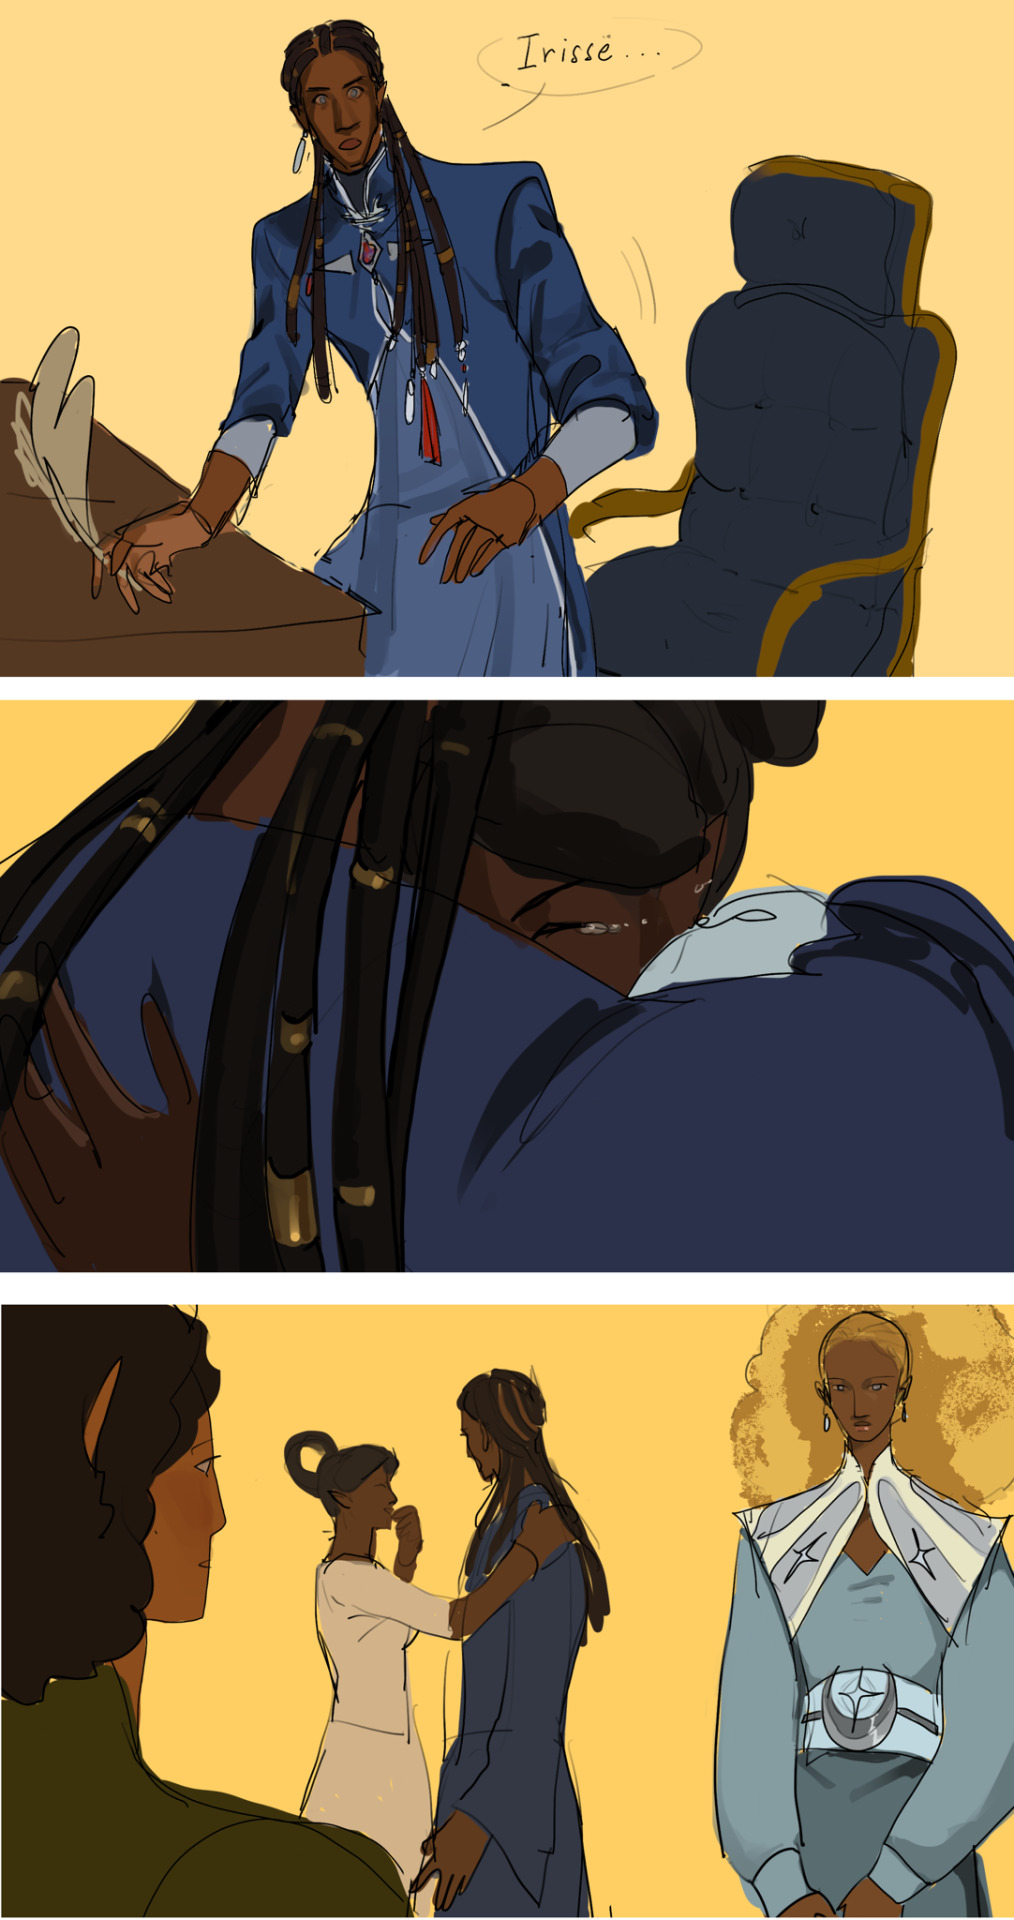
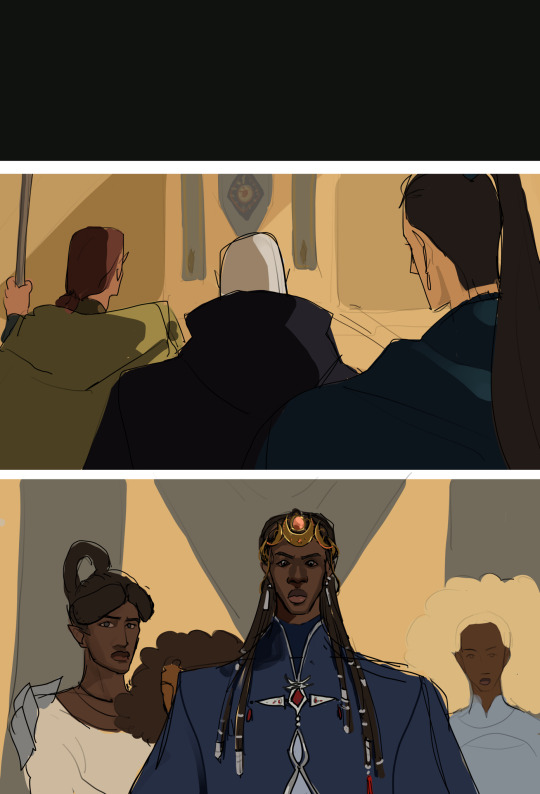
Almost
#zutara#atla#zuko#avatar the last airbender#katara#zutara fanart#Wip#First page of three is done!!!#Won't be sharing until I have the whole thing but I'm. So. Close!!!!!!!#It's been ages since I started this project omg#But it's worth it#Hopefully I'll get the chance to finish it tomorrow... Won't be making any promises tho#I've missed you guys and I can't wait to share this with you#Anyways I know it's ZK month (and all the content has been WONDERFUL so far) but I won't be participating. Sorry about that.#Working with prompts is such an amazing creative exercise but I know myself good enough to be certain that I'll never get past the first...#... prompt without coming up with seven different AUs and I can't deal with more of those right now lol#Like I've got this Blue Spirit! Katara and Painted Lady! Zuko AU on the works since last week or so. And more lore for the og BS/PL spirits#And also this S3 canon divergence AU... And another one... And another one...#And I need to work on them at my own rhythm otherwise I'll go nuts#So uh#Yeah#Love u all and I hope I'll get to share this one soon (if only to start on yet another comic. I've got ideas for two of them. Yay)#Dema out#(Sorry for the rambling I'm just anxious)#(Don't know why but I stopped caring a long time ago)
754 notes
·
View notes
Text

✨ Simple Gif Colouring for Beginners ✨
I wrote up my basic gif colouring process for a friend recently, but a couple of people here mentioned they'd also find it helpful! so, as requested, this is a beginner-friendly walkthrough of the way I colour my gifs :) it's aimed at brand new gif makers with no prior experience with photoshop or photo editing.
when I first started gif making I found colouring and photoshop in general suuuper daunting, so I've tried to simplify everything here as much as possible. hopefully this will be relatively easy to follow and not too intimidating!
a couple of things to begin with:
I'm only talking about colouring here - this is not a full gif making tutorial. I've linked to some of my favourites of those here!
I personally like to make bright, 'clean' looking gifs with vibrant but natural colours, so that is the style of colouring this tutorial is geared towards. most of gif colouring is subjective and about personal taste - the only thing that I'd say is possible to get wrong is skin tones, which I talk about a lot in this guide.
as I mostly gif Thai dramas, most of the advice is geared towards colouring for East Asian/South East Asian skin tones - but the techniques should be fairly universally applicable (and here are some tutorials that talk about gif colouring for other skin tones).
I'm not an expert! I'm not claiming this is the best or the only way to colour gifs - it's just how I do it.
this post is very image-heavy. if the images aren't loading (or the gifs are running slowly or cutting/looping weirdly), then try viewing the post in its own tab (rather than on the your dash or someone's blog) and refreshing the page.
okay, full walkthrough beneath the cut!
contents:
1. intro
a. natural gif colouring goals
b. very very basic colour theory
2. super simple colouring (the essentials)
a. curves
b. selective colour (and skin tone correction)
c. hue/saturation
d. saving and reusing colouring
e. another simple colouring example
3. other adjustment layers
a. brightness/contrast
b. levels
c. vibrance
d. colour balance
e. channel mixer
4. troubleshooting
a. curves
b. saturation
5. fin!
1. intro
the colouring part of gif making can be super overwhelming, especially if (like me when I first started!) you're completely new to photoshop and/or have no experience with colour theory or photo/video editing.
if you're opening photoshop and making gifs for the first time, I highly recommend getting used to making a few basic, uncoloured gifs to begin with. just to practice, rather than post anywhere (though you can always come back and colour them later if you want) - but it'll make the rest of the process much easier if you're already beginning to get used to working in timeline mode of photoshop. give yourself a bit of time to practice and get a feel for things like how many frames you tend to like in a gif, where you like to crop them for the best loop, what kind of aspect ratio you like etc* - so that you're not trying to navigate all of that for the first time on top of everything else!
* frames: for me between 60-90 frames is ideal, but 40-120 frames is the absolute min-max I'd personally use in a normal gifset
loops: for the smoothest loops, try to avoid cutting someone off mid-movement or mid-word if possible.
aspect ratio: for full-size (540px) gifs, I tend to go for either 8:5 (slightly 'skinnier' gifs), 7:5, or 5:4 (particularly big, thick gifs lmao)
✨ natural gif colouring goals
part of what can be so daunting about starting gif making is not knowing where to start or what you want to achieve. this is definitely something that gets easier with practice - the more gifs you make, the more you'll get a feel for what kind of look you like and the more instinctively you'll know how to get there. it also helps to see if any gif makers you like have made "before and after colouring" posts - these can help with getting a sense of the kinds of changes made through gif colouring. here's one I made!
in general, I like to make my gifs bright and 'clean' looking, with vibrant but natural colours. these are the things I'm usually hoping to achieve with colouring:
brighten dark scenes
remove muddy, yellowish lighting or filters
saturate colours
correct any skin lightening filters or overexposure
make lighting and colours as consistent as possible between gifs within a single gifset, especially gifsets featuring gifs from multiple scenes/episodes/videos
this guide is focusing on natural colouring, but of course there are many cool ways to make stylised/unnaturally coloured gifs. imo you'll need to master these basics first, but if you want to learn how to do things like change the background colour of gifs or use gradients or other cool effects, then @usergif's resource directory has loads of super helpful tutorials!
✨ very very basic colour theory
[disclaimer! I don't know shit about fuck. I do not study light or art. this is just an explanation that makes sense to me exclusively for the purposes of gif making.]
the primary colours for light/digital screens are red, blue, and green. having all three colours in equal measures neutralises them (represented by the white section in the middle of the diagram).

so to neutralise a colour within a gif, you need to add more of the colour(s) that are lacking.
in practice this usually means: the scene you want to gif is very yellow! yellow is made of red and green light, so to neutralise it you need to add more blue into your gif.
it can also mean the reverse: if you desaturate the yellow tones in a gif, it will look much more blue.
looking at the colour balance sliders on photoshop can make it easier to visualise:

so making a gif more red also means making it less cyan.
removing green from a gif means adding magenta.
taking yellow out of a gif will make it more blue.
tl;dr:
neutralise yellows by adding blue (and vice versa)
neutralise reds by adding cyan (and vice versa)
neutralise green by adding magenta (and vice versa)
2. super simple colouring (the essentials)
starting with a nice sharpened gif in photoshop in timeline mode. (these are the sharpening settings I use!)
some scenes are much harder to colour than others - it helps to start out practising with scenes that are bright/well-lit and that don't have harsh unnaturally coloured lights/filters on. scenes with a lot of brown/orange also tend to be harder.
I usually save a base copy of my gif before I start colouring just in case I end up hating it, or find out later that it doesn't quite fit right into a set and need to redo it etc.
so here is my base gif!

it's an okay gif, but it has a bit of a yellow tint to it that I want to reduce.
colouring is easiest to do in adjustment layers, which can be found under layer -> new adjustment layer - or for me they are here:

there are lots of different types of adjustment layers that do lots of different things - but for me the absolute essentials for colouring are curves, selective colour, and hue/saturation.
I also use brightness/contrast, levels, exposure, vibrance, colour balance, and channel mixer sometimes, depending on the gif - but I use curves, selective colour, and hue/saturation on every single gif.

✨ curves layer
the first thing I always do is a curves layer. when you first open one it will look like this:

first I usually click the ‘auto’ button, just to see what happens. sometimes it makes a big difference (it usually brightens the gif a lot) - but on this gif it didn’t do much.
if it had made the gif look nicer then I would have kept it and added a second curves layer on top to do the rest of these steps.
the next step is selecting the white and black points with the little eyedropper tools.
the bottom eyedropper lets you pick a white point for the gif. click somewhere super light on the gif to see what happens - for this gif, I clicked on the lampshade on the left. if it looks weird, I just undo it and try somewhere else - it usually takes a few goes to find something that looks good.
here's what that did to the gif:

then I pick the top eyedropper and use it to pick a black point by clicking somewhere really dark, again playing around until I find a black point that looks good.
here's what the gif looks like after picking the white and black points:

this can take some experimenting, but you can make super easy drastic changes to your gif just with this. in this case, the curves layer took out a lot of that yellowy tint.
and this is what the curves graph looks like now:

you can click and drag those lines to make further changes if you want - I usually leave them alone though. the colours of the lines indicate which colours have been changed in the gif - for example, you can see from that steep blue line on the graph that blue has been added to neutralise those yellows.
next I usually do another curves layer and just press the ‘auto’ button again to see what happens. usually it brightens the gif a bit more, which I like.
‼️if nothing is working: usually with a bit of fucking about a curves layer works well - but sometimes you can’t find a good white and black point anywhere, and instead your gif turns wacky colours and nothing looks good. this happens more often with very heavily colour tinted scenes :( the troubleshooting section at the end goes over some options, including starting with a levels layer instead.
✨ selective colour (and skin tone correction)
skin tones are made up of a mixture of yellow and red.
removing yellow (or adding blue or red) to a gif will make the skin-tones too red - and removing red (or adding cyan or yellow) to a gif will make the skin-tones too yellow.
adding blue to this gif with the curves layer took out the yellowy tint, which I wanted - but it also took the yellows out of Kim's skin tone, which I don’t want. so I need to put yellow back into the skin tones specifically - without putting it back into the rest of the gif.
selective colour layers let you select an individual colour and adjust the levels of other colours within that colour. you can change how yellow the green shades are, or how much cyan is in the blues, for example.
I need to add yellow back into the red tones to correct the skin tones on this gif. this is the case for most gifs in my experience - the vast majority of the time, unless a scene is very heavily tinted in another colour, a curves layer will add blue/remove yellow.
in the 'colors' dropdown, select the 'reds' section and drag the 'yellow' slider higher - this will add more yellow into just the red shades within the gif.

the amount of yellow you need to add back into the reds depends on how much yellow was taken out of the gif initially - I just play around with the slider until it looks right. if you're not sure, it helps to have some neutrally-coloured (not white-washed!) reference photos of the people in your gif to compare to.
here's the result. Kim's skin is a lot less pink toned and much more natural looking:

✨ hue/saturation
this adjustment layer lets you adjust the hue and saturation of the gif as a whole, and also of each colour individually.

I don't use the hue or lightness sliders unless I'm trying to do something more complicated with the colouring.
clicking the dropdown menu that says 'master' lets you edit the saturation of each colour individually. this is useful if your gif is still super tinted in one colour.
I thought the yellows on this gif were still slightly too bright, so I switched to the yellow channel and desaturated them slightly. (remember if you do this then you need to go back to selective colour and add more yellow into the red skin tones to balance out the desaturation!)
then I increased the 'master' saturation of all the colours to +5:
I usually find the right amount of saturation is somewhere between +5 and +12, but it depends on the gif.
‼️if the gif feels undersaturated, but the saturation slider isn't helping/is making the colours worse, try a vibrance layer instead.
done!

✨ saving and reusing colouring
you can copy and paste adjustment layers between gifs to make your colouring even across each of your gifs for one scene - so if you're making a set of multiple gifs of the same scene, or you think you might want to gif the same scene again in the future, you can save it as a psd so you can reuse the colouring again later.
each gif's colouring will then still need tweaking - different cameras/angles/shots of the same scene can still start out with slightly different colouring.
I recommend uploading the gifs as a draft post on tumblr so you can see what they all look like next to each other and catch any inconsistencies.
✨ another one! (speedrun!)

HI KEN!
the white point for the curves layer was in the window behind them.
the curves layer removes the muddy yellow tint, but again it makes their skin tones (especially Ken's) very red toned, which is adjusted by the selective colour layer.
3. other adjustment layers
imo many many gifs can be coloured really nicely with just those three adjustment layers, but some need different adjustments.
✨ brightness/contrast

pretty self explanatory!
I personally usually avoid using the 'brightness' slider because I rarely like the effect - I only tend to use the 'contrast' one.
the 'auto' button is sometimes useful though, especially if you’re struggling with the curves layer.
✨ levels

levels alters the white and black points of the gif, like curves - but unlike curves it doesn't also alter other colours.
use the sliders beneath the graph to alter how dark/light the gif is. you can slide the black slider further to the right to make the blacks darker, and the white slider to the left to make the whites lighter.
levels is a good place to start if your curves layer isn't working.
(I'm going to hit the image limit for this post lol so here are some screenshots of a table I made to demonstrate this rather than actual gifs. sorry!)


on both sides, I dragged the sliders up to where the big jumps are on the graph - this is usually a good place to start!
✨ vibrance
vibrance... makes the colours more vibrant. it's more subtle than saturation.
it's really helpful for gifs that feel grey. sometimes adjusting saturation just makes the greys kind of weirdly tinted, but a vibrance layer can fix that.

vibrance is much more subtle!
✨ colour balance

colour balance affects the overall balance of colours within a gif.
it's good for scenes with heavy tints.
I tend to stick to the 'midtones' dropdown, but you can also alter the colour balance within the shadows and highlights if you want.


✨ channel mixer
I avoided channel mixer for such a long time because it scared me. but it's great for scenes that are very heavily tinted in one colour.
basically, it works with the levels of red, green, and blue within a gif. you select an output colour and then play around with the levels of the colour you selected within each other colour.
kind of the reverse of selective colour?

so in the 'blue' channel, the levels of blue are at 100%, and the levels of red and green are at 0% - but you can impact how much blue is in the reds and greens and blues.
this tutorial explains it well - but imo the best way to get to grips with channel mixer is just to play around with it a bit (sorry)
(when I made this guide for my friend, I also made a slightly more complicated gif colouring walk-through that included using channel mixer. there isn't space to include it within this post, but if anyone is interested I could always upload it as an 'intermediate' gif colouring tutorial - lmk!)
4. troubleshooting
‼️curves
usually with a bit of fucking about a curves layer works well - but sometimes you can’t find a good white and black point anywhere, and instead your gif turns wacky colours and nothing looks good. this happens more often with very heavily colour tinted scenes :(
for example, with this base gif:

using many of the brightest points as a white point turn it wacky colours, like this:

yikes :(
some options for these cases:
try brightening the gif first with the 'auto' button on the curves layer or with a levels layer. having a brighter gif to start with can give you better options for picking a white point.
try finding an alternate, whiter/brighter white point. look for places the light reflects - on this gif, using the light on Porsche's cheekbone works well as the white point. it also helps to find places that would be white if the scene wasn't tinted - the lightest part of a white shirt is often a good place to start, for example.
skip the curves layer, and instead use a levels layer to alter your white/black points, and colour balance or channel mixer to balance the colours.
‼️over/undersaturation
if your gif (especially the skintones) is looking a little washed out or lifeless, it might be undersaturated. boost that saturation - or if that's not working, try a vibrance layer.
oversaturation is often easiest to spot in the mouths and ears of any people in a gif. if the mouths are looking unnaturally, vibrantly red, then you've gone too far with the saturation.
5. fin!
and done! I hope this was coherent helpful to somebody.
if there's anything that I've missed or that doesn't make sense pls feel free to shoot me an ask or a message and I'll do my best to help! I've also collated a bunch of additional reading/resources below.
happy gifmaking 🥰
✨ some links!
photoshop basics by @selenapastel
gifmaking for beginners by @hayaosmiyazaki
gifmaking guide for beginners by @saw-x
dreamy's gif tutorial by @scoupsy-remade (includes instructions on how to blur out burned-on subtitles or annoying video graphics)
beginner's guide to channel mixer by @aubrey-plaza
how to fix orange-washed characters by aubrey-plaza
colour correcting and fixing dark scenes by @kylos
does resampling matter? by usergif
how to put multiple gifs on one canvas by @fictionalheroine
watermarking using actions by @wonwooridul
resource directory by @usergif
#i got a couple of asks about this so i figured i'd type it up as a post#it's been sitting in my drafts for a while now though i'm so sorry omg.#i had to replace my laptop and it took me a while to get round to downloading photoshop on the new one#but i hope this is helpful!!#gif making#tutorial#photoshop tutorial#colouring tutorial#coloring tutorial#gif colouring#gif coloring#photoshop resources#gif tutorial#gif resources#userbunn#uservik#darcey.txt#darcey.gif#usergif
622 notes
·
View notes
Text
Bilbo: Okay, I’m going to get the wedding cake.
Thorin: Perfect, while you do that I’ll check on the ring bear.
Bilbo: …
Bilbo: You mean ring bearER, right?
Thorin: …
Bilbo: Look me in the eyes and tell me you are not going to bring a dangerous wild animal to our wedding.
#the hobbit#bagginshield#bilbo baggins#bilbo#thorin#thorin oakenshield#incorrect quotes#omg I'm sorry guys I keep forgetting to post#it's for good though#i'm secretly writing a bagginshield fic#look out for that soonish#but for now have our favorite disaster husbands
602 notes
·
View notes
Photo
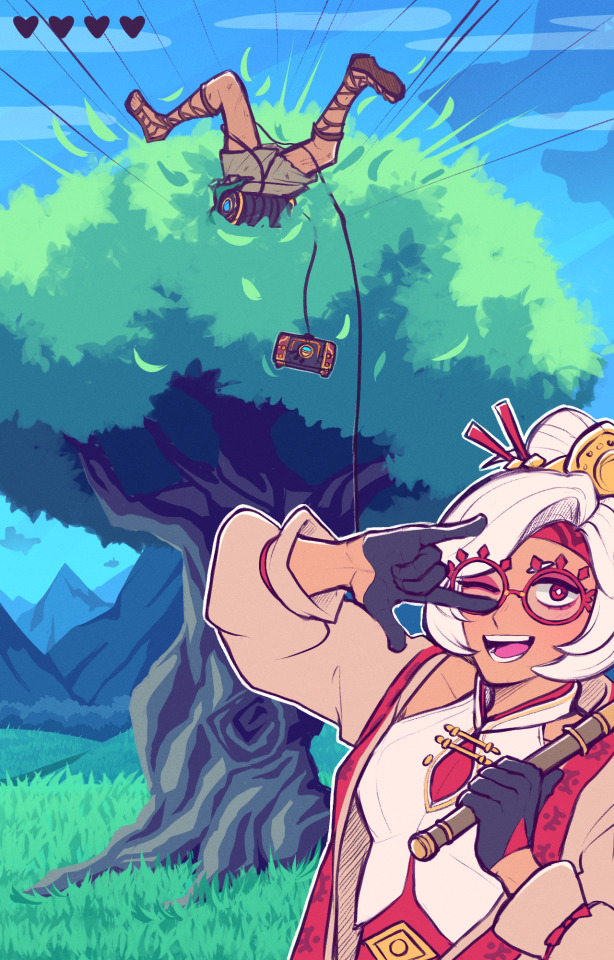
forgot to use the paraglider
#link#purah#totk#tears of the kingdom#loz#legend of zelda#my art#based on my playthrough where i was like omg!! the view is so pretty 💞 and then accidentally let link plummet into the cold hard ground#i'm so sorry king
3K notes
·
View notes
Text


making mobile game ads for my webcomic. it's enrichment.
#if it were to be a mobile game it WOULD be episode. okay. it's too perfect...#some friends were talking about this and one was like omg it'd be episode#and I was like yeah one sec.#and pulled these out#and everyone was like WOW how did you do these so fast#like IDK how to tell you. I already had them. I already made these like 2 years ago I'm sorry#there.#when it's good its evergreen and it will come back ok#anyways. so I was thinking about these again and wanted to share them#everyone look#ttawebcomic#time and time again#fake ad#shitpost
327 notes
·
View notes
Text


Maeglin in gondolin (and curufin laughing at eol)
#silmarillion#gondolin#silmart#maeglin#curufin#aredhel#nails silm comix#turgon#guys i have been working on this on and off for 3 years i'm sick of it ! putting it out in the world with all the mistakes in it#eeeehhhhhhhh#eol#idril celebrindal#long post#it's so long im sorry but it looks best like this#tolkien#ecthelion cameo :}#ecthelion#omg the style and designs are so inconsistent 😹😭
583 notes
·
View notes
Note
having to be very quiet while with leehan in your room because you don’t wanna get caught… he was acting all cute and innocent like a puppy when he greeted your parents before going up to your room.. but the second the door to your room is closed shut & locked, it’s like he has put down that cute and bubbly mask down in a split second…
omg nonnie...this is so yummy <3
leehan is on his very best behaviour in front of your parents. he's so sweet and lovely and polite, always saying the right things. being a cute, giggly mess, promising them that he's always taking such good care of you. little did you know that he was referring to a completely different kind of care that you and your parents were thinking of.
as soon as the door closes behind him his pretty hands are all over you. he cups your face and kisses you deeply, wasting no time in letting his tongue tangle with yours. his hands roam all over your body, pulling you closer to him until it practically hurts. he's grabbing your ass and tits, sucking on your bottom lip, biting the sweet spot on your neck...anything to elicit filthy moans from you. he wants to see you fail to be quiet as he touches you.
the moment you both break apart for air, leehan would be speaking to you softly but lowly, with that pretty deep voice of his (i hate him). "need you to be quiet for me, pretty. don't want your parents to find out how good i'm taking care of you, do we?" leehan is always sweet and loving, but in these situations he finds so much pleasure in being a tease and seeing you struggle. he'd spend the rest of the night between your legs with a sickly sweet smirk on his face as threatens to deny your orgasm if you moan too loudly.
once he's done eating you out like his life depended on it, he's fucking you into oblivion. his body is pressed right against yours, one hand over your mouth as he coos and giggles at your inability to keep quiet. "shh, pretty. don't you want to cum?"
#thank you for the ask nonnie <33#i got so carried away omg i'm sorry#also i never got a lot of hard/soft hour asks on my old blog#so i'm still getting used to answer them lol i hope this was okay!#⋆˚ ୨୧ hard hrs. bnd ♡#ihan hard thoughts ♡#nonnie ♡#leehan hard thoughts#leehan hard hours#leehan smut#boynextdoor smut#bnd hard hours#bnd hard thoughts
178 notes
·
View notes
Text


some MCSM S2 related doodle, since my friend @boxofoxberry has been streaming s2 to me!! i missed this game and it's OST tbh.
also anxiety meds radar is real and true to me, but also a running joke (that Just Started Today) between me and my friends.
#minecraft story mode#mcsm#minecraft story mode season 2#mcsm s2#mcsm season 2#jesse mcsm#xara mcsm#petra mcsm#radar mcsm#lukas mcsm#mcsm fanart#minecraft story mode doodles#pep sketch#my art#mcsm binta#omg almost forgot her i'm so sorry binta
229 notes
·
View notes
Last Seen Blogs

bibiko0838
BiBiko 0838

sternenburg-mainecoon
Питомник мейн кунов Sternenburg в Москве

izemsworld
_izemS' world

sokadigi
Untitled
zaimta
ZAI.