#gifsky
Explore tagged Tumblr posts
Text

hi fatty here, this is my 1st animated gif
2 notes
·
View notes
Text

IMPORTANT MESSAGE: HIS TAILS WAG WHEN HE SEES COSMO
I REPEAT
HIS TAILS WAG WHEN HE SEES COSMO
Gif created by using LosslessCut to cut out the clip, Handbrake to detelecine and encode as h.264 at 24 fps, and finally Gifski to create the gif.
#sonic x#tails the fox#miles tails prower#cosmo the seedrian#fox boy#tailsmo#gif#gifski#handbrake#losslesscut
191 notes
·
View notes
Text
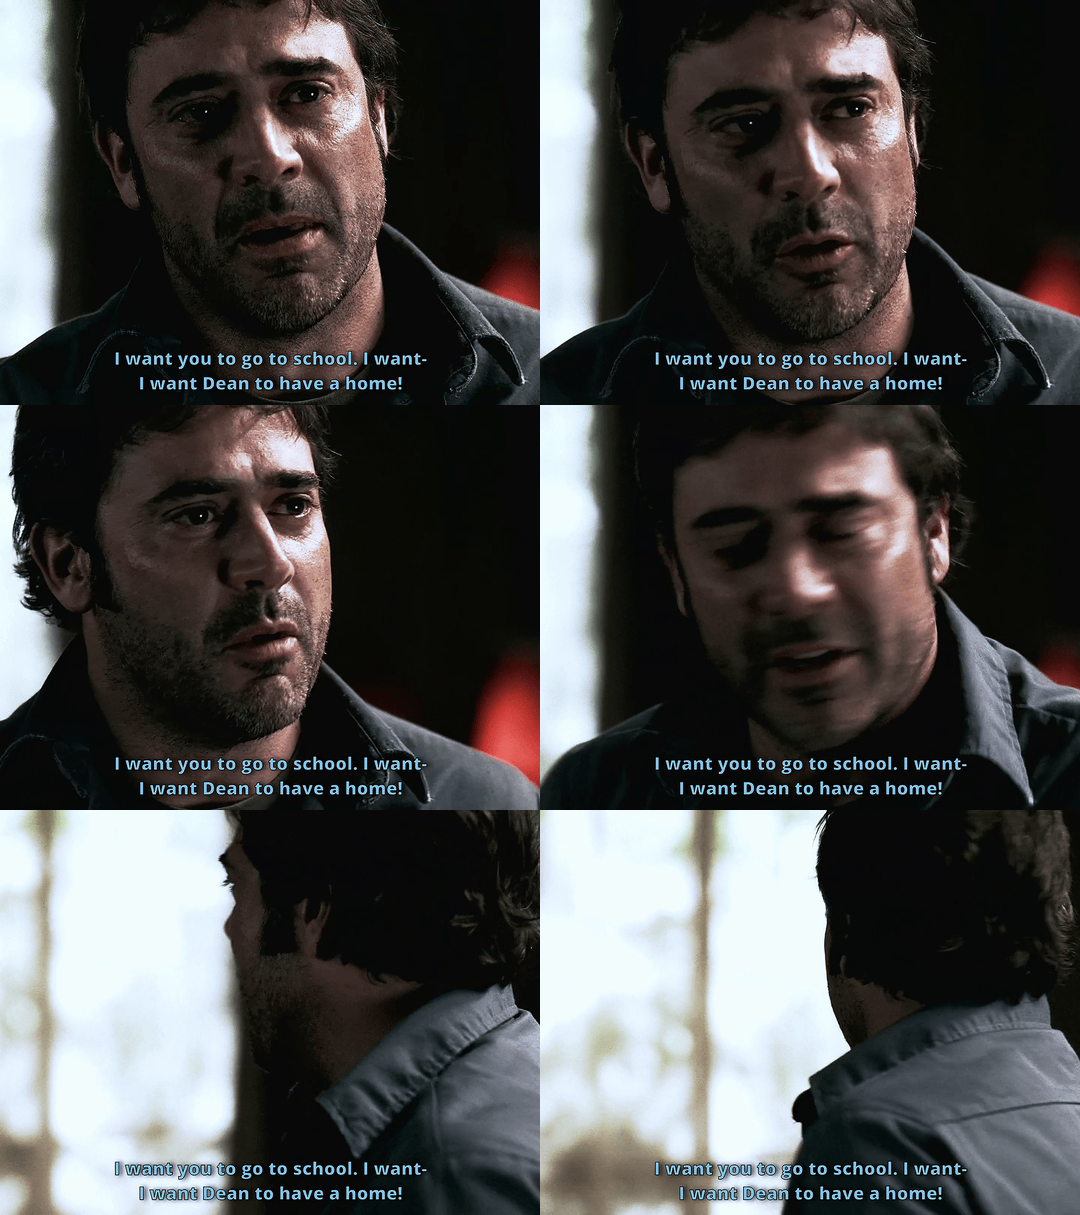
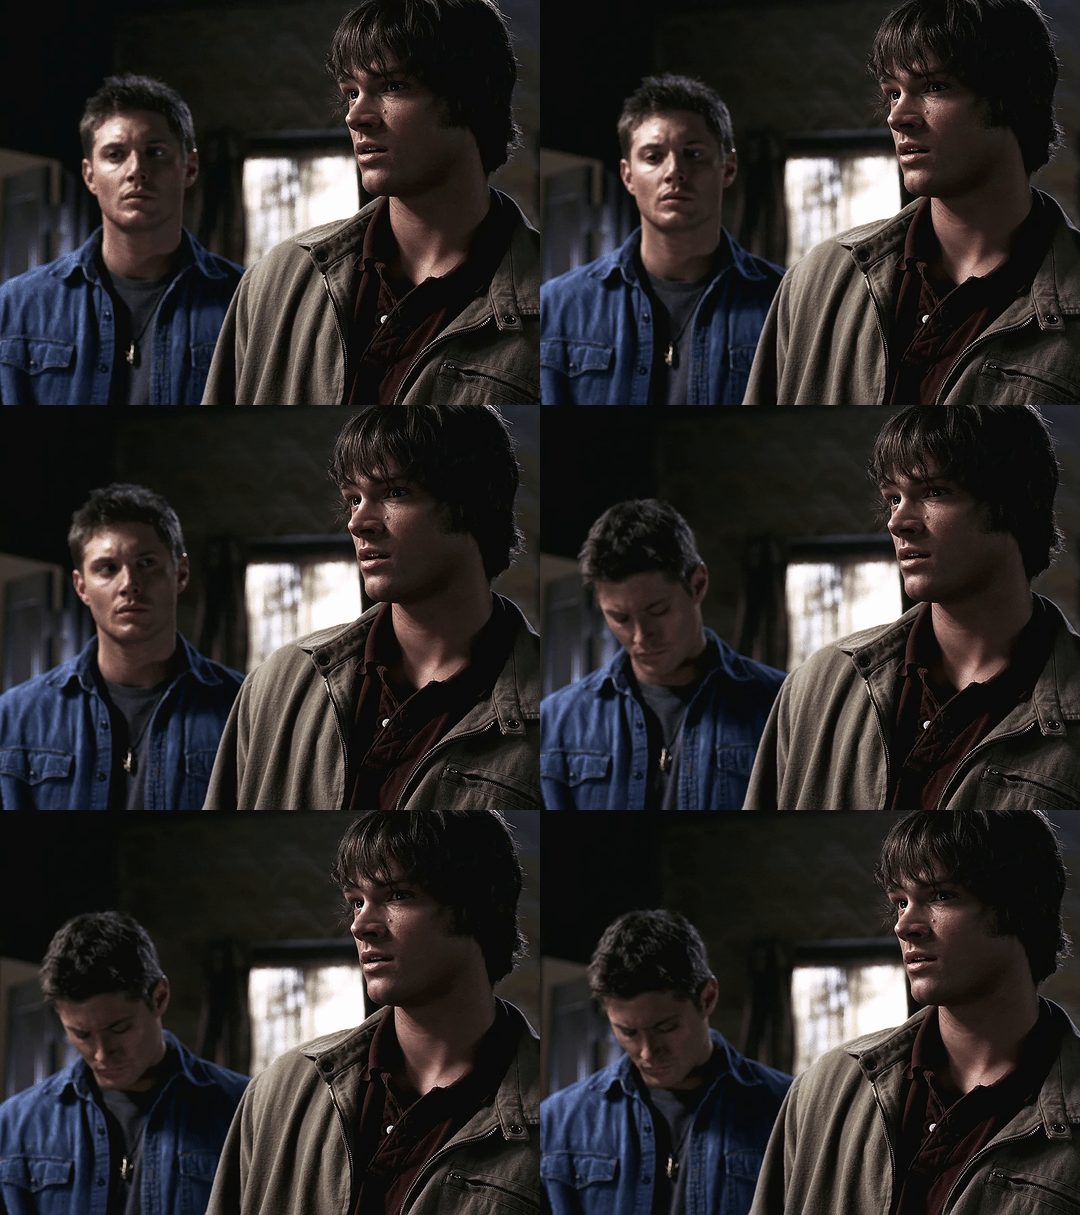


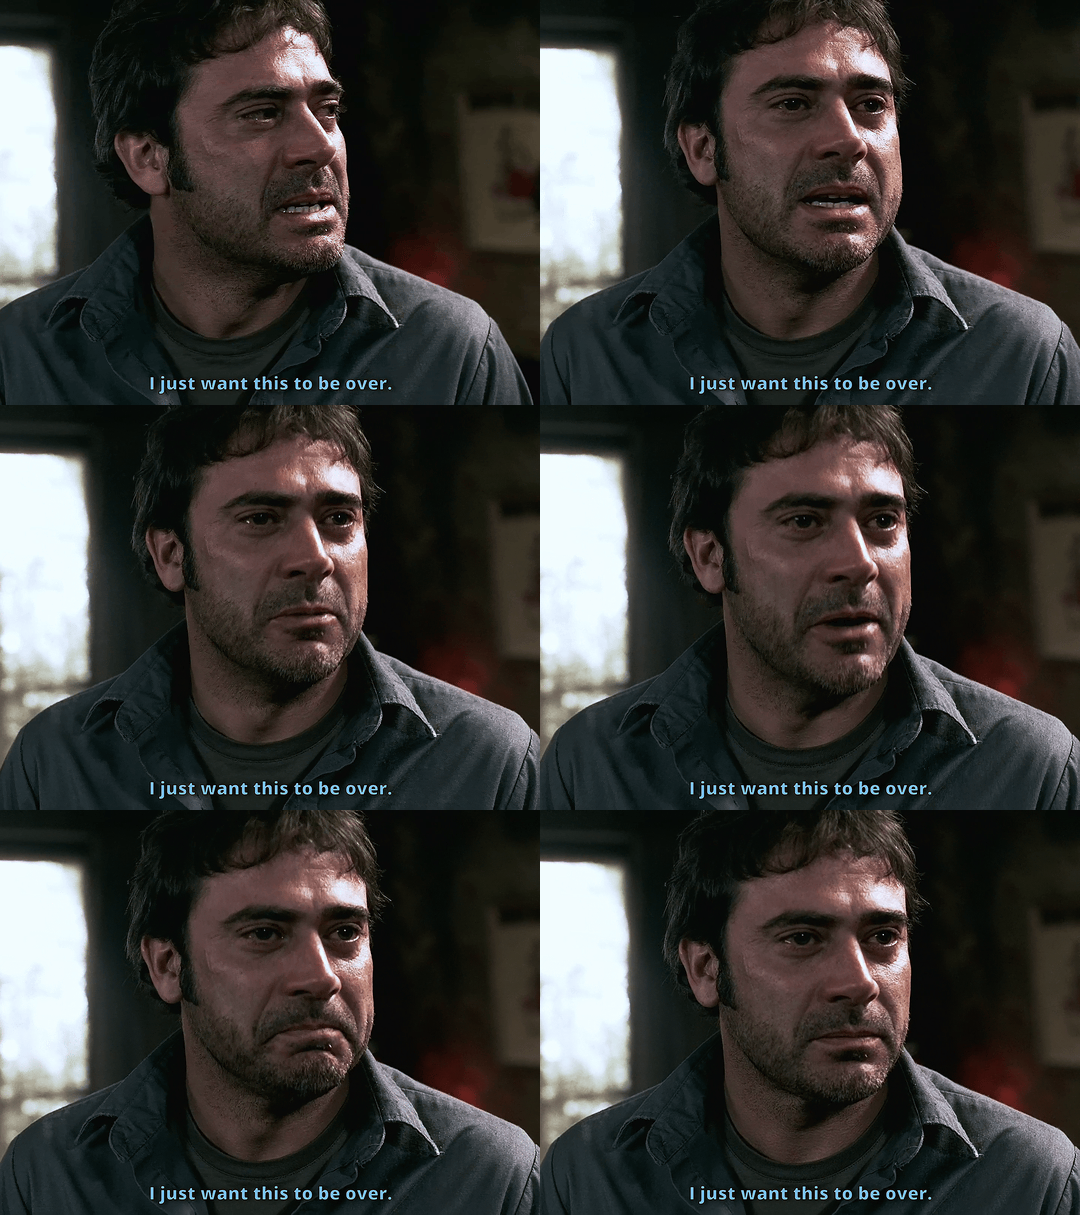
You mean for Dean and me. You want us to stay here, and kill this demon by ourselves?
1.21 Salvation
#the hearth of the house#good gifs with free tools challenge#tried sharpening the mp4 clips in ffmpeg THEN optimizing with gifski this time#1.21#pk rewatches spn number ?#john#season 1#we probably have a lot more in common than just about anyone#i dont deserve what he put on me
539 notes
·
View notes
Text


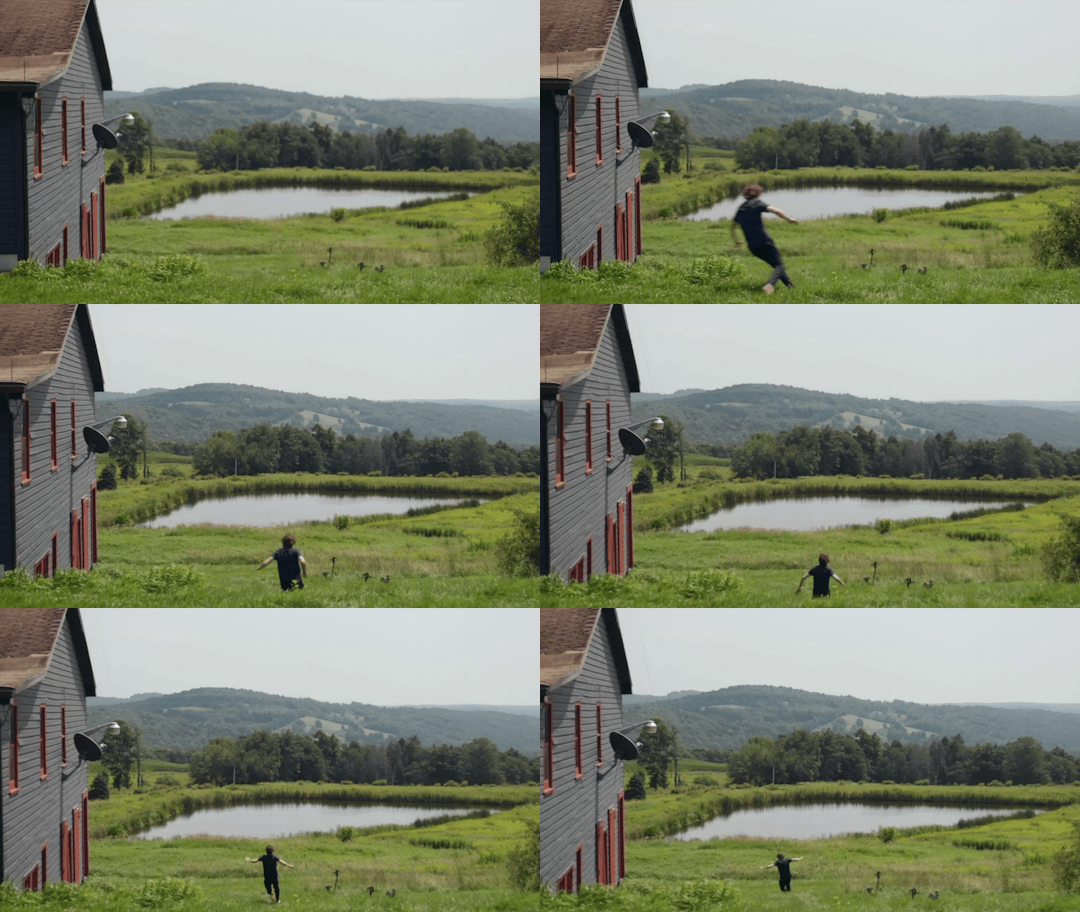


Mother, May I? (2023) | dir. Laurence Vannicelli
#i went into windows powershell for this#i also spent and ungodly amount of time learning how to use ffmpeg and gifski slay ig#but now i'm more powerful so ig it was worth it#mother may i#mother may i?#movies#films#holland roden#kyle gallner#laurence vannicelli
17 notes
·
View notes
Text


(x)
#link neal#good mythical morning#link running fingers through his hair#HELLO#i never made a gifset before like EVER#but i discovered gifski last week and i decided to try#and it doesn't look bad???#sure every gif is different crop and different speed and they're not super crisp but whatever#anyway#he cute#!!!#my post
29 notes
·
View notes
Text
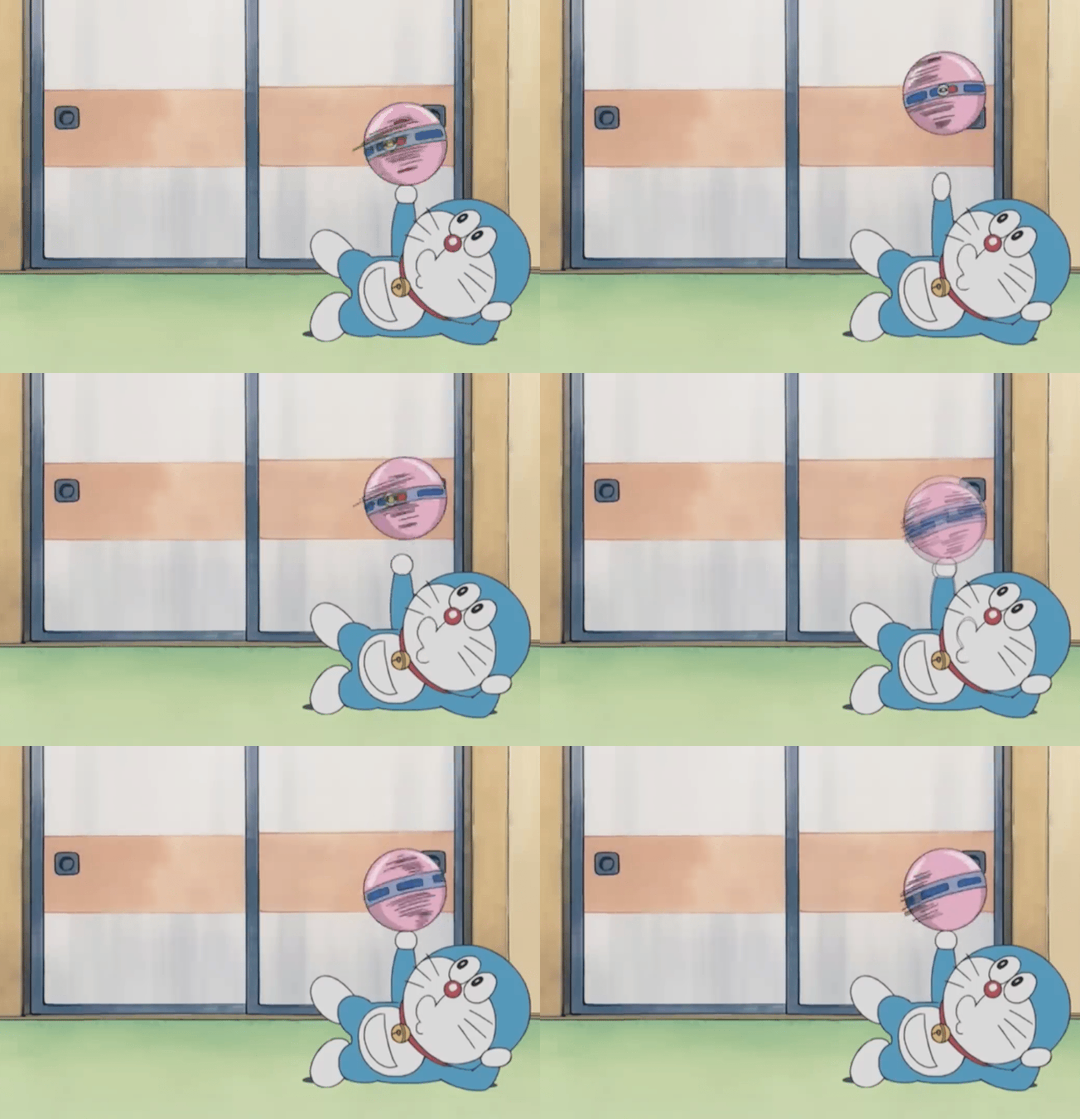
Doraemon exercising with his gadgets.
10 notes
·
View notes
Text
TUTORIAL 2
Giphy Capture and Gifski
FULL TUTORIALS | EASY NON-RECOLORED GIFS
This tutorial is Mac only unfortunately, but is for the girlies who hate steep learning curves, don't want to recolor, and don't want to touch a command line with a 10-foot pole. It is wickedly easy and can produce great results for non-recolored sets.
Interface: Graphic User (GUI)
Needed software: Giphy Capture and Gifski (GUI version)
Operating systems: Mac
Time: 7 minutes for the 2 gif set (below)
Difficulty: Easy
Input: ANY video you can screencapture.


LIMITATIONS: 1 Mac only. 2) No recoloring. 3) Captions are limited in size, color, and font (but should generally be sufficient even for longer captions). 4) Since you are screen-capturing video, the quality of your recordings will be limited by the physical size and resolution of your computer screen. 5) You cannot crop after screen-capturing. You have to adjust your screencapture window to the aspect ratio you want your gifs to have.

1. Installation
You can get Gifski (GUI version) and Giphy Capture in the Apple App store.
2. Screen Capturing
When you first open Giphy Capture this screen capture screen should appear:

Open the video you want to screen capture, and make it as large as possible on your screen for the best quality!!!
If you want to make a square set, or a 3:2 set, adjust the size of the screencapturing box accordingly. You can't crop a capture to a different shape after recording.
In my example, since I only want a close up on Dean, and I want it to be square, I will reposition the box and drag the bottom right edge to resize this box as needed.
It's difficult to see in the above image, but there is a box in the bottom right of the green screen that tells me the exact pixel x pixel size of my capture screen so I can drag it until I get a precise screen ratio. In my case, the largest I can screencapture my square set (due to limitations of the physical size of my laptop's screen) is 850 x 850 px, so that's the dimensions I will adjust to.
Minimizing your screencapture screen will retain its shape. Minimize it then start the video you want to record a little before the point where you want to start recording, then press play, and quickly un-minimize your Giphy Capture window so it is on top of the window you want to record and hit the red button to start screen capturing.
You can record for only 30 seconds at a time, but Giphy Capture will save hundreds of 30-second successive screencaptures. You'll see them as thumbnails you can open in the bottom of your screen capture screen.
3. Cut into clips and caption
Once you have captured all of the sections of your video you want and are happy with the size and how the shots are framed, it's time cut your 30-second recording into clips representing each gif, and caption them one by one (you can make multiple gifs from the same capture).

Click on the thumbnail of your capture and a new box will open. Here, you can trim your recording and caption it.
Trim the recording by adjusting the ends of the purple bar.
Note: I recommend you not let the length of your gifs exceeding 4 seconds when possible, but I have gone to 5 or 6 seconds before.
You want to go ahead and caption each shot right after clipping it to length.
Click on the tab labeled "Captions" and a new box will open.

Click "Add Caption". A huge box will open on top of your gif.
Set the caption size to XS, change color as desired, and drag the caption box down and center it on the bottom of your screen and type in your dialogue in the top right.
If you have two people talking back and forth in the same gif, you can click "Add Caption" in the bottom left to add another caption, and set one caption on top of the other, or set one caption to end where another caption begins by adjusting the edges of the purple bar.
4. Exporting to MP4
When you're happy with your captions and the length of the clip that will become your first gif, go back to the "Options" tab and set the following options:
Loop style: Normal
Pixel Size: Original
Frame Rate: HD (we'll adjust the frame rate later in Gifski. It does something a little weird if you adjust it here—even to 23 FPS).
Click "Save As..." and then save the file as an .mp4.
Repeat this process for every clip intended to be a gif in your set, until you have them all saved.
5. Compressing and converting to .gif in Gifski
Now open Gifski and open your first .mp4 clip. It may give you a warning about the frame rate. Just ignore it.

In the bottom left corner, you can see the estimated size of your resulting gif. This estimate will auto-update as you adjust your compression settings. Remember: To upload your gif on Tumblr, it needs to be about 10MB or less. If it's already 10MB, just go ahead and click convert! If not (which is more than likely):
Adjust FPS to 18. I find this frame rate to be a good balance of compression and retained quality.
Decrease the dimensions of your gif as needed. Whether you use the drop down box or the dialogue boxes, Gifski will automatically scale to retain your gif's screen ratio rather than stretch it to fit, so you don't need to worry about keeping your gif proportional.
You can finely adjust the settings until your gif is exactly 10 MB if you want to keep the best quality, or just aim for a ballpark.
Cick "Covert" then save the resulting gif. Do this for all your .mp4 clips and then boom. You're done.
But what if I don't WANT to use the Gifski GUI??? Let me automate!!
Maybe you AREN'T scared of the command line and you're thinking, "I don't want to adjust the compression on these things one by one! Was captioning in Giphy Capture not enough for you???"
Well then you can easily automate the process by using the Gifski command line interface (CLI) instead. I already wrote the script for you here.
If you're already going to use the command line, you could also use FFmpeg Script 1 or FFmpeg Script 2 to batch convert and optimize your clips into gifs.
Wait... so why aren't we compressing straight to gif in Giphy Capture???"
Because the quality after compressing will not be as good (usually), and the compression options are much more limited in terms of rescaling and setting the frame rate of your set. Giphy Capture also produces strange motion results often when adjusting frame rates. You can see a comparison set here. Or check these out:


The left is exported to GIF straight from Giphy Capture. The right converted to .gif in Gifski.
If you want to try compressing straight to gif in Giphy though, my recommended settings are:
Pixel Size: 640 px or 480 px if needed (I wouldn’t go lower unless you're arranging in 2x or 3x orientation)
Frame Rate: HD (or High in a pinch, but don’t do Standard or lower).
#easy#giphy capture and gifski#GUI only#giphy capture#gifski#tutorial#if anyone has suggestions for a Windows and/or Linux version swapping out the work done in giphy capture let me know!
9 notes
·
View notes
Text

I so desperately needed a gif of Harry hitting the bong that I spent a couple hours following online tutorials for gifsky and ffmpeg. That's the degree of autism I am experiencing right now.
#resident alien#harry vanderspeigle#baby's first successful (?) gif#I know it's not great but by god I needed it to exist and it DIDN'T
30 notes
·
View notes
Text
HQ dancing Le-Matoran GIF
With my bonkle-obsessed girlfriend continuing to (lovingly) force the brain-rot onto me, I have now been nerd-sniped into a few things regarding the MNOG games. First, I wanted a higher quality (ideally vector) version of the super fast dancing Le-Matoran!
CN: flashing images below cut, includes detailed explanation and final GIF
Thanks to the JPEXS Free Flash Decompiler, I was relatively easily able to extract SVGs of the two frames. Unfortunately, the separate frames are not properly aligned, and I found no easy way to extract the exact positioning from the game.
I resorted to using a lower resolution GIF (that was probably hand-cut from screenshots of the game) to align the two frames by eye. This is not to my standard of perfection, but it will do.
Next part was the animation speed. The original game runs at 18 fps, and from what I understood defined 5 frames total for the part of the dance I was interested in. Frames 1 and 2 were identical, as were frames 3 through 5. But my goal was to recreate the silly GIF, so I inspected that, and used its frame timings: Frame 1 for 40ms, then frame 3 for 40ms, resulting in a very fast-moving GIF.
To construct the final GIF, I exported the two SVGs to PNGs with a width of 1920 px, then aligned and cropped them, and finally used Gifski to create a high-quality, near full HD resolution GIF. Sadly can only share the GIF and not the SVGs here, but I will keep them for anyone interested!
And finally, just for future technical reference: Frames 1 and 3 of Sprite 154 in XVIII.4-S.swf.
Enjoy :3

13 notes
·
View notes
Text
i actually have no idea how to make decent gifs using ffmpeg but i found a lightweight tool called "gifski" that works rlly well
its options are super limited, and it needs pngs with ordered filenames but the gif quality is rlly rlly good imo


i record a video and run this in the command line (this is my magic command one of the biggest things i fear abt losing if my pc died is this one line lol...): ffmpeg -i video.mp4 -vf "fps=20, scale=501x282" frame%04d.png
it it outputs png frames at 20fps that i can drag and drop to gifski

i actually rlly prefer this too cuz i can specifically pick starting and ending frames, theres times where i pull frames from other parts of the recording and manually edit the file names to be where i want
like this gif was done by stitching various scenes together

the full dance in this gif doesnt actually happen in the mv, it cuts out early,

i still have them saved but yeah like, the full dance is never shown with all three on screen, its parts scattered here and there. i actually took frames at the top of the screenshot (frames 1271 to 1287) and renamed them to be at the very end after frame 1422

8 notes
·
View notes
Photo

July 2023 Google Top Search Query of Movies by US State
by u/zwei4
Method: This graph shows the top query rather than rising query: * TOP - The most popular search query. Scoring is on a relative scale where a value of 100 is the most commonly searched query, 50 is a query searched half as often as the most popular query, and so on. !Note this is NOT the same as "Rising"
The data was pulled using python, with pytrends (https://pypi.org/project/pytrends/), which is an unofficial API for Google Trends. Data processing, plotting and animataion done in R, with packages ggplot2, usmap, gganimate, gifski, etc.
129 notes
·
View notes
Text


Same set but with this script:
for i in .mp4; do ffmpeg -y -i "$i" -filter_complex "smartblur=1.5:-1,unsharp=la=1.5" sharp_${i%.mp4}.mp4; done for i in sharp_; do gifski --fps 20 --width 540 --quality 100 -o gifski2/${i%.*}.gif "$i"; done
This script uses two different FFmpeg sharpening methods at their full strength on each .mp4 clip then scales them down to 540 pixels and 20 FPS with Gifski.
The first gif also had to be trimmed (I used the Gifski GUI for that) because it was still too large after scaling down to 540 px and reducing the frame rate to 20 FPS. It does give a cleaner result though.


Sam's Motivations 6/? | 1.12 "Faith"
333 notes
·
View notes
Note
what program do you use to make gifs? do you have coloring or is that the natural colors from the show?
hi! in no world would i suggest you make gifs the way i do because it was never supposed to be that serious for me, so i still do it quite....backwards. i edit the clips separately (including colouring, yes) and then just turn them into gifs (programs i use are all free etc etc the one for gifs i use is gifski)
#if you wanna make gifs perhaps i am not the person to learn from#but hey i'm not about to gatekeep my process even if it is a little ridiculous#sorry for the late response love#q's
11 notes
·
View notes
Note
What program do you use to screen capture for gifs?
I have what is probably a really convulted process that has developed since i started making gifs. Maybe there's an easier way but this is how i get the best results.
yt-dlg - i use this to download youtube videos.
instagiffer - for a while i used this exclusively to make gifs. The interface is nice but ultimately i found the final results weren't great with lots of colour banding issues. Look at some of my older gifs to see what i mean.
What instagiffer is really good for is importing videos, frame selection, defining the frame rate, and cropping and exporting images.
So now i just use instagiffer for this and use gifski to create gifs from the exported images. This runs from Window Powershell but it's pretty easy to use. Here i tweak things a bit more, playing around with the frames i want, frame rate, and overall gif dimensions.
Once i'm happy with the gif i often run the frames through photoshop to sharpen them up or boost the colours as a lot of the source material is poor quality.
Hope this helps!
34 notes
·
View notes
Text
ffmpeg + gifski

ffmpeg + photopea - dither

ffmpeg + photopea - dither/sharpening

this is for me to test stuff
but if youre reading this. it's canon that wolf and zander know how to pole dance now.
4 notes
·
View notes
Text
Did I download the trailer in 4k?
Yes.
Yes I did.
Am I going to put it pieces through ScreenToGif / Gifski when I get home from work?
You bet your sweet ass. I guess it's time to put my color grading skills and my Adobe subscription to use.
I just wish I had a desk.
11 notes
·
View notes