This is a blog all about getting the best quality out of the .gif format using only free utilities and software. Examples, ideas, and tutorials can be found here. Contributions are welcome. Project of @scoobydoodean.
Don't wanna be here? Send us removal request.
Text
AMAZING. I wasn’t sure someone would ever try the FFMPEG tutorial. Very glad someone gave it a try! ♥️♥️♥️
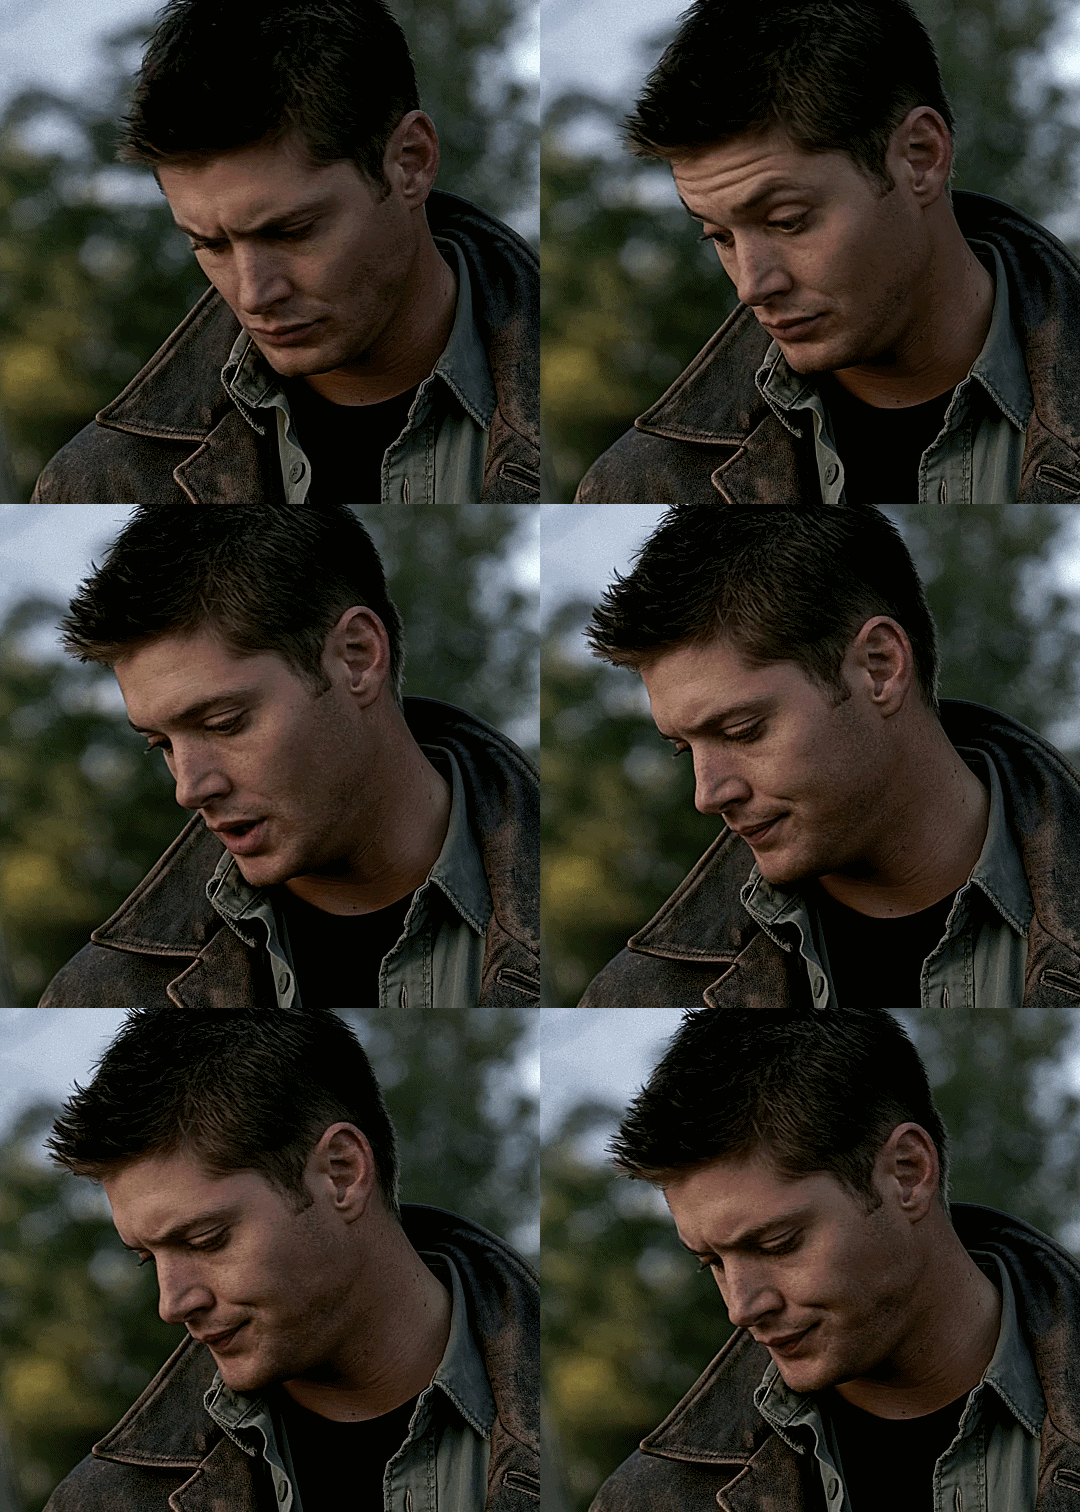
First attempt at gif making
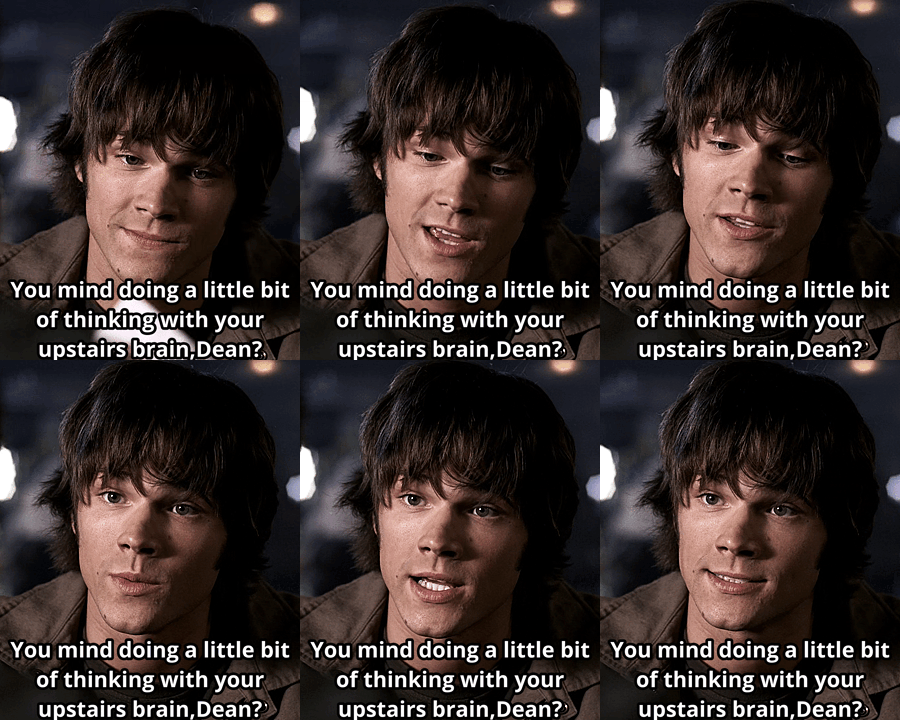
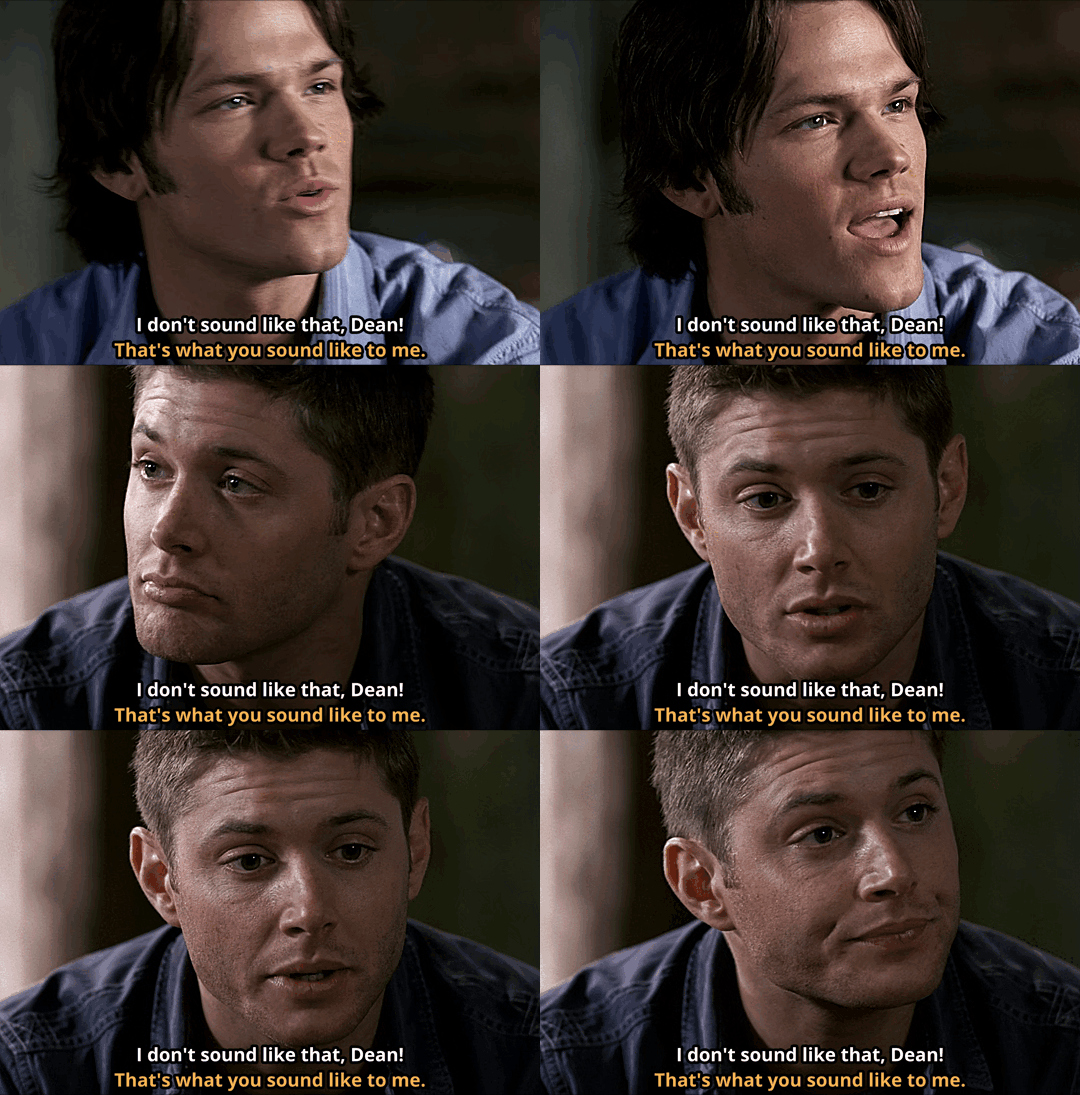
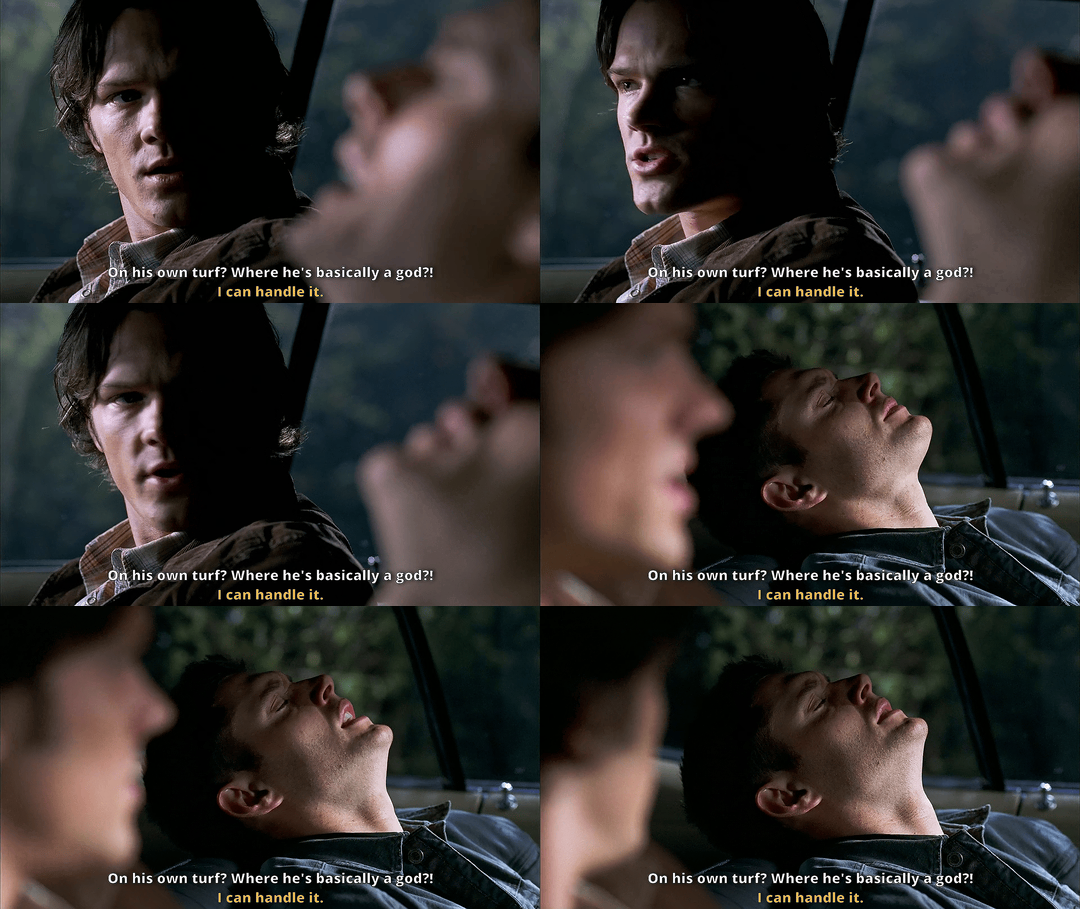
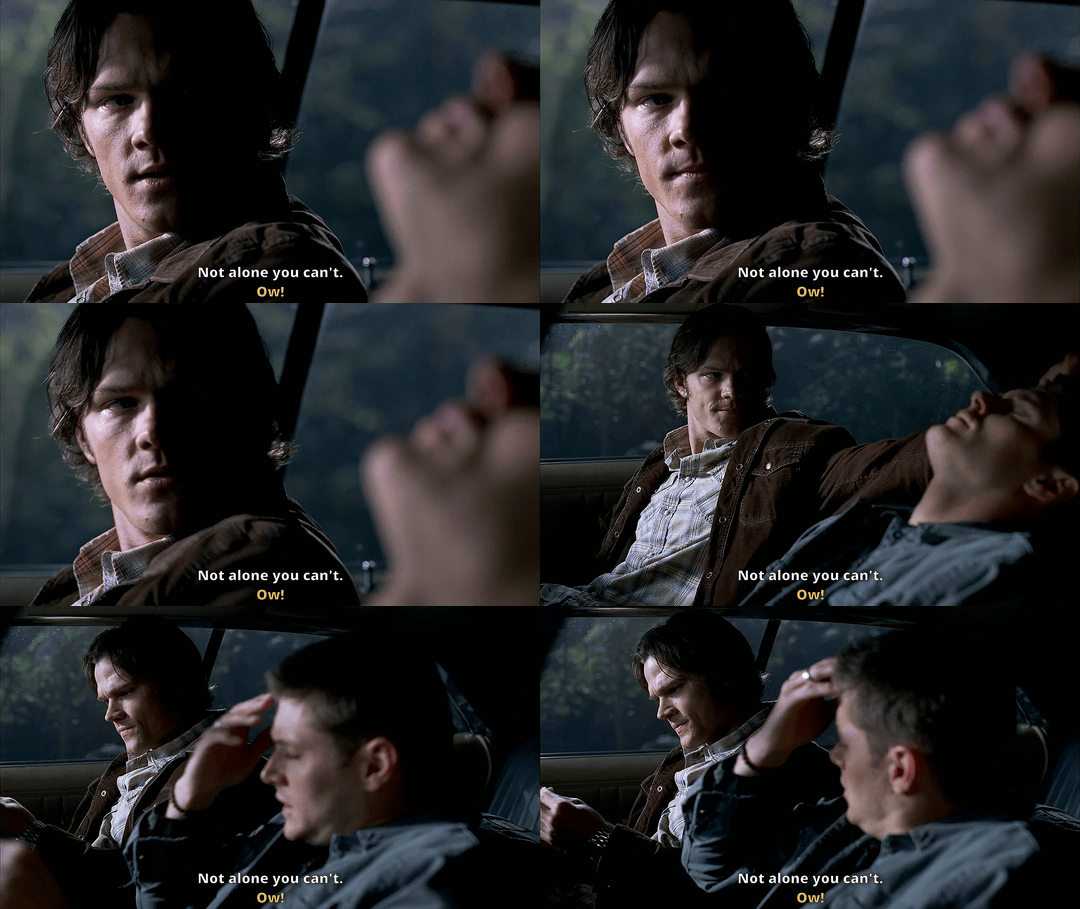
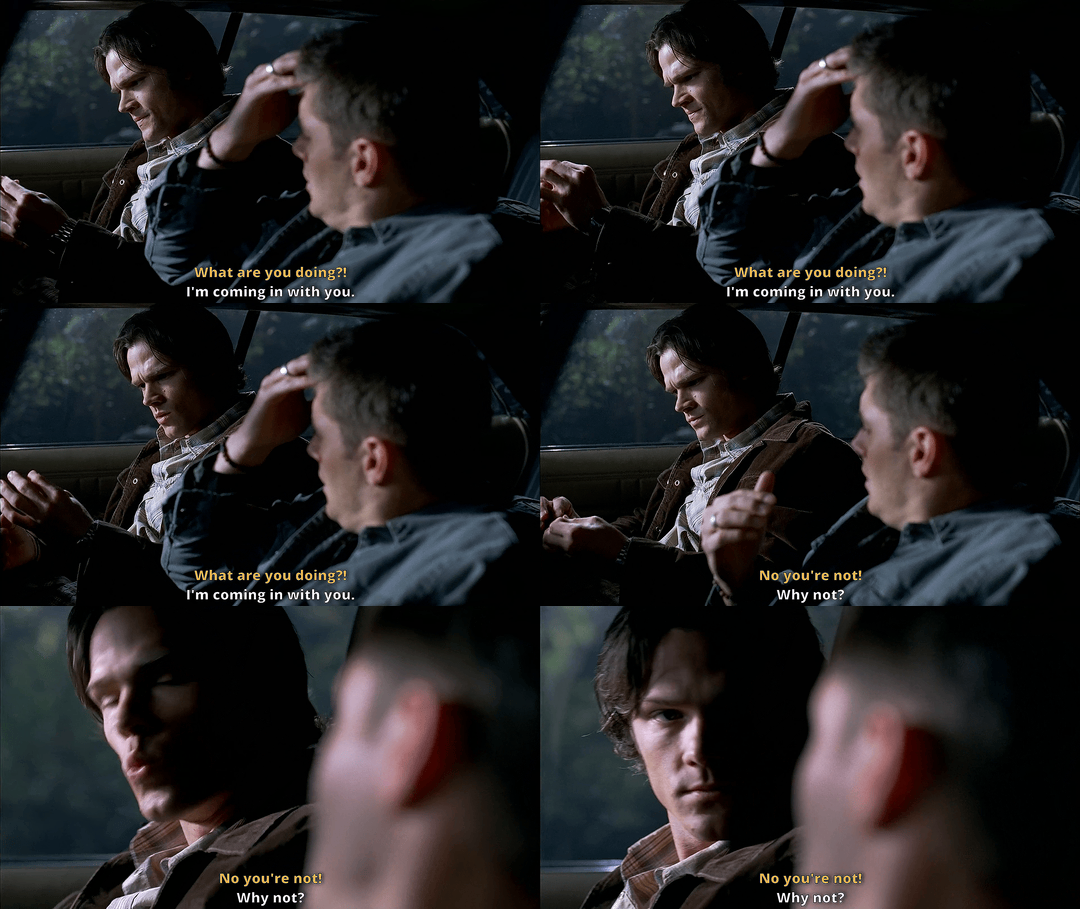
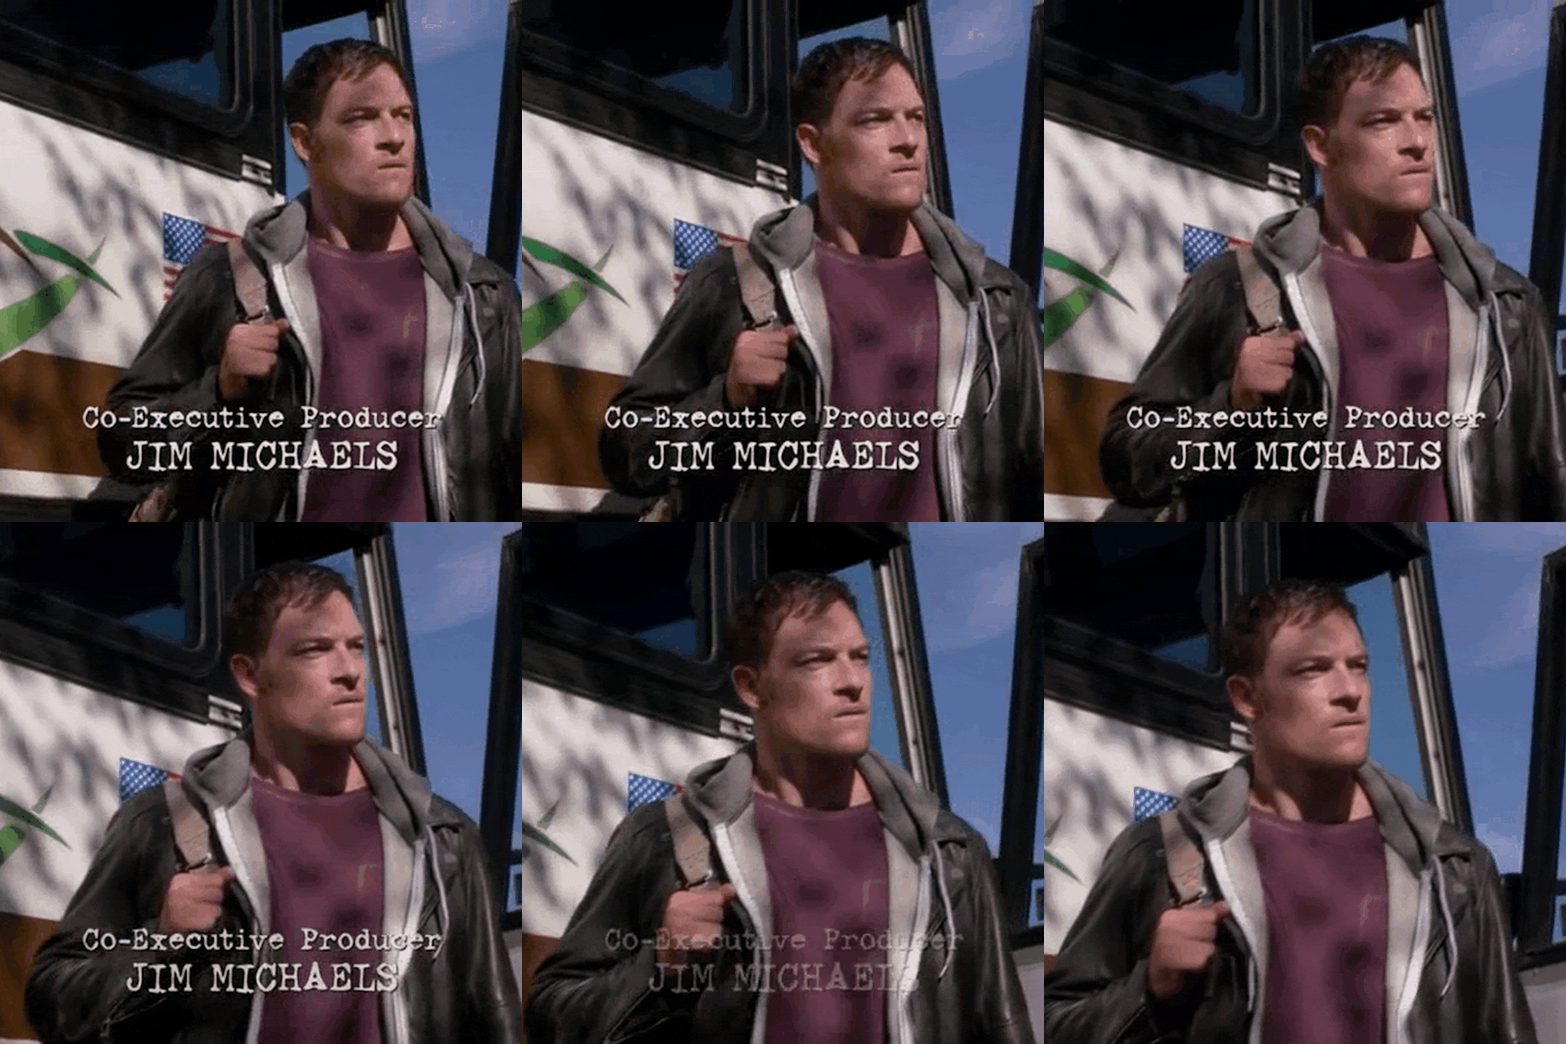
Ever since I finished watching Supernatural for the first time a couple of months ago I have really wanted to learn how to make gifs. Lucky for me this fandom is great. I followed @scoobydoodean's Making Gifs Purely with FFmpeg Scripts to try to capture one of the dean moments that cracks me up the most. It's an A+ tutorial. I'm not totally happy with the gifs tho. I'm not sure exactly what's not right for me. Something about the timing/speed?
5 notes
·
View notes
Note
Hi! Ezgif upped the video limit to 200mb.
Amazing! Thanks for letting me know, Anon!
0 notes
Text
A quick video tutorial on how to use Photopea to place two characters in separate gifs side by side in the same gif, by @princessmadelines! Thank you, Mads!
5 notes
·
View notes
Text
Set made with Photoscape X. Haven’t made gifs that way in a while. Wanted to try again.
553 notes
·
View notes
Text
Pure DaVinci Resolve, with no external tools like FFmpeg or Gifski. They've been expanding the gif rendering options, and with that plus the sharpening tools, I think it makes sense to streamline and take out complications like scripts.
In other words, will likely be retiring the DaVinci Resolve + FFmpeg/Gifski tutorial for a DaVinci Resolve only tutorial.
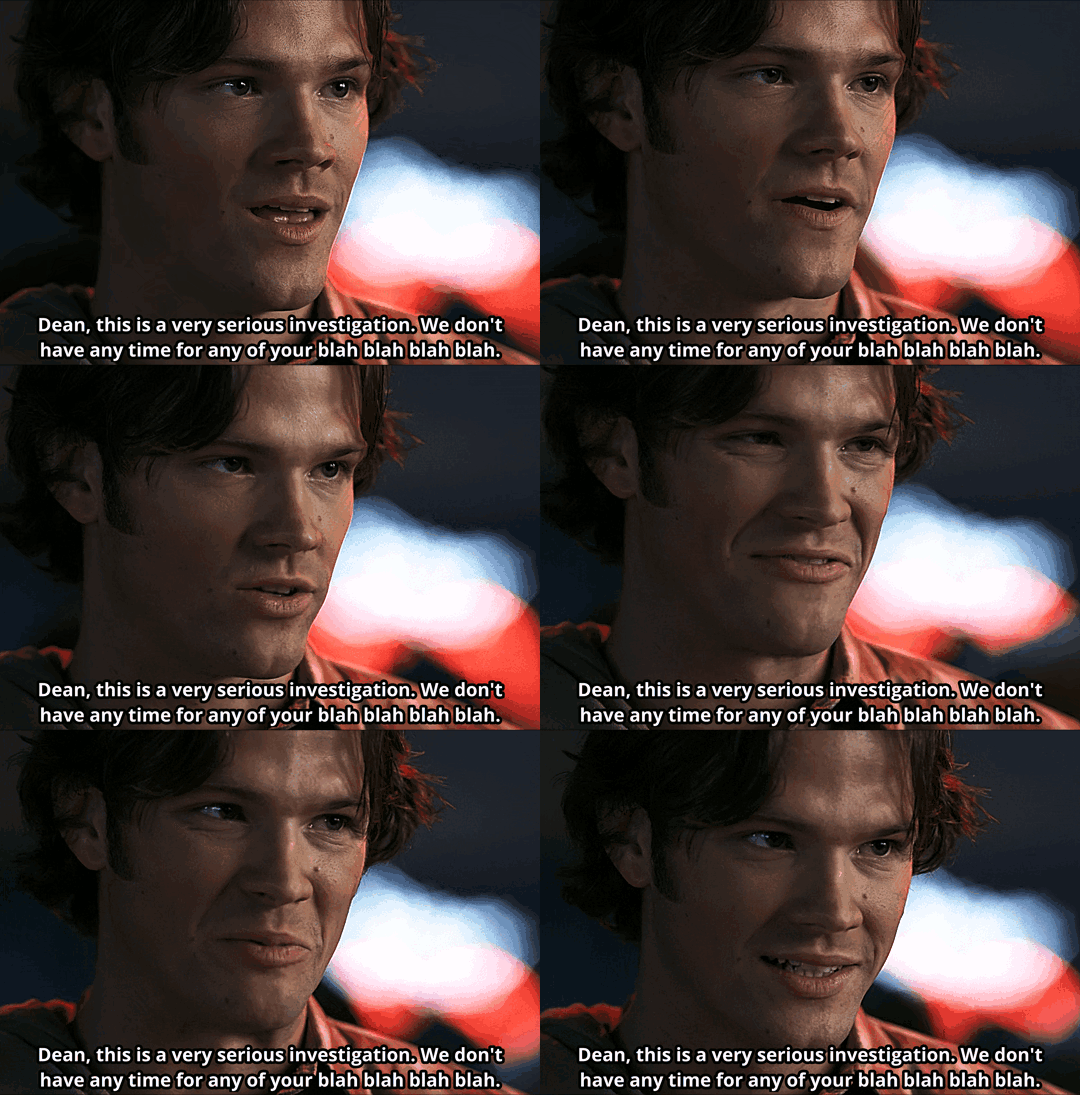
Blah blah blah blah. Blah blah blah... Blah!
2.15 Tall Tales + 1.02, 1.03, 1.16, & 1.19
107 notes
·
View notes
Text
I’m in the middle of overhauling Tutorial 1 (the DaVinci Resolve tutorial) with my favorite new script, and more directions for avoiding using scripts at all if you don’t want to/have issues. So you may see some “click here to continue to the best thing for you to do” links in the tutorial for a bit pointing to other posts with directions. 🙏
0 notes
Text
Example of a set made with the script I mentioned here.
Taurus Sam In The Flesh 4 /. | 3.10
95 notes
·
View notes
Text
Learning to make GIFs Part 2 - Trial and Error
So, today I tried making GIFs with @scoobydoodean's tutorial.
They didn't suck ass completely, and I really wanted to make more... So I tried again.
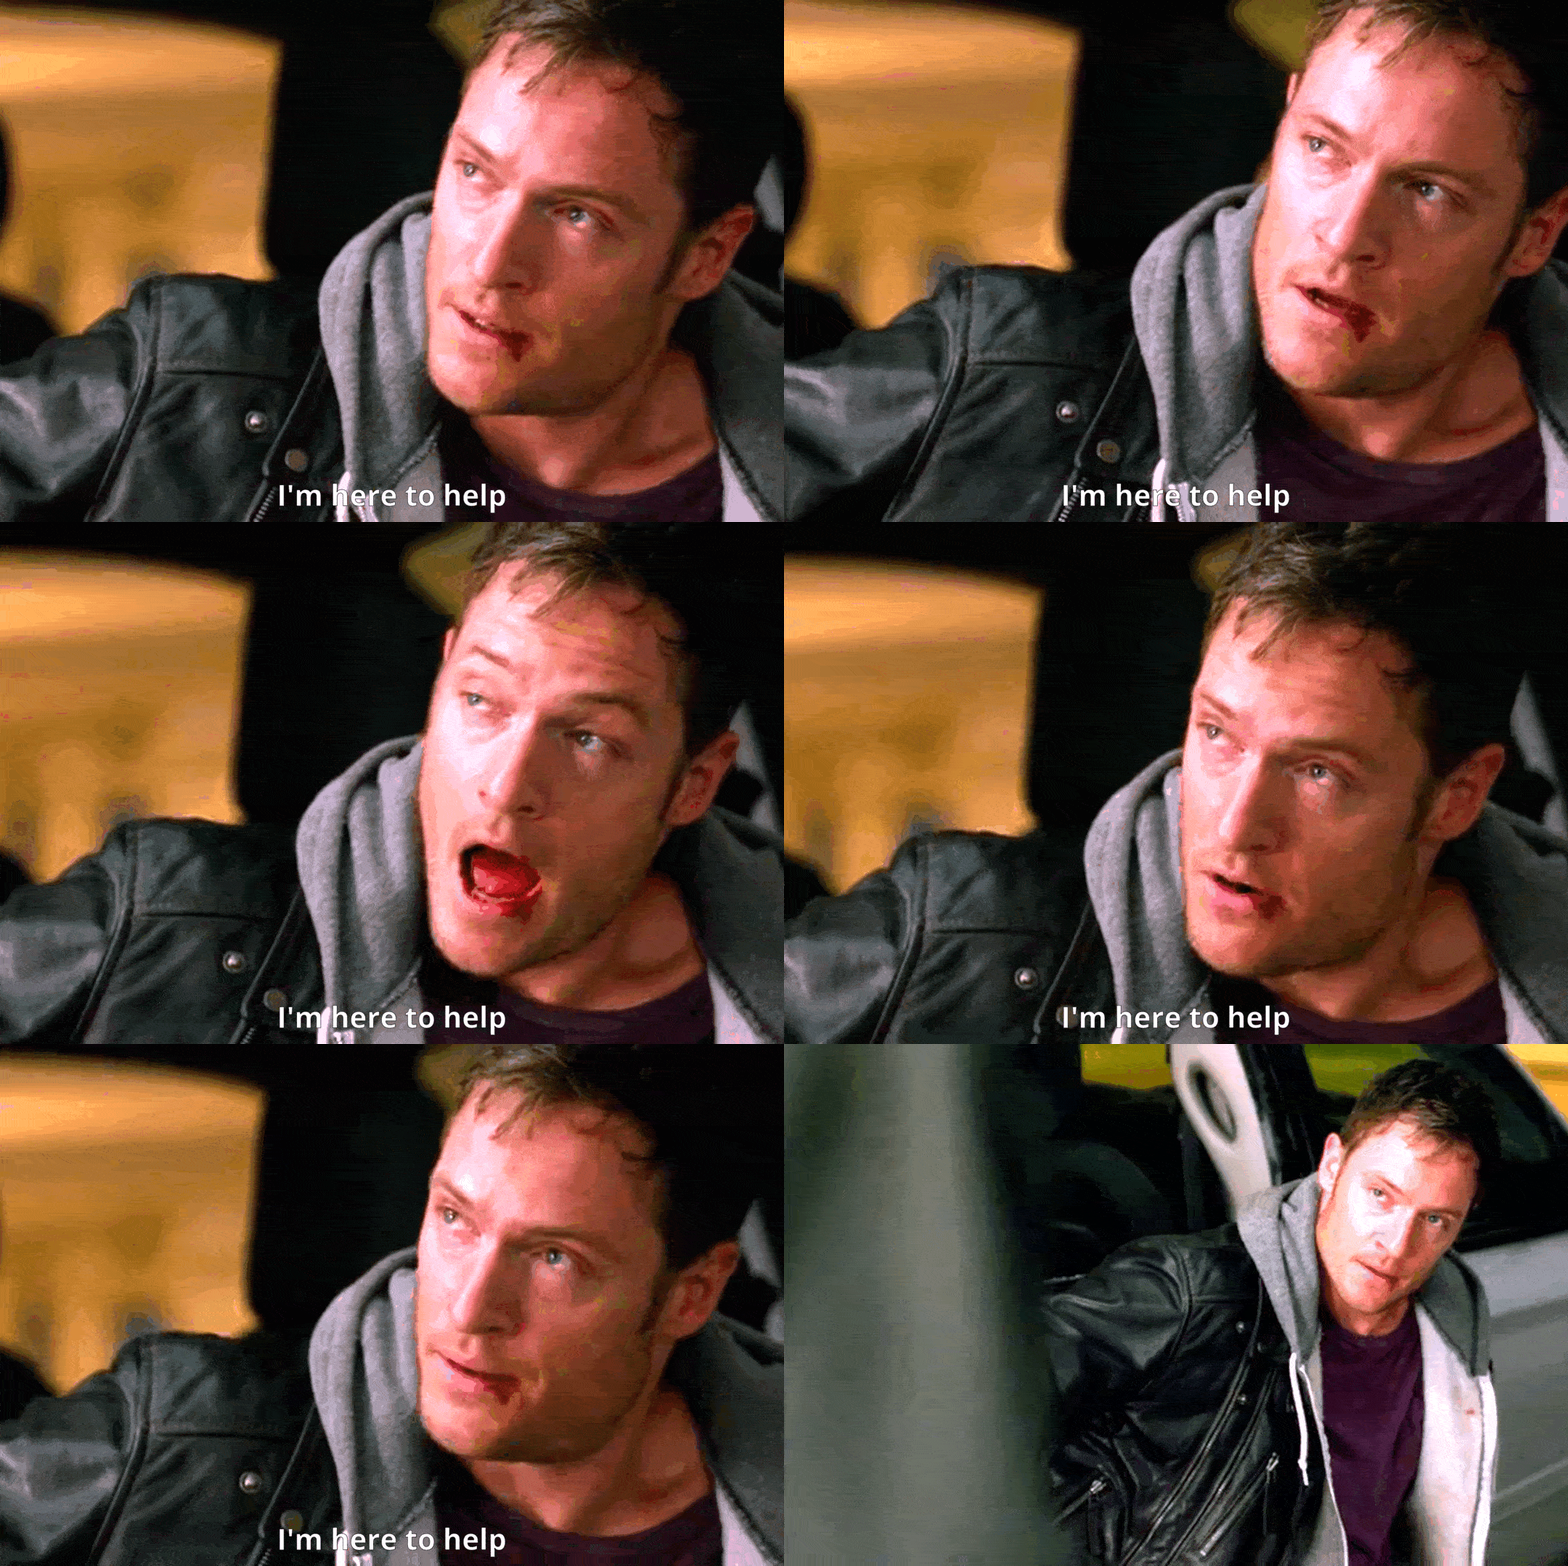
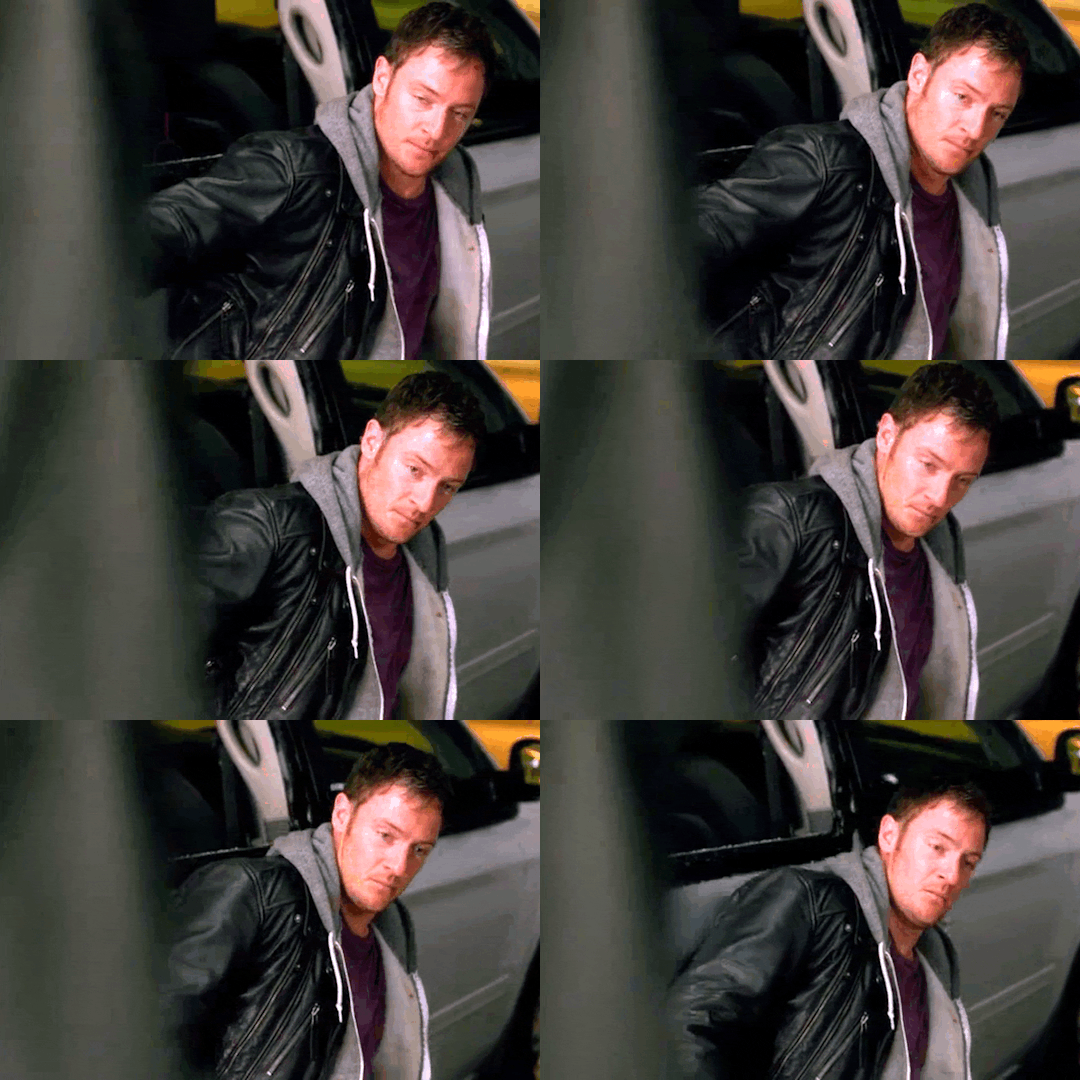
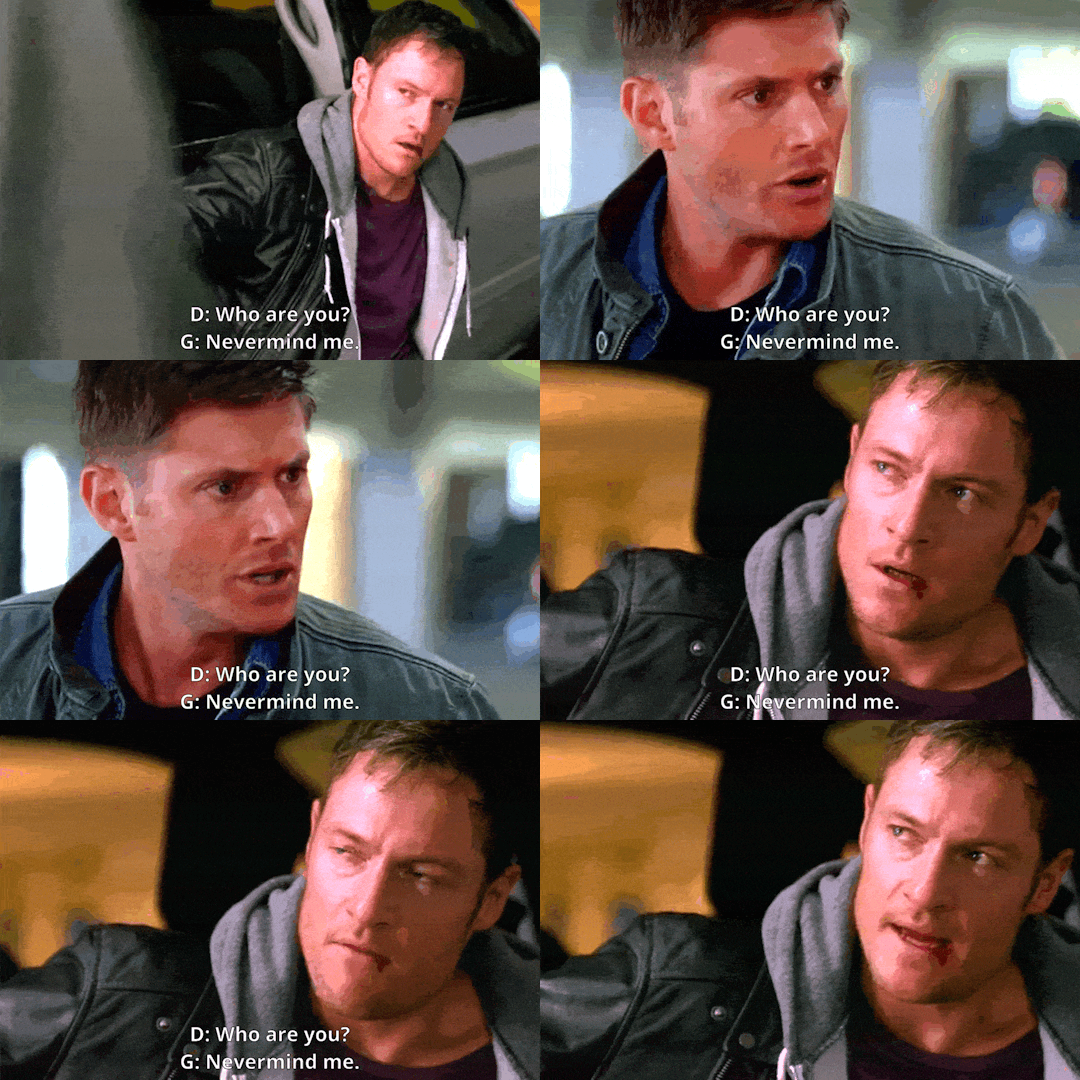
I stared at Gadreel's face for over 2 hours, I had to start again because I got distracted by the cops in my street... And still managed to screw it up LOL
I adjusted the colors this time, and I also added captions to some of the GIFs... But somehow I fucked up and the captions were lost. So, I found a website called EzGIF and tried to add captions that way. I also used it to "optimize" them aka reduce the size.
Of course, my Gadreel/Dean shipper ass wanted a scene between these two. And like... I did not remember this scene being so shippy. This could've come out of one of my fanfics, 100% ??? lmao?? Anyway.
#these look so good though!!!!#<333333#and I love the use of Ezgif when something wasn't working amazing amazing
23 notes
·
View notes
Text
My first attempt at making GIFs EVER
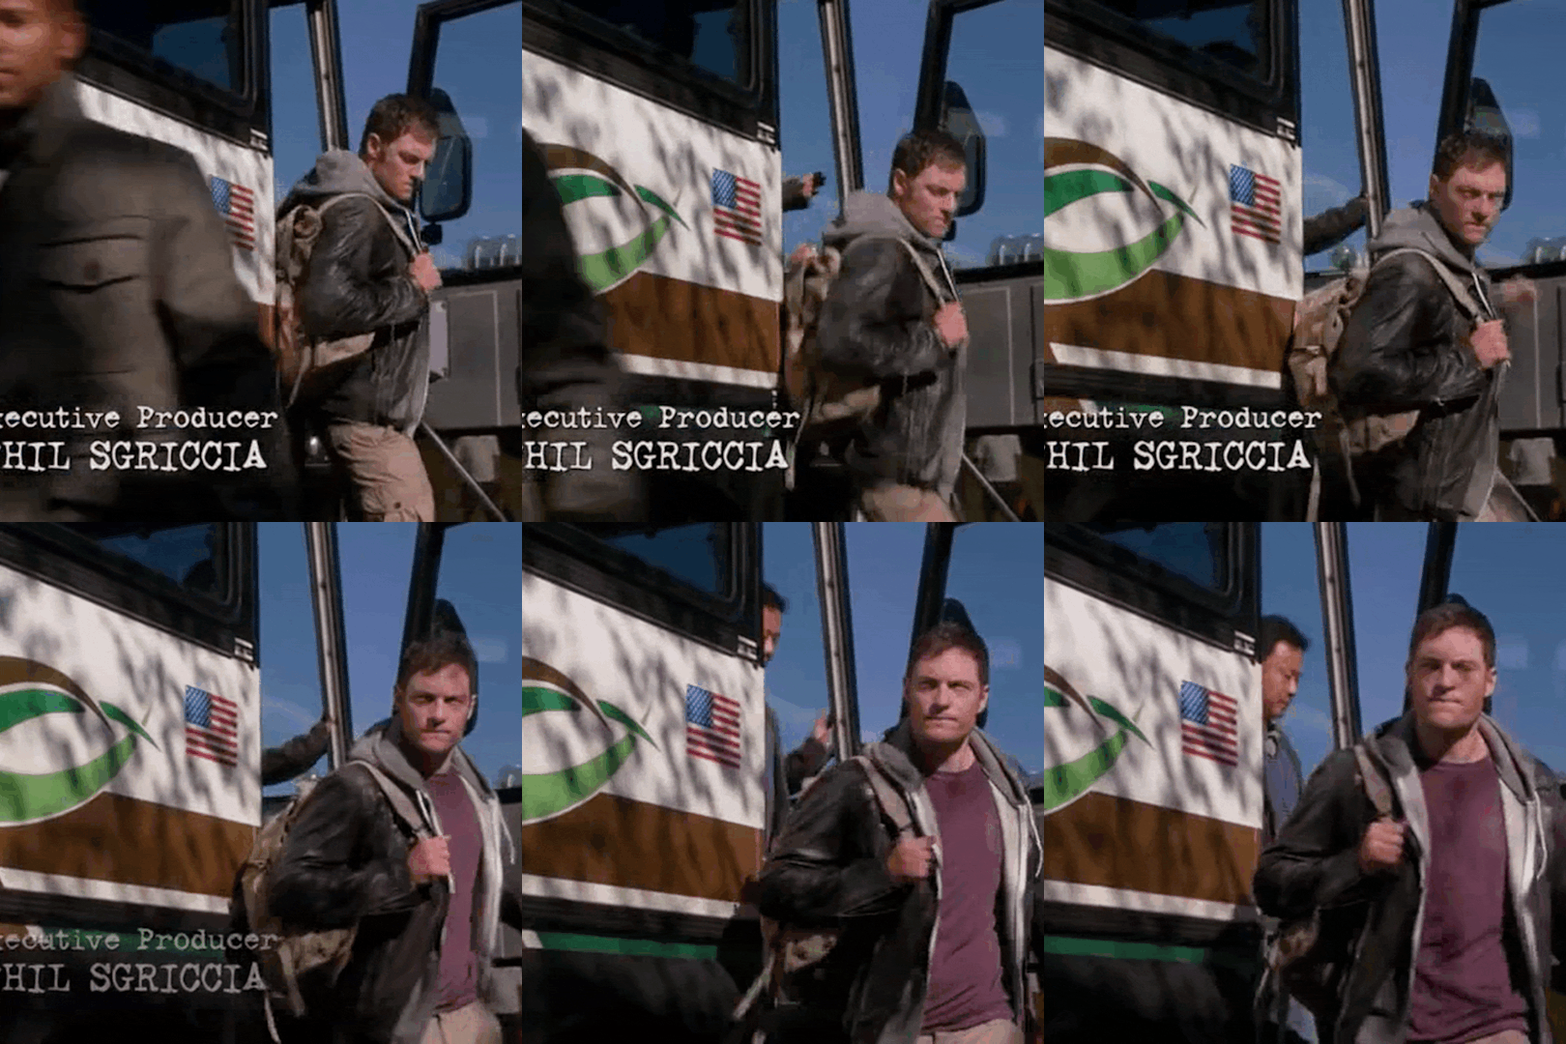
Okay so. I've been wanting to try to learn to make GIFs for a very long time. Luckily for me, this fandom is full of nice people that will make tutorials. So, I followed @scoobydoodean's Tutorial on how to make GIFs in DaVinci Resolve. Of course, I wanted to make Ree GIFs, so here we are. Thank you!!!
It took me like an hour but uh. I think I did it LMAO With some issues:
I had downloaded all of s9, but unfortunately it seems the program doesn't like those files. So, I found a crappier version of s9e01 and went with that, which the program read
It seems my Powershell doesn't like the commands... So, I tried exporting my work as GIFs directly from DaVinci Resolve
It seems my GIF files are too big for Tumblr. So, I tried to reduce them online (Listen, I'm trying my best here)
Here are the results <3 (Bear in mind these are literally my first try ever. I've never ever tried to make GIFs before.)
#i still need to circle back and help with the scripts I'm so sorry 😭#i need to do some testing on my windows PC#i'm so happy you tried my tutorials thank you 😭
13 notes
·
View notes
Text
TOOL TUTORIAL 7
The Best of Both Worlds: FFmpeg Sharpening + Gifski Compression
I don't think I've shared the script I am now consistently using to turn my DaVinci Resolve clips into GIFs.
I am now using FFmpeg and Gifski scripts in combination. For the best balance of sharpness and compression.
After pointing my terminal/shell (Terminal on Mac and Linux, Powershell on Windows) to the folder where all my clips are, I paste these two commands into the shell/terminal,
for i in .mp4; do ffmpeg -y -i "$i" -filter_complex "smartblur=1.5:-1,unsharp=la=1.5" sharp_${i%.mp4}.mp4; done for i in sharp_; do gifski --fps 22 --width 540 --quality 100 -o ${i%.*}.gif "$i"; done
You can past them in at the same time or paste in one then the other.
The first script makes new copies of your clips and sharpens them, giving them the prefix "sharp_". The second script compresses those sharpened clips into GIFs.
In the second script, the numbers to the right of the fps, width, and quality flags can be adjusted to compress GIFs further or scale them down. (540 is the appropriate width for a single column set).
2 notes
·
View notes
Text
So uh….some dude apparently recreated Adobe Photoshop feature-for-feature, for FREE, and it runs in your browser.
Anyway, fuck Adobe, and enjoy!
405K notes
·
View notes
Text
why are yt to mp3 websites always the shadiest fuckin sites I feel like I’m going down a dark alleyway risking the chance of getting drugged and/or stabbed just bc its the only place where I can find a guy to deal me some decent fart with extra reverb dot mp3s
62K notes
·
View notes
Text
This links to a whole tutorial website about creating looping animations.
It seems really really cool and the gifs are mesmerizing. You can check out their gifs here:
0 notes
Text
Blows my mind that you can actually use FFmpeg on Android and iOS too. Kind of sickens me too because just. What the fuck. What the fuck is wrong with people. But also thanks.
FFmpeg Android app
A-Shell for iOS includes FFmpeg
0 notes
Text
Another dash test.
So. It isn't the black border. It's air dropping GIFs from your phone to somewhere else then posting them (which I was doing because I find it much easier to write tutorials out on my laptop).
IDK why? But yeah. Apparently whatever process occurs during that Airdrop transfer does something weird to GIFs and Tumblr will not put them on the Following home dash.
1 note
·
View note
Text
Testing wether this shows up in Following Home dash view. Ignore me.
#it does not.#edit: now it does like 20 minutes later#it's weird actually.#air dropping from my phone to my desktop seems to be the problem though so this won't effect those who the tutorial is for lol.
0 notes
Text
Addendum for a mistake that gives your GIF a black edge/edges.
This is a relatively easy mistake to make in VITA, because if you're in the edit view with the scissors, by pressing down on your video, you can change its "position" on the frame so it's offset.
You want that "Position" box to read (0,0). Also don't attempt to crop in VITA by dragging the edges of the frame. This will create the same issue.
TUTORIAL 5
MOBILE GIF-MAKING SERIES
Making Quality Gifs For Free On iOS and Android
FULL TUTORIALS | COLOR-ADJUSTED GIFS
EXAMPLE SETS | UPDATABLE TUTORIAL LINK HERE
Operating systems: iOS and Android
Software needed: VITA and a video-to-gif utility or app (ezgif.com or Better Gif Maker shortcut (iOS only))
Time: 🐢🐢 _ _ _
Input: Video files
Difficulty: Moderate.
Requirements: General familiarity with photo editors helps but is not required to follow this tutorial.
So you want to make nice GIFs. The only problem is, you don't have a desktop computer—just a phone or a tablet and absolutely nothing else. This tutorial is for you!
1. Getting quality video files
There are several ways to do this depending on your device and the type of quality you're looking for.
Screen recording and 🏴☠️ Direct Downloads 🏴☠️
Should work on iOS or Android. See this post.
Screen recording is the absolute easiest way but often gives you lower quality generally since you can't always screen record at exact source resolution.
Web link to video file converters
There are a million online utilities that do this and you can use any of those, but they're always capped at 720p in my experience.
To get 1080p and above:
Android: If looking to make GIFs from what you can find on Youtube, Vimeo, Twitch, or a few others—check out 4kVideoDownloader.
iOS: The SW-DLT shortcut for the Shortcuts app will let you download from hundreds of sites. I have a tutorial here.
2. Transcoding Downloaded Video (if necessary)
Sometimes a video you downloaded may be incompatible with apps on your phone. This is due to the video's codec. MP4 videos using the H.264/AVC codec should play on phones. If you have a weird codec or file format that won’t load into your photo editor (or even play on your phone—just sit uselessly in your downloads folder) you'll need something called a transcoder.
There are apps in the Google Play and iOS stores that will do this. However, Video-Converter.com is my blanket recommendation. It will convert video files up to 4 GB in size to different video codecs while retaining their original resolution. If you just load your file and select MP4, it should give you back an H.264/AVC encoded video by default.
3. Trimming and Cropping
Before loading your video into VITA, put it in your photos app (save a backup) to trim it (this part doesn't have to be exact—just cut it close to the shot you want to make it easier to manage) and crop it to your desired aspect ratio.
Trimming and Cropping in Google Photos
Trimming videos in the iOS Photos App
Cropping videos in the iOS Photos App
For example, the Barbie trailer I giffed here was a 4k video in a 1.90:1 aspect ratio. I trimmed a copy of the Barbie video to just the shot I wanted of Barbie in the car and cropped it into a square (4:3) aspect ratio in my Photos app. Don't worry about scaling down the size of the video. You'll do that at the very end.
4. Load into VITA
This is a video editor for iOS and Android where you can sharpen and adjust the colors of your video clip, trim it a little bit more if needed, and caption it.
There's something you need to do as soon as you open the app.
Click the gear icon in the top right corner and toggle "VITA Watermark" off.
Now select “New Project” and load in the clip you cropped and trimmed. You should get a screen that looks something like this.
You can scrub through the video by dragging through the timeline at the bottom of the screen.
The GUI is not super hard to figure out on your own and the gear icon on the main screen will also give you some short tutorials, but here's the important bits:
5. Captioning
Select "Text" at the bottom of the screen and type in your caption. One little weird issue I encountered here is that the app didn't like when I typed in the dialogue box then did a bunch of style adjustments before saving the caption. So after you type the caption you want in the dialogue box, go ahead and click the check mark to place it.
The text box also appears on the video timeline (in blue). You can drag the edges of that box to adjust where the text starts and stops in your clip.
Adjust the size and position of the text
Moving the text box around on the video's screen with your finger will change its position. Dragging the bottom right corner will enlarge the text.
Adjusting font and text style
If you select your text box, the toolbar at the bottom should open to a text editing view. Click the "Edit" button (pencil icon).
The font tab, of course, lets you change the font.
The "Style" tab will let you give your text borders and a shadow to make it stand out against the background. Sliding over to “Emphasis” will let you bold, italicize, etc.
The “Caption”, “Title”, and “Animation” tabs give you fancier text options.
6. Color adjustments and sharpening
Back out of the bottom tool bars to the main one (using the back arrow in the bottom left corner. Go to Edit (the scissors) and scroll right through the bottom toolbar until you see “Adjust”.
There are several components you can adjust in this view. The one that's most important for GIFs is sharpening. This is what makes GIFs, when compressed, still look defined. But making other adjustments is good too.
Brightness: brightens up your video. (Most sets, unless they are in direct sunlight, could probably do with a little).
Contrast: Makes the difference between darks and lights in the image more dramatic (I generally recommend adding a little of this).
Saturation: Makes colors pop. Don't get too crazy though or it'll mess up your skin tones.
Sharpen: THIS ONE IS IMPORTANT. Sharpening will make your GIFs look way way better after they're generated and compressed down to size. ALWAYS ADD SHARPENING!
Highlights: Lighten or darken light parts of image.
Shadows: Darken or lighten shadows.
Grain: I skipped this one. It's gives you a "film grain" effect similar to dithering. Sometimes dithers can be really nice on GIFs, but I'm not going to use it on this set.
Warmth: Sliding the bar right will make the image "warmer" (more yellow/red). Sliding left will make it "cooler" (more blue).
Tint: Sliding the bar right will make the image more pink. Sliding left will make it more green. (Useful if your footage has a sort green tint to it—the pink will neutralize it).
You can see how some of these adjustments look as they're applied in the video here.
7. Export and Convert to GIF
In the top right corner, you can choose your export resolution and export. The default is 1080p but if you grabbed a 2K or 4K clip, you can change the export resolution to that (we'll scale down when we convert to GIF). Hit "Export" when you're satisfied to save the result (AGAIN—MAKE SURE THAT WATERMARK IS TOGGLED OFF).
Now you have a clip, but you want that clip to be a GIF. I have methods for you. I'll add other methods to the updatable version of this tutorial in the future if I find more I like.
Ezgif.com (Android and iOS)
Go to the EZGIF video to GIF converter and upload your video clip. When it's finished uploading, you'll get a few options you can change.
Scale your video down by it's width with the "Size" drop down. The Tumblr preset here is perfect for one-column orientation GIFs on Tumblr. If you're planning a 2 or 3 column set, you can go smaller—scaling down makes your GIFs small enough to upload to Tumblr!
Set frame rate at 20 FPS. You can set it higher if you want—but don't go below 20 FPS. 12 FPS is way too choppy.
Leave the rest of the stuff alone (I mean. Unless you wanna mess around). Click "Convert to GIF".
Watch the silly little cat dance for a minute.
EZgif will show you what your GIF looks like before you download it. You can also see its file size. (Mine is in the picture below if 8.2 MB).
If your file size is below 10MB, that's great! Click the "Save" icon to download it.
If your GIF is too large, I have a post here about reducing GIF file size. However, if you click on that tab that says "optimize", you can enter this view:
There are several options in the drop down, but light compression with Lossy GIF will generally reduce your file size significantly, without losing much visual quality. Hit the "Save" icon to download the result.
Better GIF Maker (iOS)
If you're in iOS, there's a community-made shortcut you can add to your Shortcuts app called Better GIF Maker that will make nice GIFs for you from video clips. This is a little faster than EZgif. The shortcut will need A-Shell Mini—another free app—in order to do it's thing. It's going to run an FFmpeg script on your iPhone in A-Shell Mini that'll make the GIF for you and send it to your Photos app.
After you've added the shortcut and downloaded A-Shell Mini, select the shortcut in your Shortcuts app. It'll have you select a video from the Photos app. Select your video clip and it'll give you this window (it might ask for permissions a few times the first time you use it. Just click "Always allow").
Click "Resize". Another dropdown menu will open with resize options. I wanted a gif in 1 column, so I wanted it to be Tumblr post width (540 pixels). If you want the same, select Custom > Enter 540 px.
When the shortcut returns you to its main menu, click "Change Frame Rate" and select 20 FPS.
When you're back at the main menu again, click "Finish and Convert". Shortcuts will open A-Shell Mini and start running an FFmpeg script for you. Just let it do its thing. When it's done, your GIF will be in the Photos app.
WOOHOOO YOU DID IT!!!!
19 notes
·
View notes