#they needed help with photoshop
Explore tagged Tumblr posts
Text
Download: Adobe Photoshop 2024 (v25.12) / Windows
IMPORTANT NOTE: If you already have another version of Adobe's Photoshop CC/2024 installed, it will require you to uninstall that first. Just like in the old days with my previous versions, simply follow the instructions and all should immediately work as intended. And don't worry, I pinky-promise you that this works and won't give you any problems, no matter whether you're a techie or a bit clueless as to how to navigate computers. And in case you're struggling, I'm here at your beck and call until it's working! IMPORTANT NOTE #2: In case you get a popup that says Photoshop needs to be licensed, or it will uninstall itself otherwise, please have a look at this fix!
Step 1: Please navigate here, and download Photoshop (alternative link here). Step 2: When done downloading, unzip it (Windows can do it for you, but otherwise, I personally use a program called 7ZIP) anywhere on your PC, even your desktop works fine, as you can delete it when the installation is done if you'd like. Step 3: When done, have a look inside the folder you just unzipped, and you'll see a file called 'Set-up (just click this and install!)', you simply need to run it, and install it as per your preferences (if you aren't too tech-savvy, don't worry, you can leave the default installation options as they are and all will be fine), and it is already pre-cracked, so there's no extra work from your end that needs to be done, we're just left with the last little step... Step 4: Everything is done! You can now start it up and use it as you want!
If in the unlikely event that you do run into any sort of issue of any kind, my DMs and askbox are always here for you, so don't be shy, I promise I'll welcome you with chocolate and fruit.
While I don't request for anything in return outside of a like if this helped you (or ideally, a reblog so that others can find this), I was asked in the past whether I had a Ko-fi, so I set one up back in the day. It's not required at all, but it's always appreciated. 🤍
#photoshop#adobe photoshop#free photoshop#photoshop download#photoshop 2024#[ it feels very good to write one of these up again. i hope it helps people!! please consider a reblog for those who might need this. ]#[ my resources. ] i sought to set my people free; from slavery to would-be-gods. i broke the chains of all who wished to join me.
601 notes
·
View notes
Text

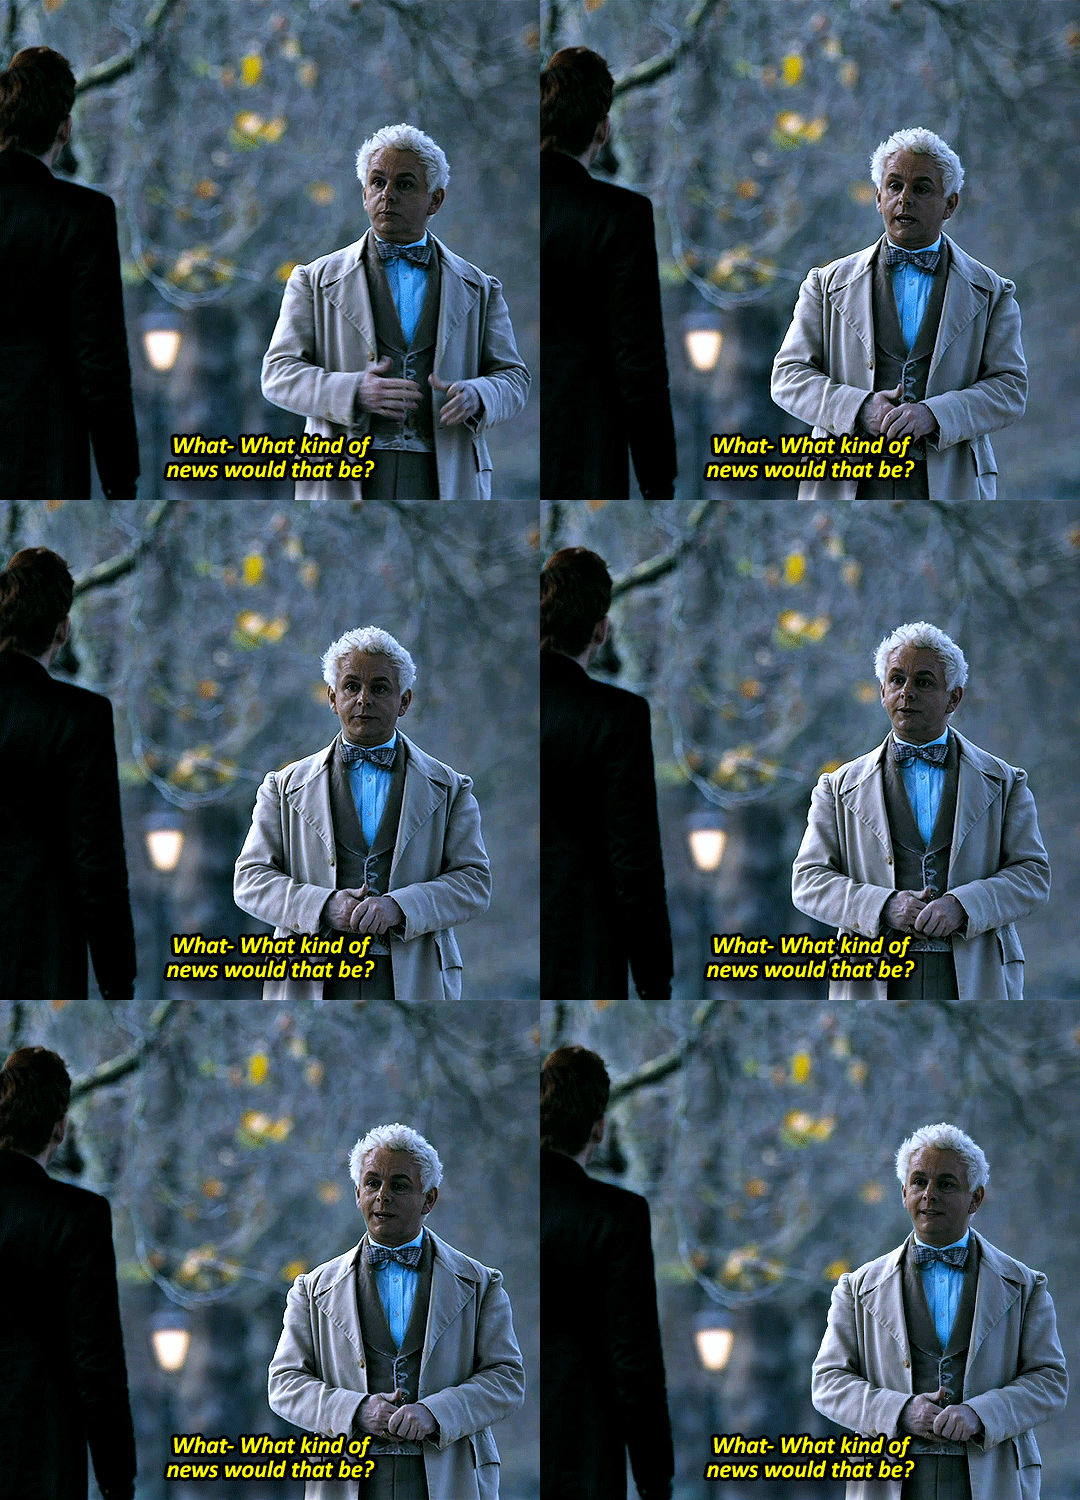
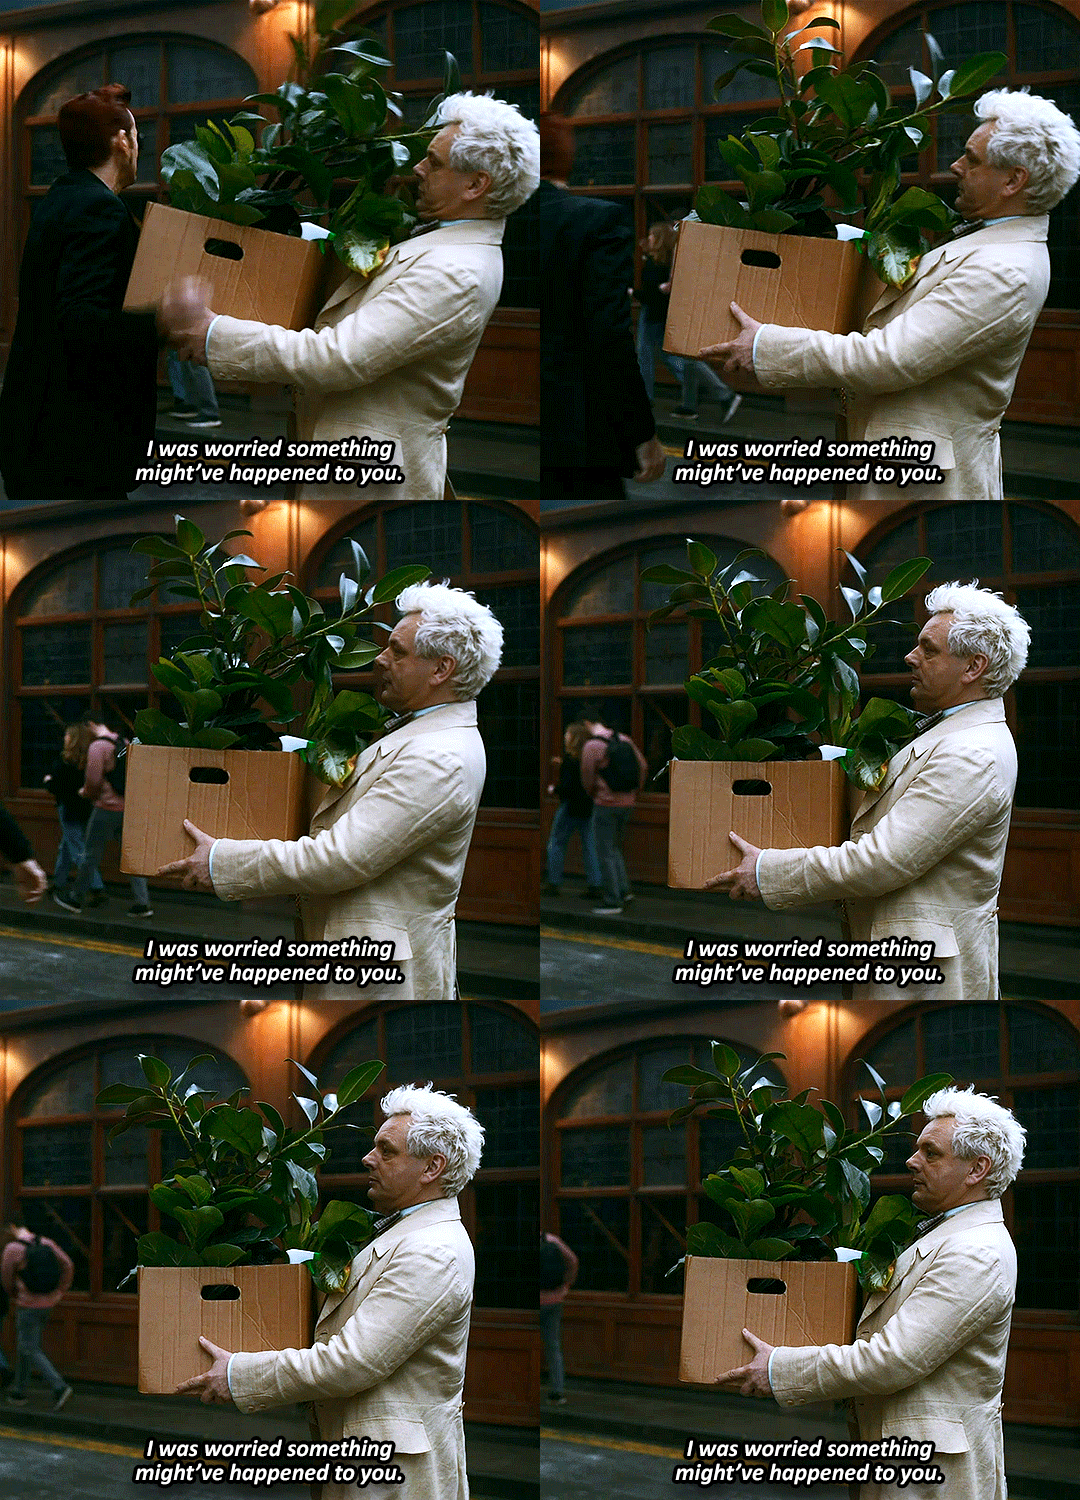
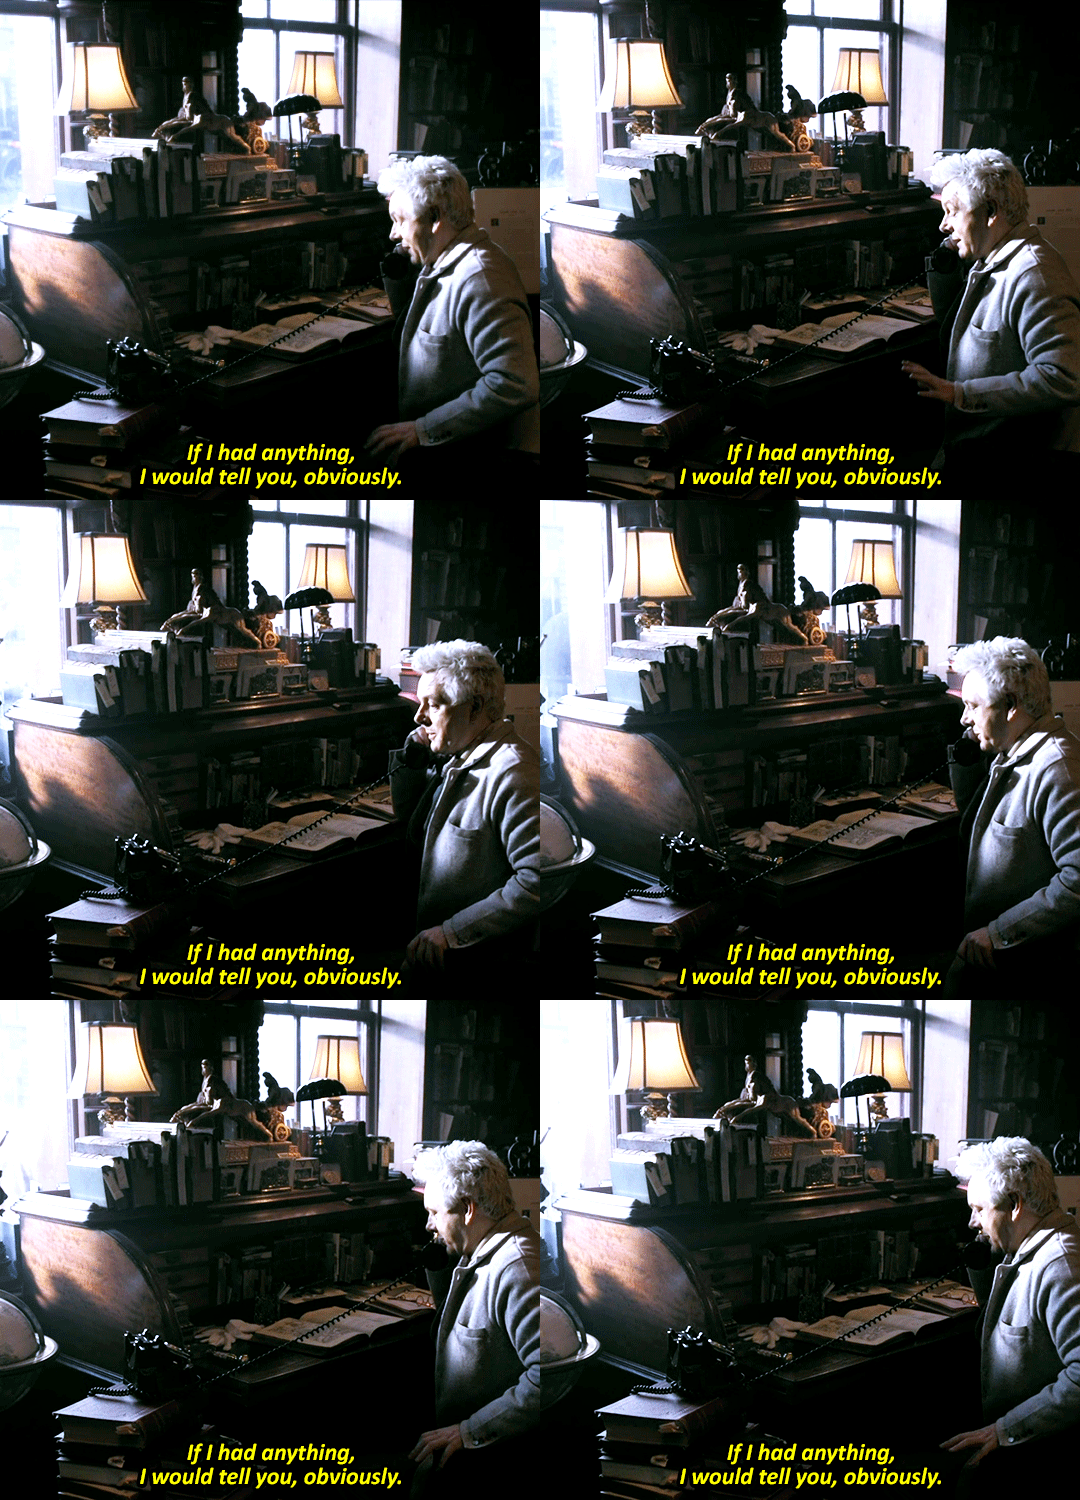
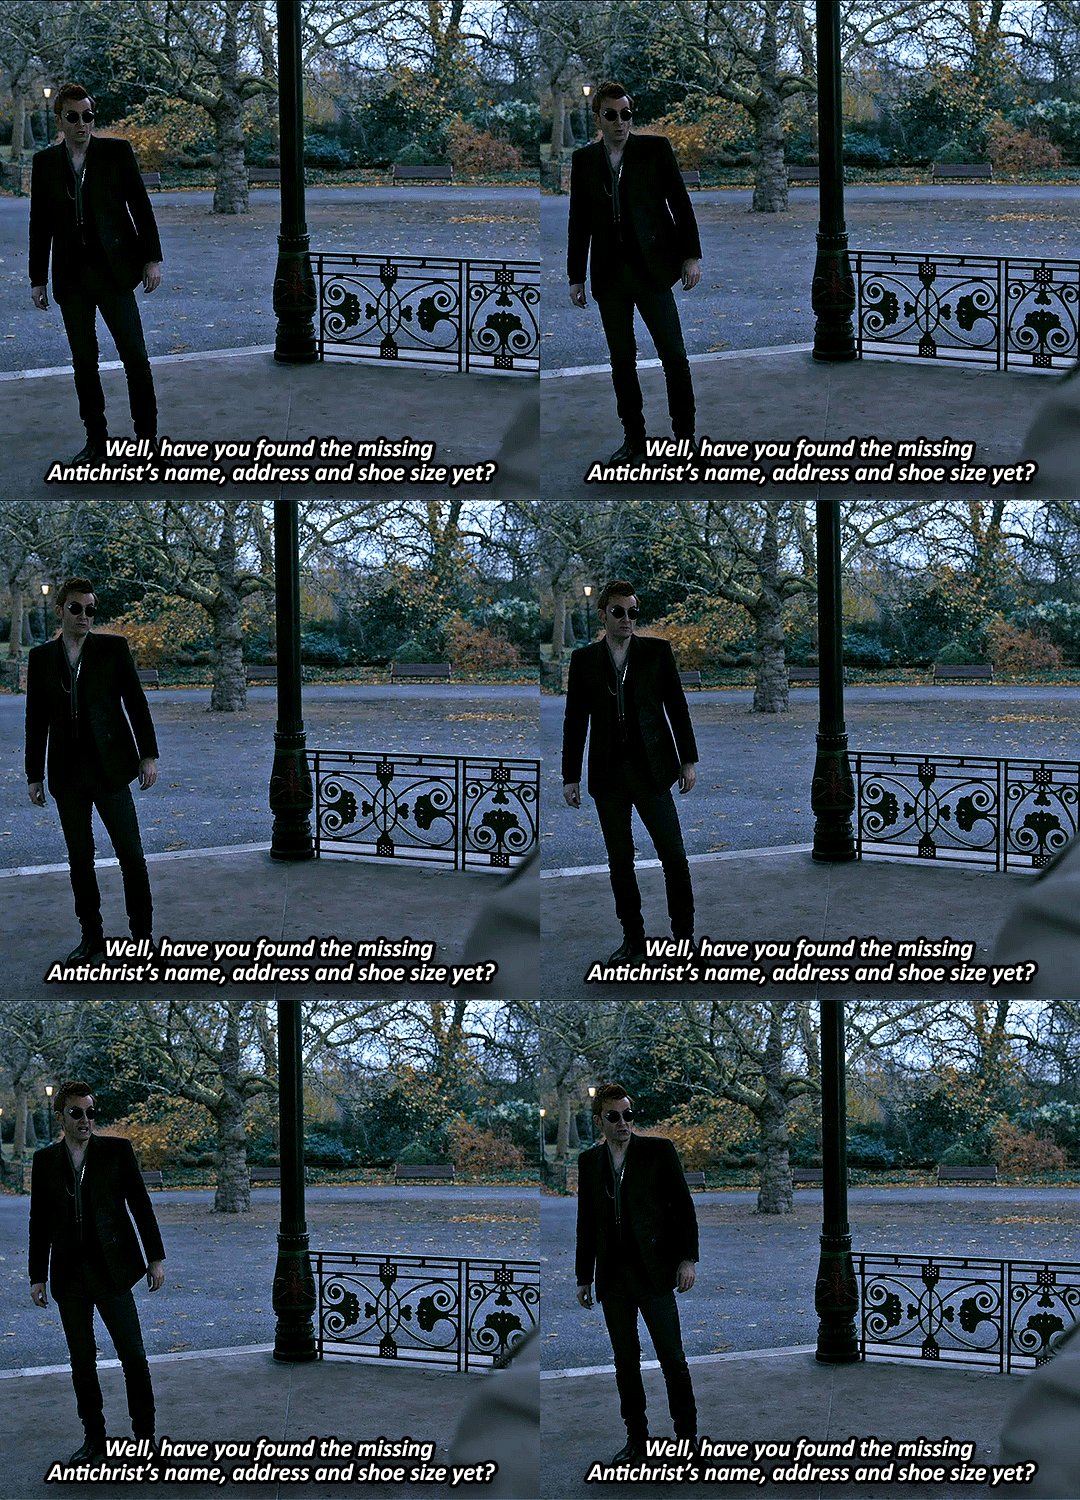
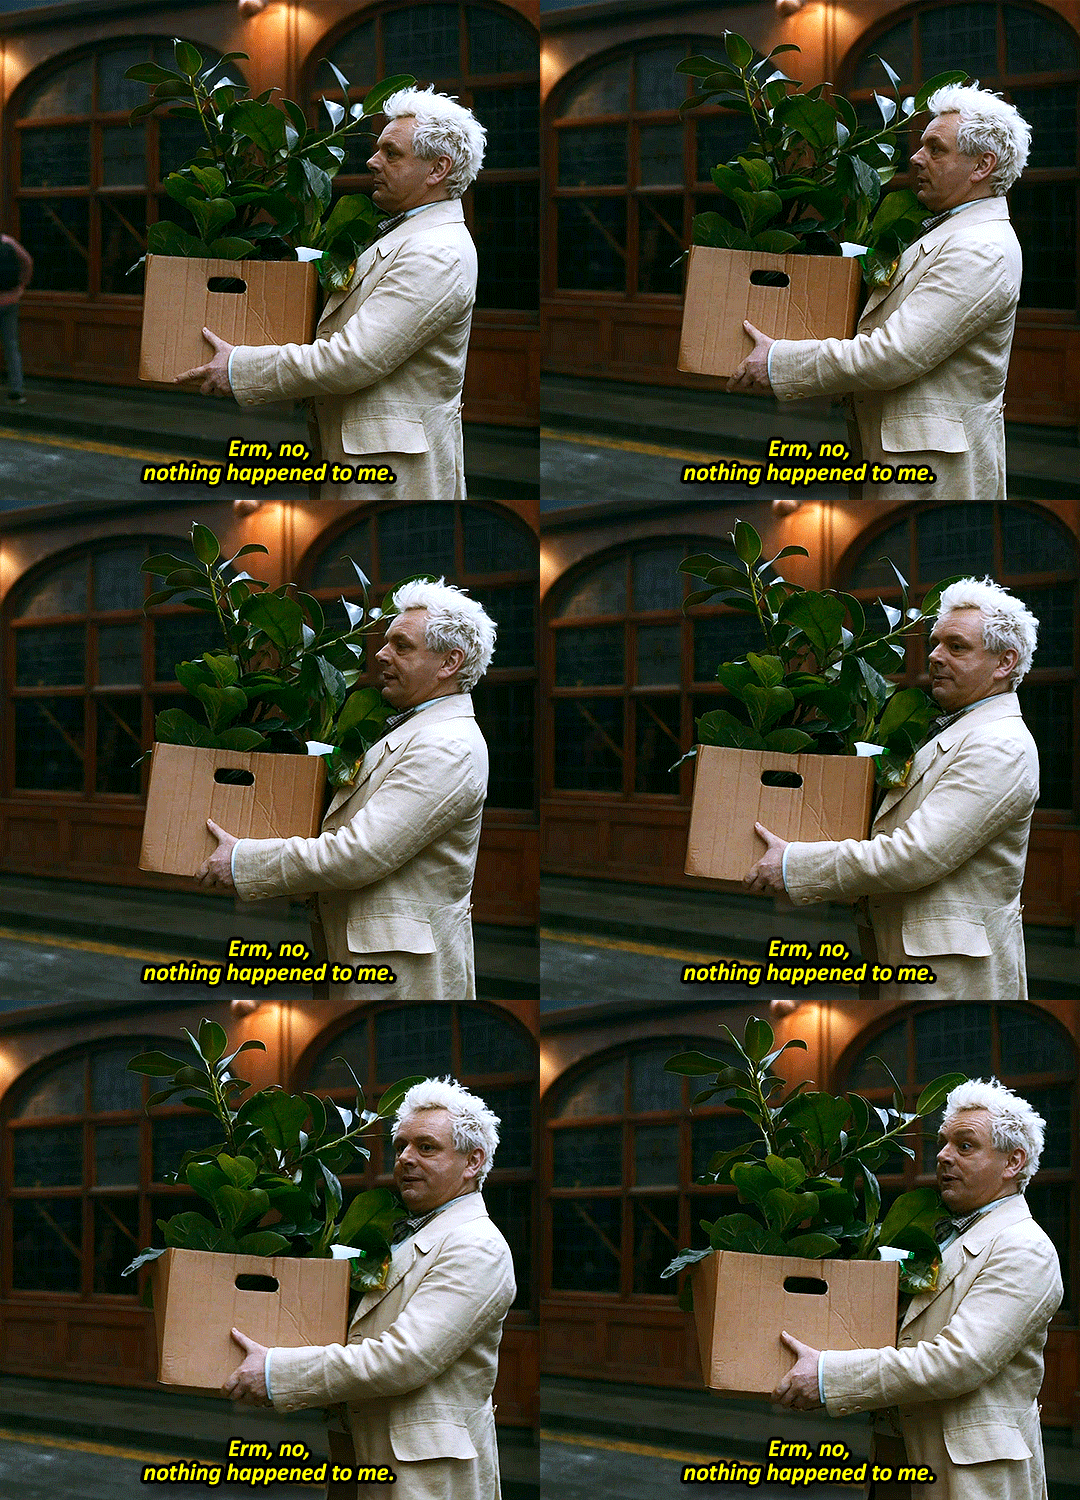
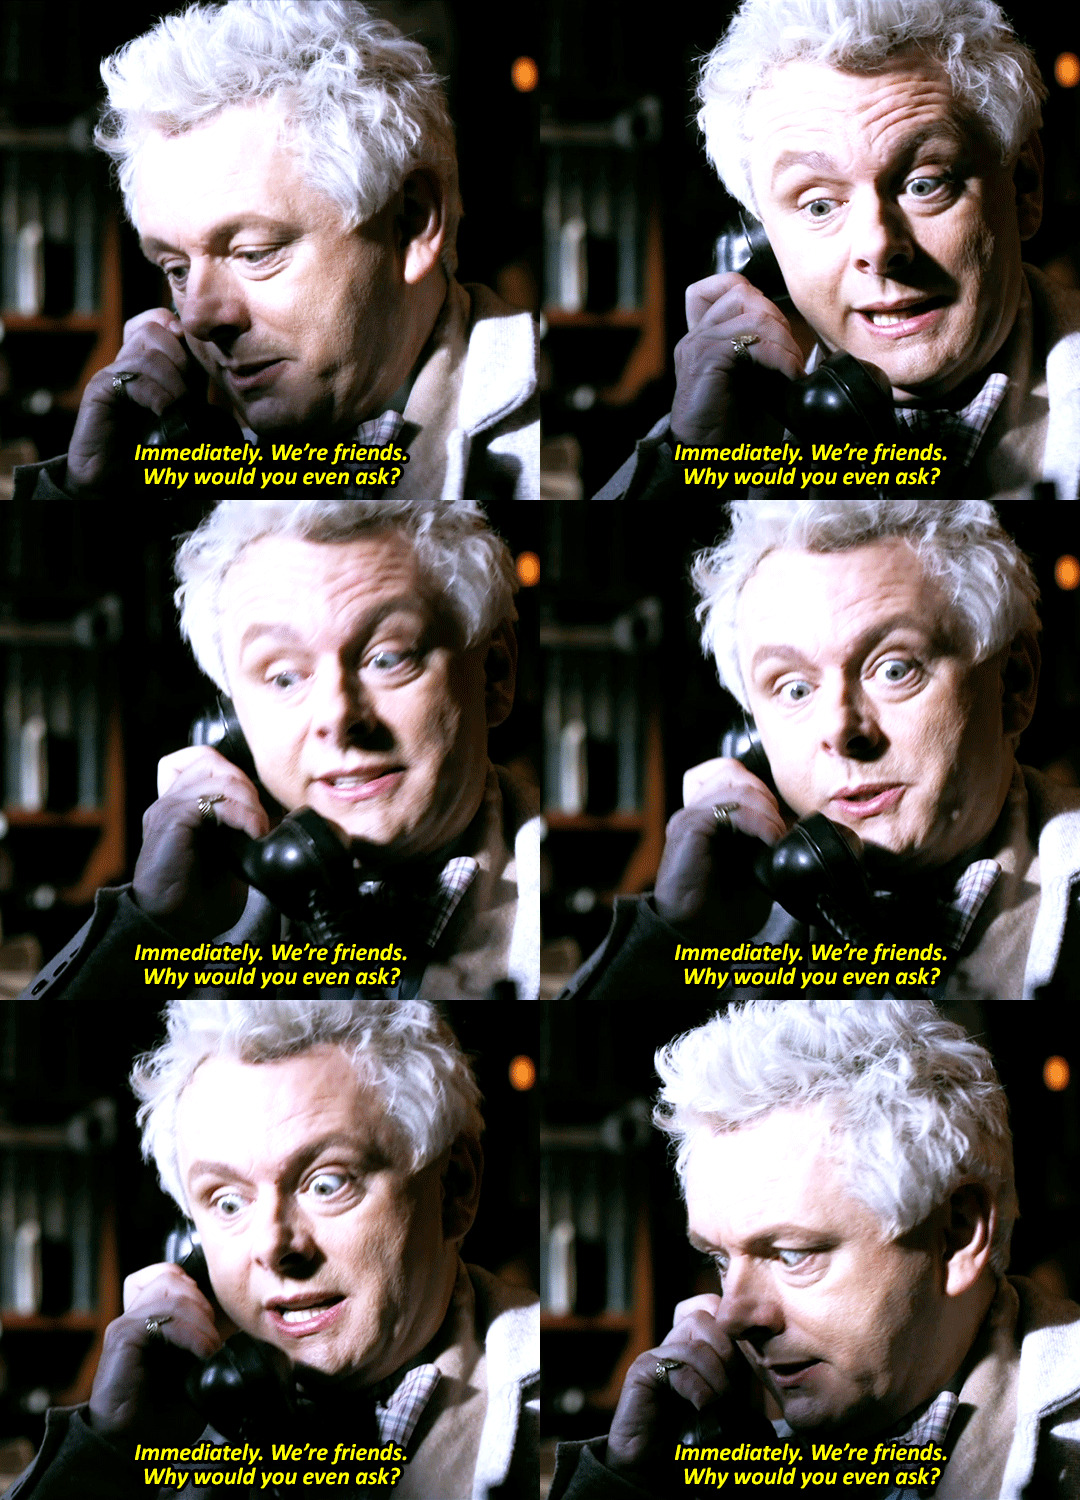
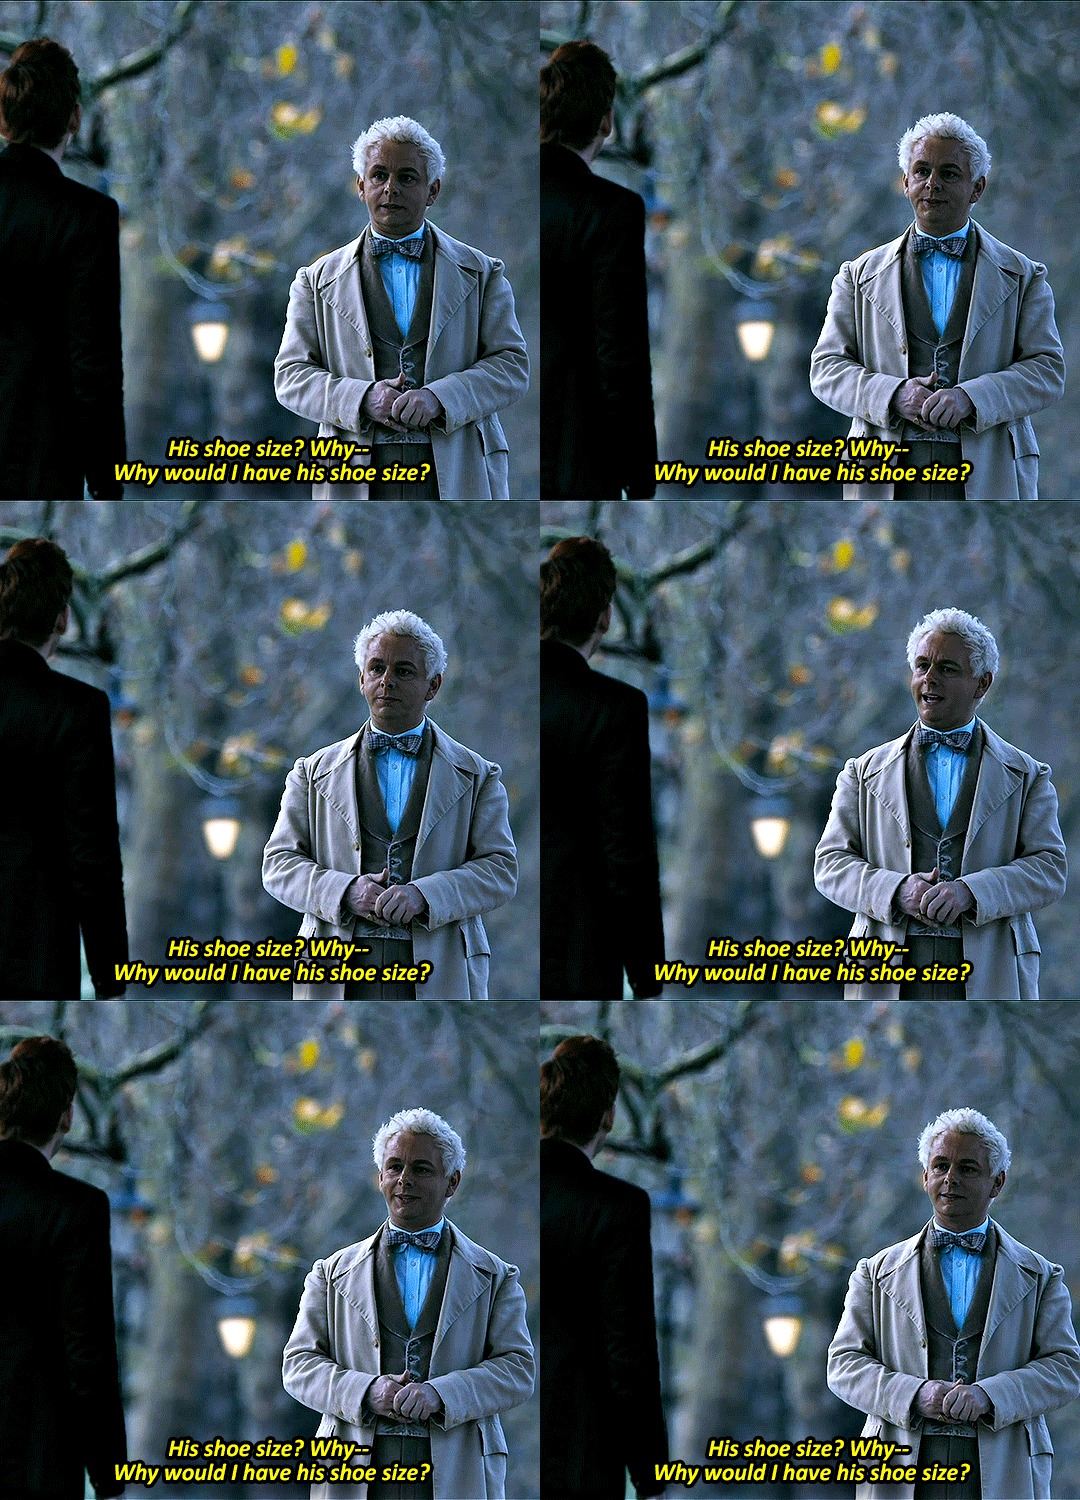
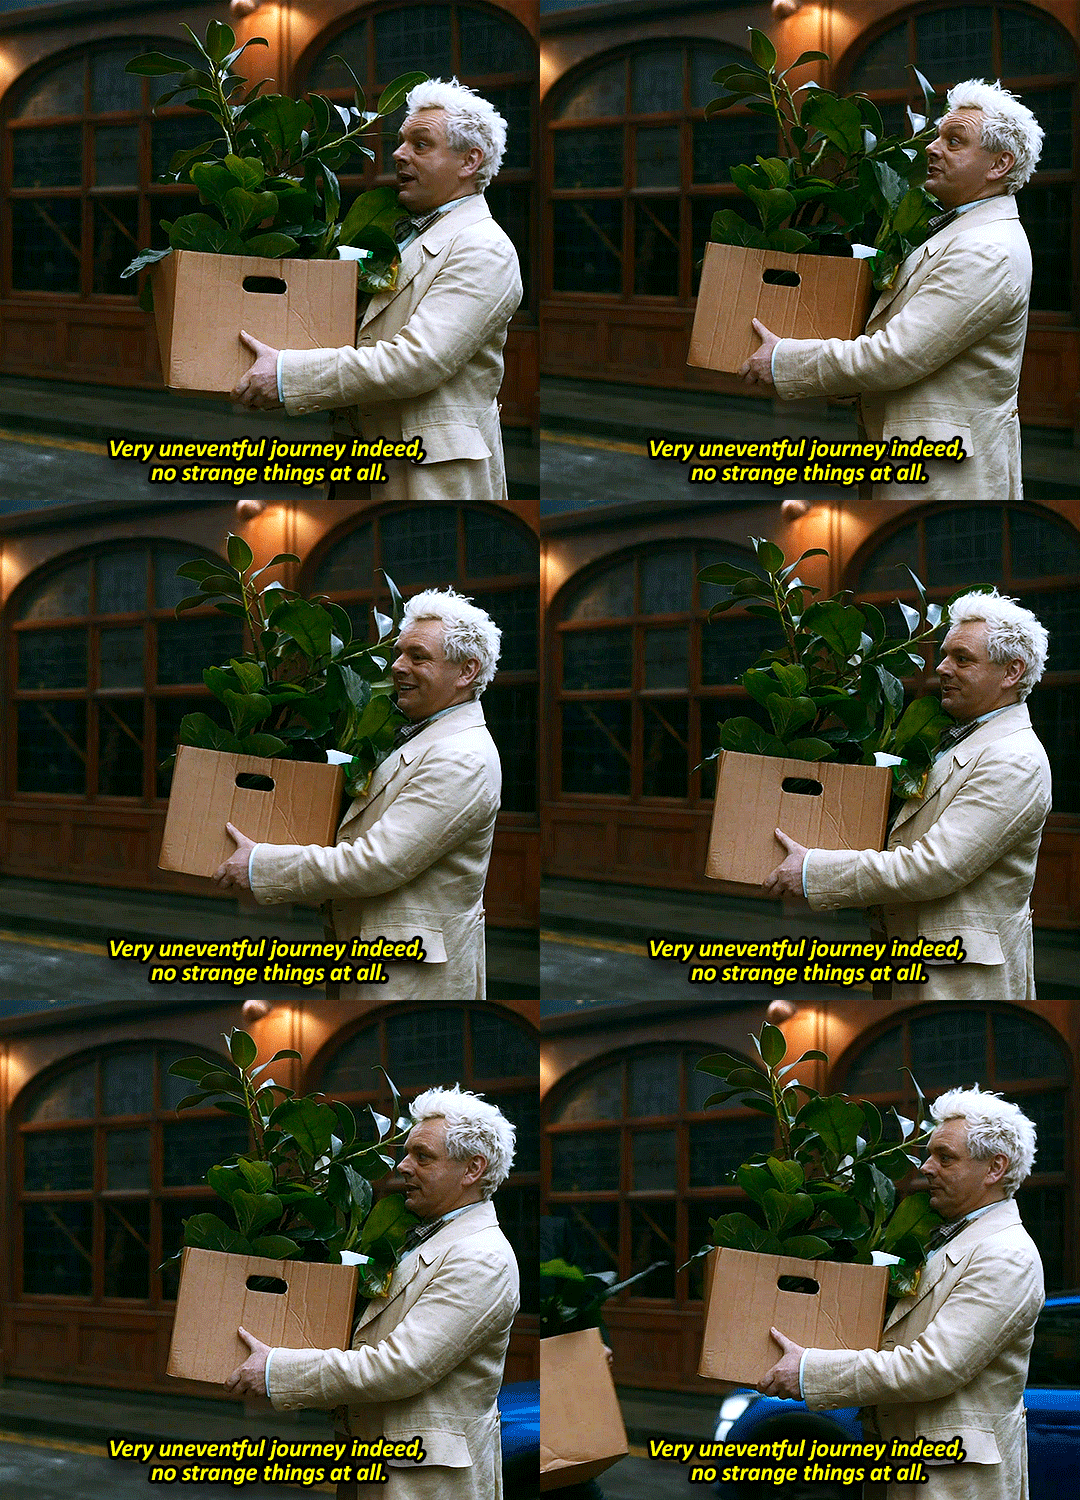
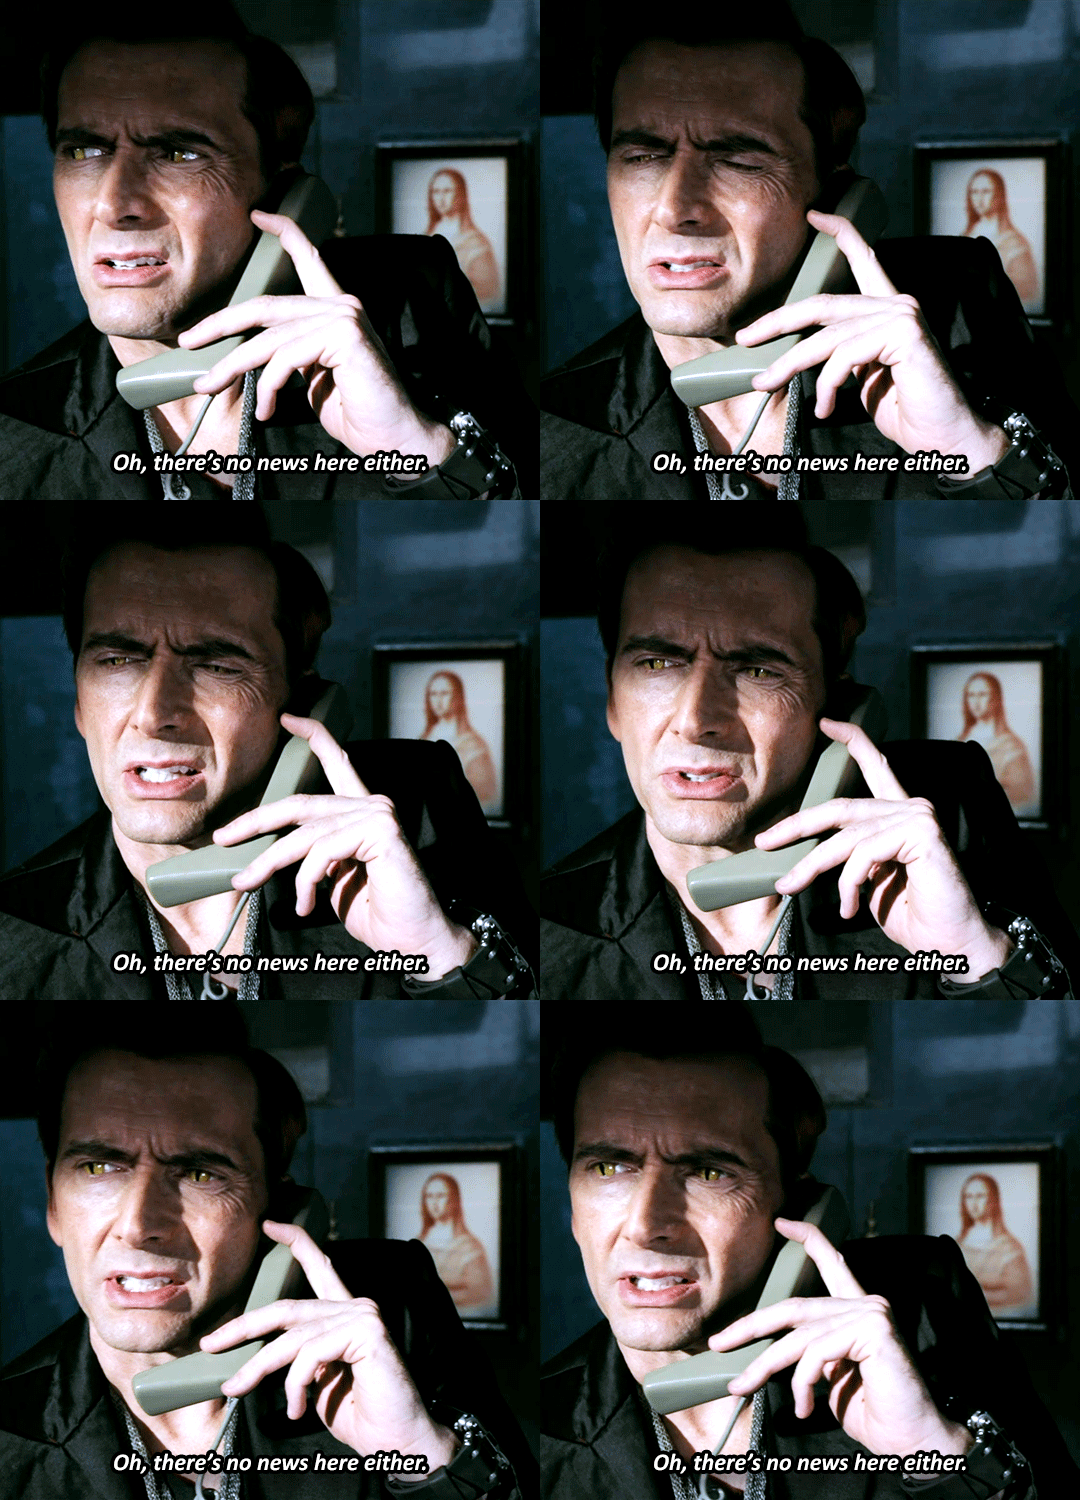
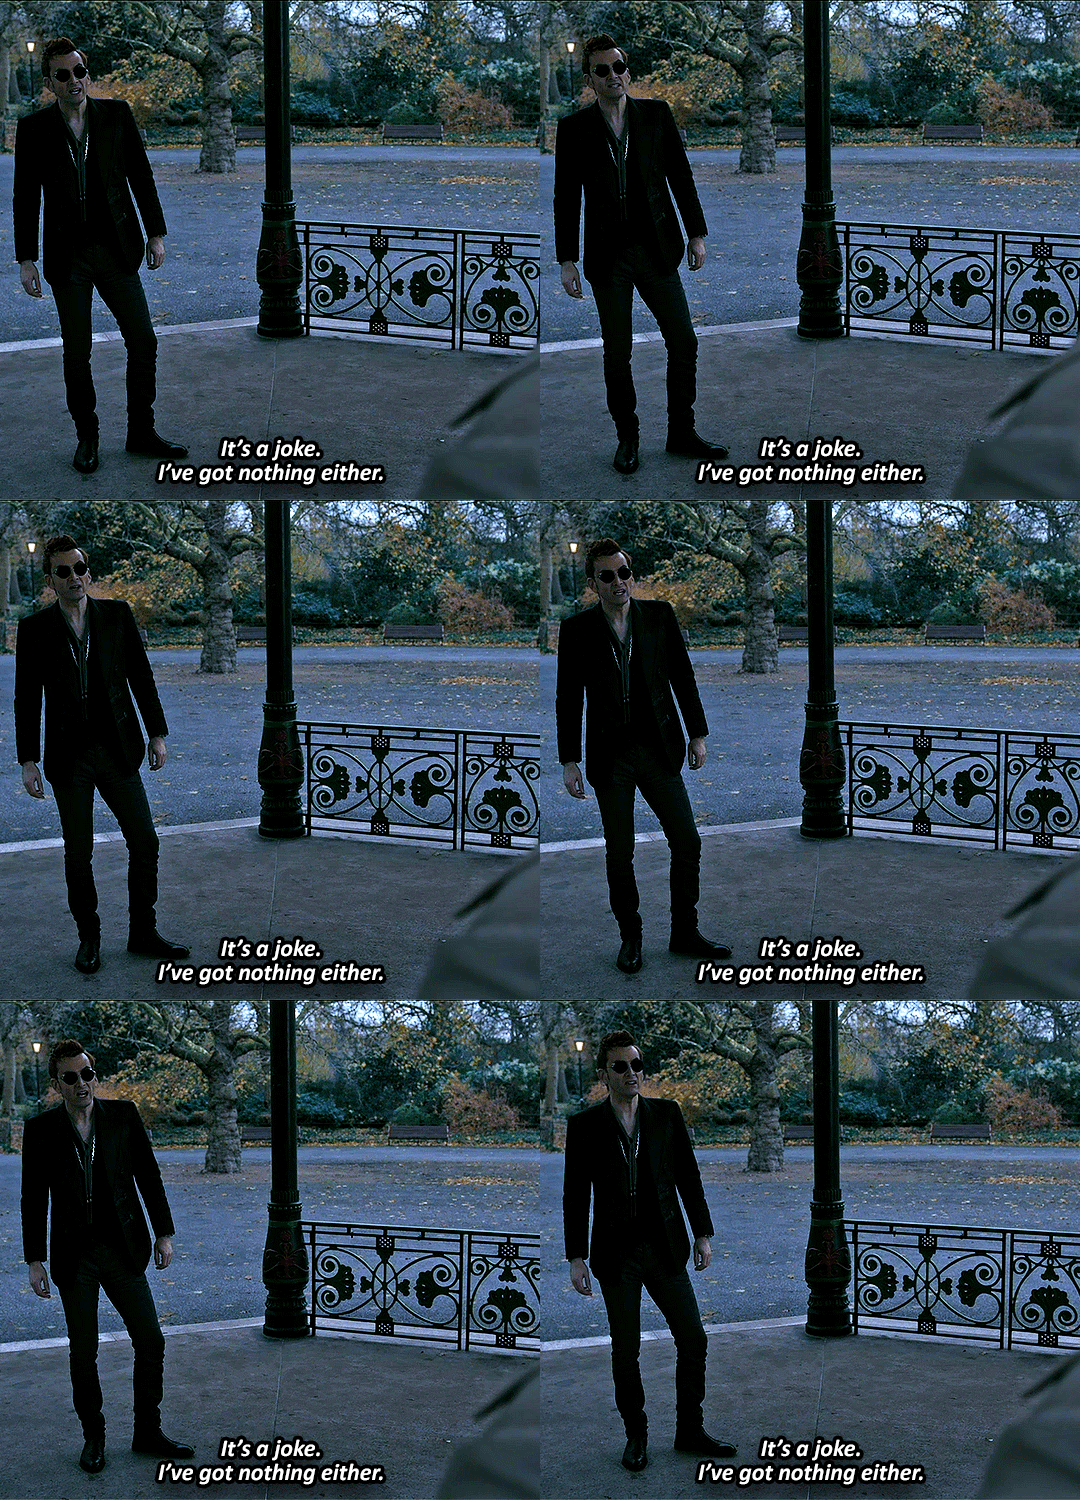
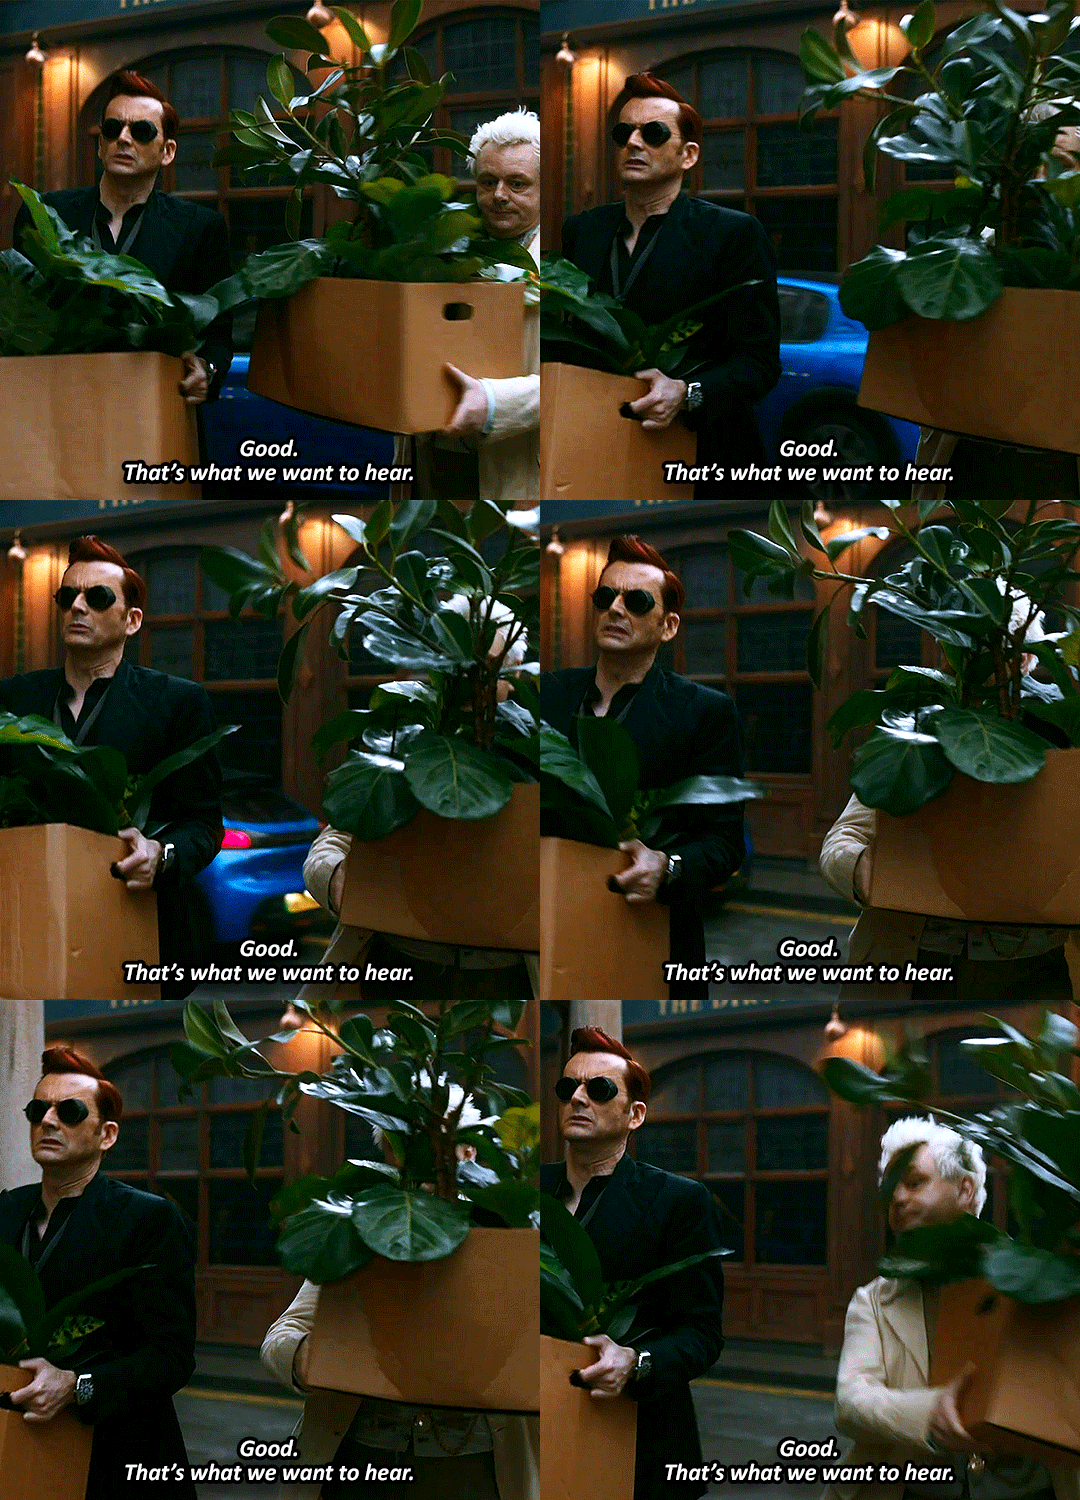

🤨
bonus:
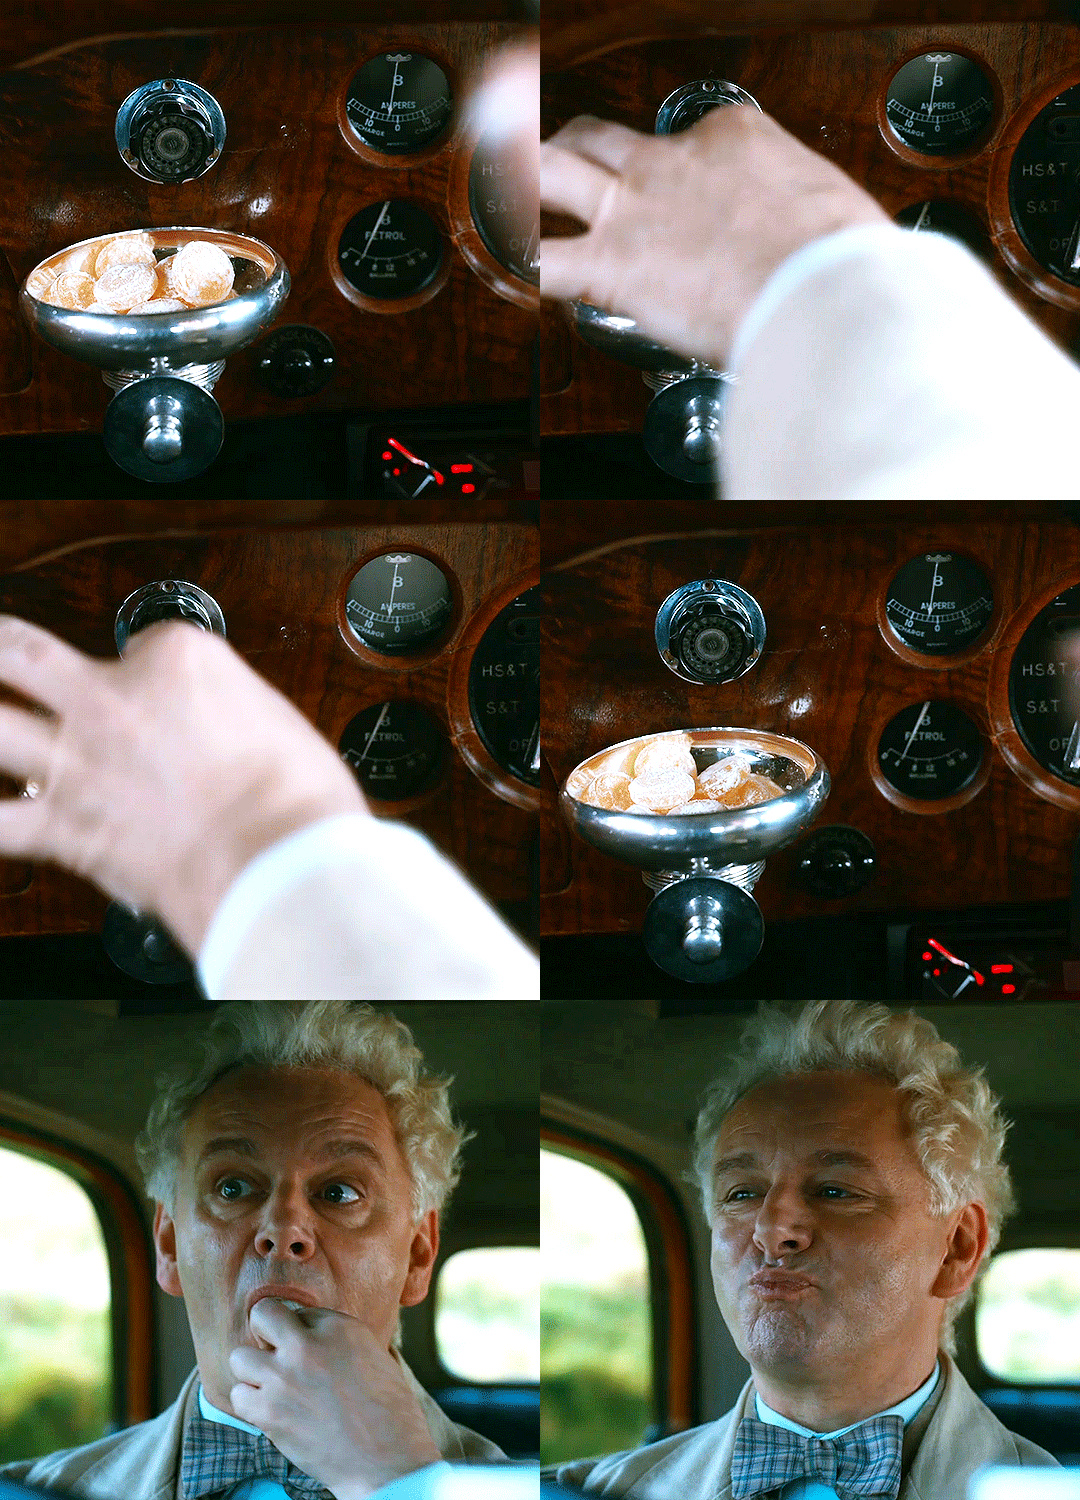
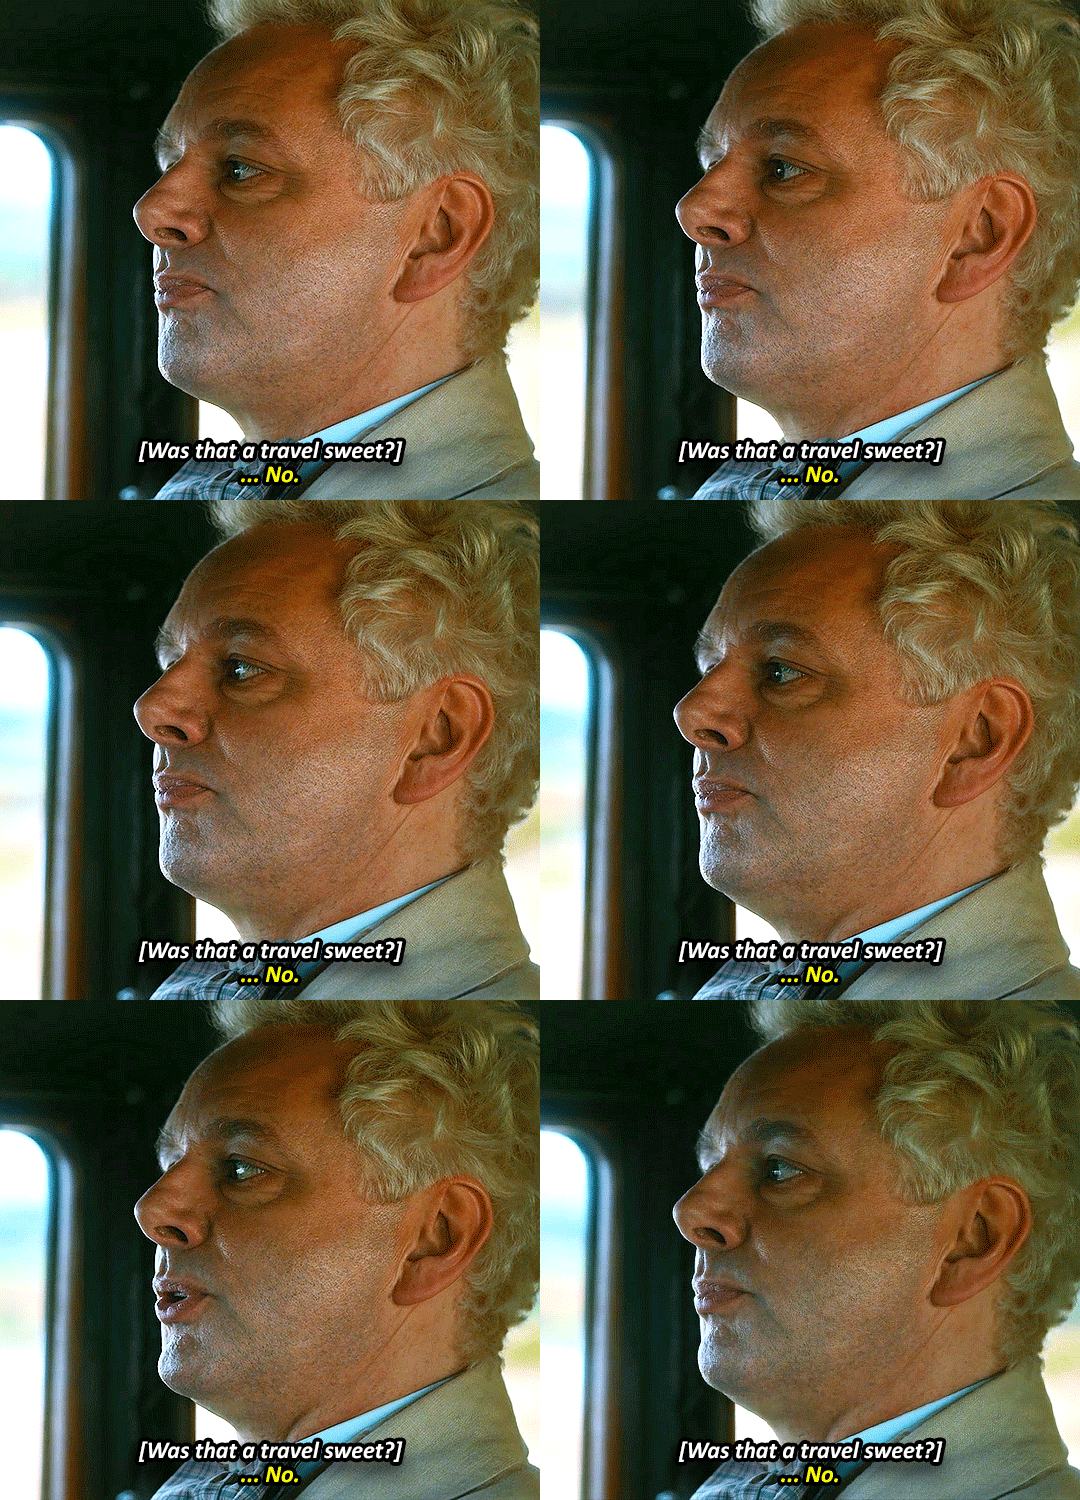
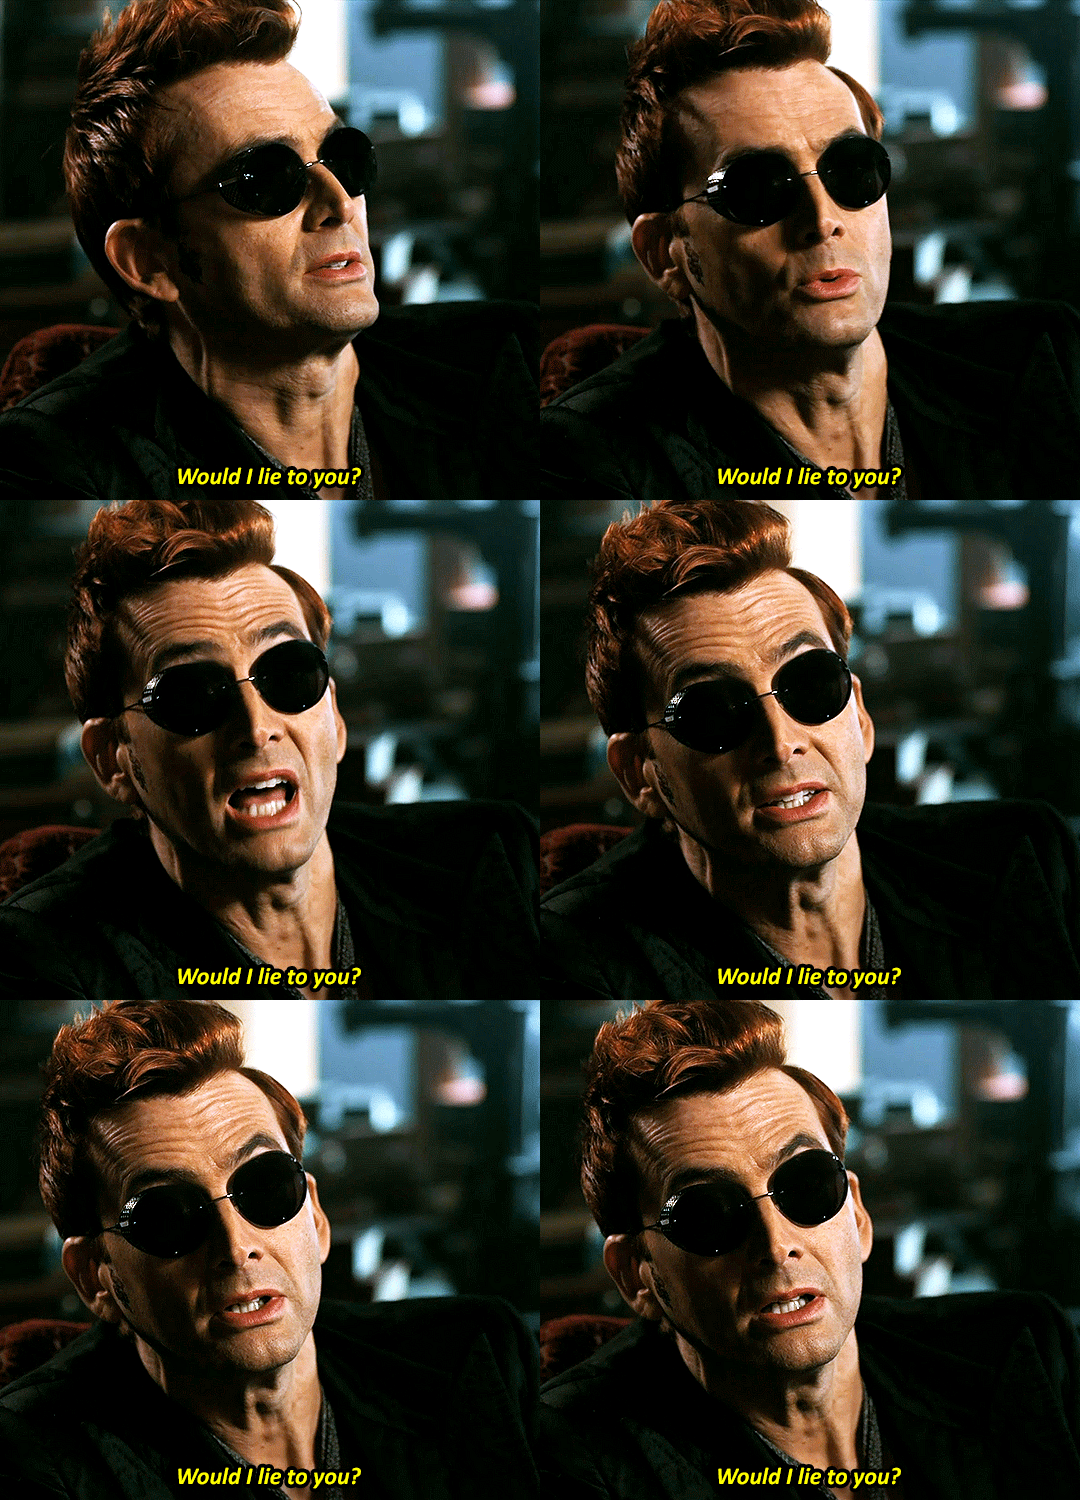
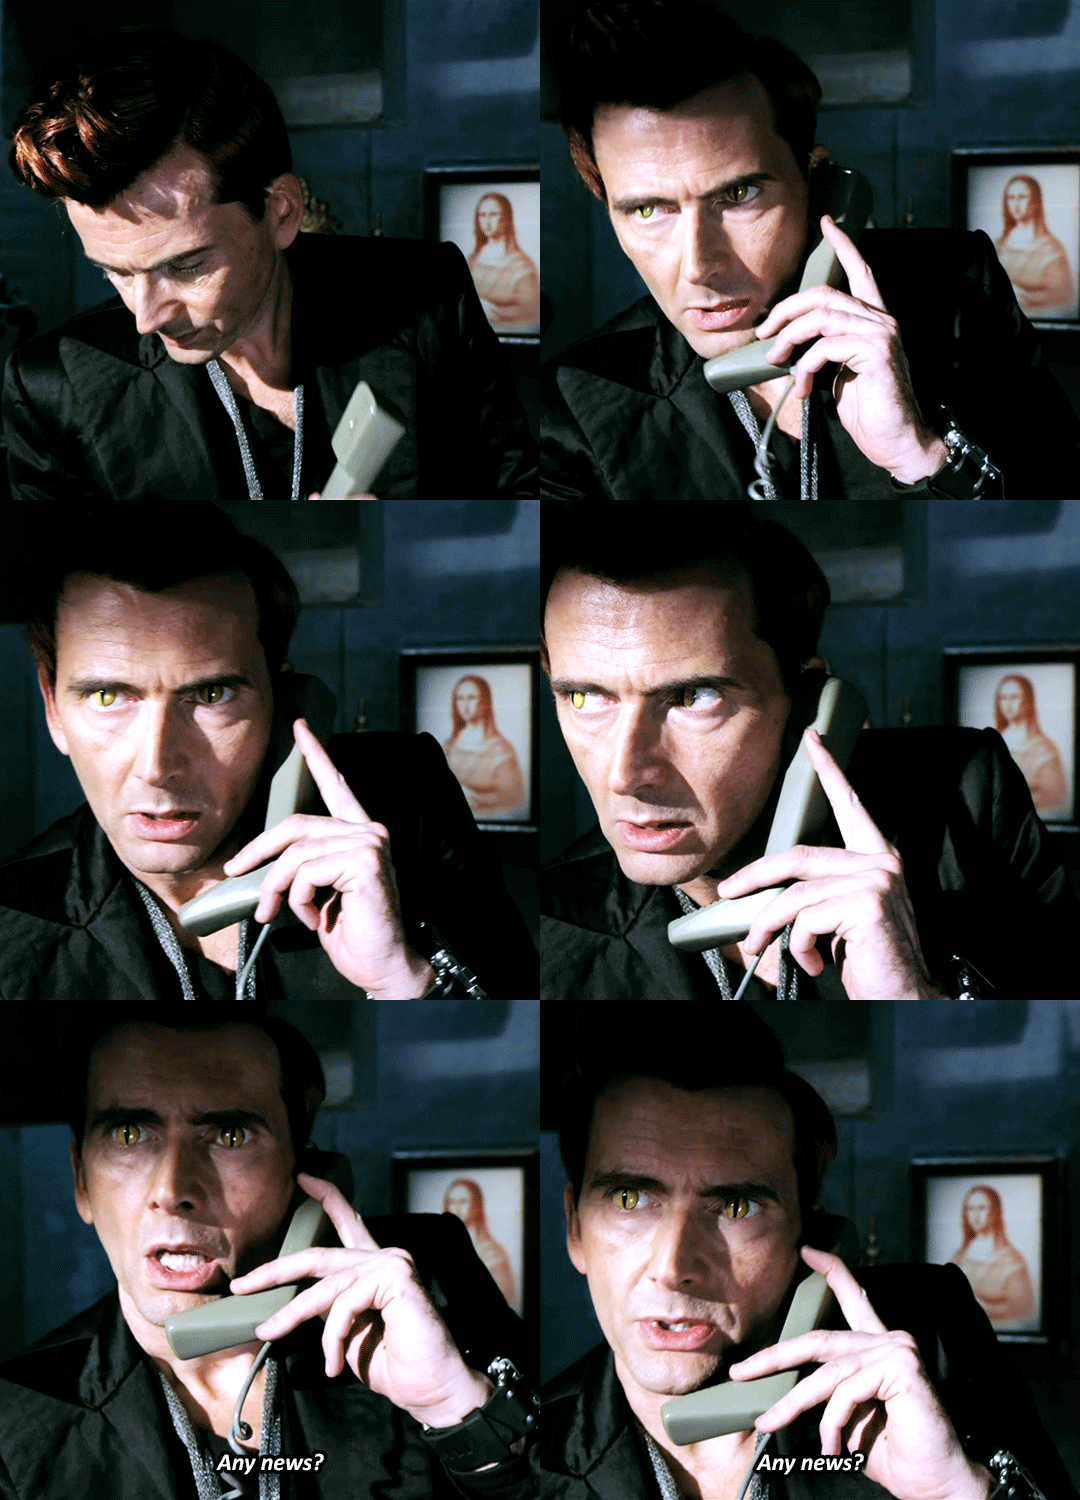
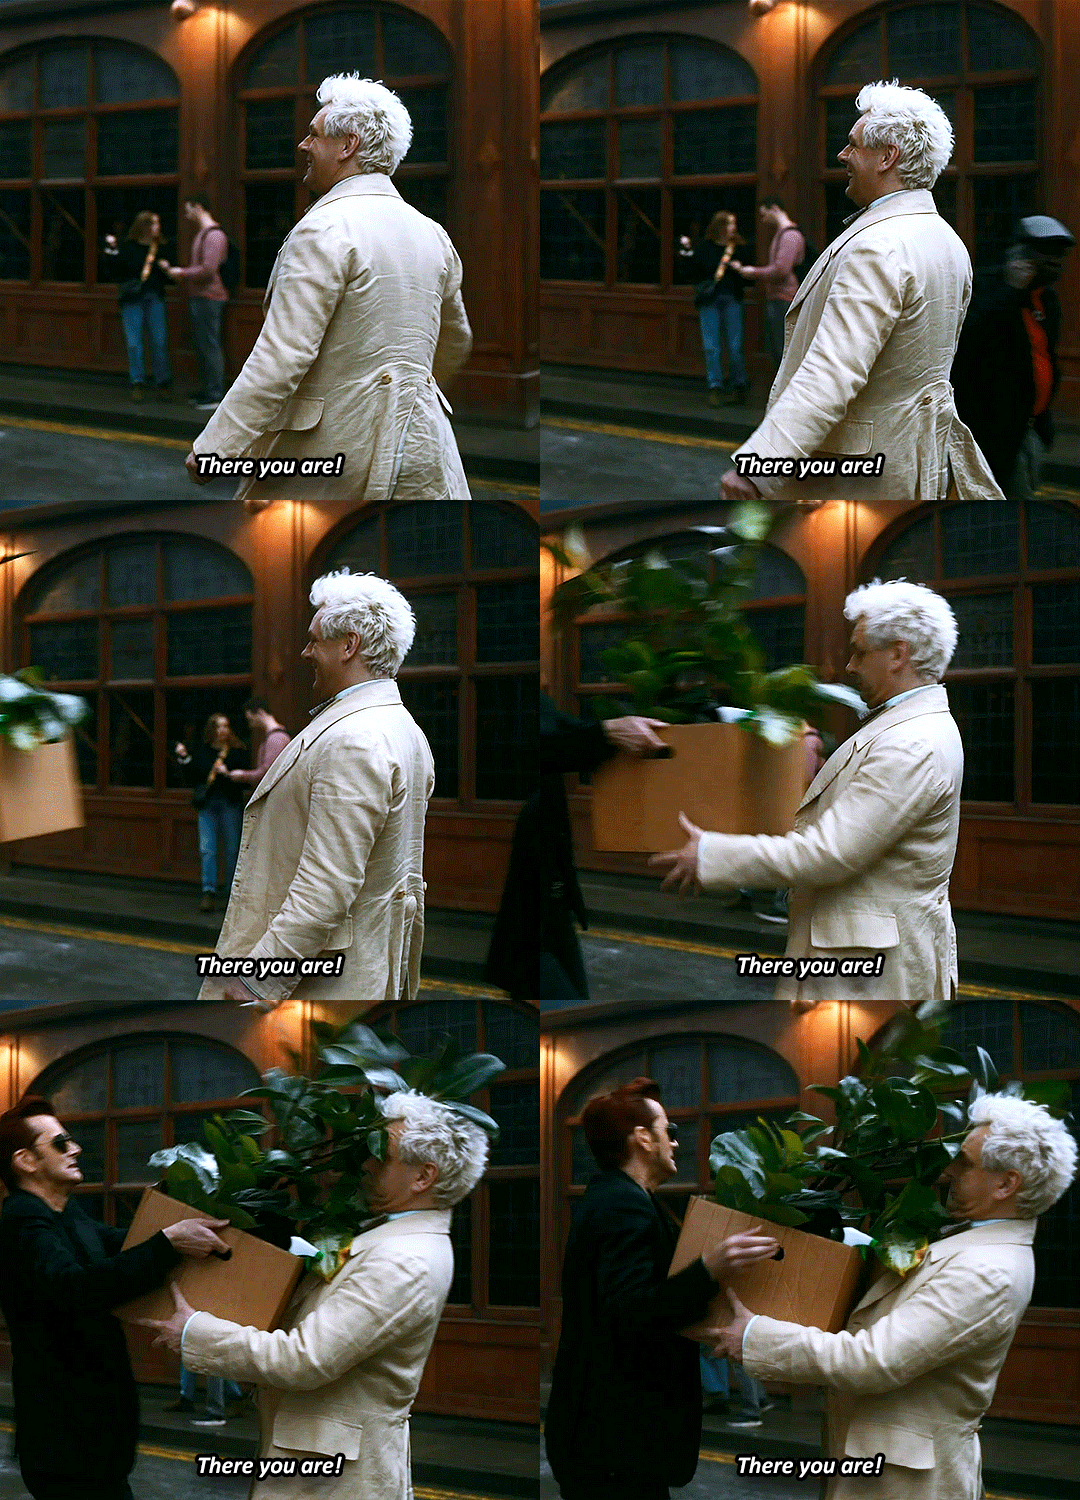
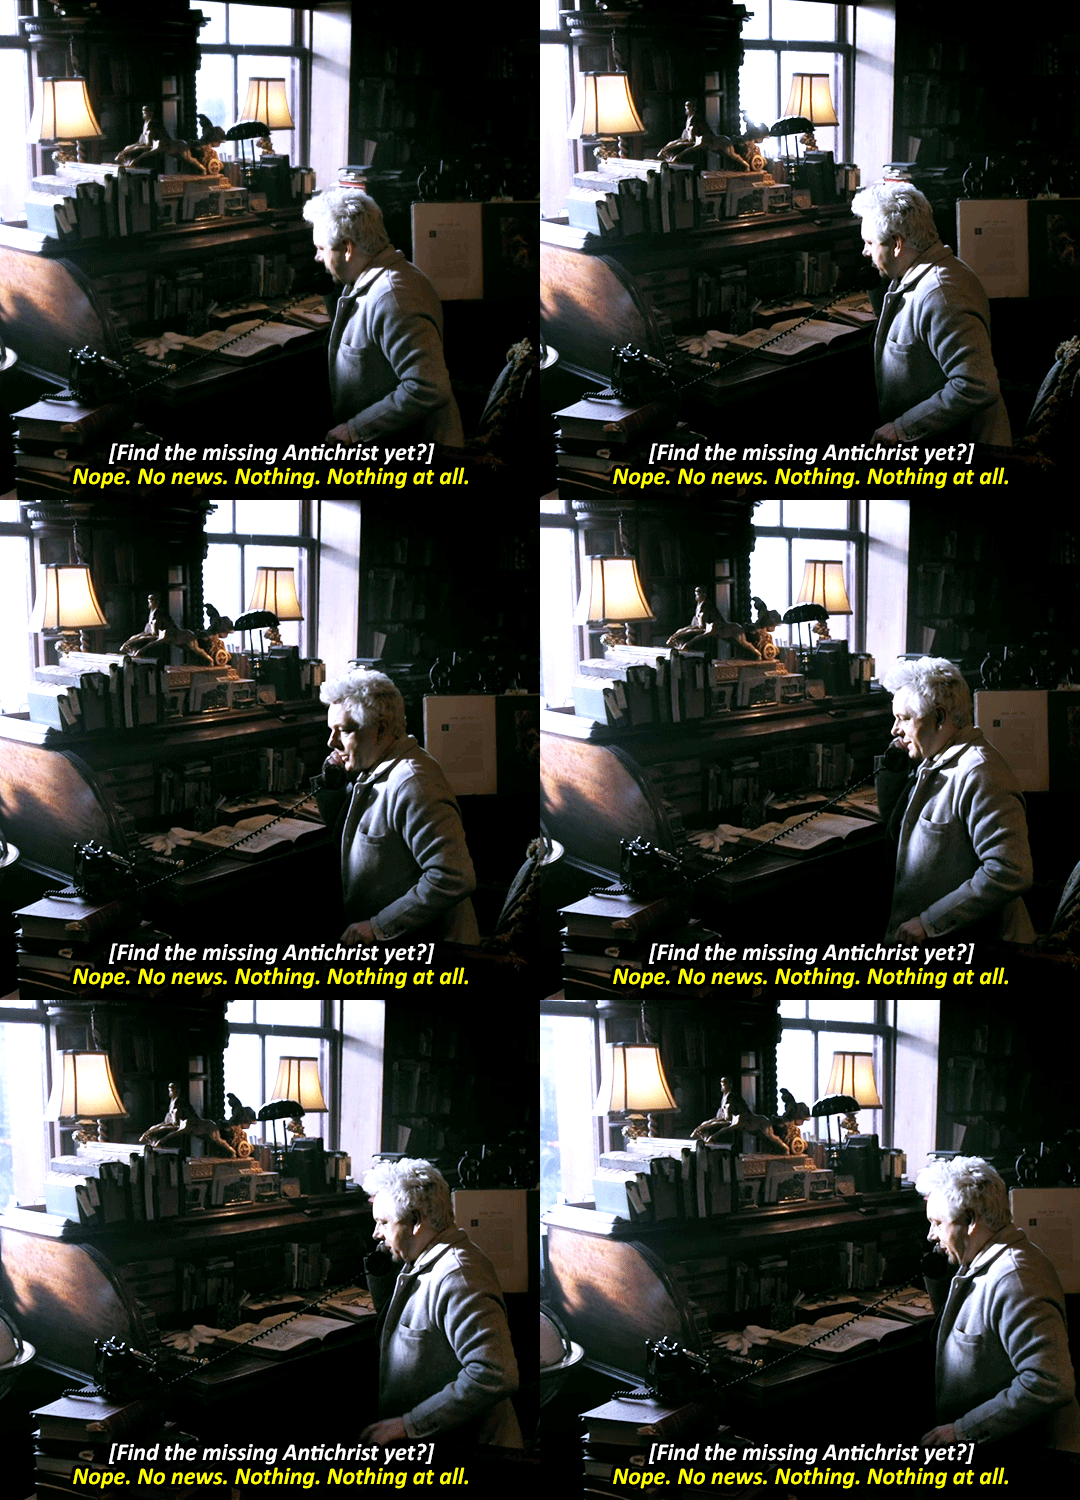
#good omens spoilers#gos2spoilers#good omens#good omens season 2#goodomensedit#aziraphale#crowley#og post#gifs#the thesis of this gifset is:#“aziraphale lies BADLY to crowley's FACE repeatedly for no reason and crowley ALWAYS takes him at his word#but crowley's the demon so he's the one who lies. apparently"#i just think its hilarious#and the fact that crowley doesn't notice aziraphale lying despite the fact he knows how he lies (see: Job) because “why would he lie to ME”#i don't think crowley thinks the inverse of aziraphale (“you're an angel. its not what you do”) because he KNOWS he lied to heaven#(again see:Job)#this took so fucking long i'd open photoshop and my computer would shit itself#even worse if i dare opened a longer video to make into several gifs#sacrificed my Firefox window to my computer like a newborn lamb so that photoshop may live but it barely even helped#apparently i do NOT have the needed ram for gifmaking#i mean i did do it. i completed it. but still#though it worked a bit better after i restarted my computer. so. maybe i should do that more frequently lmao#i tried to include “i'm a demon. i lied” but it just did not. fit. quite right
3K notes
·
View notes
Text
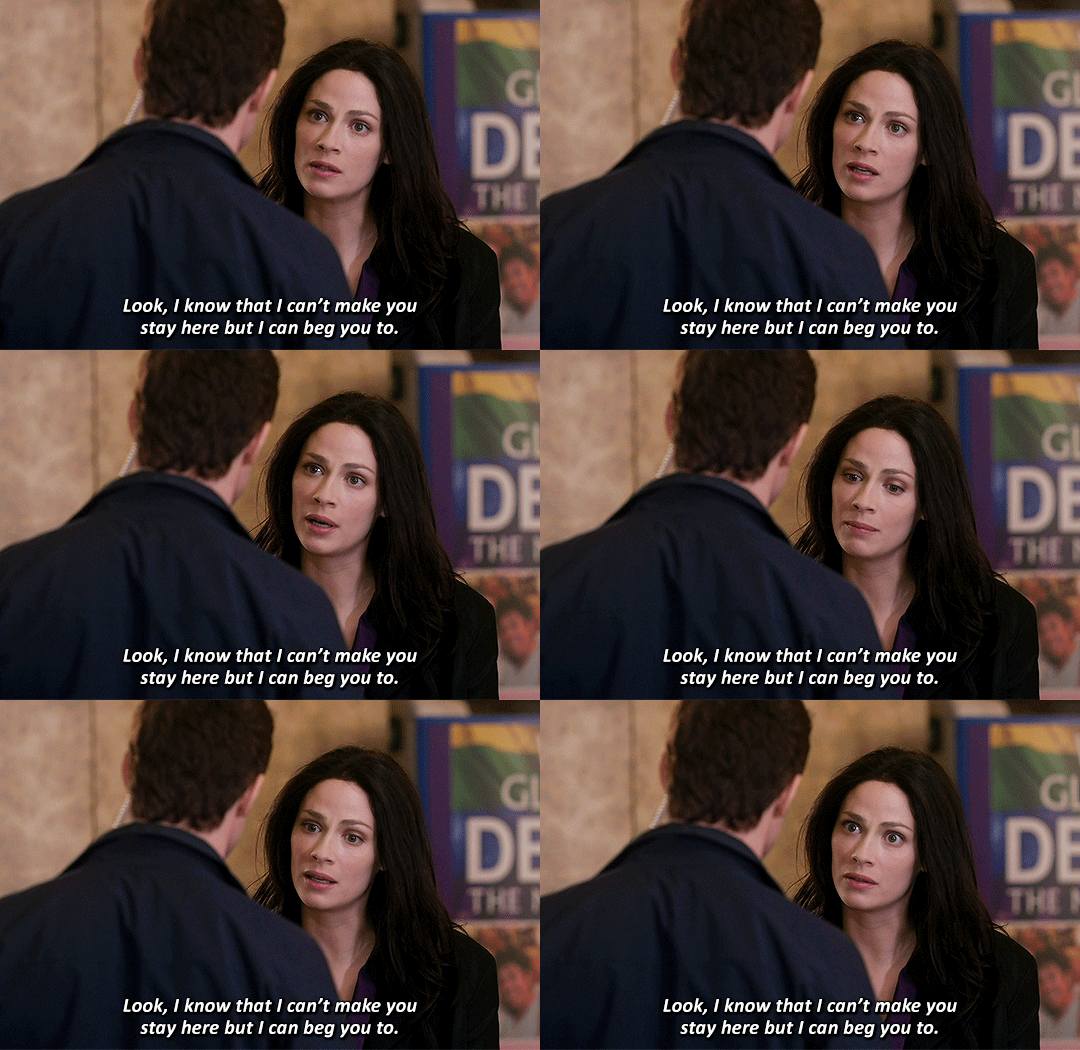


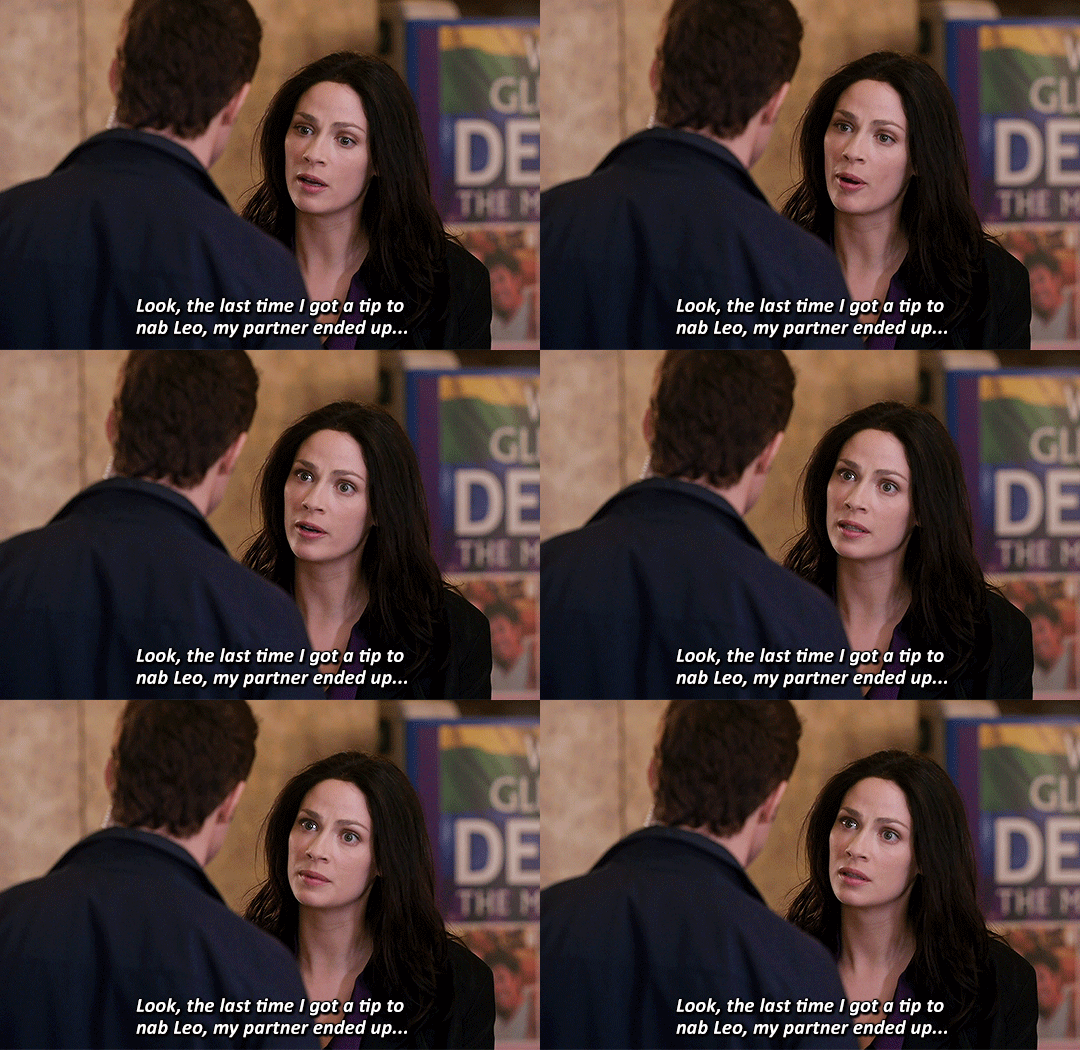
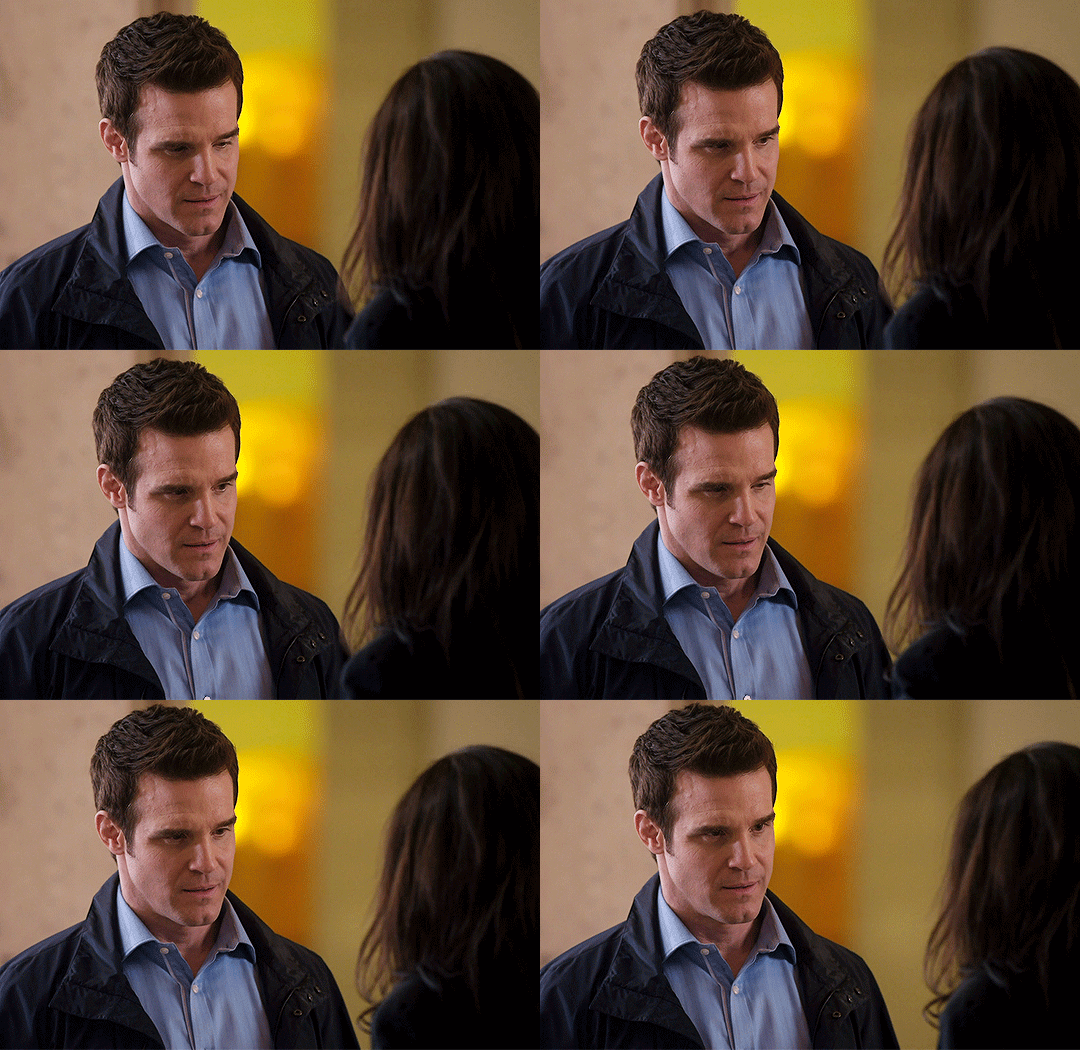

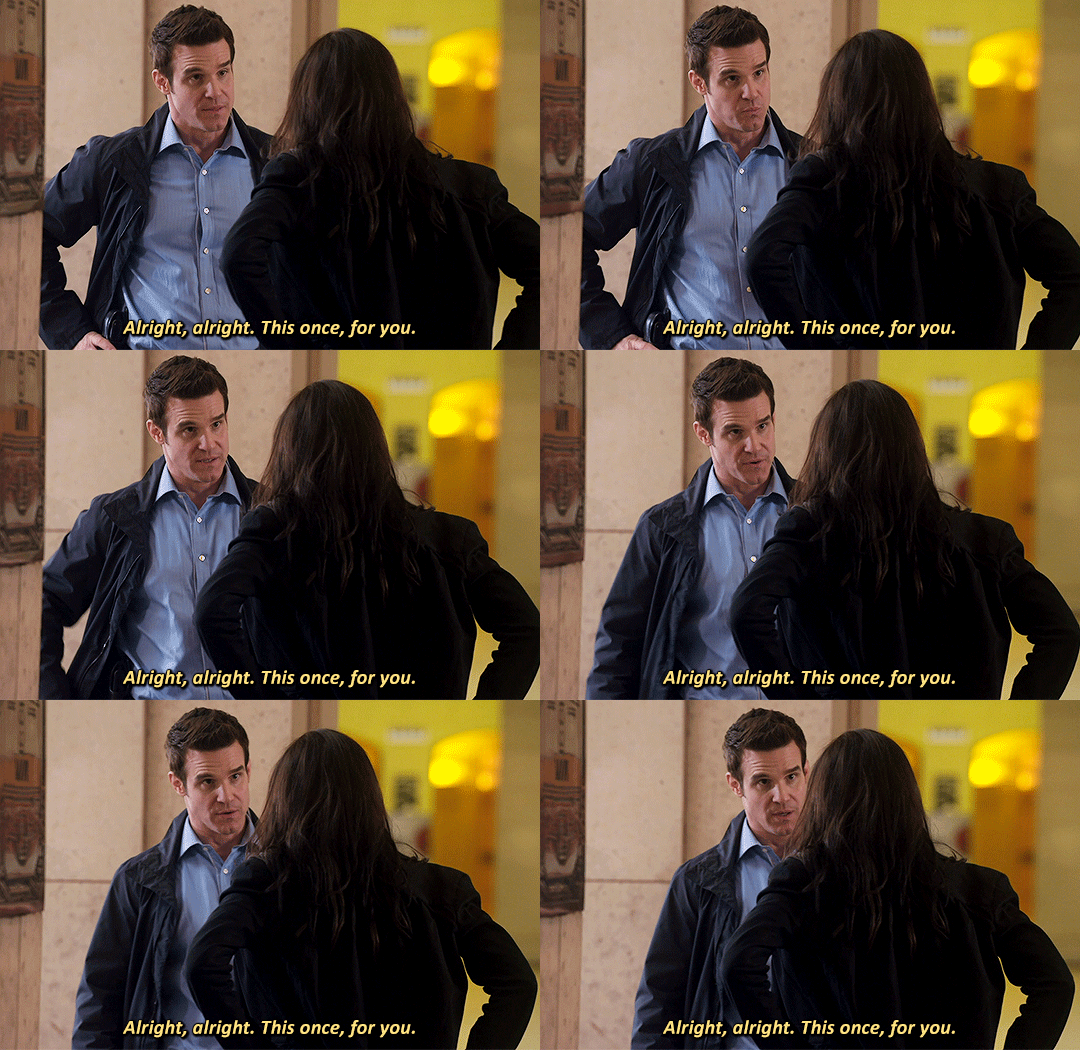
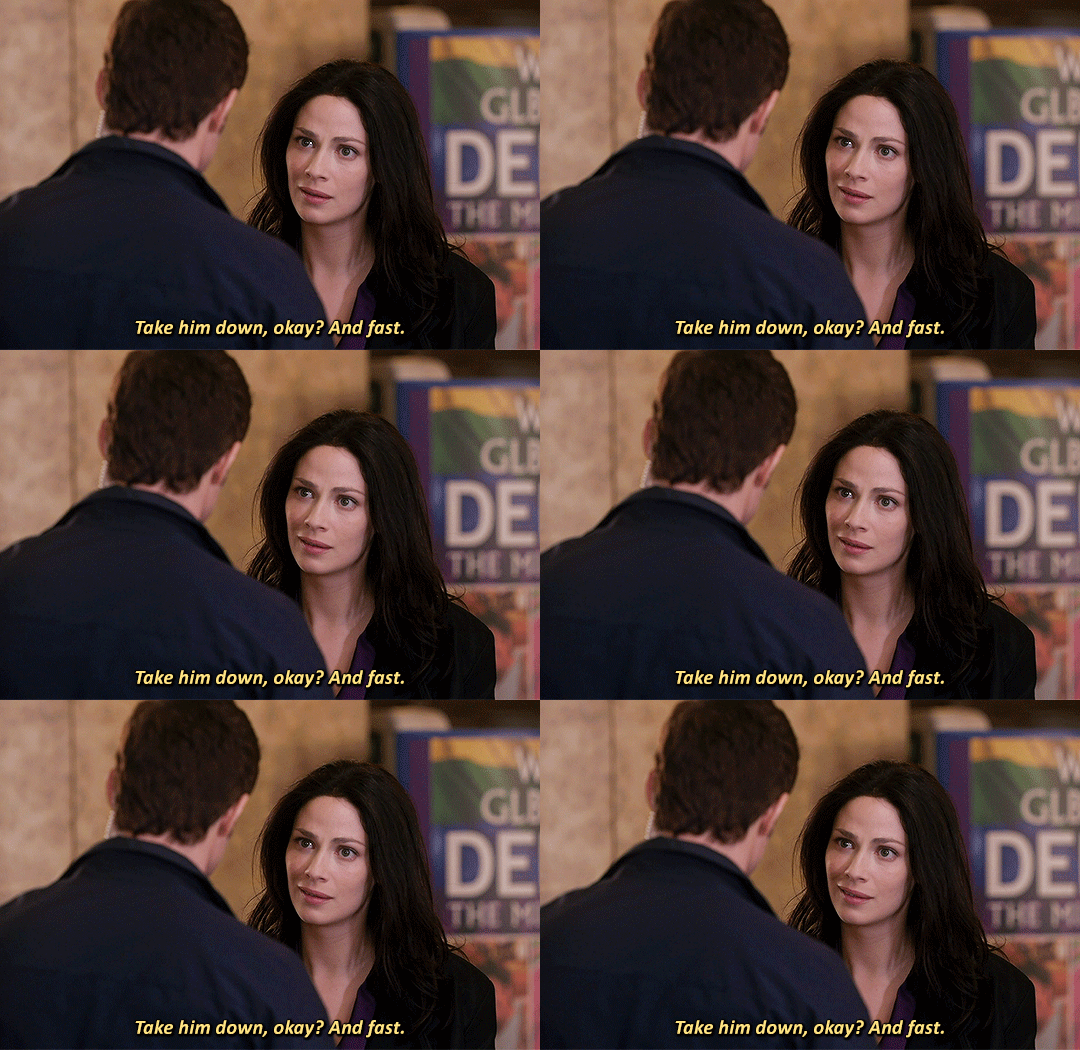

Pete, I need you to stay here.
#warehouse 13#wh13edit#past imperfect#mine:photoset#myka bering#pete lattimer#HELLO..... CAN ANYBODY HEAR ME...... FOR THE LOVE OF GOD HELLO..............#this episode possessed me so thoroughly that i had to open photoshop for the first time since december#i promise i will get a new computer someday so i can make gifs more regularly again (i made this on my work computer don't tell IT)#but HELLO............ WAAAAUGH#god. fuck. they love and trust each other so much. i'm chomping at the fucking walls over this#myka has so much trauma over this case and pete's the nicest guy in the world about it.........#but myka doesn't even let that stop her!! she's like no fuck that i WILL take this guy down for real#and she DOES#and pete's standing by her side the entire time providing support and helping but also not taking control since myka needs to do this#on her own and for herself in order to finally get closure#for this case that's been haunting her since literally episode one............#pete's like no you can absolutely be emotional. you have every right. so this time I'll be the observant one and help you where you need it#god.#anyway hi wh13 tag i am watching this show for the first time and i am Going Through It#since i know you all seem to be myka/HG stans can i officially claim pete as mine. would anyone mind. can i have him
148 notes
·
View notes
Text
do you even KNOW how hard it is to find cool wizards on google that aren’t ai these days. we are so fucked
#wizard posting#IF ANYONE HAS GOOD PRE-AI WIZARD IMAGES PLEASE SHARE i’m trying to make memes#impact font old fantasy illustration kind#i’m trying to remember the names of some of the classic illustrators but i need to do more searching#also i tried switching to duck duck go but its UI has also been pissing me off. it is not good at phrase searching like goog is. unfortunate#wizard#wizards#this is sort of related to my wizard party i’m hosting but i’m trying to make a zine and i WILL NOT HAVE AI ART#doesn’t help that most people rn are dogshit at recognizing when art is AI. like i get it you have to train your eyes to catch details#like an artist. like strange line weight and dissolving shadows and tiny things melting into one another#but still! stop showing me weird airbrushed wizards#UNLESS ITS ACTUALLY AIRBRUSHED. ON A VAN#bad photoshop too my beloved
104 notes
·
View notes
Text
idk if this is a post-amazon-prime or specifically post-covid thing, but i hate how it seems like stores don’t really care about their physical stock anymore because “you can just buy it online”
#mine#i just find online shopping so inconvenient. it’s rarely what you were advertised bc all product pics were photoshopped#but returns are a hassle#i just want some stairs for xyza and everywhere i look they’re like ‘get it delivered by next weekend’ what if i want them asap :/#so she can wander around without needing me to pick her up and help her down off the bed#idk i also find it kind of embarrassing lmao. what if i’m not there to grab it 2 seconds after it’s left by the front door.#now all of china knows you got a packidge
34 notes
·
View notes
Text
How To Gif: Glass Shatter Effect
By popular demand (ie, 7 people who voted in this poll), here is a tutorial on how to do the glass shatter effect I used to create the first gif in this set.
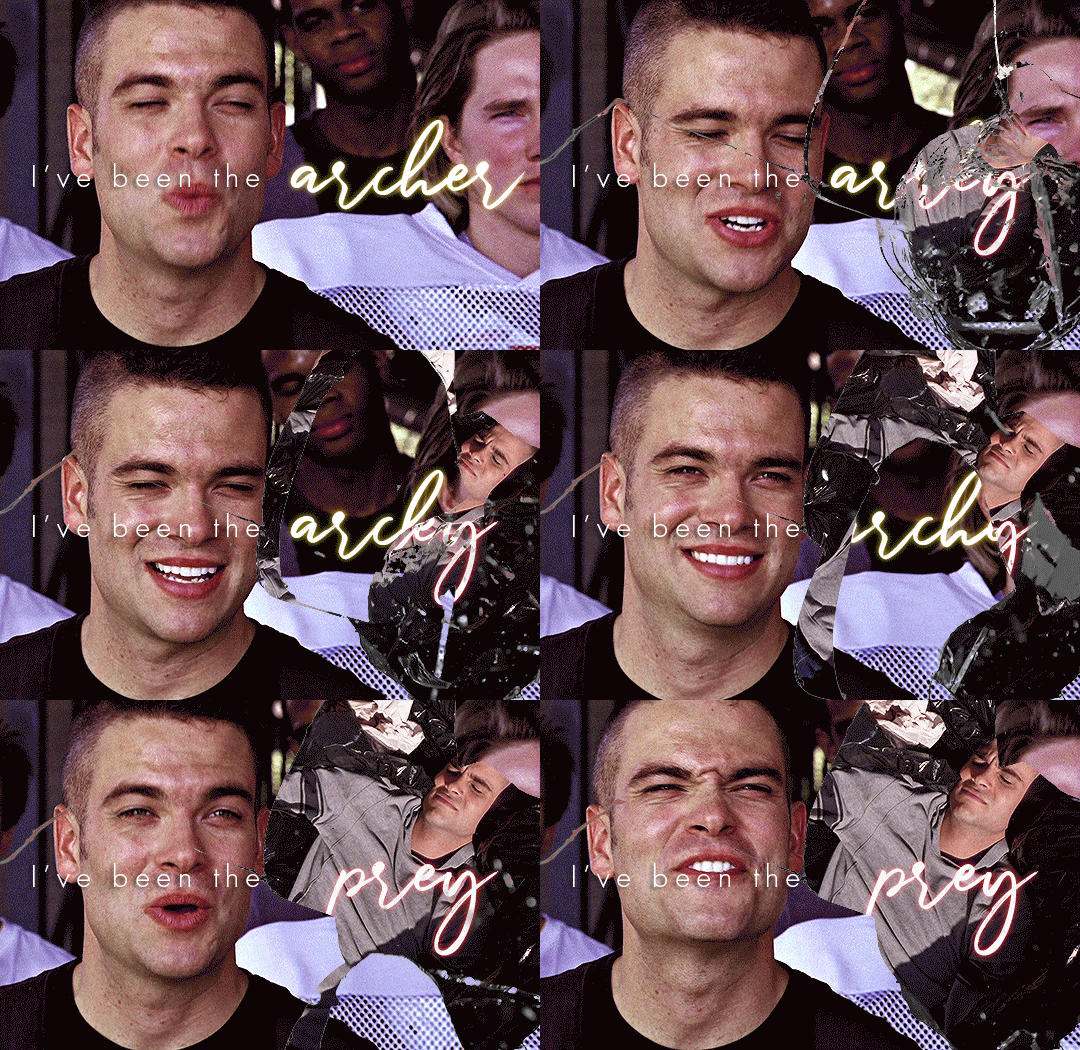
I use Photoshop CC 2015 (yes I know it's old) for my gifmaking, but you should be able to apply everything to newer versions of Photoshop. For this tutorial I'll be assuming you know the gifmaking basics, but if not, I would recommend this tutorial, which is the process I use to make gifs. Note that this particular process involves saving all of the frames, importing those frames into Photoshop, and then using an action to convert to a smart object.
Keep reading below the cut to learn how to do this effect!
Before I could start making this gif, I needed three things; the two scenes that I wanted to use, and a video of the glass shattering effect. I already knew the scenes I wanted, so then I took to YouTube to find a video which I can't for the life of me find again (edit: thanks to add1ctedt0you in the replies for linking this video!), but it looked like this:
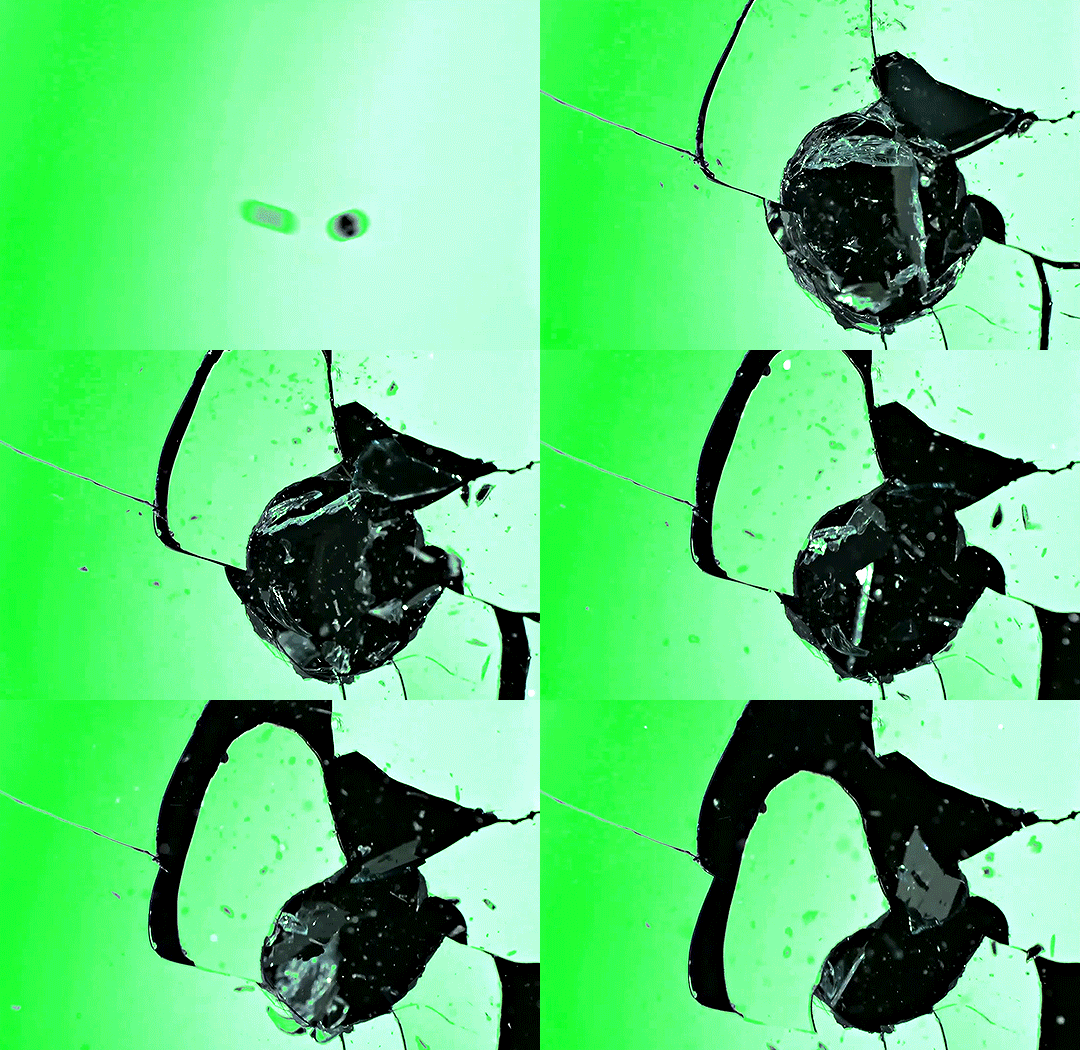
Something like this is what you want. Ideally the green part would be entirely white, but as long as there are two clearly different colours you can usually work with it.
This looks a lot slower than the gif that I made, but that's not because of the frame rate - which is exactly the same above as in the final gif - it's just because there are extra frames in this slower one that I cut out. In the video I used, the glass shattering happened very slowly. I didn't want that, so I ended up skipping several frames when I loaded the frames into Photoshop before using my gifmaking action. I just did this by manually selecting one frame, skipping the next several before selecting another frame, and repeating this until I had selected 60 frames.
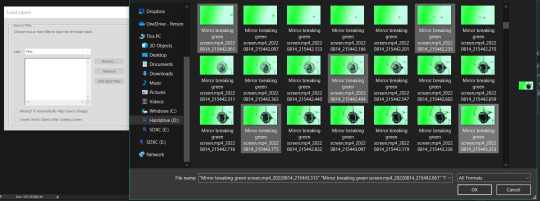
After using my gif action, I had a smart object of the glass shatter effect that looked like this:
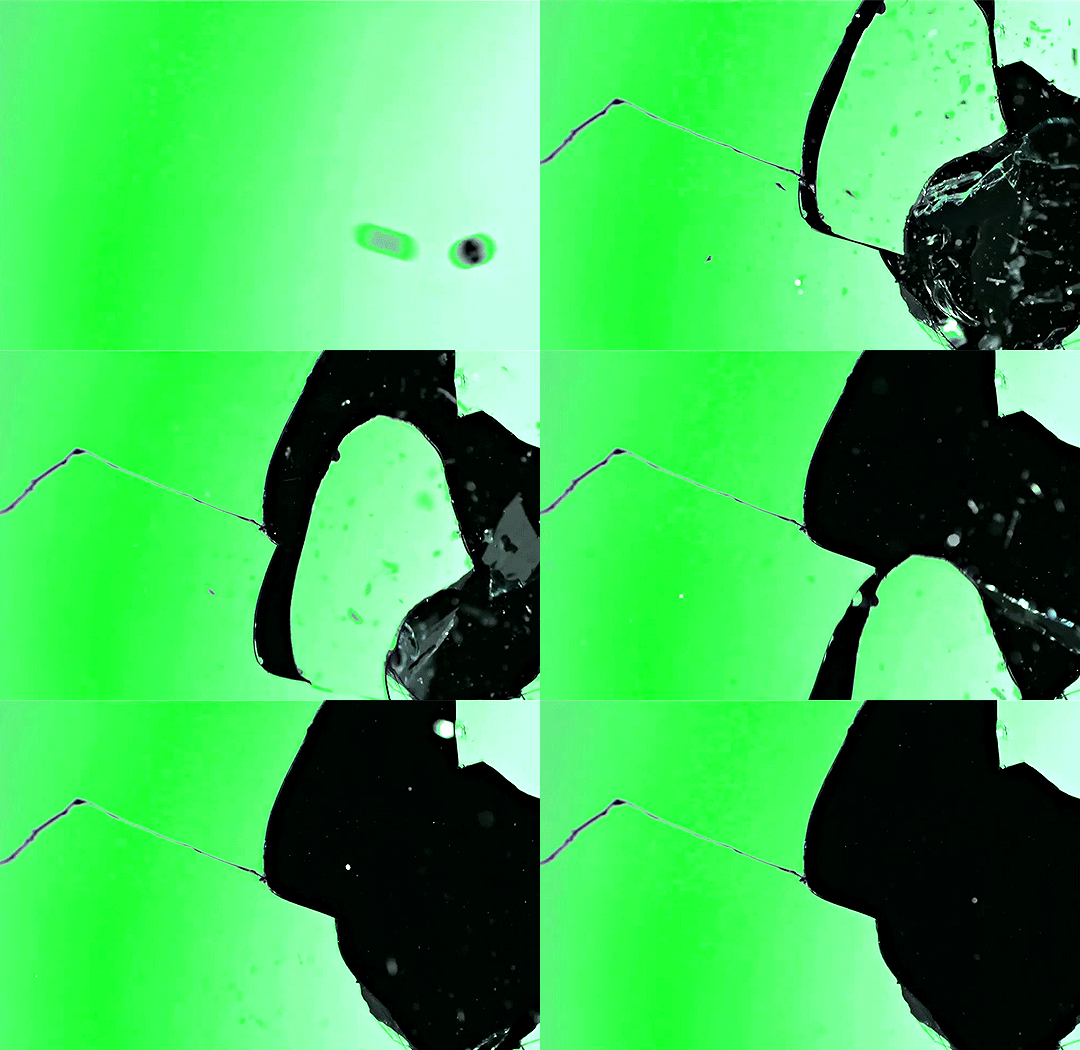
That's a much better speed! It still wasn't quite where I needed it to be though. I needed this in black and white, so I slapped a hue/saturation adjustment on the smart object and set the saturation all the way down to -100.
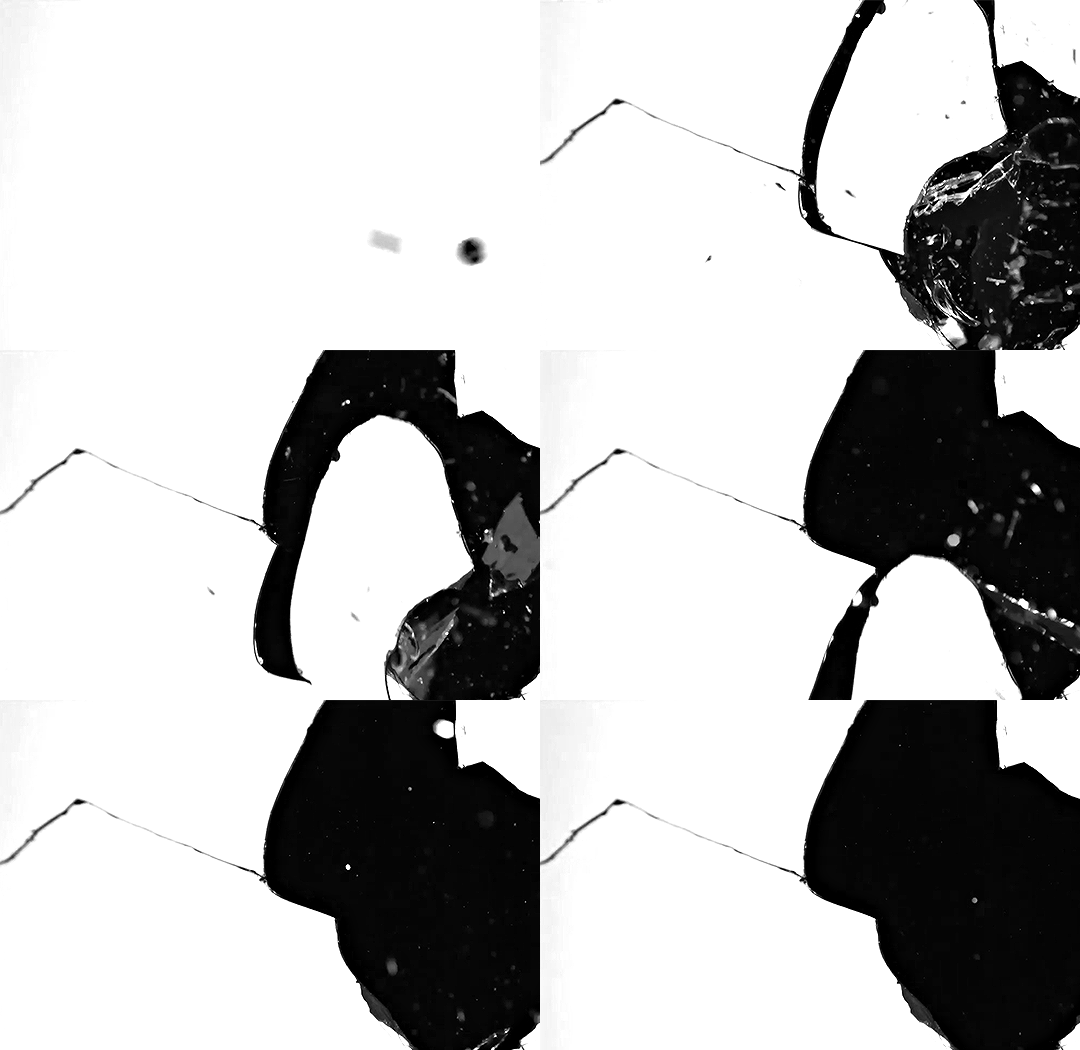
Okay great, I could start putting the gif together now.
First, I made a copy of the glass shatter smart object, because I'll need that later. Then, I pulled in frames from the scene that I wanted to appear in the hole after the glass shatters, and I used those to create a new smart object with my gif action (we'll call it Scene-bg). I pulled Scene-bg into the same window as the glass shatter objects. Then I created a new smart object by combining one of the glass shatter objects with Scene-bg, which I did by selecting both layers right clicking, and selecting "Convert to Smart Object".
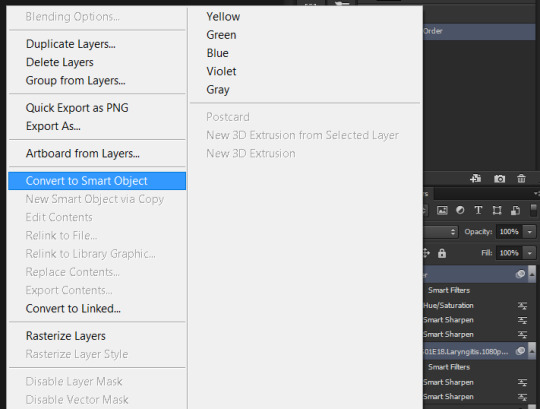
I renamed this smart object to Shatter-fg. I opened it by clicking on the little icon next to the layer name in the layers window here:
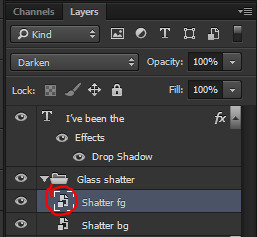
The most important thing here is that the shatter effect object should be the top layer, and I set the mode to "lighten". This will make sure that the lightest colour of either this layer and the layer behind it is displayed; that means that anywhere that's white in our shatter animation will still show up, but anywhere that's black we'll see what's in the layer(s) behind it.
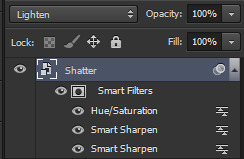
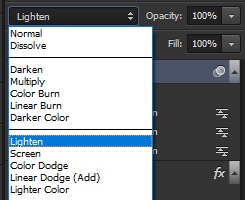
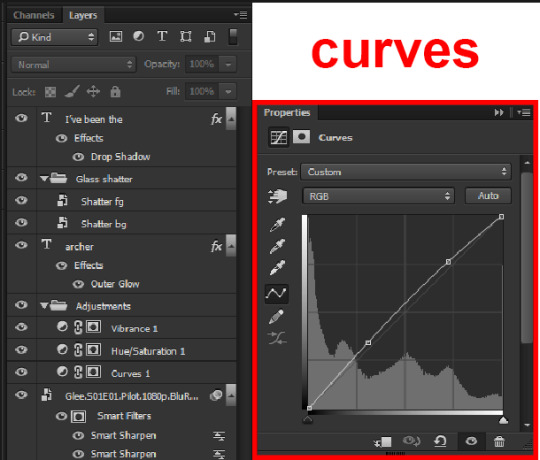
Then I threw some adjustment layers between them to get the colouring I wanted. I used a curves layer, a hue/saturation layer, and I also added text with an outer glow layer effect. Here's what the layer order looked like and the settings I used for each layer:
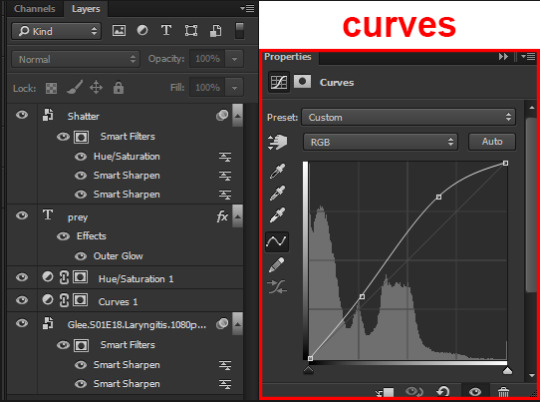
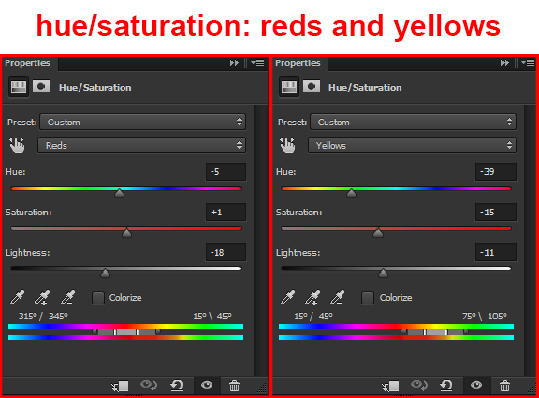
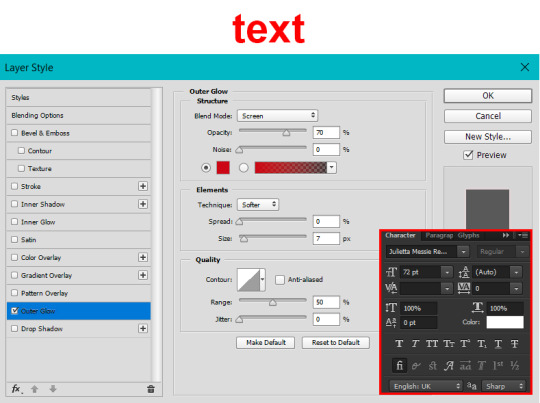
After this process, Shatter-fg looked like this:

Okay nice, this is starting to look like something! I saved this and went back to the main file with the other glass shatter object.
I needed to invert that other glass shatter object. There's a weird quirk with the version of Photoshop that I use where it doesn't like it when I apply specifically an invert adjustment to a smart object (it appears correctly when editing, but not on export) so I did this by creating a new smart object which included a separate invert layer, but if you have a newer version of Photoshop you can probably just apply the invert adjustment directly. Just note that you'll need to do one of these options; it won't work if you add a separate adjustment layer in the main file, it needs to be applied specifically to the smart object (which we'll now be calling Shatter-bg). It looked like this after I inverted it:
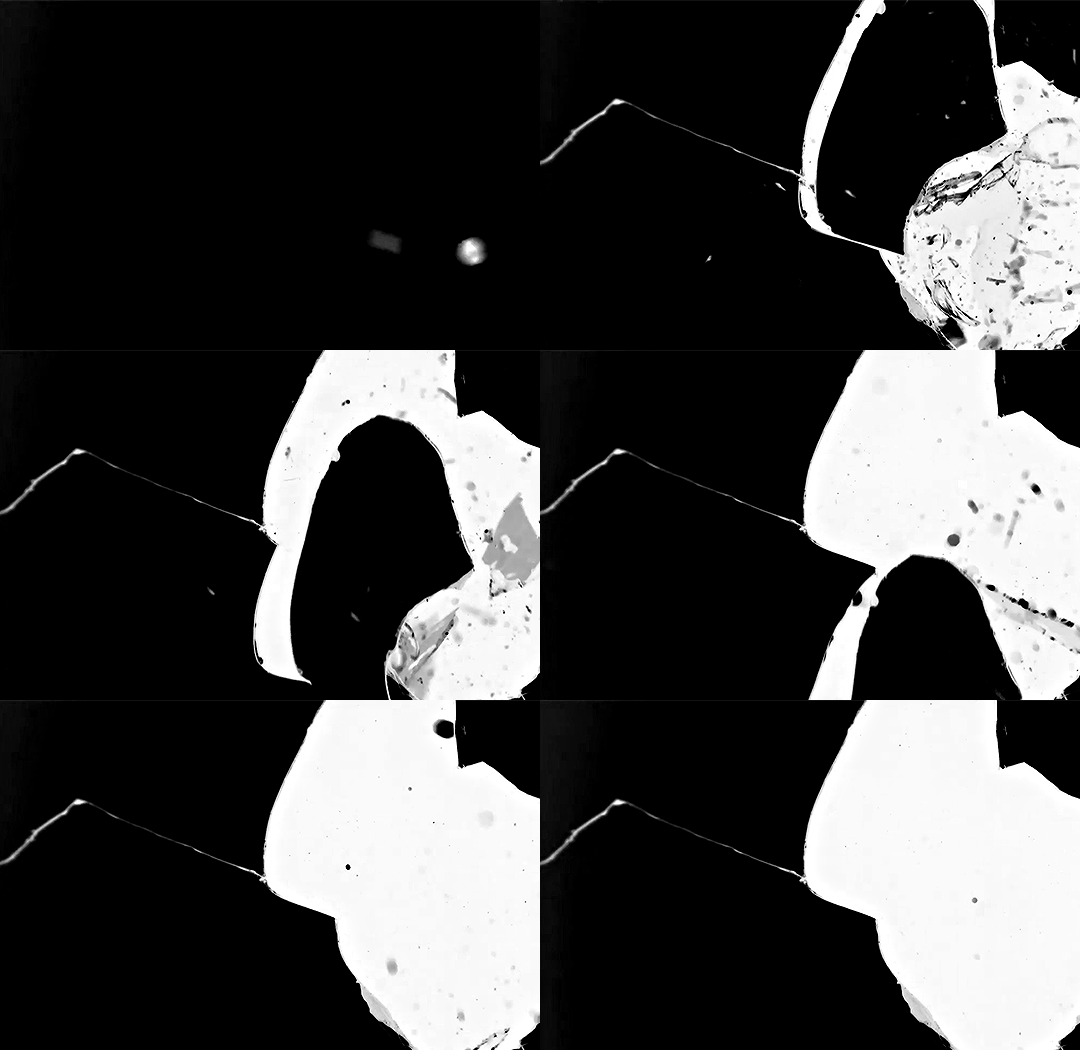
Once that's done, I made sure Shatter-fg was the layer directly above Shatter-bg, and set the mode of Shatter-fg to "darken" and Shatter-bg to "lighten". Since Shatter-fg is set to darken, it will be visible only when it is darker than the layer behind it. By setting Shatter-bg to lighten, I've guaranteed that the layer behind it will always be lighter (ie, white) in the places we want Shatter-fg to be visible, and will be black otherwise. Once I update those settings, this is what the gif looked like:
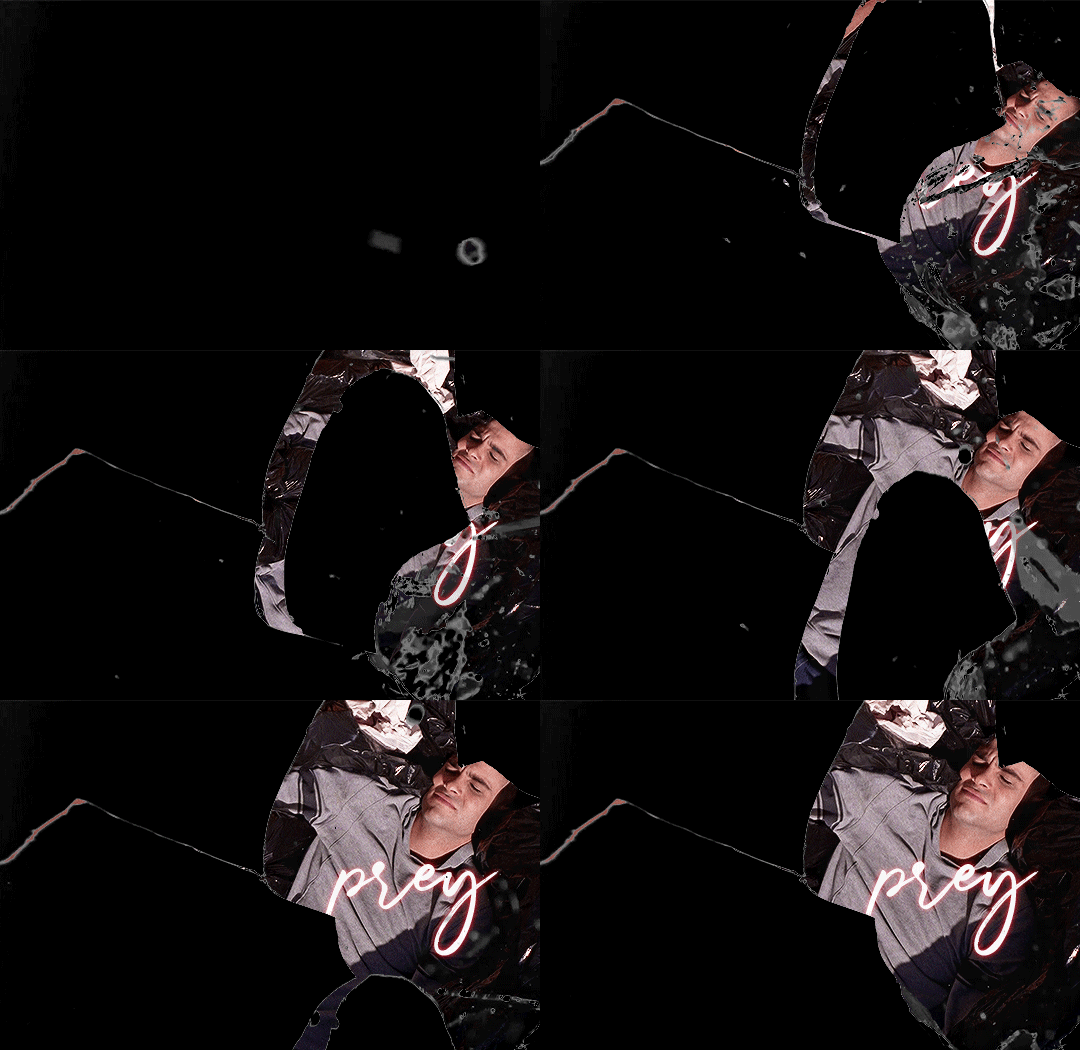
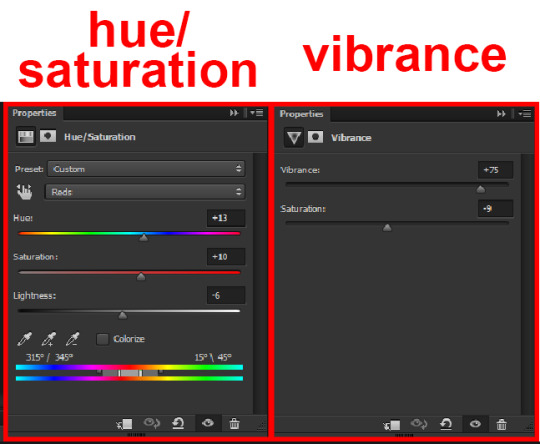
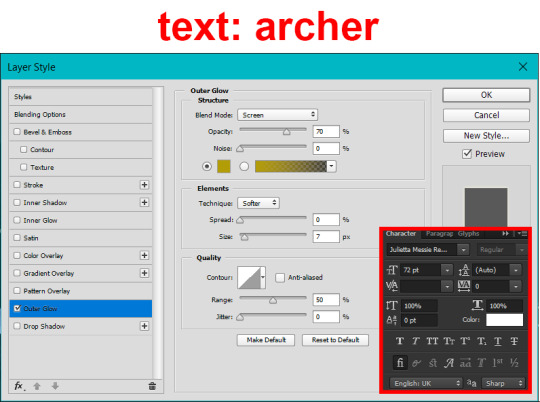
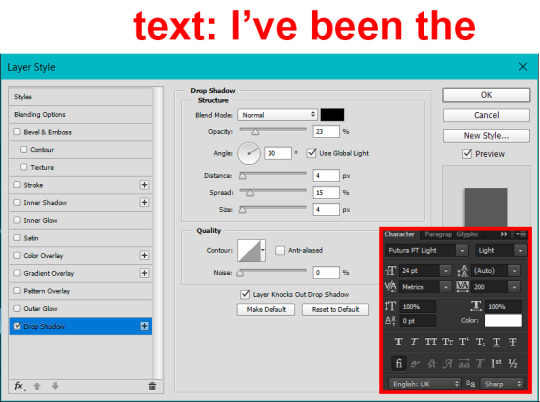
This is all there is to the glass shatter effect itself. Next I pulled in frames from the second scene to fill in the black areas. This layer needed to go below both glass shatter layers, so that it only shows through where the black. Then I added adjustment layers and some text. I used curves, hue/saturation, and vibrance adjustment layers, and I also added the "archer" text below the glass shatter layers so that it would be hidden to reveal the "prey" text. The other text I added above all of the layers, since I wanted this to be visible all the time. Here is the layer order and all of the settings I used for each of the layers:
I also grouped Shatter-bg and Shatter-fg and shifted them on the timeline so there would be some time to see the background gif before the shatter effect starts.

And that's all! Then it''s just a matter of exporting the finished product:

This is the first gifmaking tutorial I've ever made, so I hope I was able to be reasonably coherent and helpful! I'd love to hear if you make anything by following these steps, or even if you just feel like you've learned something reading through this. And if you have any outstanding questions, feel free to reply or send me an ask and I'd be happy to answer!
#gifmaking#tutorials#gifmaking tutorial#gif tutorial#photoshop#photoshop tutorial#usergif#gleesource#my tutorials#mine#how to gif#tw mark salling#mark salling tw#not tagging as glee because it's not actually about that but wanted the tw tags just in case#this was so much more effort to put together than I thought it would be lmao#I was like oh yeah I've already made the whole gif I just need to go back and explain how I did that...#it took A WHILE#anywayyyy it was fun though so I'm glad I did it#would love to know if anyone finds this helpful or interesting or tries out the effect or something similar!#you can also just grab the black/white gif I included above if you want to do the effect since I can't find the video... sorry lol#but yeah you have my permission to steal the black/white gifs for gifmaking purposes if you would like#just don't like. post your own tutorial claiming you made it or something?? but like you don't need to credit me or anything obviously.#ANYWAYYYY#I feel like... a LITTLE pretentious thinking I'm good enough at making gifs to be qualified to make a tutorial#but like it's fineeee everything is fine#gonna finally post this now enjoy byeeee
118 notes
·
View notes
Text
Desaturation issue?
Posted on Reddit too, but might as well ask around here since there's a fairly large community of digital artists.
SO
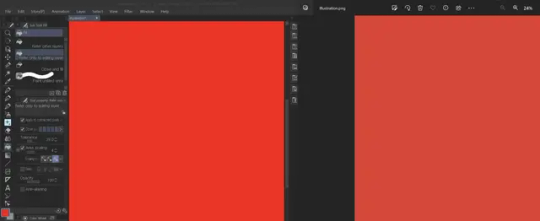
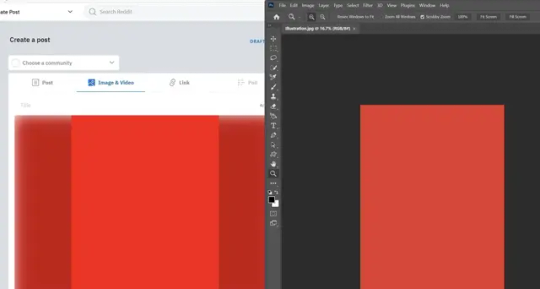
When I open an image with saturated colors on CSP, other art programs, Firefox, or my phone (Samsung Galaxy), it shows up pretty saturated as seen on the left.
BUT if I open the same image with Windows Photo Viewer or photoshop, it shows up desaturated (right).
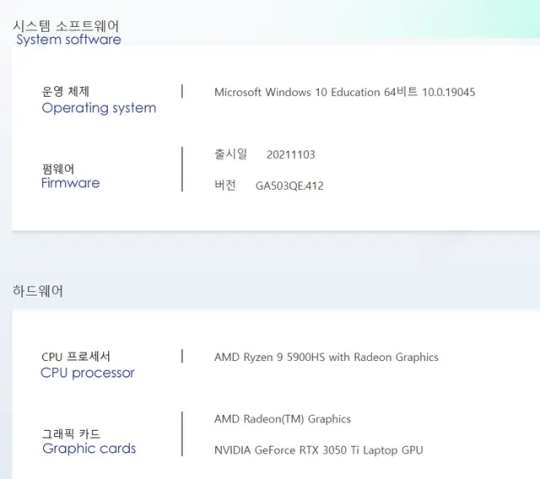
Can't remember messing with any color settings since I bought the laptop; everything is set to default as far as I know.
Does anyone have similar experiences or knowledge of why this is happening and how I could fix it, if possible?
EDIT: Changed CSP color settings to "Saturation" as per that one post going around. Issue persists.
98 notes
·
View notes
Text
spending my sunday participating in my favorite pasttime (thinking about drawing and not actually drawing)
#personal#also helped 🏴☠️ photoshop for a friend#and went to spirit halloween . just to browse#need a rip van winkle scenario to happen. im just sooo sleepy
73 notes
·
View notes
Note
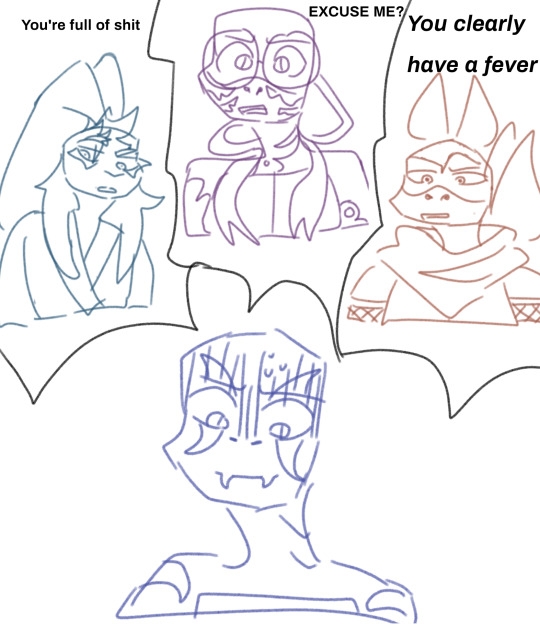
ooooooo he's in trouble
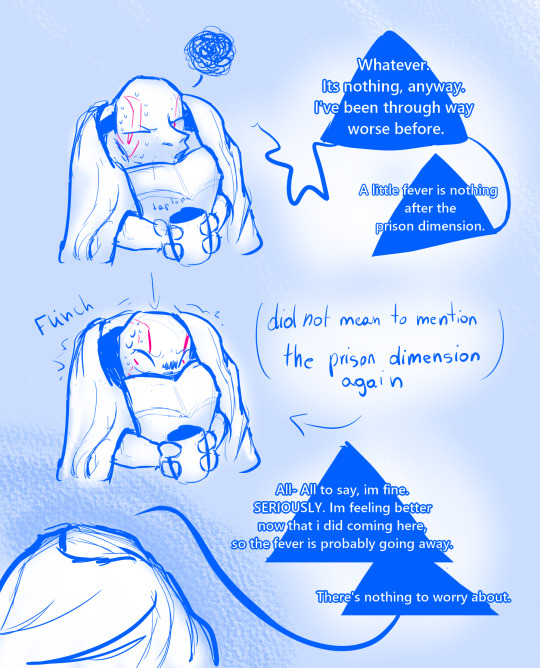
Leo stop trying to deflect from your condition you just start bringing up your trauma again when you do that,,
#scrolls art#rottmnt#kraang!leo au#kraang!leo#rottmnt fanart#the kraang!leo comp saga#hes deflecting because he doesnt need another version of his brothers worrying about him#his own brothers are enough#and THEY'VE shown their worry at first as fear and leo doesnt want that to repeat either#ALSO he. is so bad at accepting help.#because hes FINE and he doesn't NEED help. he's the leader isn't he? he needs to be capable to manage things on his own#ALSO DON'T MIND THE QUALITY INCREASE#i was just. already on my computer when this appeared and i just used my fancy ✨ Photoshop license✨ from my school#scroll asks
24 notes
·
View notes
Text
CONFUCIUS MY FUCKING BELOVED
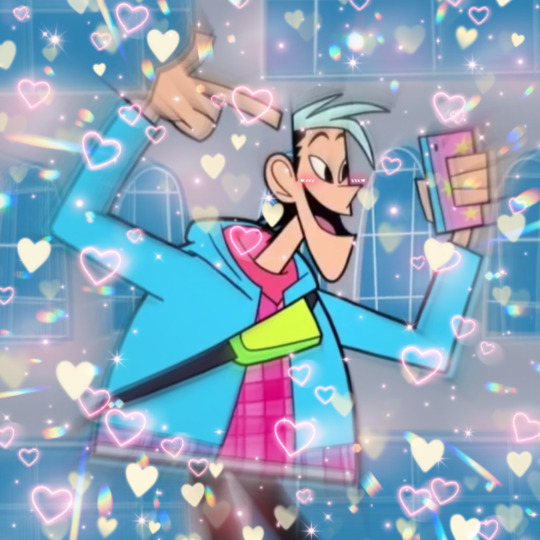
(now excuse me while i go feral in the tags)
#HES SO SWEET HES SO DESPERATE AND EMOTIONALLY STUNTED HE PICKED UP HARRIET LIKE IT WAS NOTHING I NEED HIM—#BABYGIRL CODED LIKE NO OTHER#DID YALL SEE HIS PHOTOSHOPS AFJAGSKFBSGAH#FELL DOWN A FLIGHT OF STAIRS GOT STUCK IN A TUBA AND IMMEDIATELY STARTED CRYING#I WANNA KISS HIM ON THE FOREHEAD AND RIP HIM APART WITH MY TEETH#i have never been so jealous and simultaneously happy he and harriet deserve each other theyre so cuuuute#i know itd never work between us i have next to 0 social media presence#but i cant HELP IT i see a character in need of love and validation and my brain goes brrrrrrr#literally without fail every time#i dont mind living vicariously through harriet thats how much i like her lmao#almost teetering off the edge of ironic with the all thought i put into that edit shjsfgdjs#anyway *skedaddles off*#clone high confucius#confucius clone high#clone high
117 notes
·
View notes
Text
Frank had a wholesome spa day ✨ he loves to spoil himself from time to time 🫶🥰😍
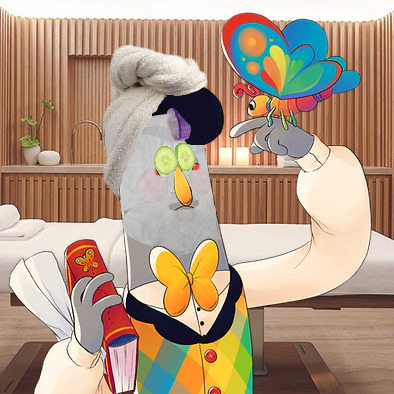

#welcome home frank frankly#welcome home#frank welcome home#frank frankly#welcome home frank#photoshop#spa day#relax#you are beautiful#be yourself#live laugh love#keep calm and carry on#everyone needs a day for themselves 😍#Eddie helped him make a skincare routine#Eddie even helped Frank put some makeup on#glow up#glowingskin#skincare#love yourself
27 notes
·
View notes
Text

been doing some oc work lately, this was meant to be a test but i’m pretty happy with how it turned out.
#gamma’s art#i’ve been figuring out how to make dragons in this fantasy setting#basically#Ancient Wizard Frankenstein took some dinosaur bones and made a magical creature to sort files in Mesopotamia#but they Life Finds A Way’d and multiplied#centuries later people re-made dragons to help with expanding empires and managing incoming wealth#dragons said ‘i don’t need humans to get a big organized pile of gold’ and went and did their own thing#and they’re made of dinosaurs#anyway i wanted to see how a huge dragon would look with a pterosaur’s beak and ominous lighting. i like it#i scuffed the perspective though so the kid in front seems a lot closer than they are#they’re on a ledge some distance away from the actual dragon.#he’s a BIG boi.#dragon#also my first time using paint tool sai!#MUCH better than photoshop
16 notes
·
View notes
Text
it's a wholeass month after pride has already ended but i finally changed my icon
#finally got the motivation to pull photoshop open askjdhsd#even sent out a lil unprompted ask :0#thinking i might try to do that for a lil handful of people byan has established dynamics with#just to kinda like. dip my toes back in while i'm in this weird 'can't write' place#maybe it'll help get me going again ajkdhfs#not doing it all today tho like omg no... but maybe attempt one every day or smth so i'm at least writing a little every day??#idk idk we'll see i'm just playing with ideas#i need to stop liking starter calls too tbh my drafts are only getting more daunting lmfaskjlfds#but i wanna interact with all my newer mutuals & express my interest!!!! uggghhhghgh#fuck i've got plotting ims that i accidentally let slip from my attention that i need to reply to as well#SEE THIS IS WHY I'VE BEEN LURKING i overwhelm myself the moment i start thinking about writing aksjdsds#━━ ˟ ⊰ ✰ ooc ⋮ don't @ me.
7 notes
·
View notes
Text
Ok last doodle post of today i swear ajxbsixhsjd
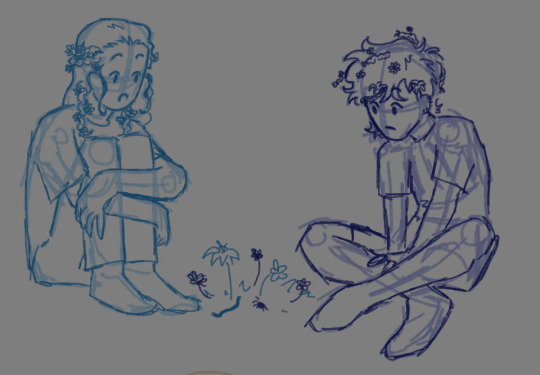

Frerin is based on fishfingersandscarves (im too scared to @ dies a million deaths) design of him fir sansûhk bc i needed a visual ref and i really really like the way they draw frerin *splat*
#my art#the first one is me and my brother :D#the second is the hobbit shit /silly#self portrait#frerin#sansûkh#i always forget where the h is#slowly getting used to using photoshop#bc i need to use it for class#so im trying to faniliarize myself w it#altho its onky taken like two days for me to get pretty good with it#to the extent that i am with mspa and krita#prolly helps that ive used more than oke other drawing program LMAO#anyways#i really like frerin. squishes him#squimsh#if i ever write the au idea ive got floating around in my head#then ill get to write him :D#dances a lil happy dance#i need to draw more of the dwarves#oh ky god i dhould draw. homestuck characters in tolkien lore shjt#ohmygods. i need to do that iminantly
3 notes
·
View notes
Text
in desperate need of money
this is my patreon. my mom and I are struggling right now and need any help you can give, even just reblogging. we can't afford groceries and are essentially homeless- we don't know where we're going to be staying next.
I'm currently job hunting but it's very difficult to find anything as I don't have enough experience and need to work remotely.
so patreon is my best bet right now.
I'm open for commissions, I do photoshop, video editing, proofreading/editing, writing, and some graphic design. some examples of my work are under the cut!


before and after
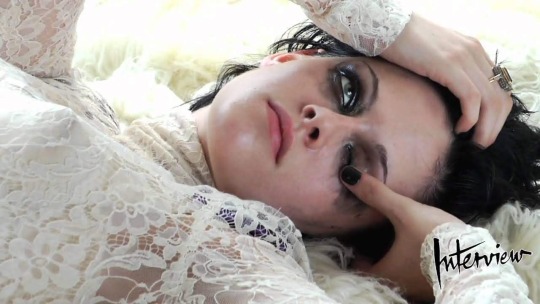
before
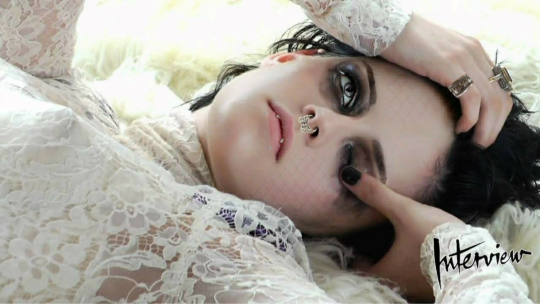
after
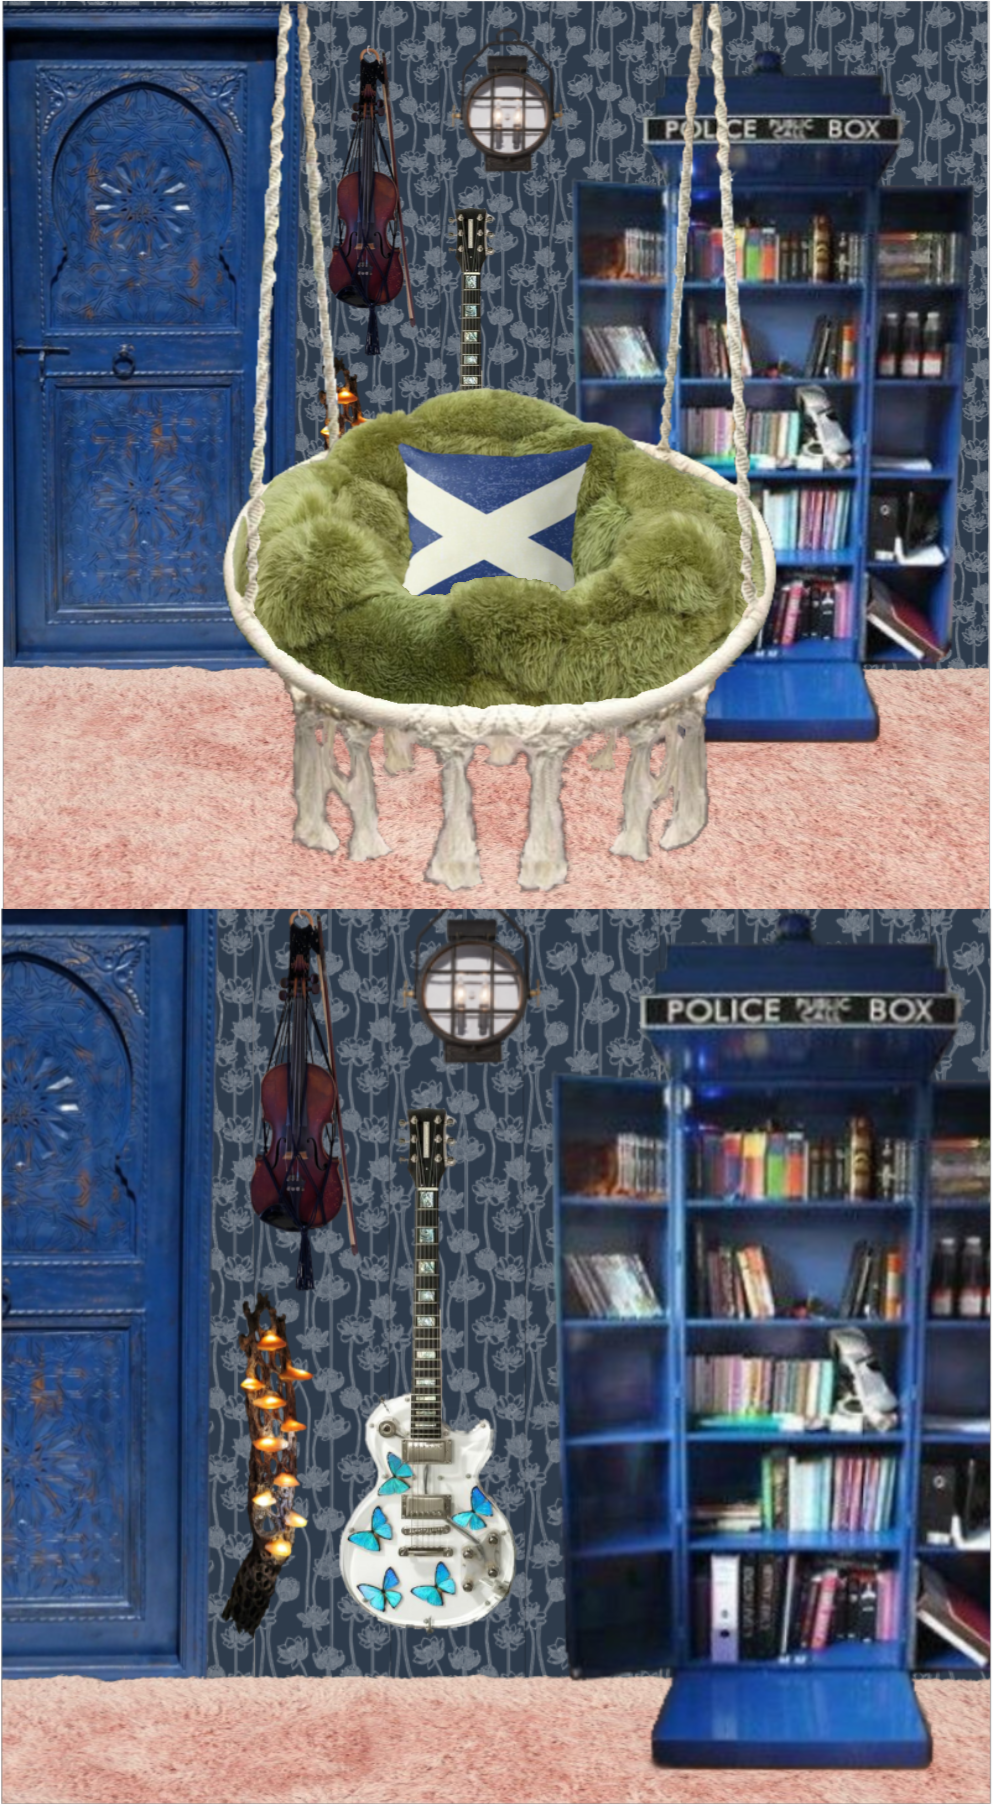
this was made from scratch. everything here was found individually and put together


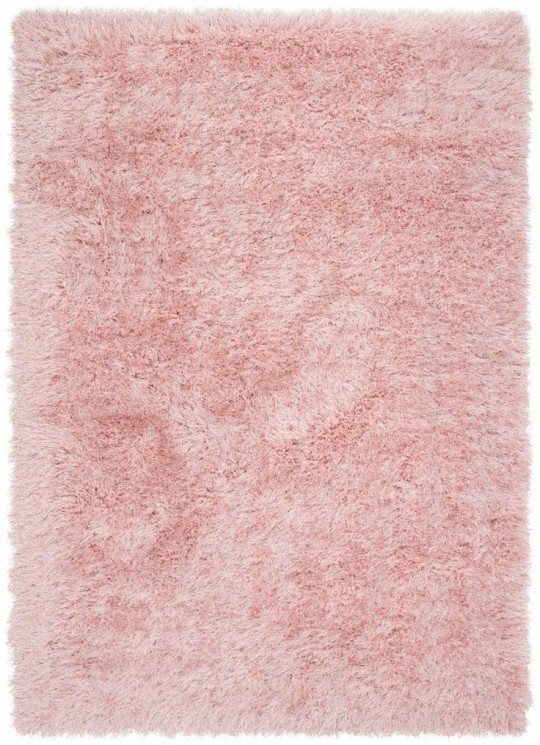
some of the original elements

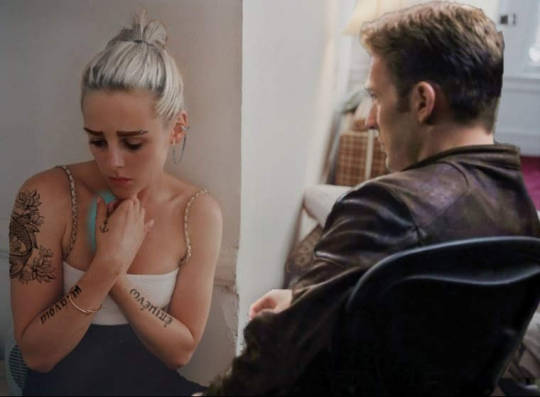
before and after
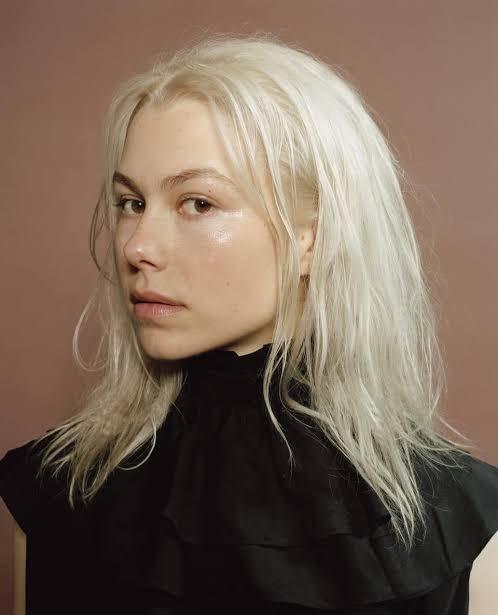
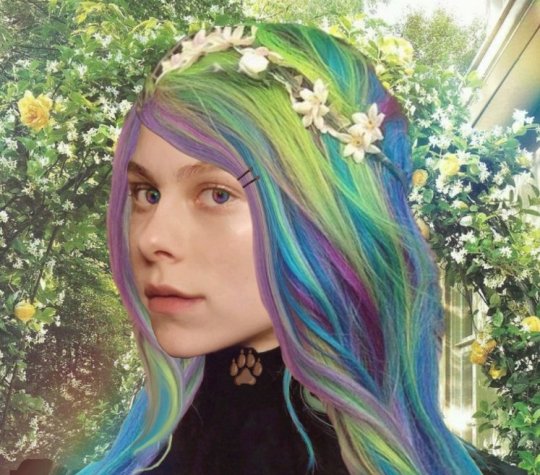
before and after
#please help#urgent#donations needed#help needed#please reblog#patreon#commisions open#art#photoshop#editing#character edits#interior design#oc edits#digital commisions#taking commisions#art commisions#original post
15 notes
·
View notes
Note
this meme but it's the '23 rookies discussing the pros and cons of letting mike g into the 'cule
HAHAHAHAHAHA god actually though
Is That Old Man Dick Worth It? 🤔🤔 (Answer: Yes!)
#someone with photoshop skills! make it happen!#also lmao i say old man when (and i just checked everyone's aged)#charlie is the oldest at 26 and mike is 29 (yoshi 25 chase 24)#but! mike's been in the league since 2018 which is FOREVER ago. thus. an old man. in football years (like dog years)#fr though i think yoshi Noticed the Situation (giant dick) first#and started flirting shamelessly while chase and charlie looked on in amusement#and then they decided to have a healthy polyamory boundaries discussion thing about it#where they concluded that really all 3 of them could help mike out. taking turns and what not.#(since apparently he can go for hours)#(this helps prevent the need for the Icing of any particular body part <3)#ANYWAY good morning lol it's 8 am.#thank you for sending this i got to start my day cracking the fuck up <3#'23 rookie polycule#mike gesicki
3 notes
·
View notes