#ornament making
Explore tagged Tumblr posts
Text


The diagram for the classic Origami Goat, with a twist to make its horns curve ! It's from this video by by Origami Word, but it seems to be a pretty old/intemporal design that a lot of people have made. I could not find a diagram online so I made one.
(If you make her in yellow/orangy-yellow, then decorate her with red ribbons, you can make your own origami gävlebocken ! )

#She'll be about a third of the size of the original paper#origami diagram#gävlebocken#origami goat#origami#gavlebocken#fun fact that not a lot of people might know : gälvebocken only refers to the goat of the city of Gälve !#however lil goats made of straws are a classic -around christmas- ornament/decoration - especially in northern europe/scandinavian countries#and they're called julbocken !#so yeah technically your little goat can be decorated as a julbocken *like* the gävlebocken is ^^#(but i put that into the gävlebocken tag because i felt like people might want to know they can make a flammable origami of the gävlebocken)
17K notes
·
View notes
Text

Our DIY Make Your Own Ornament Kit called Christmas Cottage is available at https://www.holidayslane.com/kits Each kit is for beginners to experienced ornament makers and includes everything you need to make this retro sequin and beaded ornament [except a few drops of glue].
#diy craft#diy#ornament making#christmas ornament#christmas#ornament kit#crafts for adults#easy crafts
0 notes
Text


Ornaments I made, babies in bowties, and outdoor strays asking for some extra food (we've TnR'ed all of the outdoor cats) !
Found out Factory Fuel was shut down today :/
December 13th, 2023
#mushcrush rambles#photos of the day#cats of tumblr#strays#ornament#ornament making#crafts#holiday crafts
0 notes
Text

saved leo from the prison dimension just in time for the holidays
#FINALLY....THEY ARE TOGETHER!!#this was a 2+ year hunt and at last leo was found in upstate new york#leo was truly hiding on a farm 2012 style#i visited....so many unreputable websites and spent way over list price for two of these guys but it's WORTH it#happy holidays to those who celebrate#i did plan on making a post with the three i had and joking about leo still being in the prison dimension but then i finally found him#mikey saved him fr (couldn't find him til i finally got my hands on a mikey ornament)#rottmnt#rise of the teenage mutant ninja turtles#tmnt#rise of the tmnt#rise donnie#rise mikey#rise raph#rise leo#sorry raph you're hatless#stars speaks
945 notes
·
View notes
Text
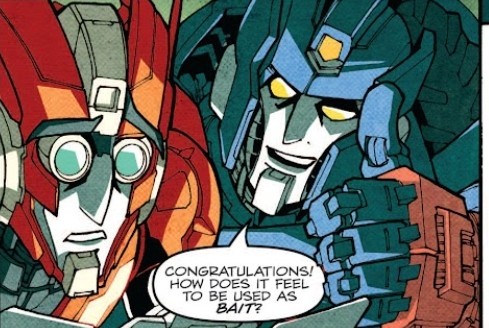
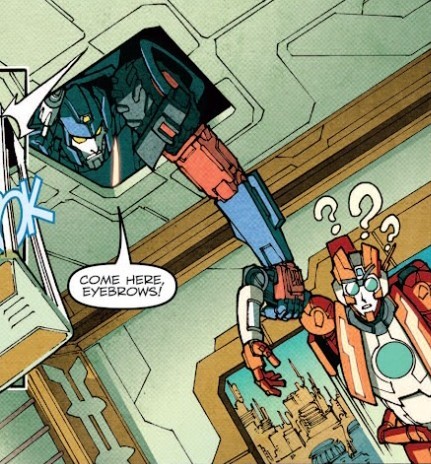
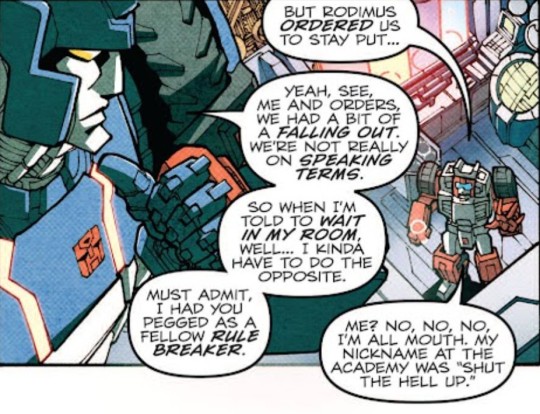
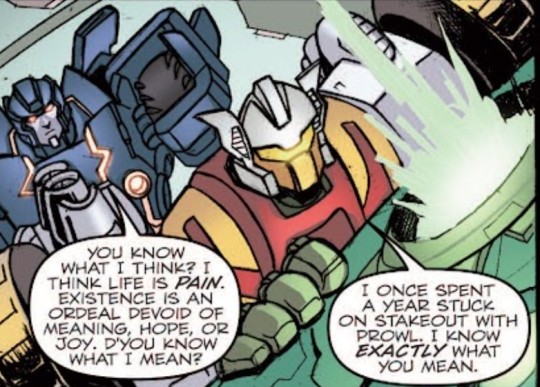
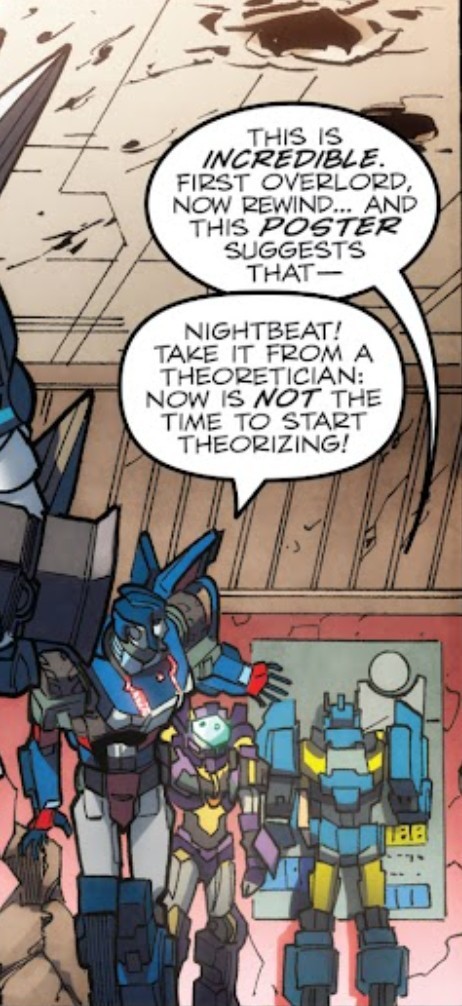
My brain malfunctioned and I was digging in MTMTE the whole day, forgot to blink, kicked pillow 8 times and was talking with my reflection 6 times
Ended up with 60+ screenshots of nerds being socially awkward/abnormal/straightforward because we use books to talk, not people, silly, cool or sweet, or just facts ahah


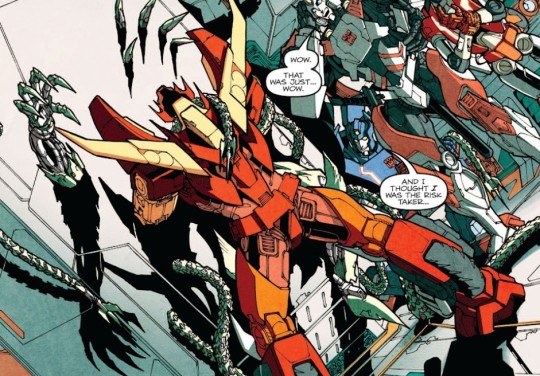
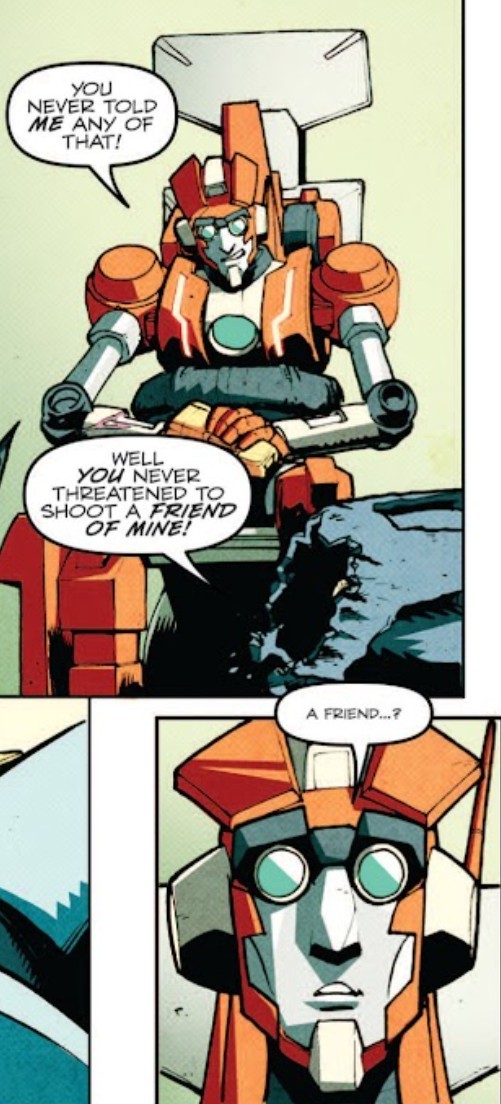
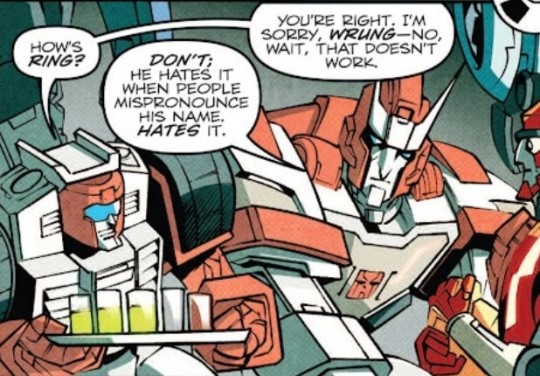

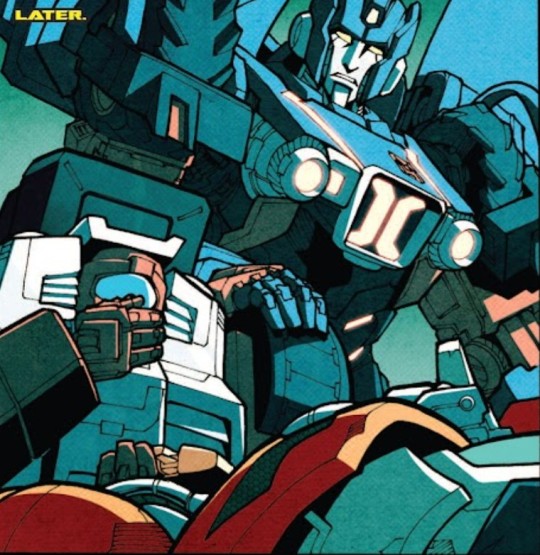
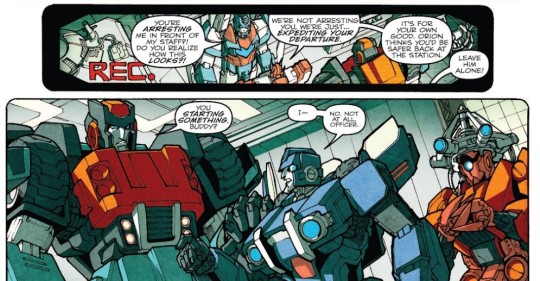
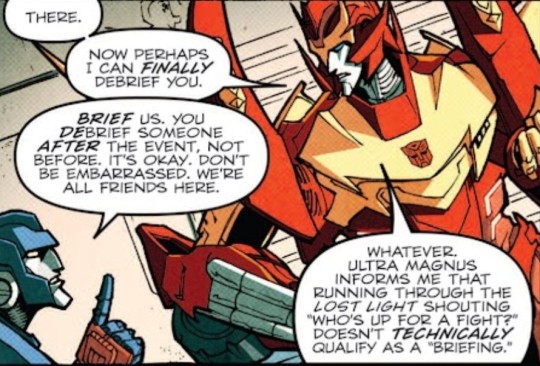

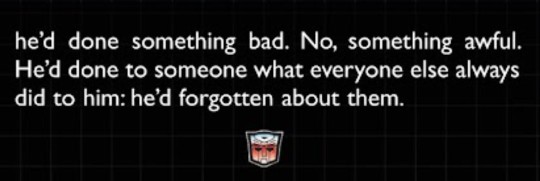
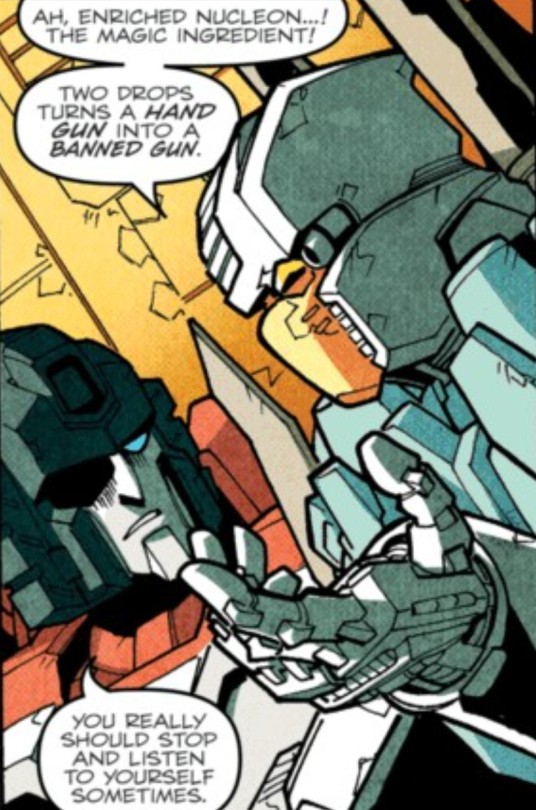
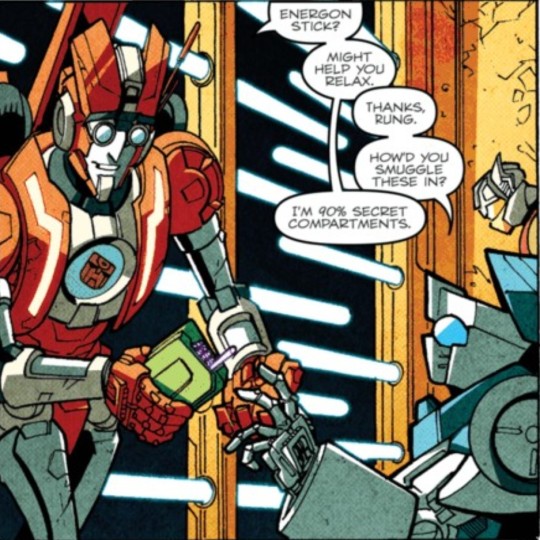
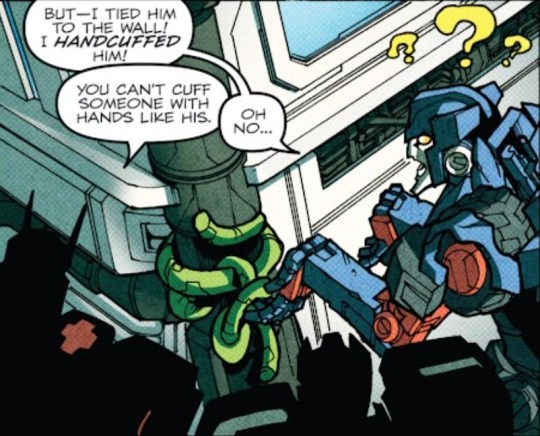

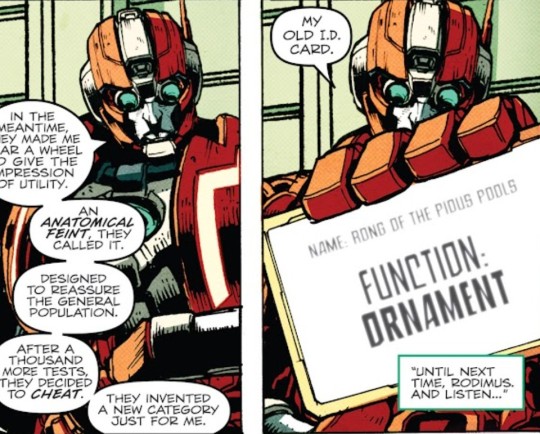

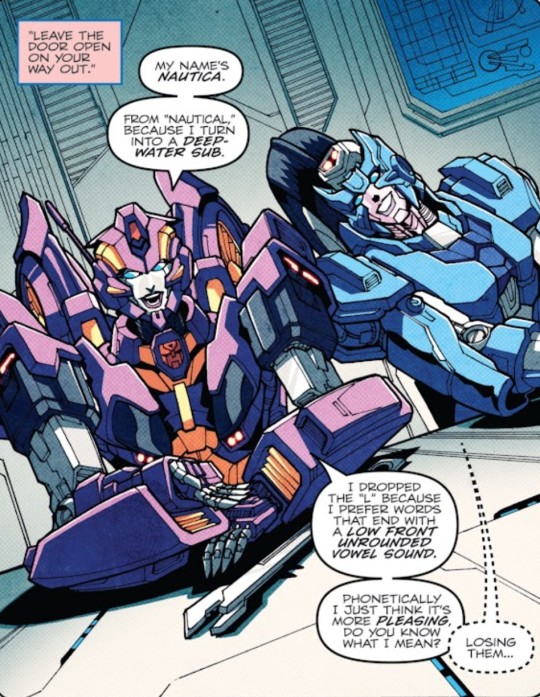


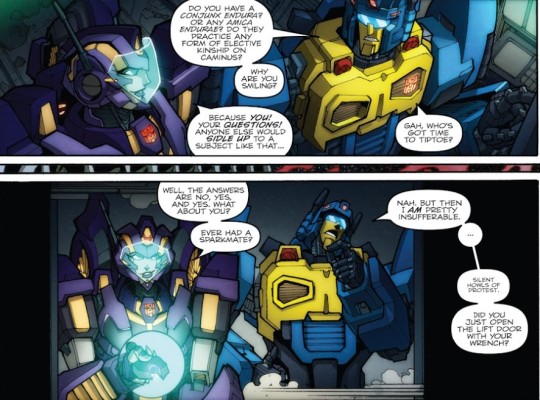
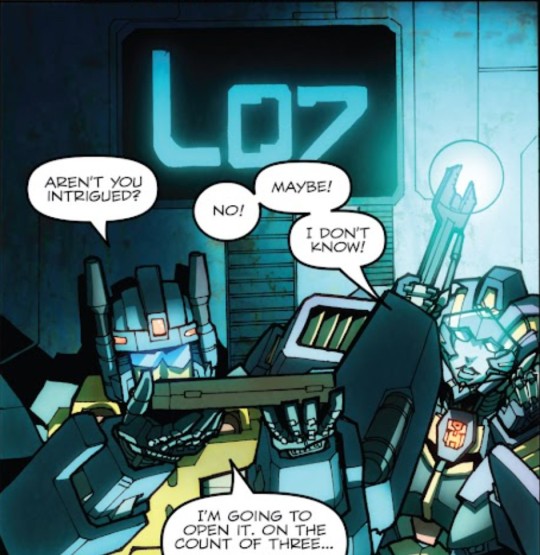
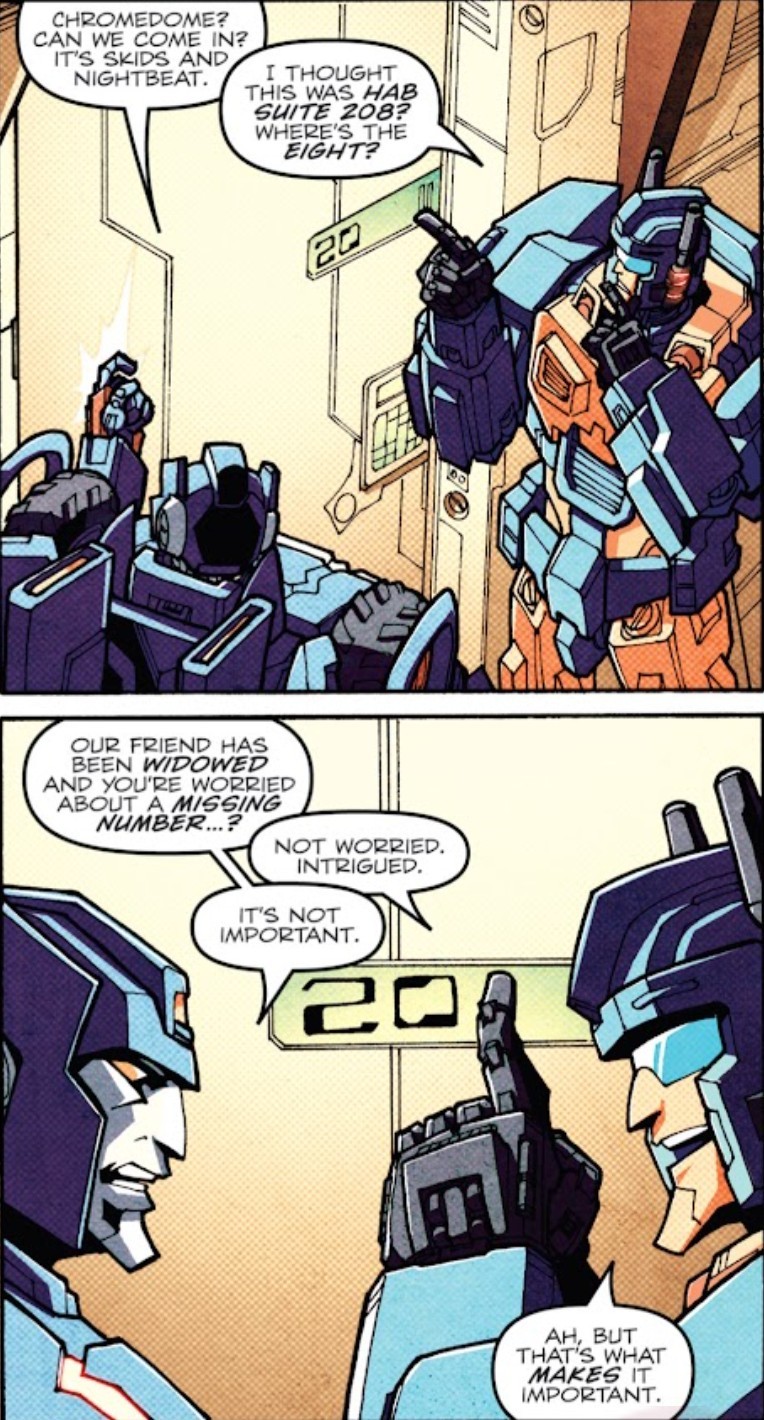
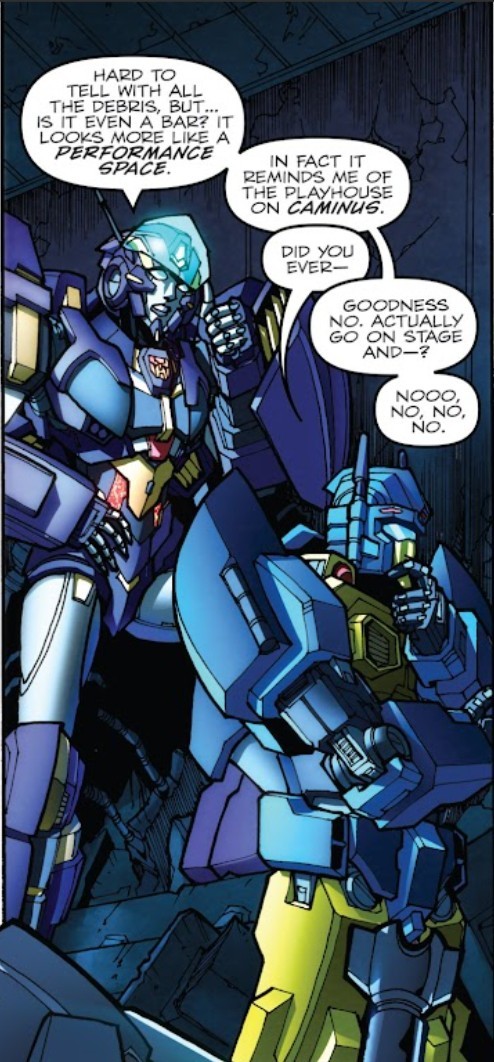
#Man I remembered again how much I love Mega and Rodimus duo I wonder how they would react to each other#If they met as their younger versions untouched by war#Swerve literally can quote every of Blurr's races#Cried again when Ratchet left his words are some poetry that doesn't need to sound like one#Whirl Cyclonus and Tailgate ? EHEHEH#Scavengers are unhinged hobos ahaha#I want to put them in one story with Sixshot and Terrorcons#NICKEL MY SWEET GIRL#Looked at Sunder and thought of how damn well he would look if to make him even more and scarier#First Aid acting immediately and giving orders what to do in emergency situation? Yes please#Functions is universe with their “you are our eyes” plot twist YESSS#Functionists giving Rung a fake wheel to make at least a little sense of him and call him ornament? Pfffht#SWERVE IS SO F**KING COOL WITH THIS WHOLE HOLOMATTER ABILITY#Yeah no I hate Getaway.#Senator Shockwave giving an order to stop forced change of brain until two in charge agree on this?#And this way saving Megatron#Whirl saving Megatron because functionists are WORSE#Functionists invented empurata and all universities#Trailbracker... Would have loved to see more of him and Rodimus. His attempt to save him hit hard#Rung having a claustrophobia? Matter of fact I saw no angst of him that I would have found angsty XDD Somehow him getting forgotten#is the worst I saw#Necrobot is a crush. Hear me out he is a crush and very cool. I wish he had more time with Nightbeat.
232 notes
·
View notes
Text
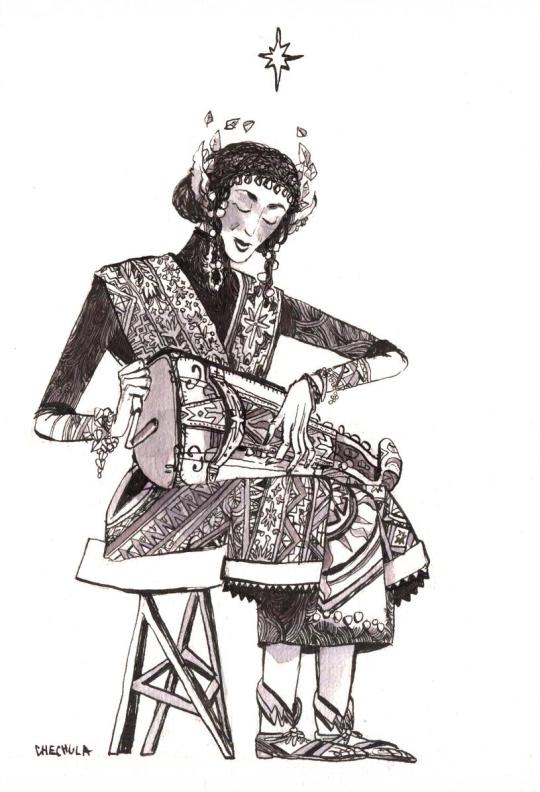
Since I drew Curufin, I wanted to make some proper designs also for other sons of Fëanor. But I had no time and when I had I didn't liked my sketches and ideas.
But atlast here goes Maglor, playing hudry-gudry♡
#tolkien#maglor#It is finished#I made his haistyle according to one book about moravian folclore#Where women used water with sugar to make their hair as ornamental as laces#It looked great#But it must be pain to wear#Imagine all the wasps
965 notes
·
View notes
Text


Children of Rannoch: Notable Quarians aboard the Rayya
Children of Rannoch - A Quarian Overhaul (LE2)
(template)
#mass effect#mass effect mods#children of rannoch#masseffectedit#kal'reegar#veetor'nara#zaal'koris#shala'raan#daro'xen#han'gerrel#kar'danna#dailygaming#gamingedit#quarians#this took me 2 days to make pls clap#first time using a template it was rough going at first#but once i got into the groove it was alright#i could write 100000 words on how much i love this mod#the suit diversity - the different hoods and ornamental items on them#every quarian feels unique even the ones in the background#i don't think we appreciate han's missing eye enough#i love how its scarred over#xen's golden claws always get me along with raan's arm plates#i adore the different pieces koris and han have added to their suits#and their hoods! i tried my best to show off different details#having to look up their names exactly gave me whiplash when i saw how they look “canonically"#edain's edits
407 notes
·
View notes
Text
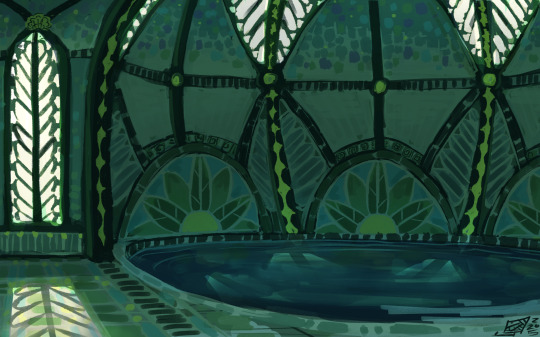


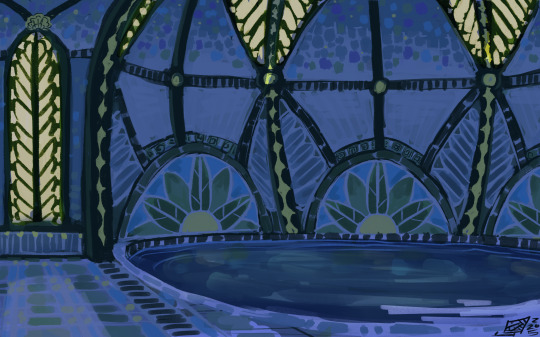
Experimenting with Seawing architecture
#I'm still figuring out what architectural style works with what tribe#there are easy choices (Skywing: Roman/Romanesque Icewing: Gothic Sandwings Persian) but for the others I still have to figure things out#for seawings I want to have a water/artsy feel so I'll try making organic shapes and mosaics#although I couldn't keep myself from adding some gothic elements... ough my habits#the perspective is sloppy but I wanted to be quick (I wasn't) and focus on drawing ornaments and tiles#anyways do whatever#(erm this is btw the summer palace)#art#my art#wof#wings of fire#prsk wof au
327 notes
·
View notes
Text
my Nevarra headcanon is that they love Memento Mori rings
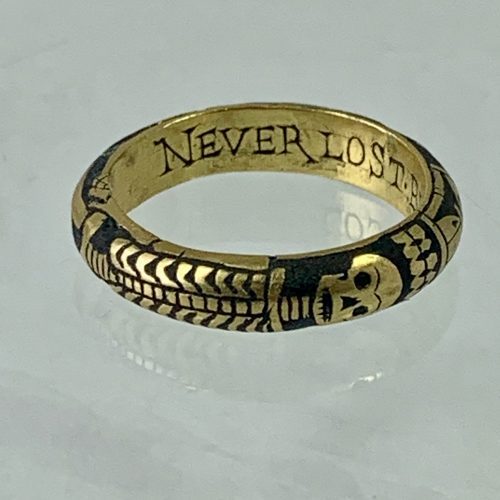

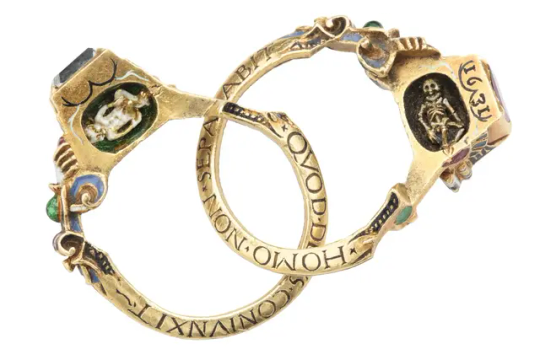
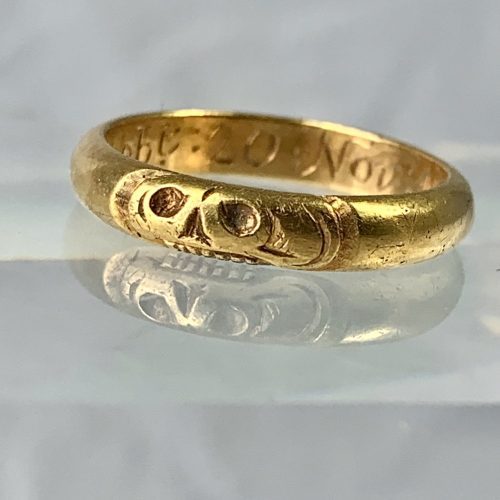
#(irl these rings / types of jewellery more generally are thought to have been in use in Europe from the 16th century as a way to#remember a recently deceased loved one and serve as a reminder that death is never far away)#which is a very cool concept to me and i will be stealing it for dragon age purposes#i like the idea that they buy or exchange them for special occasions. not just deaths but also milestone birthdays and weddings and such#as a culture they're big on death and also gold and also heavy ornamentation so this makes sense to me#and you know. a birthday is a step closer to death. a wedding means more heartbreak when death does come. a shared grave. etc
244 notes
·
View notes
Text

congrats on the resplendent my claude luvrs !!
#pancake (art tag)#claude#that gear ornament..i tried freehanding it and it was so skrunkle... MY HUBRIS!!!!#i ended up making a gear shape in a design program and pasting it into da drawing WAHHAHA
180 notes
·
View notes
Text
People will just put up the most meaningless Christmas’s trees with plain generic sentimentless balls and expect you to be impressed. No. I’m not in awe of your lackwhimsy Christmas. Get some ornaments that mean something to you, freak. Put a felted reindeer drinking hot coco on there stat. Get a kid to roll a pinecone in glitter and slap some Googly eyes on it and place it on a branch proudly for all to see. It doesn’t even have to be your kid
#nyx shut up#buy a handmade angel ornament from some guy in a van#it’ll make for an interesting story#if I can’t figure out your life story by looking at your Christmas tree I don’t CARE
153 notes
·
View notes
Text

Our DIY Make Your Own Ornament Kit called Nostalgic Peppermint is available at https://www.holidayslane.com/kits Each kit is for beginners to experienced ornament makers and includes everything you need to make this retro sequin and beaded ornament [except a few drops of glue].
#ornament making#christmas ornament#diy#diy christmas#crafts for adults#diy craft#crafting#christmas#retro aesthetic
0 notes
Text
silly hc : emmet feels like the type to decorate Christmas ornaments
but before the first movie he’d just follow the instructions like ‘okay this one needs red glitter… and, red paint andddd this specific type of face :D’
but afterwards he’d start personalising them and probably making ones themed after his friends :D !!
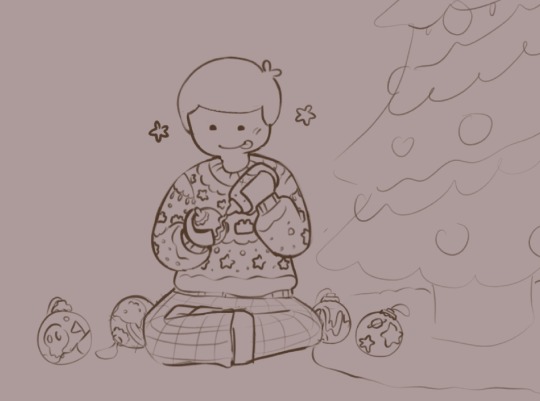
#art#the lego movie#doodles#tlm#emmet brickowski#tlm emmet#the lego movie 2#emmets so fun to doodle#he is indeed using glitter glue#maybe he makes a double decker couch ornament#as he should honestly#i’d want a double decker couch ornament#who wouldn’t ??#i feel so eepy
128 notes
·
View notes
Text

F1 2024 Charlie Brown Christmas Tree! 🎄
#my art#f1 2024 season#f1 fanart#f1 fandom#formula one fanart#f1 teams#formula 1 fandom#formula 1#charlie brown christmas tree but make it f1#ferrari#mclaren#red bull racing#alpine racing#aston martin#mercedes#williams racing#racing bulls#stake f1 team#haas f1 team#i had this idea weeks ago and now I’m just finalizing it in time for Christmas!#Christmas tree#digital art#ornaments#happy Christmas to those celebrating!#🎄🎄🎄
131 notes
·
View notes
Text


HOLY MOTORS: Razor Cola
driven by Slit
#mad max#fury road#mmfr#driven by slit aaand some other war boys we don't know :)#wow. he makes such a good hood ornament 🥴#my edits#i love this car !!!#gifs
239 notes
·
View notes
Text
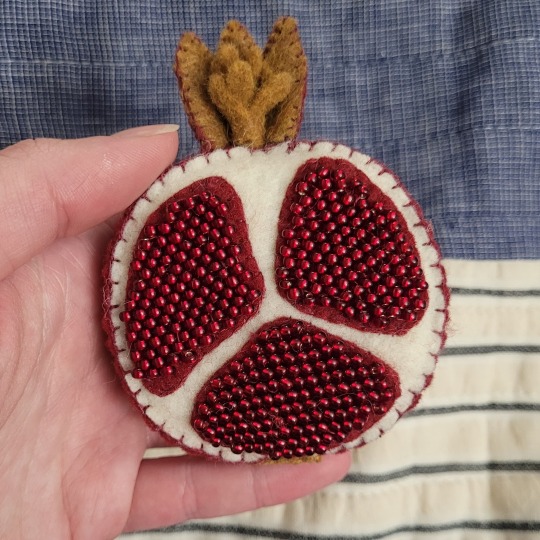
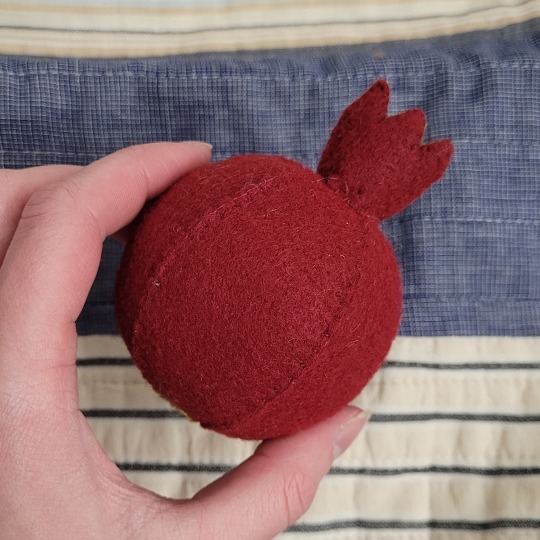
I made a pomegranate :-)
558 notes
·
View notes