#just funny and had to share
Explore tagged Tumblr posts
Visit Tumblr Blog
Explore Tumblr blogs with no restrictions, modern design and the best experience.
Last Seen Tumblr Blogs


Fun Fact
Tumblr has been providing a Korean-language service since 2013.
Text


my wishlist has been overrun by my oc with faeirecore 😂
#I do a lot of photo stuff and sb got me a gorgeous cape omg I’m so excited!!#those rainbow ass skirts I’ll actually wear just normally too#those skirts are androgynous enough my oc can wear them flawlessly#yes I ‘cosplay’ my oc and also joshua w my wardrobe 😅#tbd#just funny and had to share#my oc is in my banner btw if u wanna see a ref
7 notes
·
View notes
Text
Knowledge Revenge.
#dungeon meshi#chilchuk tims#senshi#Somewhat of an unofficial sequel to the Dragon Comic. I promise I have more versatility in my jokes. I just had to take this opportunity.#Senshi is pretty much a recluse. I think he would know a few of these 'gottems' but not all.#Chilchuck would know gottems that are nearly lost to time. The deep cuts. The ones that you fall for because they are that obscure.#I would also like to take a moment to confess that after the last comic in which I posed a gottem -#I fell victim to a Mind Goblin Attack. I was thoroughly got. I will be on higher alert this time.#So NOBODY be funny in the tags. I am gullible and I like to share things with my friends. Who are *ruthless*.#I have a mild resistance to Vicious Mockery at this point but I can only take so much.#Happy Thistle Thursday Everyone! See you next week!
72K notes
·
View notes
Text
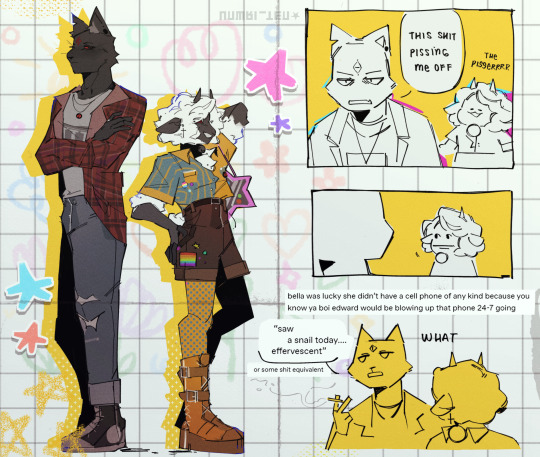
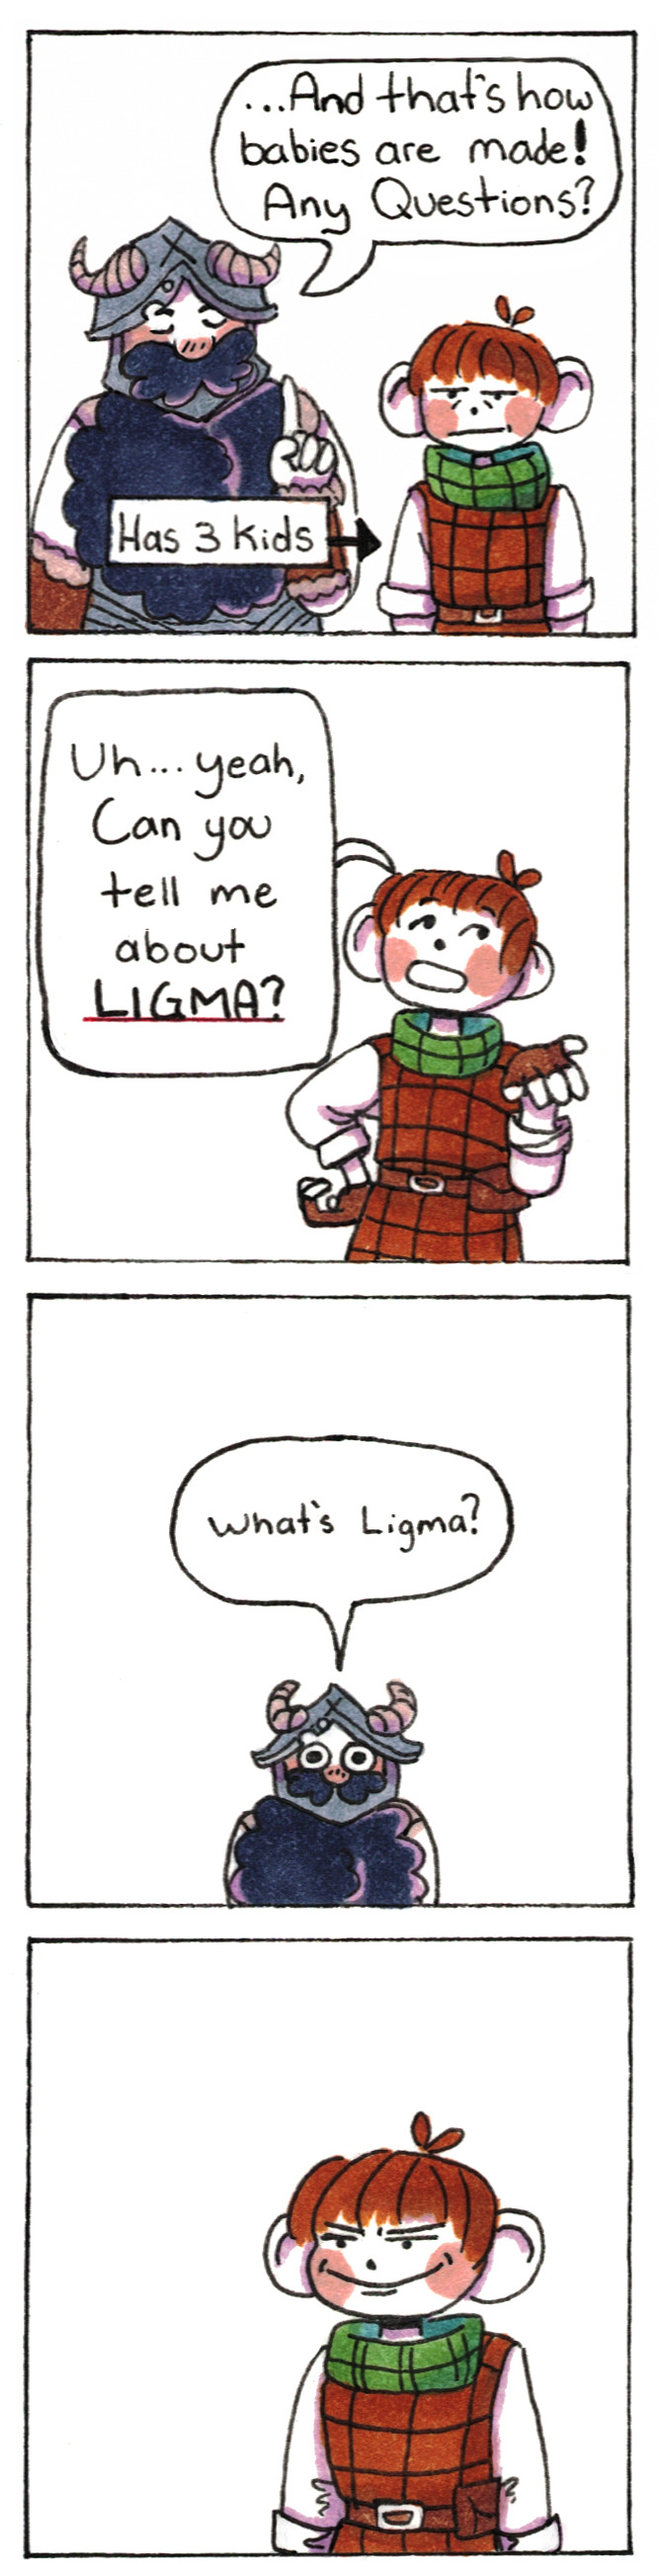
starting a movement (the 'making these two as unserious as possible' movement)
Closeups:
#if the lamb wasn't monitoring his clothes#nari would have a bullet necklace#idk why i had to share that#cotl#cotl modern au#cotl narilamb#cotl lamb#cotl narinder#cult of the lamb#cotl au#idont hae my own modern au guys i just wanted to draw them funny#teniseeart
1K notes
·
View notes
Text
Pac: I'm not going to say anything to you guys [Chat], I'm not going to say anything to you. I'm not saying absolutely anything, I'm not going to comment. Man, you broke me here, you broke me in 3 parts! I'm not going to- no no no no no, I won't fall for your game, I won't fall for your game.*
Pac's chat allows viewers to make music requests, which led to this very well-timed moment today where Careless Whisper started playing as soon as Pac met back up with Fit.
* [Approximate translation. I'm not a native Portuguese speaker, so as always, please feel free to let me know if there's a better way to translate things!]
#Pactw#Hideduo#FitMC#FitPac#QSMP#December 6 2023#Edited#in the sense that I had to edit the music back in because Pac's VOD mutes all music#Luckily another fan shared a screen-recording of it so I was able to tell when the music kicked in in the original#so TLDR: I just put music back into this clip since it was muted#I'm so glad I finally have context for wtf that was about because I was watching from Fit's POV#and all of us were like ''??? What's wrong with Pac rn?''#also I realize that a lot of the recent clips have been Fit or Pac-centered#I've got a little bit of time to add stuff to the queue tonight so I'll mix some more variety in#it's funny because I started posting Fit and Pac stuff more to ADD variety and then over-corrected#lol#Pac#Fit#I can't stop laughing over Pac's POV because he genuinely looked so insane in Fit's POV#I need to go back and pull up that moment now
2K notes
·
View notes
Text
Remember when Dazai being honest for 0.00001 sec had him tweaking so bad he needed to lie about lying?

#tbf this might have been the first time he ever extensively talk abt his relationship with Oda to anyone#Ada members had no idea he was in the mafia#so he couldn't rly share that#but yeah it's so funny that when Atsushi just respond with “huh” Dazai immediately says he lied#even though we all know that's the truth#plus no one who lies ever admits they're lying#esp not Dazai#yeah I call defense mechanism#bsd#bsd dazai#dazai osamu#bungou stray dogs#atsushi#atsushi nakajima#bsd dead apple#J's Post
517 notes
·
View notes
Text
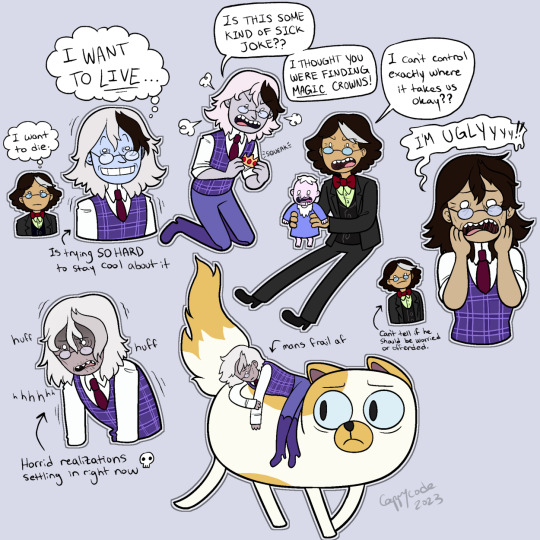
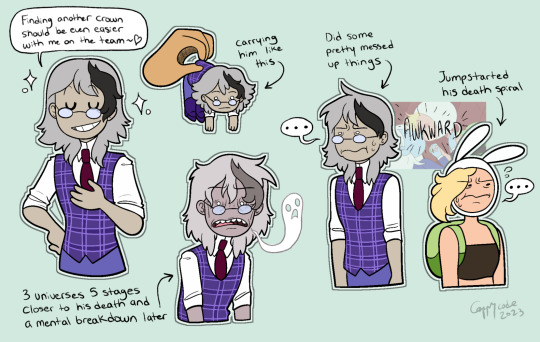

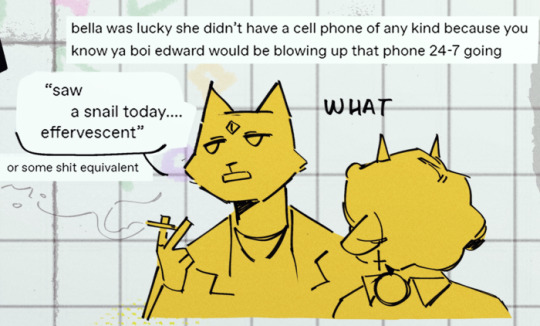
CONCEPT DOODLES for an AU I dabbled in with a few friends after the winter king episode but kinda forgot about after the Fionna and Cake finale... I decided to revisit it and explore a little more after coming to terms with everything LOL... So, it's another "Winter King doesn't die immediately after his crown gets nuked" AU, but THIS TIME he's just dying really slowly (like Simon in the Betty episode) and ALSO joins Fionna, Cake, and Simon on their search for magic crowns. There's no logic behind this tbh, we just wanted to put him through The Horrors. And make them all friends. But mostly The Horrors. :) (he only gets to live as a treat, because I think he's funny).
Bonus (old screenshot), because this is still funny to me:
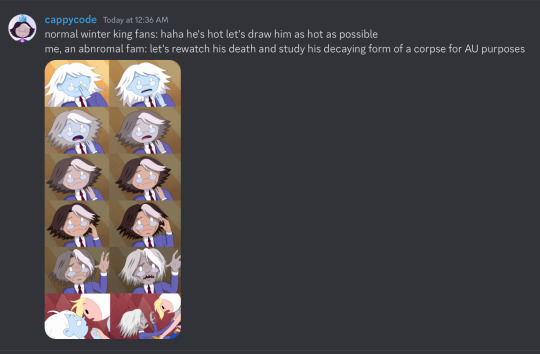
#adventure time#atimers#fionna and cake#winter king#simon petrikov#fionna campbell#cake the cat#shared custody au#winter stowaway au#fan art#digital art#flat color#2023#this is my blog so whatevers man... ima just post what I want now... and what I want rn is silly simon AUs LOL...#so expect more of me releasing my stash tomorrow#this AU makes the story like 500x more messy but it's fine it's funny that's the point don't think too hard about it#this is their fault for killing him now I gotta make up scenarios where he is alive#his design is inspired by some doodles my friend crayon did#ALSO I wanted to keep some of his features different from default simon so they're easier to tell apart...#like YEAH they're the same character... but also I just think it'd be fun... if they had subtle differences... because alternate universes#ALSO HE'S PALE BECAUSE HE'S DYING. JUST MAKING THAT DISCLAIMER... HIS SKIN TONE IS KINDA CLOSE TO DYING SIMON IN THE BETTY EP#BUT IN NORMAL CIRCUMSTANCES HE'D BE CLOSER TO SIMON'S COLORS
2K notes
·
View notes
Text
the mighty nein - critical role
this is a place where i don't feel alone. this is a place where i feel at home.
#also with softer vibes. i offer They#every silly little brainheart found family deserves a to build a home edit#the mighty nein maybe most of all. thats my family#also the lyrics deliciously well suited to m9.#when jester pulls that. stupid tarot card for fjord. home or traveler. and there's a carnival wagon. and veth says Thats Us! . them#i just think about . the tower is their home the xhorhouse is their home the lavish chateau is their home the balleater. the mistake.#the nein heroez. veth and yezas apartment. the dome. fjord and jesters living room floor.#a bar with a silly name on rumblecusp#also like. the song has stone and dust imagery. gardens and trees.#the inherent temporality of life and love and how that holds no bearing on how greatly people can love. im losin it okay.#ive been making this edit for days straight with my computer screaming at me for trying to shove 143 episodes of cr into a 2min20sec video.#crying becuase. theyre a family do you get it. they were nine lonely people and most of them had given up on seeing their own lives#as something that might be good. something that might make the world a better place. and in the end they're heroes.#and it doesn't matter if no one else knows because They know they're heroes. and they wouldn't've believed that was true when they met.#rattling the bars of my enclosure. to be loved is to be changed#posted on twitter and want to get in the habit of posting here too bc.#general reasons but also bc . i have noticed some of the ppl liking/sharing it are also ppl who shit on my ops by vaguing about my posts#which is in general whatever but does leave a funny taste in my mouth.#critical role#the mighty nein#cr2#caleb widogast#caduceus clay#jester lavorre#fjord#veth brenatto#yasha nydoorin#beauregard lionett#mollymauk tealeaf#my posts
3K notes
·
View notes
Text
stop killing yourself kim dokja you're making the audience sob depression style
#kim dokja#kdj#orv#im going to be so fr rn thats not lee gilyoung thats just some random kid i drew so i could cling onto kimdokja like that#me im the audience who he is making cry#old sketch but it was so funny i had to share it#orv spoilers
648 notes
·
View notes
Text
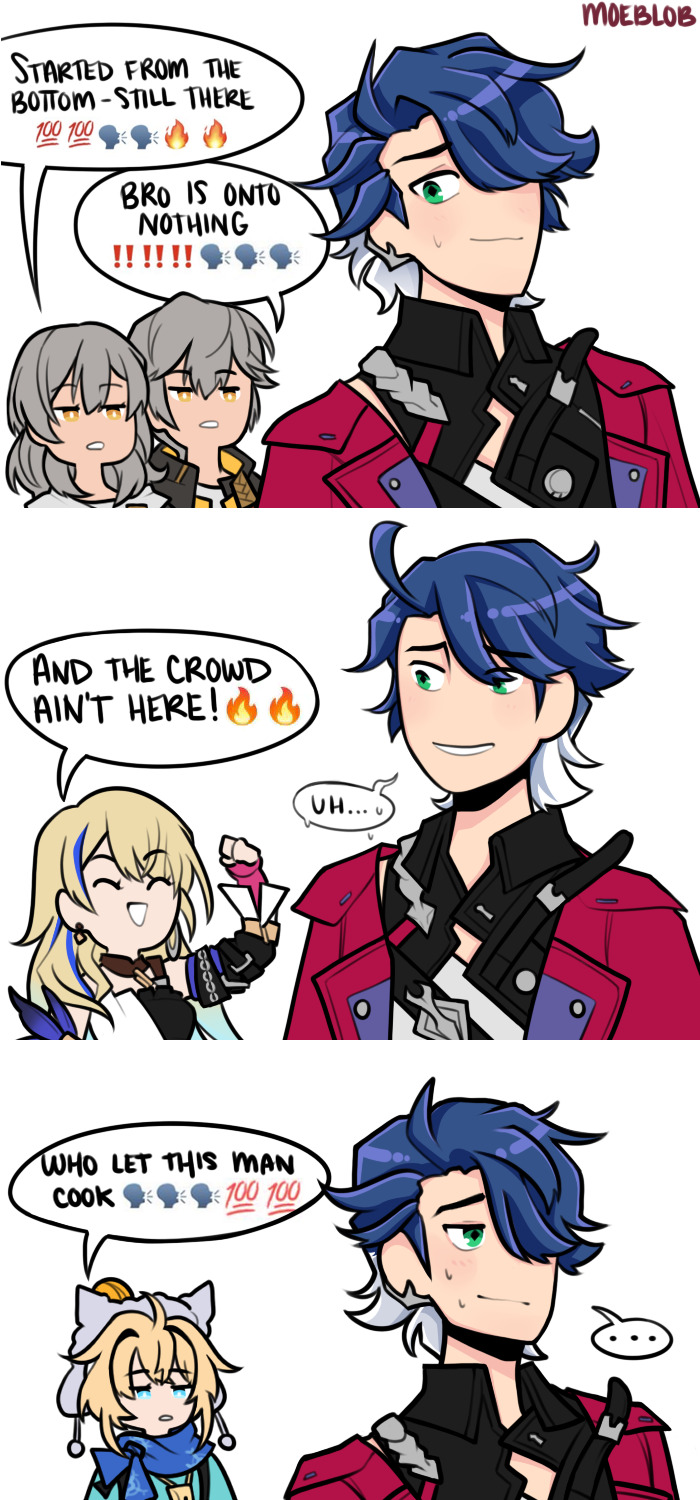
We don't talk about how long ago I started this haha (there was supposed to be more parts but let's worry about that later).
You should roast Sampo all the time as a Belobog citizen duty.
#honkai star rail#sampo koski#trailblazer#serval landau#lynx landau#this was truly started ages ago and i only did the lynx part today but#gotta share it despite being INCREDIBLY behind in HSR and oof#being denied my game rights bc laptop refused to load the game and was just a black window no loading#then desktop needed to update and took over 45 minutes so i didnt play after cause i was napping while it finished#but then it didnt finish bc my comp went to sleep on its own#so then i had to CONTINUE to update and havent tried since but i should be able to play a bit today (hopeful)#despite what the trailblazers say here i answered every single option i could with happiness to see sampo cause it was funny
566 notes
·
View notes
Text


Beloved Residents of Dirtmouth (And Quirrel 👍)
#hollow knight#elderbug#bretta hollow knight#bretta hk#sly hollow knight#sly hk#zote the mighty#zote hk#hollow knight nymm#nymm hk#hollow knight quirrel#quirrel hk#confessor jiji#my art#fanart#Oh the folks Dirtmouth; how you are able to enrich hope into such a bleak setting#Also hiiiiii I'v been replaying Hollow Knight recently!! I'm already at 20+ hours pfffff#And as a result I simply must draw the characters of the humble game I cherish so much hehe#This has also filled my mind with bees of various headcanons I've just made or I've had for a awhile but never shared#Major one I've had: Quirrel has deform lower arms; he was simply born with them and they don't do harm to his person#They can get in the way and get cut easily; so they're often bandaged for safety#+ Quirrel needs a cane/leg braces to help him walk because of serve leg damage caused by his overexertion while wearing Monomon's mask#In summary; the mask made is so his mind ignored the pain rather than actually get rid of it#Resulting in Quirrel never getting the *true* rest he needed for certain expeditions#He knew that risk and warning before but he forget later after his journey away from Hallownest#And for funnies: Bretta is a hypocephalus armatus!! Finding refs of them was quite the challenge so I hope I got the overall feel down#They have funky little back legs I don't think I quite captured here but the effort was fun!#I have way more for the other characters here but for now I shall have my mouth sealed until asked
239 notes
·
View notes
Text


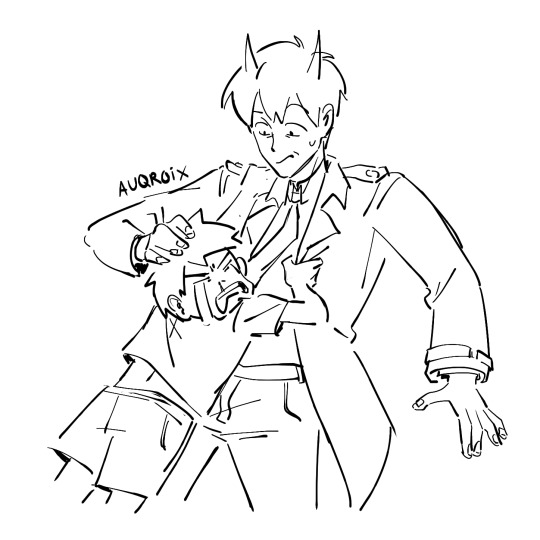
im having a mental breakdown
#dracule mihawk#sir crocodile#crochawk#my art#described in alt text#AEAV comic#yea i might like. change a thing or two. cause that hand is already A LOT. BROTHER.#also why is this the prettiest croc ive drawn. so pretty in his gentleman tank top. had to look for a while trying to find what the#actual name of 'sexy salaryman socks' was. it's just. socks with garters. the name.#i know i said i wouldnt share more but listen this size diff is killing me not in a funny way. i mean lowkey but yknow
354 notes
·
View notes
Note
I love your post about balding Casey. There’s something beautiful about growing older. It warms my little LGBTQ+ heart to see LGBTQ+ characters grow older 💜
Thank you! I know "haha 👉 bald" is a tried and true facet of comedy, but I wanted to take this seriously. Balding and aging aren't a terrible misfortune that happens to people when all their youth is shriveled up. It's just a part of life.

"Look at you, finally joining the bald beauties!"
#quarterdraws#askbox#clarification comic#rise leo#rise casey jr#and like ive enjoyed my fair share of bald jokes yes#the cheese on the head. a classic.#but theres a point where it just comes off as really vain. and ugly (in a personality way)#i got kind of annoyed when the joke kept getting hammered in#before i had even decided to make him bald or not.#it can be a little chuckle funny sometimes. it doesnt really deserve an out-roar of laughter.#like that guy with no hair who smushes a plunger on his head and makes monkey noises.
202 notes
·
View notes
Text


The Quest Continues...
(part 1- part 2)
#Fourfold Soul#<- That's the title of the project I've been working on!#I am very excited to finally show off the cowboy (gender redacted) I've been cooking in a slow boil!!! Yeehaw!#Yes this is the game project. YES I am commited to the bit of having the main character go through a long running pronoun-quest.#This character does not have a name so I cannot formally tag them...#(Okay. Technically they have an internal name for coding/scripting reasons...and I have a nickname for them.#But the important part of making a video game character you get to eventually name is that the name must come from *you*!)#The girl here is a npc so she has a temporary name. So I also cannot tag her. Hmm...#I have several FFS comics thumbnailed out. This one got made first because it's the funniest without context. Lore wise it's weak.#I would love to post the sexy clown but you have to wait just a few more comics.#Fun artist woes moment to share: This is the first time I've had to colour these characters traditionally. *That* was NOT fun.#Going from a specific digital colour palette to being at the whims of my limited colour choices in markers? Hell! On! Earth!#I might also be extra frustrated because this sure is 3x the length of what I usually do for comics! I spent a Whole Day on this.#Past me thought it was soooo funny and needed all the extra panels for pacing. I hate past me. That guy needs to be exploded.
554 notes
·
View notes
Text
favorite genre of ace attorney fanart is apollo perceiving. love seeing all the fucked-up ways that god damn twink can stare at people
#ace attorney#ace attorney funny#apollo justice#ajaa#dual destinies#spirit of justice#when i drew my own version i showed my gf and she pulled out some ancient piece she had made doing the same#didn't even know/remember it#we all just share 1 braincell huh
212 notes
·
View notes
Text
Ok ok I’ve been thinking a lot about @morganbritton132 Steve’s older siblings au and I love the idea of him becoming an uncle at 2 because of the crazy age gap. Then I also started thinking about the theory of Gareth and Steve being cousins but may I raise you one better and say Uncle Steve and his nephew Gareth. PLEASE ITS BEEN PLAGUING MY BRAIN. It’s so funny. Like imagine the shit he’d get from the boys. Eddie constantly making jokes about banging Gareth’s uncle. Gareth is disgusted by the whole thing.
#this is nothing but I had to share my rambles#it’s just such a funny idea to me#like Steve and Gareth both hate being uncle and nephew#they don’t tell anyone#until Gareth blurts it out in disgust when Eddie says he’s dating Steve#i’m obsessed#st#stranger things#steve harrington#gareth stranger things#Steve ‘the hair’ Harrington
402 notes
·
View notes
Note
im the normallest svsss fan. i got nintendogs and cats, made lqg a black coat shiba, and got two identical white cats called yuan and jiu. i will now see which one qingge likes more

THAT'S SO REAL AND ALSO REALLY CUTE 😭
Also Black Coat Shiba Liu Qingge is so GOOD


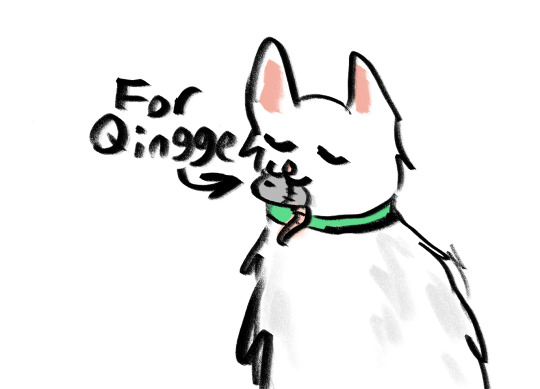
#svsss#shen qingqiu#shen jiu#shen yuan#liu qingge#I had no idea what nintendogs dogs was at first and when i first saw this ask i was like#nine to ten dogs... so many dogs...#until i googled it#BUT THIS IS ACTUALLY SO FUNNY AND SO CUTE#Liu Qingge just wants to share 😔#ask
463 notes
·
View notes