#how to garden
Explore tagged Tumblr posts
Text
mini meadow
25 notes
·
View notes
Text
youtube
Hannah shares some tips on how she gets the best results from the heavy clay soil at her home.
There’s an old saying that clay soils can break your back, but sandy soils can break your heart. Few of us are lucky enough to have the perfect loam soils, but all soil types have their pros and cons.
Add compost - this can help improve any soil. It helps sandy soils retain water and nutrients and improves the drainage of clay soils. When Hannah started her garden, they removed all the topsoil, shaped the hillsides, then replaced the topsoil, mixed with compost and aged manure.
Use raised beds - these create better drainage and soil depth, allowing you to grow a wider range of vegies. Hannah’s range is between 20cm-40cm.
Choose plants that suit your soil - Brassicas normally do well in clay and kale and broccoli are two of Hannah’s family’s favourites, so they grow a lot of these. Top-heavy plants like corn, cabbage and Brussels sprouts benefit from the firm anchorage their roots can get in clay, and moisture-loving plants like lettuce, celery, and leafy greens benefit from clay’s ability to hold water. Peas and beans do well too, as do smaller root crops such as radish and small beetroot.
Keep an eye on changes - soils change over time, become compacted, get overwatered, or lose nutrients and general condition. Hannah prepared two beds the same way, but one is pumping out great-looking crops while the other’s harvest looks sick; Hannah will pull out the poor-looking veg, give the soil a bit of a boost, and start again.
How to improve clay soil - a great start is to add gypsum - this causes a chemical reaction that helps bind the small particles of clay together, forming larger particles that allow water and air to move around more easily. Hannah then adds canola meal and compost to feed the soil.
Will potatoes break up clay? This is a common belief and Hannah has experimented with this over the years, but her best results come from planting spuds into a prepared no-dig bed. You can also lay the potatoes at soil level and gradually build up layers of compost, mulch and manure on top. She believes it’s the extra organic matter that improves the soil, not the potatoes!
Recruit some worms - another way to improve your clay soil is to build a worm tower in your soil. All you need is an old bucket - Hannah uses a 20L food container. Drill some holes in the sides and base (for the worms to get in and out) and bury it into the garden bed. Add some food scraps and worms and cover it with some mulch to keep the worms cool and moist, plus a rain lid on top; Hannah uses and upturned washing up bowl. The worms will eat the scraps, create aerating burrows as they move around, and enrich the soil with their castings.
By getting to know your soil and playing to its strengths, you’ll get the best out of your garden.
#gardening australia#solarpunk#australia#clay soil#how to#how to garden#gardening tips#garden#gardening#heavy clay soil#compost#raised garden beds#Youtube
7 notes
·
View notes
Text
Woven composter
Compost has turned my clay and sand back yard into a gorgeous gardening space. I started trench composting, where you dig a hole and bury kitchen scraps, but the land eats like its starving so I went all in on composting.
Every year I make a new compost space in early spring and then plant a squash plant on top. I was inspired by the abundance of vine maple seedlings and willow in my neighbourhood, and by the simple tutorial from Sarah Bäckmo linked in the picture.

(picture from Sarah Bäckmo's site)
The first year I found someone pruning their willow tree and loaded up the car with prunings. Last year I participated in a local park clean up and took home what I wanted from that. This year I've been carting home loads on my bike or under my arm. You need A LOT of material to make a big basket, but it's well worth doing. And, on the coast at least, this is just the time of year to do it.
#gardening#weaving#woven compost bin#composting#vegetable garden#dig for victory#how to garden#garden witch rambles#home--farm#sarah bäckmo
10 notes
·
View notes
Text

Let you control everything from your home
2 notes
·
View notes
Text

I didn’t always pay attention to the sun when gardening. I gave it no thought when I built one of my first gardens. And that was a big mistake. I just woke up one day and decided, “yep, right there, that’s the spot.” After building the garden, I realized this was not true. The location was all wrong. I placed the garden in an area where it only received a few hours of sunlight at max. I planted the garden on the north side of a fig tree, where it was shaded for most of the day. Had I built the garden on the other side of the yard or even on the other side of the fig tree, the garden would have received full sunlight. I enjoyed that garden and made the most of the shaded space, but I knew I wouldn’t make that mistake again.
When it was time to expand the garden, I would spend paying attention to the sun and surrounding trees in different areas before planting. There are specific criteria to check before building a garden and planting. Forgetting to check for these things can make your gardening experience less than stellar. Where you think you want the garden may not be the best spot for it.
How To Determine Sun Exposure
Tracking the sun is essential in setting up a new garden. Tracking and mapping the sun will help you choose the perfect place for your garden. To track sun exposure, grab a sheet of paper, draw your yard, and begin to note where you see the sun during different times throughout the day. If you’re not an artist and don’t want to draw your yard, then make a simple chart like the one below. Note how many hours and which hours out of the day the area receives sun.

If you want to avoid sun mapping, make sure you plant your garden in the right direction. Don’t worry. We’ll talk about that next.
Which direction should my garden face?
Southern Facing – Garden sites do best when they are south-facing. A southern-facing area receives the most exposure to the sun. Sun-loving crops like squash and tomatoes perform best in these layouts.
East Facing – These gardens receive morning sun. The morning sun is great because the plants receive sunlight during the coolest time of the day, the morning. Here you can plant anything that requires a little shade to succeed.
West Facing – Western exposure gives you afternoon and evening sun, which will work if it is all you have, but you run the risk of your plants overheating because you are receiving the sun when the temperature is at its highest.
North Facing – The least ideal orientation for a garden is north-facing. This area would receive the least amount of sun exposure, not to mention that it would be shaded if there were any obstructions, such as trees or buildings.
While south-facing is preferred, you can garden in any of these settings. You may have to adjust your gardening goals. I have plenty of fruit trees, roses, and vegetables planted on the north side of my garden. They may not receive the ideal light, but they are growing. Don’t be afraid to alter the plants you plan on growing in these spaces.
Which way to place my garden beds
The information about cardinal direction applies to determining the garden area used when laying out the actual beds. Whether you have containers, raised beds, or inground beds, orient them north to south. Doing so will ensure they receive as much light as possible with minimal interruptions. Proper plant placement is vital if you must use the East to west orientation. If you pay attention, you can avoid shading many of your plants, thereby reducing the hours of direct sun they receive.
The amount of sun an area receives is known as sun exposure. Sun exposure is key to the success of plants. Remember the story of my first garden plot? I ignored sun exposure, and this limited what I was able to grow. With sun exposure, there are three essential terms: full sun, partial sun, and shade. Most vegetable or fruit plants require full sun to be successful. Root crops and other leafy greens grow in full or partial sun. The amount of light available to the plant directly relates to its ability to produce food through photosynthesis, impacting its health and vigor.
Full Sun

Partial Sun
Depending on whom you ask, partial sun and partial shade are interchangeable. Partial sun is an area that receives 2-6 hours of sunlight a day. Just like with full sun, this does not have to be continuous. Many veggie plants will also thrive in this setting.
Shade
The shade is an area that receives less than 2 hours of direct sunlight daily. I do not recommend vegetables for the completely shaded area, but plants thrive in these conditions. Plants that prefer these conditions usually have thin, broad leaves; their broadness leaves a greater surface area to absorb whatever sunlight makes it through. These plants are typically damaged by receiving too much sun exposure. Due to the characteristics, some ground covers fall into this category. Do not let the fact that these plants prefer shade fool you. They are still producing stunning colors throughout the seasons.
Understanding and identifying sun exposure are the first steps to setting up a new garden. To learn more about setting up a new garden, check out all the articles in the beginner gardening series. After reading those, you should be armed with enough information to head outside and successfully JUST GROW IT.
6 notes
·
View notes
Text
Healthy Soil, Happy Garden: The Power of Regenerative Farming
Healthy Soil, Happy Garden: The Power of Regenerative Farming. Learn how to garden with natural Methods for regeneration #organicgarden #permaculture #soil #regenerativeagraculture
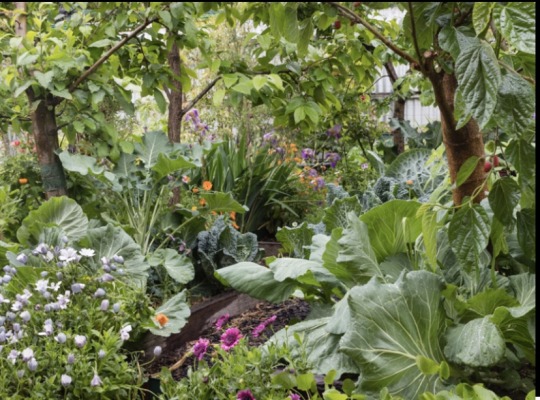
Field of sheep. Animals are a great way to add fertilizer and bring biodiversity to the garden. Welcome to the world of gardening, where the magic of nature meets the enthusiasm of the human spirit. As a regenerative gardener , I am excited to share with you the importance of healthy soil and how you can create it in your own backyard. But first, let’s talk about what regenerative farming is all…
View On WordPress
#amending soil#composting#gardening#gardening tips#gardentips#growfoodathome#homesteading#how to build garden beds#how to garden#permaculture garden#soil building#soil Health
6 notes
·
View notes
Photo
If you have a cool windowsill that gets a lot of sunlight, or a grow lamp in a place that only gets a little light, and you live in the northern hemisphere, you can start planting lettuce now!
Put a lettuce seed (get just one out of the pack by using tweezers!) in some potting soil and water it a little any time you put your finger into the soil and the dirt doesn't stick to your skin.
These lettuces will grow into nice little rosettes or a tall stand of leaves for you to munch on in a few weeks, so sow a few now, and a few next week, and the week after so you never get swamped by too much and you always have some to give as a gift!
These fits lettuce won't ever go into the ground, and they won't ever get huge, but it's great to see them growing and they taste delightful on your sandwich, make a fantastic gift for a friend, and make a bit of a dull month a little brighter. If you keep sowing lettuce week after week you can plant the little guys outside when the risk of frost has passed.
And if you want to keep going, if that windowsill isn't full of lettuce seedlings yet, you can do the same thing with onions (you'll need to transplant these), kale, chard, sweet peas, and eating peas of all kinds.

Trout lily, violets, lettuce - Kerry Simmons
American , b. 1976 -
Oil and wax pastel on paper , 40 x 25 in.
#gardening#garden witch rambles#indoor gardening#how to garden#apartment gardening#simple life#home--farm
8K notes
·
View notes
Text
#gardening for beginners#how to start a garden#how to start a vegetable garden#garden tips for beginners#how to garden#gardening tips for beginners#vegetable gardening for beginners#how to garden for beginners#start a garden#how to start gardening#how start a container garden#garden#beginner gardening#gardening 101 how to start a garden#backyard garden#gardening 101: how to start a garden#tips for container gardening#how to
0 notes
Text
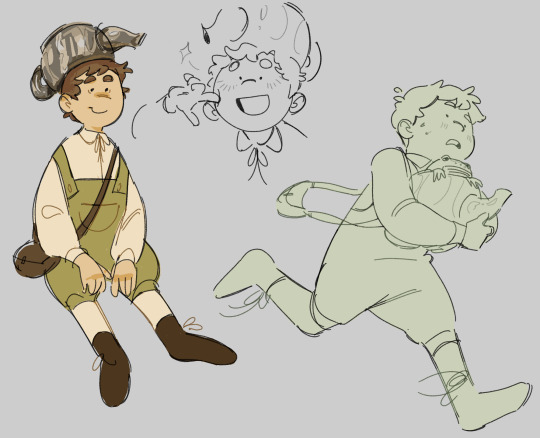

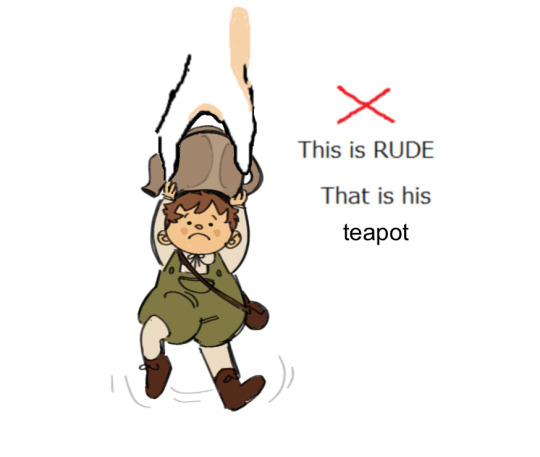

basicallyidk i love greg
#first day of fall you know how it is#art#over the garden wall#otgw#otgw fanart#greg otgw#sara otgw#jason funderberker the frog#the mistakes i’m noticing after posting are killing me i’m dead
4K notes
·
View notes
Text
How to Keep a Garden Functional? 10 Best Tips
Everything needs some care for full functionality. A live plant is not always fully functional if the gardener does not care about it. In a garden, there are many plants and trees and their nature is also different. To keep the entire pant perfectly alive, some measures should be taken. We are here to discuss how to keep a garden functional.
Visit for details about How to keep a garden functional?

0 notes
Photo
At last the cold has broken and the trajectory of the forecast is up toward double digits. Yesterday all the Little Marvel and Arctic King lettuce went out, along with the first of the millet and the quinoa. The sweet peas must go out today, and the violas after them.
March is always a busy month and I usually take my lunch breaks to work in the garden and return to my desk with dirty under my nails and the scent of fresh earth in my nostrils. The latter half of my day is always suffused with a sense of contentment, and I can see the new plantings from where I sit.
There were many reasons I left my old job to work from home and gardening was certainly among them.

pinterest
#March#cozy#cottagecore#seasons#cottage#countryside#planting#horticulture#gardening#seedlings#garden witch rambles#how to garden#grow your own#how to grow#dig for victory
775 notes
·
View notes
Text
youtube
Clarence goes over the basics of planting.
Most gardeners agree there's nothing better than getting a new plant in the ground! Planting is a task you’ll do over and over again and everyone will develop their own style by learning on the job and listening to others. Here’s Clarence’s tips and tricks on planting for beginners.
Choose a suitable spot:
Plants do best when they grow in the conditions they like. When choosing a spot to plant, consider how much sunshine they’ll get and what kind of soil they prefer. You’ll find this information on the plant label. Clarence is planting Billy Buttons which loves full sun and good drainage. There are some Billy Buttons growing happily in this spot already, so that’s a good indication that this new plant will like it here, too.
Health Check:
To check the roots on the plant, give the pot a squeeze. If it's too hard, there may be too many roots which means it is pot-bound. If it’s too soft, there may not be enough roots, meaning it needs to stay in the pot a little longer before establishing in the ground. You want the Goldilocks version, just right.
Water the plant:
It’s important the plant is well watered before going into dry soil because dried roots can cause plant stress or transplant shock. If you think it might take some time to dig your hole, dunk the pot into a bucket of water, let it soak a few minutes, then allow it to drain thoroughly.
Prep the soil:
Dig a hole the same depth as your pot and soften the surrounding soil. You want the soil level to be the same depth that the plant is used to, which is usually the point that joins the stem to the roots. If it’s planted too deep the stem can rot, or too high the roots will dry out. Test out the size of your hole by placing the whole pot inside the hole and adjust as needed.
Some people might be tempted to add compost or fertilizer to help the plant along. However, as the plant establishes its new surroundings, it will send out soft new roots which can be harmed by fertiliser. If the soil is unsuitable or needs amending, it’s best to do this a week before planting.
Remove the plant:
Gently tease the plant out of the pot. If the roots are well developed, it should slide out easily, or you can turn it upside-down and give it a tap. Any overcrowded roots can gently be teased to give them space - however, this depends on what type of plant it is, as some plants don’t like root disturbance.
Firm it in:
Get your hands dirty for this part! Clarence says it helps you connect to the plant and the garden. Place the plant into its position and gently firm down the soil around it. You want to make sure the soil particles are in good contact with the roots without big air pockets, but not too hard that it compacts.
Mulch:
Cover the soil with a layer of mulch, no higher than 50mm. Make it wide enough that it covers the dripline where the leaves would drip water down. Mulch helps keep moisture in and weeds out.
Water it in:
Give your plant a good thorough soaking. This will help the soil settle in place and keep the plant from stress as it settles in. You'll need to water it regularly for the first two weeks but once it's established, just sit back, relax and watch it grow!
Featured Plants:
BILLY BUTTONS - Pycnosorus globosus
#gardening australia#solarpunk#australia#gardening#garden#how to#how to garden#gardening tips#beginner gardening#Youtube
6 notes
·
View notes
Text
Red fox carlin peas
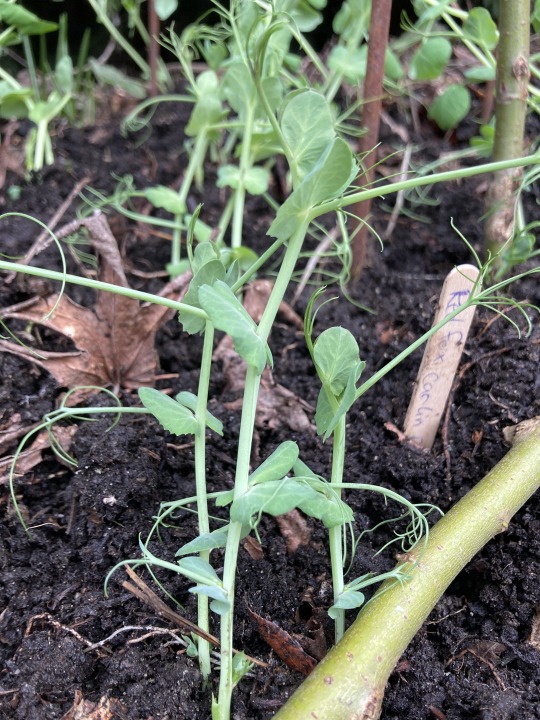
After a few days in the garage and then a few more days in a sheltered outdoor spot, the red fox carlins have gone in. They'll still need some protection when it gets cold, so I have a fleece on standby.
I wanted to grow Red Fox Carlins because of the story associated with them: "... first recorded during Elizabethan times.[8][7] It has been suggested that the name "Carlin" comes from "Carling Sunday" or "Care Sunday" after the population of Newcastle were saved from starvation in a siege of 1327 or 1644 when a ship arrived from Norway with a cargo of these peas on that day.[9]" (from wikipedia). I love heirloom veggies, and we're growing more than a few heirloom peas this year, along with a few more modern peas like Alderman.
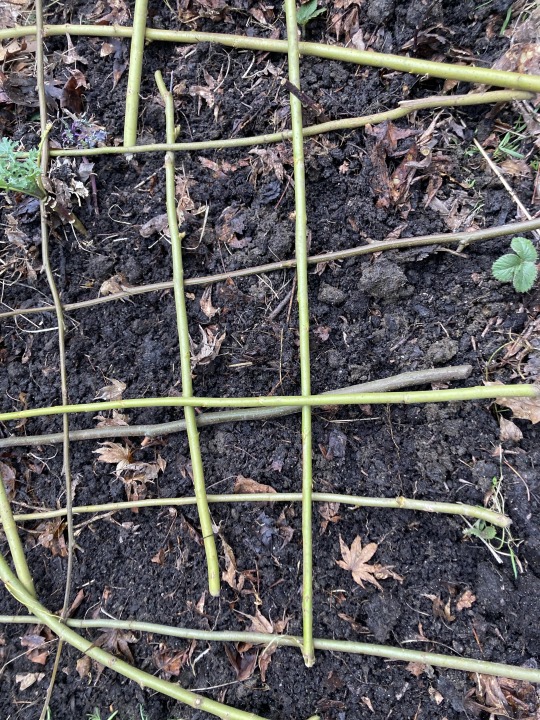
The crimson flowered fava have gone in too, as seeds. The squirrels find them irresistible so a lattice of offcuts from when I made my woven compost bin has been pressed into service.
#grow your own#how to grow vegetables#how to garden#garden witch rambles#spring vegetables#heirloom seeds#heirloom
0 notes
Text


More caitvi for the soul (art tag if you wanna see more arcane!)
Check out my patreon for my sketchbook!
#critdraws#caitvi#arcane#piltover's finest#arcane caitvi#arcane caitlyn#arcane vi#art#caitlyn kiramman#violet kiramman#garden of ozymandius#arcane spoilers#sketchbook#artists on tumblr#where am i#how did i get here#anyways i have a new hyperfixation and their names are caitlyn and vi and its a special hell im in#still gonna draw zelda im just also gonna have these guys lurking in the back of my brain twenty fout seven#arcane fanart#vi arcane#caitlyn arcane#thinking about writing a post canon fic#its about ekko trying to plant trees in zaun and recruiting vi to help#while caitlyn panics over the energy crisis hextech and shimmer left a vacuum of#truly the most pretentious name i can come up with (its PERFECT)
2K notes
·
View notes
Text
5. If you are planting vegetables, even if your space is severely limited, plant flowers too. The flowers will help attract pollinators and make sure your vegetable plants get pollinated.
6. You can grow fruit trees in containers. Figs are a classic container fruit tree, but young and/or very dwarfing varieties (sometimes called “patio” varieties are also excellent.)
7. Tomatoes are backward. The bigger the fruit, the smaller the tomato plant. So if you only have a small space, buy a slicing tomato!
Buying seedlings for your garden.
So if March was the time to talk about starting seeds, April is the time to talk about buying transplants (reverse as needed for southern hemisphere obviously but y’all aren’t planting for spring now anyhow). I’ll make a few notes and then open it to others to add.
1. You don’t want blooms on your vegetable starts. If it’s blooming now, it’s reached the limits of its growth in its current pot and decided that this is as good as it gets and started to put its energy into reproducing. If there are blooms, you should pinch them off, but the plant is likely to have limited growth even so. The same kinda applies to flowers but I do recognize the difficulty of knowing what you’re buying without blooms, and also, a lot of modern flowers are bred for long flowering periods.
2. Short and stocky is better than tall. Tall means the plants have been crowded. Spindly means the plant will be less sturdy. The ideal tomato seedling, for example, is relatively short, with a thick stem.
3. Some things are not worth buying starts of. Sellers realize that a lot of people feel more comfortable with transplants–you don’t have to have faith in the magic of the seed that way. But it’s ridiculous to buy cucumber and squash seedlings, for example. Those are plants that can’t be put out until after danger of last frost anyway, which time hasn’t even come where I am, and their roots don’t really like to be disturbed. Tomatoes actually thrive on being replanted, so they make great transplants. Cucumbers not so much. Big seeds like peas, cucumbers, squash, etc. come up fast and will establish roots better in situ. Have faith in the seed.
4. Prefer small local places and actual nurseries to big box stores. The big box store offers varieties based on what will sell, as decided on the national level. They buy the seedlings en masse and take minimal care of them with the expectation of high losses. The little local place is in it because they love plants, and probably knows what varieties are actually good locally.
@ahedderick , @turtlesandfrogs , @not-quite-wild , @kawuli , anyone else wanna add?
#garden#gardening#grow your own#victory garden#simple life#good life#garden witch rambles#how to garden#home--farm#home-farm
689 notes
·
View notes
Text
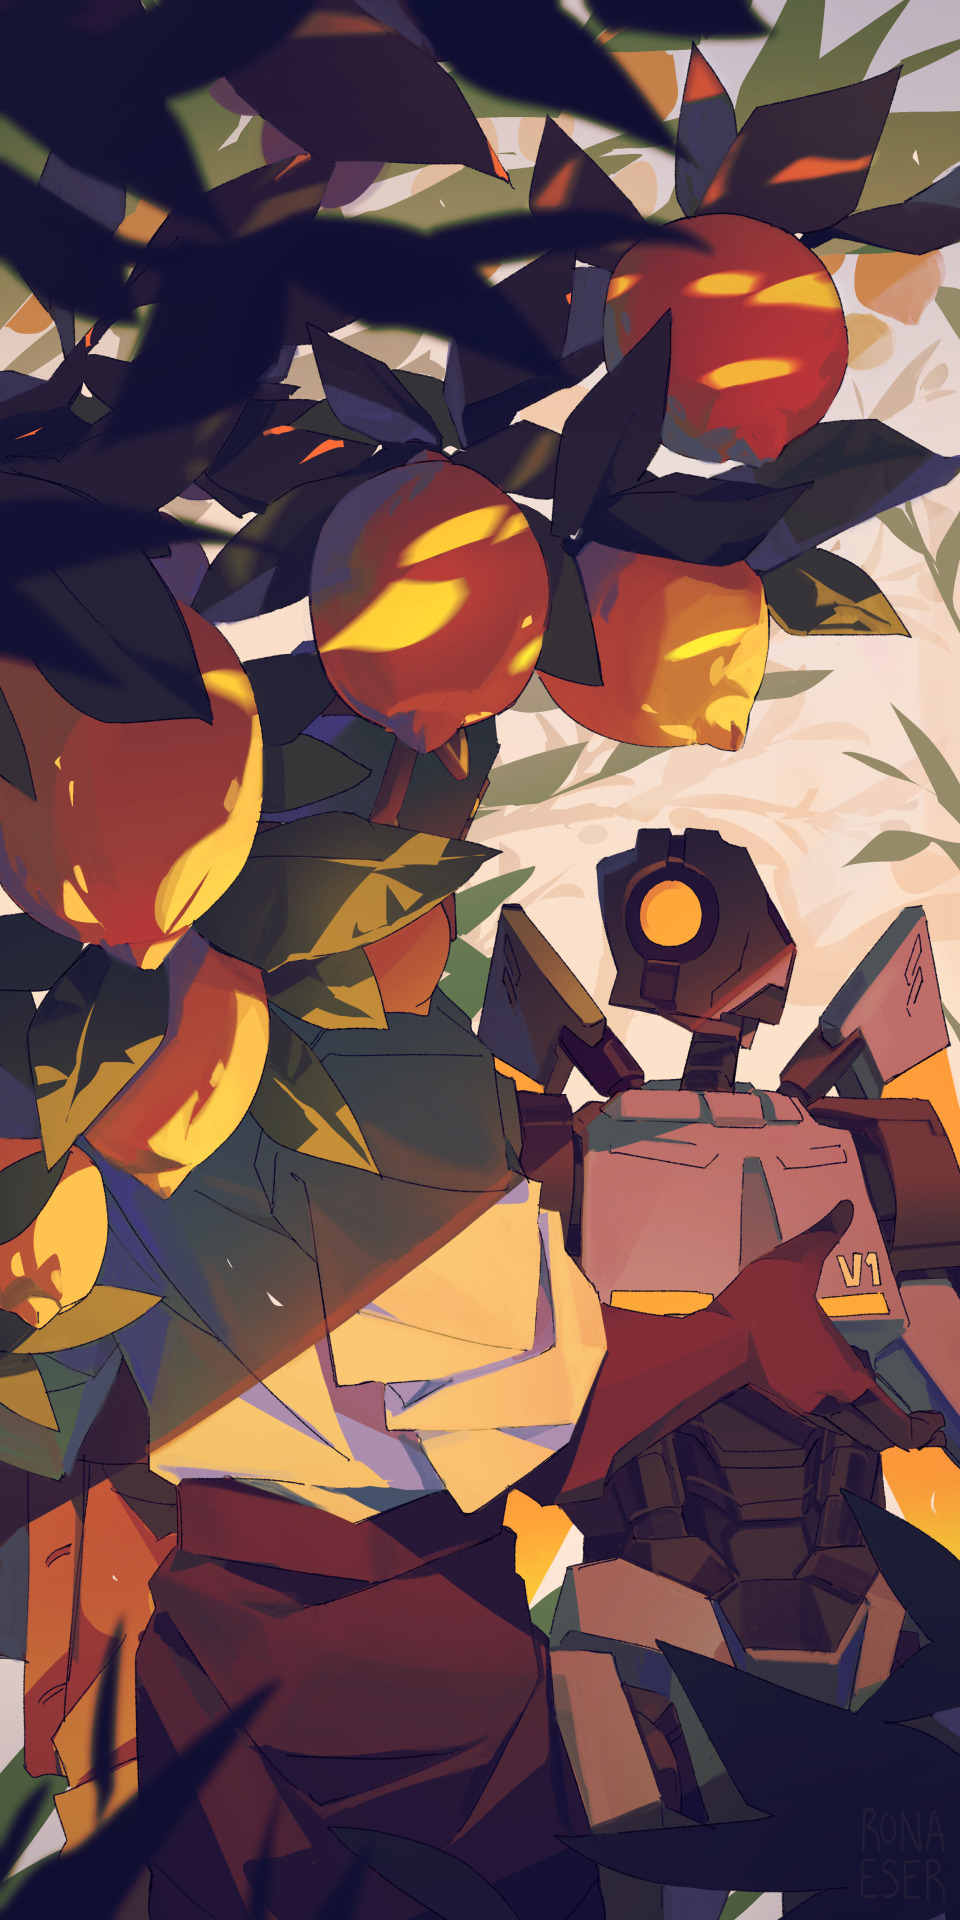
"Father, why eternal torment? Is it not cruel?
Is torture unending truly a fate fit for a fool?"
#been thinking about how the S terminals about Lucifer could also parallel Gabriel's assignment as the judge of hell#and how things would be without the endless cycle of violence#anyway something about lemons and the fruit of the garden of eden#at this rate i'm gonna start reading the damn bible because of ultrakill#ultrakill#gabv1el#myart
4K notes
·
View notes