#crafty crafty
Explore tagged Tumblr posts
Photo


FORGOT TO POST THIS HERE
Behold, newest Ghostie, Horus shell aka ‘oh god one of my clan mates does so much trials, he needs something to hug’
Fleece, pleather, felt and some fusible interfacing to mimic the glass plane over the eye that the shell has.
NGL, incredibly fucking pleased with how this turned out. I had to bang out an entirely new pattern and it worked a charm.
Also reminds me that I need to post all my other ghosties eventually just to see my progress from way back when I started making these.
Bonus: this marks shell number 20! and not a single repeat in there, hell yeah.
115 notes
·
View notes
Text
if anyone's wondering why i haven't been craftposting lately it's because i've been chipping away at a tv color bar blanket:
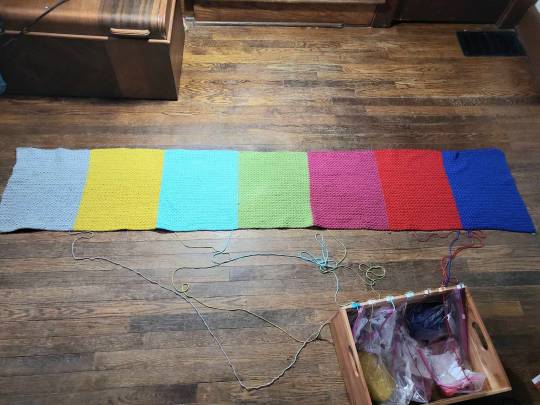

just 75% of the blanket to go lmao
17K notes
·
View notes
Text
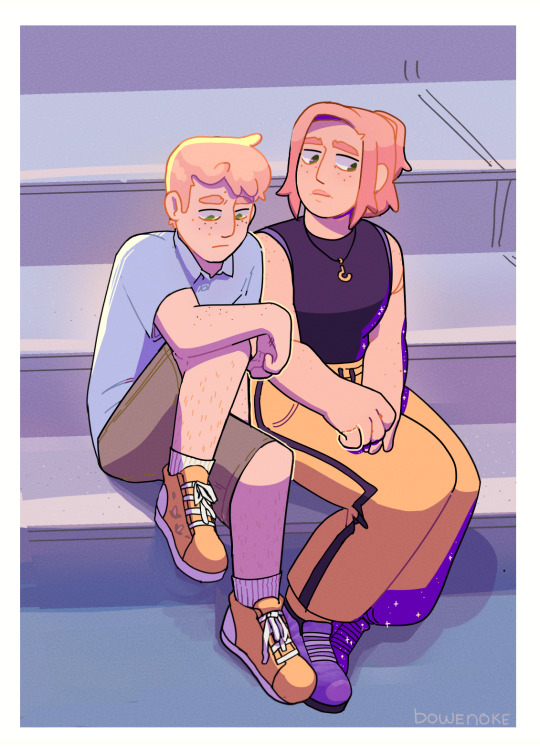
I bet they used to sing along to worship songs in the back of the car on the way to church
#d20 fantasy high#fantasy high#dimension 20#dimension 20 fantasy high#craftie art#i think most people look up to their older sibling but buckys older sister was literally the chosen prophet of his religon#its like if you were simon son of joseph and jesus was like. oh hmm. maybe not!#and youre like. what do you mean. what.do. you mean maybe not. this was everything we were as kids. what do you mean maybe not.#anyways. i really need to start actually including the background in the intial sketch instead of deciding to wing it as i go! it#dimension 20 fanart#fantasy high fanart
6K notes
·
View notes
Text

#transparent#esoteric#crochet#angelcore#biblical angel#be not afraid#fabric#crafty intentions#evil eye#blue eye#seraphim#png
2K notes
·
View notes
Text
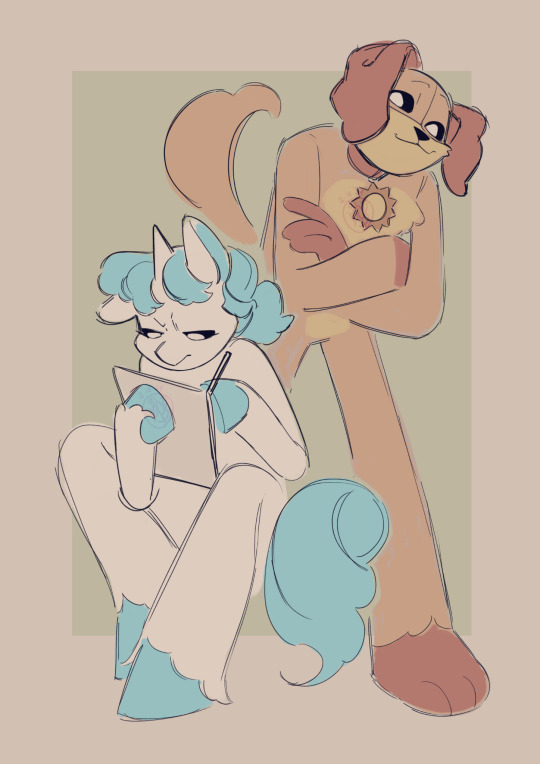
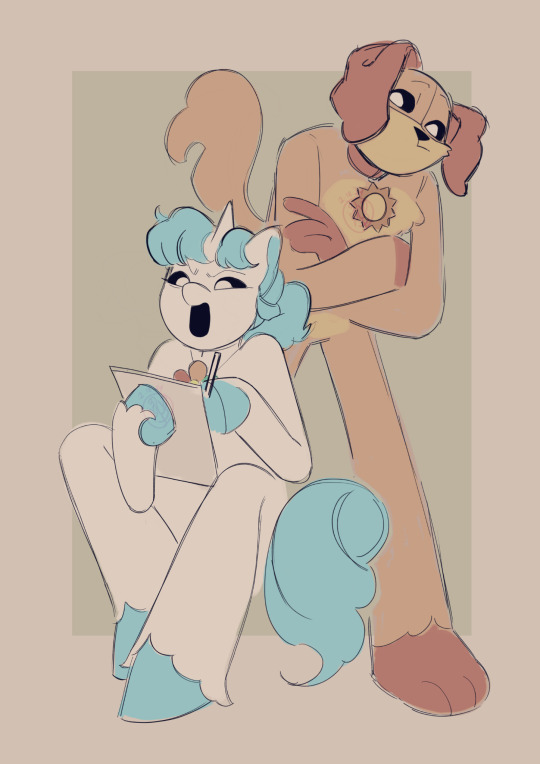
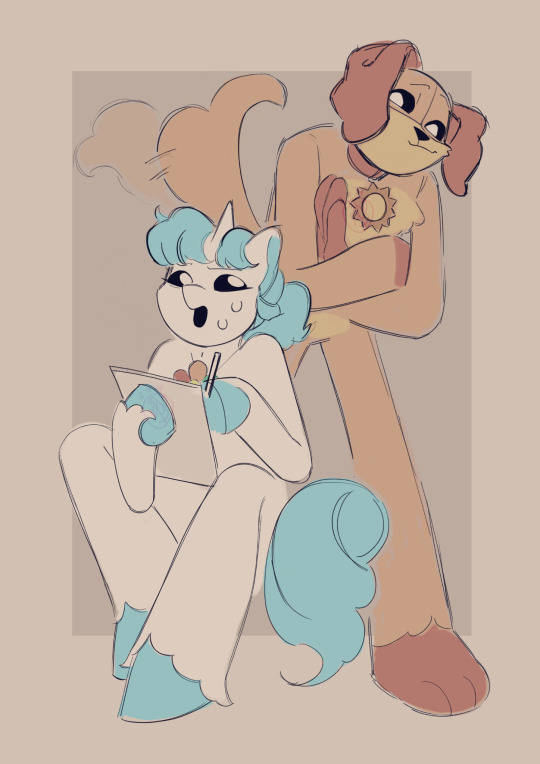
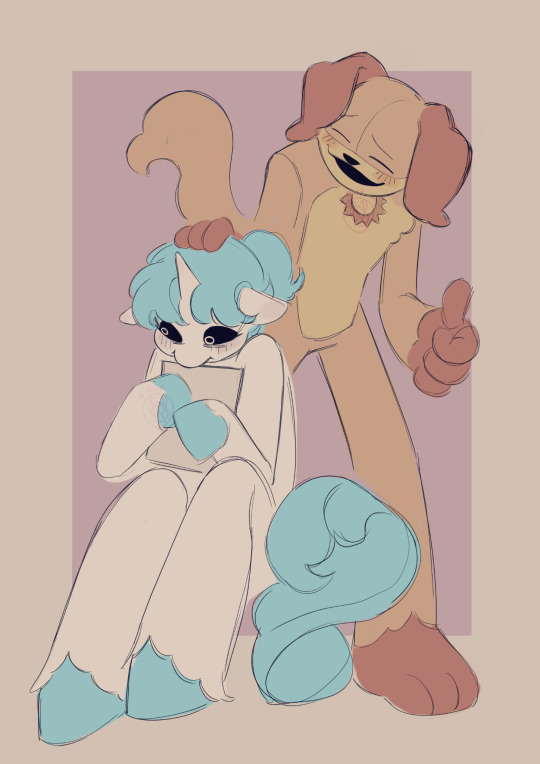
I did something
#hate it when your tryna make expressions while drawing and someone catches you doing it like dang#meet cute#i like to think crafty and dogday's relationship is really sweet and wholesome#also that craftycorn lowkey idolizes dogday#poppy playtime#poppy playtime chapter 3#poppy playtime smiling critters#smiling critters#smiling critters craftycorn#craftycorn#smiling critters dogday#dogday
6K notes
·
View notes
Text

#serirei#in my kitchen??#spicy sketch is on my patreon hehe#reigen arataka#serizawa katsuya#Reigen#serizawa#mp100#mob psycho 100#my art#bluebeesart#art#kiss#I just love the big strong sweetheart x crafty people smart mfer dynamic
2K notes
·
View notes
Text

as promised </3
#rwby#nuts and dolts#ruby rose#penny polendina#crafty draws#cannot stress enough how many times i listened to mizisua cure while drawing this
1K notes
·
View notes
Text
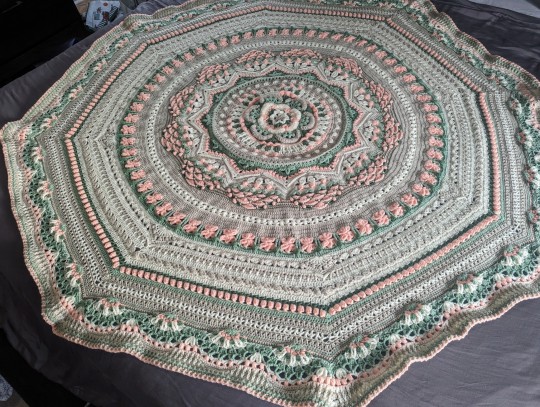
This blanket is a monster. I had no idea how big it was going to turn out. This is it on a king sized bed. Not the best photo but I was so excited to finish it I just had to share. Tomorrow, assuming the weather is good for it, I'll get some better photos in the sun.
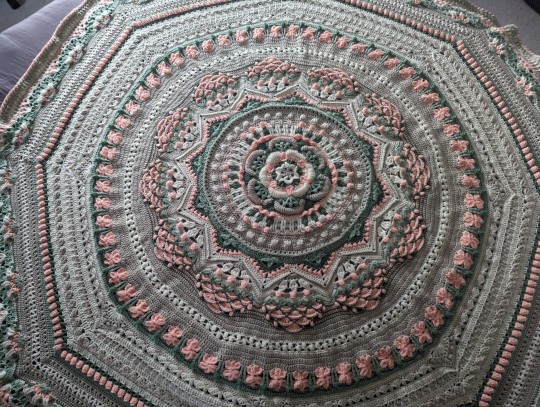
#crocheters of tumblr#yarn crafts#crochet#fiber crafts#yarn#crochet afghan#crochet blanket#crystals and crochet#fiber arts#stylecraft#octagonical#crafting#crafty things
3K notes
·
View notes
Text
I am quite proud of this stitching line.

I wish they all looked this nice, but in the end they won't even be seen. I will just enjoy the pretty ones while I can.
#crafts#quilting#sewing#english paper piecing#epp#bee quilt#crafty#honeycomb#hexies#honeycomb quilt#epp quilt#stitching#hand sewing#handsewn#handmade quilt#hand stitching#needle and thread#fiber art#pretty stitching#satisfying#satisfying stitches
958 notes
·
View notes
Text
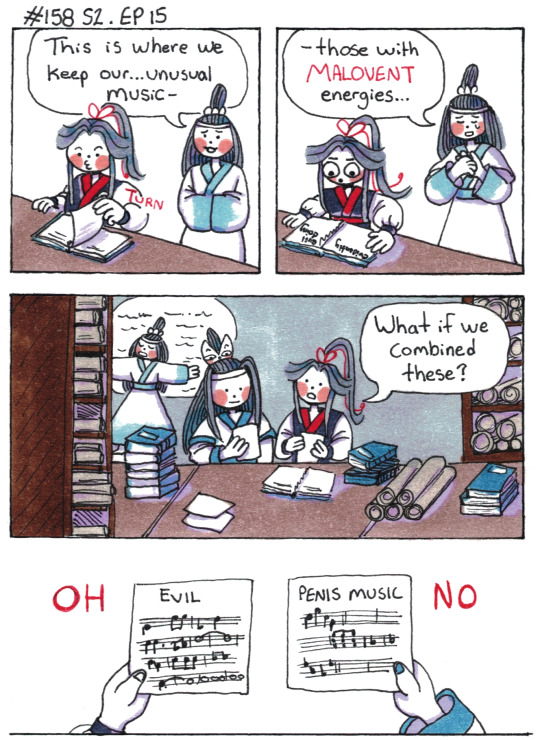
The penisest of tunes.
[First] Prev <–-> Next
#poorly drawn mdzs#mdzs#wei wuxian#lan wangji#lan xichen#When I was listening to this episode I was truly losing my mind when Lan Xichen was giving the pre-amble.#'This is where we keep our unusual music' and 'music with malevent energy.'#If that isn't penis music...I don't know what is. I feel like my goofs have been justified.#I love how JGY's craftiness comes into play here. Of *course* he knows about the secret library - he was a spy for a reason!#His secret skill is finding secret spots!#Like how your cat gets into spots you did not intend for them to get into.#So sad Lan Xichen didn't show JGY the library. I can't say something silly like 'haha secret lan makeout library'#...FOR THEM. This 100% was and continues to be the secret lan makeout chambers. Generations of secret kisses happened in there.#The things those scrolls and books have seen...#Next comic is a bigger one than usual! I might take a short break to get it done so it sticks the landing.#It's House of Gentians time!
2K notes
·
View notes
Text
How to make your fan plushie: Part 2 - Fabric and Sewing
So. You got your pattern. You’re reasonably confident in what you got going on with it.
Time to pick a fabric.
Personally, I prefer to work in fleece for the main part. It’s got some advantages:
1) it doesn’t fray, so I don’t need to hem it. Since I’m doing all my sewing by hand, not having to hem this shit is VITAL to the continued existence of my carpal tunnel.
2) most fleeces are the same on both sides. You can’t fuck up the direction of a fur or the pattern or the shiny vs matte side, which imo makes them great beginner’s fabrics
3) they tend to stretch equally in both directions. This does, again, make your life easier because it means the plushie won’t distort weirdly during stuffing if you accidentally flipped a piece somewhere
4) soft, yet not so fuzzy that it will start obscuring the details. A lot of my work got small details going that you just cannot get on plush
Generally speaking, I buy my fleece at a local store, in person, if possible. It lets me touch the fabric, and hold up threads and other pieces to it to see if the colors much. BUT. if the internet is all you got? Go and use it, no shame in that.
Now, there are two other kinds of fabric I regularly use in plushie making: one is thin felt, and one is satin ribbon.
The felt is for flat, detailed applique work that would suck in fleece. You can only cut fleece so small before it starts disintegrating on you. Felt can be cut finer before you hit that point.

The lion is felt, because cutting the mouth in fleece would have been suffering.
The other thing is satin ribbon. Now, this does especially for ghosties, but you may use this knowledge as you please: it’s hard to make fabric glow. Fleece doesn’t look shiny, it doesn’t catch the light, the structure isn’t meant for it. Satin however does just that.
So if you have a detail on your plushie that you want to jump out, something that should glow and shine?
Like this?

Satin ribbon is your friend.

The contrast will let you approximate without having to fuck about with electronics, and satin ribbon comes in endless colors, many widths, and can often be bought by the meter.
Otherwise, depending on your subject, you may want embroidery floss (the XIV up there is embroidered on).
Then you bring it all home. You lay it flat on a surface of your choice (floor for me), and you trace all your pieces onto the fabric. I use both tailor’s chalk or a plain old ballpoint pen, depending on how dark my fabric is. Both work fine. Use what pleases you. Just note that if you need a lot of pressure to trace your pieces, you may distort/stretch the fabric by pulling on it
HOWEVER FOR THE CUTTING i cannot overstate how much a pair of dressmaking or fabric shears makes your life easier. They are handsdown the best sewing investment I’ve ever made, even if you need to handle them with a bit of care and can only use them for fabric, ever, they make it SO much easier to get good cuts. Expensive fabric markers you can skip but shears are so good. Get yourself some shears.
Anyhow, you trace your stuff, you cut your stuff, your result should look something like this:
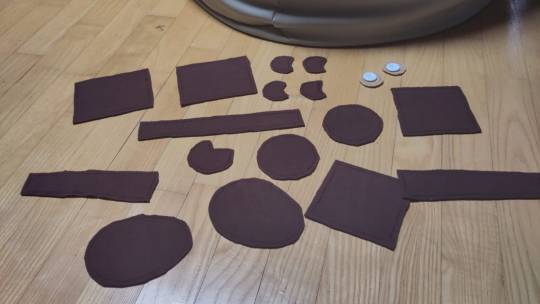
(this is Mr.Bean’s Teddy before assembly begins)
Now, if you’re new to this, my suggestion here would be to pin a few things together, see if the sides match up like you want them or if anything got stretched in the process. If you’re confident that it’s all to size?
Get your needle and your thread and get sewing. small pieces you may be able to just hold together, otherwise you can baste or pin them. I usually prefer pins.
I use bog standard thread, doubled up, knotted at the end and then I just...put everything right side together (meaning: the outside that you can see has the trace marks on it, the inside is pristine. Because the now-inside will be the outside once we flip this over) and sew ahead. My suggestion would be to use the trace line the line you sew along. It’s an easy marker to where your stitches should be and it’s there already anyways.
My preference for a stitch is a regular back stitch as explained here:
youtube
Now my method is to overlap the stitches a bit, so instead of going to the end point of the earlier stitch, i end up somewhere near the middle of it. I find that it makes a tighter, and more secure hold. As for stitch length: this depends on how big the thing you’re doing this, and your personal preference.
Also: do not let people tell you that you HAVE to go left to right or right to left or that it got anything to do with your dominant hand. Work in a way that is comfortable for you. I’ve switched directions between pieces, it’s really just a matter of what works for you, in that moment. So. you get going and you start putting your things together.
Just remember: you gotta turn that baby out later, so if you’re making an orb? Leave a seam somewhere only partially done, we’ll need that to flip it over. The size of the opening depends on how soft your fabric is and how much fabric you gotta pull through but better save than sorry. Sewing up a bigger hole later one makes no difference, but if you’re rough and rip apart your stitches in the process, the repair can be a real bitch. Knowing how much space you need again comes with experience.
8 notes
·
View notes
Text

current work in progress: caution tape scarf
11K notes
·
View notes
Text
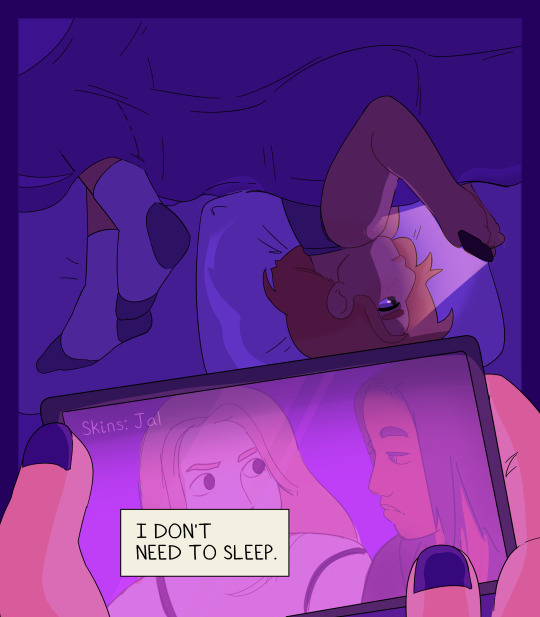
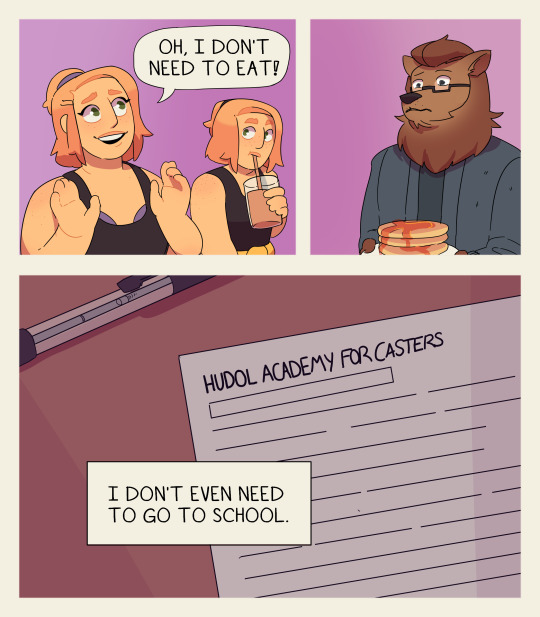
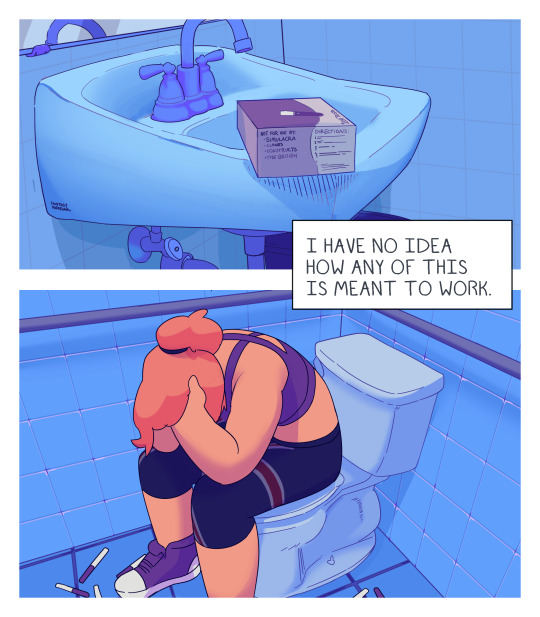
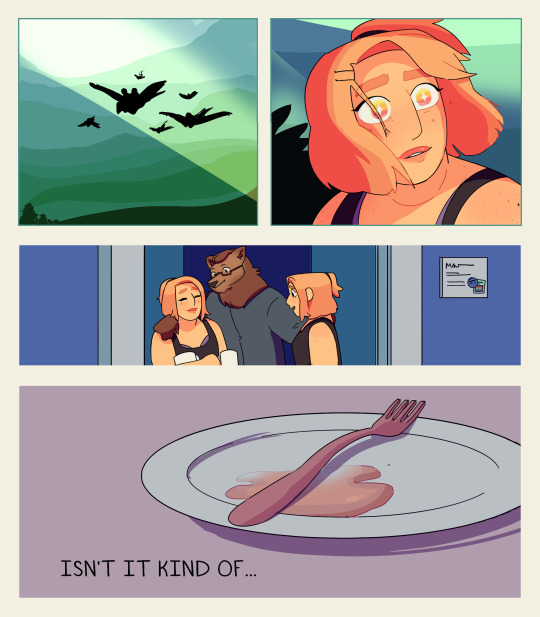
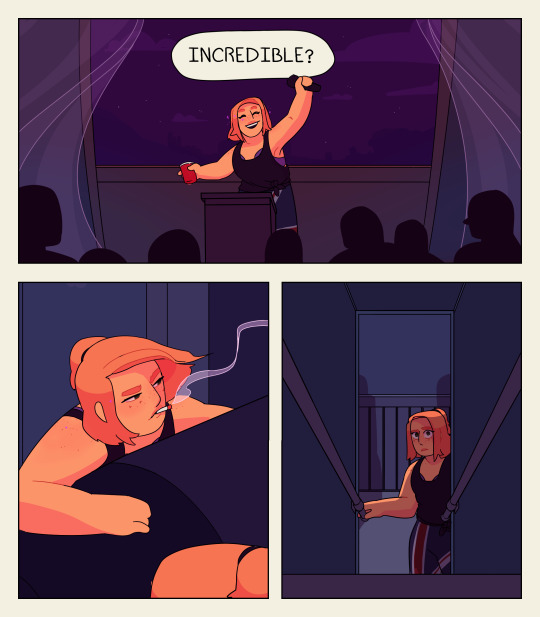
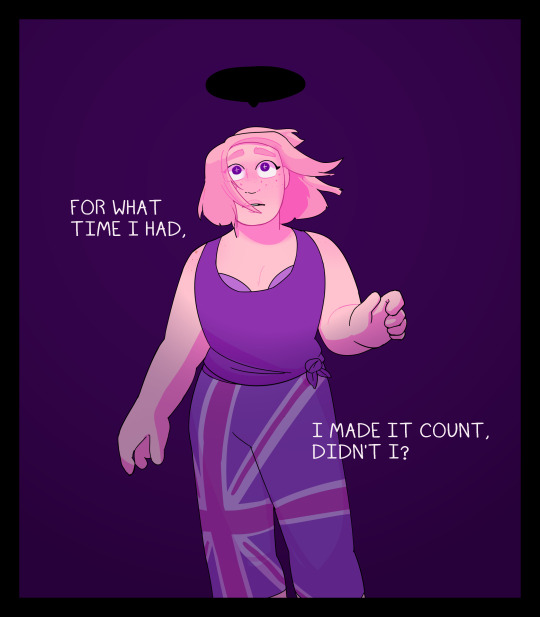
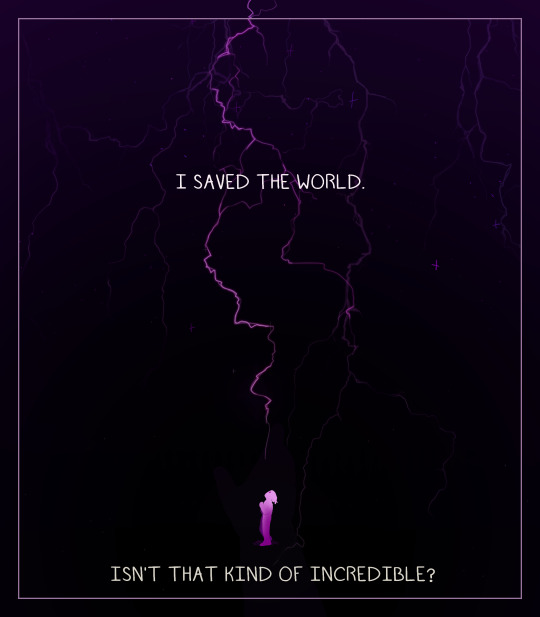
barely a person, still a saint.
#k2 you will always be famous to me#dimension 20#fantasy high#d20 fantasy high#fantasy high spoilers#fantasy high fanart#k2 applebees#craftie art#IM NORMAL ABOUT K2 <- lying#zac: this party is incredible. me: ok. yoinking that#k2#fhjy k2
4K notes
·
View notes
Text
The Smiling Critters but make them ankle biters

Individuals ⬇️


#poppy playtime#smilling critters#bubba bubbaphant#hoppy hopscotch#picky piggy#catnap#dogday#kickin chicken#bobby bearhug#craftycorn#crafty corn#this has to get 70 million notes or I'll die#my art#digital art
588 notes
·
View notes
