#binary pen tool
Explore tagged Tumblr posts
Text

I just like how sharp the it
don't look at me like that
#smooth vectors are super cool too it's good for your health#but you also can't deny the sharp binary tool of pixely brushes#it's how my art lives now#i thrive in it#yes i drew this over the actual meme template to make a point#art meme#artist meme#digital art meme#what other tags exist uhhHH#binary pen tool#paint tool sai#yes you can share this wherever do not ask it's a meme
4 notes
·
View notes
Note
Dont know how to describe but something like hamster roller? Xue yang on running for candy (cant reach up its trap), jgy watching him
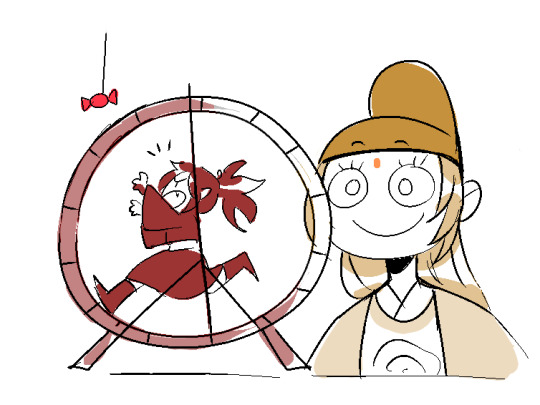
what a request. thank you
556 notes
·
View notes
Text

tell no tales
#anthro#furry#kemono#cat#witch#oc: cat o nine tails#oc: the cat#i am addicted to the binary pen tool and u will pry it from my cold dead hands
594 notes
·
View notes
Text
omg my friend had a ton of art saved i drew on their laptop back on like 2017-2018 when we were both crazy about bnha
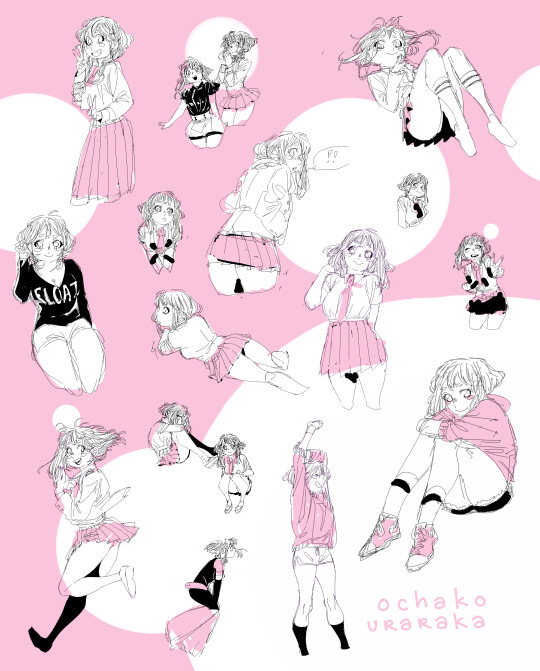

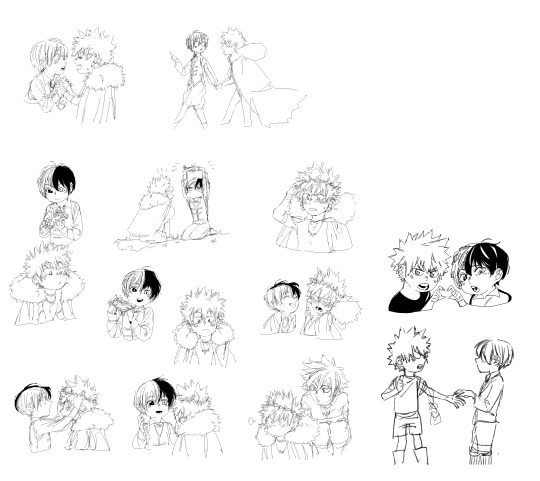
ochako was truly my muse back then...
#yes i was very into my hero academial. yes i shipped todoroki and bakugou#do with that information what you will#i never save my art anywhere so seeing old stuff saved by someone else always leaves me bald#i loved this binary pen on paint tool sai tho..when i got an ipad i tried to find a similar one but coulndt
256 notes
·
View notes
Note
May I request a Papa Khan because there's no one else on my mind <3

me laying on my stomach on my bed kicking my feet in the air and drawing men for 48 hours straight.
#FNV#Papa Khan#my art#ask games#I am doing the first binary pen sketches in paint tool sai and coloring in the lineart and the flatcolors afterwards in paint for the recor#I am not doing all of the sketching and lineart in MSPaint
211 notes
·
View notes
Text

some early may sonas in costumes that were following the same theme! they kinda clash though... in a good way
#oid19#sona art#binary pen#hid some niche references here and there#not in the first one that was random#lasso tool#nitrome#test subject blue#twin stars lab escape journey#this was something like draw yourself or your oc everyday but i made it up a bit#uploading as many art as I can
6 notes
·
View notes
Text


pov: you snag the crazy twink
#guys what's the verdict? do they have potential >_>#also i'm still debating on a name for the dude on the right (the man on the left is Oliver)#i'm thinking about Harlem or Noah#istg whenever i make new ocs i will have a whole backstory and narrative ready for them#but never names#i suck at naming my ocs v.v#anyways im back to using the binary pen#i just like how neat it looks (and it's wayyy easier to use the bucket tool loll)#comic#webtoon#ocs#doomed yaoi#frfr#artists on tumblr#my art
2 notes
·
View notes
Text
binary pen more like. non-binary pen am I right [resounding silence]
#kite.txt#I think this one’s mostly for the SAI bitches#I don’t think that tool is called binary pen in most other art programs#I love it to death tho
7 notes
·
View notes
Note
what brush did hussie use to draw everything
He used the default hard round brush preset in Photoshop with the Pencil tool. Some newcomers to digital art might hear the word "pencil" and get confused, thinking it refers to a literal pencil texture brush, but it's a distinct tool from the typical Brush tool. In other programs, similar brushes might also be called the Binary brush or Pixel brush.
The Pencil tool is basically the same as the Brush tool, but draws the strokes with pixelated hard edges. The Brush tool on the other hand draws strokes with anti-aliasing, smoothing the outline of the strokes. This is done with semi-transparent pixels, something that the Pencil tool specifically does not use (hence why it could be called a Binary brush, because a pixel is either fully opaque or not).
Something to note is the version of Photoshop Hussie used: CS3. In CS3, if you had pen pressure enabled, the minimum brush size the strokes could go down to was 2px only (if the brush diameter was set to at least 3px). Setting it to 1-2px would not net you any benefits out of having a pressure-sensitive drawing tablet. In other words, brushstrokes can't taper off to 1px thin ends.
(Bear with me since I currently don't have a computer with Photoshop installed so I'm using these kinda shitty old demo gifs that weren't supposed to be used)
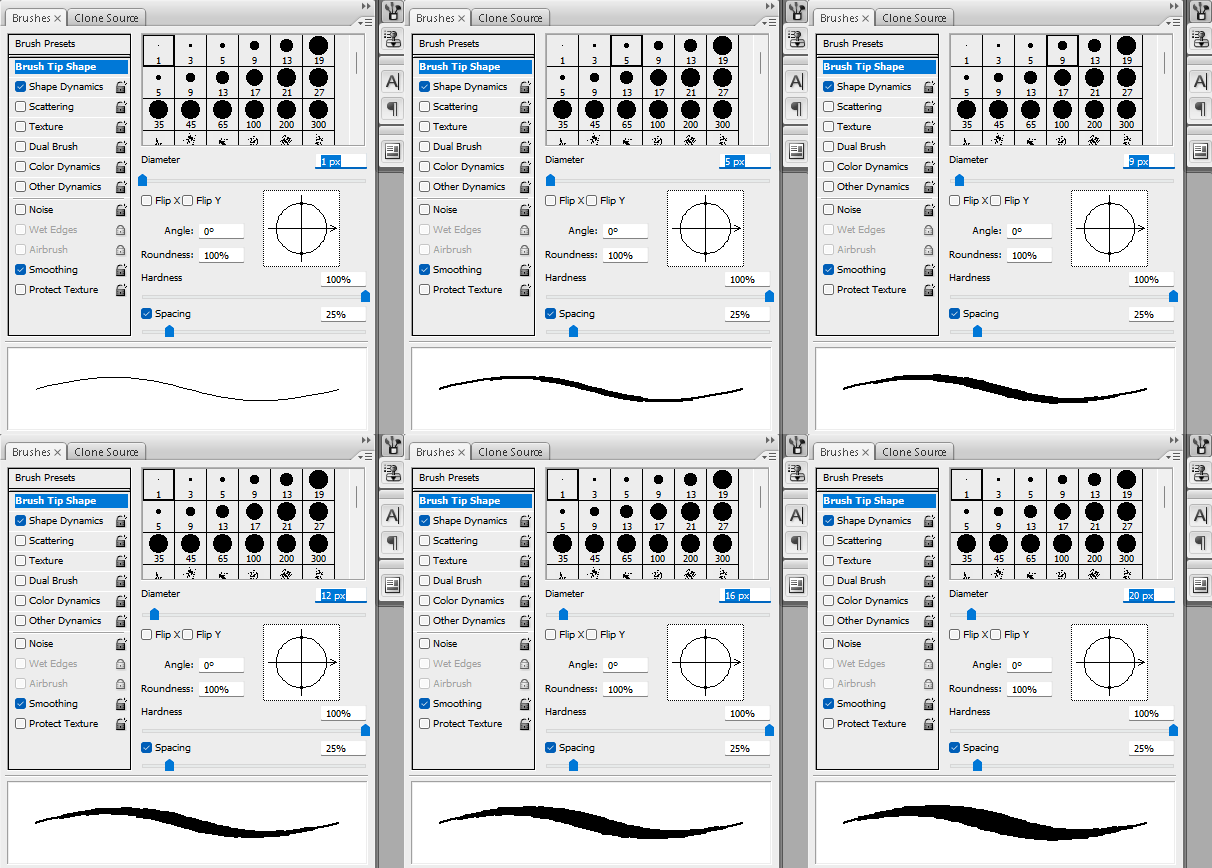
Photoshop CS3 brush engine
The brush engine changed slightly in versions after Photoshop CS3, however. Starting from Photoshop CS4, setting the brush size to 2px with pen pressure enabled would make the 2px brush size invert and jump up to 3px as the minimum brush size, while only going back down to 2px if you applied pressure or drew at an angle or something. (I unfortunately don't have any images on hand demonstrating this clearly.) Only setting the diameter to 3px makes the ends 2px, as you can see below.

Photoshop CS4 brush engine
You can still see this shitty behavior in Photoshop CC versions to this day:
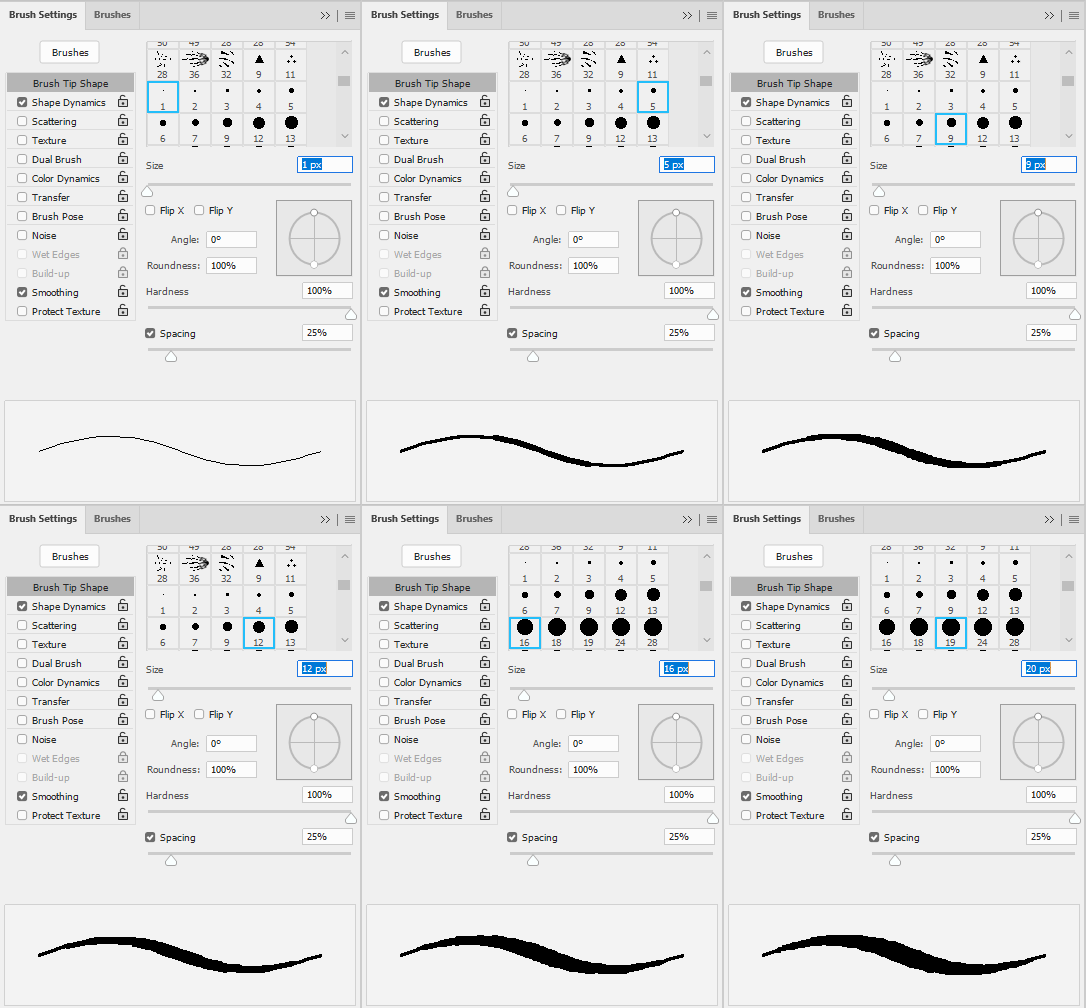
Photoshop CC 2024 brush engine
Maybe this doesn't really matter too much if you're normally drawing hero mode panels, but it does produce slightly different results when drawing sprites.
Also if anyone tries to sell you on using a square brush, disregard them. They're an idiot, plain and simple.
82 notes
·
View notes
Note
ohh my goodness can you pls pls pls do a brush tour?? i love ur art so so much its so cruncy >:]
Yes I can, I appreciate your interest!! I use paint tool sai 2 which is kind of archaic, but I've been drawing on a wacom pen and touch small + using paint tool sai since 2012 and I'm too stubborn to move onto something better. I actually only use three brushes so I've made a little drawing where I only use one brush per character to show the differences:
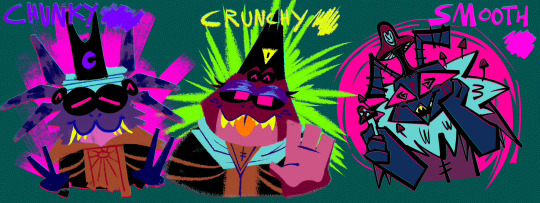
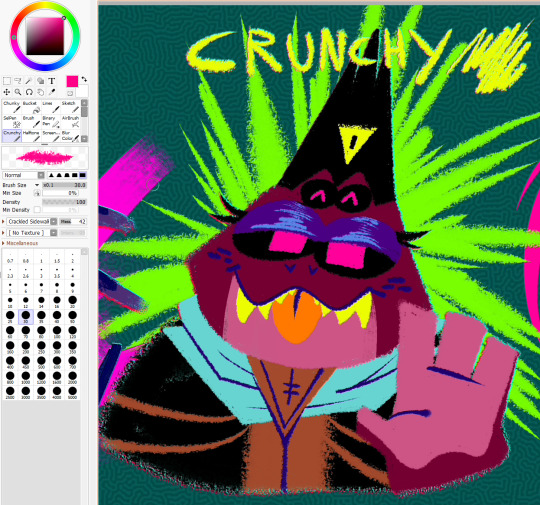
Gonna put the screenshots of the brush settings below the cut cause it got longer than I expected:
I drew my three big faves cause frankly I am sick of looking at kallamar and narinder's smug faces lmaoooo ANYWAY. GOING FROM LEFT TO RIGHT, WE HAVE THE CHUNKY BRUSH. I use that brush for messily coloring things in, doing big blocky background shapes, or just adding texture to a drawing. It's my favorite brush to paint with but I have not....finished a painting for this blog yet...

Then for the crunchy brush, it's a tool I use half for lineart and half for coloring. I use it for stuff like changes in fur color/markings, drawing all the lines in the backgrounds I do, and finer details the chunky brush can't handle. It's also the lineart tool I use for my drawings where the lines are all on the inside of the chararacters but not the outside!
As for the smooth brush, this one only ever gets used for lines but it was created when I was so bored of my lineart tool I stopped drawing for a while. I wanted a calligraphy pen and had to work around SAI's limitations, so while it doesn't have that thin-thick angular effect that calligraphy pens have....I manually apply the pressure and it looks passable enough. I hope.
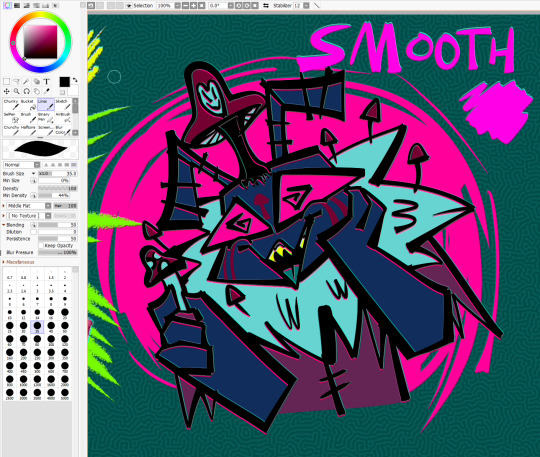
The brush settings are visible in the pics but uNFORTUNATELY I DO *NOT* remember where I got my stupid brush pack from. I literally downloaded the files before I was even a teenager but I *do* remember they're from deviantart. If anyone is for some reason kicking and screaming to acquire this ancient, crusty brush pack I'm sure I could throw it in a google drive
I have other useless information about my process if any of this is remotely helpful: for the anaglyph effect on my lines, I literally take a full 120 seconds to copy+paste two copies of my lineart, color it red and cyan, and then slightly move them up+down beneath the black lineart to get that 3dish effect. My flat backgrounds are just another sai preset texture, usually the checkerboard one cause it's swag. The rest of my brushes are just for utility or to fill in the gaps, that scroll bar leads to a bunch of empty space. They're not worth showing off just because they don't ever get used, or it's just like. The bucket tool. The select tool. A binary pen I never use. And lastly, for my usual lines, I actually go back and mess them up myself to get them to look more chaotic...my lines are usually smooth + even but it's so boring to look at and time consuming that I'm trying to unlearn that.
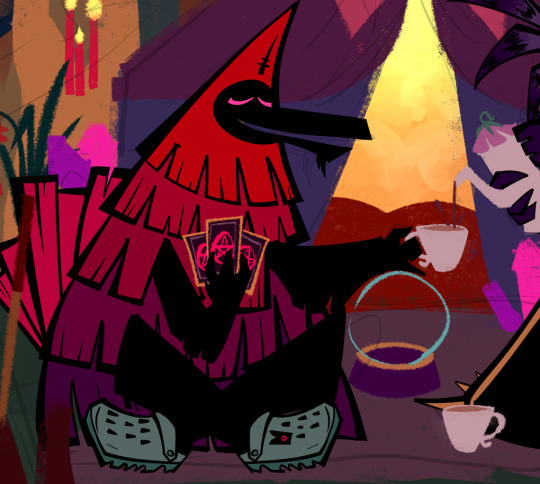
here's a wip of what my lines USUALLY look like with the smooth brush. You can see for the background I mostly used the chunky brush for shapes and then the crunchy brush for the finer lines! But yeah it takes forever to do smooth lines because I have nerve damage in my arm (it's why my stabilizer is maxed out...) and I refuse to use the line tool. In a professional setting I definitely make sure my lines are polished but this is just my goofy fanart blog and I want everything to look like it's been laced with crack.
I HOPE ANY OF THIS HELPS?? OR JUST SATES YOUR CURIOSITY, I try to not gatekeep the way I do my art so I have literally no secrets tbh
108 notes
·
View notes
Text
2023.
i hope any of you reading this will forgive the essay. i started posting to this art blog ten years ago in 2013 when i was just at the very end of high school, uploading short animations i'd made for one of my final projects, preparing myself for art school where i was gearing up to become an illustration/animation student.
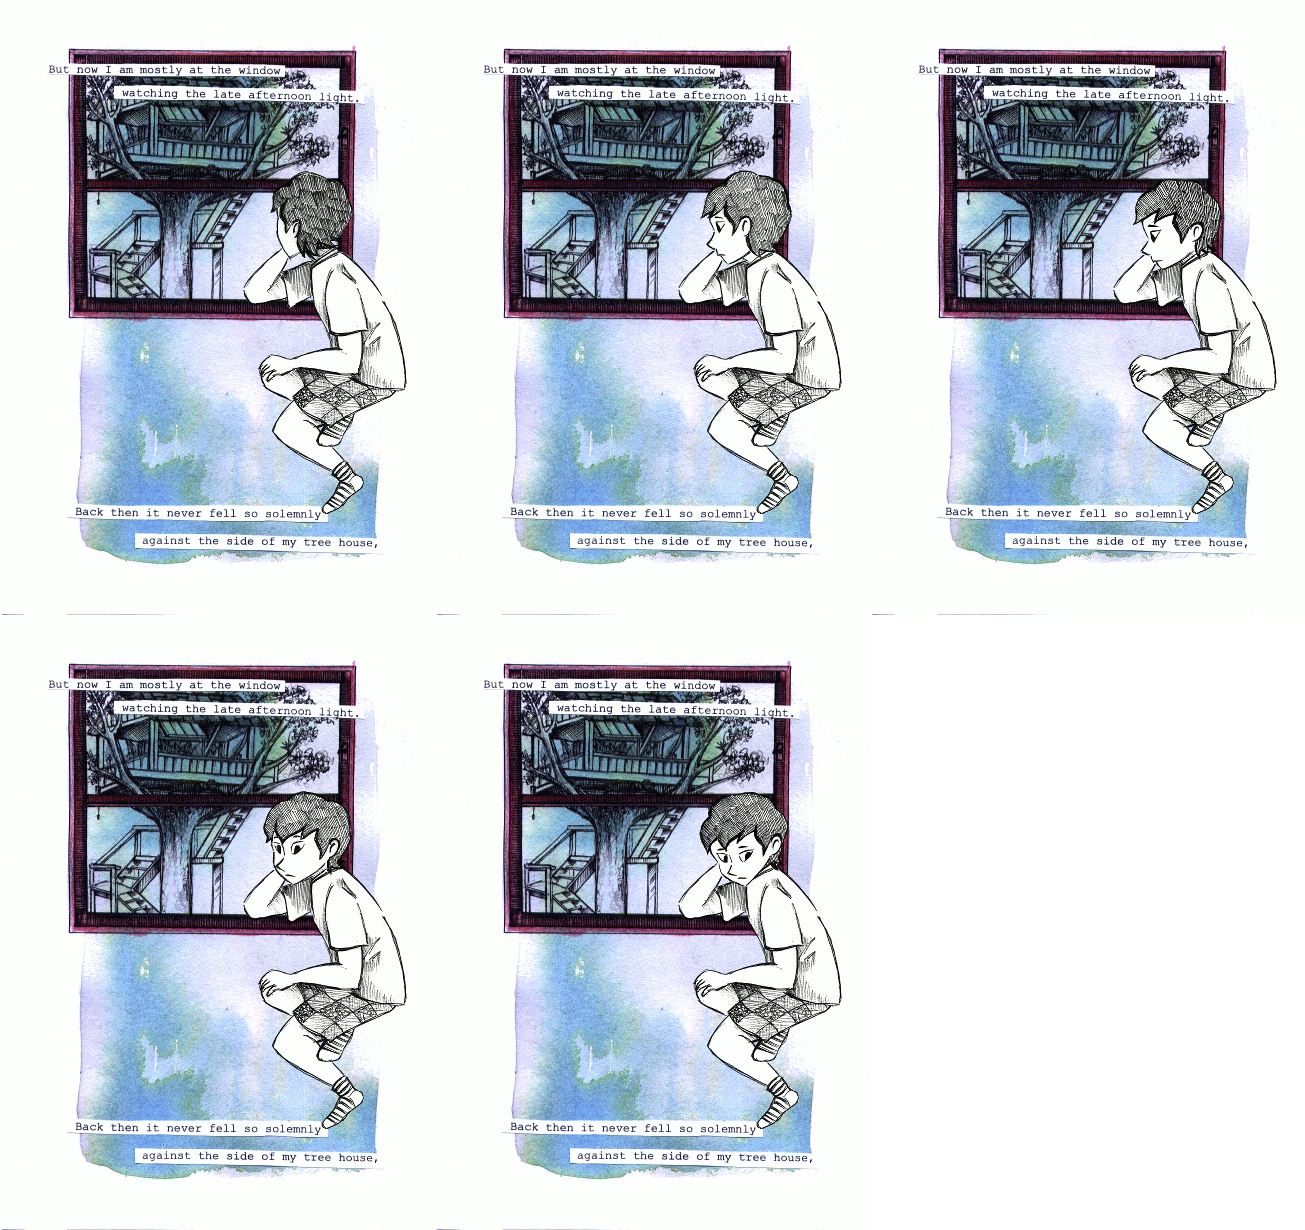
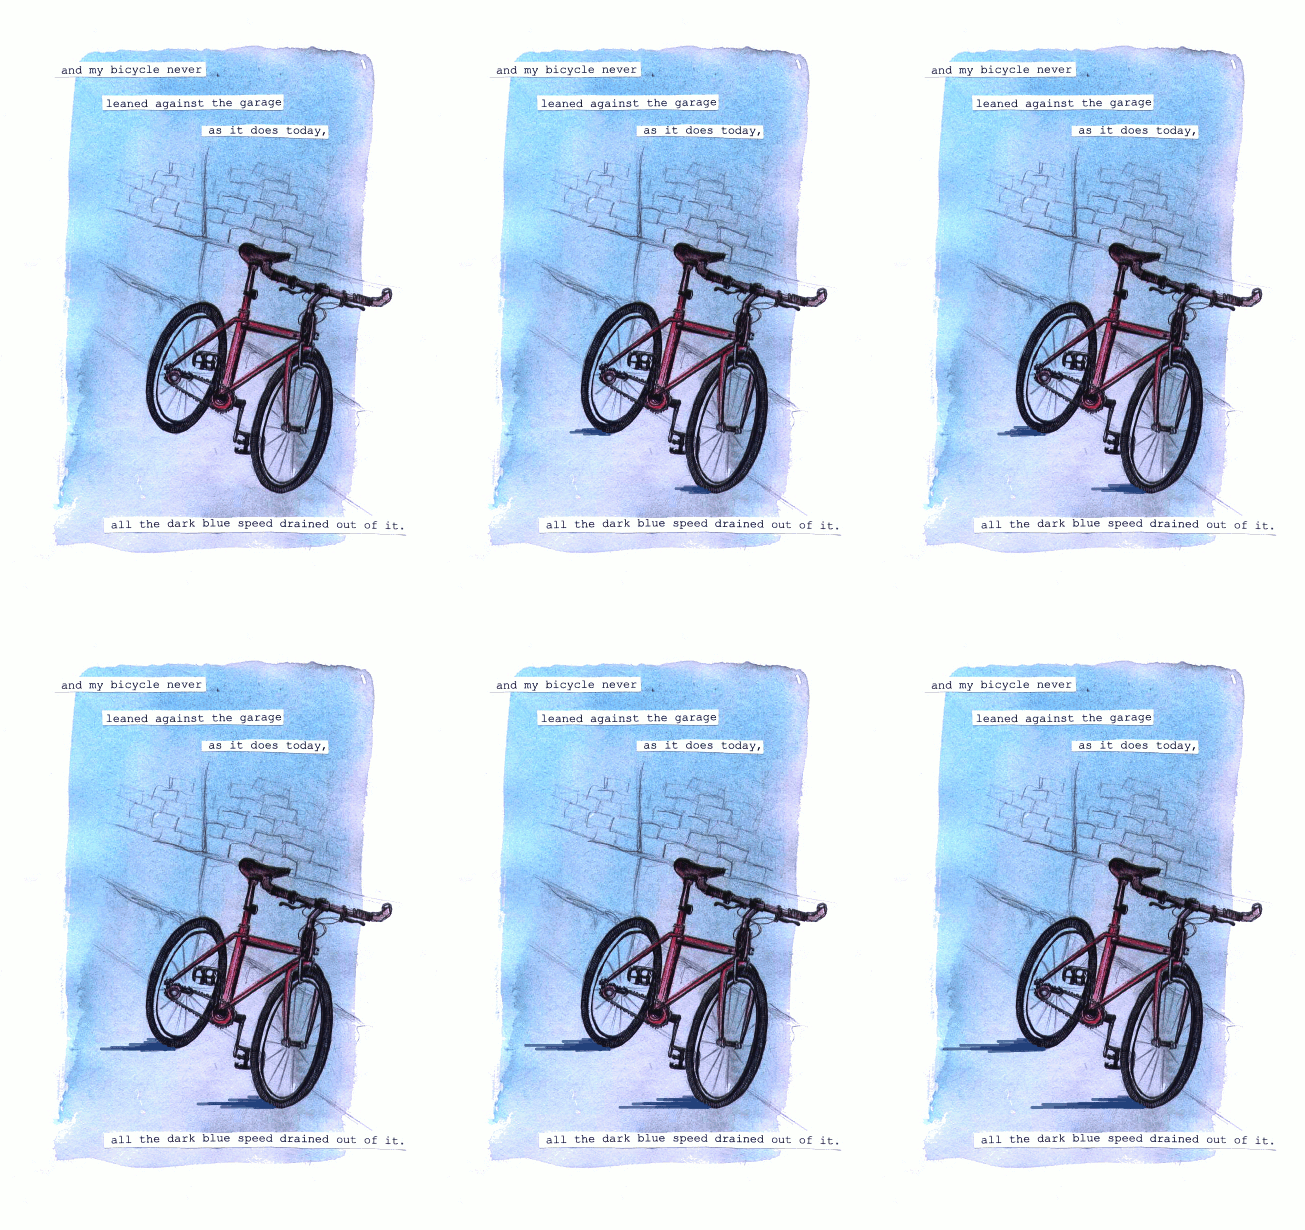

i went into my art foundation course in 2014, still thinking i was going to be going into storybook illustration or with faint hopes of becoming like a concept artist for game/animation, although even then i'd started thinking about patterns...
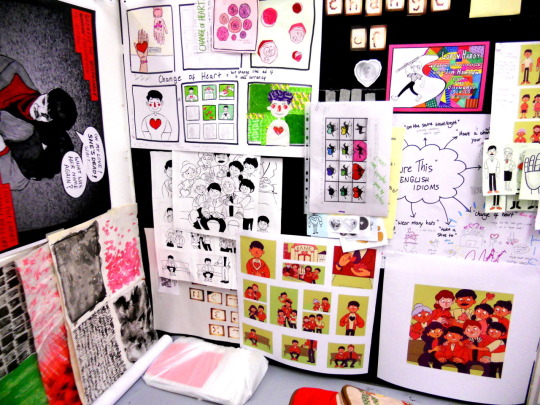
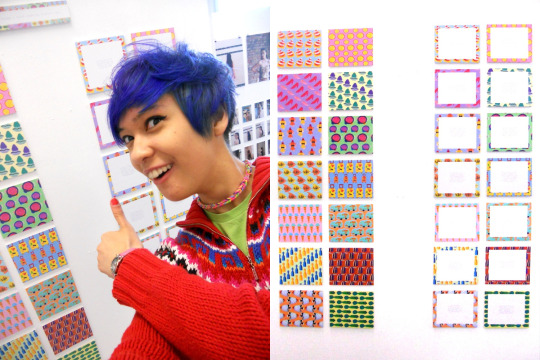
and then in 2015 i did go into my BA, going in for that illustration with animation degree that... usually when i talk about it in real life, i say didn't really feel like the best place for me. if i think back, the best things i got out of it were two of my best friends, one of whom is now my partner. looking back on my BA era, there's some bits of sketchbook stuff...
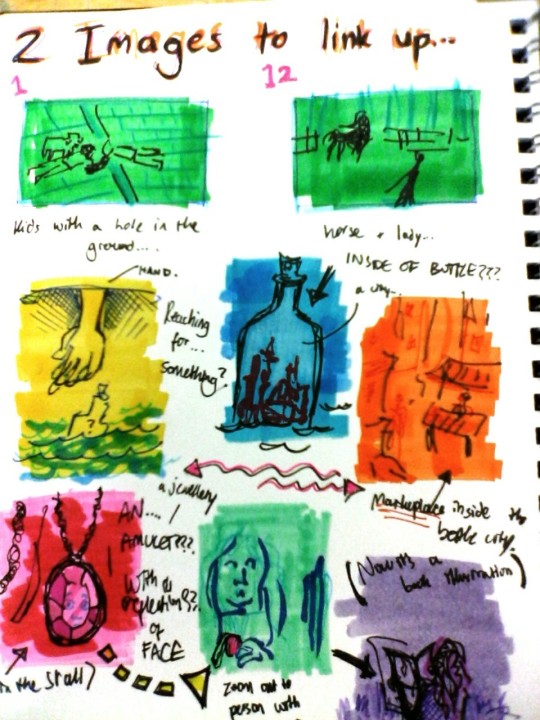
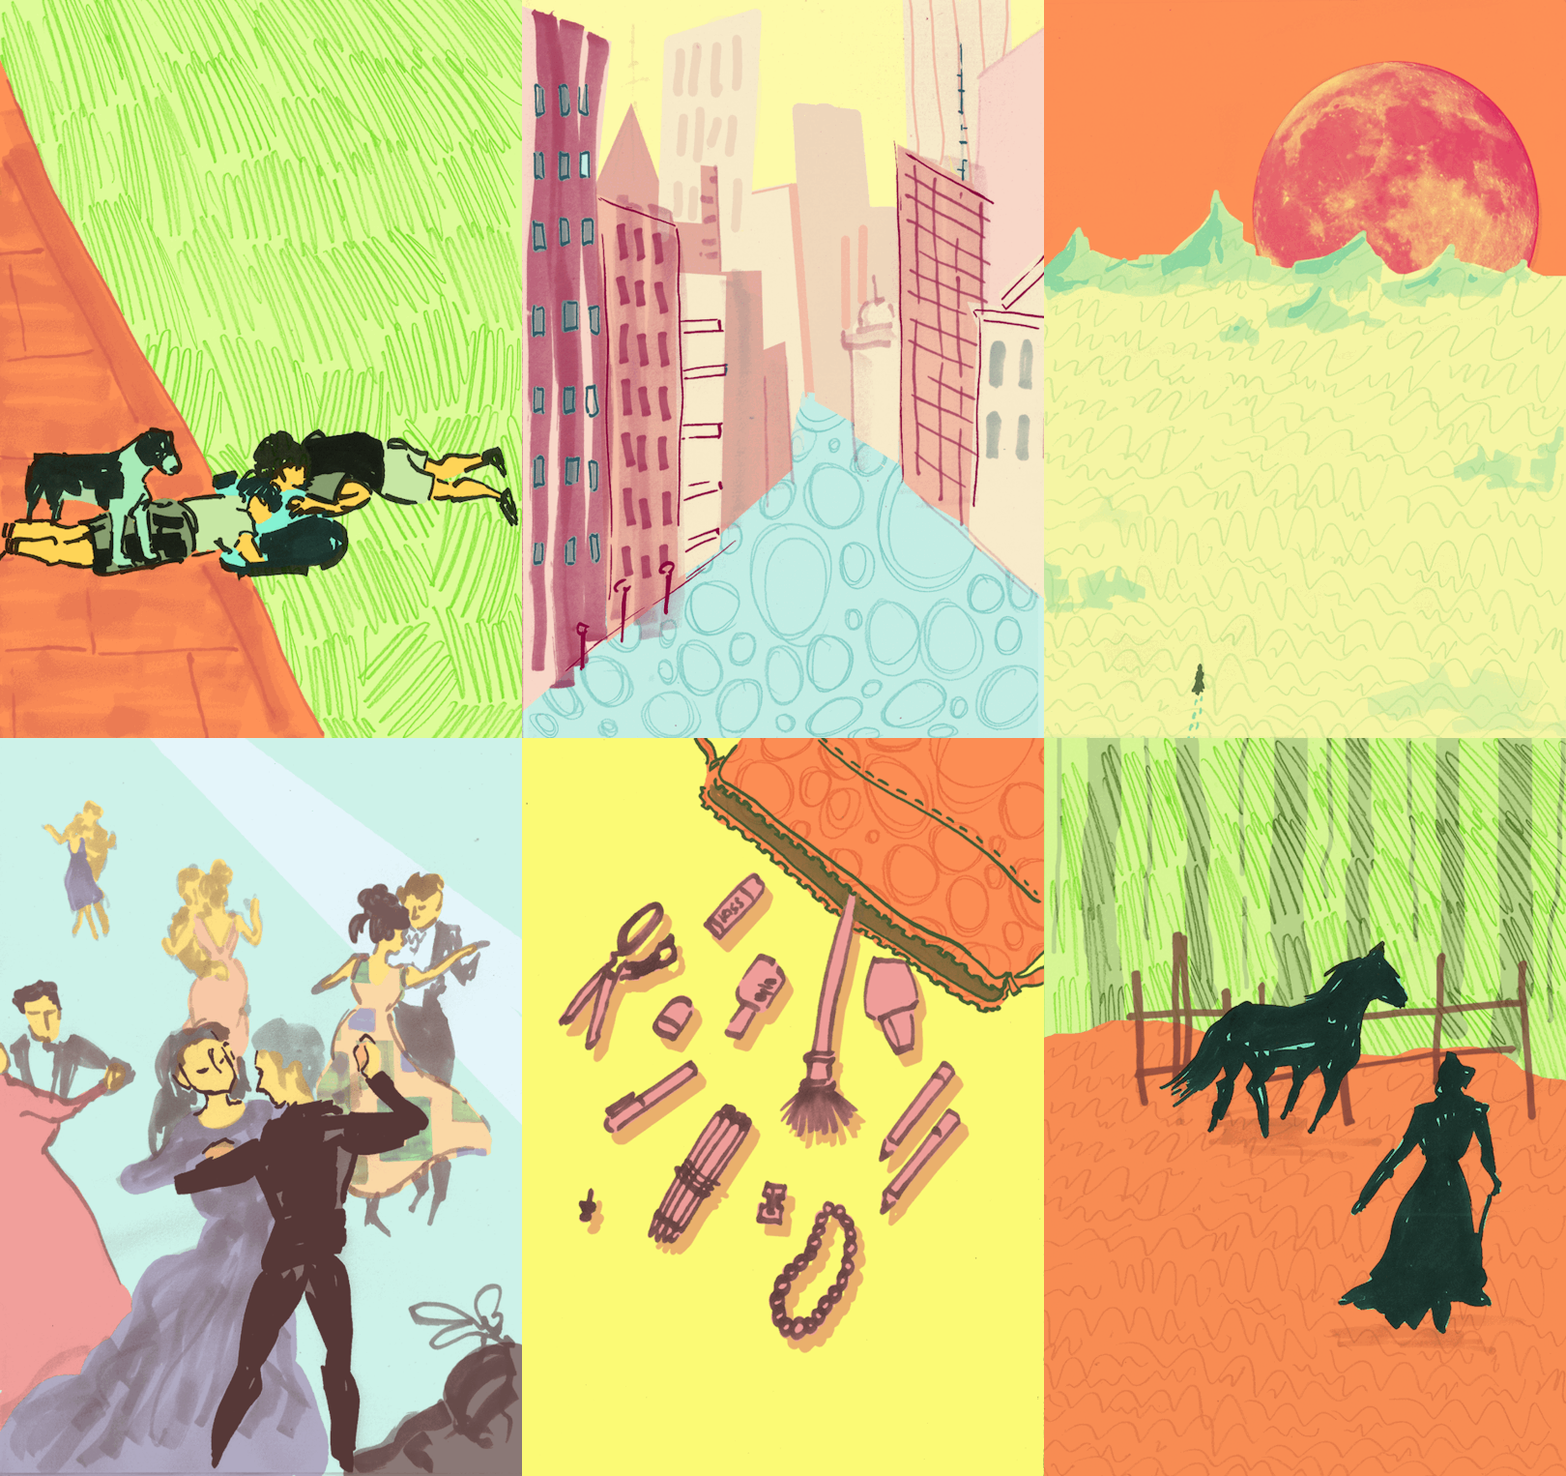
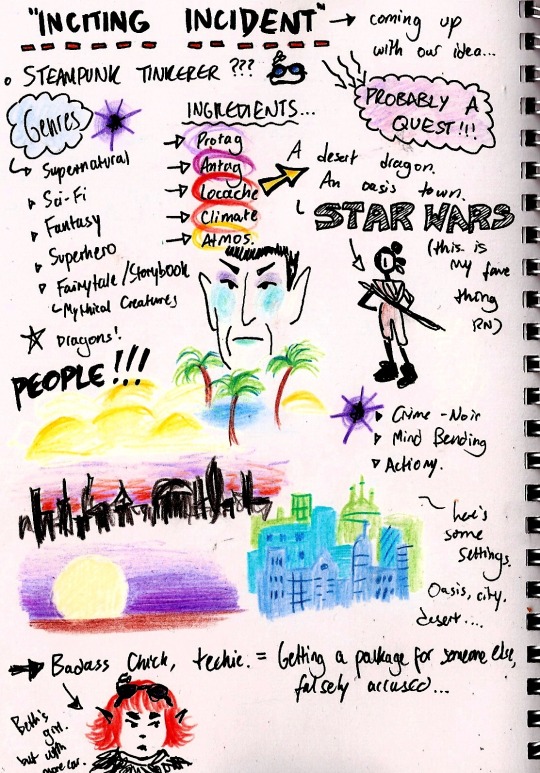
and while i was at university my main fandoms were thunderbirds are go and x-men for a bit... these are from the end of 2015 into the beginning of 2016...
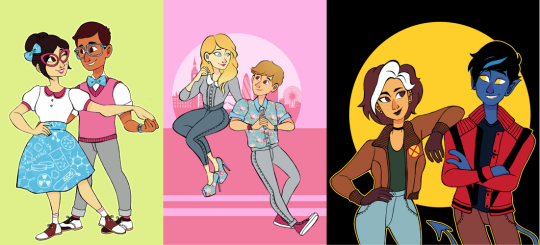
then for a little while i was doing this still sort of pastel-ish lineless situation:
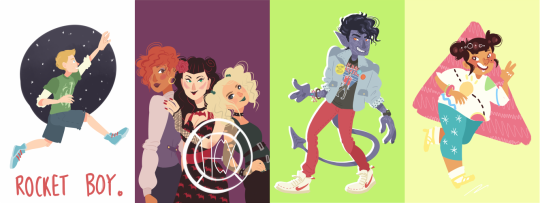
and i alternated between that and this thin fineliner type work (pretty sure all of the linearted pieces were done on paper and scanned, and all the lineless were graphics-tablet-only) - it was in this style that i started to offer commissions for the first time too.
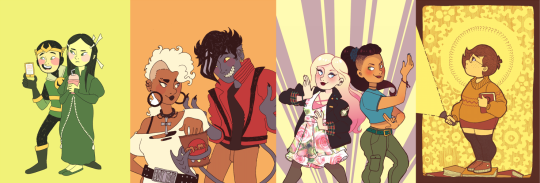
and i also had fineliner-lined work in sketchbooks that i coloured with marker and posca pens, the colours of which were generally a bit more intense just based on not being able to slide the hue/saturation around on paper:
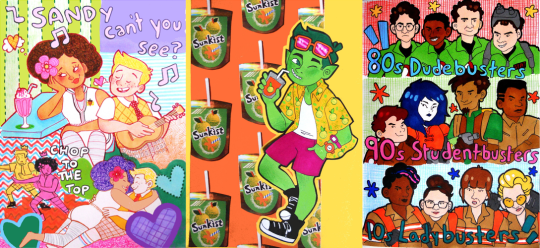
also 2016 was when i discovered the spongebob musical just after it's trial run in chicago (which ended in july of 2016) and i started making fanart at that point... which would have the biggest effect on the way i drew (and i did end up handing in a piece of spongebob musical fanart as one of my art school homeworks lmao)
from summer 2016 until early 2017 things were still quite soft and pastelly in my digital art, colour-wise:
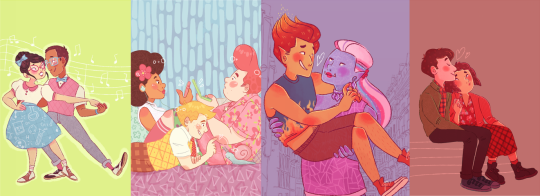
and then suddenly everything got whacked up to 100% on saturation. also i was using the binary tool to give everything really thin pixel lineart for some reason.
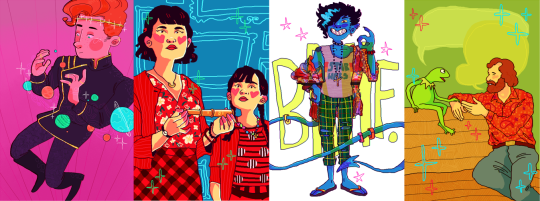
then i went on vacation in summer 2017 and didn't draw for maybe a month? just short of? and when i came back i decided to change everything up again... giving characters blobbier, more ugly-cute faces with large squinting eyes and big nostrils and i was worrying a lot less about making anything look smooth, lineart-wise. i turned off the pen stabiliser in SAI and let it wiggle.
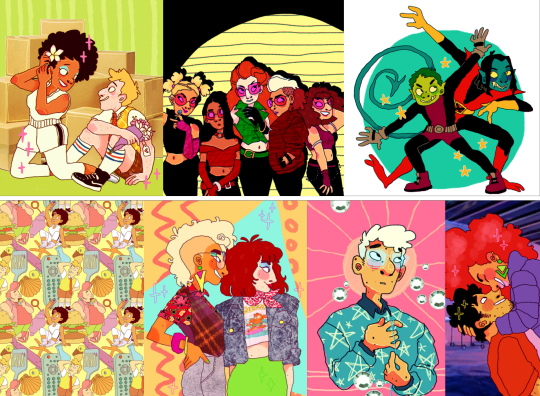
then... the spongebob musical opened on broadway in late 2017, i went to see it live in person for the first time... and my whole brain was ENTIRELY consumed by my love of it. i was putting that david zinn inspired pattern explosion into everything, even if it wasn't sbm fanart.
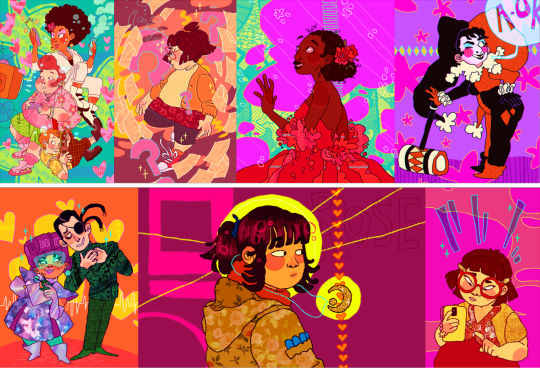
as we go into 2018, i started colouring my lineart. my biggest interest was still broadway musicals (with spongebob at the top of the list)
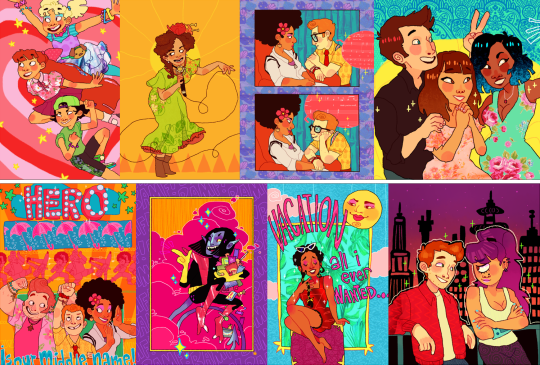
i think summer 2017 - early 2018 is probably my favourite art era, i was at my most bright and colourful and exciting... although i know in my actual real life i was struggling a lot with my home situation and i had been for some time. art was definitely my escapism back then, and i think a lot of the time i drew really bright, joyful stuff to try and inject that feeling into myself.
as for my university work, i was putting my focus into 3D paper-mache puppets:

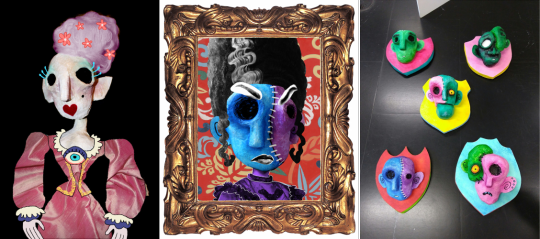
and i was also starting to do more repeat patterns, mostly inspired by things around me. i'd learned how to make patterns actually tile and repeat in 2017, so made a few during my time at uni just to accompany some of my projects, but never as the focus of them. one of my university tutors told me that maybe i should put more focus on doing surface pattern, and maybe applying it to textiles, but i said i wasn't interested.

i graduated from my BA in the summer of 2018, and immediately began volunteering at the whitworth art gallery doing anything i could - stewarding, helping with arts and crafts, dancing with families...
in 2019 i was still very colourful... i was trying out more chunky colouring on characters skintones that i think was def inspired by tumblr artist jadenvargen:
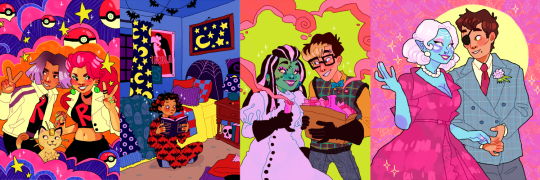
but the blobbyness and ugly-cute style of drawing faces was gone by here, and i think... the way i drew characters probably had better *anatomy*, proportions were maybe a bit more realistic...
in 2020 i started adding the black shading to under the chins and some other places on characters' bodies because i started watching the anime my hero academia with my brother, lmao (and i was starting to pastelise colours a bit again, these are the most pastel-ish examples) my lineart has really smoothed back out too, though i never turned my pen stabiliser back on in SAI. i think my hand just adjusted. probably seems a bit insane to miss that, but i do.
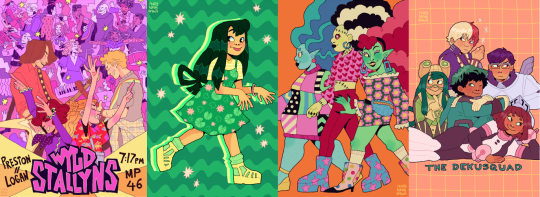
by the end of 2020, the almost-year of lockdown over cobid had... made me a bit insane, i think, and i moved out of my mother's house and into a flat with a friend from university.
in 2021 i think things were much the same... i think from this point on is where things have sort of settled. i don't want to say stagnated, but i do think things have been very... like this for a while.
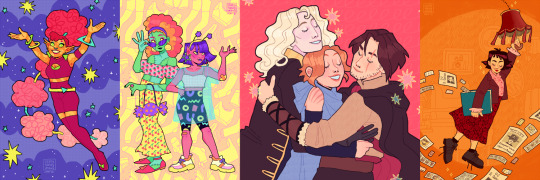
2022 - got the most exciting examples out...
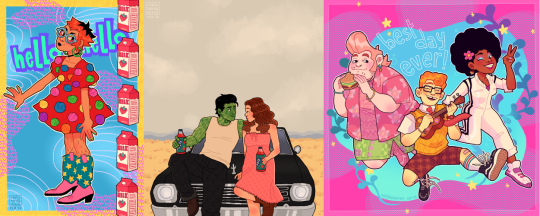
also i was very into these little frames in 2022.
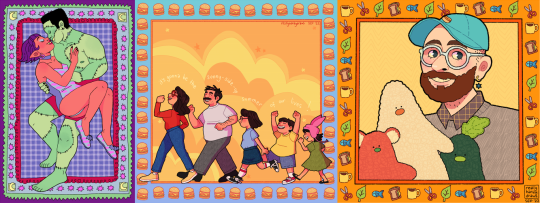
and then on to 2023! in 2022, i did begin trying to shift gears a bit -- hoping to put more energy into sewing and making products (like my tutor has suggested back in uni, even though i'd really resisted the idea.) i sold at a few in-person markets during winter of 2022, but got disheartened by the amount of money i had to sink in up front to sign up for a spot...

which has made me VERY grateful for the people who have supported me via online sales. it has really helped me stay afloat in 2023 - AND it has felt more wonderful than i can describe that there have been people interested in my work... especially when a lot of it has been my original designs, rather than the fanart that i expect a lot of people initially followed me for.
i've also... in the past 2 years... branched out a bit more when it comes to 'being an artist' - and have had the opportunity to deliver arts & crafts workshops with local refugee & asylum seeker support charity, afrocats. it's taken me to their home base in a church to hotels across the city where asylum seekers were temporarily placed while waiting on their new homes, and of course to my beloved whitworth art gallery, where we welcomed visitors from all backgrounds: from the typical white middle class visitors the gallery usually expects, to all the refugee visitors coming into the space for the first time.

and through my volunteering at the whitworth, i showed up so often they decided they might as well pay me. so i've also become a facilitator of... creative play sessions, my favourites of which have been outdoors. monthly, year-round, we have 'outdoor art club', where i get to paint with mud and make potions from leaves with kids & families - here you can see me tell you a little bit about it in this video below with 'crempog' a puppet character that makes videos about activities for kids and families around manchester (my bit starts at 01:10 although i am in the intro and thumbnail haha)
youtube
and then of course the summer 'PLAYTIME' activities we've had the past two years: scrap studio in 2022, and play market in 2023. it's the best freelance gig ever -- just to hang out and encourage families to be creative and have fun.
youtube
youtube
in working more in these new avenues... outside of being - as i've called myself for a long time - "an internet artist"... i've found myself more interested in this sort of thing. in being a "real world artist" too. in doing surface pattern design, and being a workshop facilitator, i find myself wanting to put more energy into these sorts of projects.
in 2023 i've also dabbled a little bit more in youtube videos! i have had a channel for a while and have made videos in previous years, but 2023 has been the year i've done the most in. admittedly most of them haven't been about my art, and more just like... random things that interest me (the spongebob musical in particular) but i've really been enjoying video editing. that's kind of an art form too, so i'm including it here!
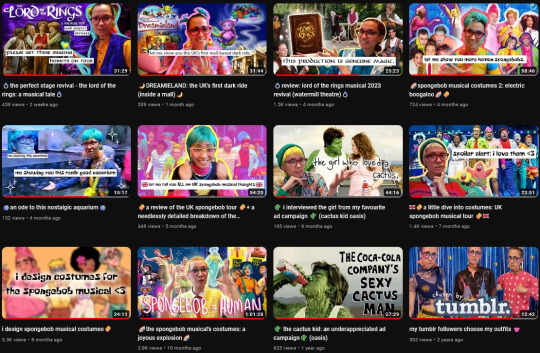
moving forward, want to keep putting even more of my energy into other things. my shop, with a bigger range of products to offer. workshops in real life, where i can make a difference.
as for my art blog... i feel like i've done the least drawing in many years in 2023, and... well, things have been weird and complicated for a bit in my real life. i hope to draw for fun a bit more again very soon, and to return to doing things in more of a wild and crazy way, to be more creative and exciting with the way i draw things. still, here's some of my favourites from 2023:
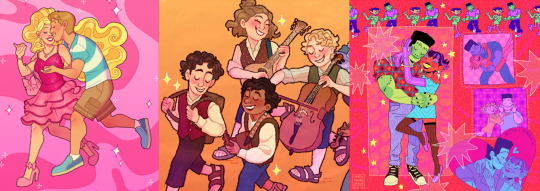
thank you so much to everyone who has borne witness to my art journey this past decade!!! i hope you will stick with me, who knows, maybe for another 10 years if tumblr holds out. especially a big thank you to everyone who has ever commissioned me, or bought anything from my store, you literally keep me able to make art at all and i cannot, cannot, cannot overstate how much it means to me.
i'm moving homes soon, possibly into very cramped temporary conditions for a little while before HOPEFULLY starting my real life with my partner. if i can take one more moment to plug my work, then [here is a link to my online shop] and [here is my ko-fi page too.]
cheers, cheers, cheers!
- LOREN 🌈🍍🎉
#also: i did post. monster high and steam powered giraffe fanart on my main blog when i was in high school#in 2012/2013 it seems like i did absolutely LOADS of fanart for both of those fandoms but didn't cross-post it to my art blog#and uh. well. i'm not about to do it now hahaha#art summary
164 notes
·
View notes
Note
wen ning on the wangxian boat from cql. u know the one

1K notes
·
View notes
Text

Binary Pen Tool Style Commission for @scarzzypanman ! Thank you so much for commissioning me!
202 notes
·
View notes
Note
As far as I remember, or like years ago, you’ve used sai right? Sai or sai2(man the brush engines better and Binary brushes feel smoother..) but I also saw you used procreate at some point for that one Jessie draw- which digital programs have you used that you enjoy the most for different things, or which kind of traditional medium for example also, is interesting and/or satisfying? Have been doing lots of ref and tutorial searching and looking at art inspiration for the direction I wanna take my stuff and I was curious about your preferred setup; I just like to hear people’s workflow and what they use to create what they do. I think it’s neat. Also if this is too long sorry 😅
I use sai 2. I switched to sai once oekaki became more and more inoperable. The binary style aspect ended up sticking. Oekaki has limited layer capabilities and this rewarded a simpler pixel style that was more easily edited. I still miss the ease of using pixelated screen tones in oekaki. There are other programs that can make them, but not how oekaki did. But I prefer sai 2 most now.
I use clip studio for larger scale images like print pages for its more versatile and expensive selection of brushes. It has unique settings that still allow me to turn these brushes into pixelated work without anti-aliasing artifacts. There is a setting for level of anti-aliasing, but this is often not enough for more complex brushes using spraying patterns. Using the "replace alpha" blending mode forces many brushes into a binary color mode because drawn on top of a solid color the brush's color can only be 100% opaque. The binary layer color mode also allows you to do this. Both of the latter options often only let you do this with black and white. I usually do this to be able to transfer it back to sai 2 where it's more comfortable to work in. I also use it for its ability to produce text in multiple sizes without anti-aliasing. Sai 2's text tool is fairly primitive.
I use Aseprite for animating. It is mostly for pixel art. It reminds me of an animation program I used to use a long time ago called easytoon due to its simplicity though...
For traditional I prefer paint pens (I mostly use poscas). Gel pens are okay but very small and cheaply made. I really wish someone would make paint pen versions of gel pens. I also had a big black and white plain ink and hatching phase a long time ago. Generally I gravitate towards opaque materials that make the process feel straightforward. The ability to "erase" or white out mistakes for correction is one of the most important qualities in a medium to me.
Less opaque, more time-consuming layered media yield more textured and nuanced results, but I hate few things as much as ruining a piece of art irrecoverably over a relatively small mistake be that accidentally pilling the paper or drawing a line wrong or splashing watercolor the wrong way. Mixed media was fun, but I just prefer having more purpose to what I'm doing. When I'm too preoccupied with the aesthetics I waste a ton of time on useless tweaking or experimenting that never goes anywhere.
25 notes
·
View notes
Text

Tools of the Trade for Learning Cybersecurity
I created this post for the Studyblr Masterpost Jam, check out the tag for more cool masterposts from folks in the studyblr community!
Cybersecurity professionals use a lot of different tools to get the job done. There are plenty of fancy and expensive tools that enterprise security teams use, but luckily there are also lots of brilliant people writing free and open-source software. In this post, I'm going to list some popular free tools that you can download right now to practice and learn with.
In my opinion, one of the most important tools you can learn how to use is a virtual machine. If you're not already familiar with Linux, this is a great way to learn. VMs are helpful for separating all your security tools from your everyday OS, isolating potentially malicious files, and just generally experimenting. You'll need to use something like VirtualBox or VMWare Workstation (Workstation Pro is now free for personal use, but they make you jump through hoops to download it).
Below is a list of some popular cybersecurity-focused Linux distributions that come with lots of tools pre-installed:
Kali is a popular distro that comes loaded with tools for penetration testing
REMnux is a distro built for malware analysis
honorable mention for FLARE-VM, which is not a VM on its own, but a set of scripts for setting up a malware analysis workstation & installing tools on a Windows VM.
SANS maintains several different distros that are used in their courses. You'll need to create an account to download them, but they're all free:
Slingshot is built for penetration testing
SIFT Workstation is a distro that comes with lots of tools for digital forensics
These distros can be kind of overwhelming if you don't know how to use most of the pre-installed software yet, so just starting with a regular Linux distribution and installing tools as you want to learn them is another good choice for learning.
Free Software
Wireshark: sniff packets and explore network protocols
Ghidra and the free version of IDA Pro are the top picks for reverse engineering
for digital forensics, check out Eric Zimmerman's tools - there are many different ones for exploring & analyzing different forensic artifacts
pwntools is a super useful Python library for solving binary exploitation CTF challenges
CyberChef is a tool that makes it easy to manipulate data - encryption & decryption, encoding & decoding, formatting, conversions… CyberChef gives you a lot to work with (and there's a web version - no installation required!).
Burp Suite is a handy tool for web security testing that has a free community edition
Metasploit is a popular penetration testing framework, check out Metasploitable if you want a target to practice with
SANS also has a list of free tools that's worth checking out.
Programming Languages
Knowing how to write code isn't a hard requirement for learning cybersecurity, but it's incredibly useful. Any programming language will do, especially since learning one will make it easy to pick up others, but these are some common ones that security folks use:
Python is quick to write, easy to learn, and since it's so popular, there are lots of helpful libraries out there.
PowerShell is useful for automating things in the Windows world. It's built on .NET, so you can practically dip into writing C# if you need a bit more power.
Go is a relatively new language, but it's popular and there are some security tools written in it.
Rust is another new-ish language that's designed for memory safety and it has a wonderful community. There's a bit of a steep learning curve, but learning Rust makes you understand how memory bugs work and I think that's neat.
If you want to get into reverse engineering or malware analysis, you'll want to have a good grasp of C and C++.
Other Tools for Cybersecurity
There are lots of things you'll need that aren't specific to cybersecurity, like:
a good system for taking notes, whether that's pen & paper or software-based. I recommend using something that lets you work in plain text or close to it.
general command line familiarity + basic knowledge of CLI text editors (nano is great, but what if you have to work with a system that only has vi?)
familiarity with git and docker will be helpful
There are countless scripts and programs out there, but the most important thing is understanding what your tools do and how they work. There is no magic "hack this system" or "solve this forensics case" button. Tools are great for speeding up the process, but you have to know what the process is. Definitely take some time to learn how to use them, but don't base your entire understanding of security on code that someone else wrote. That's how you end up as a "script kiddie", and your skills and knowledge will be limited.
Feel free to send me an ask if you have questions about any specific tool or something you found that I haven't listed. I have approximate knowledge of many things, and if I don't have an answer I can at least help point you in the right direction.
#studyblrmasterpostjam#studyblr#masterpost#cybersecurity#late post bc I was busy yesterday oops lol#also this post is nearly a thousand words#apparently I am incapable of being succinct lmao
22 notes
·
View notes
Note
Off topic but
I am desperate for a good brush all lineart brushes i use sucks, so i'm wondering if you could share tips about brushes i love you're art, ofcourse only if you wish!
Hi there!
The brushes I use for lineart are usually default ones that come with the drawing software itself. Some of my favourites are:
"Pencil" tool of Paint Tool SAI, its smoothness and crispness is unmatched imo; for pixelated/aliased lines I use SAI's "Legacy Pen" tool (binary pencil)


"Syrup" brush in Procreate (iPad needed), which is my current favourite; it looks pixelated but it's not a perfect binary pen, there is still some aliasing in there

"Gesinski ink" brush in Procreate, which I consider a softer, textured version of Pencil that is still nice and sharp

There is a brush pack that I've been experimenting with (and enjoying) lately - Comic Ink Brush Set by Georg Graf von Westphalen. It says "for Procreate" but I think it also includes standard .brush file that can be imported into other art programs.
Oh, and I heard Krita's got some cool default brushes. And it's free! I know a handful of artists who use it. I think it's meant to replace Photoshop, althought I can't say much about that as I never used it myself.
Thank you, and I hope this helps!
19 notes
·
View notes