#That was certainly a mouthful
Explore tagged Tumblr posts
Visit Tumblr Blog
Explore Tumblr blogs with no restrictions, modern design and the best experience.
Last Seen Tumblr Blogs


Fun Fact
69% of Tumblr users are millennials.
Text
Larian statistics got us like:

#bg3#baldur's gate 3#minthara#minthara baenre#evil murder kitten#shitpost#minthara kiss appreciation day#lets be honest with ourselves#minthara has no problem with the unadulterated worship she's being showered with right now#unlike a certain wanna be tyrant this babygurl most certainly has time for kissing.#minthara enjoyers took them statistics as a personal challenge#we gotta pump them numbers up#show your evil murder kitten some love.#if you are someone who has a problem with her talking about murder all the time#have you considered that she can't talk about murder if youre kissing her?#did you consider that?#if you don't like her talking about murder then put your mouth on her mouth and she'll shut up about it#she cant be killing people if shes too busy smoochin with you
586 notes
·
View notes
Text

all i want is to get railed into oblivion after work
#certainly not one of my better pics by any means#but i loved my eye makeup last night so fuck it#idk i just want a cock in my mouth man
236 notes
·
View notes
Text
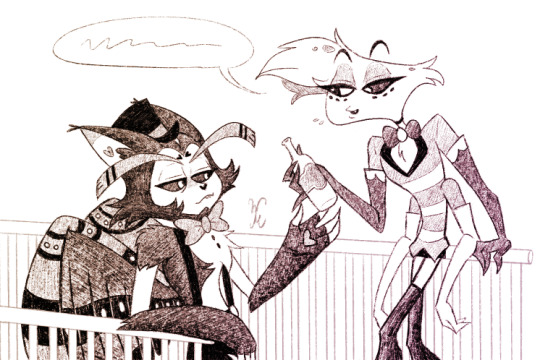
gonna end up renaming this blog "Oops! All Huskerdust! ᕕ( ᐛ )ᕗ" at some point bc that's apparently the only thing that's ever getting made here, but,,,,,, oh well ig x,D
(WIP for a bigger thing but they're such a mood here i couldn't help it lmao)
#justa coupla guys being dudes :) passing a bottle back n forth :))))))#Angel's little duckface lips senddddddd me for some reason lololol#i'm just so used to a big toothy mouth on him i guess pfft#hazbin hotel#huskerdust#???? i guess xD They Certainly Are Standing Next To Each OtherTM.meme#angel dust#husk#doodles#wip
179 notes
·
View notes
Note
The way you draw Manolo and Jack gives me gender envy idk why
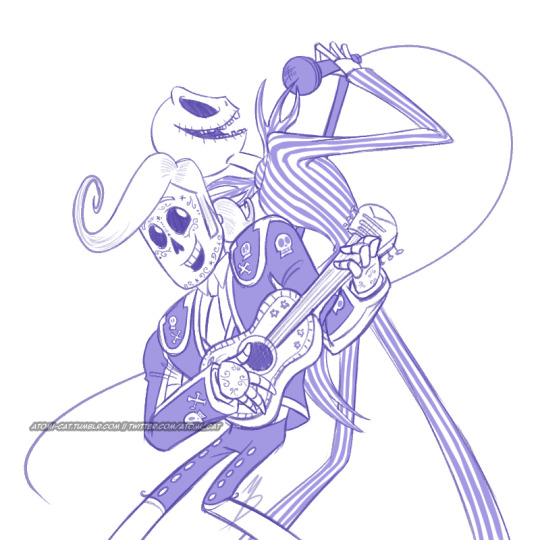
Couple of fancy bois, aren't they? But also thank you!
#answers#manolo sanchez#jack skellington#Made an edit cause I forgot to draw Jack's little mouth marks oops#good lord it's certainly been forever since I drew these two huh?#I hesitate to tag this under the boneheads since this wasn't meant to be that#but man did I miss drawing me some skellies XD
331 notes
·
View notes
Text
you know whats funny is that I MAY have been more open to the wayfinder title if it wasn't thrown upon us so immediately and so irreverently. redefining the commander without permission or regard. you're one of us now whether you like it or not. get used to it.
#guild wars 2#gw2#hated the title from the very first moment but the way the expac went certainly didn't help!#could've grown on me had the story went over better but now there's just a bad taste in my mouth. wahhhh
148 notes
·
View notes
Text

but it's easy to love something when there's pain in its eyes
#hi i'm fine just trying to kickstart drawing regularly gonna try do at least one a day#artists on tumblr#oc#slate#scars cw#lyrics are from#hand over mouth over and over by a lot like birds#fave old song and certainly not the last time i'll do something for it pfft
85 notes
·
View notes
Text
Working on the twitch streamer Tucker animatic and I decided to cave and switch from animating in Photoshop to Adobe Animate and oh bOY are the controls confusing
Oh and update on it all, I have completed the script, storyboard, and Tucker’s emotes. Next is voice acting and animation.
#bones speaks#y’all I may not be like Super Good at art#but I have stubbornness and a creative vision so I’m Gonna Do It#will it look incredible? no. will it be shaded? no. will the jawlines change with every frame? yes.#I feel like I can’t be the one to voice act Tucker. like you see a black dude and out of his mouth-#- comes a sporano midwestern 20 year old with absolutely 0 voice acting talent#i feel like it’d certainly be funny but it would be hella jarring#i might ask a friend to help me with the voices. make it less ‘what the fuck’
242 notes
·
View notes
Text
say everyone should defend the black and non-binary cast members of house of the dragon from disgusting vitriol aimed at them for their skin color/gender orientation and no one bats an eye. say a white man’s pronunciation of a made up word sucks and society. society goes wild.
#house of the dragon#hotd#steve toussaint#bethany antonia#phoebe campbell#emma darcy#abubakar salim#clinton liberty#turning something this serious into team discourse is certainly a choice#but if you only open your mouth when the white cis actors are being attacked 😬 yikes#i know what you areee
99 notes
·
View notes
Text
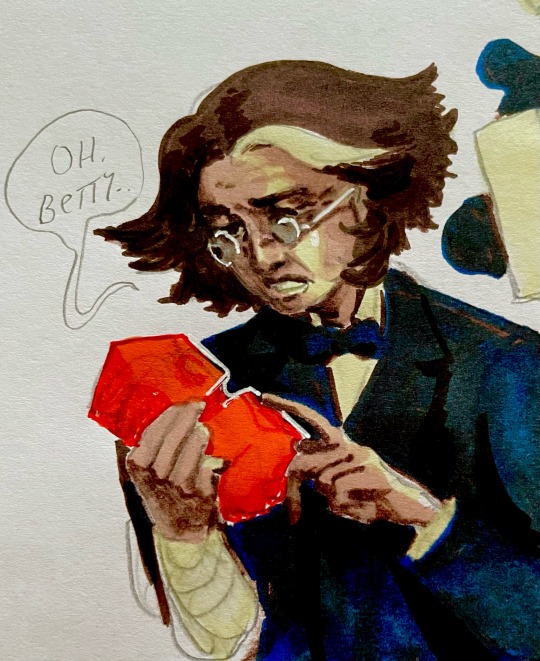
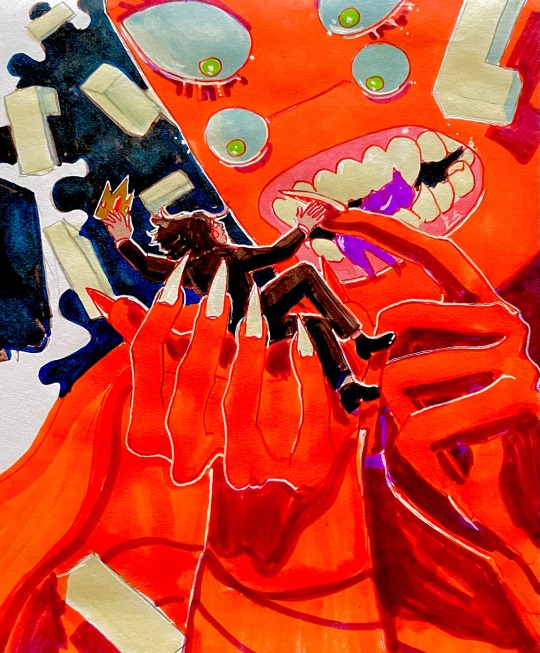
to hold and be held….
#adventure time fionna and cake#fionna and cake#Golbetty#fan art#I’m so normal about them (frothing at the mouth)#also the dynamic of teacher and student I utterly did not expect#I assumed Simon was also a student with her. it certainly complicates their dynamic#also simon being a big deal??? dr. Petrikov??? love#I just want to see them happy (even though Golbetty no longer operates like that). I want simon to get closure#to say goodbye ….#I haven’t been this wildly fanatic about a show in a loooong time#what have they done to meeeee
318 notes
·
View notes
Text


Jack O'Neill being...Jack O'Neill in 3.08 "Demons"
#jack 'i'm gonna mouth off if it kills me and i think it's presently killing me' o'neill#stargate#sg-1#stargateedit#jack o'neill#richard dean anderson#s3#ep8#3.8#***edits#we talk about daniel being mouthy but jack certainly gives him a run for his money
306 notes
·
View notes
Text
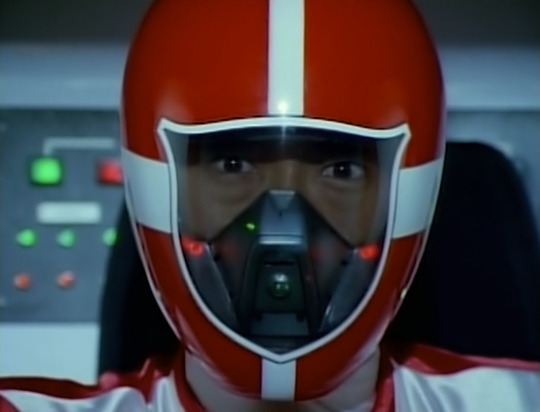
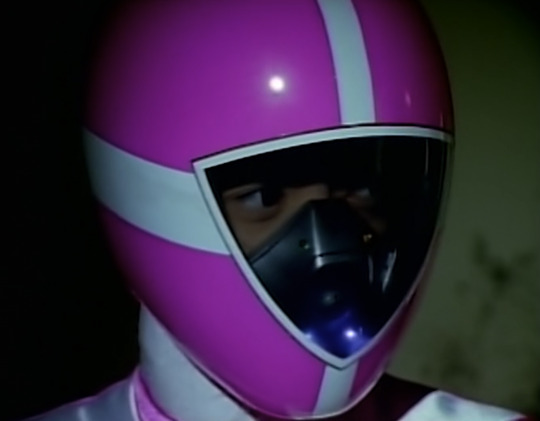


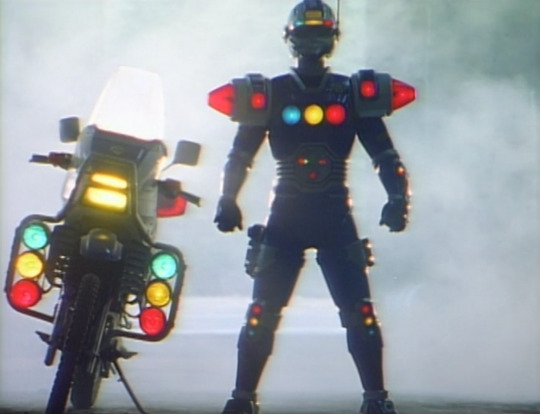
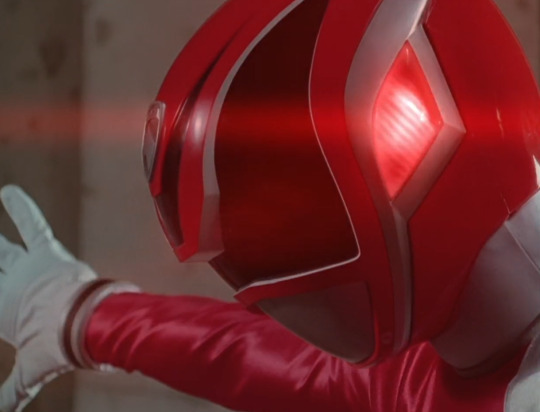
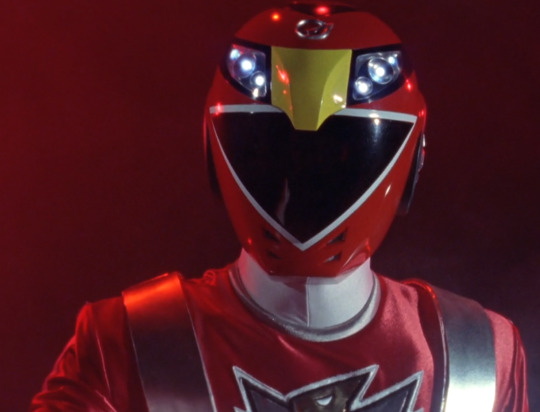


when the
when there are lights. in the helmets.
#bioman#carranger#megaranger#gogofive#dekaranger#go onger#when the suit/helmet lights up and you just start frothing at the mouth#the lil coloured lights in the gogofive helmets????????? perfect. absolutely perfect#THE GO ONGER HEADLIGHTS LIGHTING UP#also my love for the bioman helmets is reaching unreasonable levels and its only been 10 episodes someone send help#honourable mention to kiramager ur helmets dont light up but they certainly do sparkle
182 notes
·
View notes
Text
woop okay so,,, Big Gore Warning,, like. were talking flayed,,,, this ended up a lot more Marvel Zombies than i meant it to whoops but i am. Actually Very Proud Of It,,

and a version without the embers bcs in retrospect i like this one more actually

trying to do ✨texture✨ on the suit. not sure if i like it,, hmmmm
#sorry for inflicting this on you discord#it will almost certainly happen again#✨what else is the spoiler image button even for✨#this was supossed to be a new pfp and then i Marvel Zombies All Over It Whoops#the tragic thing is this would still be a sick pfp if not for the. EuAghh#very not anatomically correct teeth im aware ajksldjklsd#my art#horror art#hyper-hellfire#ghost rider#robbie reyes#all new ghost rider#cw gore#tw gore#cw blood#tw blood#cw mouth pulling#cw body horror
50 notes
·
View notes
Text
what do you guys think going through a nether portal feels like?
#i was thinking about it earlier#do you think you get like. more senses than just physical feelings too?#i think it smells like singed hair and smoke.#and makes your mouth feel dry and a little rotten#and it feels like. a sting. like a fullbody flash of...something. not quite heat but not quite cold. certainly a tempature#minecraft#mineblr#yeah i'm using my art blog to ask this question. it's my blog#moo.txt
150 notes
·
View notes
Text

[wip] hello iwtv fans i am speaking directly into your ear now.
#wip#interview with the vampire#iwtv#claudia#claudia de pointe du lac#claudia de lioncourt#the vampire claudia#i might also do the mardi gras fit i will almost certainly do the yellow dress#im having trouble getting delainey's claudia to smize in the same way bailey's claudia is smizing#might need to redraw her mouth and eyes#my art
36 notes
·
View notes
Text
n*loth not being able to bag anyone over the (human term) age of 25-30 at most is the only logical and real conclusion to me because it can be just explained away as him wanting to prove and control everything and anyone (Cus he's a man!) but being stuck in that demographic because his unbearable and vile personality is a force that nobody can look past once they've outgrown the possible fear and idolization period of anyone but also n*loth in particular.
#text#i think even younger ones that possess the same nasty traits can be slammed back 'In their place' (in his mind) by him just bc his -#- abilities and power alone (alt. name the factors that make him 'Cool') that dumbs them down insanely in comparison#maybe by this i mean like; ild*ri. despite the animosity she could still feel very foolish and is conscious of her wuss-ness#if that makes sense#cause no matter the disrespect anyone might have for an older capable person the reality is still reality#tbh i just think he doesn't like to sweat it much and still aims for the younger ones bc it's easier than it would be for someone that's -#- 30+ years old#and once he's proven his point he doesn't find any merit in sticking with older ones cause their interests or anything they offer -#- don't matter to or interest Him personally#i think an older demographic is just more boring to him and he would rather spend his time being metaphorically sucked off for his greats -#- by someone that already finds themselves 'lesser' than him and always will for a long time#than someone that is defiant of that fact#basically the more power imbalance the better#in his mind there will always be one unless he certainly knows someone is his equal (or better than him) but he likes the add-on of an -#- age difference too#keeps it in a safe zone with less problems for him#sorry for spitting again my brain just started machine-gunning thoughts for no reason#also i said before that he's an innocence fan. might not be a total puritan but there's something there#it's kinda like him not wanting to be with a dusty ''OLD'' person that's seen a lot anyway#i'm like barely able to hold myself back from opening my mouth to mention t*lvas where i'm making a point about n*loth's brain where he -#- isn't even needed to prove it#but like#him voicing dislike of n*loth general nauseating character and actions but still sucking up to him while n*loth can probably feel -#- that dislike anyway is cute to me i like to view it as an object being thrown into the wall over and over#where n*loth is proving his own worth to other people by drilling their brains out with proof. not that he needs to#but he would like that to be perfected a 100%#and t*lvas is capable of being molded into that state ....... probably#silusvesuisuis you didnot just confess to wanting to see t*lvas be slammed into a wall you fucked up demented beast you're sick#actually can't believe i forgot to mention this but he's literally so immature idk what he has anything in common with actual mature people
29 notes
·
View notes
Text
"o captain my captain 🫡" oh hes so in love roddy in love with a finn? more news at 11
Panthers Championship Parade | 6.30.24
#evan rodrigues#aleksander barkov#florida panthers#also yelling at your beloved captain to get his attention#and then spraying him with champagne from a bus away as he tries to catch the spray with his mouth#to which you then turn the bottle so that you yourself may drink out of#is certainly something alright#yeah its certainly something#LMAO EVEN LUOSTY WANTED SOME BABY SIT DOWN#we have gotten delightfully drunk luosty hes such a joy but someone put him on a leash and chain him to a bed to sleep and give him water#sweetheart we cannot be toddling around LIKE THIS
27 notes
·
View notes