#ISBU
Explore tagged Tumblr posts
Visit Tumblr Blog
Explore Tumblr blogs with no restrictions, modern design and the best experience.
Last Seen Tumblr Blogs


Fun Fact
The total number of visits Tumblr.com received during January 2021 is 327 million.
Text
Don't mind me, just posting my Human Stand designs... If you want more, request in the upcoming work on my AO3.


Dojyan~!
#isbus#original art#digital art#drawings#digital drawing#digital illustration#jjba fanart#jjba#jojo#jojos bizarre adventure#jojo no kimyou na bouken#jjba art#jjba the world#jjba killer queen#jjba stray cat#jjba king crimson#jjba metallica#jjba baby face#jjba d4c#jjba speed king#human stands#jjba human stands#jojo fanart#jojo stands#jojo's bizarre adventure#original content#original drawing#original design
12 notes
·
View notes
Text
New Genshin Stuff!
First is my OTP’s icon- Icewind Suite/Coppelia and Coppelius!
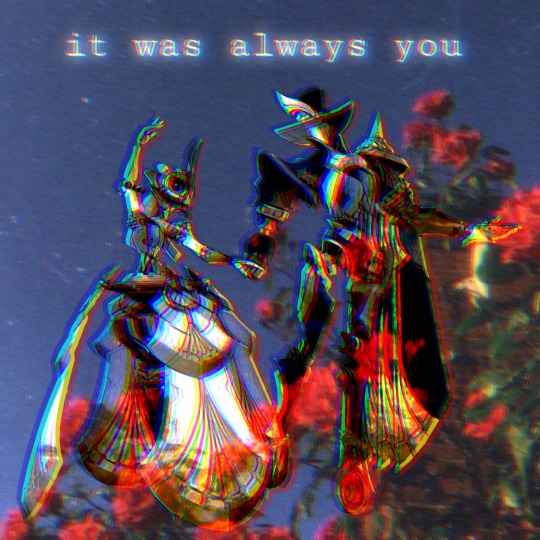
Next up, a Dottore Walpaper!
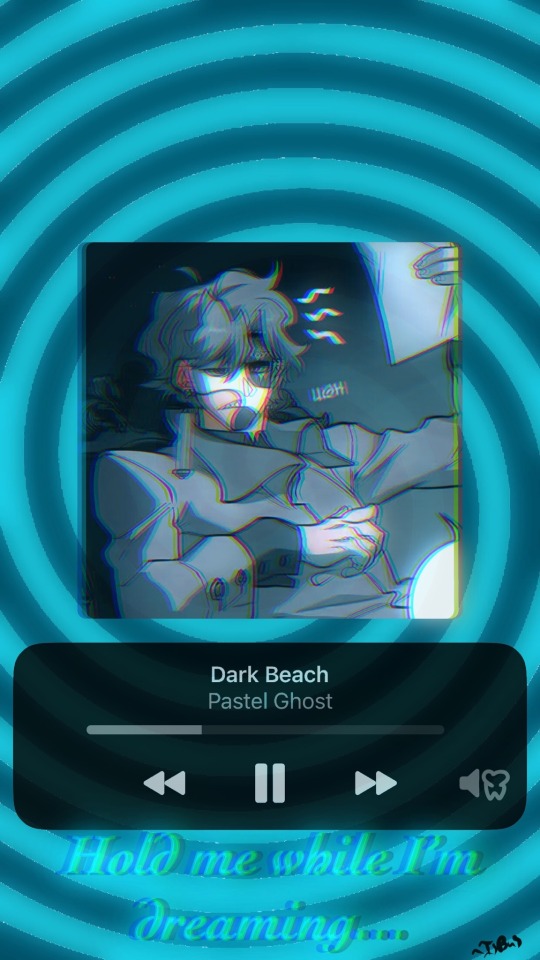
That’s it.
I hope you enjoyed this quick update!
~IsBus
#isbus#genshin impact#genshin impact edit#genshin wallpaper#dottore#il dottore#genshin dottore#genshin impact dottore#dottore genshin impact#Icewind suite#genshin icons#genshin coppelia#genshin coppelius#i love them#glitch edit#music wallpaper#song wallpaper
15 notes
·
View notes
Text
So I’m back…
But this time, I have a tutorial!
Do you have a 3DS?
(If you say yes to that, then we’re cooking).
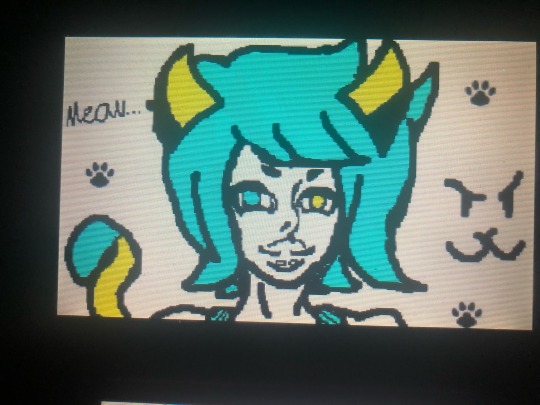
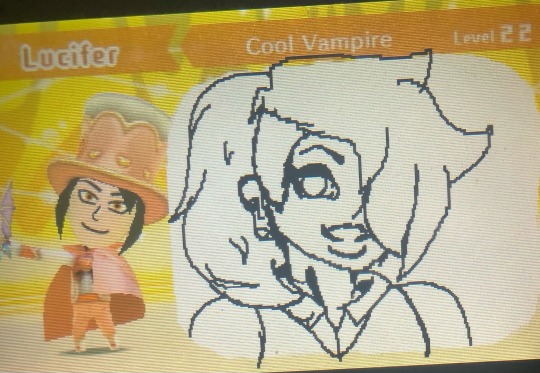
Do you want to draw something similar if not better than…
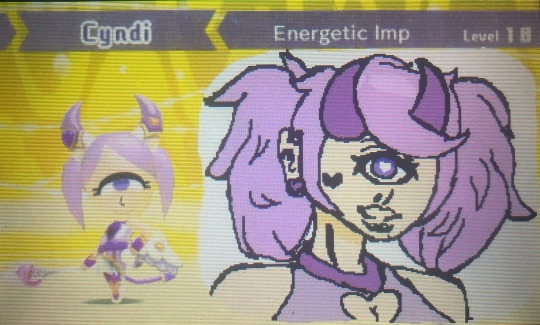
THIS?!
Then boy I have a tutorial for you!
Since this was drawn on a 3DS, I can’t really tell you anymore than for a 3DS. Sorry..
Step One: Prep!
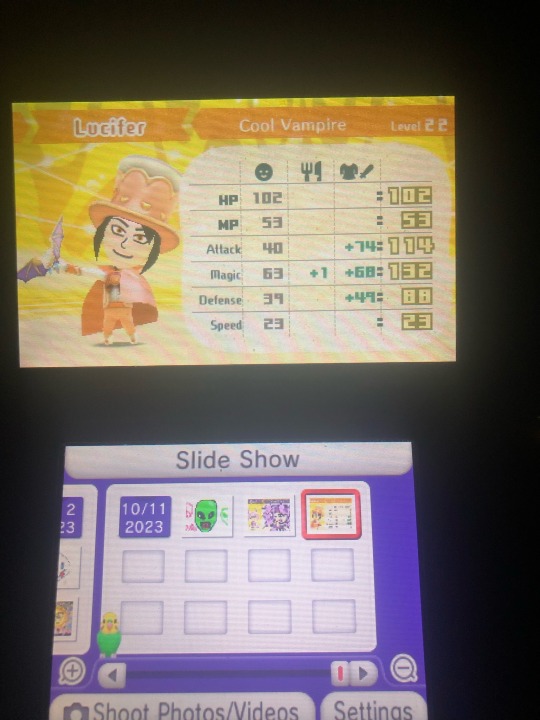
Grab your 3DS and go to “Nintendo 3DS Camera”! Or whatever it might be called if you have a “New” one.
Optional: If you want you can take a picture within the game- if it’s capable of doing so.
For me I’m gonna use a screenshot from Miitopia.
Step 2: Background!
Part 1: Plain Backgrounds
If you want something like the following image, follow this part’s instructions.
Take a random full screen sized image. Any image will work as long as it fits the screen perfectly. (Take a screenshot from a game such as Tomodachi Life or Miitopia).
Tap the image so that it says graffiti.
Then use a stamp, such as the dialogue bubble.
Hold the stamp and make sure it fills the corners.
Then you have a plain white background! This one you can press finish,but the other method you can’t.
Here’s a quick video tutorial, because I don’t think I phrased it right!
(I took it on my phone, that’s how easy it is).
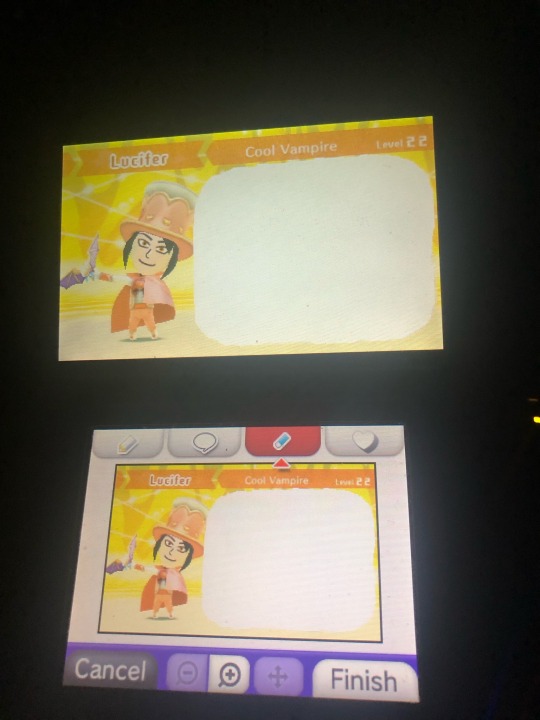
Part 2: Backgrounds that aren’t pure white!
If you want to make the starting image (but your own), then follow these steps!
(Once again, I’m using Miitopia screenshots for an example).
Once again, GRAFFITI!
Instead of using a stamp, you might have to just color it yourself. Mainly because the stamp method is harder for backgrounds like the first one.
COLOR THE BACKGROUND, BUT DON’T DRAW ANYTHING ELSE. (Unless you just want to draw a background). Trust me, it’s easier.
Boom! Plain background ready for sketching.
Don’t press finish cause it can decrease the quality with enough graffitiing and finishing.
Step 3: Draw the Base!
You gotta draw that body-ody-ody!
Just draw a bust or whatever is easier for you. “Omg IsBus you have to have drawing skills?!” Yeah I know. How could I?
I’m gonna draw the bust up because it’s easier for me.
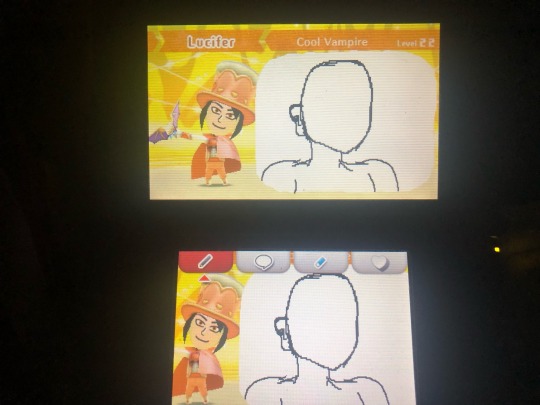
(Don’t look at me like that.)
For the plain BG ones, just do the same thing for the rest of the steps but for your screen.
Since the background hasn’t been saved, don’t use the eraser because it will remove the white BG. Unless you are using the first background method, that is. (Use the white pencil.)
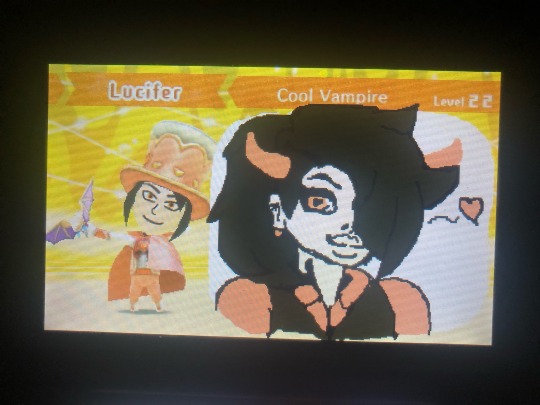
Step 4: Draw the character / Coloring Page Step!
On the plain BG you can draw what ever but for me and my Miitopia character, I’m gonna draw him. If you did the color-only-a-part-of-the-drawing method (like I’m doing), you can do whatever still.
Think of the white area as a green screen; you can draw whatever you want on it.
This phase is like the pencil part of a physical drawing. White out the base as you get to parts you want over it (for example: hair or clothes).
Bam! Coloring page!
Part 5: Coloring!
Remember when I called it a coloring page? This is why.
Color the drawing how you see fit!
If you’re using the all white bg, then you might have to use the stickers or the rainbow pencil. I recommend the stickers if you want to shade/shine, but if you want more options, use the rainbow brush.
If you’re basically doing what I’m doing, you can use the colors from the image to color your character!
Once you’re done coloring the image, remember to ink the lines again! Use a medium brush for coloring but a thin brush for inking the lines.
Part 6: Final Details!
For people who want any additional details, or need to clean up edges.
If you did the plain bg you can decorate and clean up as much as you need!
If you’re doing what I’m doing, you can clean up the edges of the white spot and add additional details.
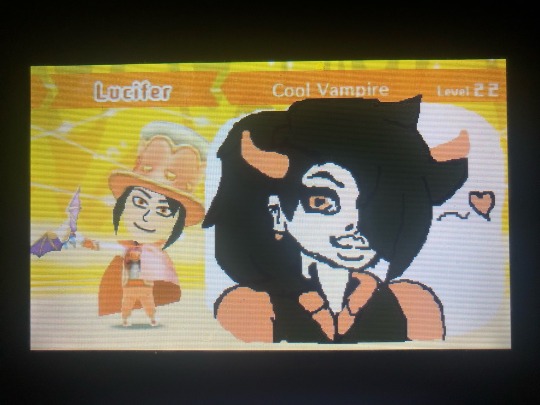
And Voila! You did it!
If you have a 3DS and followed my tutorial, show me what you did! I wanna see it!
Have a good day/night! And thank you for reading!
~IsBus
#isbus#isbus original#original art#original character#original characters#digital art#3ds art#3ds#nintendo 3ds#drawings#digital drawing#drawn on a 3ds#tutorials#tutorial#I wanna see your art#miitopia#the second one wasn’t as good#sorry lol#mission failed successfully#long post#show me what you got
27 notes
·
View notes
Text
Glamrock Chica Icon!

Please reblog or credit me if you use it!
Edit: I will work on the edits you asked for, be patient.
#fnaf edit#fnaf sb#FNaF#fnaf security breach#glamrock chica#reblog if you’re using it#credit me#isbus#glitch edit#vaporwave
17 notes
·
View notes
Text
OH MY GOD!! I have more Human Stands!
Finally right?


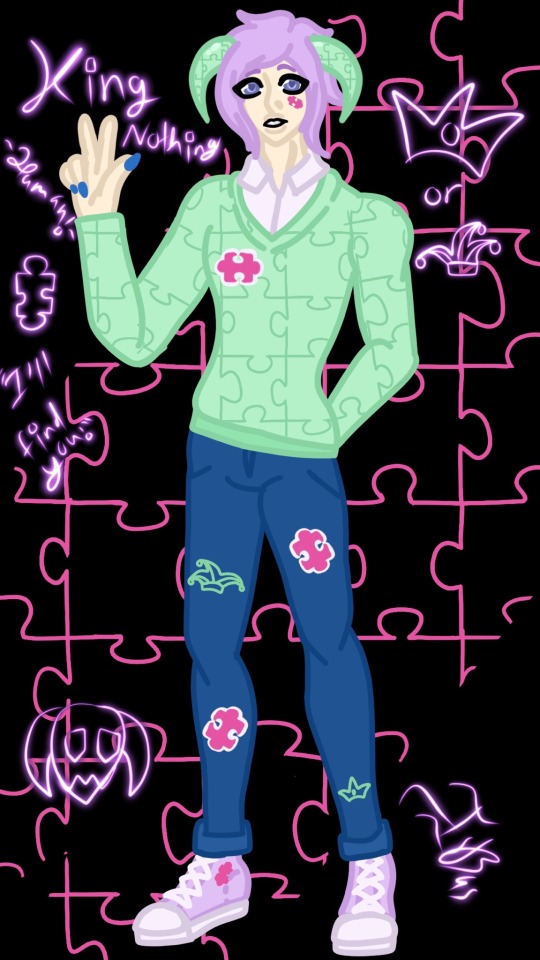
Death Thirteen, Heaven’s Door, Sheer Heart Attack, Moody Blues, Weather Report, Whitesnake (plus C-Moon and Made in Heaven), In a Silent Way, and King Nothing!
Be sure to look at my other Jojo posts for more! <3
~IsBus
#isbus#original art#digital art#drawings#jjba art#jjba fanart#human stands#jojo’s bizarre adventure#jojo fanart#jojo art#jjba death thirteen#jjba Heaven’s door#jjba sheer heart attack#jjba weather report#jjba whitesnake#jjba c-moon#jjba made in Heaven#jjba in a silent way#jjba king nothing#original design#digital drawing
4 notes
·
View notes
Text
I saw you guys liked my HUMAN STANDS!!
Well here’s some PRIDE VARIANTS.

Left to right: The World (Pansexual), Killer Queen (Bisexual), King Crimson (Polyamorous), Whitesnake (Demisexual), D4C (Transgender), and Wonder of U (Questioning)

And look! A bonus one with their flags as there BGs!
But! Before you leave I shall give you a parting gift (since you looked at this post and read this.. right..?)


Cream and Wonder of U!
AND!

A preview of Whitesnake’s full body!
And yes, I made a brush just for Whitesnake.
Dojyan!
~IsBus
#isbus#original art#digital art#drawings#original content#original design#pride#pride stands#jjba#jojo’s bizarre adventure#jjba the world#jjba killer queen#jjba king crimson#jjba whitesnake#jjba d4c#jjba wonder of u#jojo au#jjba au#human stands#human design#original drawing#digital drawing#digital illustration#artists on tumblr
4 notes
·
View notes
Text
I found out how to decorate my phone, so have my Neuvi themed phone.

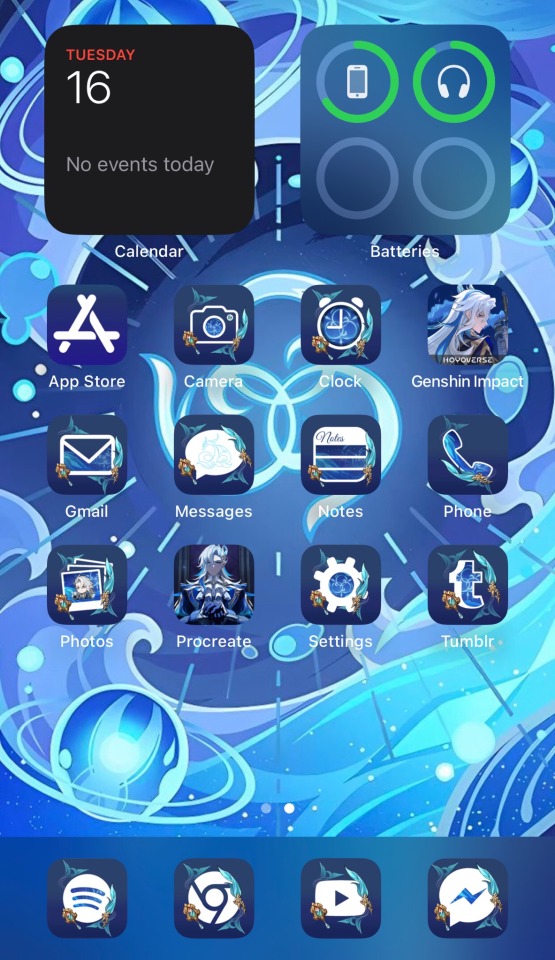
Love you all! (More Human! Cuphead coming soon)
#isbus#neuvillette#genshin neuvillette#genshin impact neuvillette#neuvillette genshin#apps#phone#wallpaper#lock screen#home screen#phone wallpaper#custom app icons#I had to make my own App Store icon#BUT IS THIS NOT THE GRANDEST THING??#look at my phone#I love Neuvillette#thank you
15 notes
·
View notes
Note
💐🌸🌻🌾🌺🪻🌷🌹🌼happy spring! 💐🌸🌻🌾🌺🪻🌷🌹🌼 send this to 5 other people you'd frolic in a meadow with! 💐🌸🌻🌾🌺🪻🌷🌹🌼
Bro, we frolicin’! Where you at?
I’M ON MY WAY!!!
5 notes
·
View notes
Photo

(via Islamabad United Squad for PSL 2024: Full Player List, Captain, Coach, Draft Picks, and Key Details)
0 notes
Text
The Sins are (Fully) Drawn!

That’s right! Now you have to meet them!
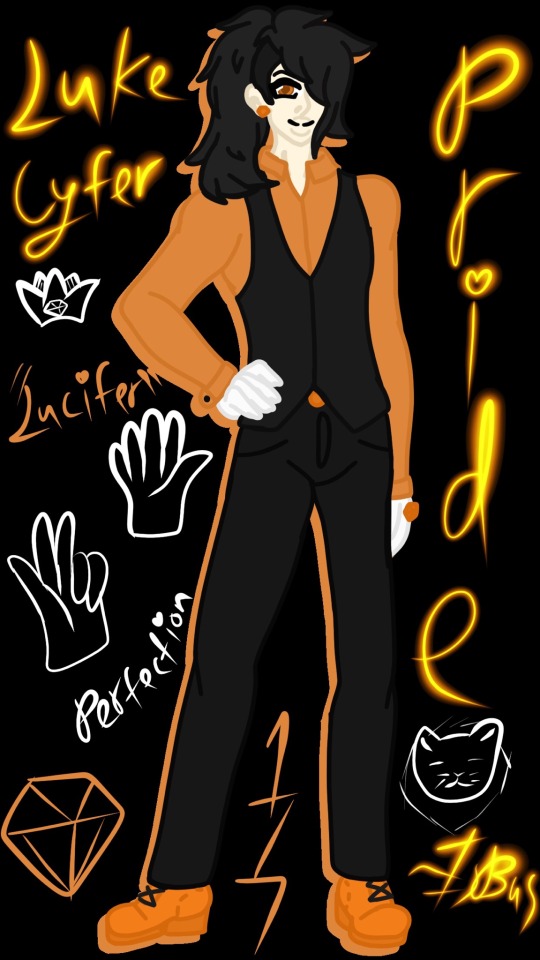
Luke Cyfer is the first of the Sins. He represents the sin of pride. Because he’s the first, he is the leader of the group. His special word is ‘Perfection’, like him…

Matt Muns is the second, representing the sin of Greed. Despite being the second, he is not the type to lead. He was the creator of the City’s currency which is called ‘Muns’. His special word is ‘Price’.
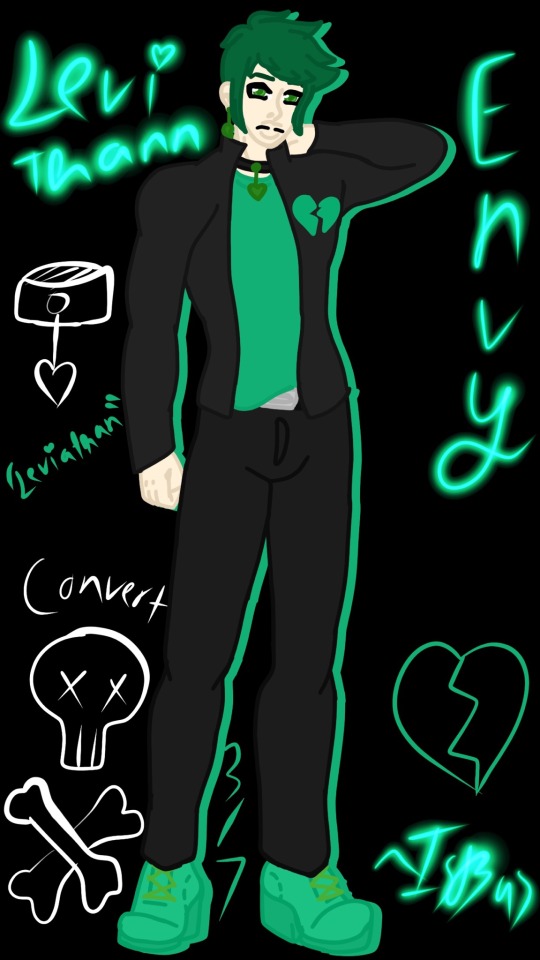
Levi Thann is number three. He is the dad of the group when Luke isn’t being a dad. He represents Envy, of course. He spits venom- with words or without. His special word is ‘Convert’, which is something he does quite often.
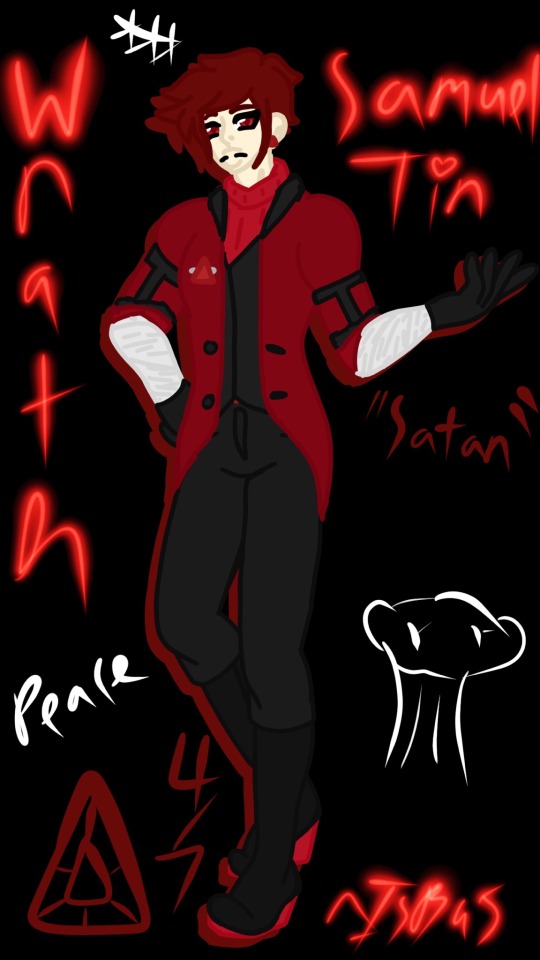
Samuel Tin is the fourth. He represents Wrath despite his long for a quiet day. Even though he gets angry easily, he wants to be nicer. Maybe his past has something to do with that. His special word is ‘Peace’- a future he strives for.
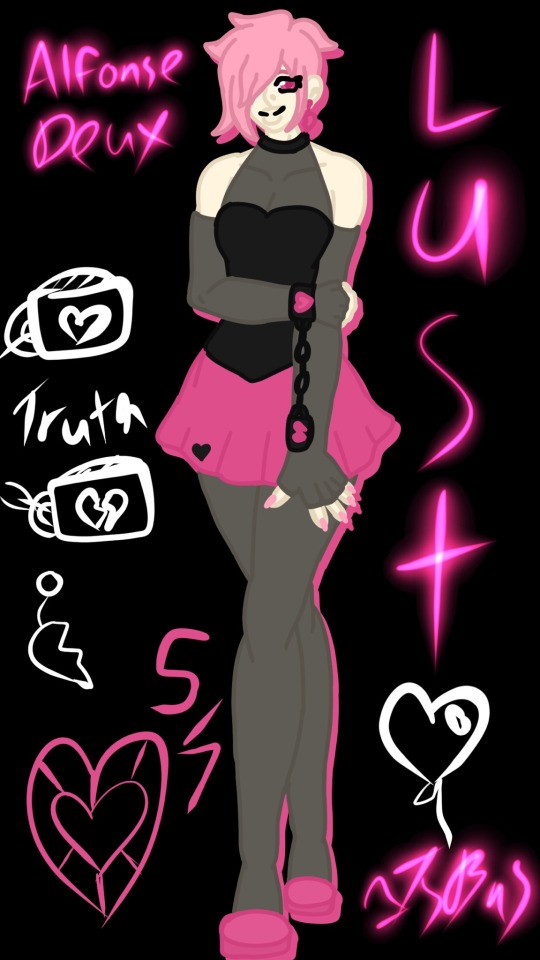
Alfonse Deux, the fifth who represents lust. He comes from two, so he can swap his gender. But that’s more like a disguise so he can get what he wants. There’s something sad lurking beneath the surface. His special word is ‘Truth’- it’s strange since he’s always lived a lie.

Ben Bubs takes the sixth place. He represents Gluttony, but that’s not hard to see. Everything about him is easy to find- in fact- he’s easy to find since he’s one of the tallest. His special word is ‘Quality’. From food, liquor, and drugs, to simply the quality of relationships…
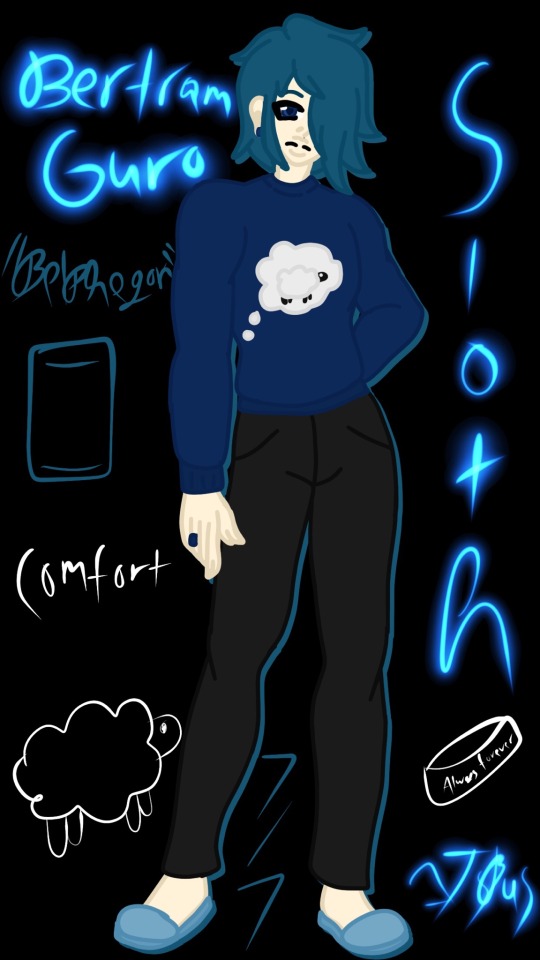
Bertram Guro, the depressed one who is always last, is number seven. He represents Sloth. He never goes out of his comfort zone, trying to sleep and stay away from others because of this. He is commonly found lounging or looking for away to escape this “dream” of his. His special word is ‘comfort’- something he needs more of.
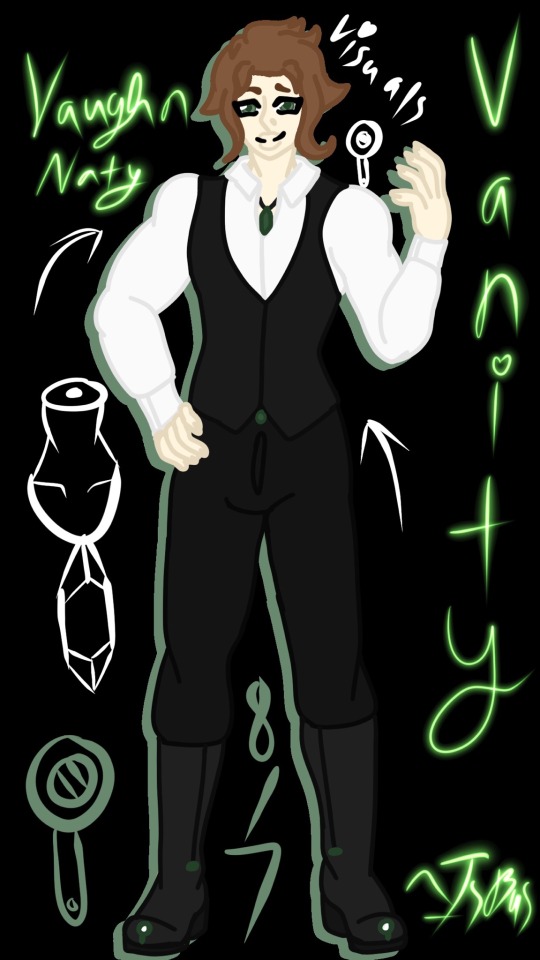
If you thought this was over, you would be wrong. Vaughn Naty, is not quite a sin. In fact he represents Vanity, which is just another word for pride. He considers himself the better between the two. His special word is ‘Visuals’ because he wants to be visually appealing.
That’s all! I hope you enjoyed my Sins lore and art! Oh! And here’s a bonus~
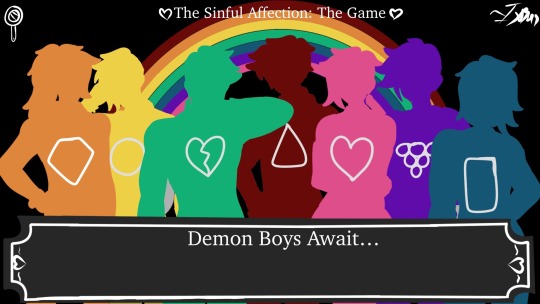
Demon Boys may arrive soon! If we’re lucky…
#isbus#isbus original#original art#original character#original characters#digital art#drawings#seven sins#seven deadly sins#technically there’s eight#but shhh#demon original character#demon oc#demon boys#demon boy#long post#oc lore#lore#the sinful affection#original story#original fiction#work in progress#we’re gonna do it#eventually#i’m not religious#i swear
6 notes
·
View notes
Note
Heyo! One, love your art. I first followed you when I saw your Dislyte character icons (the one with Q). Your art style is ADORABLE!!!
Second, which of these characters should I draw as an oc of mine? I was thinking Asclepius or Pothos (or both). If both, which one first?
Have a good day/night! ~IsBus
First, Thank you!
Second, go for Pothos
7 notes
·
View notes
Note
“Will you be my Valentine?”
*presents him a ring pop*
- 🔶
He looks down at the ring pop with a smile, then looks back at you. “I would love nothing more than to be your Valentine.”
IsBus: That applies to all of you. Also, HAPPY VALENTINES DAY, CUTIES!
#dottore genshin impact#genshin dottore#genshin impact#genshin impact dottore#il dottore#genshin asks#character asks#asks answered#happy valentine's day
7 notes
·
View notes
Note
two days late but happy birthday
IsBus: Sorry I’m late for the response (and his birthday)
“Oh, how exciting! What did you get for me~?”
#cookie run#cookie run affogato#cookie run kingdom#crk affogato#affogato cookie#crk ask blog#ask affogato#answered asks#ask answered#character asks#crk#ask blog
4 notes
·
View notes
Text
For you, @mutsuowo ,

A CAT IN A SHARK COSTUME PLUSH (i think)
reblog to give a plushie to the person you reblogged this from
#isbus#reblog#reblog to give a plush#we want a gift#but only if it’s a plush!#now give me a nui#or something else you think suits me#cat plushies#cat in shark costume#LOOK AT HIS BEANS
266K notes
·
View notes
Text
IT'S BEEN A WHILE!
If you remember this post, you're a fucking GOAT!
But, alas, there's a new series... A new twist on an old classic!
Making Cuphead Character's Human Because I feel like it!
Parts 1-8! (The original four in the post plus the other ones I forgot to post.. BUT THEY'RE REVISITED!)
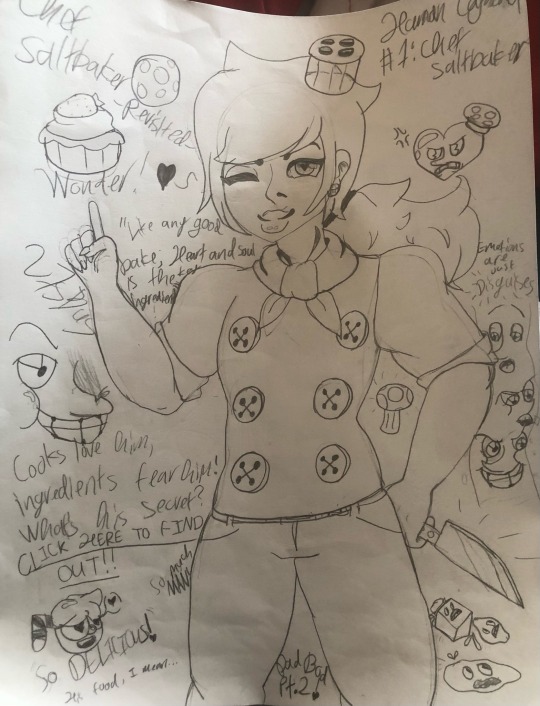
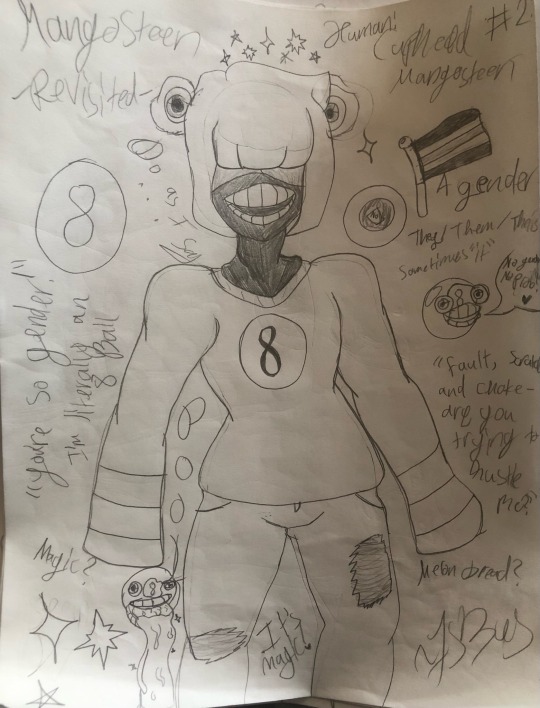
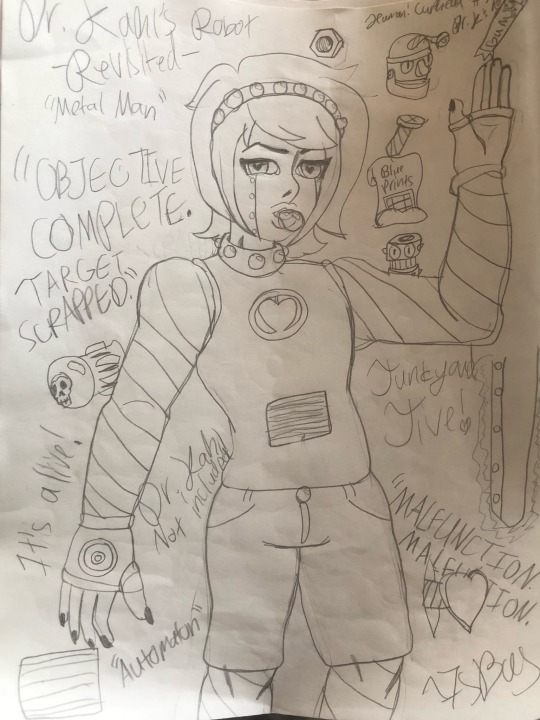
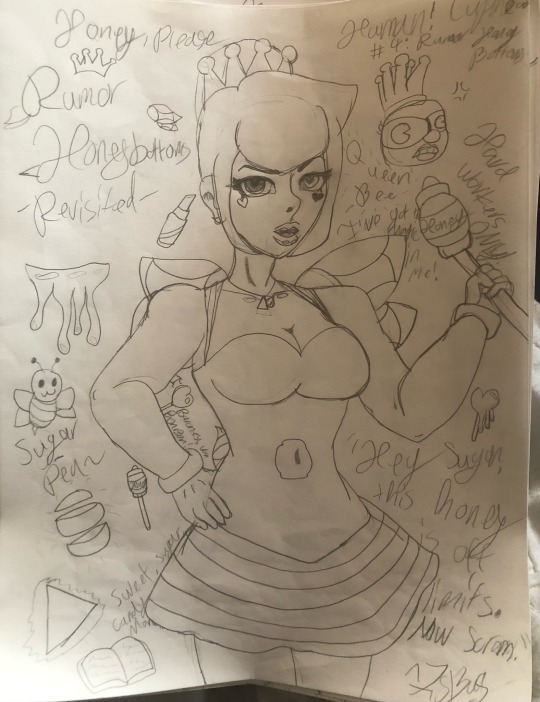
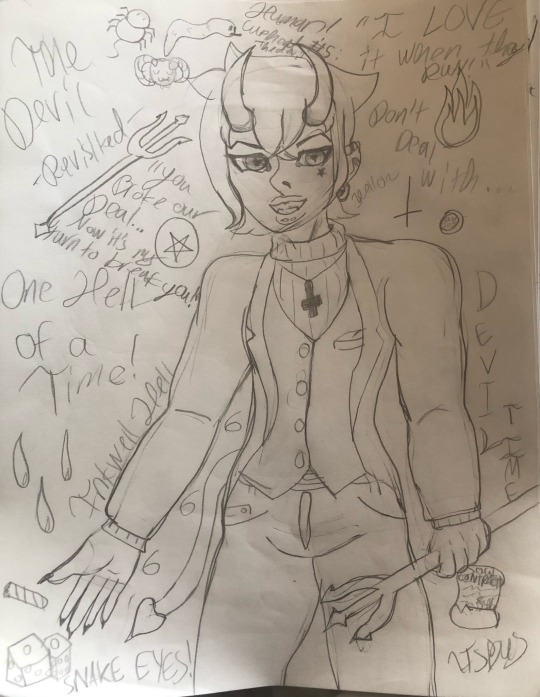
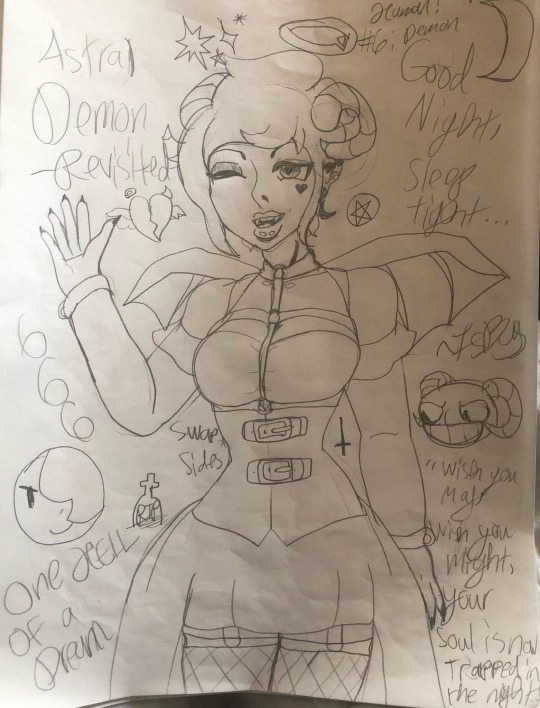
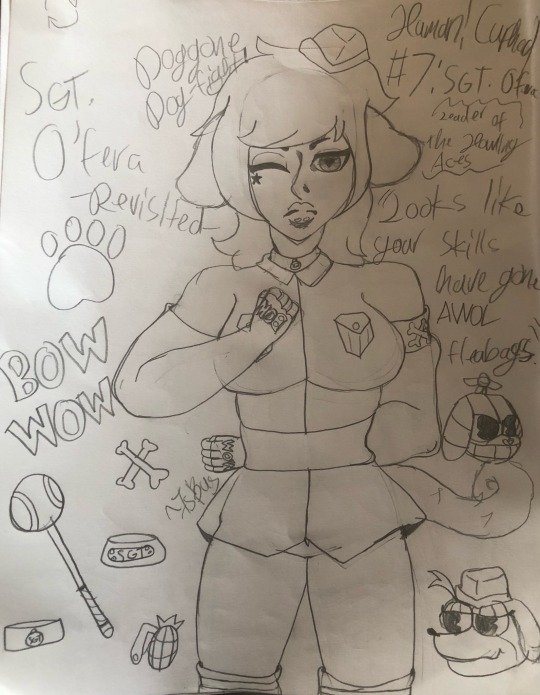

(Chef Saltbaker, Mangosteen, Dr. Kahl's Robot, Rumor Honeybottoms, The Devil, The Astral Demon*, Sergeant O'Fera, and Werner Werman)
*And yes, I made the demon from one hell of a dream into a girl.
Another four are coming!
~IsBus
#isbus#original art#original design#cuphead delicious last course#cuphead dont deal with the devil#cuphead chef saltbaker#cuphead mangosteen#cuphead dr kahl’s robot#cuphead rumor honeybottoms#cuphead the devil#cuphead demon#Cuphead astral demon#Cuphead sergeant o’fera#cuphead werner werman#traditional drawing#traditional illustration#traditional art#pencil drawing#original drawing#making cuphead characters human#human au#humanization#human version#drawings#reblog don't repost
2 notes
·
View notes