#hanniballectar
Explore tagged Tumblr posts
Photo

By swallow_tattoo
#Hannibal#hannibal lecter#hanniballectar#portrait#portraits#art#artist#artwork#illustration#painting#tattoo#tattoos#tattooed#ink#inked#inkedup#tattoo artist
8 notes
·
View notes
Photo

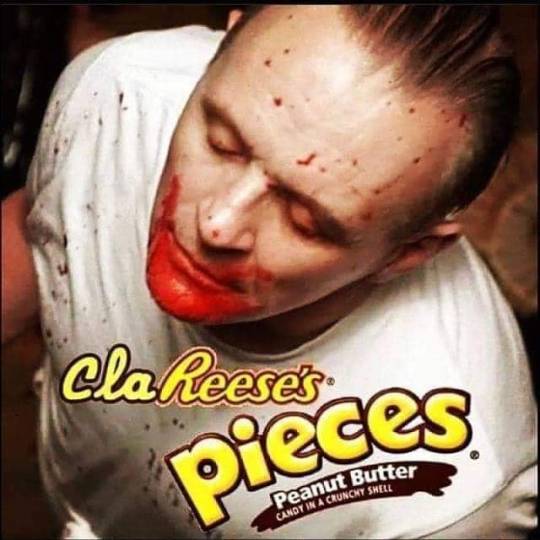
#clarice #hannibal #hanniballectar #cannibal #serialkiller #genius #clever #candy #iloveserialkillers #horror #blood #chocolate #pieceofcandy #nomnom (at Toronto, Ontario) https://www.instagram.com/p/B7qYwzGBr1a/?igshid=16y3b2pa45430
#clarice#hannibal#hanniballectar#cannibal#serialkiller#genius#clever#candy#iloveserialkillers#horror#blood#chocolate#pieceofcandy#nomnom
3 notes
·
View notes
Photo

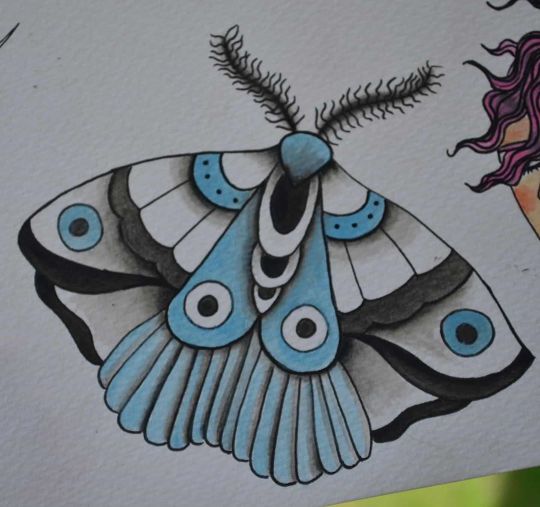
The tragedy is not to die, is to be wasted. Thomas Harris #SilenceOfTheLambs #HannibalLectar #tradilatino #traditionaltattoo #traditionalartist #tattooillustration #medellin #Medellintattoo #colombiatattoo #boldwillhold #aprendiz #apprenticetattoo #oldlines #ilustracion #viejaescuela #tauajestradicionales #mothtattoo (at Medellín, Antioquia) https://www.instagram.com/p/B64SFhQFO6B/?igshid=1388piske5geg
#silenceofthelambs#hanniballectar#tradilatino#traditionaltattoo#traditionalartist#tattooillustration#medellin#medellintattoo#colombiatattoo#boldwillhold#aprendiz#apprenticetattoo#oldlines#ilustracion#viejaescuela#tauajestradicionales#mothtattoo
0 notes
Text
'I ate ... humans' says Florida teen accused in face-biting, killings
‘I ate … humans’ says Florida teen accused in face-biting, killings
( TIML News) Move over Donald Trump JR we actually have an real American Psycho.. Austin Harrouff was aware he bit a person from what he told Florida deputies the night he’s accused of killing a local couple, according to court documents.The 19-year-old Florida State University student and Jupiter, Fla., resident hasn’t talked to sheriff’s officials since Aug. 15, when he’s accused of killing…
View On WordPress
3 notes
·
View notes
Text
'I ate ... humans' says Florida teen accused in face-biting, killings
‘I ate … humans’ says Florida teen accused in face-biting, killings
( TIML News) Move over Donald Trump JR we actually have an real American Psycho.. Austin Harrouff was aware he bit a person from what he told Florida deputies the night he’s accused of killing a local couple, according to court documents.The 19-year-old Florida State University student and Jupiter, Fla., resident hasn’t talked to sheriff’s officials since Aug. 15, when he’s accused of killing…
View On WordPress
0 notes
Note
dr gideon (`ー´)
character: eh | good | wow | awesome (a very interesting character! i cant wait to see what happens with him!) | perf| asdfghjkl;YES
url: eh | good | wow | awesome| perf| asdfghjkl;YES
Icon: eh | good | wow | awesome | perf | asdfghjkl;YES
sidebar: eh | good | wow | awesome | perf| asdfghjkl;YES (that includes the cute benedict)
theme: eh | good |wow | awesome | perf | asdfghjkl;YES
posts: eh | good | wow | awesome | perf | asdfghjkl;YES
overall: 10/10
^^
send me a Hannibal character for a blog rate! ^^
1 note
·
View note
Photo

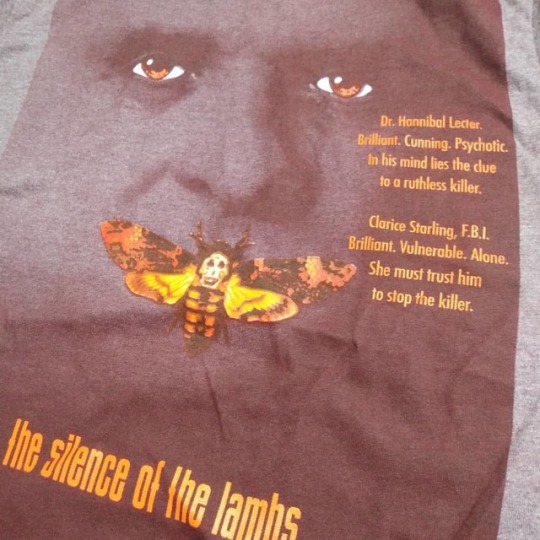
Splurged and got this shirt... #hanniballectar #cannibal #silenceofthelambs #horror #deathmoth #mufave https://www.instagram.com/p/B22GKbUh6ye/?igshid=vkcofltyihwo
1 note
·
View note
Text
General GIF Colouring Tutorial!

First off, thank you! :D
No, I don't have an existing tutorial. But, since you asked, I've decided to make one!
This is a tutorial on how to colour gifs to make them look sharper and nicer. This is not a tutorial on how to make gifs (if anyone requests, I can do a tutorial on that too). It's my first tutorial and I'm by no means a gif expert. I'll be running through how I colour gifs, but I'll focus more on general colouring. Instead of simply showing you the colouring that I used for a particular gif. So, here we go! Tutorial under the cut. ;)
HQ videos (1080p or 720p). This is critical. A video of lower quality will result in a lower quality gif. I get my videos from piratebay, and if I can't find it there, I'll screen record the video using Quicktime. But make sure to set the video setting to 720p or 1080p.
Your screencaps. I use VLC to screencap. I've heard that KMPlayer is less laggy. However, it's only available for windows.
Photoshop. In this tutorial, I'm using Photoshop CS5. If you look at my older gifs, you can tell the quality isn't as good as my latest gifs. That's because I was using GIMP, which has limited functions imo. GET YOURSELF PHOTOSHOP FOR GIF-MAKING! (You can find links to download CS6 for free on tumblr)
Okay, so once you have your screencaps as layers in photoshop, I always do these 4 things first:
Make Frames from Layers
Reverse Frames
Select all frames and set one of them to 0.17 seconds (you can change it later). Now, all your frames should have 0.17sec below them.
Set image size (tumblr gif size guide found here)
Now, on to the real meat of the tutorial.
Smart Sharpen all frames. Here are my smart sharpen settings:

Next, I add a simple 1st curves layer. That looks like this:

The first curves layer should just be a smooth arch. Adjust the arch according to your image. You want to make your image brighter but not overly bright.
Before:

After:

Then, I add a selective colour layer. Since, I'm trying to do a more general tutorial instead of just showing you the colouring I used for a specific gif, I'll try to explain it.
Basically, just fiddle around with all the different colour settings until you are happy with how your gif looks. Note: This is mainly about trying to make the colours on your gif stand out more. You can have some colours with input number '0', that's fine too.
Tip: Usually when I get to 'neutral' and 'black' the numbers in the boxes are always either '0', or minor adjustments like +1 or -1.
Example:

After this, sometimes I'll add vibrance followed by levels. Sometimes I just add vibrance only. And sometimes I skip this step entirely. It all depends on your gif. So, just do whatever looks good to you. I'm not going to go into gradients because imo it's under the 'intermediate' level. And here, I'm focusing on basics colouring.
Tip: If adding a levels layer, I usually only move the arrow in the middle.

After you are done fiddling with your selective colour (must), vibrance (optional), levels (optional), you add your 2nd curves layer (must).
The 2nd curves layer should look like an 'S' shape. (Can be more or less curved depending on your gif and how it looks)
Example:

Tip: The point of this 2nd curves layer is to brighten your image and add more contrast to your gif. Thus, making it look sharper.
Before:

After:

(optional) If you still find that you need more contrast to make your gif look sharper, go back to your selective colour layer and adjust one or both of these sections:
(only the highlighted sections)


When you are happy with your gif, just add finishing touches:
watermark
captions
remember to adjust the timings of the frames to w/e that suits your gif!
Finally, save for web and devices.
Here are my settings:

Voila! You should have a good quality gif now. ;)
Sorry if any steps are vague/unclear. Making gifs really has a lot to do with trying out the different settings and learning from experience. It also depends heavily on the scene that you are giffing.
Please feel free to ask me any questions to clarify any doubts. You can also request other tutorials or more specific tutorials if you just want me to explain one part of the gif-making process in greater detail. :D
Hope this helps!
6 notes
·
View notes
Text
hanniballectar replied to your post: reichenbachfraud >> mic...
i think it’s a great url c: afterall, CAKE! <3
Eeee, thank you! And yesssssss. ♥
1 note
·
View note
Note
the tags haha c: and ouch, once i burnt my neck on a croissant and that's pretty shameful lol
how can you burn YOUR NECK on a CROISSANT?!?!?!?!
#im really curious please tell me more#really#and im gonna publish this bc i have the feeling that its gonna be slightly humiliating yet hilarious#hanniballectar#ask#conv
0 notes
Note
i love your bloggie u3u
And I love yours! *_*
0 notes
Note
yes, same! my friend started watching it too and the hannibal fandom looked great but i usually don't have much of a stomach (hehe) for the gore or "horror" movies so i wasn't sure at first but i'm so glad i started watching it because it was a real.. treat c;
Hahahahaha you just reminded me of another reason why I watch Hannibal.
THE PUNS. GOOD LORD THE PUNS.
9 notes
·
View notes
Text
hanniballectar replied to your post: you should post things! i bet you’re better than you think :)
i agree with ze anon, go for it! c:
aw *shucks*! you two are too nice! okay, okay i give in. i might edit a thingy a bit tonight and queue it for tomorrow.
1 note
·
View note
Note
i have a toastie maker so i only rarely get burnt, this is just so first world uwu
well good for you then, i only recently managed to learn how to make grilled cheese, and i make them in a pan, and i was adjusting the bacon on the bread and the side burnt my finger ;_;
#the weird thing is that i can cook#and by can cook i mean almost hannibal level cook#BUT IM JUST SO FUCKING CLUMSY SOMETIMES#hanniballectar#ask#conv
0 notes