#dao modding
Explore tagged Tumblr posts
Text


It's 3:30am on a work day and the brain gremlins are demanding to see Zevran be properly clothed.
#this time they changed the proportions enough for it to be annoying...#datv#dav#veilguard#dragon age#dragon age: the veilguard#dragon age the veilguard#zevran arainai#zevran#dragon age modding#dao modding#veilguard modding
43 notes
·
View notes
Text
got morphable DAI heads working in origins yay
all vanilla DAI nose sliders are done. now i just have to finish all the gazillion other sliders too
39 notes
·
View notes
Note
I'm not sure when I'll get to play DAO, but if you don't mind sharing your mod list, I would love to save it for when I get to play 🥹
And THANK YOU for the detailed instructions!!
Of course!!
For those catching up, I posted a quick guide to how to fix DAO so that it is playable on PC (it crashes otherwise). If you need a detailed explanation for how to mod on DAO, then I have a doc here that goes into detail, since modding in DAO is confusing and no one explains it well.
My DAO modlist is below the cut!
Essentials
4GB LAA patch compatible DAorigins.exe - Unencrypted .exe file (for the 4GB patch)
4GB Patch - to fix the game
Make CONSOLE commands visible - makes console commands visible
DAO-Modmanager - mod manager that I mostly use if I'm not using override mods
CharGenMorph Compiler - compiler tool for appearance mods (see my guide for how this works)
Bug Fixes/QoL Stuff
Qwinn's Ultimate DAO Fixpack v3.52 - massive bug fix overhaul
Dain's Fixes - caveat, I only use some of these fixes, since some class with Qwinn's pack and others I just don't care about
FtG UI Mod - More Readable Fonts and UI - this plus the next mod helps for when your fancy not-2009-era resolution makes the UI unreasonably small
Nathanael's 4K Resolution Mod - fixes the UI to be bigger
FtG Quickbar - Center and Multi Rows - allows you to customize the UI a little more
Clear Dreams - no blur in the Fade - This plus the next mod if the Fade swirly effects triggers headache/migraine stuff like it does for me (totally optional though, it doesn't bother most people)
Fade Away (Fade Colour Curves) - cuts down on more Fade swirly
No Helmet Hack 1_6 - all and I mean ALL of the hats and helmets in DAO are ugly or annoying, so hide them with this mod
Bug Fixes for Awakening DLC (Optional)
DLC Transfer To Awakening Patch (UPDATED) - fixes the game so that DLC items like weapons transfer into the Awakening DLC
Awakening Silverite Mines Bugfix - fixes a pretty big game-breaking bug in the Awakening DLC
Awakening Blackblade Armor Dragon Drop Fix - super minor Awakening bug fix
Awakening endgame cutscene fixes - another minor Awakening bug fix
Awakening Riot Scene Persuade Fix - another minor Awakening bug fix (someone should bundle these)
Updated Textures/Graphics
Environment Overhaul - cannot recommend enough, it's my favorite texture overhaul
Dragon Age Origins Unofficial Remaster - Updates a lot of items and textures to use DA2 and DAI assets, as a longtime player I love it
Fine Dwarven Craftsmanship - Adds better dwarven textures that the other two mods don't necessarily add
Ultra HD Reshade for Dragon Age... - The reshade/recolors I like (your mileage may vary)
Armors/Clothes
Grey Wardens of Ferelden - dresses all Warden characters in updated warden armor, lets you spawn updated Warden armor
Grey Wardens of Ferelden Retexture - retexture of the Warden armors if you want them
Goblet De-Gobbler - a Joining chalice fix and more - fixes the goblet glitching out if you are wearing modded clothes during your Joining ceremony
Surana Circle Mage Robe - the mage robe I love so much
Surana Mage Robe Retexture - Updates the texture of the Surana mage robe I love
Crow Assassin's Armor for Zevran - cool Crow armor for Zevran
Crow Assassin's Armor Retexture - better textures for the crow armor!
Practical Morrigan Robe - An outfit for Morrigan I really like
Morrigan's Robes Collection - retextures for the Morrigan outfit
Leliana Item Pack - New clothes for Leliana
Leliana Item Pack Fixes - fixes/retextures for those clothes
Loincloth Fashion - more clothes if you want them
RLs Swan Song - Even more clothes (pick and choose individual files, there are WAY too many in here)
Noble Dress Overhaul - If you want the NPC dresses to look nicer (or you get a dress yourself that you want to wear)
Female Noble Clothing Overhaul - totally different NPC dress overhaul
Female Noble Clothing and Noble Dress Overhaul Compatibility Patch - patches the last two mods into one overhaul (it basically reassigns who wears what lmao)
Wynne's Aequitarian Robes - Unique mage robes for Wynne, if you're into that
Male Circle Robe Replacers ( Robes of the void ) - updated mage robes! Guys-only tho
Female Circle Robe Replacers (Bethany Robe Replacer) - updated mage robes, girls only
Hair (So Many Hairs)
DAO - Anto Hairstyles - various hairs
HAIRSTYLE DAY - more various hairs
HAIRSTYLE DAY VOL.2 - even more various hairs
Hairald of Andraste Hairs - individual hairs that you have to add via chargenmorph (I explain how to do this in my mod guide)
Companion/Player/NPC Retextures
Unique Face Textures for Companions DAO Edition - probably my favorite retexture set, but I'll admit, I mess with companion textures myself in the Toolset soooo you may find others you like
Sten of the Beresaad - fave Sten retexture, makes Sten look like a mix of his DAO texture and an updated DA2 texture
Sten - no clothes - if you want a shirtless Sten (goes with the Sten of the Beresaad mod specifically)
Pineappletree s Vibrant Colors - more eye colors for you
Alternative Default Eyes - my favorite eye texture
Lovely Tints - adds more hair colors
Natural Freckle Tattoos and Tints - more skin tones/hair colors plus freckles, but I think you can only use them in the Toolset
Sun's Tints - more eye colors and such!
Mabari Recolours - Origins - recolors your mabari dog!
Tranquil Brand 2.0 - Adds Tranquil brands to Tranquil NPCs
Fun Additions
***Not Recommended for First Playthrough!
Skip the Fade - ***let's you skip a quest that many find annoying
Extra Dog Slot - Let's you summon your dog as a fourth companion
Improved Atmosphere - DO NOT use the whole mod as it will break your game/mess with too much. I only use ONE file and that is the More Party Barks (party_barks.dlg) since it adds more location-specific banter
The Rescue at Ishal - ***adds a cutscene to an early quest, but I only recommend it after finishing the game once since it can be spoilery to later game events
CHANGE YOUR HERO HAIR AND FACE ANYWHERE IN THE GAME - let's you update your warden appearance but, warning, it's kinda a complicated process
Universal Voices - lets any race have any voice
ZevranASAP - ***makes it so that Zevran's encounter with the Warden happens way sooner
Fare ye well Duncan - ***a little minor cutscene added early in the game
DahliaLynn's Sleep Until Dawn - Let's you go to sleep in camp for RP reasons
Alistair's Dark Ritual - ***replaces a late-game cutscene with a new cutscene, Alistair-Romance specific, don't recommend for a first playthrough
DahliaLynn's - Alistair's Nightmare - ***adds a little cutscene to the game, totally extra content
DahliaLynn's - Alistair's First Night Love Scene - ***swaps Alistair's canon romance cutscene for a modded one (your mileage may vary on how much you might like it lol)
Alistair Romance Eavesdropping - ***adds a bench to camp where if you sit on it, you can "overhear" companion banters that are turned into full cutscenes now (it's very cute I won't lie)
I haven't yet dived into Zevran romance mods lol there are some though! And there's plenty more where this comes from, this just happens to be the mod list I use as someone who has played the game a ton and wanted a sort of "overhaul-but-still-true-to-the-heart-of-the-game" modded game.
Anyways enjoy all you modders out there <3
14 notes
·
View notes
Text
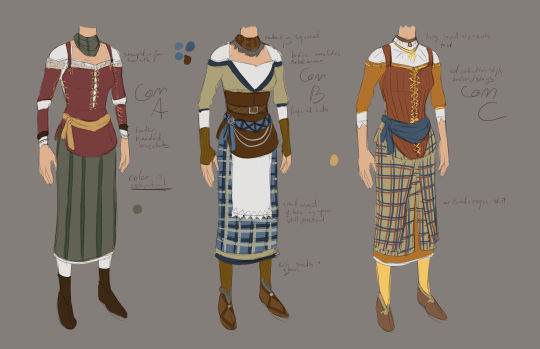
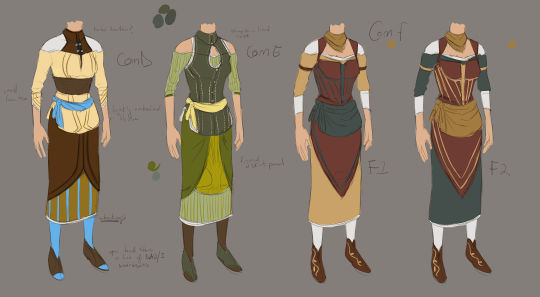
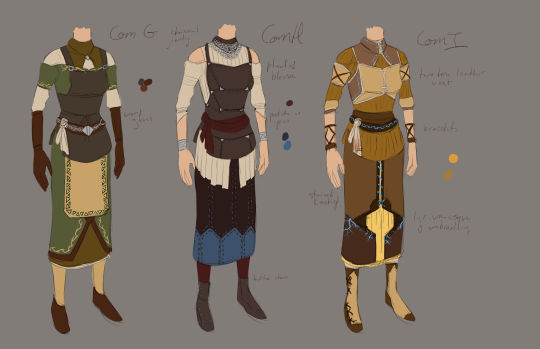
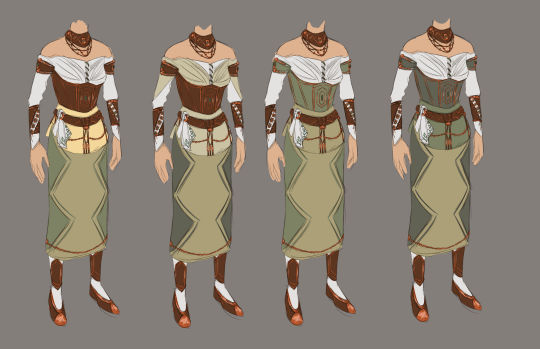
So I.... may have gone a little unhinged and planned to redesign all of the commoner clothing in Origins via retexture.
I mean, there's multiple great redesigns via retexture for the nobility clothing. But I couldn't find any for the commoner clothing which was offending me on a personal level at this point (the bare shoulders! the dirt! the lack of acknowledgment of color or slips!).
In doing so I discovered that, while they're all worn by all three races, several of the different commoner outfits are marked as belonging to different races in the toolset - Com_I, for instance is marked as "dwarf low class", and Com_E is marked as "elven servant". So naturally I used the designs from later games for pointers there.
The last one uses the commoner mesh, but is designated as nicer than the others. We do see some nobility wearing it, especially dwarves, and it's what's used as the wedding gown in the City Elf origin. I may have gone too elven in its design, but I'm struggling to associate it with dwarves instead of the wedding.
5 notes
·
View notes
Text

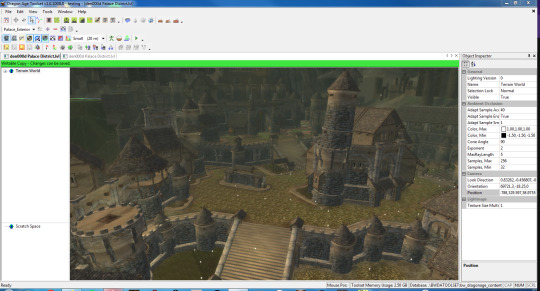
it's hard to get a single screenshot that does a good job of representing what im doing, but the first thing ive decided to do now that i can edit the dao level layouts is to go through and rebuild/clean/etc areas that we only get to see when they're destroyed
denerim palace district is looking a bit nicer
#if i zoom this far out it gets a bit too foggy but any closer and it's not framed nicely for a comparison lmao#dao#dao modding#da#da modding#dragon age origins#personal#i havent looked too far into atmosphere files but i just imported the settings from the market district bc i figure that makes sense
16 notes
·
View notes
Text
@ivanovaisalwaysright replied to your post “my favourite way to play Morrigan is with a Raise...”:
What mod is the armour Wynne's wearing from? I haven't seen it before.
Hi! I believe that's one of the mage armors from Loincloth Fashion; from Mage Item Pack 2 if their images are labelled correctly. This screenshot is a few months old so I'm not confident on the name of the exact armor unfortunately. I think it might have been called something army-related?
2 notes
·
View notes
Text
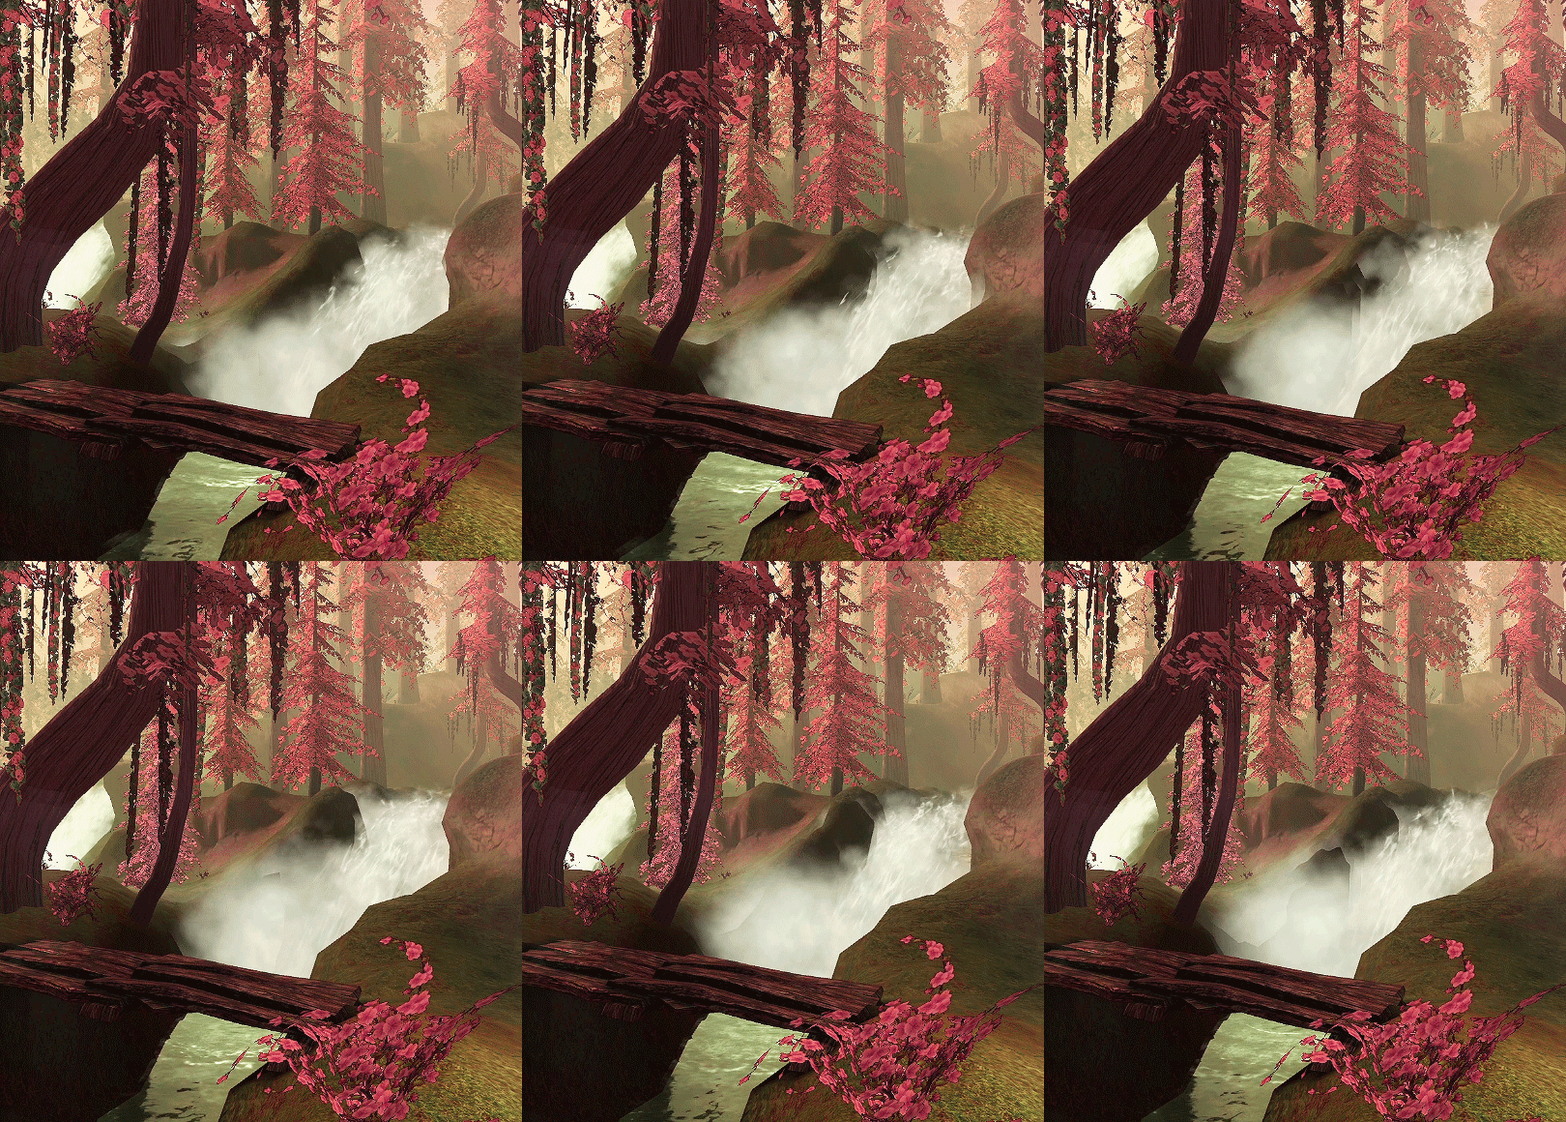

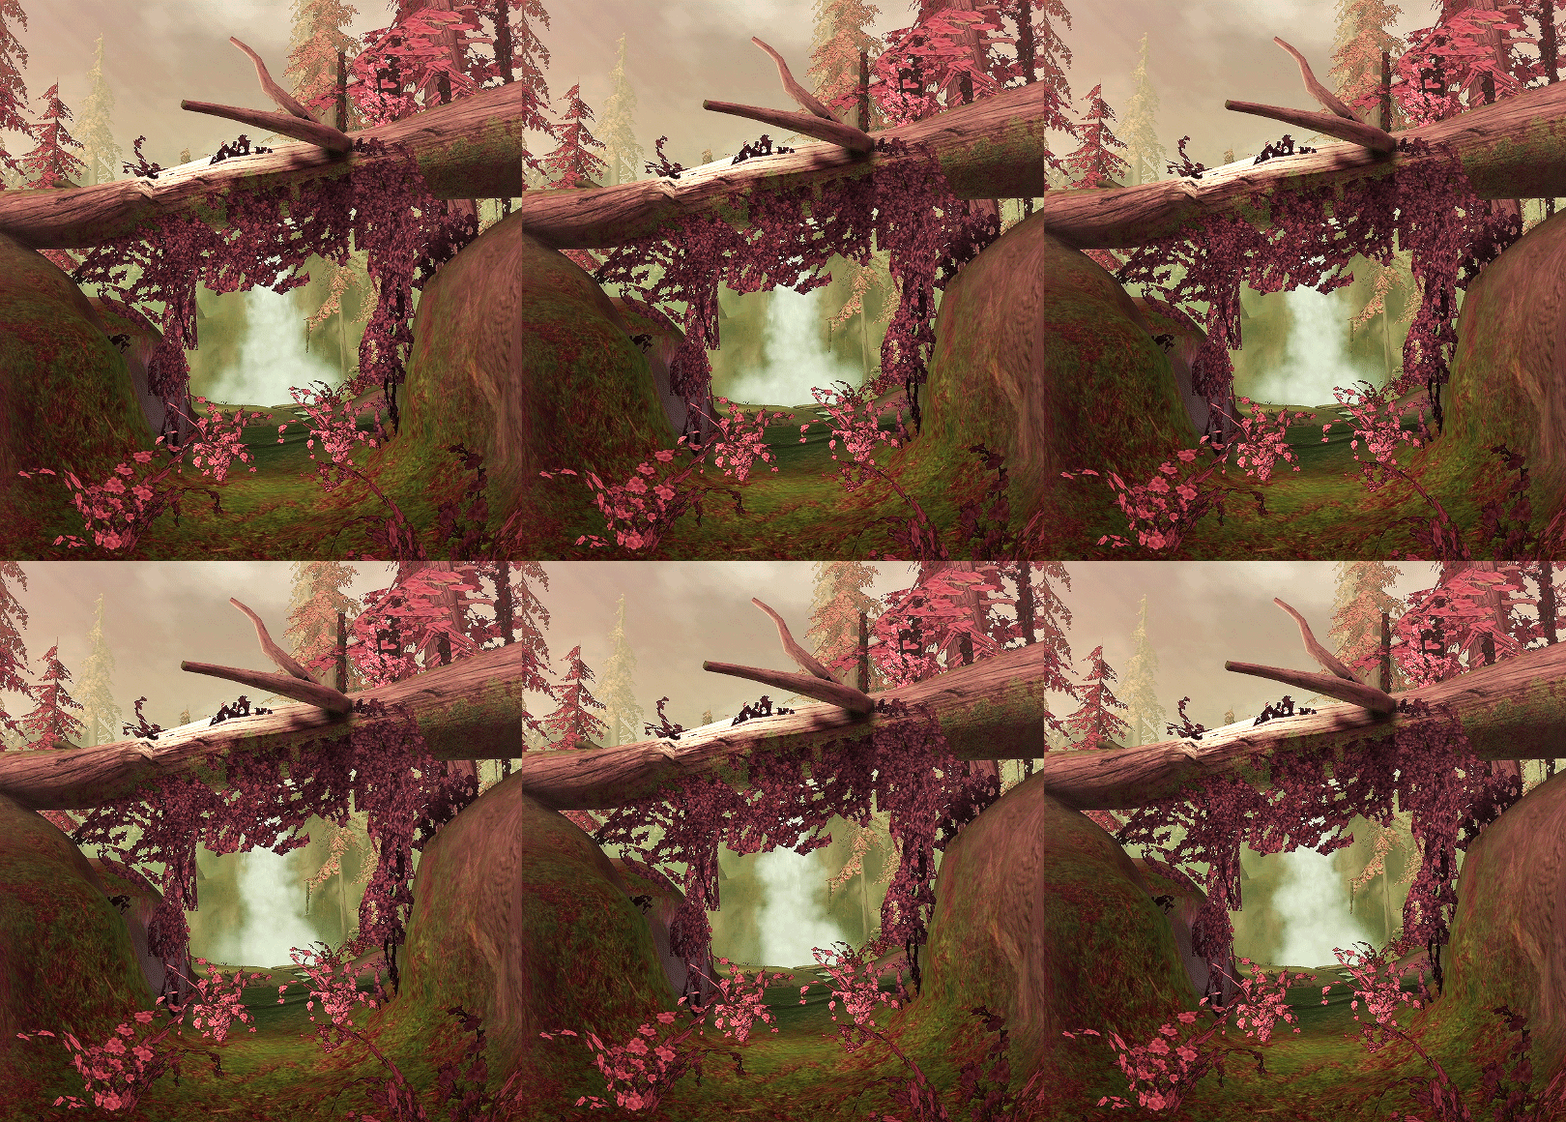
Dragon Age: Origins
Brecilian Forest
2K notes
·
View notes
Text

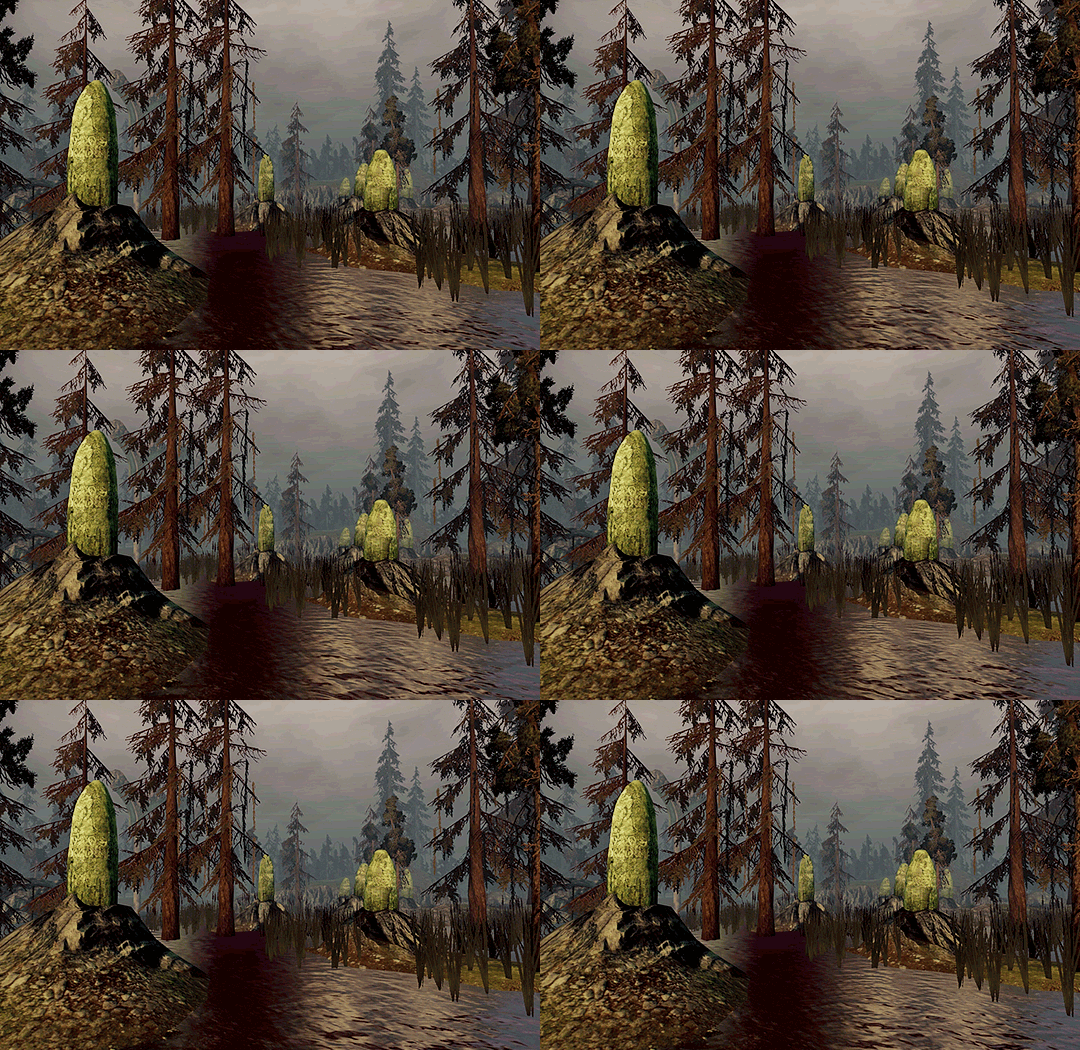
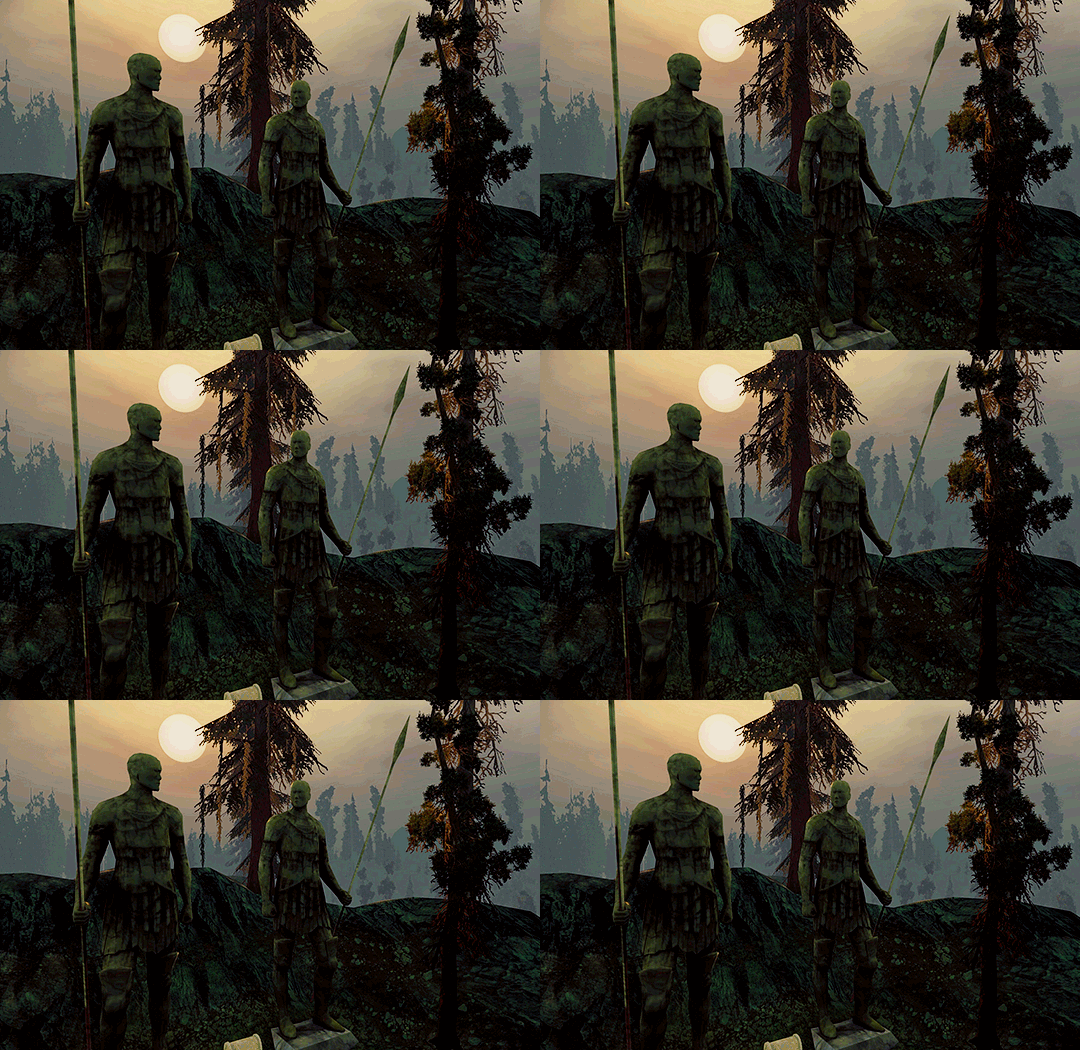
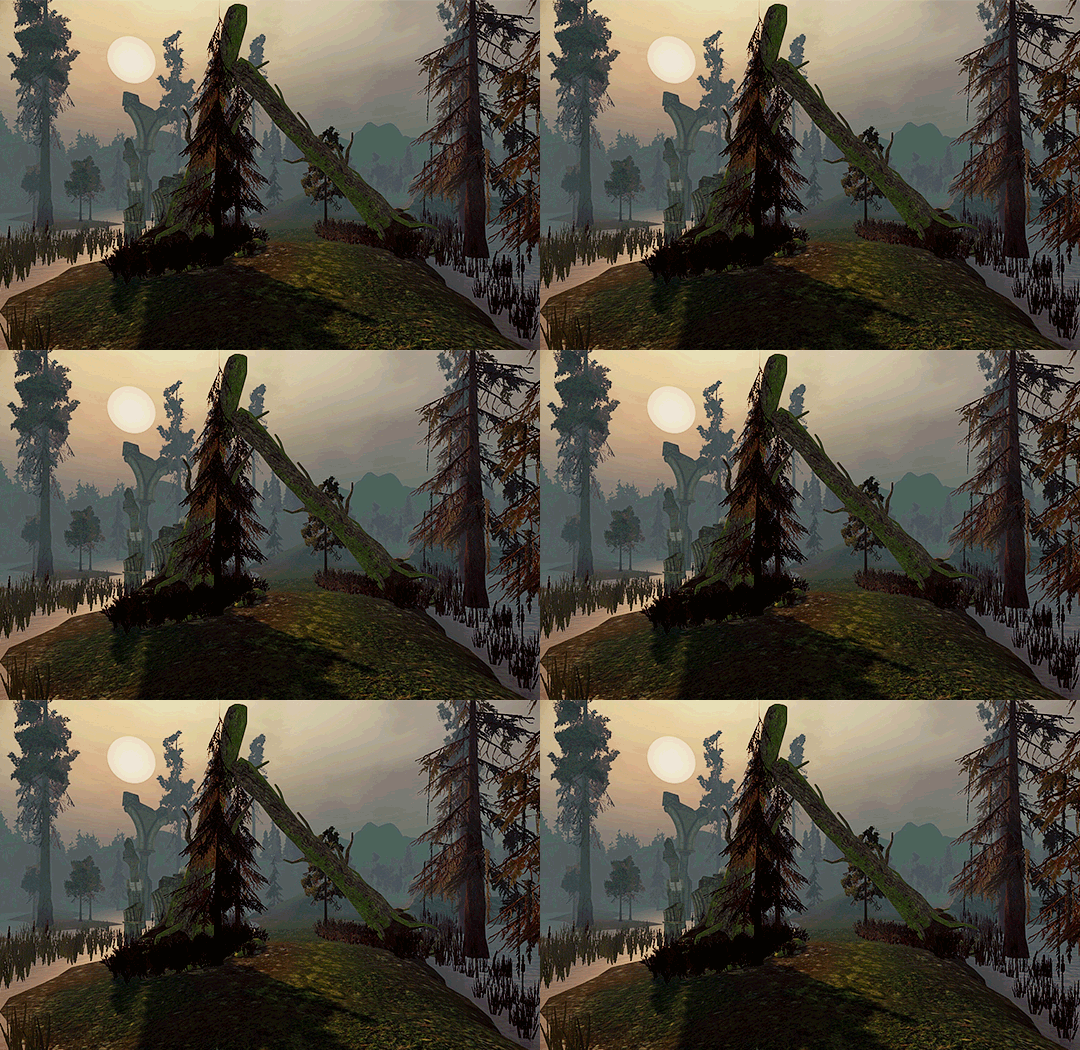
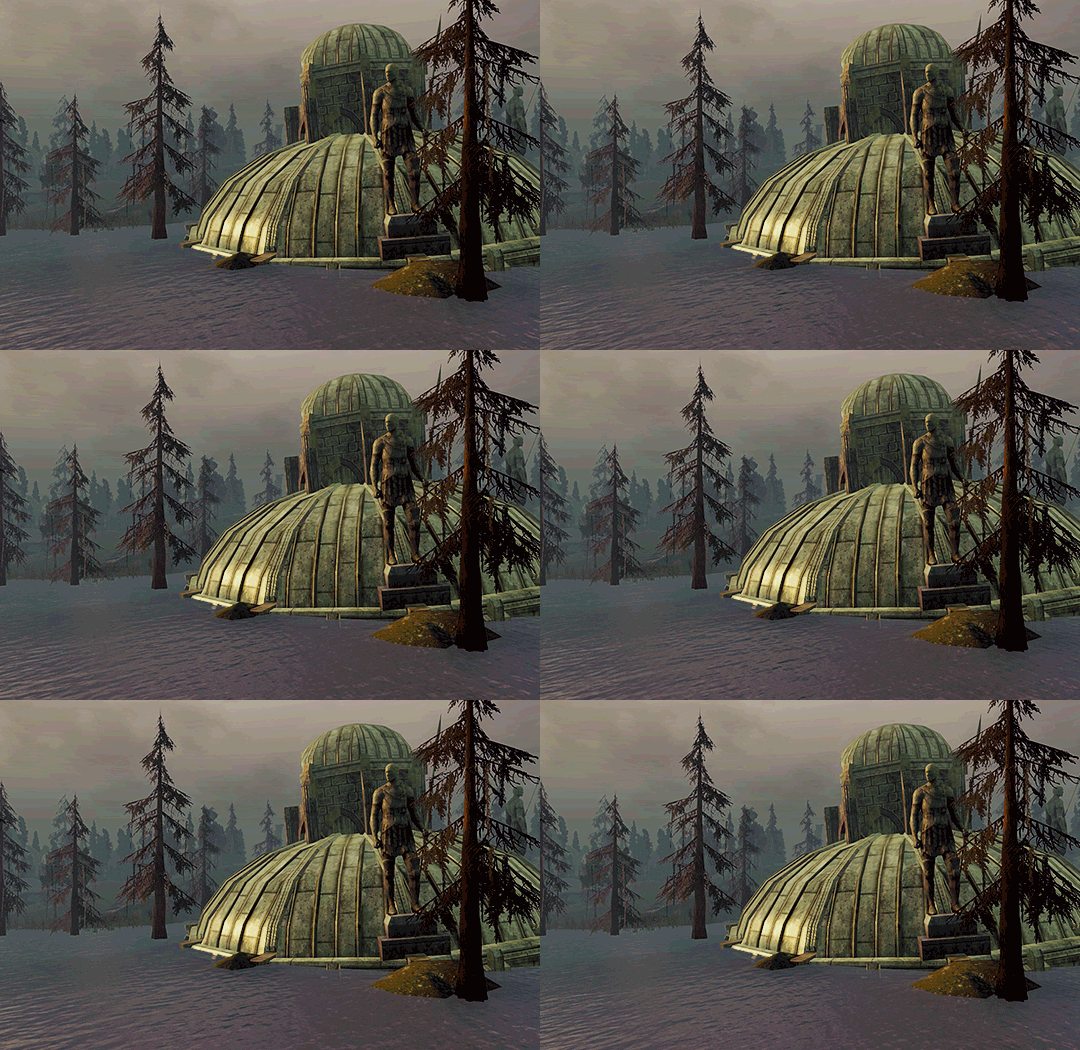
KORCARI WILDS
#dragon age#dragon age: origins#da:o#daedit#daedits#gamingedit#dailygaming#mine*#da*#dao*#cant believe it took me 1 year to find out abt the flycam mod.... waow
326 notes
·
View notes
Text
THIS IS VERY HELPFUL AND PERFECTLY TIMED!
Uff on having to do it all again with a LOD1 mesh tho...
Yay, functional!
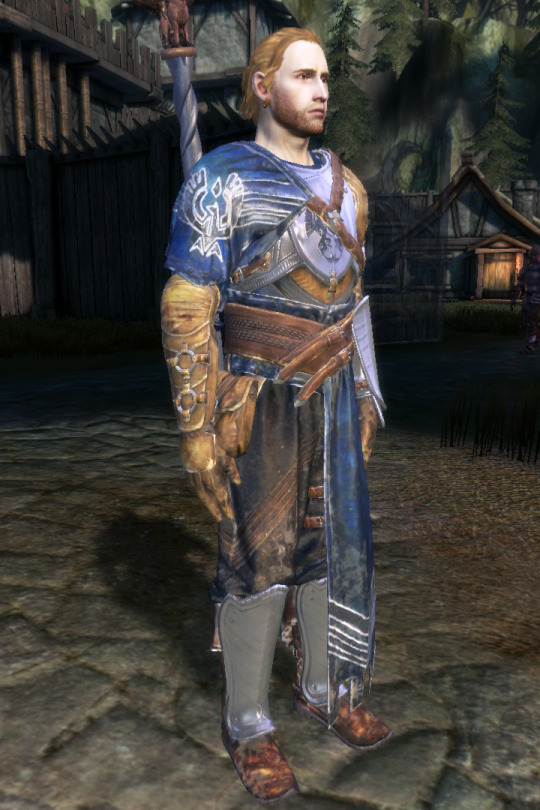
Some differences in porting from DAV vs. porting from DAI that I've noted so far:
Veilguard meshes have HUGE face counts. Need to use the LOD1 or possibly even the LOD2 (or decimate the LOD0 yourself), because Origins will not like it otherwise.
Texture files: "_norm" = norm, surprisingly straightforward. 😋 "_bclr" = diffuse. As for "_amms", it has metal on the blue channel and the specular on the alpha. Whatever the A & first M are, they're nearly identical to each other on most of the maps I've popped open so far.
Porting to DA2 is not going to be as easy as it was from DAI. The bones in the FBX refer to the deformations you can apply in the character creator instead the ones used by animations. Combining these vertex groups into something resembling the DAI/DA2 skeleton should be possible, but I haven't tried it yet.
And probably the biggest one: no separate models for each gender/race. HM is the default, and all the others races/genders used deformed versions of that, apparently done in-engine. Using the deformation bones to alter the mesh for each gender/race should be possible, though; I'm just not terribly adept with new versions of Blender. 😅
9 notes
·
View notes
Text
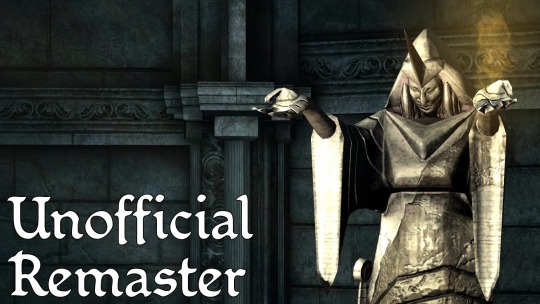
Alright, my Dragon Age Origins Unofficial Remaster mod has been dumbed-down and re-uploaded for anyone who wants it.
469 notes
·
View notes
Text
unofficial list of dragon age: origins mods as of june '24.
For anyone who asked! Please keep in mind that there are some cheat mods in here for when you just want to enjoy the story without worrying too much about gameplay but they can be unistalled any time for a more challenging playthrough.
! N.B. ALWAYS READ THE DESCRIPTIONS AND THE COMMUNITY POSTS VERY CAREFULLY, SOMETIMES YOU'LL NEED TO ADD, DELETE OR EDIT SOME FILES YOURSELF TO AVOID MOD CONFLICTS !
First of all, you need the proper tools and the way to use them:
da:o mod manager
chargen morph compiler
modding tutorial
console tutorial
visible console commands TEXTURES AND BUGFIXES
Dragon Age Origins Unofficial Remaster
Environment Overhaul
Fine Dwarven Craftsmanship
Elven Scenery
Dain's Fixes
Qwinn's Ultimate DAO Fixpack
Awakening Silverite Mines Bugfix
Awakening endgame cutscene fixes
Awakening Riot Scene Persuade Fix COSMETICS
Leliana (Inquisition Edition)
Morrigan (Inquisition Edition)
Cookies for Sten
Unique Face Textures for Companions
Crow Assassin's Armor for Zevran
Elf update
Qunari update
Tattoo Cosmetics
Mulderitsme's Brows
Mole and freckle textures
SJC's Skin Tones
Pretty Eyes
Big Brown Eyes
A New Freckled Skin Texture
HQ Eyebrow Stubble and Scalp Hair Replacers
Universal Voices
Bow Replacer
No Helmet Hack
Tranquil Tattoo
Grey Wardens of Ferelden
The Hairald of Andraste GAMEPLAY
The Rescue at Ishal
Redcliffe Village Siege Immortal NPCs
Camp Merchant Chest
Grey Warden Powers
Sleep Until Dawn
Complete Bi Overhaul
Talent Books
Change Your Hair and Face Anywhere
Lock Bash
Skip the Fade
Madd Gift Guide
Gift Guide - Awakening
Extra Dog Slot
Expanded Inventory
SarahCousland's Romance Mods
#dragon age#dao#dao mods#dragon age mods#text#ari.txt#i usually play around with all of these depending on what origin i choose#as a rule of thumb searching the nexus using various keywords and your warden name#could help with tailoring the gameplay experience you're looking for
278 notes
·
View notes
Text
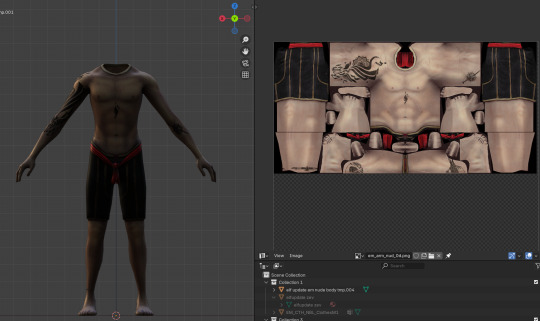
Sensible part of brain: the armor only shows a bit of chest, if you really want to do scars and tattoos for it, that's all you need...
Autism part of brain: *HISSSSSSS* WE WON'T REST UNTIL EVERY TINY SCAR ON THE REMOTEST BODY PARTS ARE ALLOCATED. WHAT DOES "NEEDING" IT HAVE TO DO WITH IT, THIS IS ZEVRAN'S BODY?!?!
#dav modding#dragon age modding#da modding#dao modding#zevran arainai#aaaand it's 3:30 again... sigh
11 notes
·
View notes
Text
Mod Applications for the DA: World of Thedas Vol. 3 Fanbook are open! We are currently looking to bring in a few people for the following mod positions:
- Art Mod
- Graphics Mod
- Formatting Mod
- Writing Mod
- Organization Mod
You can apply through this form, which will remain open until February 28th. There, you will also find a breakdown and expectations of each role. To learn more about this project, be sure to check out our Carrd as well.
#world of thedas vol 3#dragon age fanbook#dragon age zine#dragon age origins#dragon age 2#dragon age inquisition#dragon age the veilguard#DAO#DA2#DAI#DAV#dragon age project#mod applications
86 notes
·
View notes
Text
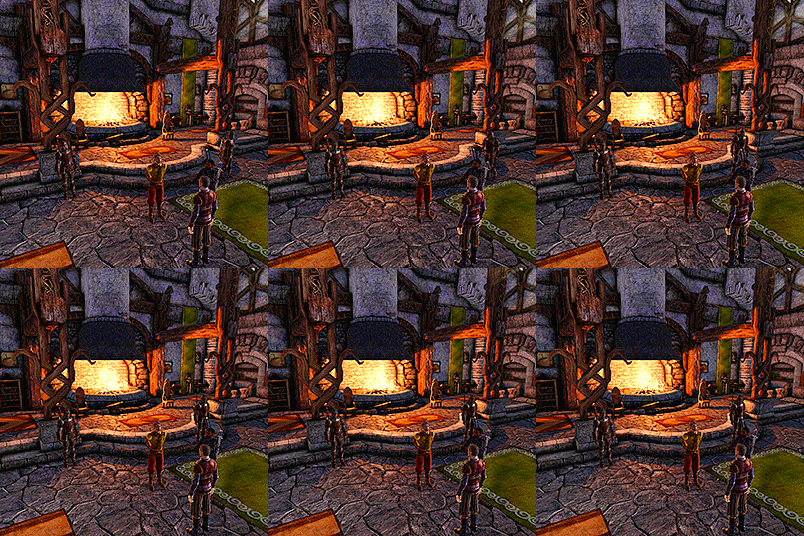


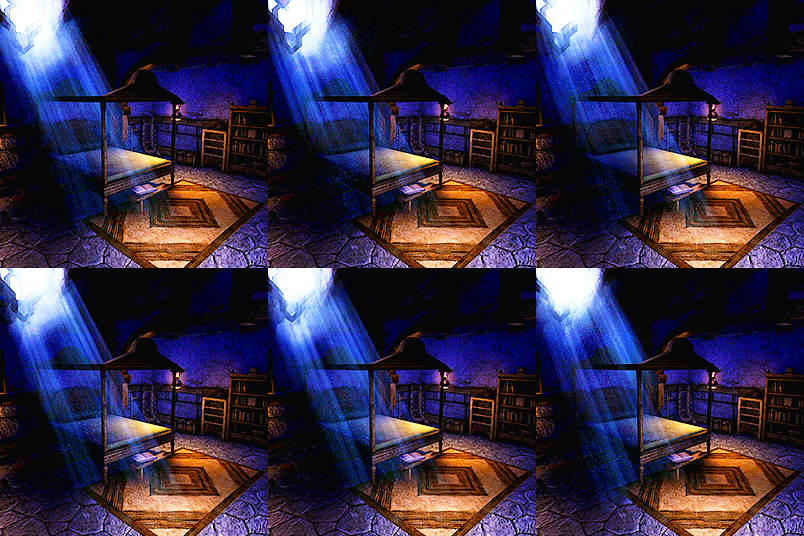
Around Castle Cousland
#dragon age#dragon age: origins#daedit#daedits#videogameedit#vgedit#gamingedit#gameedit#edits24#myda#mydao#mygif#mygif(da)#mygif(dao)#whoever made this flycam mod I kiss you I love you thank you#really highever castle but :P
345 notes
·
View notes
Text

im gonna try this one last time. this is MLM.
#tumblr gods/mods/ai please have some fuckin mercy on me#mdzs#my art#artists on tumblr#mo dao zu shi#wangxian#the untamed#wei wuxian#the grandmaster of demonic cultivation#lan wangji#lotus pier#mermay#merxian#gay#mlm#mermaid#merman
138 notes
·
View notes
Text
i have no idea why dao atmosphere settings were being tricky for so long and just..not changing beyond being set to 0 (so the sky would be permanently black, etc) but i FINALLY got it working and it's a lot of fun to play with
5 notes
·
View notes