#YMY
Explore tagged Tumblr posts
Text


i was inspired by @poupeesdecirque’s little pumpkin head bjds and wanted to make my own out of oven-bake clay…


113 notes
·
View notes
Text

She's complete! I'm very happy with how everything has worked out :). It was also very interesting to look at and compare the ob11 and ymy bodies. I absolutely love how much this dress fits her and I'm planning to make her iconic overalls and striped shirt :)
90 notes
·
View notes
Text
How to make a tiny TV-head doll
This is a long post, so I've put it under a cut. It's not difficult, it's just fiddly. You need a keen eye and a steady hand to make this project (or a friend with the above, to do it for you). The parts cost less than $20, not counting tools or doll clothes, so this is a cheap little friend to make!
You will need:
This headless doll body from YMYDoll (or a headless Obitsu11 doll body from Parabox) Only use these 2 brands; this is important.
A tiny TV keychain, like this one from AliExpress (no link because the links change practically every week):

A 2mm screwdriver
An Xacto knife or other small blade
(Optional) A hand drill (I didn't use one)
Clothes to fit an Obitsu11 or similar doll
Start by cutting the keychain attachment off, unless you particularly like the idea of a dolly keychain for whatever reason. I don't judge.
Take the entire mechanism (carefully) out of the keychain. Make sure you remember where everything goes, so you can put it back in later. (You can remove the wires going to the tiny round speaker, if you don't want the "static" sound effect. I did.)
Cut or drill a 3mm hole in the bottom of the keychain, toward the back. (On mine, this is the blue part.)
Now for the tricky part. You see the white plastic piece that the LED shines into? You're gonna want to cut the bottom-right corner out of that piece so that the neck joint will fit. See image. (You can remove the back of this white piece, to take the LED out. I highly recommend doing that before you cut.)

This was really annoying to do, but my Xacto blade is dull. If you use a sharp blade like you're supposed to, it should take about 15 minutes. That plastic piece is thick, so go carefully and be patient.
One more step before we put the wires and stuff back into place! You see the extra neck joint that comes with the doll? The one that looks like this?

You want to use THAT neck piece. It has a screw in the top. Unscrew it, and carefully remove the pieces above the round ball.
Stick the peg into the head, then put the top pieces back on and screw the neck piece back together. This will secure the neck joint, so your doll's head doesn't fall off. You can also go ahead and install the neck peg into the doll at this point.
Carefully put all the electrical parts back into your keychain, being careful to put the white plastic piece back in around the neck peg. Your doll now looks like this:

If you want to draw a new screen for the doll, you can absolutely do that! I tried to draw static, but I'm not very good at it. If you're doing that, do it now.
Now, put the front part back on, making sure you didn't lose the tiny rubber button. Screw it in place.
And that's it! Dress up your new TV-head dolly however you want.

36 notes
·
View notes
Note
18 haruka dolls!?
It is the 18 Haruka dolls!
Well, 17 on this picture. I counted wrong and there are 19 Harukas, but two are not present here, because they currently don't have hair.

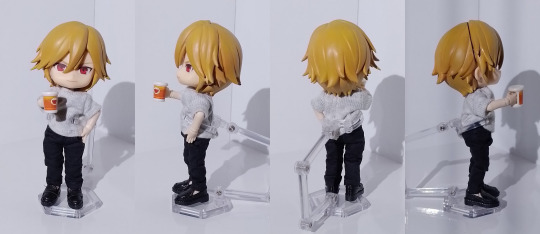
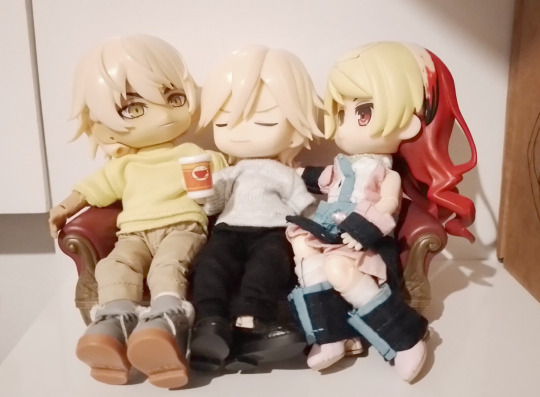
#milgram#haruka sakurai#sakurai haruka#bjd#mjd#ball jointed doll#dollfie dream#dollfie dream boy#ddb#vings#shoushoudoll#UFdoll#imomodoll#tinyfox#nendoroid doll#OB24#obitsu doll#YMY#help I haven't even tagged them all#they are all very precious to me#moi dolls#doll photography
31 notes
·
View notes
Text

GUYS MY OB11 HINATA HEAD AND FACEPLATE CAME!!
theyre wayyy to cute not to share </3
#hinata shoyo#kenma kozume#kozume kenma#haikyuu#haikyu#hq#hinata shouyou#nendoroid#haikyuu!!#ymy#kenma#hinata
25 notes
·
View notes
Text


Knit my newest tiny a cardigan. US000 needles. It the first tiny thing I've knit in years so hopefully I can jump back into knitting some dolly stuff.
53 notes
·
View notes
Text
I took little Parad on vacation with me and to the Long Island Aquarium.


7 notes
·
View notes
Text
Custom HIOMAIKA(+Dex)
After months of getting stuff they're finally done! Got some nendo parts along with YMY dolls to make them real.
Before anything was done and Maika had her final clothes:

After the paint was done and Maika got her clothes:
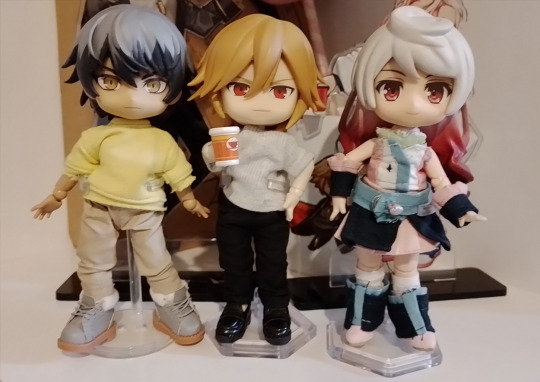
To be honest I barely had to do much stuff in terms of applying epoxy over to make things or sand areas.
They still are far away from being perfect since they could have had way more sanding for a better cleaner look and the colors could have been better if I didn't try to keep touching them while they dried orz
Still, this is good enought to me!
Edit: huge thanks to @/chorva_art on twitter for recommending materials and possible faces that could be used for Maika I watched some videos of customs but if she didn't tell me materials or what could be used to do this stuff idk if I'd have gone through it at all lol
Materials used for the extra parts:
Tamiya Epoxy Putty (Smooth Surface), the one that takes 12 hours to dry;
Sanding Paper that I didn't use as much as I should;
Tamiya Primer;
Tamiya LP-43 (pearl white), LP-52 (clear red), LP-8 (pure yellow), LP-10 (thinner) and LP-65(rubber black);
Acrilex Thinner since i ran out of the Tamiya after making a mistake and using thinner without paint;
Acrilex Fixative Varnish (spray and liquid);
Super Glue;
Mini Oxygen Injector ForeverLily.
The colors weren't the best for painting hair since they are kinda better for cars in the case of LP-52 and LP-43, so any weird thing is due to that. However the effect that LP-43 and LP-65 gave when mixed for Dex's gray hair did have a nice result.
I also ended up breaking the mini oxygen injector's paint/liquid supplier because i dropped it twice in different days so this post will be a warning tale 😔
Hair styles used:
Maika: Nendoroid Doll Alice for the front and Eris Boreas for the back
Hio: Rider/Ozymandias
Dex: Luo Tianyi this wasn't on purpose at all I swear
MAIKA's clothes progress
Maika had parts of her clothes custom made by a relative since her outfit wasn't as simple to get by purchase only unlike the other two.
Dex and Hio's outfits can still get some accessories for a complete version compared to how they are at the moment aside their coats.


This relative can't draw so I had to help by drawing a reference and staying with them while they sewed to make sure it was what I had in mind for this.

Because of that it took quite a while since they kept remaking stuff until it got done in a way they liked and we could only do it once in a while. For the early photos the glovelettes were pretty much not used since we were still figuring out how that would work 😅

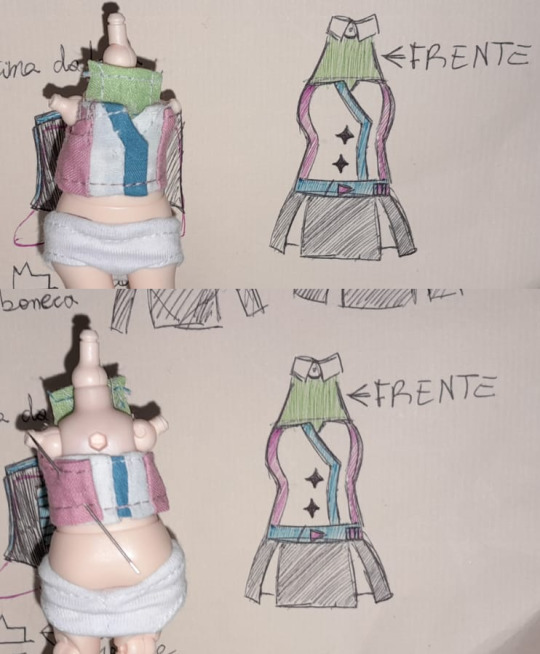
Maika's clothes have small snap fasteners to close them.

And here's final look for Maika's clothes:

How steps went by during these past few months:
Getting the hair parts → start sanding them → finishing Maika clothes → starting applying epoxy and adjusting more with sanding → priming → painting → varnish
Hair progress

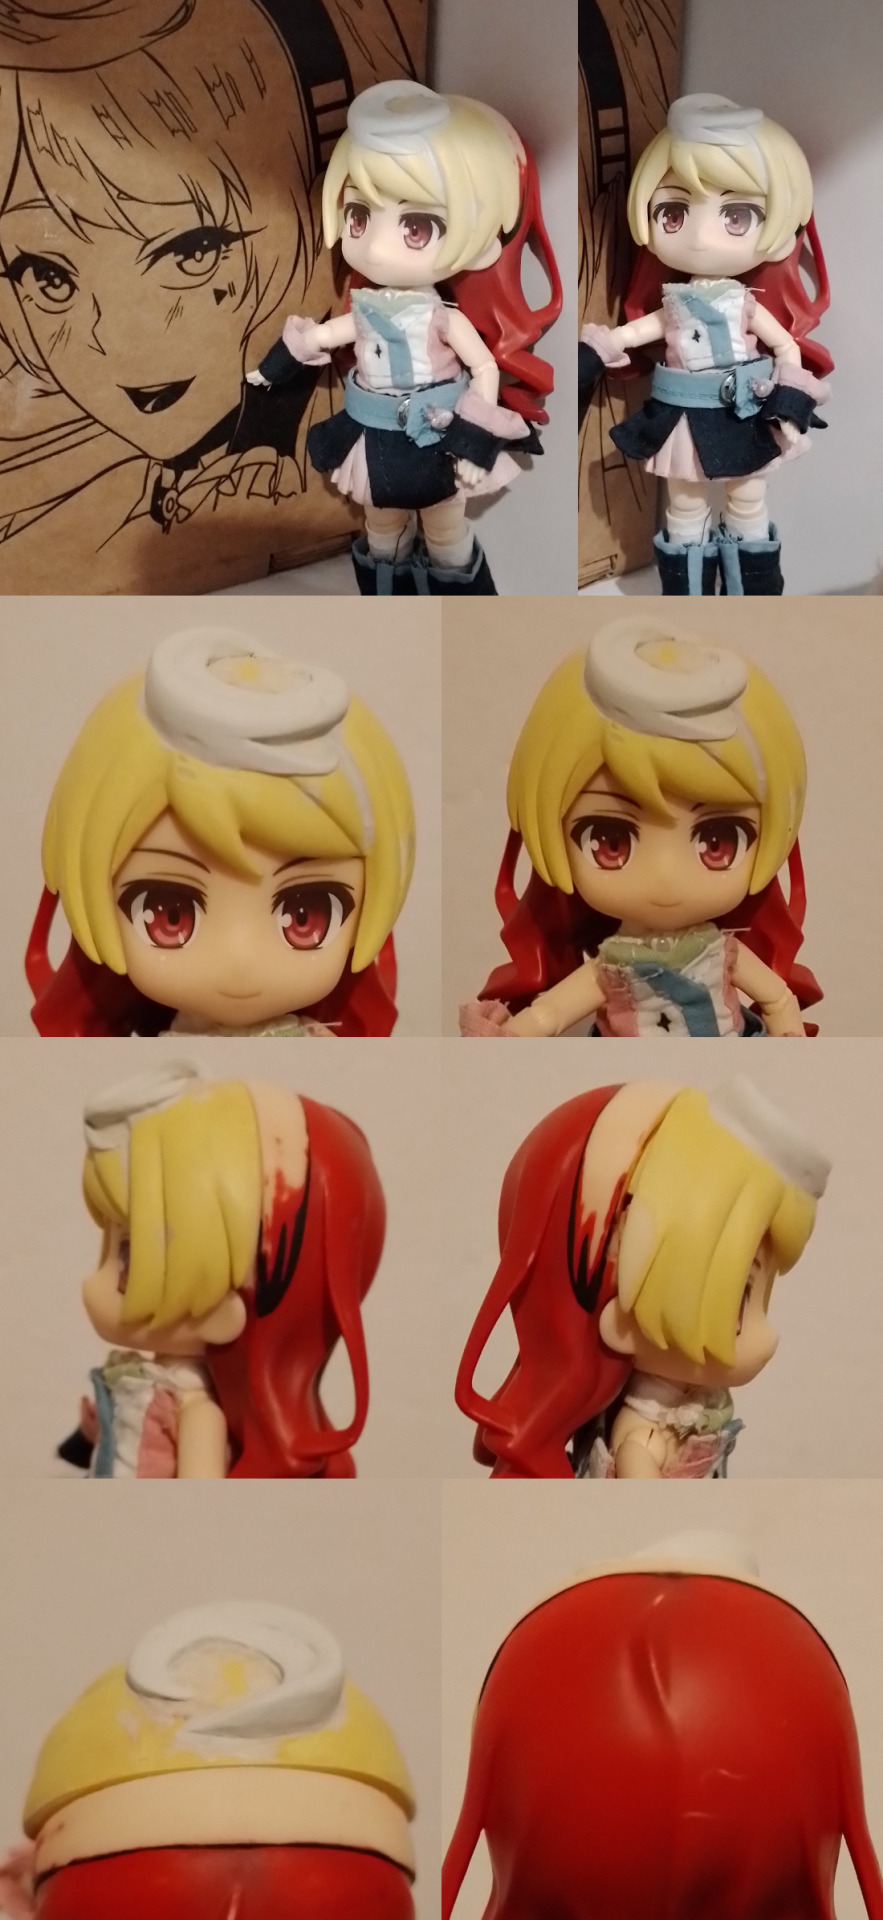
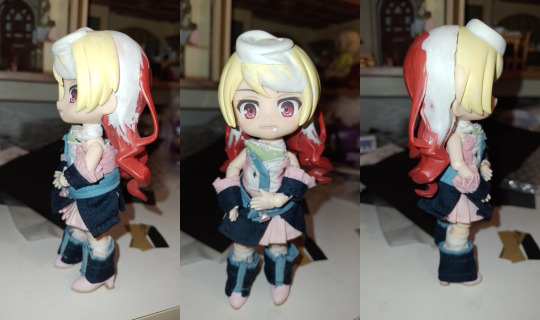
Maika had to get her hair roll and some patching up to hide the headband of the back hair.

As for Hio he only missed his side hair and the slightly long hair on the side.
This is one of the areas that I didn't sand as much as possible so it could have been better, but since it barely shows up it didn't make a big difference.
His "long" hair part fell down so super glue was used to put it back in place. During the painting process his side hair also fell so, once again, super glue saved the day.

Meanwhile Dex had some big holes to cover, he was the first one to be "completed" from the first day since the main issue that had to be done was the easiest to fix compared to Maika's hairband and Hio's side hair.
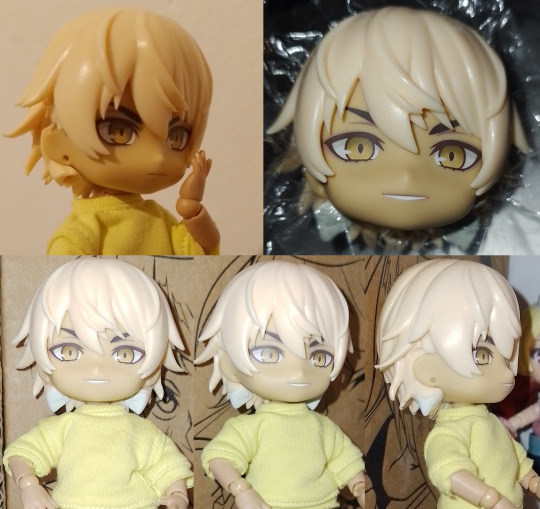
These holes were what gave away that this was Tianyi's hair since either it was some long hair part that were attached to it or twin tails, which was the keyword used to figure out who was the hair donor 😅
There also were some holes in the back of the head so these helped a lot to make sure that it really was her.
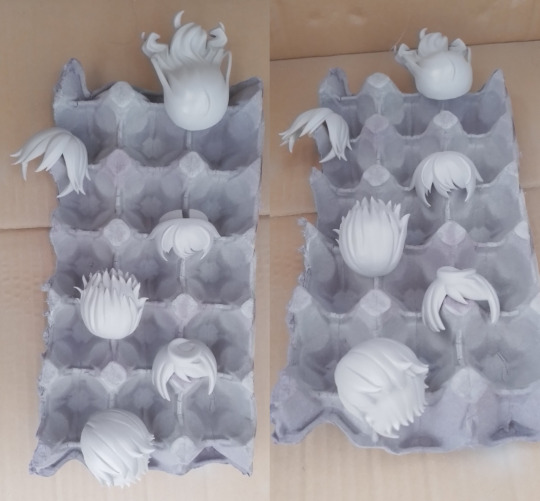
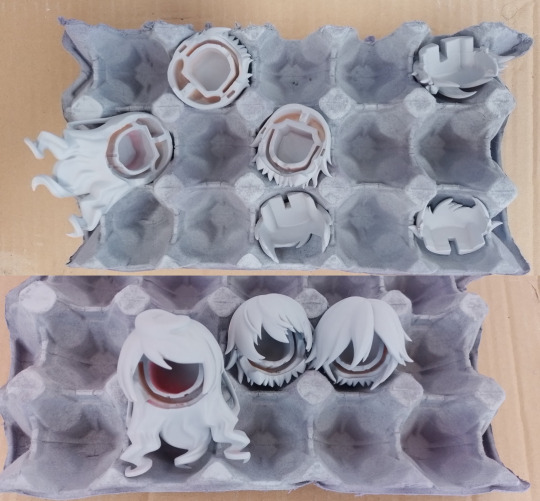
Applying primer was ok without many issues ignoring that I didn't want to sand more, the biggest issues happened over the painting.
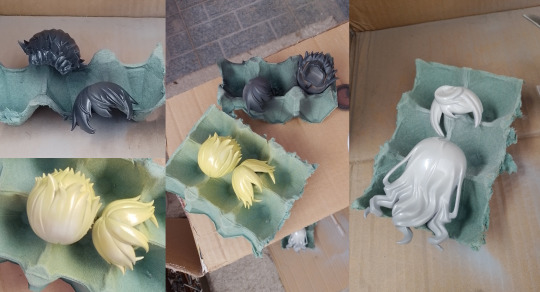
From the get go Dex was the only one who worked, I made some mistakes and wasted thinner thinking that I had it mixed with paint while it wasn't so he was the only one that didn't have any major issues during the first day of painting to the point that I went ahead an applied some varnishing. 🤡

Dex came out pretty ok, had to do some fixing with a brush and even after that paint more since I tested how he looked closed and he wasn't 100% dry yet so his head pieces almost got stuck together.
For the second and third day Hio and Maika's hairstyles got done with the oxygen injector becoming unable to use since each day I broke one of the liquid suppliers RIP. Fortunately on the last day it happened after Maika was done.
After this the spray varnish was applied and they were left to dry a bit. Fortunately everything was already sort of done so I didn't have much else to do...

Until I accidentally scratched Hio's head on the front and his front bangs ended up with a hole in it 💀 I tried to patch it up with oil pastels when liquid varnish was applied so it's not 100% noticiable as it was before it.

The liquid varnish was just to make sure that the heads wouldn't be sticky as some model kit and miniature painters/reviewers on BR YT and blogs mentioned Acrilex's pray varnish could leave stuff sticky due to temperature and other things, so that was what had to be fixed for the last stage.
And with that, here's the final result:


I'm pretty happy with how their hair came out. Maika's head is pretty easy to remove while the other two are hard to insert and remove, need to be really careful to not mess up anything while doing it.
Before finishing the post, here are a few notes for the hair styles and the doll bodies used:
Dex
Somehow was the easiest to get between the 3;
His main issue was actually the liquid varnishing that probably was way too much so it looks like he got glue on his hair, which I'm going to try to avoid touching as much as possible to not make it even worser;
Maika
Maybe applied way too much white paint after some mistakes that made me waste thinner;
Red hair is pretty dark compared to the photos. It's pretty close to the red of Sylvanian Families Cruising Car that I used as reference for this chibi art, so at least it's a really pretty kind of red;
Hio
His hair went from yellow to a more dark orange tone to this in the final result. It's far from his original hair color, however this is good since I couldn't really picture him with a super light blonde color nor did I want to make him closer to the original;
Actually the hardest hair in terms of applying epoxy putty since his side bangs had to be made.
YMY body:
The ver. 1 YMY has more knee articulation compared to the ver. 2. Both Hio and Maika use the second version and they can't sit on top of their knees like Dex. For an easy example it's like how Body-kun has knee articulation while Body-chan does not have that;
Ver. 2 has hands for both sides of the body while the ver. 1 only came with right hand for different hand types. Ver. 2 also got two chests that you can exchange (the one it came with and the alternate version);
Different stands. Ver. 1 has one similar to doll stands (straight stand, doesn't have articulation) while ver. 2 is more similar to nendoroid stands (3 articulation points). You can see them properly on the photos that came before these notes.
And here's a before and after the epoxy and paints were applied:

If you managed to get to the end of this post, I hope you liked it!
This took around 5 months to finish since parts started getting delivered, doing epoxy and painting took less time because a few things got done until 2 months ago. It was done for real 29/08/2013.
If someone with more patience than me does this they for sure can get better results than what I got so may this post help anyone who wants to have their own customs, if that's possible.
Also so sorry for the text and language mistakes, I tried to make some revisions to the first draft and make things a bit easier to understand as I edited this. English isn't my mother language either so hopefully this is all OK as it is. 😅
The doll seat they're using is a Calico Critters/Sylvanian Families one, in terms of seats their items work pretty well for this. A smaller doll type like nendoll probably will work a bit better, even if a bit big for other types of furniture (still not as big as this one).
#ymy doll#other#misc#custom nendoroid#even if it's only nendohair i'll use that tag#vocaloid#vocaloid maika#vocaloid dex#maika vocaloid#dex vocaloid#yohioloid#nendoroid custom#ymy body#ymy#this is also a post of what not to do when trying to custom. rip
37 notes
·
View notes
Note
hi im new to doll customizing and i wanted to know what doll you were using for your current project
the proportions look super cute and your face up looks great!
I’m using a blank nendoroid head and a ymy 11 cm doll body. Ymy is really close to obitsu’s proportions but ymy’s joints are more secure and it even comes with a stand. I originally used a obitsu 11 head and body but I ended up not liking them much.
Ymy body:
https://a.aliexpress.com/_mNUYJci
Nendoroid head:
https://a.aliexpress.com/_mK6S8gI
Some people take already existing bits and pieces from already painted nendoroids and customize them but I’d rather start with something blank and not ruin finished nendoroid parts. AliExpress sells a lot of doll stuff including clothes too.
15 notes
·
View notes
Text
ymy second generation body, the one with longer legs.
cupoche head fits it, but it falls off easily.


nendoroid head fits better if you have the extension for the back of the head
1 note
·
View note
Text


had a little photo shoot with Penny and Charlie :)
#charlie pumpkin#penny pumpkin#ooak doll#ymy#1/12 scale#doll photography#object head#riverghost dolls
37 notes
·
View notes
Text
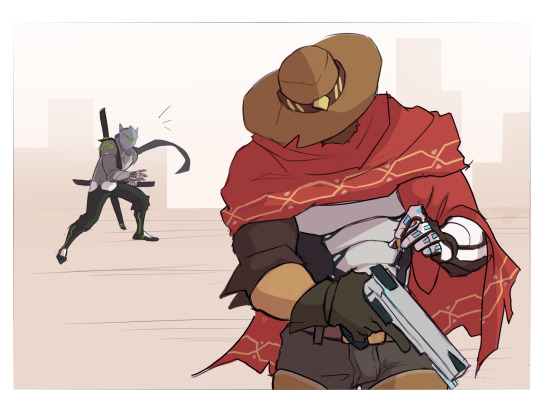
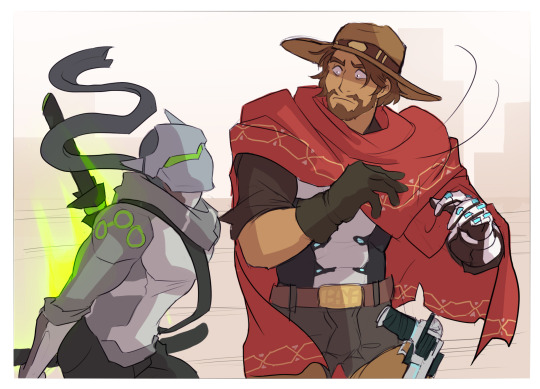
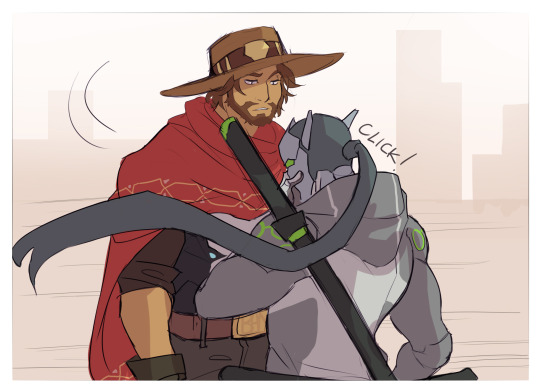
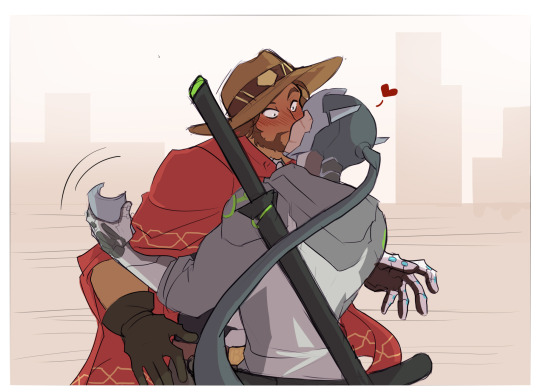
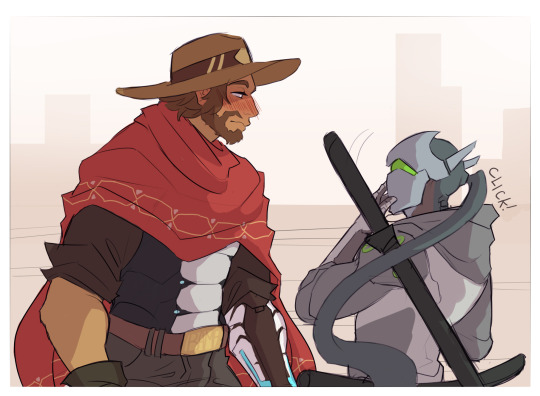
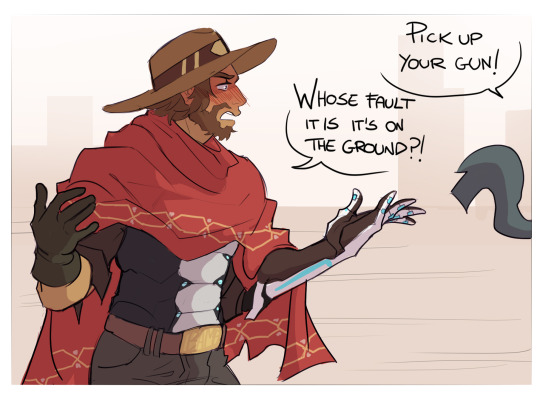
Spuriken mid battle chu
#spuriken#genssidy#cole cassidy#genji shimada#overwatch#hhhuuuhhh I have no idea if the reading works lmao#but ymy#mycryptidart
860 notes
·
View notes
Note
Newest tgcg drawing LEAKED
https://lh3.googleusercontent.com/pw/AP1GczPCO3FJQijhGsVENRJbZJpC7olSYe5pv78G6KyXobXrCuU6TBfrPoW6kkVR7PDCte7C7bc55oxW1hEfOPoqhXRv81ysGylPF1NWM2jbeEVrIwl1qrdfg0AnKJQAl_Nr6D78NGlfcQ2xWIcex108rGzXQA=w683-h384-s-no-gm?authuser=0
(I SWEAR it's not an evil link the most illegal thing I've ever done was steal a my little pony toy from a CVS and drive five miles over the speed limit)
(also your art is really cool)
if i ever decided 2 do a no mercy route this is wat tgcg owuld be like
168 notes
·
View notes
Text

Celebrating my favourite blue boy - Happy Birthday Haruka
#milgram#haruka sakurai#sakurai haruka#mjd#bjd#doll photography#dollfie dream#dollfie dream boy#DDB#obitsu 24#OB24#YMY#moi dolls#it is 3 of the currently ... 18 Haruka dolls
34 notes
·
View notes
Text
here with you
#my edits#isat spoilers#stars n time#ymy hand hurtzs#sif tag#loop tag#theyre only a litle bit here but theyre releevnatn enough#isat#in stars and time
74 notes
·
View notes
Text
I went on vacation to the NYC area recently and took my mini me/trainer doll with me.


4 notes
·
View notes