#PhotoFilters
Explore tagged Tumblr posts
Visit Tumblr Blog
Explore Tumblr blogs with no restrictions, modern design and the best experience.
Last Seen Tumblr Blogs


Fun Fact
1,644 Tumblr posts in 1 second.
Text
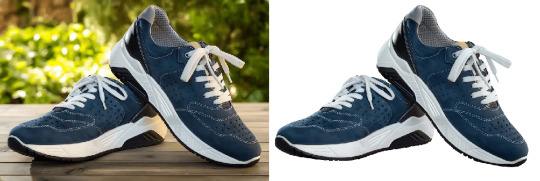
Instantly Edit Your Photos Online for Free – No App Needed! 🎨✨
Need to quickly enhance or filter a photo?
Skip the downloads and try Free Image Editor Online – a simple yet powerful browser-based image editing tool that works instantly.
🖼️ What You Can Do:
✅ Adjust brightness, contrast, saturation, and sharpness
✅ Apply creative filters like Grayscale, Sepia, Vintage, and more
✅ Upload and edit any image directly in your browser
✅ No installation or sign-up required
✅ 100% Free and easy to use!
Perfect for bloggers, designers, students, and anyone who needs quick photo touch-ups without hassle.
👉 Start editing now: https://freeimageseditoronline.blogspot.com
Transform your images in seconds — right from your browser!

#FreeImageEditor#OnlinePhotoEditor#EditPhotosOnline#BrowserTools#ImageEditing#PhotoFilters#NoDownloadNeeded#FreePhotoTools#QuickPhotoEdit#ImageEnhancer#PhotoEditingFree
0 notes
Text
The Art and Science of Photo Editing: Unlocking Your Creative Potential
In today’s digital world, photo editing has become an essential part of photography, whether for professional photographers, content creators, or casual enthusiasts. While some might see it as simply manipulating an image, photo editing is a powerful tool that allows individuals to enhance, transform, and communicate ideas through visual art. But how did this art form come about, and why is it so important today?

The Evolution of Photo Editing
When photography first emerged in the early 19th century, the process was painstaking and time-consuming. The invention of the daguerreotype in 1839 by Louis Daguerre, for example, required photographers to work with long exposure times and complex chemical processes. Editing was virtually impossible—if you wanted to alter a photo, you'd need to physically manipulate the photograph itself, often by retouching or painting on it.
Fast forward to the 20th century, and we see the rise of digital photography. The creation of the digital image revolutionized the way we capture and edit photos. Suddenly, editing was not only possible but also far more accessible. With programs like Adobe Photoshop, Lightroom, and others, photographers and designers now had the ability to tweak every pixel, adjust colors, and even remove unwanted elements. But it wasn’t until the rise of smartphones and apps like Instagram that photo editing reached mainstream audiences. Today, nearly everyone with a smartphone is a potential photo editor, thanks to powerful and easy-to-use tools.
Why Photo Editing Matters
Photo editing isn’t just about making pictures “prettier” or “perfect”—it’s about telling a story and conveying emotion. The beauty of photo editing lies in its versatility. Whether it’s improving the exposure, changing the color palette, or even creating surreal or fantastical images, photo editing helps photographers and artists achieve their vision. Here are a few reasons why photo editing is so important:
Enhancing Visual Appeal A good photo can always be improved. Sometimes, an image might have too much contrast, be too dark, or not quite capture the scene's true colors. Photo editing allows for adjustments that can make an image more eye-catching and professional-looking, helping the photographer convey their artistic intent more effectively.
Correcting Technical Issues Not every shot is perfect. Perhaps your camera settings weren’t optimal, or the lighting conditions weren’t ideal. Photo editing tools allow you to fix these issues—whether by reducing noise, correcting white balance, or adjusting sharpness. It can even help correct minor imperfections in skin tones for portraits or balance the exposure between dark and light areas.
Expressing Creativity Some photographers and digital artists use photo editing as a way to push the boundaries of reality. Through layering, digital painting, and creative effects, photo editing becomes a medium for creating images that would be impossible to capture with a camera alone. From dreamlike landscapes to sci-fi compositions, photo editing gives creators the freedom to experiment and break conventional rules.
Branding and Marketing For businesses and brands, photo editing is a key component of digital marketing. Whether it’s enhancing product images or creating engaging social media content, edited photos help brands stand out. With the rise of visual storytelling, edited images have become one of the most powerful tools in the marketer’s toolkit.
The Tools of the Trade
There’s no shortage of photo editing tools available today, ranging from simple apps to sophisticated desktop software. Depending on your goals and skill level, here are some popular tools to consider:
Adobe Photoshop Photoshop is the industry standard for photo editing. It’s an incredibly powerful program with a steep learning curve. For professionals, it offers a vast array of features, including advanced retouching, compositing, and color correction. Photoshop can handle everything from simple adjustments to complex manipulations.
Adobe Lightroom While Lightroom isn’t as complex as Photoshop, it’s excellent for photographers who want to manage and edit large quantities of photos quickly. It’s known for its user-friendly interface, non-destructive editing (meaning your original image remains intact), and powerful tools for color correction, exposure adjustment, and batch editing.
GIMP (GNU Image Manipulation Program) For those who want a free alternative to Photoshop, GIMP is a great choice. It offers many of the same features as Photoshop, from advanced retouching to custom brushes and plugins. While it’s not as polished as Adobe products, it’s a powerful tool in its own right.
Snapseed If you’re editing on your smartphone, Snapseed is one of the best free photo-editing apps out there. It’s packed with features, including filters, tools for adjusting exposure, contrast, saturation, and even more advanced features like lens blur and healing. Snapseed is perfect for quick edits and on-the-go adjustments.
VSCO Another great app for smartphone users, VSCO is known for its simple interface and wide range of beautiful filters. It’s particularly popular among Instagram users, offering presets that give photos a film-like aesthetic. While it may not offer the in-depth features of Photoshop, it’s an excellent tool for casual editing.
Tips for Effective Photo Editing
While photo editing can seem intimidating at first, some simple techniques can help make the process more intuitive and effective. Here are a few tips for getting started:
Start with Exposure and Contrast Adjusting exposure is one of the easiest ways to improve a photo. Make sure your image isn’t too dark or too light. Contrast adjustments can also help add depth and make your subject pop against the background.
Don’t Overdo It It’s easy to get carried away with filters and effects, but subtlety is key. The best edits often look natural, with enhancements that complement the photo rather than overpower it.
Use Layers for Flexibility If you're working in software like Photoshop, always edit in layers. This allows you to make adjustments without permanently altering the original image, giving you more flexibility to experiment.
Focus on the Details Retouching small details can make a big difference, especially in portrait photography. Use the clone tool or healing brush to remove blemishes or distractions, and pay attention to elements like skin texture or stray hairs.
Conclusion: Photo Editing as a Form of Art
At its core, photo editing is about transforming a visual into something meaningful. Whether you're correcting an image’s technical flaws or creating something entirely new, photo editing empowers you to express yourself and communicate ideas visually. As technology continues to evolve, so too will the ways in which we edit and manipulate images. For both professionals and hobbyists, the future of photo editing holds endless possibilities, enabling us to turn ordinary images into extraordinary works of art.
#PhotoEditing#Photography#Photoshop#PhotoRetouching#CreativeEditing#PhotoEnhancement#ImageEditing#Lightroom#PhotoManipulation#VisualArt#PhotoEffects#EditingTips#MobilePhotography#CreativePhotography#EditingTools#PhotoFilters#PhotographyTips#PhotoArt
1 note
·
View note
Text
Fucasy: AI Photo Editor
✨ Transform Your Photos with Photo Editor! 📸, Unlock your creativity with our ultimate photo editing app. With features like background remover and changer, effortlessly create stunning visuals. 🎨✨ 🌟 Read more: https://play.google.com/store/apps/details?id=com.fucasy.photoeditor

#PhotoEditor#PhotoEditing#PhotoEnhancement#CreativePhotos#StunningVisuals#BackgroundRemover#PhotoFilters#CollageMaker#PhotoEffects#HighQualityPhotos#SocialMediaReady#InstaPhoto#PhotoMagic#PicOfTheDay#EditLikeAPro
1 note
·
View note
Text
Create Glamorous Bike Photo Reels with Pixify Reel Maker App

Turn your biking adventures into glamorous reels with Pixify Reel Maker app. Add sophistication to your photos effortlessly and share your stylish escapades on social media. Download the Pixify app now for a journey of elegance and excitement!
#pixify#createwithpixify#pixifymagic#pixifyreels#freeonlinereelmaker#pixifyreelmaker#reelmagic#make reels video#reel maker#reel template#GlamorousReels#GlamourOnWheels#PhotoFilters
0 notes
Text
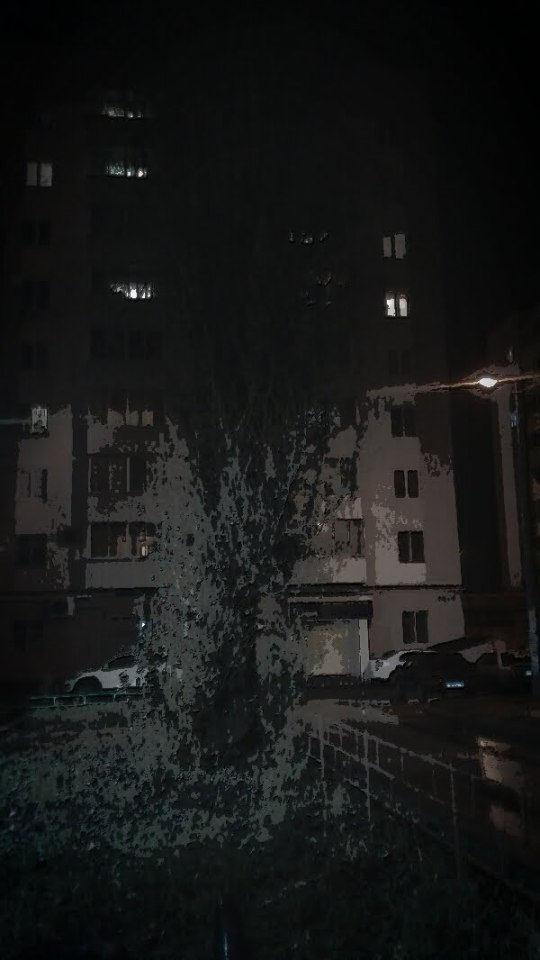
Everyone So Mean To Me, 2024, colourized
thank you @bawdyknocker
26 notes
·
View notes
Text
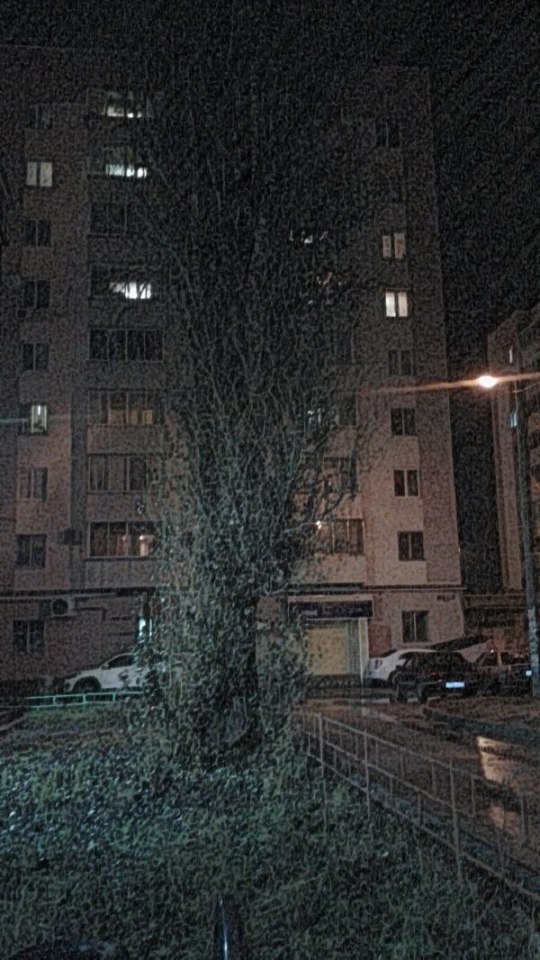
December 16, 2019
Фотофильтрами балуюсь. 16 декабря 2019 г., бесснежная зима.
1 note
·
View note
Text
Ready to elevate your photo game? ✨ piZap has all the tools you need for stunning edits! From adding fun stickers and creative text to color adjustments and unique photo filters, piZap makes your images pop. Want to create photo collages or transform your selfies with easy touch-ups? We’ve got you covered.
Bring your vision to life with piZap’s versatile editing features!
#PhotoEditing #CreativeTools #piZap #PhotoFilters #Stickers #CollageMaker #FunEdits #EasyPhotoEditing #CreateWithpiZap
#pizap#photo editing#photoeditor#create#borders#collage#stickers#photography#photoediting#photo editor
0 notes
Note
I saw your tags under that recent posts and im wondering, do you really managed for your game to look like this or do you use photofilters from photomode ?

I managed to! Though I also have to give credit to Resistance Mod (I'm using the option for darker nights and E3 recolor). But I've also played with contrast and other tidbits from Reshade menu. Sometimes I use filters from FC5 photomode, but it's usually to decrease the saturation for some sort of artistic effect or go totally black and white.
I'm pretty satisfied, though I do have one problem I'm trying to fix, and it's the fact that during the day, the mountains have a very intense blue-ish hue. It's frustrating but I'm working on it, I guess!
1 note
·
View note
Text
I like how dingy the dramatic warm filter makes everything feel. Not that my porch windows aren’t already dingy, but that’s besides the point
#goblincore#cottagecore#autumn#photofilters#photographs#beautiful photos#photography#goblin core#cottagegore#cottage gore#cottage core
66 notes
·
View notes
Photo
#photoeffect #bokeh #bokehphotography #bokehkit #bokehshapes #lightphotography #light #lighteffect #blur #bokehforms #bokehlight #blureffect #photographyeffect #bokehforsale #bokehkitforsale #figurebokeh #photofilters #bokehfilters #lightfilters https://www.instagram.com/p/CH08eS7nwSe/?igshid=20jb6altzqqv
#photoeffect#bokeh#bokehphotography#bokehkit#bokehshapes#lightphotography#light#lighteffect#blur#bokehforms#bokehlight#blureffect#photographyeffect#bokehforsale#bokehkitforsale#figurebokeh#photofilters#bokehfilters#lightfilters
36 notes
·
View notes
Photo
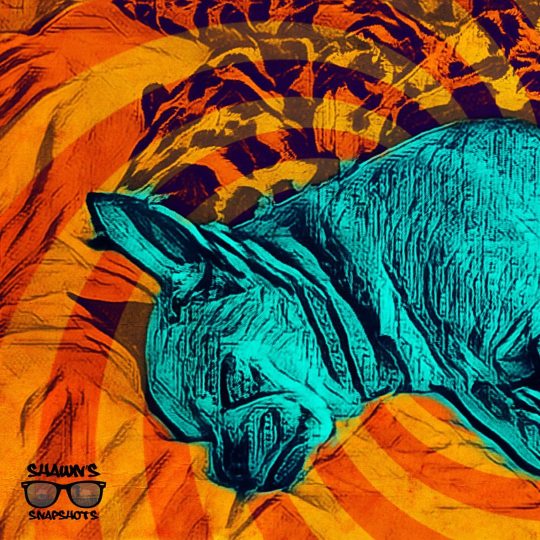
It’s a sleepy Sunday! 🤫🥱😴🐶🐕😴🥱🤫 Anyone else try Photoshop Camera App? It’s got some cool filters. This one is called “Pop Art”. 📸🎨👨🎨 Thanks for following @shawnssnapshots 📸🌅 Have A Look At My Site; www.ShawnsSnapshots.wordpress.com #Photography #Snapshots #AsSeenByShawn #ShawnRego #RegoTek #ShawnsSnapshots #ExultantIndustries #KtlaTalkToUs #SleepySunday #SundayFunday #PhotoFilters #PhotoshopCamera #CameraFilters #PopArt #MarleyDog #MarleyMerrick #SleepyChihuahua #Chihuahua (at Laguna Niguel, California) https://www.instagram.com/p/CEzZZ21nbUW/?igshid=k0vcjnwkh34r
#photography#snapshots#asseenbyshawn#shawnrego#regotek#shawnssnapshots#exultantindustries#ktlatalktous#sleepysunday#sundayfunday#photofilters#photoshopcamera#camerafilters#popart#marleydog#marleymerrick#sleepychihuahua#chihuahua
1 note
·
View note
Photo
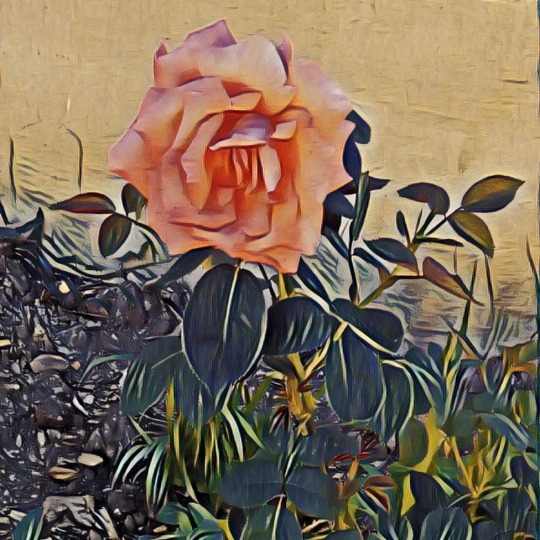
#naturefotos #photofilters #mothernature #flowers #walkit #beautifulday (at York Haven, Pennsylvania) https://www.instagram.com/p/CBYzdR1gxUZ/?igshid=s8fu60i6djh0
1 note
·
View note
Photo
(via do w / o me 💞 on Twitter)
0 notes
Photo
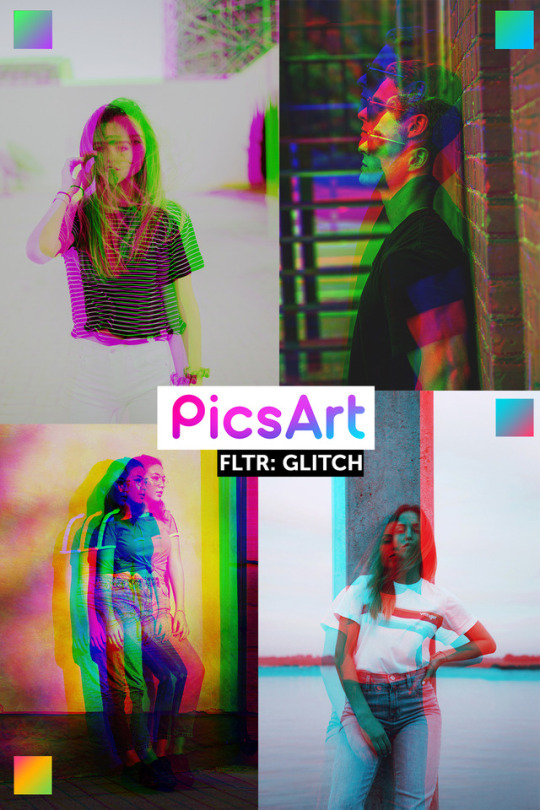
One tap😍😍😍
See for yourself!
#glitch#glitchart#glitch art#filters#photofilters#photographyfilters#photographyinspiration#photographytools#photoedit#photoediting#photography editing#photographyislife#picsart#madewithpicsart#picsartstudio#artoftheday#photooftheday#creativelife#create#colorful#photoshoot#📸#📷#🌈#aesthetic#aesthetics
6 notes
·
View notes
Photo
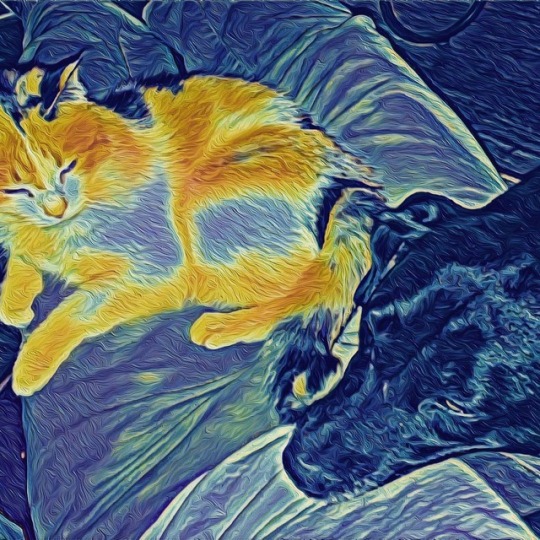
Dog: “But that’s my spot” Cat: “Not anymore” #becasso #photooftheday #photography #photo #photofilter #photofilter #photofilters #dogandcat #dogandcatlove #dogandcatfriends #cat #catsofinstagram #dogsofinstagram #dog #dogs #dogstagram #petsrule #filters #filter #favoritefilters #filterfavs #photooftheday #dailyphoto #dailyphotos #create #createdaily #dailycreate (at Helena, Alabama) https://www.instagram.com/wcp3/p/BvDgaMUFqfH/?utm_source=ig_tumblr_share&igshid=1k05io2re5rd2
#becasso#photooftheday#photography#photo#photofilter#photofilters#dogandcat#dogandcatlove#dogandcatfriends#cat#catsofinstagram#dogsofinstagram#dog#dogs#dogstagram#petsrule#filters#filter#favoritefilters#filterfavs#dailyphoto#dailyphotos#create#createdaily#dailycreate
1 note
·
View note