#NoiseTexture
Explore tagged Tumblr posts
Text
25 notes
·
View notes
Text
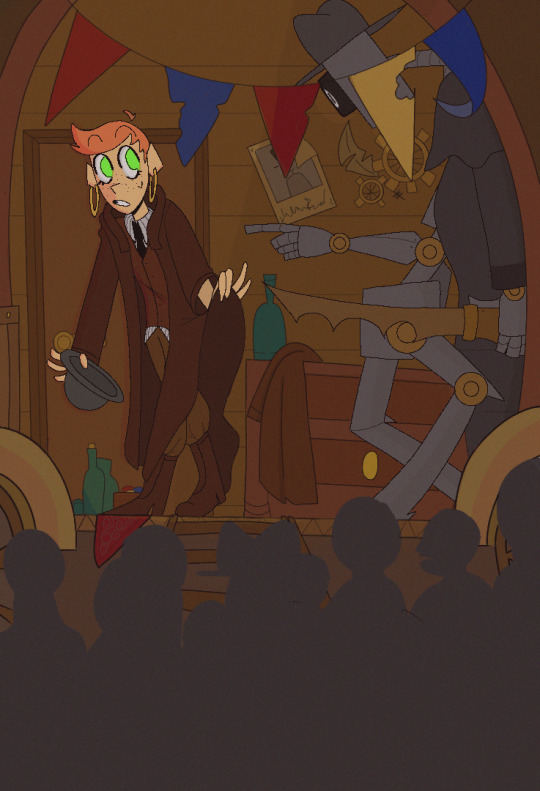
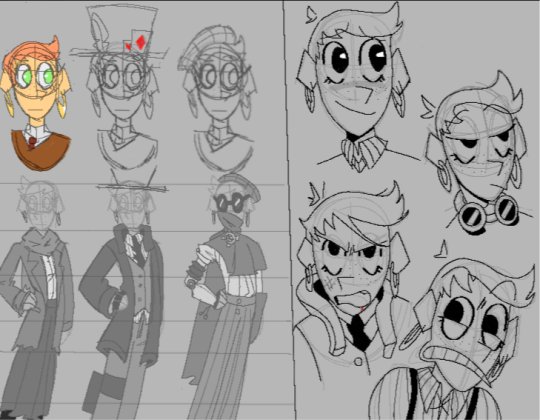
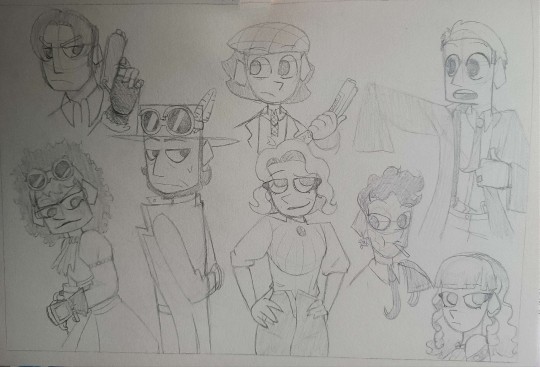
A chara-design exercice + a drawing for a contest that has been canceled and inspired by the beginning of Fable II
(tap for better quality)
#art#my drawings#digital art#original character#traditional art#ibispaint art#ibispaintdrawing#ibispaintx#steampunk#steampunk art#steampunkrobot#steampunk cartoon#cartoon#pencil drawing#character design#concept art#art contest#brown#graineffect#noisetexture
5 notes
·
View notes
Video
tumblr
Mirror
#blender3d#noisetexture#digitalfluidart#flowers#nature#mirror#mirrored#reflection#photoshop#Aftereffects#adobe#Experimental#imagemanipulation#studio#testing#photomontage#original art#surrealphotography#surrealism#selfie#digital art#metaphyics
0 notes
Video
vimeo
Bluecrest Health Screening
#Vimeo#animation#motiondesign#health#tigranmanukyan#screening#renderforest#characteranimation#noisestyle#noisetexture#noiseanimation
0 notes
Text

Hey there! Looping things like this is actually fairly easy and the technique that I use for water can be used for fire, rain, things waving in the wind, or all sorts of other stuff! Here’s the final result:

Anyway, to get started making a river, first you want to add a plane (Shift+A > Mesh > Plane), and scale it into something sort of rectangular. Add some other stuff if you want to make it look prettier (and add some lighting, probably).

Okay, nice, make sure to add a material to the new plane. Call it something like “Water” idk.

Neato. That’s some water. Nothing fancy. Now we want to add wavy ripples to the water so that it’s not just a blue splodge. Start by opening a new panel with the Node Editor view, and connecting a ColorRamp node to the Diffuse BSDF, then the Fac of a NoiseTexture to the Fac of the ColorRamp, and finally the Position of a Geometry node to the Vector of the NoiseTexture. That’s a bunch so here’s some images.


If you haven’t used the node editor for materials much in Blender, Diffuse BSDF is the shader that tells the graphics card what to draw and how to draw it (Diffuse means not shiny, there are others like Glossy, Glass, etc). The ColorRamp selects a color based on an input value between 0 and 1. NoiseTexture is a 3D wavy texture generated by a formula, and the Position input is telling the NoiseTexture to use the 3D position of the water in world space to generate the noise.
The water is a little blotchy and stagnant, whereas we want it to look like it’s flowing. To do this, we’ll stretch the noise using a Mapping node (from the Vector menu) between the Geometry and NoiseTexture nodes. I set it to scale by (2, 0.2, 0.2) but whatever works.


Alright! That looks like a snapshot of the moving water that we want in our final result, now for animation. Getting the water to move is pretty easy, we just need to animate the Y and Z axes of the new Mapping node we added.
Start with adding a keyframe for the X, Y, Z of the mapping node at frame zero (add a keyframe by hovering over X, Y, Z and pressing “I”) with values around (0, -1.5, -0.2), and another keyframe on the last frame of the animation with values (0, 0, 0).

Animating the Y axis makes the water move downstream, while animating the Z axis makes the water change shape slowly over time (it’s a 3D noise function on a 2D surface, which is kind of hard to imagine but Z is like moving the river vertically).

We’re getting somewhere now, but notice how the water speeds up during the middle of the animation? This is because Blender uses smooth “Bezier” curves by default for animation, but we want the animation to be at the same speed the whole way because we’re looping it.
To do this, set the animation curves to be linear by selecting the Mapping node, then going into the Graph Editor view, pressing “A” to select all the curves and then pressing “T” and selecting “Linear”. This means that the water will move at the same speed throughout the whole animation.


Great! Now the only thing left to do is make it loop. This means that the first frame needs to continue on from the last frame, and the easiest way to do that is to make sure that the frame before the first frame is identical to the last frame of the animation.
To do this, you want to create a second NoiseTexture+Mapping chain, which starts at (0, 0, 0), and ends at (0, 1.5, 0.2), while the first NoiseTexture+Mapping set starts at (0, -1.5, -0.2) and ends at (0, 0, 0). This means that one chain starts at the same point the other ends.
We’re almost done! Finally, you want to cross-fade the value output by the two chains and plug the result into the ColorRamp, so that the start and end frames are identical.
Add a Math node to the end of each of the NoiseTexture+Mapping node chains and set it to “Multiply”. Animate the multiply value of the Math node attached to the chain that starts at (0, 0, 0) from 0 (before the first frame) to 1 (the last frame), and then for the one that ends at (0, 0, 0) animate it from 1 to 0. Add the output of these together with a Math node set to “Add” and plug them into the ColorRamp.

Select all the nodes with “A”, then go back to the Graph Editor and select everything, then press “T” and select “Linear” again so that the new keyframes all animate linearly.
Finally, to make the transition smooth, select just the two Multiply nodes in the node editor. Set these back to “Bezier” by pressing “T” and selecting Bezier. Then, rotate the two lower handles up just a little bit, so that they overlap at about 5.5. This will stop the waves in the water from disappearing when they transition.

That’s it! You can render the animation out and convert it to a GIF, and it will now loop seamlessly! You can use the same technique to loop almost anything where you’re using any of the Texture nodes, as well as looping particle systems and modifiers. I hope this was useful and thanks a bunch for reading!

93 notes
·
View notes
Text
Connrad (again)
I added a little grain effect I don't know if you can see it-


#art#my drawings#digital art#original character#steampunk#steampunk art#steampunkrobot#gun#noisetexture#graineffect#ibispaintx#ibispaint art#ibispaintdrawing#phone drawing
4 notes
·
View notes
Photo
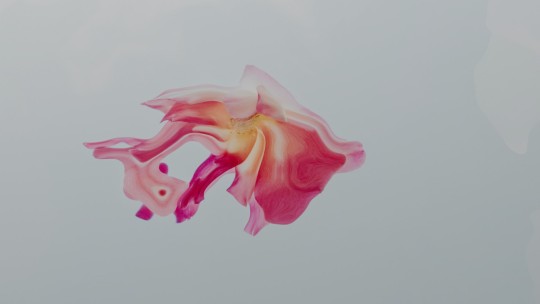
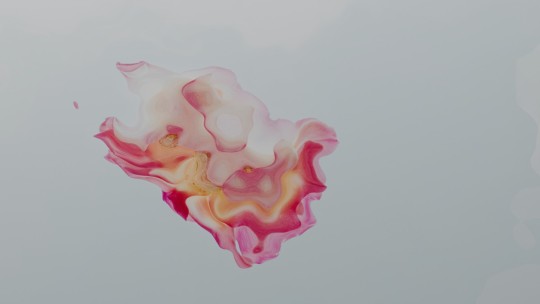
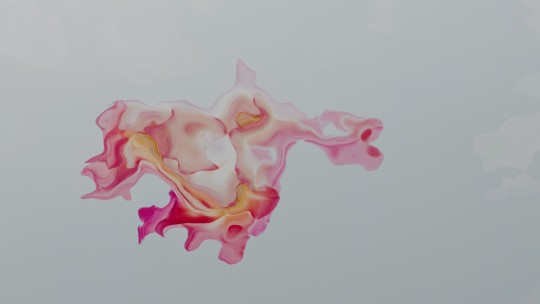
Spot
#Experimental#Blender 3D#noisetexture#surrealism#pink#digitalart#digitalfluidart#liquid#fluid#rippler
0 notes

