#Arduino project
Explore tagged Tumblr posts
Text
medovik
#richter ursidae#811 game#811#ryker dublin#ryker 811#811 ryker#arduino nano#arduino#arduino project#electronics#electronics hobby
20 notes
·
View notes
Text
youtube
2 notes
·
View notes
Video
youtube
Controlling Plastic Injection Machine Nozzle Movement with a Digital Las...
#youtube#Plastic Injection Machine#Nozzle Movement#Digital Laser Ruler#Arduino Project#Wemos D1 Mini#Stepper Motor#3D Printing#Industrial Automation#DIY Electronics#Tutorial#Arduino#Digital Control#Laser Ruler#DIY#VL53L0X#ULN2003#Maker Community
4 notes
·
View notes
Text
youtube
3D Printed Arduino Halloween Décor
When the full moon is shining and the wolves are howling, it's time for Halloween's spooky spectacle. The snickering grins of jack-o'-lanterns glow from lit porches. Kids skip down the block in spooky costumes, carrying bags full of candy and shouting "Trick or Treat!". The Nightmare Before Christmas is almost here... Do you see dead people???
Alright Enough of that, in this Spooktacular video I am going to create an Arduino based 3D printed Halloween Décor. It's super easy, fun and spooky....
3 notes
·
View notes
Text

5 notes
·
View notes
Video
youtube
Arduino Digital Clock #arduinoproject #automation #arduino
1 note
·
View note
Text
https://www.learnelectronicsindia.com/post/impact-of-iot-on-energy-usage-and-the-potential-for-energy-efficiency-gains
#Electronic computer Engineer#digital Electronics interview questions#Arduino project#iot project#ece#lear electronics
0 notes
Text
Нет - это не гирлянда. Заливаю прошивку в умную розетку. Теперь она настолько умная что держит сайт и больше не дружит с китайскими облаками ( да и вообще с любыми кроме моего собстве��ного)
#diy projects#diy craft#diy#arduino#usb#личный тамблер#мой тамблер#русский тумблер#личный блог#личный дневник#мой tumblr#мой блог#моя жизнь#русский тамблер#русский текст#мои фотографии#мои мысли#личные мысли#турумбочка#тумбурочка#тамблер на русском#русский tumblr#русский блог#русский пост
23 notes
·
View notes
Text
Anyone wanna see a dope robot my class made?
375 notes
·
View notes
Text
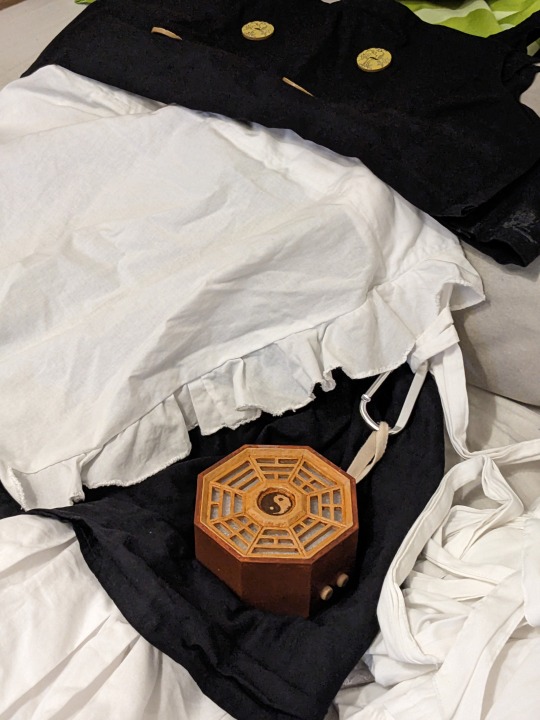
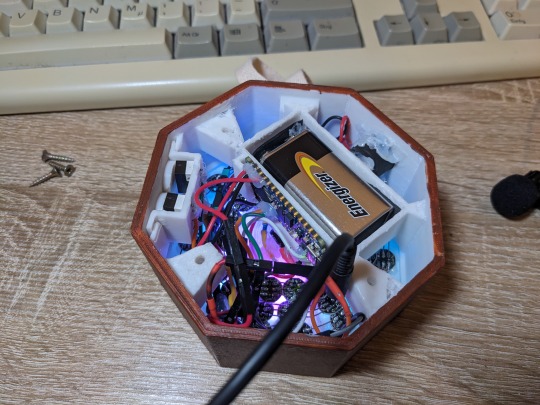
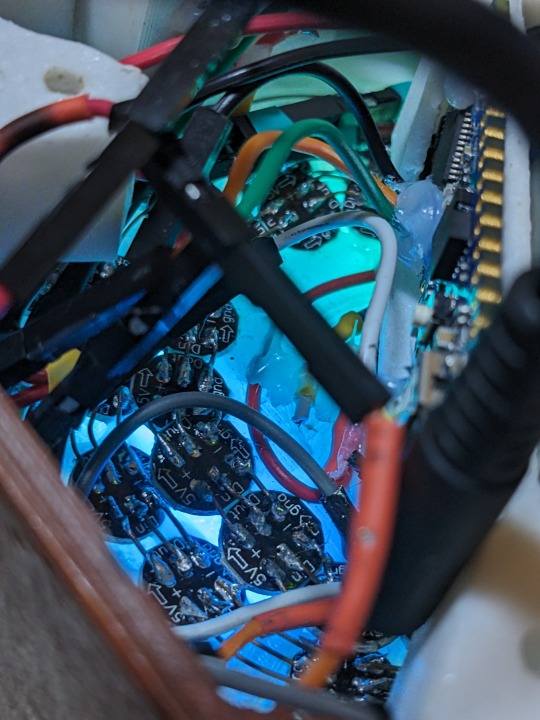
Today I fixed up my Mini-Hakkero prop for my cosplay!

Originally made it last year, but bringing it to cons ended up killing my terribly loose solder and crimp jobs for the admittedly janky internal wiring. For my fix I ended up having to skip 3 unreachable LEDs and attach new wires to the LED spiral (the shell stuck too much together and I could not reach under the battery holder anymore). A compromise, but one that ended up looking alright.


It's not the cleanest thing, but it was my first ever arduino project and with the new pattern i set up, it works decently enough as a cosplay prop :)
#marisa kirisame#touhou project#東方project#touhou#arduino#cosplay#diy projects#3d printing#my cosplay#touhou cosplay
41 notes
·
View notes
Text


fucking hate my camera
#richter ursidae#811 ryker#ryker dublin#811 game#811#arduino#arduino nano#arduino project#electronics#electronics hobby
14 notes
·
View notes
Text
See updated info here:
#diy drone#quadcopter#ardujimmy#youtube#rc quadcopter#arduino project#arduino#drone#flying test#electric vehicles
1 note
·
View note
Video
youtube
DIY Digital Laser Ruler Tutorial with VL53L0X GY-53, SSD1306, and Wemos ...
#youtube#DIY#digital laser ruler#VL53L0X GY-53#SSD1306#Wemos D1 Mini#Arduino project#laser distance meter#OLED display#DIY tutorial#maker#Arduino development#technology tutorial#Arduino#LaserRuler#ElectronicsTutorial#MakerCommunity#DIYElectronics
0 notes
Text
DIY Laser Tripwire Security System Using Arduino

The project consists of a laser module that continuously emits a beam aimed at a laser receiver sensor. When an object (such as a person) obstructs the laser, the receiver detects the interruption and triggers an alarm via a buzzer. This system is ideal for securing doorways, hallways, or any restricted area.
COMPONENTS REQUIRED
Arduino Uno
Laser LED Module
Laser Receiver Sensor Module
Buzzer
Jumper wires
Breadboard
Circuit Diagram

CODE
#define LASER_PIN 7
#define RECEIVER_PIN 8
#define BUZZER_PIN 9
void setup() {
pinMode(LASER_PIN, OUTPUT);
pinMode(RECEIVER_PIN, INPUT);
pinMode(BUZZER_PIN, OUTPUT);
digitalWrite(LASER_PIN, HIGH); // Laser ON
Serial.begin(9600);
}
void loop() {
int status = digitalRead(RECEIVER_PIN);
if (status == 1) { // If laser beam is blocked
Serial.println("⚠️ Intruder Detected!");
digitalWrite(BUZZER_PIN, HIGH);
} else {
Serial.println("✅ Area Secure");
digitalWrite(BUZZER_PIN, LOW);
}
delay(500);
}
youtube
7 notes
·
View notes
Text
need a bit of advice on something rather new to me... i have been DYING to get into some semblance of diy electronics/robotics, specifically regarding the idea of building a flipper zero knockoff with a raspberry pi/esp32/arduino. or a hack rf one ripoff, etc. u get it? i wanna make a lil handheld pwnagotchi pet style device for rolljam rf shit, something that can copy and paste and send and receive rf signals, but homemade by my self....
please if anyone has experience, resources, ideas, anything at all= hit me up right now immediately asap today please.... i am so passionate and ready to do this please help me make device go beepboop
#flipper zero#hack rf one#raspberry pi#esp32#arduino#diy electronics#diy#diy hacking#car hacking#hacking hardware#hacking#help#hacking help#hacking question#need advice#diy projects#diy craft#diy punk#upcycle#homebrew
13 notes
·
View notes
Text


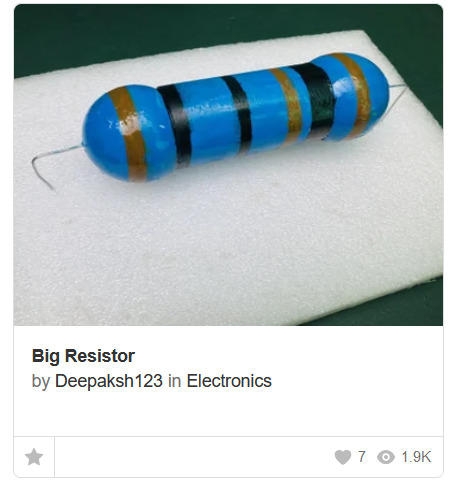
really interesting projects ive seen on instructables dot com
6 notes
·
View notes