#psd used
Explore tagged Tumblr posts
Text
junko graphics
⠀self indulgent 🩷
rules ; like or reblog and credit to use
psd credit
no kin / id / me tags
#🪼 ) edit#🪼 ) self indulgent#rentry resources#rentry#rentry graphics#rentry stuff#rentry decor#danganronpa#danganronpa junko#junko enoshima#dgrp#sntry decor#sntry#sntry graphics#psd#coloring psd#psd used#psd coloring#junko danganronpa#editblr#pink graphics#sorry for no graphics posts 0_o hia
253 notes
·
View notes
Text
. ⟡ Pavitr Prabhakar Layouts ◞◟
[PT: Pavitr Prabhakar Layouts /End Pt]
✦ . ⁺ . ✦ . ⁺ . ✦ . ⁺ ✦ . ⁺ Requested by : No one ( Self indulgent ) Psd by @normalsolutions , Stage Director Finally out of my edit block !! im free from my shackles ♡︎ / ↻ and credit to use ✕ DO NOT USE IF YOU FIT MY DNI !! ✕ ✦ . ⁺ . ✦ . ⁺ . ✦ . ⁺ ✦ . ⁺
#☆ layouts ˳⠀』#tumblr layouts#tumblr headers#tumblr icons#spiderman icons#spiderman india#pavitr prabhakar#psd used#red layouts#atsv#atsv pavitr
26 notes
·
View notes
Text
❝ A Friend for Life ❞
❝ That's what you are to me ❞
— TWiLiGHT SPARKLE MOODBOARD 。
[PT: Twilight sparkle moodboard /End Pt]
┇:a purple and pink moodboard based on twilight sparkle from mlp
┇:Gift 04 @phaea ( congrants on 1400 !! )
┇:No Kin/Id/Me unless Phaea
DNI link ♡
#👑 — Moodboard ︵ ♡#purple moodboard#moodboard purple#mlp moodboard#twilight sparkle moodboard#purple psd#psd used#mlp g4#twilight sparkle#twilight mlp#my little pony#my litte pony friendship is magic
10 notes
·
View notes
Text
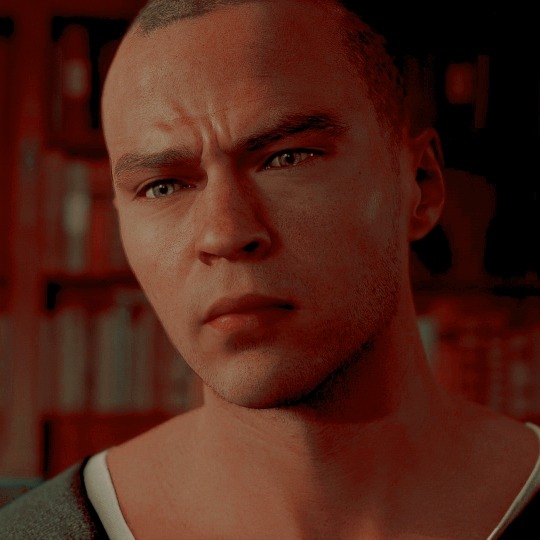
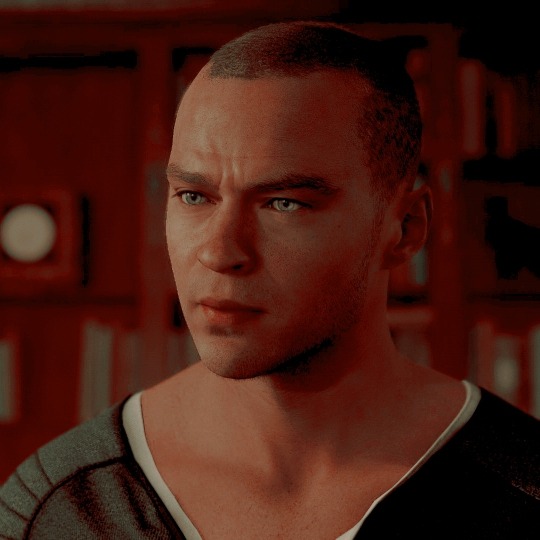
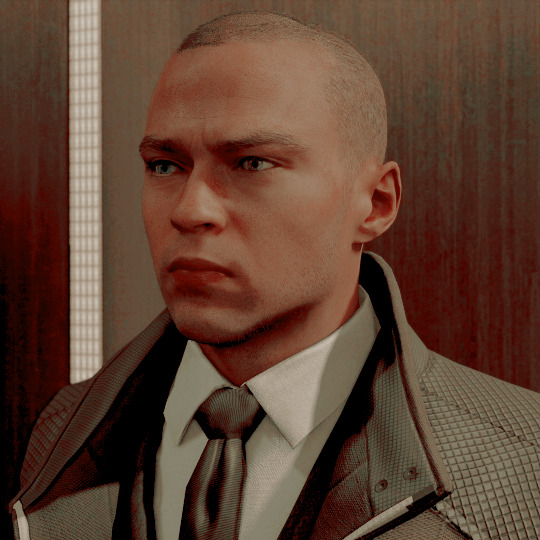
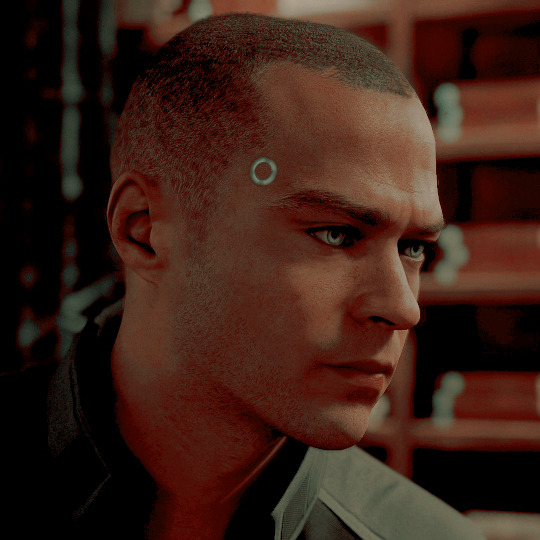
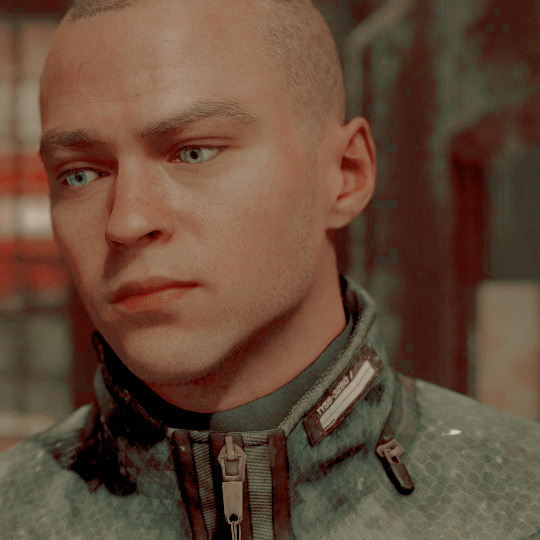
MARKUS ICONS
like and credit if used
psd creds — 🖇️
#aesthetic#icons with psd#detroit become human#dbh markus#aesthetics#pfps#markus#psd used#psd coloring#icons#dbh#red#mine
56 notes
·
View notes
Text
Testing Out a PSD I got from 17webs on tumblr with a simple Fairy Type Miku graphic. F2U with Credit.
#fairy type miku#fairy type miku graphic#psd used#gif#gif warning#project voltage#first time posting one of my edits#should I make an edit blog?#hmm
5 notes
·
View notes
Text
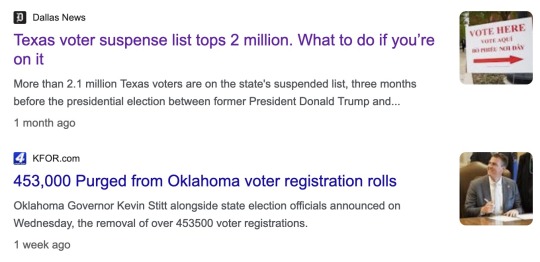
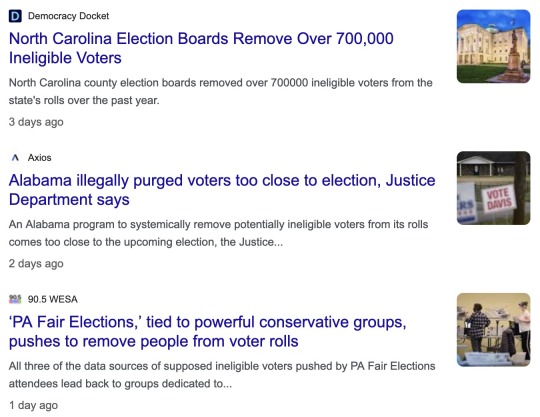
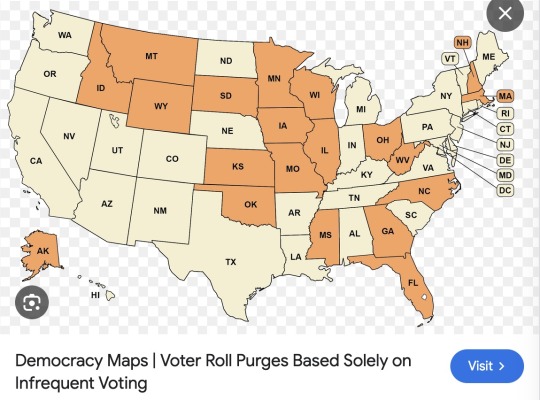
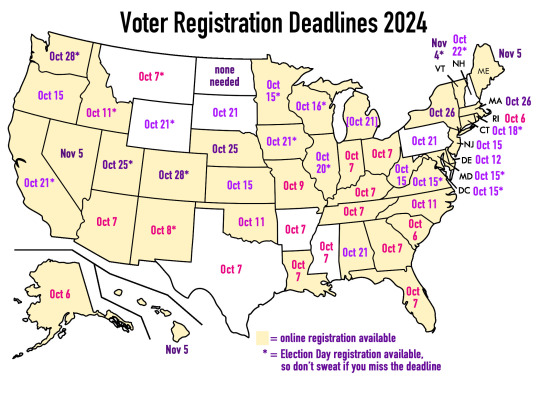
Oh look, it seems like there's a Republican-led movement to purge voter rolls in the lead-up to the election! It's almost as if your vote matters and they don't want you to vote! Anyway, I whipped up a quick map (based on this) that shows when the voter registration deadline is in each state. There are a few deadlines coming up in the next week or so.
If you live in a state that regularly purges voter rolls for infrequent voters (the orange ones in the first map), or if you moved recently, it's good to check if you're still registered to vote.
Vote.org makes it super easy to check your registration: https://www.vote.org/am-i-registered-to-vote/
Just put in your address and DOB and they'll tell you whether you're registered. (And they give you a quick link to register online if it turns out that you're not! Only the 9 states in white on my map don't have online registration, and for those they provide instructions on how to do it via mail or in person.) If you want an extra verification, find your state's election website and double-check there.
So yeah, give yourself peace of mind -- do a quick check. :)
#sorry that us election season plagues the non-usa folks on tumblr#took a break from binging more batfam fics to do this lol#i LOVE how easy vote.org makes things tho#lowkey was planning to do a gotv comic but the reg deadlines were coming up so#us election 2024#thank you past self from 2020 for already having a map in a psd file#i got my voter info booklet in the mail on friday and i'm so hype
30K notes
·
View notes
Text
17 psd available on my kofi
previews under the cut
message me for more samples
1 note
·
View note
Text
Hello my friend, I am Abboud from Gaza. My family and I are living in difficult circumstances in light of the war of extermination that we have been exposed to for a year. Look at my condition before the war, how I was and now how I am. I used to live in a safe and warm house and I had my own job and I had a car, but the occupation destroyed everything and look at the diseases that afflict the children of my family. Because of the devastation and widespread diseases, no one helps me because I am weak. My dream is to live in safety and peace. My family and I hope you can imagine my situation and help me and my family donate. Even a small amount can save me and my family. We need. To the basics of life like food and medicine, my friend appreciated my situation and helped me survive. My family and I go a day or two without eating anything because I don't have money. I don't have money to buy food. I'm losing hope in life. Be our lifeline and help me survive
#70s#agatha all along#batman#black cats#bunblr#fishblr#free gaza#free palestine#gravity falls#nature#gofundme#frases#film#free guy#free psd#free pattern#free game#cnc free use#food#free use slvt#palestinian genocide#politics#poetry#portrait#prose#gaza#free gazze#video games#gaza genocide#gaza strip
2K notes
·
View notes
Text
Why are you doing this? The war lies to the East. You cannot leave on the eve of battle!
#lotredit#lotr#tolkienedit#tolkien#rotk#rotkedit#the lord of the rings#return of the king#lord of the rings#aragorn x eowyn#aragorn#eowyn#our gifs#elise#again...i used an old psd of mine as i was too lazy to make a new one#couldn't decide between this one and another one
769 notes
·
View notes
Text
bringing back some watercolors
#final fantasy#ffxiv#estinien#damn i remember editing watercolor art used to be so easy with my old phone and psd#now it's so difficult#the colors are off#the lines are too hard on the eye#3 different devices and editing softwares and i'm super frustrated at the end result#idk posting it anyway
843 notes
·
View notes
Note
shi man I don’t remember if u do layouts or not.. uhm anyways.. allister from pokemon tumblr layout? ^_^
alliser lyt ! for @ddenryu
★ reblog & credit to use !! psds used
#my edits : ⟢#tumblr lyts#layout#pokemon icons#pokemon layouts#allister#galar#pokemon#icons#psd#psd used#gastly#pokemon allister#galar region
54 notes
·
View notes
Text
ni-ki ending fair 🌟 072624
#niki#ni-ki#enhypenet#enhypen#ultkpopnetwork#kpopedit#nishimura riki#*#ceeblr#arieslofi#tuserhales#userace#userzaynab#usershri#usermery#userbloomingwarrior#usershreyu#usersemilys#uses layers from zaynab's matte psd!!!
405 notes
·
View notes
Text
SIMON ICONS
like and credit if used
PSD Cred — bbyhyuck
30 notes
·
View notes
Text
#sorry for the drastic coloring difference on the last two I had to do separate PSDs bc the og lighting is so different#tlou#joelmilleredit#Pedro pascal#pedropascaledit#Joel miller#tlou hbo#the last of us#tvedit#my gifs#🪐
382 notes
·
View notes
Text
GENSHIN IMPACT'S 4TH ANNIVERSARY CELEBRATION (2020—)
#genshin impact#genshinedit#genshinimpactedit#gif#venti#zhongli#raiden ei#nahida#furina#mine: gif#mine: all#I decided to put this up earlier than the actual date because I am impatient and worked super hard on this.#But let's just pretend I posted this on the 28th.#Happy 4th anniversary to my most favourite game in the entire world.#Genshin has been such a big part of my life and I couldn't be more thankful for it.#I adore every aspect of the game and I am overjoyed to see what it has blossomed into all these years.#I hope Genshin is with us for a very very long time. <3#A small gift to show my appreciation for the developers and everyone who made Genshin into what it is today.#Thank you to @actiasteeth for the graphics PSD!#gamingedit#dailygaming#vgedit#videogameedit#gamingnetwork#dailyvideogames
288 notes
·
View notes
Text
My GIF Making process: Screen capturing using MPV player, Organizing files, 3 Sharpening settings, Basic Coloring PSD + Actions set
This is a very long post so heads up.
I’ll try to be as thorough and true as much as possible to the way I make my gifs (I already use Photoshop Actions which I’ve long since set up but now for this tutorial I’m reviewing them to show you the exact steps I’ve learned to create my gifs 😃) and present them to you in a semi-coherent way. Also, please bear with me since English is my second language.
First things first. Below are the things and tools we need to do this:
Downloaded 4K or 1080p quality videos (let’s all assume we know where to get these—especially for high definition movies and tv series—so this post doesn’t get removed, okay? 😛)
Adobe Photoshop CC or the CS versions can work as well, but full disclosure I haven’t created gifs using the CS versions since 2020. I’m currently using Adobe Photoshop 2024.
mpv player. Use mpv player to get those frames/screenshots or any other video player that has a screen grabber feature. I’ve used adapter for the longest time but I’ve switched to mpv because the press to screenshot feature while the video is playing has been a game changer not to mention ultimate time saver for me. For adapter you need to play it in another video player (like VLC player), to get the start and end timestamps of the scene you want to gif which takes me ages before I can even open Photoshop.
Anyway! Please stop reading this post for a moment and head over to this amazing tutorial by kylos. She perfectly tells you how to install and use mpv player, both for Mac and Windows users.
One thing I have to share though, I had a tough time when I updated my MacOS to Sonoma since MPV is suddenly either duplicating frames or when I delete the duplicates the player seems to be skipping frames :/ I searched and found a solution here, though it didn’t work for me lol. My workaround for this in the meantime is decreasing the speed down to 0.70 then start screenshotting—it’s not the same pre Sonoma update but it works so I’ll have to accept it rather than have jumpy looking gifs.
Now, after this part of kylos’ tutorial:
you can continue reading the following sections of my gif tutorial below.
I want to share this little tip (sorry, this will only cater to Mac users) that I hope will be helpful for organizing the screenshots that MPV saved to the folder you have selected. Because believe me you don’t want to go through 1k+ of screenshots to select just 42-50 frames for your gif.
The Control + Command + N shortcut
This shortcut allows you to create a new folder from files you have pre-selected. As you can see below I have already created a couple of folders, and inside each folder I have selected screenshots that I want to include in one single gif. It's up to you how you want to divide yours, assuming you intend to create and post a Tumblr gifset rather than just one gif.
Another tip is making use of tags. Most of, if not all the time, I make supercorp gifs so I tag blue for Kara and red (or green) for Lena—just being ridiculously on brand and all that.
Before we finally open Photoshop, there's one more thing I want to say—I know, please bear with me for the third? fourth? time 😅
It's helpful to organize everything into their respective folders so you know the total number of items/frames you have. This way, you can add or delete excess or unnecessary shots before uploading them in Photoshop.
For example below there are 80 screenshots of Kara inside this folder and for a 1:1 (540 x 540 px) Tumblr gif, Photoshop can just work around with 42-50 max number of frames with color adjustments applied before it exceeds the 10 MB file size limit of Tumblr.
Sometimes I skip this step because it can be exhausting (haha) and include everything so I can decide visually which frames to keep later on. You'll understand what I mean later on. But it's important to keep the Tumblr 10 MB file size limit in mind. Fewer frames, or just the right amount of frames, is better.
So, with the screenshot organization out of the way, let's finally head over to Photoshop.
Giffing in Photoshop, yay!
Let’s begin by navigating to File > Scripts > Load Files into Stack…
The Load Layers window will appear. Click the Browse button next.
Find your chosen screenshots folder, press Command + A to select all files from that folder then click Open. Then click OK.
After importing and stacking your files, Photoshop should display the following view:
By the way, I'll be providing the clip I've used in this tutorial so if want to use them to follow along be my guest :)
If you haven't already opened your Timeline panel, navigate to Windows > Timeline.
Now, let's focus on the Timeline panel for the next couple of steps.
Click Create Video Timeline, then you’ll have this:
Now click the menu icon on the top right corner then go to Convert Frames > Make Frames from Clips
Still working on the Timeline panel, click the bottom left icon this time—the icon with the three tiny boxes—to Convert to Frame Animation
Select Make Frames From Layers from the top right corner menu button.
So now you have this:
Go and click the top right menu icon again to Select All Frames
Then click the small dropdown icon to set another value for Frame Delay. Select Other…
The best for me and for most is 0.05 but you can always play around and see what you think works for you.
Click the top right menu icon again to Reverse Frames.
I think Photoshop has long since fixed this issue but usually the first animation frame is empty so I just delete it but now going through all these steps there seems to be none of that but anyways, the delete icon is the last one among the line of feature buttons at the bottom part of the Timeline panel.
Yay, now we can have our first proper GIF preview of a thirsty Lena 😜
Press spacebar to watch your gif play for the very first time! After an hour and half of selecting and cutting off screenshots! 😛 Play it some more. No really, I’m serious. I do this so even as early (lol) as this part in the gif making process, I can see which frames I can/should delete to be within the 10 MB file size limit. You can also do it at the end of course 🙂
Now, let’s go to the next important steps of this tutorial post which I’ve numbered below.
Crop and resize to meet Tumblr's required dimensions. The width value should be either 540px, 268px, or 177px.
Convert the gif to a Smart Object for sharpening.
Apply lighting and basic color adjustments before the heavy coloring. I will be sharing the base adjustments layers I use for my gifs 😃.
1. Crop and Resize
Click on the Crop tool (shortcut: the C key)
I like my GIFs big so I always set this to 1:1 ratio if the scene allows it. Press the Enter key after selecting the area of the frame that you want to keep.
Side note: If you find that after cropping, you want to adjust the image to the left or another direction, simply unselect the Delete Cropped Pixels option. This way, you will still have the whole frame area available to crop again as needed and as you prefer.
Now we need to resize our gif and the shortcut for that is Command + Opt + I. Type in 540 as the width measurement, then the height will automatically change to follow the ratio you’ve set while cropping.
540 x 540 px for 1:1
540 x 405 px for 4:3
540 x 304 px for 16:9
For the Resample value I prefer Bilinear—but you can always select the other options to see what you like best.
Click OK. Then Command + 0 and Command + - to properly view the those 540 pixels.
Now we get to the exciting part :) the sharpen settings!
2. Sharpen
First we need to have all these layers “compressed” intro a single smart object from which we can apply filters to.
Select this little button on the the bottom left corner of the Timeline panel.
Select > All Layers
Then go to Filter > Convert for Smart Filters
Just click OK when a pop-up shows up.
Now you should have this view on the Layers panel:
Now I have 3 sharpen settings to share but I’ll have download links to the Action packs at the end of this long ass tutorial so if you want to skip ahead, feel free to do so.
Sharpen v1
Go to Filter > Sharpen > Smart Sharpen…
Below are my settings. I don’t adjust anything under Shadows/Highlights.
Amount: 500
Radius: 0.4
Click OK then do another Smart Sharpen but this time with the below adjustments.
Amount: 12
Radius: 10.0
As you can see Lena’s beautiful eyes are “popping out” now with these filters applied. Click OK.
Now we need to Convert to Frame Animation. Follow the steps below.
Click on the menu icon at the top right corner of the Timeline panel, then click Convert Frames > Flatten Frames into Clips
Then Convert Frames > Convert to Frame Animation
One more click to Make Frames From Layers
Delete the first frame then Select All then Set Frame Delay to 0.05
and there you have it! Play your GIF and make sure it’s just around 42-50 frames. This is the time to select and delete.
To preview and save your GIF go to File > Export > Save for Web (Legacy)…
Below are my Export settings. Make sure to have the file size around 9.2 MB to 9.4 MB max and not exactly 10 MB.
This time I got away with 55 frames but this is because I haven’t applied lighting and color adjustments yet and not to mention the smart sharpen settings aren't to heavy so let’s take that into consideration.
Sharpen v1 preview:
Sharpen v2
Go back to this part of the tutorial and apply the v2 settings.
Smart Sharpen 1:
Amount: 500
Radius: 0.3
Smart Sharpen 2:
Amount: 20
Radius: 0.5
We’re adding a new type of Filter which is Reduce Noise (Filter > Noise > Reduce Noise...) with the below settings.
Then one last Smart Sharpen:
Amount: 500
Radius: 0.3
Your Layers panel should look like this:
Then do the Convert to Frames Animation section again and see below preview.
Sharpen v2 preview:
Sharpen v3:
Smart Sharpen 1:
Amount: 500
Radius: 0.4
Smart Sharpen 2:
Amount: 12
Radius: 10.0
Reduce Noise:
Strength: 5
Preserve Details: 50%
Reduce Color Noise: 0%
Sharpen Details: 50%
Sharpen v3 preview:
And here they are next to each other with coloring applied:
v1
v2
v3
Congratulations, you've made it to the end of the post 😂
As promised, here is the download link to all the files I used in this tutorial which include:
supercorp 2.05 Crossfire clip
3 PSD files with sharpen settings and basic coloring PSD
Actions set
As always, if you're feeling generous here's my Ko-fi link :) Thank you guys and I hope this tutorial will help you and make you love gif making.
P.S. In the next post I'll be sharing more references I found helpful especially with coloring. I just have to search and gather them all.
-Jill
#tutorial#gif tutorial#photoshop tutorial#gif making#sharpening#sharpening tutorial#photoshop#photoshop resources#psd#psd coloring#gif coloring#supercorp#supercorpedit#lena luthor#supergirl#my tutorial#this has been a long time coming#guys. i'm BEGGING you. use the actions set - it was a pain doing all this manually again ngl LMAO#i've been so used to just playing the actions#so this has been a wild refresher course for me too 😆
228 notes
·
View notes