#plant cuttings
Explore tagged Tumblr posts
Text

Plant Sample 5 - Nikkie le Nobel
Dutch , b. 1959 -
Oil and embroidery on canvas , 90 x 70 cm .
204 notes
·
View notes
Text

I have a totally normal amount of plant cuttings. In unrelated news, who wants a purple heart plant? 😄
63 notes
·
View notes
Text

this celery is ridiculous
#yes the roller toaster actually does pop up little plastic toasts#my FIL gave it to me he’s a toys and gadgets autistic so he GETS IT#plant cuttings#propagation#sweet potato#celery#water propagation
24 notes
·
View notes
Text


my bella got a new 'pot' today, her cutting just started roots.
pubicalyx is chillin.
🌿 2.10.25
#hoya#hoyas#hoya plant#hoya bella#hoya pubicalyx#plant cuttings#plants of tumblr#plant pictures#plant aesthetic#plantcore#plant#plantblr#plant photography#plants#plantlife#propagation#growth#flower pot#photoblog#photographer#photographers on tumblr#photooftheday#photography#canon#photograph#original photographers#original photography on tumblr#canon photography#helios#helios44-2
25 notes
·
View notes
Text


Plant mail is the best kind of mail!
Anthurium Besseae Aff x Luxurians ⟶ Epipremnum Pinnatum Albo (a wishlist plant) ⟶ Rhaphidophora Tetrasperma aka Mini Monstera ⟶ Begonia Lucerna
All were ordered from Etsy, the anthurium is from TL Plant Studio and the cuttings are from MyGardenToYours.
I’m hoping it doesn’t take the cuttings too long to root and I also can’t wait to see how the anthurium matures.
#my plants#plants#houseplants#water propagation#propagation#plant cuttings#anthurium#anthurium Besseae aff x luxurians#Epipremnum#Epipremnum Pinnatum Albo#epipremnum Pinnatum variegata#rhaphidophora tetrasperma#raphidophora#begonia#begonia lucerna
7 notes
·
View notes
Text

#propagations#propagate#prop projects#plant cuttings#cuttings#philodendron brasil#philodendron brazil#philodendron micans#plants#indoor plants#indoor garden#grow life#grower#snow#colorado#winter
5 notes
·
View notes
Text
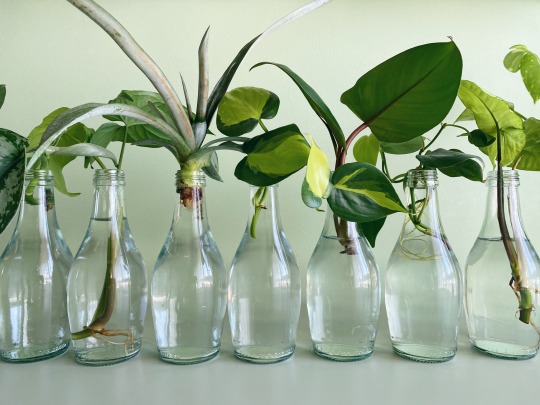
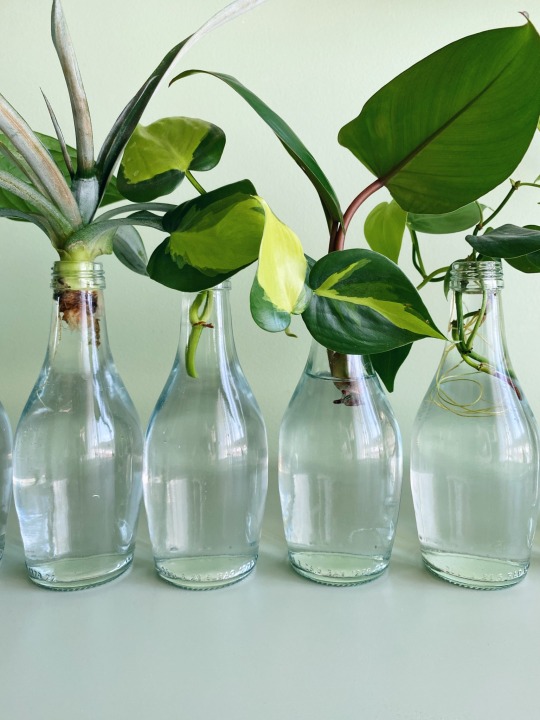
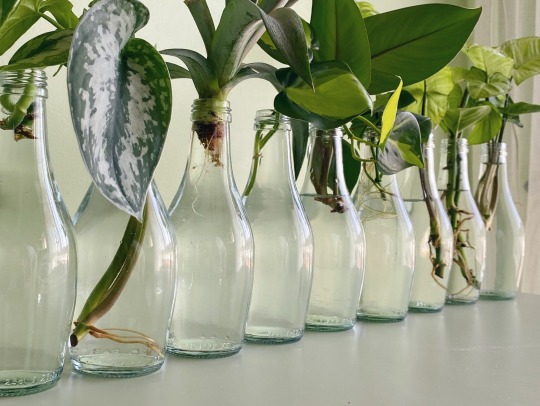
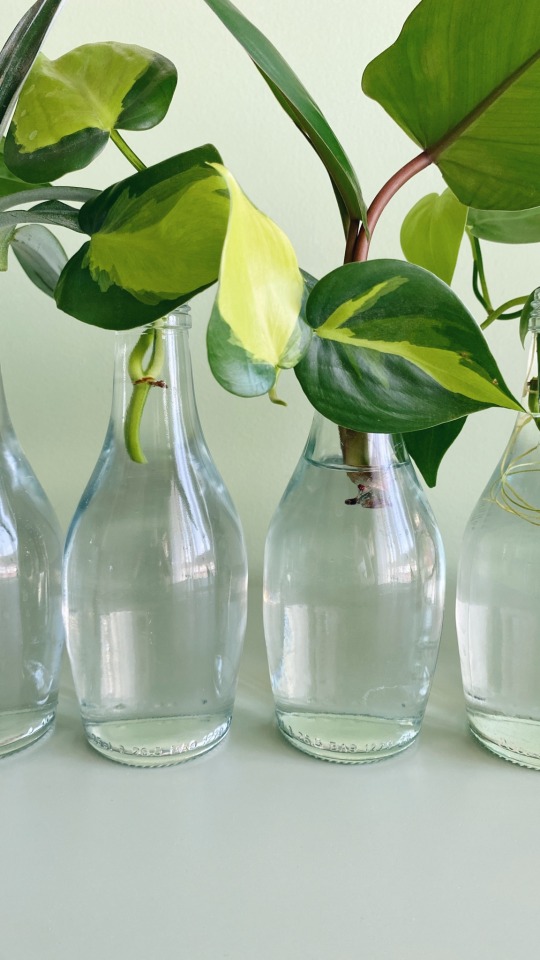
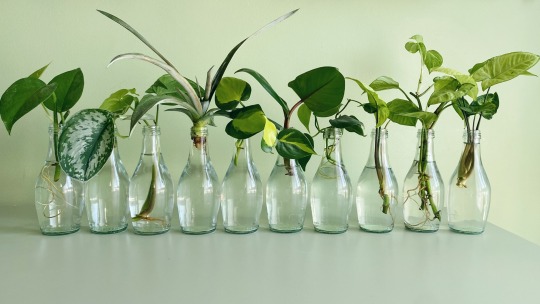
Upcycled glass bottles for plant cuttings 🌱 low maintenance greening for your space ✨
طريقة لإعادة استخدام الزجاجات الفارغة لتجذير أجزاء مقصوصة من النباتات 🌿 تخضير غير متطلب للمساحات الداخلية بحد أدنى من الجهد (لا داعي للقلق بالري الدائم للنباتات!)
#upcycle#recycle#glass bottles#plantlover#plant cuttings#plant photography#sustainability#diy#diy projects#صديق للبيئة#استدامة#تخضير#نباتات#إعادة تدوير#إعادة استخدام#زجاج#أفكار
14 notes
·
View notes
Text
youtube
Jerry has lots of dollar-stretching ideas for saving money in the garden.
1. Free plants:
Saving seed can be a life-changing experience. You can easily save lots of seed, giving you lots of opportunity to experiment without fear of failure, as well as the option of giving some away. Store in airtight containers such as old jars; save silica gel to go with the seeds to keep the seeds dry in storage.
To collect seed, use old panty hose to slip over the ends of plants with pods that explode - as some pea plants and brassicas.
You can also propagate by cuttings. Jerry prunes plants at a good time to take cuttings - usually after they’ve finished flowering. Jerry also uses recycled pots and potting mix, making it even cheaper.
2. Free fuel:
Animal manure is great and often freely available - Jerry managed to source some camel and buffalo dung when a circus recently came to town!
Always compost manure first, to remove any weed seed or residual chemicals they may be carrying.
Jerry also recycles any dead cane toads he finds as roadkill, by burying them under his fruit trees.
Mulch is essential in any garden - Jerry uses several types - but it can be expensive. Check with your local council to see if wood chippings from pruned street trees are available, or make your own leaf mold from raked up leaves; simply pile up the leaves, keep them moist, and wait for them to decompose.
The result is low in nutrients and high in carbon so it’s perfect as a surface mulch or for growing ferns and palms.
Potting mix - Jerry makes his own, using equal parts of garden soil, horticultural sand and old potting mix.
3. Upcycling:
Repurpose material that would otherwise end up in landfill, such as polystyrene foam boxes, which are great for growing plants as they are lightweight and they insulate the plants’ roots from heat and cold.
Other uses include as part of a worm farm or as a self-watering container.
Jerry grows strawberries in these boxes – the extra height helps keep the fruit from pests on the ground.
He also uses them to store pots with cuttings in as it keeps the plants at an even temperature, plus it’s easy to cover the boxes to create a mini greenhouse or shadehouse if needed. For shade he uses old net curtains found at op shops.
4. Trading:
Some plants give you more than you’d ever need, especially citrus. Jerry makes loads of different marmalade, which he trades for eggs or avocadoes that he doesn’t have.
5. Buy once, cry once:
By this Jerry means pay more for quality equipment that will last. Cheap equipment is often not meant to be serviced or repaired, but good-quality items will be designed to take replacement parts and are worth fixing. Jerry still uses his grandfather’s hand mower and mattock, and has other equipment that is many decades old.
Filmed on Quandamooka, Turrbal & Yuggera Country in Brisbane, Qld
#gardening australia#solarpunk#australia#gardening#garden#gardening tips#free plants#seed saving#compost#composting#propagate#plant propagation#plant cuttings#recycle#upcycle#mulch#Youtube
5 notes
·
View notes
Text
Apparently the approved way to propagate garden sage is:
- hack back your outside plant mid-winter, to prepare for Spring growth and make room for other plants
- throw trimmings on ground
- pick up a few when you go inside
- discover the hard way that sage in winter is too strong and tough for fried sage leaves (blehh)
- stick a few sprigs in water in case you find something with which it can season
- completely forget about it, until you are shocked to discover roots a few weeks later


Two out of three rooted. I swear I've tried to propagate sage before without success!
2 notes
·
View notes
Text
So like, yall want some plants? 🤷♀️


They're all going for $10 on my Etsy shop; PatioGreens. I ship from florida and the shipping is free if you're local 😎🌴
Currently for sale are:
• Golden/Hawaiian Pothos
• Mother of Thousands
• Aloe Vera
5 notes
·
View notes
Text

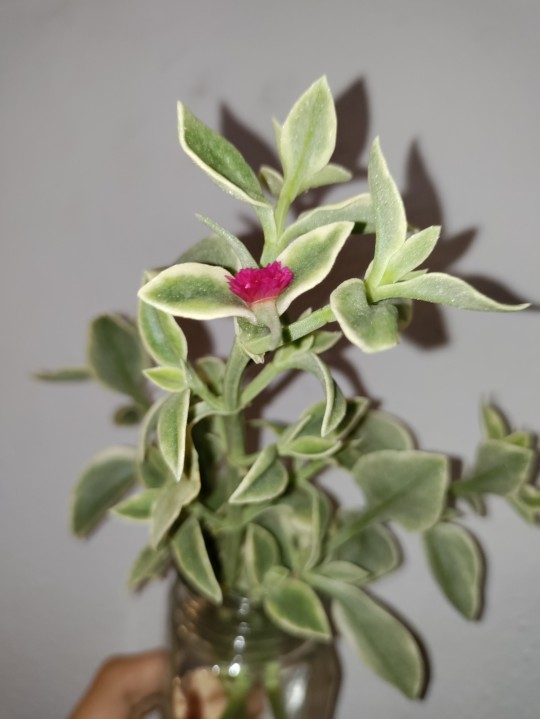
Dorotheanthus bellidiformis (Livingstone Daisy) cuttings I took from my brother's plant starting to bloom! 🌺
#cottageblr#plantblr#plant parent#gardening#dark cottagecore#houseplants#plants#house plants#house plant#indoor plants#daisy#livngstone daisy#plant cuttings#propagations#propagation#plant life#plant#plant propagation#in bloom#summer blooms#my plants#plant photography#plant posting
39 notes
·
View notes
Text


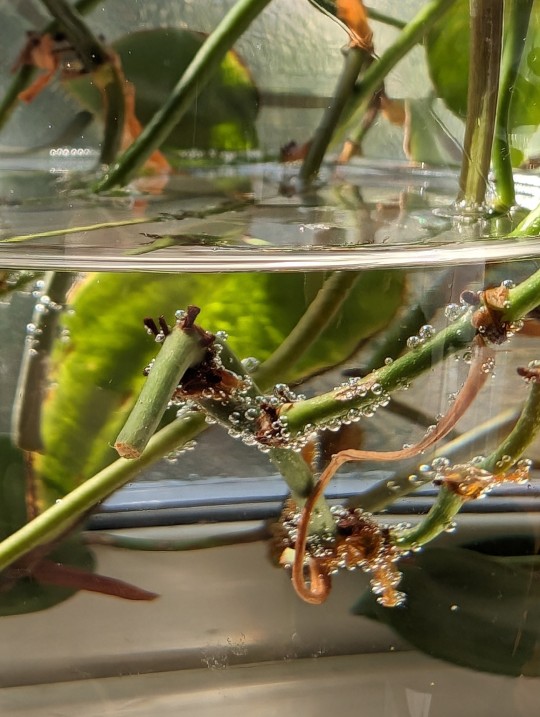
Bubbles! And yes, I took the leaf out of the water. I don't know how long it would have taken for me to notice if I hadn't been taking pictures, everything was out of the water when I put this together yesterday.
42 notes
·
View notes
Text


Day 2 vs Day 8: Looks like they’re ready to be potted!
2 notes
·
View notes
Text
Hoya obovata 'splash'

I very much adhere to the Crowley school of horticulture. Only with slightly less theatre. The plant doesn't do what you want it to? We get out the scissors. Such was the case with this Hoya obovata 'splash'.
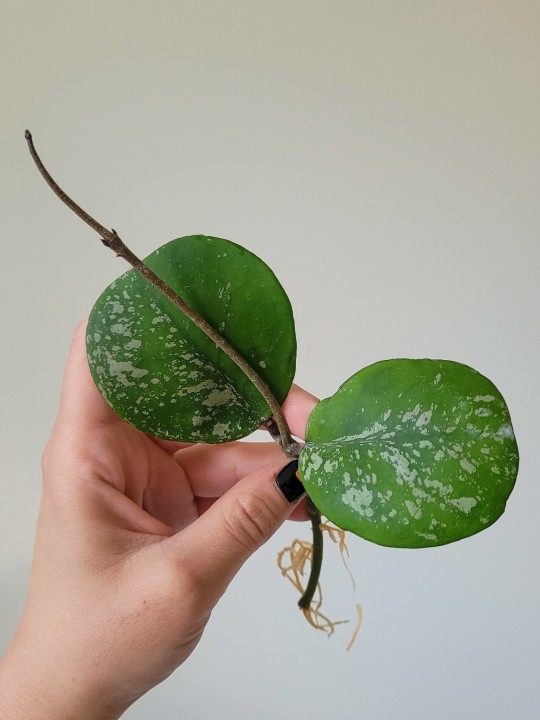

These two are now looking for new homes because their level of splash was not satisfactory.
#plantblr#indoor plants#houseplants#hoya#hoyas#hoya plant#plant cuttings#Crowley school of plant parenthood#good omens#and bad omens for plants
50 notes
·
View notes
Text
Beautiful Rose Illustration
Immerse yourself in the timeless elegance of this beautiful rose illustration. With its lush, vibrant petals and graceful curves, this artwork captures the classic charm and romantic allure of the rose, often seen as a symbol of love and beauty. Perfect for floral enthusiasts and art lovers who appreciate the enduring beauty of nature's most iconic bloom. 🌹✨


#ilustration#illustration#ilustraciondigital#cute#cute art#cute flowers#cute illustration#so cute#cute plants#plant lover#plantblr#plant photography#plants#plant cuttings#the world of mr plant#flowers#flower collection#flower crown#flower rambles#flower for you#flower farm#flower beauty#beautiful#rose#flowers lovers#flower lovers#flower theme#flowey ask blog#flower aesthetic#flower art
4 notes
·
View notes
Text


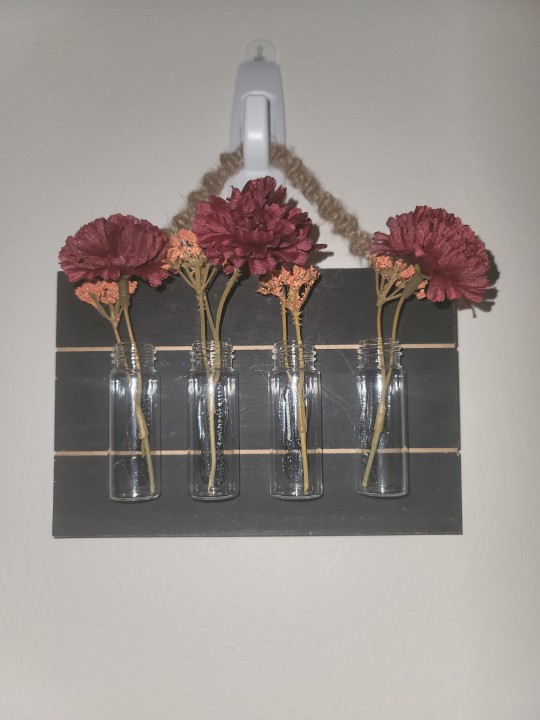


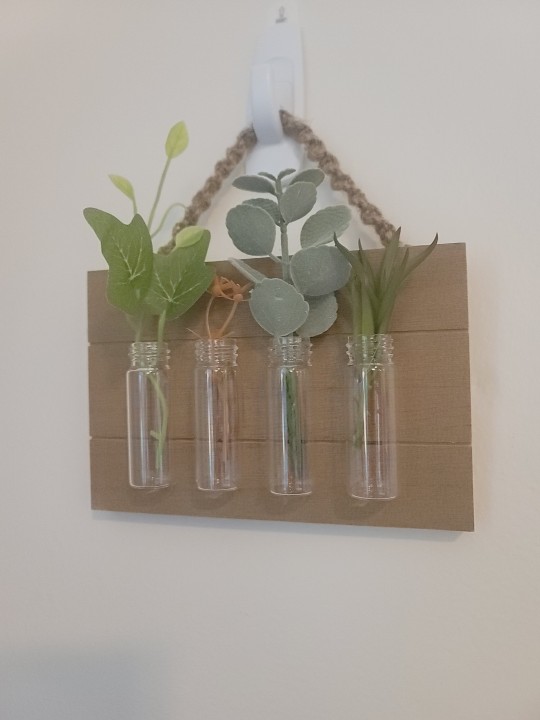

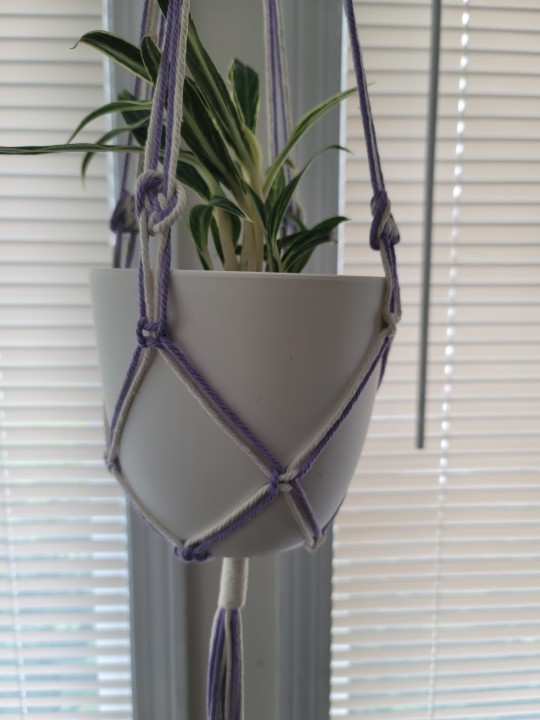
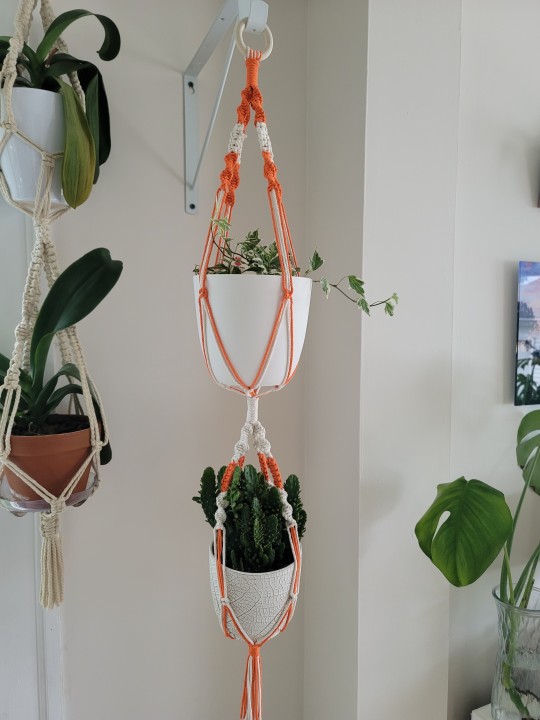

#indoor plants#plants#propagating plants#house plant#plant progress#plant mom#plant cuttings#plant cultivation#houseplants#plants and flowers#plantlover#small business#support small shops#new business#newsmallbusiness#LeafyHangouts#leafyhangouts#leaves#leavesandflowers#flowers#flowercuttings
2 notes
·
View notes