#photoshop psds
Explore tagged Tumblr posts
Text
Psd 164

Rules:
❀ You can’t redistribute my psds, resources or designs ❀ You can’t re-upload my work and claim as your own ❀ You can’t modify my work, resell, include in packs or include in your premium content ❀ You can’t use my work to make your own resources, psds or try to reproduce my work ❀ No matter where you use, it’s mandatory give me credits ❀ Just for personal use only / non-commercial uses ❀ Add to favorites if you download ❀ Model images are for preview purposes only ❀ This psd is POC-friendly. ❀ Feedback is always appreciate
Enjoy!♡
⁞ Download: Here
#psd#psds#rp psds#psd download#coloring psd#psds coloring#rp coloring#psd coloring#photoshop psd#photoshop psds#rp psd#coloring#ps coloring#coloring psds#rp commissions#tumblr psds#psdfilters#psdresources#auburnedesigns#aesthetic#aesthetics#aesthetic psd#rp resources#rp aesthetic#filterphotography#photographyfilters#red psds#red psd#grey psd#filters
23 notes
·
View notes
Text
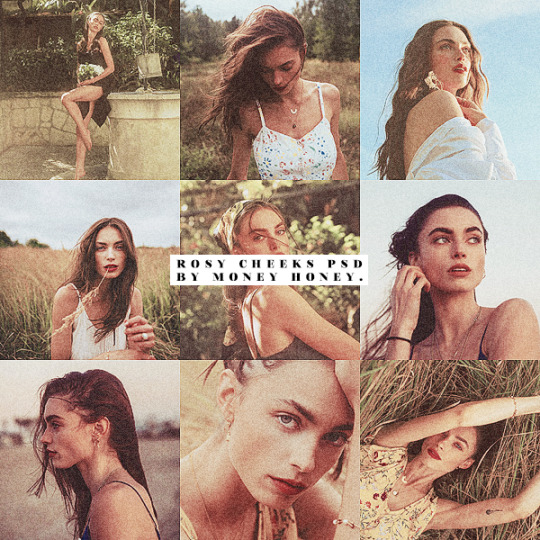
DOWNLOAD HERE. Like it or reblog if you download it, don't re-upload without my permission; hope you'll like it !
#psd#psds#coloring#photoshop psd#psd ressources#psd resources#graphisme#photoshop#photoshop psds#psds photoshop#psd coloring#photoshop coloring#photoshop colorings#avatar psd#avatars psd#avatars colorings#avatars coloring
8 notes
·
View notes
Text

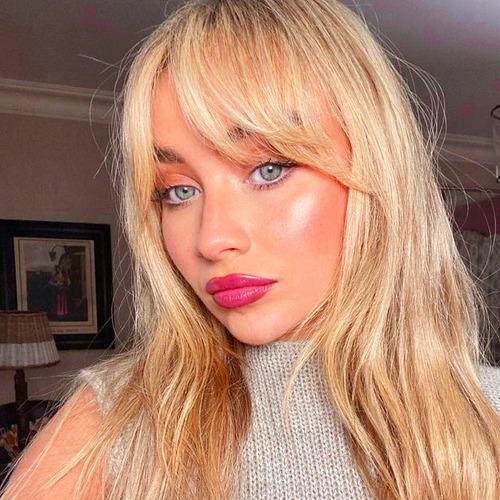
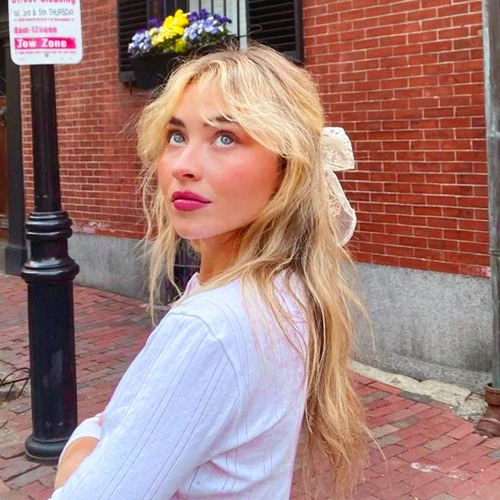


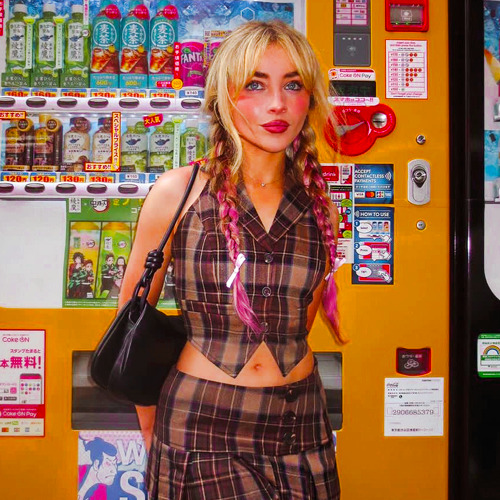
feather - psd and icons made by melcon things. Like or reblog this post if you download it and please don’t repost and don’t claim as your onw. I hope you like it ❤
#icons Sabrina Carpenter#Sabrina Carpenter icons#icon Sabrina Carpenter#Sabrina Carpenter icon#psd coloring#psds#effect#photoshop#photoshop psds#sabrina carpenter#icons
8 notes
·
View notes
Text
— 𝐌𝐘 𝐅𝐀𝐕𝐎𝐔𝐑𝐈𝐓𝐄 𝐏𝐒𝐃𝐒
this is a masterlist, of sorts, of all of the psds i have personally used - and wanted to use - over the years. whether it be templates for promos, or the colouring for an avatar i have made, i will list them all && specify if they are free or paid. they will be in alphabetical order, for your convenience.
— 𝐓𝐄𝐌𝐏𝐋𝐀𝐓𝐄𝐒
about tomorrow by apocalypseresources (free)
alicent hightower by mrins4nity (free)
angels and demons by iconholic (paid)
comic book style by niixzee (paid)
concert flyer by niixzee (paid)
cover by 666psds (paid)
dark hemisphere by svintbass (free)
duty by draconicgraphics (paid)
fight for by creationcolor (paid)
game over by jungrainsoul (paid)
graphic template 027 by vc-recourses (paid)
holy mother by kaiserscomms (paid)
hunter by calisources (free)
josephine by cavalierfou (paid)
lady gemma by calisources (free)
lilypads by vileflowers (paid)
melody by apocalyseresources (free)
midnight by kaiserscomms (free)
more than human by rpstars (paid)
murderous by kaiserscomms (paid)
myriad by maplecoded (paid)
nu waves by polarizerps (paid)
paper strips by apocalypseresources (free)
pretence by plutocommissions (paid)
promo template #1 by darkpsds (paid)
protocol by apocalypseresources (free)
shards by iconholic (paid)
snowfall by apocalypseresources (free)
spill the feels by luvsbot (free)
spilled by jessource (free)
template 03 by thisisrawr (paid)
template character by lucegraphic (free)
template promo by faustgraphs (free)
we call him the alpha by calisources (free)
— 𝐂𝐎𝐋𝐎𝐔𝐑𝐈𝐍𝐆𝐒
addicted by tigeredits (free)
devil by tigeredits (free)
disintegration by tigeredits (free)
how not to drown by tigeredits (free)
lightning by tigeredits (free)
starlight by somresources (free)
voidhearted by destinyfaces (free)
wait until dark by somresources (free)
wish by sanctuxryz (free)
#masterlist#rp help#gfx help#psd#roleplay resources#rp resources#rp templates#rp template#rp psd#psds#free psds#paid psds#psd coloring#coloring psd#psd download#psd template#template psd#promo template#promo templates#photoshop#photoshop help
1K notes
·
View notes
Text

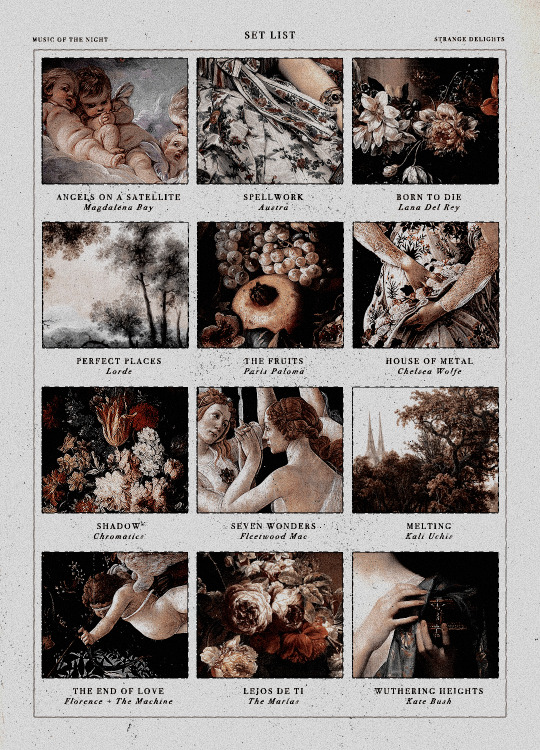
DEATH & ROMANCE, playlist template (free resource)
Here's a super simple, vintage-ish Photoshop playlist template. This was made using pictures in the public domain or that are free of use.
The coloring is included. Text is easy to edit, but if you wish to keep the same look as the preview, you will need to download the following fonts: Canela Deck, Bodoni 72, Art Nuvo, BlackKnightFLF, Rumble Stone, Times, Arial.
Please like or reblog if you decide to download this resource!
Do not repost, redistribute or claim as your own, and remember to CREDIT ME when using this template.
DOWNLOAD: DEVIANTART or PATREON
+ KO-FI, donations are optional! Please do not feel any pressure to sub or donate, I just hope you enjoy the resources I post. If you decide to tip or subscribe to a tier, I thank you from the bottom of my heart for supporting me ! ♡
434 notes
·
View notes
Text


instagram story template by seulvgi
important info: › used font: roboto › you will get one psd (1.8 MB) with a lot of folders that tell you where to put everything. › to use this template you need basic knowledge of photoshop (how to make a clipping mask and change text). contents: › four options for the number of stories one, two, four or six stories. › two options for location. › four options for music. › two options for tags. › a verification option, close friends and reels. notes: › please 𝙙𝙤 𝙣𝙤𝙩 claim as yours. › this is a paid template so please 𝙙𝙤 𝙣𝙤𝙩 share the link without informing me. › please 𝙙𝙤 𝙣𝙤𝙩 mix some elements of this template with other templates.
that's it! enjoy tatlımlar! download ($3)
#Psd Template#template psd#premium psd#Photoshop Template#lookbook psd#paid psd#paid template#supportpaidcontent#ig story#instagram story#instagram story template#the sims 4#simstories#the sims#sims 4#sims 4 screenshots#ts4 simblr#ts4#the sims4#simblr#mycc
1K notes
·
View notes
Text


Vax'ildan and Keyleth in The Legend of Vox Machina 3x01 "A Deadly Bargain"
#critical role#tlovm#the legend of vox machina#critteredit#criticalroleedit#tlovmedit#mine#*my gifs#*my tlovm#*my critical role gifs#tlovm spoilers#cr#c1 spoilers#i kid you not i worked for hours to get this psd to something i liked and then my photoshop crashed before i could gif the last 2 gifs#and my idiot brain hadnt saved it in ages ughhhhhh#so i then spent another hour trying to recreate it and idk if i got there but i cant look at it longer my brain isnt compjting
446 notes
·
View notes
Text
My GIF Making process: Screen capturing using MPV player, Organizing files, 3 Sharpening settings, Basic Coloring PSD + Actions set

This is a very long post so heads up.
I’ll try to be as thorough and true as much as possible to the way I make my gifs (I already use Photoshop Actions which I’ve long since set up but now for this tutorial I’m reviewing them to show you the exact steps I’ve learned to create my gifs 😃) and present them to you in a semi-coherent way. Also, please bear with me since English is my second language.
First things first. Below are the things and tools we need to do this:
Downloaded 4K or 1080p quality videos (let’s all assume we know where to get these—especially for high definition movies and tv series—so this post doesn’t get removed, okay? 😛)
Adobe Photoshop CC or the CS versions can work as well, but full disclosure I haven’t created gifs using the CS versions since 2020. I’m currently using Adobe Photoshop 2024.
mpv player. Use mpv player to get those frames/screenshots or any other video player that has a screen grabber feature. I’ve used adapter for the longest time but I’ve switched to mpv because the press to screenshot feature while the video is playing has been a game changer not to mention ultimate time saver for me. For adapter you need to play it in another video player (like VLC player), to get the start and end timestamps of the scene you want to gif which takes me ages before I can even open Photoshop.
Anyway! Please stop reading this post for a moment and head over to this amazing tutorial by kylos. She perfectly tells you how to install and use mpv player, both for Mac and Windows users.
One thing I have to share though, I had a tough time when I updated my MacOS to Sonoma since MPV is suddenly either duplicating frames or when I delete the duplicates the player seems to be skipping frames :/ I searched and found a solution here, though it didn’t work for me lol. My workaround for this in the meantime is decreasing the speed down to 0.70 then start screenshotting—it’s not the same pre Sonoma update but it works so I’ll have to accept it rather than have jumpy looking gifs.
Now, after this part of kylos’ tutorial:

you can continue reading the following sections of my gif tutorial below.
I want to share this little tip (sorry, this will only cater to Mac users) that I hope will be helpful for organizing the screenshots that MPV saved to the folder you have selected. Because believe me you don’t want to go through 1k+ of screenshots to select just 42-50 frames for your gif.
The Control + Command + N shortcut
This shortcut allows you to create a new folder from files you have pre-selected. As you can see below I have already created a couple of folders, and inside each folder I have selected screenshots that I want to include in one single gif. It's up to you how you want to divide yours, assuming you intend to create and post a Tumblr gifset rather than just one gif.

Another tip is making use of tags. Most of, if not all the time, I make supercorp gifs so I tag blue for Kara and red (or green) for Lena—just being ridiculously on brand and all that.
Before we finally open Photoshop, there's one more thing I want to say—I know, please bear with me for the third? fourth? time 😅
It's helpful to organize everything into their respective folders so you know the total number of items/frames you have. This way, you can add or delete excess or unnecessary shots before uploading them in Photoshop.
For example below there are 80 screenshots of Kara inside this folder and for a 1:1 (540 x 540 px) Tumblr gif, Photoshop can just work around with 42-50 max number of frames with color adjustments applied before it exceeds the 10 MB file size limit of Tumblr.

Sometimes I skip this step because it can be exhausting (haha) and include everything so I can decide visually which frames to keep later on. You'll understand what I mean later on. But it's important to keep the Tumblr 10 MB file size limit in mind. Fewer frames, or just the right amount of frames, is better.
So, with the screenshot organization out of the way, let's finally head over to Photoshop.
Giffing in Photoshop, yay!
Let’s begin by navigating to File > Scripts > Load Files into Stack…

The Load Layers window will appear. Click the Browse button next.
Find your chosen screenshots folder, press Command + A to select all files from that folder then click Open. Then click OK.
After importing and stacking your files, Photoshop should display the following view:

By the way, I'll be providing the clip I've used in this tutorial so if want to use them to follow along be my guest :)
If you haven't already opened your Timeline panel, navigate to Windows > Timeline.
Now, let's focus on the Timeline panel for the next couple of steps.
Click Create Video Timeline, then you’ll have this:

Now click the menu icon on the top right corner then go to Convert Frames > Make Frames from Clips

Still working on the Timeline panel, click the bottom left icon this time—the icon with the three tiny boxes—to Convert to Frame Animation
Select Make Frames From Layers from the top right corner menu button.
So now you have this:

Go and click the top right menu icon again to Select All Frames
Then click the small dropdown icon to set another value for Frame Delay. Select Other…

The best for me and for most is 0.05 but you can always play around and see what you think works for you.
Click the top right menu icon again to Reverse Frames.
I think Photoshop has long since fixed this issue but usually the first animation frame is empty so I just delete it but now going through all these steps there seems to be none of that but anyways, the delete icon is the last one among the line of feature buttons at the bottom part of the Timeline panel.
Yay, now we can have our first proper GIF preview of a thirsty Lena 😜

Press spacebar to watch your gif play for the very first time! After an hour and half of selecting and cutting off screenshots! 😛 Play it some more. No really, I’m serious. I do this so even as early (lol) as this part in the gif making process, I can see which frames I can/should delete to be within the 10 MB file size limit. You can also do it at the end of course 🙂
Now, let’s go to the next important steps of this tutorial post which I’ve numbered below.
Crop and resize to meet Tumblr's required dimensions. The width value should be either 540px, 268px, or 177px.
Convert the gif to a Smart Object for sharpening.
Apply lighting and basic color adjustments before the heavy coloring. I will be sharing the base adjustments layers I use for my gifs 😃.
1. Crop and Resize
Click on the Crop tool (shortcut: the C key)

I like my GIFs big so I always set this to 1:1 ratio if the scene allows it. Press the Enter key after selecting the area of the frame that you want to keep.
Side note: If you find that after cropping, you want to adjust the image to the left or another direction, simply unselect the Delete Cropped Pixels option. This way, you will still have the whole frame area available to crop again as needed and as you prefer.
Now we need to resize our gif and the shortcut for that is Command + Opt + I. Type in 540 as the width measurement, then the height will automatically change to follow the ratio you’ve set while cropping.
540 x 540 px for 1:1
540 x 405 px for 4:3
540 x 304 px for 16:9
For the Resample value I prefer Bilinear—but you can always select the other options to see what you like best.
Click OK. Then Command + 0 and Command + - to properly view the those 540 pixels.

Now we get to the exciting part :) the sharpen settings!
2. Sharpen
First we need to have all these layers “compressed” intro a single smart object from which we can apply filters to.
Select this little button on the the bottom left corner of the Timeline panel.


Select > All Layers
Then go to Filter > Convert for Smart Filters
Just click OK when a pop-up shows up.
Now you should have this view on the Layers panel:

Now I have 3 sharpen settings to share but I’ll have download links to the Action packs at the end of this long ass tutorial so if you want to skip ahead, feel free to do so.
Sharpen v1
Go to Filter > Sharpen > Smart Sharpen…
Below are my settings. I don’t adjust anything under Shadows/Highlights.
Amount: 500
Radius: 0.4
Click OK then do another Smart Sharpen but this time with the below adjustments.
Amount: 12
Radius: 10.0

As you can see Lena’s beautiful eyes are “popping out” now with these filters applied. Click OK.
Now we need to Convert to Frame Animation. Follow the steps below.
Click on the menu icon at the top right corner of the Timeline panel, then click Convert Frames > Flatten Frames into Clips
Then Convert Frames > Convert to Frame Animation
One more click to Make Frames From Layers
Delete the first frame then Select All then Set Frame Delay to 0.05

and there you have it! Play your GIF and make sure it’s just around 42-50 frames. This is the time to select and delete.
To preview and save your GIF go to File > Export > Save for Web (Legacy)…
Below are my Export settings. Make sure to have the file size around 9.2 MB to 9.4 MB max and not exactly 10 MB.

This time I got away with 55 frames but this is because I haven’t applied lighting and color adjustments yet and not to mention the smart sharpen settings aren't to heavy so let’s take that into consideration.
Sharpen v1 preview:

Sharpen v2
Go back to this part of the tutorial and apply the v2 settings.

Smart Sharpen 1:
Amount: 500
Radius: 0.3
Smart Sharpen 2:
Amount: 20
Radius: 0.5
We’re adding a new type of Filter which is Reduce Noise (Filter > Noise > Reduce Noise...) with the below settings.

Then one last Smart Sharpen:
Amount: 500
Radius: 0.3
Your Layers panel should look like this:

Then do the Convert to Frames Animation section again and see below preview.
Sharpen v2 preview:

Sharpen v3:
Smart Sharpen 1:
Amount: 500
Radius: 0.4
Smart Sharpen 2:
Amount: 12
Radius: 10.0
Reduce Noise:
Strength: 5
Preserve Details: 50%
Reduce Color Noise: 0%
Sharpen Details: 50%
Sharpen v3 preview:

And here they are next to each other with coloring applied:
v1

v2

v3

Congratulations, you've made it to the end of the post 😂
As promised, here is the download link to all the files I used in this tutorial which include:
supercorp 2.05 Crossfire clip
3 PSD files with sharpen settings and basic coloring PSD
Actions set
As always, if you're feeling generous here's my Ko-fi link :) Thank you guys and I hope this tutorial will help you and make you love gif making.
P.S. In the next post I'll be sharing more references I found helpful especially with coloring. I just have to search and gather them all.
-Jill
#tutorial#gif tutorial#photoshop tutorial#gif making#sharpening#sharpening tutorial#photoshop#photoshop resources#psd#psd coloring#gif coloring#supercorp#supercorpedit#lena luthor#supergirl#my tutorial#this has been a long time coming#guys. i'm BEGGING you. use the actions set - it was a pain doing all this manually again ngl LMAO#i've been so used to just playing the actions#so this has been a wild refresher course for me too 😆
477 notes
·
View notes
Text
Psd Brigid

Rules:
❀ You can’t redistribute my psds, resources or designs ❀ You can’t re-upload my work and claim as your own ❀ You can’t modify my work, resell, include in packs or include in your premium content ❀ You can’t use my work to make your own resources, psds or try to reproduce my work ❀ No matter where you use, it’s mandatory give me credits ❀ Just for personal use only / non-commercial uses ❀ Add to favorites if you download ❀ Model images are for preview purposes only ❀ This psd is POC-friendly. ❀ Feedback is always appreciate
Enjoy!♡
⁞ Download: Here
#psd#psds#rp psds#psd download#coloring psd#psds coloring#rp coloring#psd coloring#photoshop psd#photoshop psds#rp psd#coloring#freebie#freebies#coloring psds#rp commissions#tumblr psds#psdfilters#psdresources#aesthetic#aesthetics#aesthetic psd#aesthetic photography#rp resources#rp aesthetic#auburnedesigns#filters#effects
5 notes
·
View notes
Text
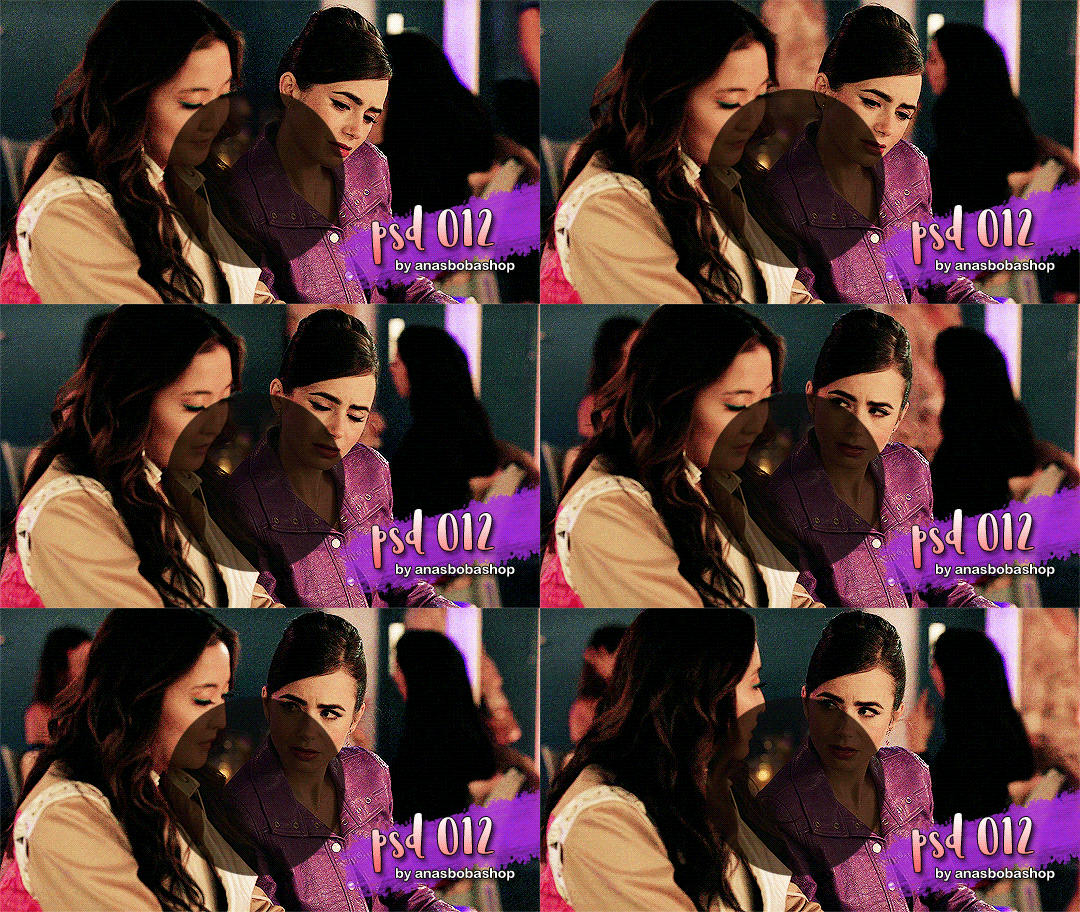


ANA’S BOBA SHOP >> servin’ up COLORING PSDs >> 012
POC friendly
For darker scenes
Free to download on GOOGLE DRIVE >>
Please LIKE/REBLOG if using! Credit isn’t necessary, but always nice. If you like my work, please consider buying me a ko-fi or checking out my commissions!
#rph#rp psds#coloring psds#coloring psd#photoshop psds#photoshop psd#ps resources#supportcontentcreators#gif psd#gif psds#*#new
29 notes
·
View notes
Text


Kant? Khaotung Thanawat as Bison; First Kanaphan as Kant (The Heart Killers, 2024-25)
#thkedit#the heart killers#bisonkant#kantbison#the heartkillers#thk bison#thk kant#asianlgbtqdramas#tuserrowan#userjamiec#userbon#tusersilence#tuserhidden#fordaniseyes#my gifs#my edits#mine: the heart killers#mine: kantbison#my photoshop decided to die so i found a new copy but i now have to stop freaking out because the workspace is WroNG#i rebuilt my sharpening action but i've lost all my presets so i'm starting from scratch with a bunch of stuff#thank fuck i tend to save .psds separately at least#anyway i needed this hug thanks#i'll gif more at some point later maybe but i needed this hug#it's very nearly eclipse-e06-beachhug#(nothing will ever touch it but this is so close)
256 notes
·
View notes
Text

⠁ ⠀⸻⠀GRAIN HALFTONE is a halftone photo effect made with grain filters, available on Ko-fi for free. It comes with some adjustments, but may need more depending on the image.
⠀
⸻⠀TERMS OF USE
don’t repost nor reupload don't reuse my layers don't claim it as yours personal use only credits are MANDATORY
⸻⠀CONTENT
⠁ ⠀two different halftone effects: simple grain heavy grain both require basic knowledge about smart objects, filters and adjustment layers
to use it for free, add a '0' on the price bar.
#♱﹔coloring#rp psd#psd#rp resources#coloring#psd download#psd coloring#roleplay#coloring psd#photoshop resources#character psd#psd for icons#psd moodboard#psd template#psds#roleplay psd#soft psd#icons with psd#filter#aesthetic#rp#twitter#twitter rp#discord rp#discord#rp help
654 notes
·
View notes
Text
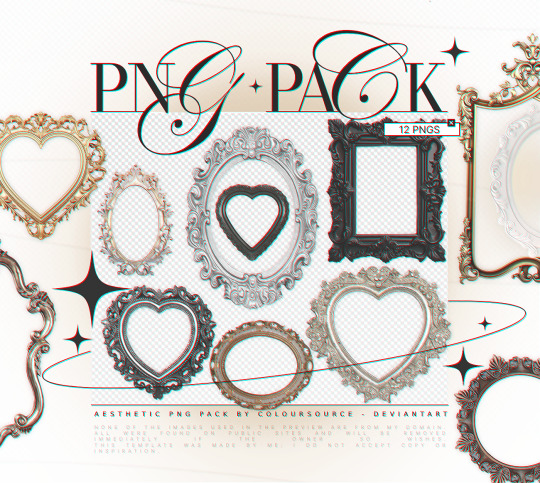
— RANDOM, png pack 28
ENG.RULES: a. add to favorites and comment (please be kind) if you download; b. please contact us in case of errors/failures in the download; c. don't including in other packs or transfers. PT.REGRAS: a. adicione aos favoritos e comente (seja gentil) se baixar; b. entre em contato no caso de erros/falhas no download; c. não inclua em outros packs ou repasse — download ↺
#psd#psd coloring#effect#moodboards#aesthetic#kpop#png#collage#capas#capa de fanfic#free#resources#photoshop#photopea#pack#packs#coloursource#brushes#actions#moodboard#icons
769 notes
·
View notes
Text


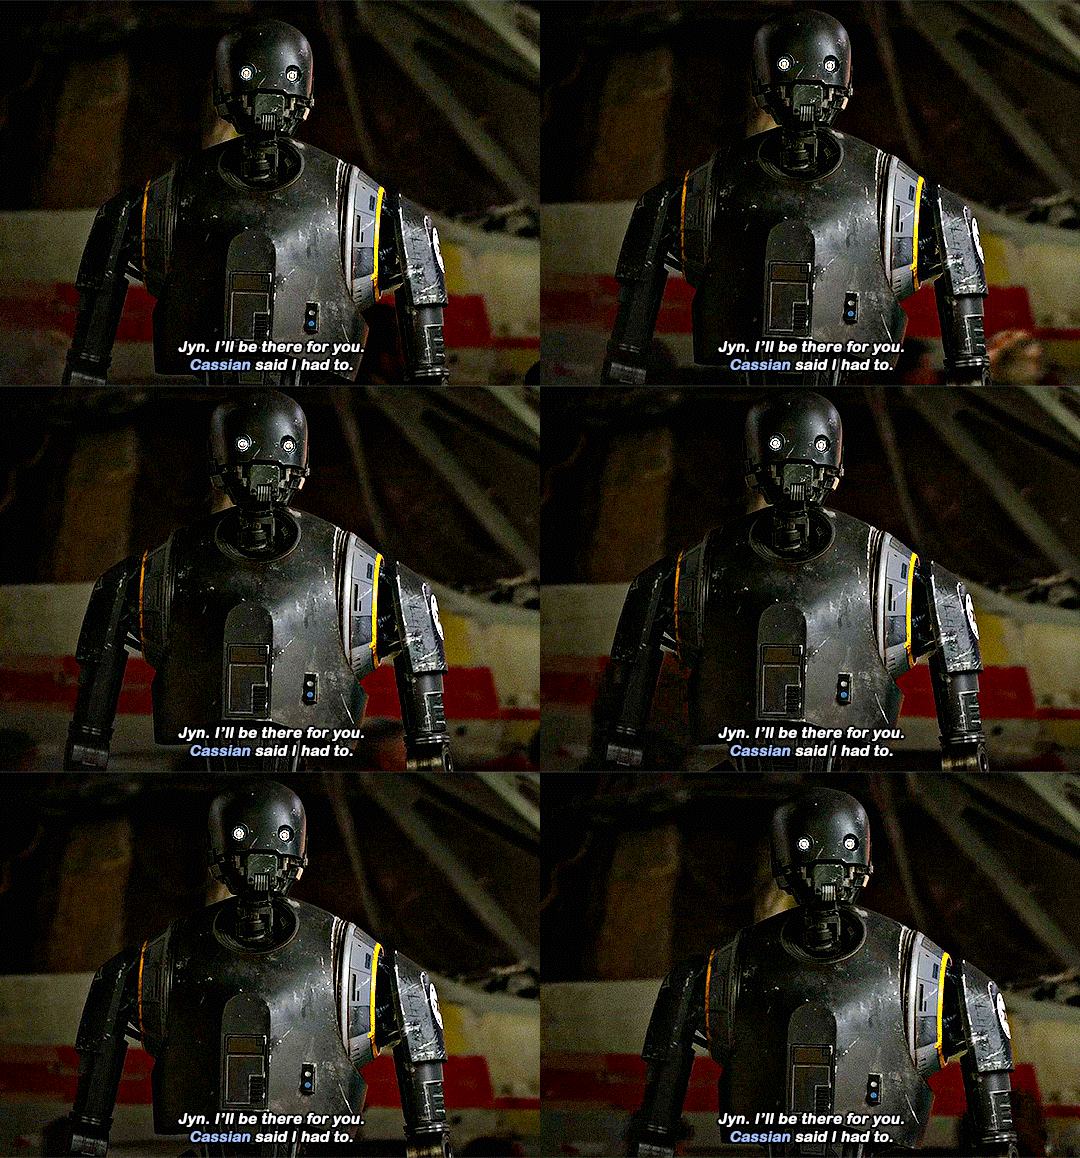
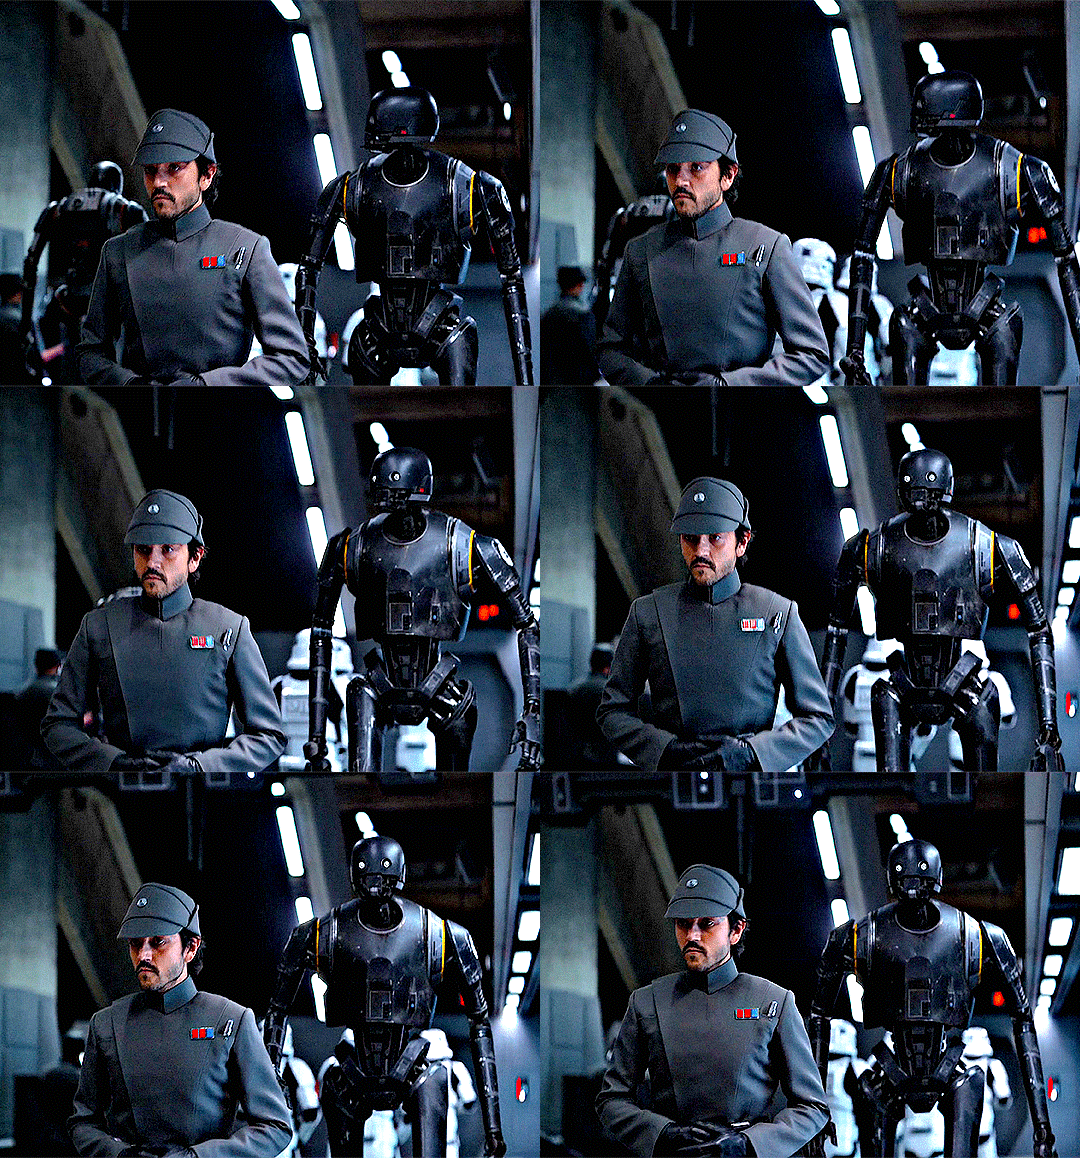

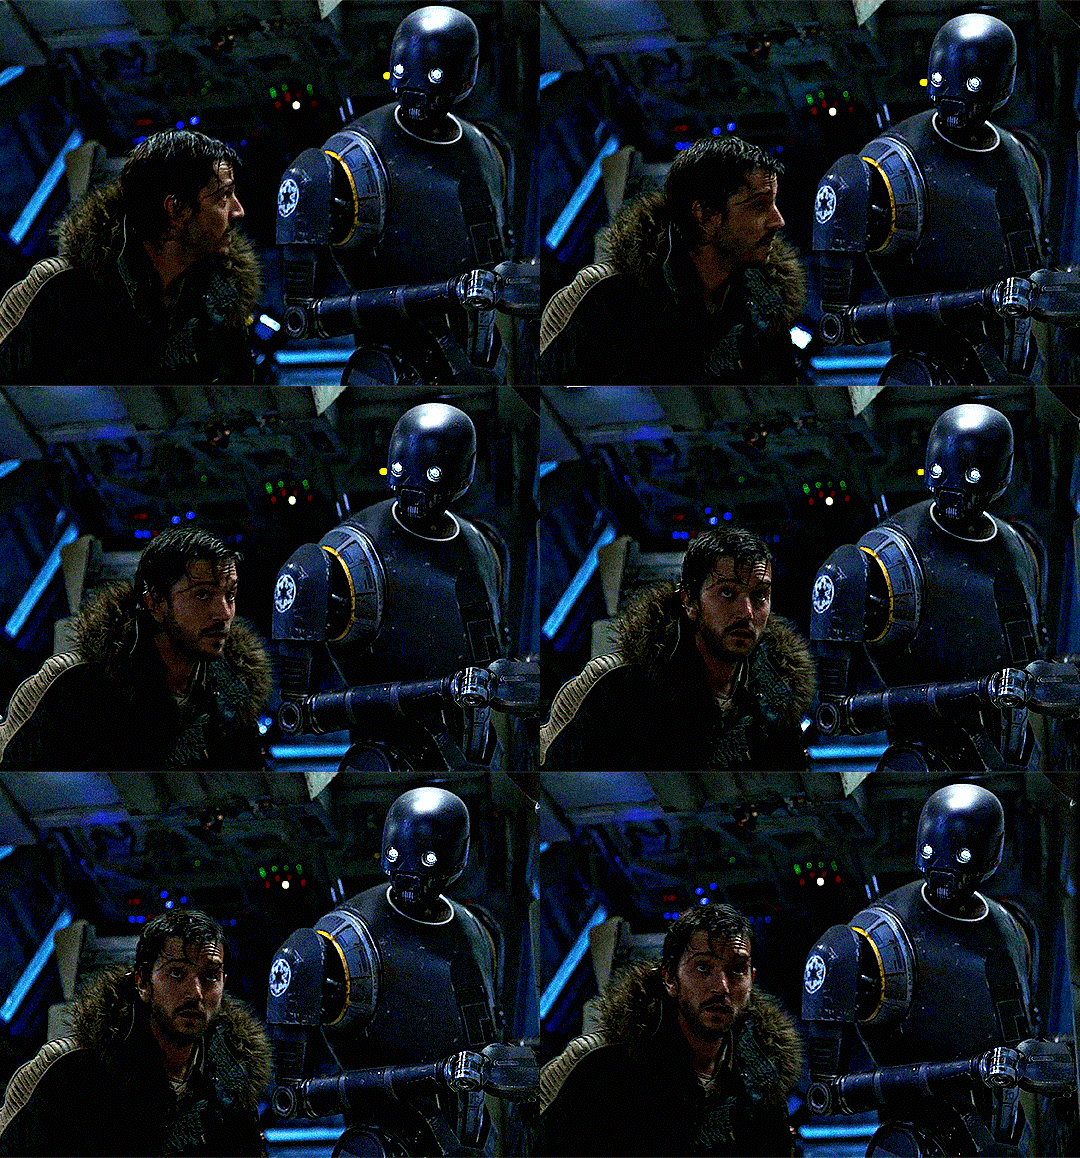
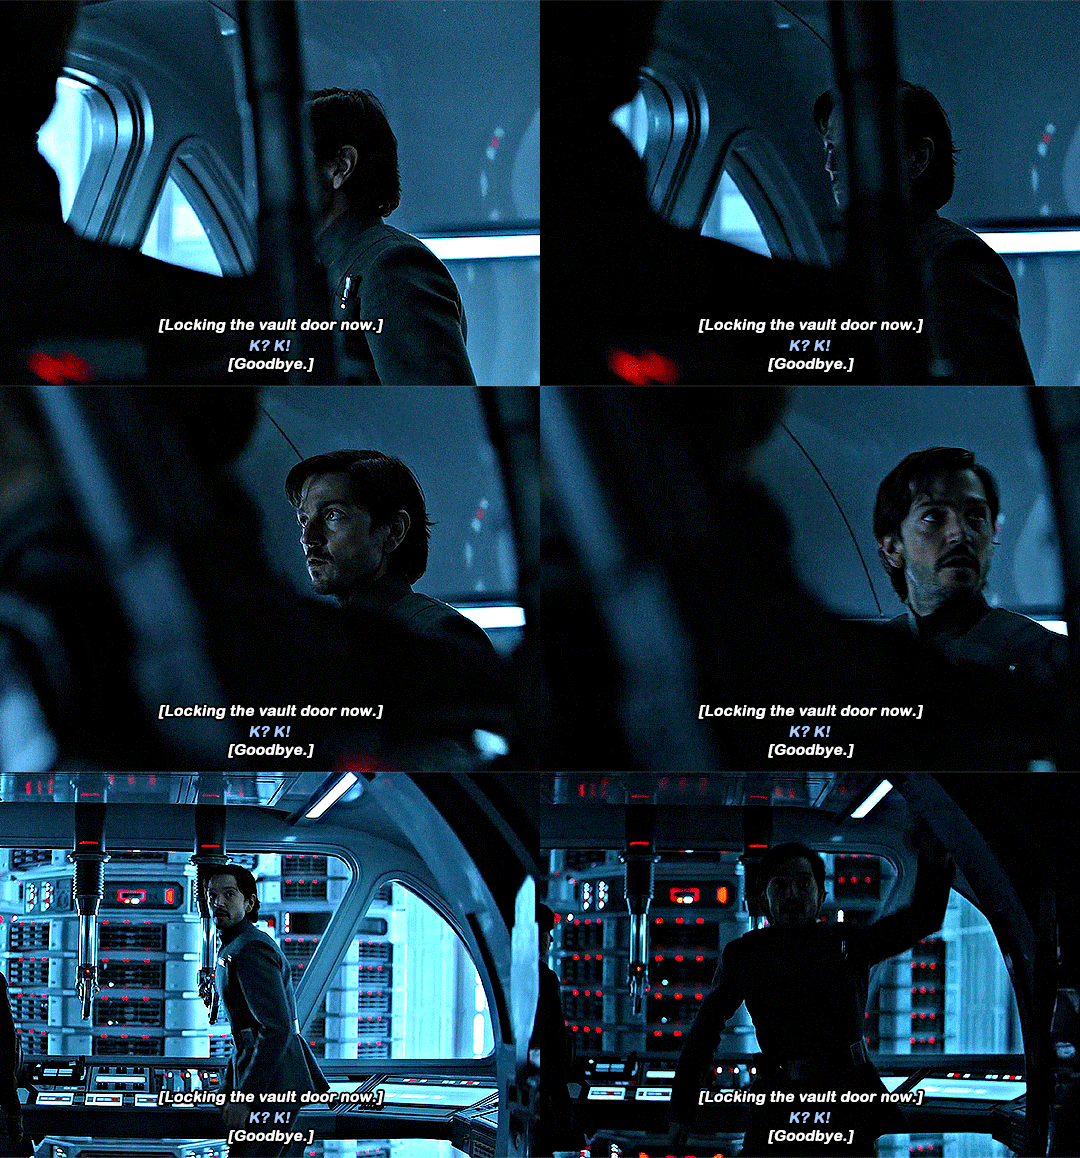
SIMONE’S 1K CELEBRATION 🤝 + jyn & bodhi or cassian & k2 for @sydneyadmu
#rogueoneedit#cassianandoredit#k2soedit#starwarsedit#swedit#rogue one#cassian andor#k2so#star wars#simone's 1k celebration#jyndor#tuserjyn#flashing tw#*mine#*mygifs#a boy and his droid ! ! !#getting back into my celebration edits <3#i'm lowkey devestated bc my photoshop crashed just after making these gifs but i forgot to save my psds :(#but luckily the gifs saved so i'll take that#*500
906 notes
·
View notes
Text
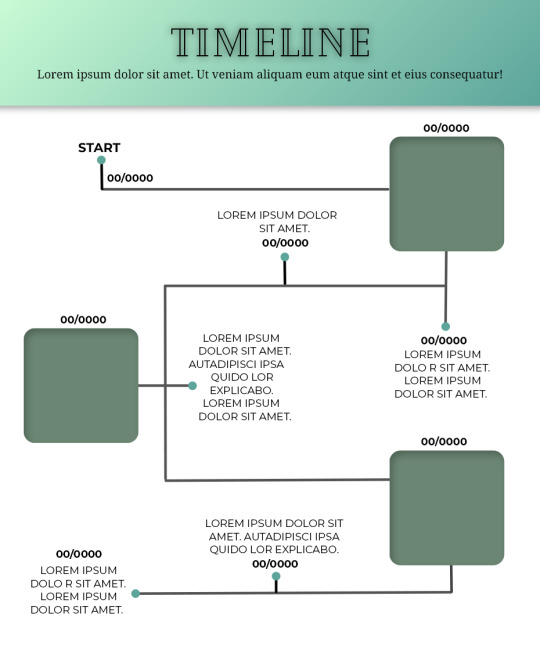
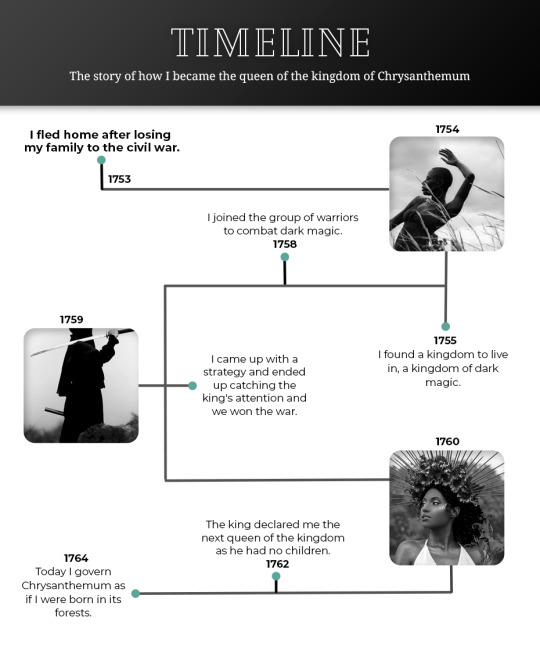
Template #008 by dailyresources
— Timeline Template
Please do not repost / redistribute or claim as your own.
Please, like or reblog if you download.
You may edit as much as you like, it is fully customizable.
This is a free template. PSD File.
Credit is very much appreciated.
Photos by pexels.
Any issues, don’t hesitate to contact me!
Fonts: Cheque, Noto Serif and Montserrat.
Enjoy ❤
Download Link: [mediafire] or [payhip] Support me on [ko-fi]
#templates#timeline template#timeline#free template#psd template#free resources#graphic template#photoshop template#photoshop resources#evansyhelp#dearindies#chaoticresources#allresources#hisources#yeahps#my creations#*mine#*
665 notes
·
View notes
Text
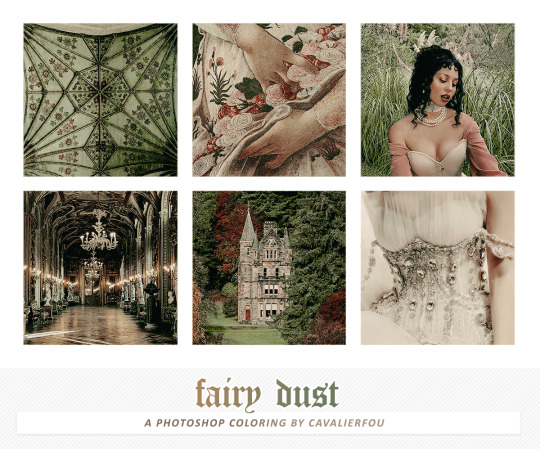
FAIRY DUST / photoshop coloring – FREE RESOURCE
Please like or reblog if you decide to download/use this resource!
Do not repost, redistribute or claim as your own! Other than that, you do not have to credit me when using this coloring.
DOWNLOAD: DEVIANTART or PATREON
+ KO-FI, donations are optional! Please do not feel any pressure to sub or donate, I just hope you enjoy the resources I post. If you decide to tip or subscribe to a tier, I thank you from the bottom of my heart for supporting me ! ♡
286 notes
·
View notes