#halo screencaps
Explore tagged Tumblr posts
Text
Sorted caps from Halo, seasons 1 & 2.
Pablo Schreiber - Master Chief ~19,000
Shabana Azmi - Margaret Parangosky ~4,500
Natasha Culzac - Riz ~2,300
Olive Gray - Miranda Keyes ~6,000
Yerin Ha - Kwan Ha ~9,000
Natascha McElhone - Catherine Halsey ~12,000
Bentley Kalu - Vannak ~500
Kate Kennedy - Kai ~5,000
Charlie Murphy - Makee ~7,000
Danny Sapani - Jacob Keyes ~2,500
Cortana ~1,800
Bokeem Woodbine - Soren ~4,000
Fiona O'Shaughnessy - Laera ~2,500
Tylan Bailey - Kessler ~400
Joseph Morgan - James Ackerson ~5,000
Cristina Rodlo - Talia Perez ~2,500
Bronte Carmichael - Julia ~500
Ryan McParlan - Adun ~1,500
Burn Gorman - Vinsher Grath ~1,400
This content is free for anyone to use or edit however you like; if you care to throw a dollar or two my way for time, effort, storage fees etc you are more than welcome to do so via my PAYPAL. Please like or reblog this post if you have found it useful or are downloading the content within. If you have any questions or you have any problems with the links or find any inconsistencies in the content, etc. please feel free to drop me a politely worded message via my ASKBOX (second icon from the top on my theme!
#halo#halo caps#halo screencaps#halo resources#halo tv show#pablo schreiber#burn gorman#ryan mcparlan#bronte carmichael#cristina rodio#joseph morgan#tylan bailey#fiona oshaughnessy#bokeem woodbine#cortana#danny sapani#charlie murphy#kate kennedy#bentley kalu#natascha mcelhone#yerin ha#olive gray#natasha culzac#shabana azmi#master chief#margaret parangosky#riz#miranda kys#kwan ha#catherine halsey
16 notes
·
View notes
Text
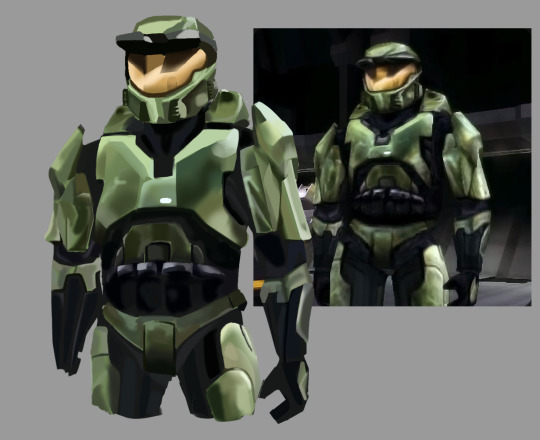
wow this combat sure is evolved
#my art#master chief#halo#not gnna super tag this cuz im doing more. i love redrawing screencaps!!!!!!!!!!!#i also love rendering low res stuff!!!!!!!!!! RAAAA
192 notes
·
View notes
Text
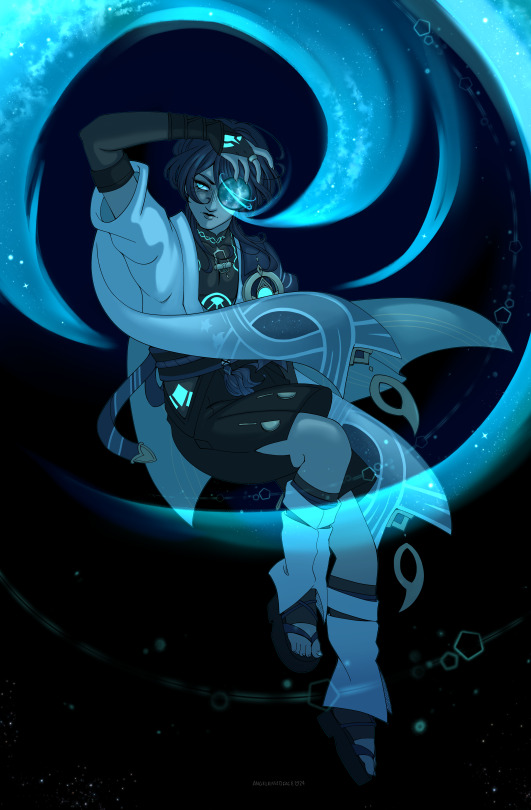
did y'all see scaramouche in the 4.8 livestream omg
#art#2024#fanart#genshin impact#this isnt actually related to the livestream#i drew it as a sketch a few months back based on a cool screencap of him someone posted on twt#and just got round to rendering it now#i was gonna do his cool hat halo but it muddied the composition so i opted out of it#but anyway i love my boyfriend!!!#scaramouche#wanderer
93 notes
·
View notes
Text


Band of Brothers- Ep. 7 The Breaking Point
#screencaps#band of brothers#joseph liebgott#hes just sitting there........... being an angel..... etc.... haloed by the lights as the childrens choir sings..... my catholic jewish ang#lighting in this episode and bastogne r fantastic. series best.
80 notes
·
View notes
Text
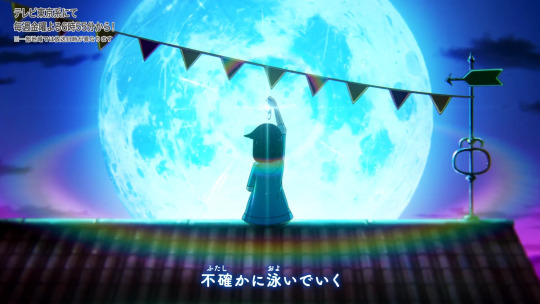

I just realised the opening, AND early episodes actually, sorta suggests Liko and Roy being comparables to Moon and Sun.
#sniff#i love this so#pokemon#pokeani#anipoke#pokemon horizons#openings#roy#liko#screencaps#a. caps#aleira caps#yeh I'm trying to edit these to work as something althou#i feel like I want higher quality#terapagos shine#halo
126 notes
·
View notes
Text
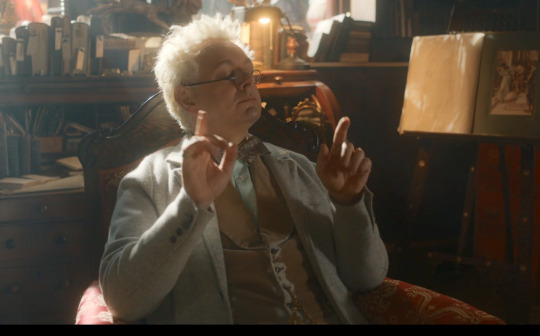
The way the light makes a casual halo of Aziraphale's hair.
Little things to love about Good Omens S2 (10/?) - Masterpost
#he's so happy here#just listening to his little tunes#protect him!#also i am feral about the lighting in the bookshop#good omens#good omens s2#gos2#good omens 2#aziraphale#little things#a duck talks#screencap#casual halo Fridays#Michael sheen
154 notes
·
View notes
Note
Hi sweetheart! I have to ask only bc she’s the light of my life but how would you feel about drawing Penelope Garcia? I feel like all her personal little flairs and details would make her so fun to try capture 🥹 my other babygirl.
Lo and behold! You've found my biggest weakness: drawing women 😔
But alas, I can't say no to you ever so here goes!
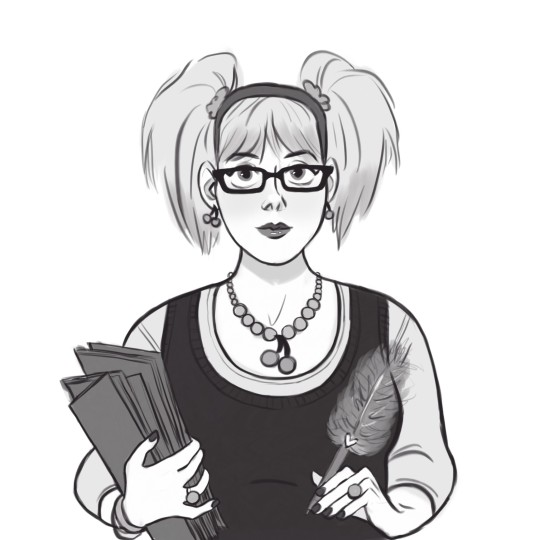
I love Garcia so much, I wish I could draw her properly, this took me like 6 different attempts I'm crying 😭
#criminal minds#Penelope Garcia#my art#anyways i hope you like it :')#im so sorry i wish i could've done more#garcia is on my drawing to do list for sure so watch out 🤙🏻#i have a screencap saved since like a week ago or so the one with the pink dress and the angel halo thing?#its on the works i just love that sc so much she's so cute 😭
126 notes
·
View notes
Text


Armed to the Teeth
I have always been a huge fan of Reach’s aesthetic. It’s one of my favorites in the franchise. It just looks so gritty and battle-worn. For the most part, the armors look great here in Infinite. And with the new Fleetcom Operation going live next week, it will be amazing to get the Military Police, Operator, and Haunted helmets in Infinite. The only unfortunate thing is they all most likely be behind a paywall which seriously sucks. I wish the game had more unlockable armors instead of everything costing quite a bit of money. Anywho, enough of that tangent. Enjoy the screenshots, my friends and I hope you all have an epic weekend!
#halo#xbox#spartan#spartans#unsc#343 industries#odst#gamer#video games#screenshots#halo spartans#halo spotlight#halo spartan#bungie halo#united nations space command#halo infinite#halo reach#xbox screenshot#in game screenshots#gaming screenshot#screenshot#video game screenshots#screencaps#screen caps#my screenshots#game screenshots#screen captures#xbox share#xbox series s#halo fanart
29 notes
·
View notes
Text


all shrimps go to heaven.
#guild wars 2#gw2 characters#gw2 screencaps#guild wars 2 character#i saw the shrimp halo and immediately thought SHRIMP. HEAVEN. NOW. and screenshotted it#i haven't listened to the last like 200 mbmbam episodes but i still have a cache of old liveshows downloaded i listen to sometimes
9 notes
·
View notes
Text
can’t believe the excalibur 1981 tag isn’t FILLED with gifs of lancelot kissing arthur’s sword tip what are we even doing here guys
#excalibur#excalibur 1981#just watched it and i had expectations here guys#screencaps of that and lancelots side wound dream and arthur’s red sunset halo is that too much to ask
27 notes
·
View notes
Text
My best attempts at cosplaying Mark V (Halo: CE) and Mark VI (Halo 2/3) Master Chief in Halo: Reach
Mark V

Mark VI

Extras below the cut:


Notes: I mostly took inspiration from the Anniversary version of CE for Mark V Chief specifically which is why he's a brighter green than the Mark VI Chief.
Also the default visor is closer to the original visor color from CE imo which was more of a yellow color as opposed to the more gold/orange color it was in the later games.
Cosplay guide:
Halo: CE Mark V. Chief
Helmet: Mjolnir Mk. V Variant - Base
Visor: Default
Left Shoulder: Mjolnir Mk. V
Right Shoulder: Mjolnir Mk. V
Chest: TACTICAL Variant - TACTICAL/LRP
Wrist: Default
Utility: Default
Knee Guards: Gungnir
Colors: Olive for both primary and secondary
Halo 2 Mark VI. Chief
Helmet: Mjolnir Mk. VI Variant - Base
Visor: Gold
Left Shoulder: Mjolnir Mk. V
Right Shoulder: Mjolnir Mk. V
Chest: Default
Wrist: Default
Utility: Default
Knee Guards: FJ/PARA
Colors: Sage for both primary and secondary
#halo: reach#halo reach#game screencaps#game screenshots#video game screenshots#screencaps#screenshot#halo reach screenshots#halo reach screencaps#master chief#john halo#halo john#john 117#john 117 halo#halo john 117#halo master chief#master chief halo#halo fashion#halo reach fashion#multiplayer customization#multiplayer fashion#game fashion#character customization#halo: reach fashion#halo reach player fashion#halo: reach player fashion
3 notes
·
View notes
Text
12 notes
·
View notes
Text

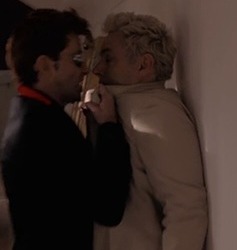


Gomens screencap redraw 😈🪽


#🌈#syds art#currently rewatching good omens and now I’ve got brain rot lol#I forgot how much tension was in this scene like aisndjwjanshhsjw#ineffable husbands#good omens#gomens#gomens crowley#gomens azriphale#crowley#azriphale#angel#demon#angel and demon#angel wings#demon tail#halo#screencap redraw#screencaps
12 notes
·
View notes
Text
I'm taking screenshots of the opening and um

This frame amuses me too much out of context skjfhskfhjsfjh
#pokemon#pokeani#anipoke#pokemon horizons#screencaps#a. caps#aleira caps#openings#rising volt tacklers#halo
55 notes
·
View notes
Text
Now, yesterday, I told you the epic tale of Noble Six and her struggle to get the par score on "The Package" level of Halo: Reach. I still can't make GIFs or capture video but it dawned on me... I can make screencaps from the Theater!
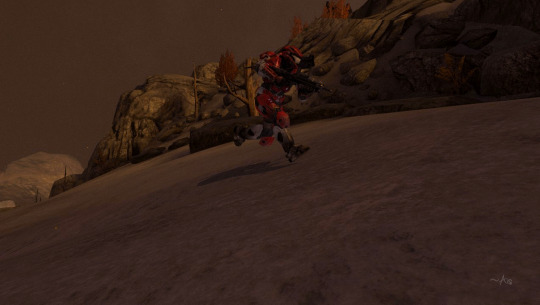
Noble Six, running through the gloom, to get that darn par score!

I always wanted to get those giant AA guns to blow up at the same time. I managed it on this run!

Awwww yeahhhh, Six making her epic parkour sprint-bounce-jump off the statue, aiming for that window to the right. Will she make it???

Six: *believing in herself SO HARD right now*

Score! And also was immediately shot by that blue bolt coming at me from a camouflaged Elite. 😑 But I lived to run on through, avoiding that darn General Elite with the concussion rifle who will be running down that ramp at the back annnnny minute now, only to realize I outsmarted him!

HOLY MOLY, HE DOUBLED BACK THROUGH THAT DOOR AFTER ME! 😱 Seriously, I knew he was shooting at me but I was running for that green button to trigger the cutscene and get me the heck out of there, so I didn't look back. I had no idea he was THAT CLOSE. I don't honestly know how he missed me with that concussion rifle. If he would've lobbed a plasma grenade at me, it would've been Bye Bye Noble Six. 👀 Whew.

And we're now flying the friendly skies with Noble Six and her jetpack, on the way to hijack that Banshee. 😇
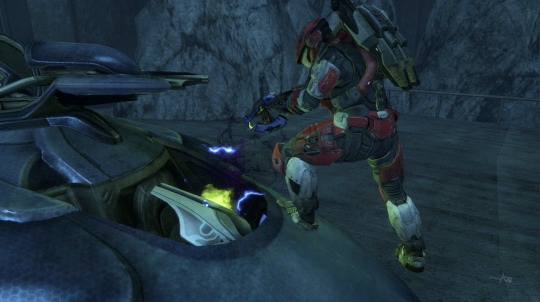
Six: Hello, sir, would you like to have your Wraith hijacked today?"
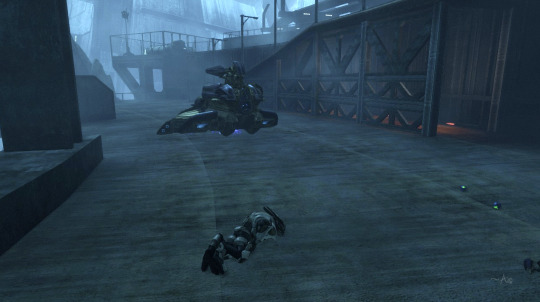
Six: Of course you would! Heh.
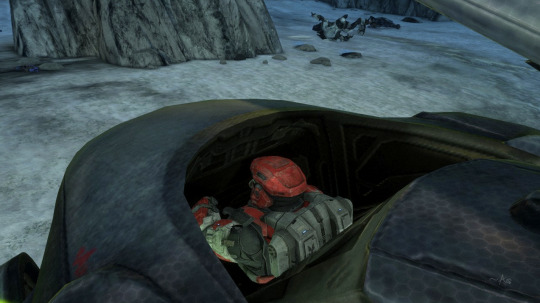
Wow, Six is even better than I thought she was, she's looking at a blank wall while she's driving AND shooting the mortar bombs!
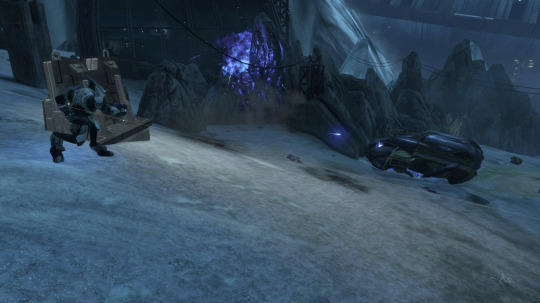
SIX IS TOTALLY NOT PANICKING RIGHT NOW, about to jump out of the Wraith and try to get past that Elite who's in between her and the sweet, sweet button of Ending This Level! It's a little hard to see but there's a line going diagonally from left to right across the Elite. I could hear somebody providing cover from the lab but didn't know who it was...

...until now when I could use the Theater camera to look. It was Carter, my beloved!

I'm contractually obligated to use this picture every time I say "Carter, my beloved." Sorry, I don't make the rules. 🤷♀️😇😉

In a dramatic ending, Six leaps from the Wraith as the counter is ticking down, failure is imminent if she can't get to the button by the door. So she activates her sprint and... wait, she's wearing the jetpack. Oops.
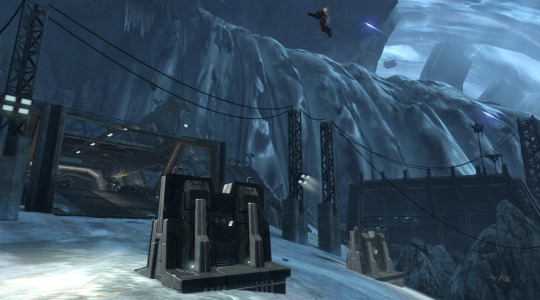
This is called "Panicked Jetpacking" and was done Entirely On Purpose™
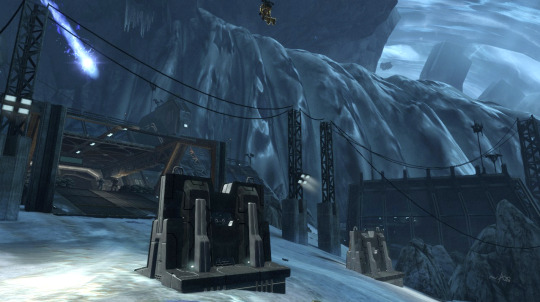
Six must go, her people need her...
Also, note the enemy Wraith mortar bomb coming at the lab. 😱
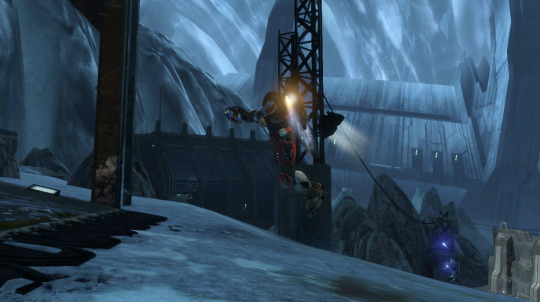
Six remembers she has to go UNDER that opening to get to the button. It's not on the frickin' roof. 😑 Also note the Elite continuing to shoot at me. 😑😑😑

It's hard to see but that's Carter waiting for me next to those sandbags! I'm doing the most awful, awkward jetpack spluttering hops up this ramp because I continued to forget I don't have sprint. IT WAS AN EMOTIONAL TIME, OKAY? 😭😂

YESSSS, the button that only I, Noble Six, can push! The level ends and I achieved the par score at last!

Achievement accomplished! Noble Six can put her jetpack down and get a good night's rest, now that she has Pushed The Button No One Else Can.
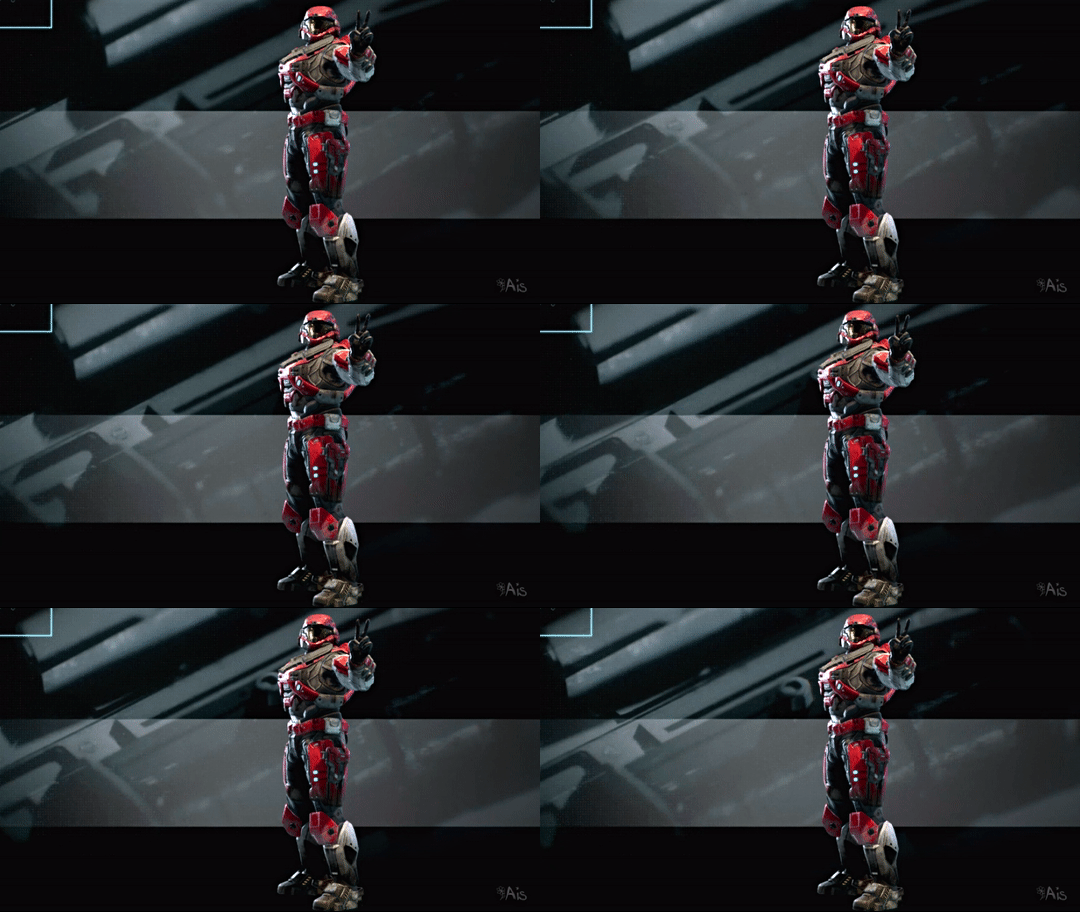
Annnnd yes, you might notice that I have over 1,200 hours on the MCC, now! 😎👍🤷♀️😉
And there you have it! 💖💖💖
#halo#halo reach#halo: reach#this is my game tag#noble six#noble team#carter a259#carter my beloved#now with added screencaps!#i love the theater mode it's so much fun to go back and look around at things you don't have time to look at while you're playing#i had a lot of fun#i'm sorry the pics are dark#these are actually brightened quite a bit#this is a dark level unfortunately#and this was also brightened for the play#usually i have to have my night vision on to see anything at all but then remembered i could adjust the settings 🤷♀️#ageless aislynn
2 notes
·
View notes
