#change app color
Explore tagged Tumblr posts
Text
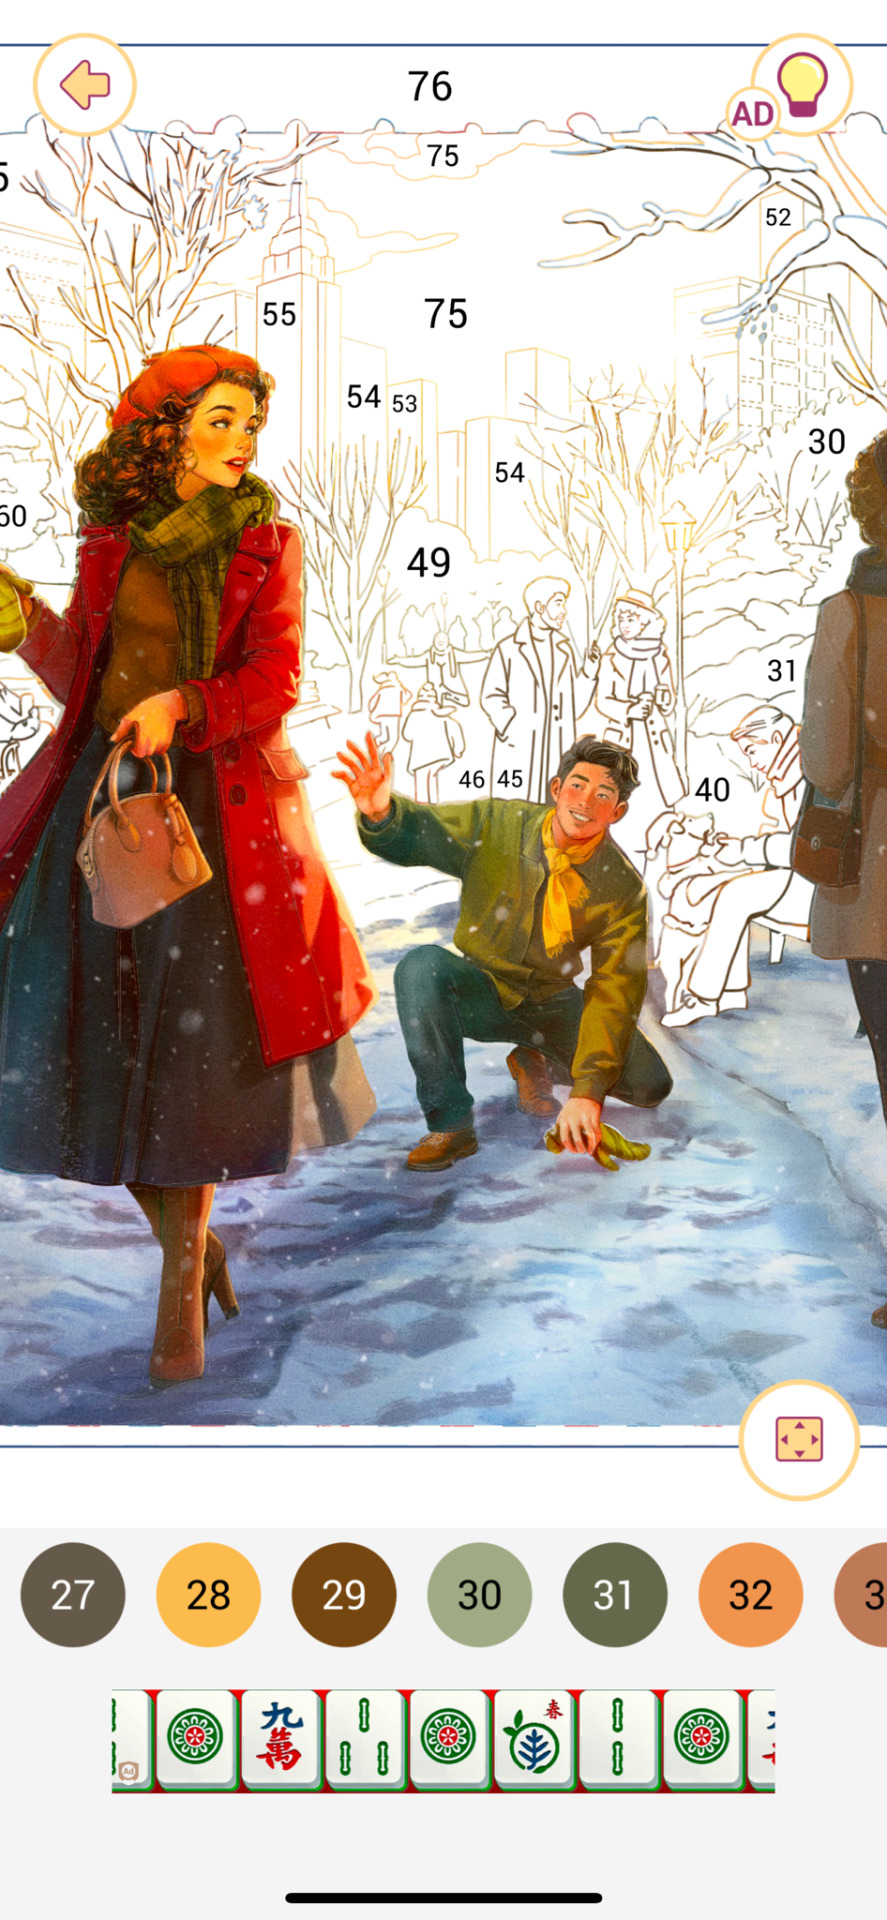
Chang what are you doing here?!
I was just coloring this picture on Happy Color, and tell me why this guy in the picture deadass looks like him.
I’m not saying it is him, because the bangs are in the wrong place, and Chang doesn’t have a mustache 😅 (AU idea alert!!)
I’m just posting this here as a joke lol 😂
#the adventures of tintin#cristi jokes#chang#btw this coloring pic was for a holiday advent calendar thing going on in the coloring app I use
528 notes
·
View notes
Text
Guys. GUYS. listen to me- kate carter is a natural brunette. no i’m not just saying that because daisy edgar jones has brown hair naturally, there’s a picture of young kate and her mom that is shown in the scene where she comes back home. I caught it on my second rewatch. I mean ofc you could chalk up her darker roots to it just being a dirty blonde but no, she really is a brunette.
Which brings me to this thought- I wonder what Tyler’s reaction (along with the others ofc) would be when they see Kate with brown hair. Let’s say her blonde dye was growing out enough for her to decide to dye it back. Maybe she does it when she went back to NY for a bit before going back to Oklahoma. Will there be chaos? Definitely. Will Tyler Owens get a heart attack? Duh. Like, imagine the possibilities guys, hellooo
#daisy edgar jones looks gorgeous in her natural hair color so obvi kate carter would look drop dead gorgeous in it too#tyler’s knees will get weak and boone will have to catch him lmao#javi’s gonna be like ‘yooo i havent seen u with brown hair in YEARSSS’#oh but a sad hc#even tho kate’s a natural brunette she still dyed her hair blonde all these years bc its one of the things that still tye her to her past#and her friends#but once she learns to finally move forward with her life and slowly starts going back to her roots and who she really is#aka showing her true personality and becoming true to herself#she decides its time for a lil hair change too (aka her ‘real hair’)#i also hc that she dyed her hair blonde either a) bc of a dare or b) she lost a bet or smth#addy and javi definitely have smth to do with that lol#jeb told her she looked cute tho and it suited her (so did the others) so she didnt mind it too much#kate carter#tyler owens#tyler x kate#kate x tyler#twisters#twisters 2024#not my first post (not being a repost) on this app in god knows how long being about kate and tyler#literally goes to show how obsessed i am with these two- literally can not get Enough#shout out to all the fic writers feeding my obsession lmao#also- i will be incorporating brunette!Kate into my own fic as well bc i can#i am a kate carter has brown hair truther right after being a tyler kate shipper#do with this information (kate’s hair lol) as u wish
159 notes
·
View notes
Text
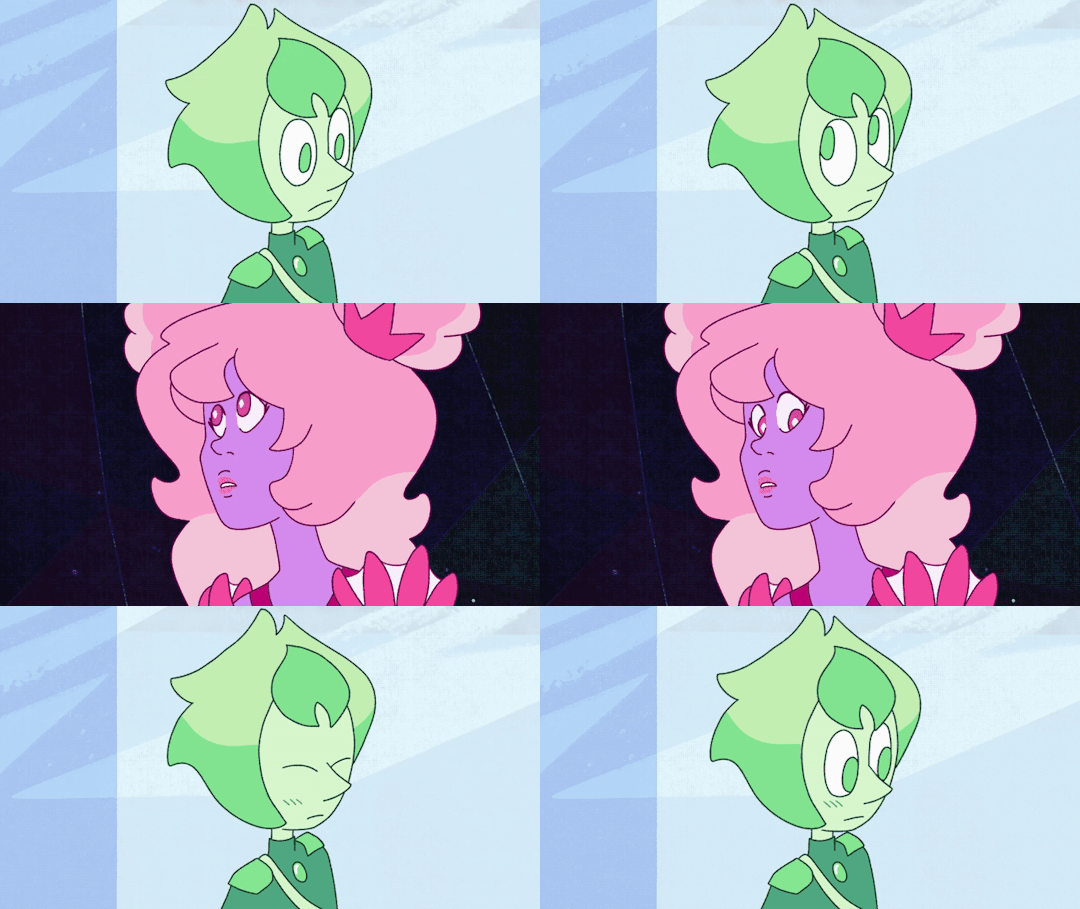
pov: your crush looks at you and you die /j
(au + designs by @chrisrin + based more or less on this by @playername-player-of-games)
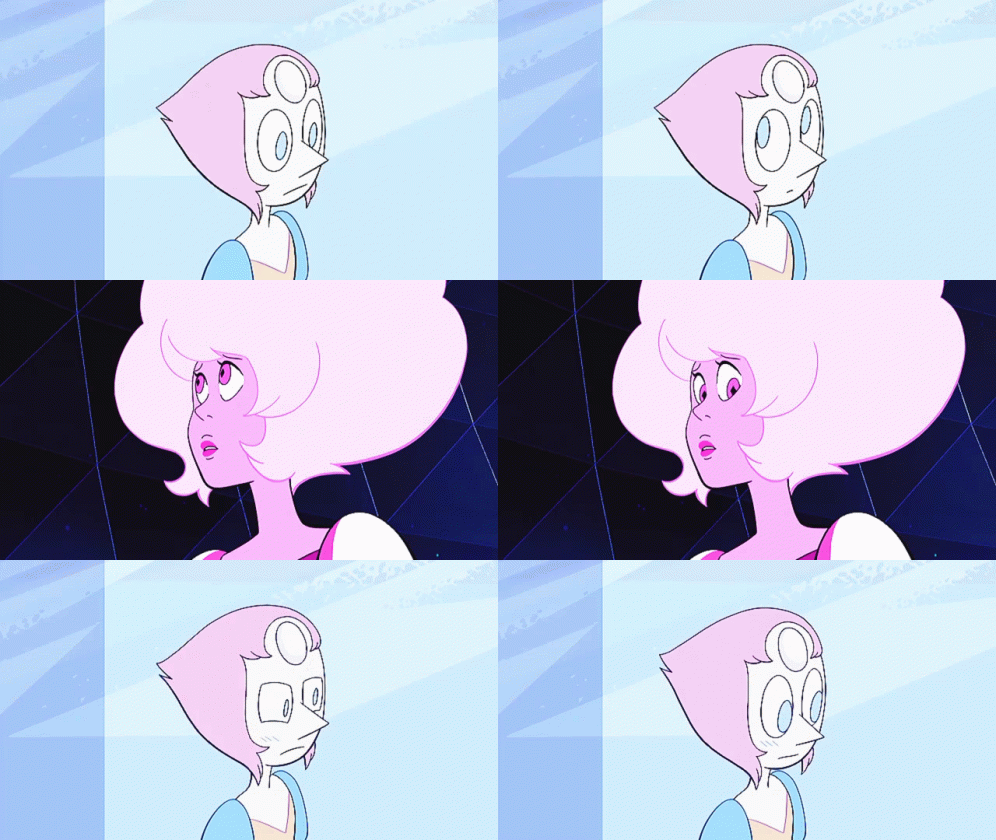
I used this gif on discord earlier today and went "... wait a minute-" so I redrew it in like. an hour bc i'm insane ^^
#RAAAGHHH THEY MAKE ME CRAZY LOOK AT EM#my silly guys <33333#pho.posts#pho.doodles#gemcyt#smallishbeans#ldshadowlady#jizzie#steven universe#su au#fun fact time. so i have these lights on my wall right#they change colors with an app on my phone#sometimes they randomly turn on#and they did that while i was drawing lizzie. **with the same color scheme**#it's a preset one for the barbie movie so it didn't choose those colors-#but i still didn't turn it on#hmm......
610 notes
·
View notes
Text
i missed the fourth but that's okay have some luke doodles anyway
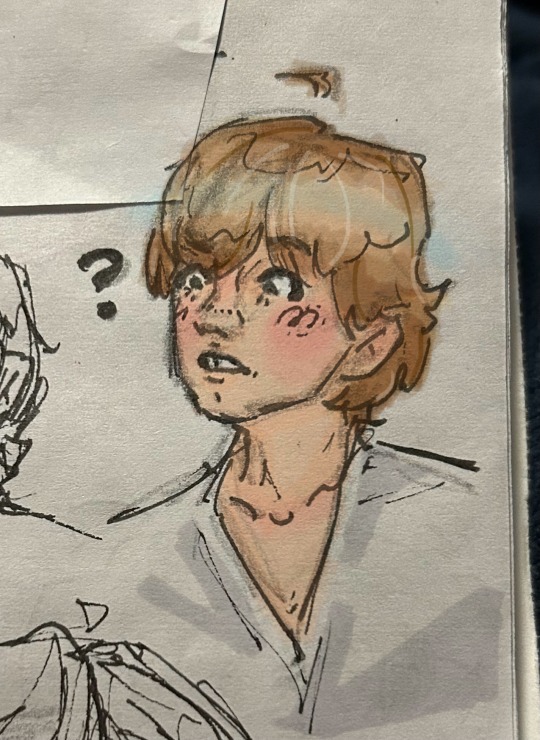
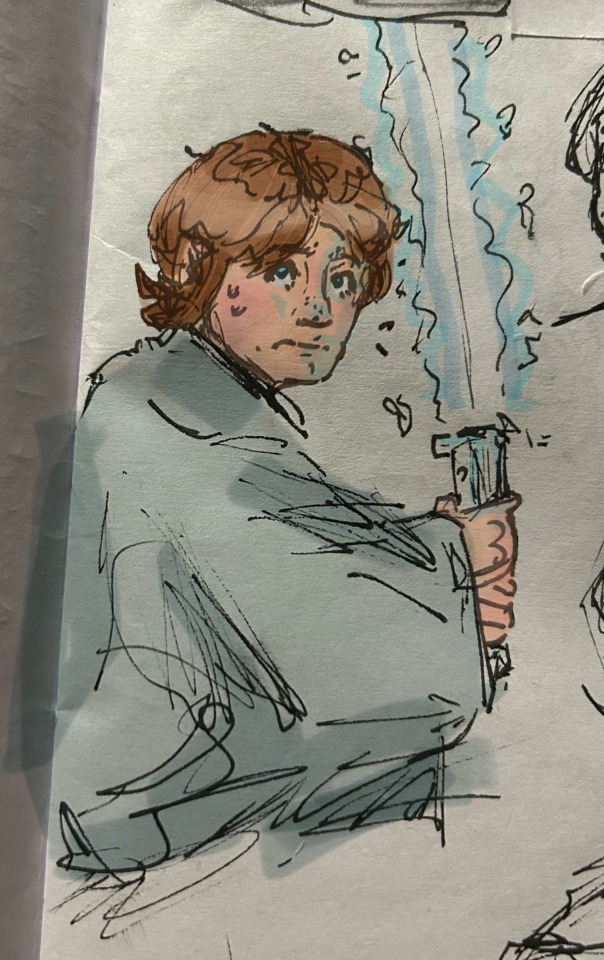
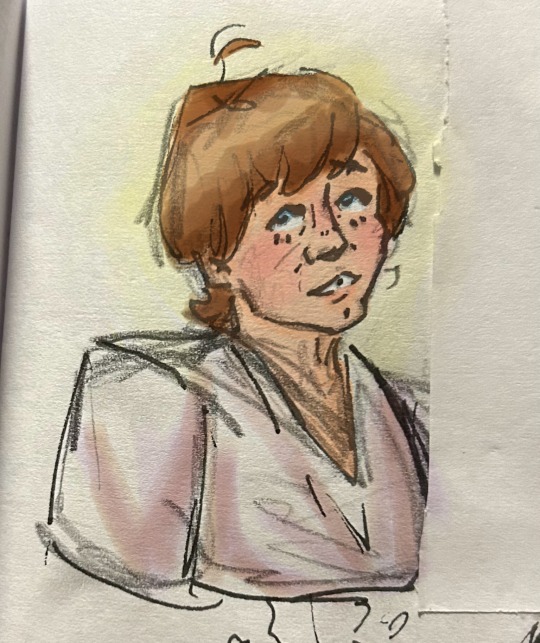
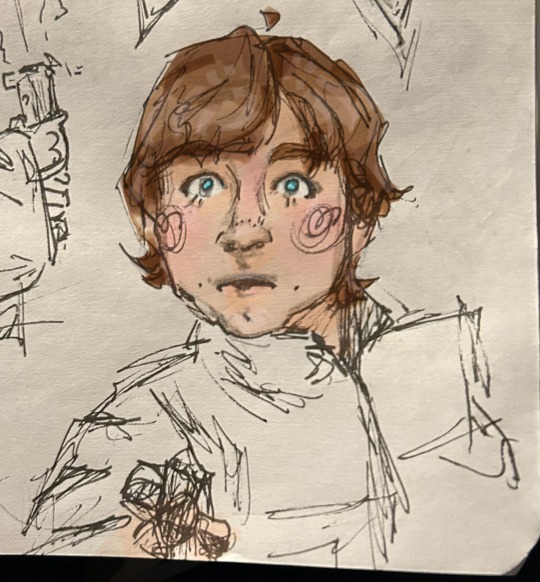
go whiteboy go!! he's like a little bug to me
#star wars#art#my art#may the fourth be with you#may the 4th#luke skywalker#sw fanart#fanart#traditional art#digitally colored#btw i do all my coloring in the photos app!! it's not too complicated lol and it's a fun challenge#original trilogy#mark hamill#not me changing styles every time i color his hair
80 notes
·
View notes
Photo
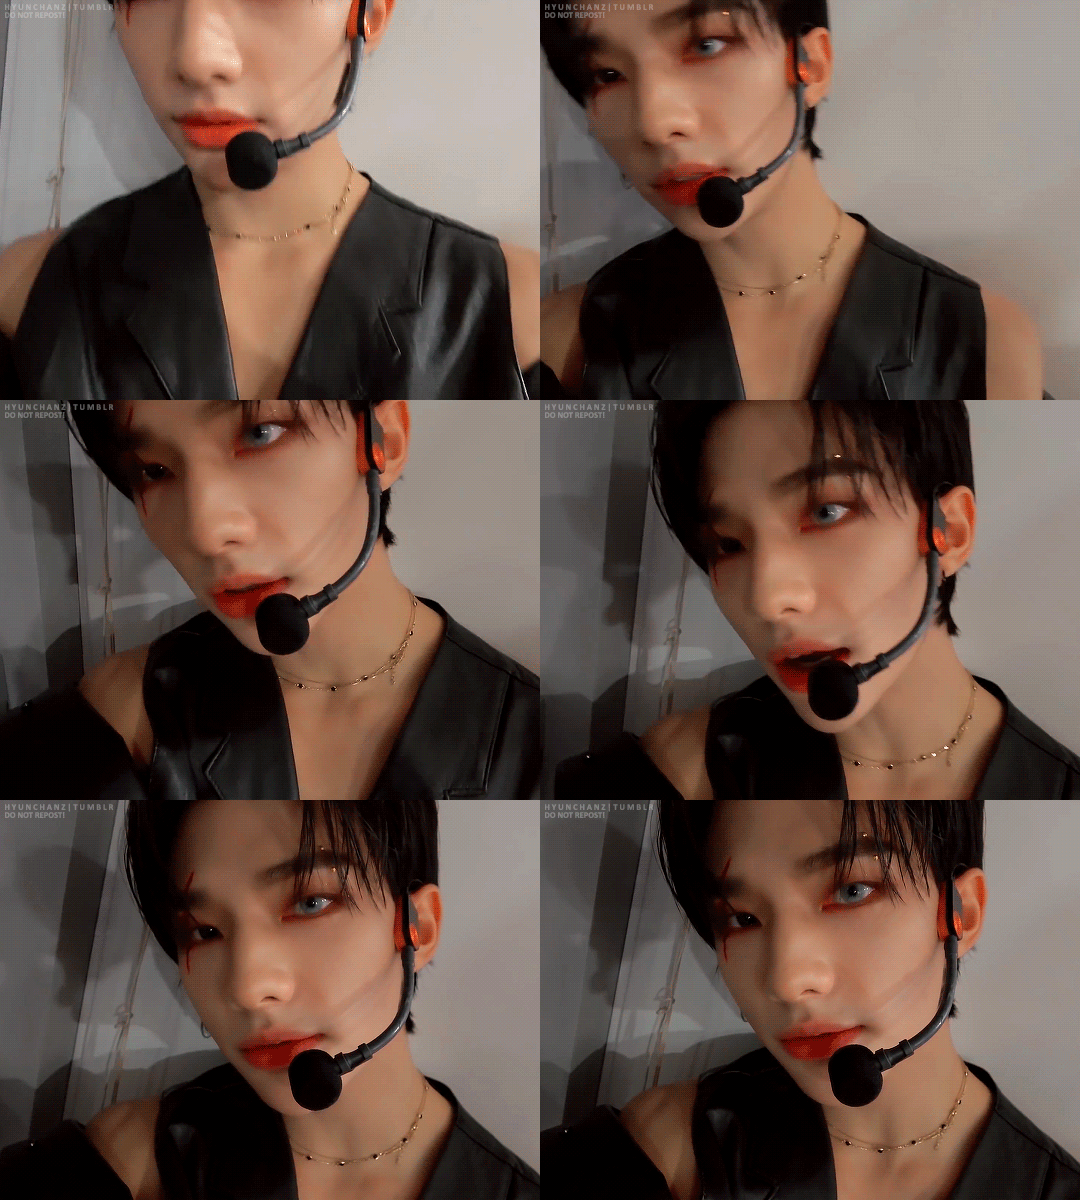
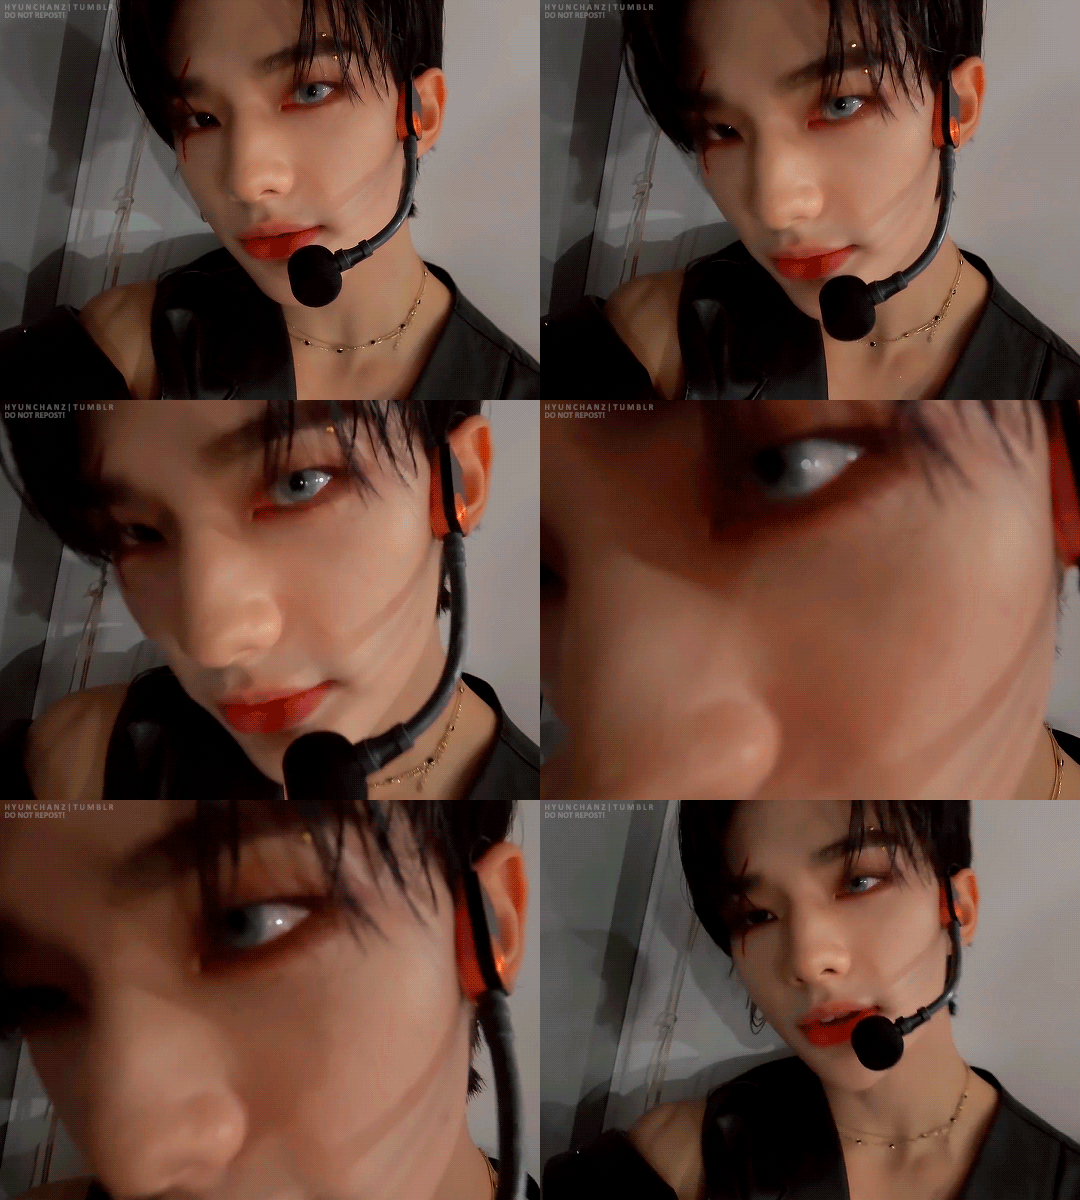
close up of a beautiful man
#bystay#staysource#createskz#stray kids#skz#hyunjin#hwang hyunjin#mine:gifs#reposted bc i change d the coloring just a bit bc it didnt look good on the app
671 notes
·
View notes
Text
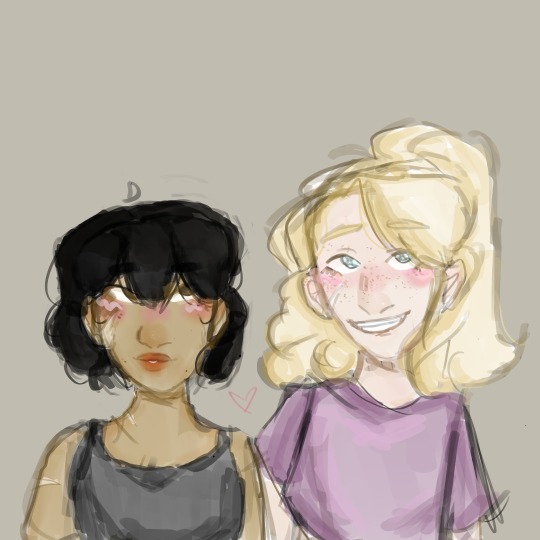
they're girlfriends, your honor
#dc#batfamily#stephcass#Stephanie brown#Cassandra cain#Just a quick scribble#Did I change my art style for the 22nd time this month?#Yes#Sorry if the colors look a little strange#it looks better in the app I promise
87 notes
·
View notes
Text
mutual has me daydreaming abt happy future jam now rrrghhgg
#in ur forties u get bored and just Learn To Do New Shit if you have the time#they Would have uncle behavior#manifesting in the insane hobby spontaneity#oh no our carpets looking rough. better learn to put in hardwood floors.#little treats are getting more expensive. guess i better learn to garden#got some spare time this weekend might program every light in our house to change color and dimness. sweet i can make it an app too#hey wanna make an album? hey wanna paint the house?#just read ALL of this old authors shit. can we build a bookshelf?#hey lets go on a date *they spend the weekend building a deck*
26 notes
·
View notes
Text
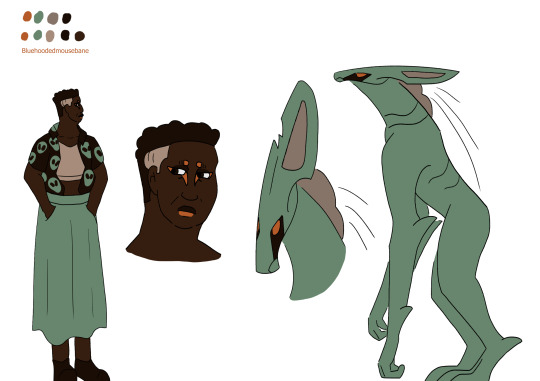
Image ID: J’onn J’onzz, in both his human and ‘true’ forms. His true form is tall and lanky, and is mostly a grey-ish green. His face has a long snout and orange eyes, which are decorated by a tear-like pattern. He has a chameleon-like crest that covers the partially exposed brain on his neck. He walks on all fours, using his knuckles. In his human form he is dark-skinned and chubby, and greying at the temples. He wears a green skirt, a pale sports bra, and a button-down with an alien pattern. He also has some bright orange makeup around his eyes and on his lips. End image ID
A redesign for my redesign grins. The human design takes inspiration from the J’onn proprietors Jesncin and not-another-robin's headcanons, so go check them out!
#and oh my god the colors change from web and mobile. sorry mobile users this looks like shit on the app.#Also i think John Jones would be J'onn not worrying about being hidden.#he should be able to have fun with it :)#j'onn j'onzz#martian manhunter#dc#redesign#my art
71 notes
·
View notes
Note
if it's okay, would you mind sharing your art process? your style is SO gorgeous dude. keep it up spardacest nation!!!
Thank you so much anon, and of course! I kinda posted about it on twitter a while ago, but for anyone not also on there, here's a paraphrasing of what I said there! (under a cut bc it's gonna get a bit long)
(speedpaint video from procreate mostly bc like I also said in that post, it's one of the few pieces I've done entirely on procreate and thus entirely recorded kdfjhdk I usually don't do the sketching + painting parts on there but every now and then I get lazy and want to get it all done quick in one program lol! It's not as good as it would look if I were using krita to render (which is what I normally use) but it gets the idea across decently of what it is that I do)
The short version of my process is: sketch, clean up sketch for lineart, then flat colors, then paint over the flats (i make the flats my shadows and paint on the light), then a multiply layer for skin details (like lips, eyebags, etc), then an overlay layer for skin transparency details (red over the ears/nose/fingertips etc), then i do hair over the lineart, then a multiply layer with the contact shadows in a light beige/grey/neutral tone on top of everything else, and then i unify layers, paint over the details, and color correct the HELL out of it The longer version is: SO, first of all, I will say, my entire process for a finished/fully redered piece is pretty scattered and uses a lot of different apps, because after many years of trying out different drawing apps I found that I just worked better when I could incorporate the parts I liked best from each individual one rather than having to adapt to another app entirely! In total, what I use is: autodesk sketchbook and procreate for the first half I do on my ipad, then krita and photoshop on my computer when I'm actually rendering (but any photo editing app instead of ps will do, I'm just used to photoshop bc that's what I learned as my first drawing app WAAAY back in the day lol), and then meitu on my phone for color filters (also any phone editing app with filters in it will do), AND also optional just for references: blender and daz3d on computer + magicposer on my phone The actual step by step of what I do: First of all, if I want to do a detailed, well rendered piece I will start by getting my references ready. That means either just grabbing a screenshot from the game if it's like, a simple portrait, or a photo reference, taking a picture of myself in the right pose/lighting, and if it's something more complex I will recreate the scene in Daz3D to simulate a realistic lighting, OR even just blender (i have the game models for the dmc characters downloaded, so I can just pop them in, pose them and change the lighting to get a realistic idea of what shadows their faces will cast in that specific angle/lighting.) Note: references are pretty essential to me, and there's nothing to be ashamed about for using them! Personally I don't struggle a lot with the drawing/sketching part of art, but my tiny little pea brain cannot fathom how to make an object 3D in my mind, and how to visualize shadows realistically... thus the reliance on 3D programs to do that for me, and then all I have to do is draw what I'm seeing lol. My art improved significantly ever since I started making 3D refs so I could get /exactly/ what I needed - there's still a lot of leeway you need to learn though, because as realistic as the lighting will be in a rendering program, you'll never really get a fully natural looking image, as far as stuff like the body stretching/squishing/pulling when it's in movement, facial expressions, folds in clothing/fabric, etc... so really it's more a guide than something meant to be followed 1:1.
Then, once I'm confident I know exactly what I'm gonna draw/have the idea in my head, I start sketching it in sketchbook. Not really getting very in depth, just blocking out rough shapes - I like sketchbook and to be on my ipad for that because it feels very reminiscent of traditional sketching on paper to me, which while I'm not super confident on my traditional art abilities, I do get the most natural/fluid/non-stiff figures out that way. Then when I think I have the general idea ready, I export the sketch layer as a png and import it into procreate - which is where I kinda start picking at the sketch and polishing it like i'm carving it out haha. Lots of liquify tool, flipping the canvas to check if it's even, blending out some of the lineart to help out with the rendering later, and then polishing up what was once the sketch into serviceable lineart. I usually reimport it back into sketchbook at this stage - while I like procreate for drawing I don't love the brushes I can use for lineart there, and so I usually only draw the "base" naked figure in there - when I'm in sketchbook I use a hard pencil to refine the details, then on a separate layer add all the things "on top" like hair, clothing, etc - usually I can get it pretty easily in one go, and once I'm satisfied I erase the naked body under the clothes and unify the lineart layers. Then I will just do the flats with a hard brush, turning the lineart layer into an overlay layer and coloring things in with the shadow colors. At this point, I export the file as a psd and import it on my computer - I give it a once over in photoshop first to see if there needs to be any adjusting (like whether any layer that has an effect needs to have a different effect, if all the colors look right since the ipad screen isn't the most faithful, if i wanna change the background color, etc), and once I think it's ready enough, I open it up in krita, where I do the actual bulk of the painting/rendering (as to why specifically krita: it's because I've gotten very comfortable with the brush/painting brush dynamics there and cannot seem to get as good results anywhere else, it's just the goldilocks spot of a brush for me haha.) If anyone's curious, here's the brushes I usually use for painting:

The one in the middle is my go to painting brush, left one for tinier/more refined details, right one for blending out soft shadows (though I learned the hard way to not overuse it, or it will look like I went ham with an airbrush tool lol). (I don't change any of the settings on these brushes, so if you wanna try out the exact ones I use! Just fresh off how they come out the app haha) I paint on the lights on top of the shadows, and just focus on that for the time being - once I'm done with the basic painting, I'll make a separate multiply layer for details like lip color, eye waterlines, makeup if there is any, eyebags, etc, and then adjust the opacity until it feels right - then I'll make an overlay layer with skin translucency details (like, when you hold your hands in front of a light and see the tips of your fingers become bright orange - many parts of your body are always a bit translucent to the blood underneath, specifically parts where the skin is thin like noses, cheeks, joints, knuckles, etc, and I found it makes the character look a lot more alive to add that subtle coloring in) - then usually I do hair on a separate layer on top of the lineart (because that way I can add small flyaways, more details, etc, and just use the lineart as a guide) After that, I'll usually make a multiply layer on top of everything where I'll add contact shadows in a neutral color (usually pretty pale, it'll be darker anyway since it's multiply), and once I feel like I've rendered everything out properly, I save the psd and re-open it on photoshop.
In photoshop, I'll mess around with the layers a little bit more (changing hue/saturation, opacity, etc), fuck around with the background to make it look pleasing, and once I'm happy with it, I'll unify the layers and start color correcting - usually by duplicating the unified layer and messing with the curve/hsl of the image and then changing the opacity of that edited layer until it's as strong or muted as I want it to be - then I also edit the RGB curves individually and adjust the opacity of that also (because I just really like how it ends up looking if I give a bit of a red/warm tint to the shadows lol), and at that point often I will reimport the finished image into procreate for some finalizing touches! Like, blending out shadows that came out too harshly, painting over anything that came out not the way I wanted it, redefining the lineart if it got messy during painting, and adding any extra small detail that might have gotten lost like catchlights, hair shines, hair flyaways, tears, etc. I also do one last round of flipping the canvas and liquify if needed! At this point, I export the finished image both to my computer and my phone - on my phone I open it up on the photo editing app, and add a bunch of different color filters - I don't hesitate from going completely balls to the walls here, and just kinda applying as many filters as will make an image look pleasing to my eye. Once I think it looks good, I'll export the edited image to my computer - and then open both the version without filters and the one with them on photoshop, and use the filtered version as an opacity layer, and adjust it until it doesn't look as crazy anymore lol. One last step I recently started incorporating was also changing the image to grayscale after I'm done, and doing one last round of curves in greyscale to make sure the values look right, and nothing is getting too lost because the values are too similar (because i know i get a bit swept up in getting repulsed by harsh contrasting lighting and can end up washing out all of rendering if I don't check myself kjdfgk) AND that's it! Yes it's a pretty long and chaotic process, but it's coming from years of trial and error and realizing I can just let myself fo whatever makes me happier with the results, and I don't have to stay constrained to one program if I don't like every tool it has to offer/don't have to accept the final image fresh off the painting app as the "finished" image with no adjustments allowed after, lol. I don't find it takes a lot more time than if I didn't do it this way, but YMMV. Hope this was helpful and sorry for taking so long to explain! I just wanted to give a thorough explanation dfhdkhkx
#asks#sorry i know its a bit chaos hfdgd#but i hope its helpful anon! thanks for asking#also for anyone wondering#no i am not paying for ps lmao#fuck adobe#it is always morally correct to pirate adobe products people#if you have an alternative photo editing app you like best youre welcome to use it#but if youre too used to photoshop. everything is free on the internet if you know where to look#i also wouldnt recommend meitu bc it feels like a pretty sketchy app all things considered#im just too lazy to care to change my go to app but i would look for a different phone app#p sure theres billions that let you add funky color filters instead#actually i think you could use photoshop camera raw filters for that too#its just way too intensive of a process for my tiny potato computer and it feels a lot faster + seamless on phone
13 notes
·
View notes
Text
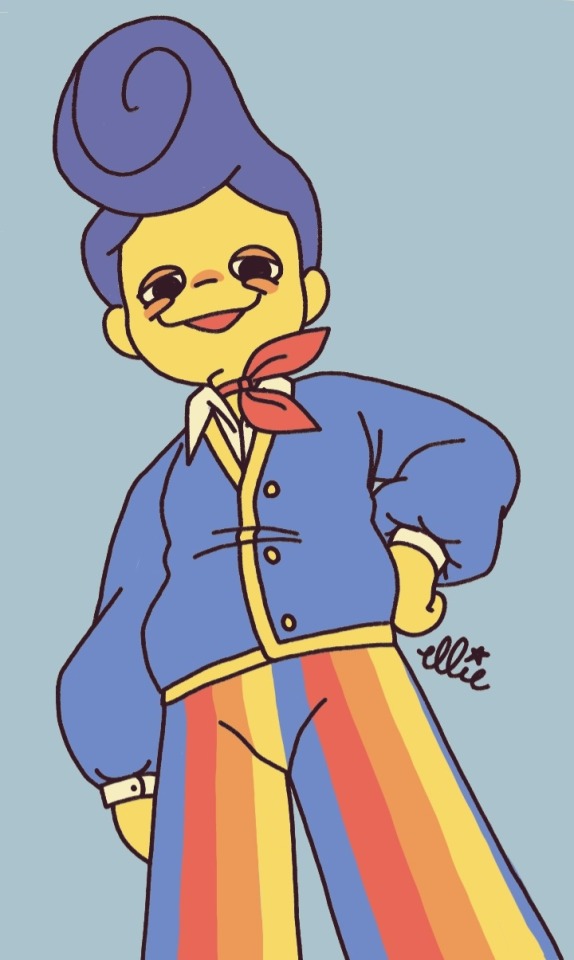
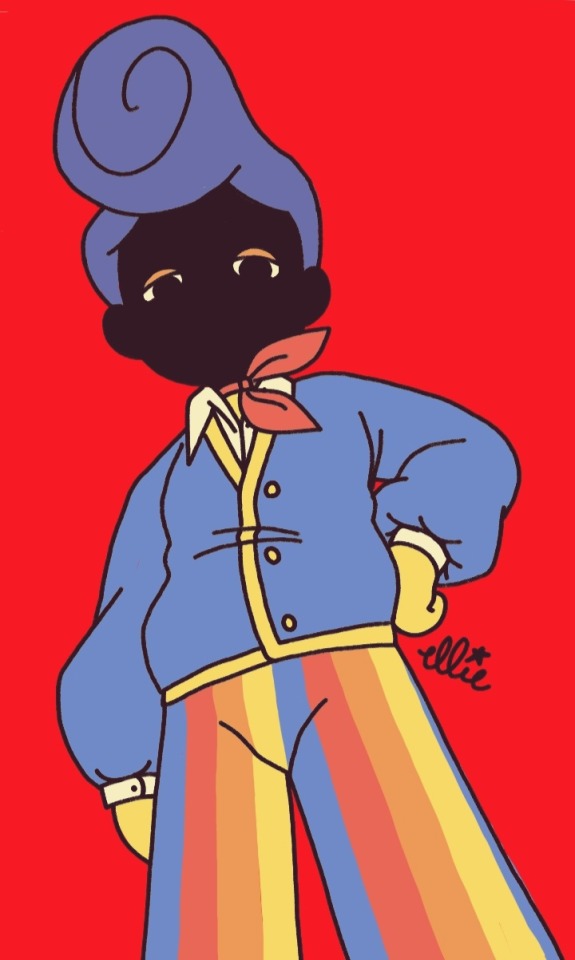
pov: you are a little bug or maybe a flower
#dandy's doodles#welcome home#welcome home wally#wally darling#kin#ask to tag#wally is just so nice to draw!!! all of his shapes and colors are so pleasant and fun to play with :)#again i must apologize to ibispaint x for being neglected in favor of my notes app#i don't know why but there's something so fun and freeing about drawing good art in something not meant for art at all#i also like its preset color palettes :) i didn't use any for this drawing but they're very nice to work with and be inspired by#to all of my artist friends out there: try drawing in your notes app! see what beauty you can make out of the mundane!!#anyway. i don't draw creepy wallies a lot so i hope you enjoy this one#he's just kind of looking down at you with a silly expression in the first one#like imagine you're lying on the ground/floor for whatever reason and he walks up to you like this#and is like ''what are you up to neighbor? or should i say 'down to'?'' and then he laughs his silly laugh#but in the second one it's like. he's looking down upon you if you know what i mean#covering everything but his eyes really does change wally's impression huh
62 notes
·
View notes
Text
Joining @pondanimal 's open tag!!
Blog vs Blogger

Anyone who likes to join can join!
#im always changing the color and the style of my hair but#this is what i look like rn#my natural color is actually a light reddish brown but i felt safe with this tone#not planning to post my face so you can picture this creature when you see me venting on the site#i always forget to change the language of the app i don't like the turkish version that much but it's staying atm
6 notes
·
View notes
Text
💜my take on F!Vil💜
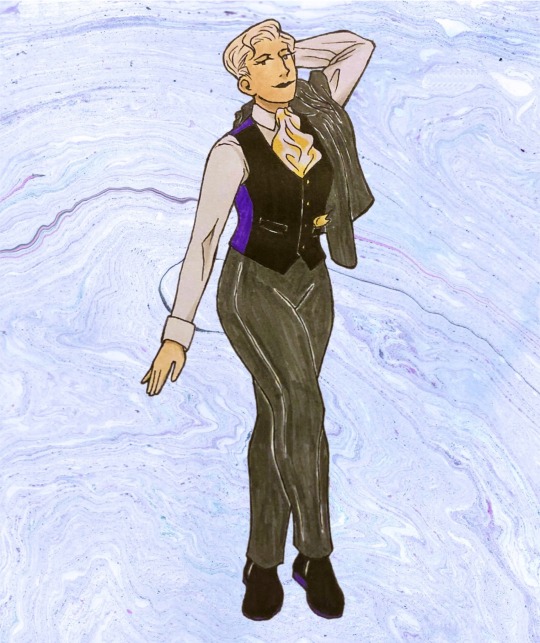
(she's everything)
#👏THE👏FAIREST👏KING👏#my art#marker#fine tip pen#vil schoenheit#saur sad bc my editing app made her shoes blurry :'(#she has purple soles if anyone cares#originally was only gonna have the buttons be gold but changed that real fast when i realized her outfit was basically just octa colors LMAO#twisted wonderland
29 notes
·
View notes
Text
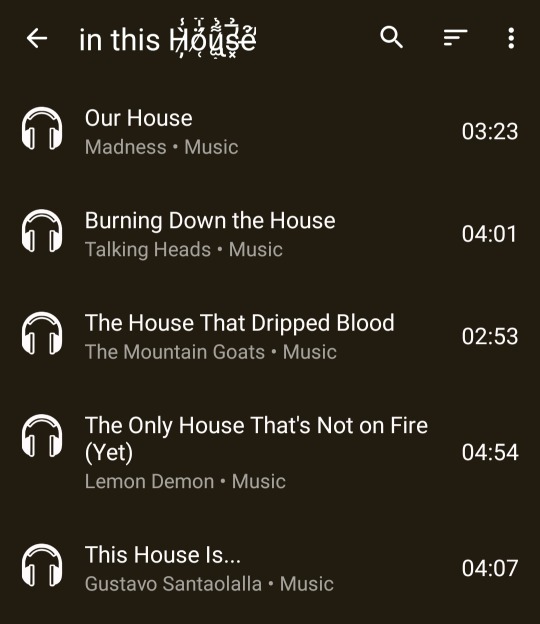
new playlist 👍
#zalgo text bc i cant change the color to blue in my music app#should i add 5 & 1/2 Minute Hallway to this
2 notes
·
View notes
Text
delusional denkiposting coming soon…
btw merry christmas 🎁🎄
#we need a tag for nat#because i’m an icon#no1 denki defender#denkiposting#no1 bkkm luvr#i’m starting to really enjoy this app…#m4rveys#self post#take the colored text feature away from me actually#or add more colors#if possible#they should make me the ceo of earth#autistic denki#autistic denki x bpd katuski#yall don’t see the vision yet but dw i’m here to change that#i technically retired from the mha fandom 2 years ago#but i cant stay away#‘what’s your addiction? is it money? is it weed? is it hoes?’#it’s actually denki kaminari#uhhhh#8am maniapilled nicki minaj level coke ranting things#maniapilled#ok goodnight#can you tell i’m loving this tumblr thing
2 notes
·
View notes
Text
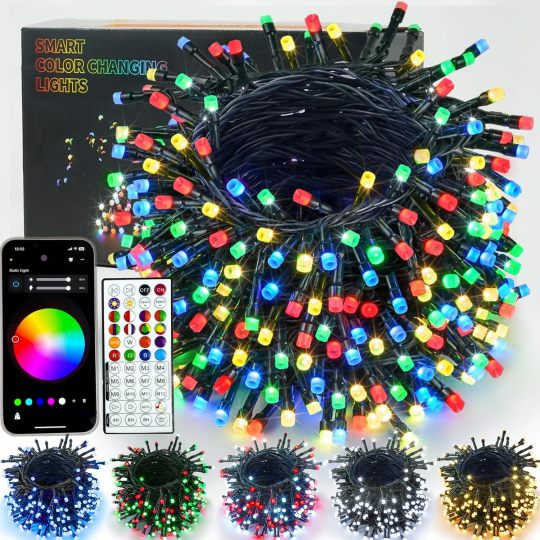
Color Changing Smart Christmas Lights 66ft 200 LED RGB with Remote & App Control & Timer, Music Sync Dimmable Multiple modes Fairy String Light Indoor Outdoor for Xmas Tree Bedroom Party Decorations
Price: (as of – Details) Product Description The video showcases the product in use.The video guides you through product setup.The video compares multiple products.The video shows the product being unpacked. YIQU APP Color Changing Smart Decoration Lights Perfect Halloween Decoration Lights! 1 Christmas Lights 2 Outdoor Decorations 3 Wedding & Party Dance with Music! Universal Lights! Package…
View On WordPress
#5 more sleeps till halloween jimmy fallon#66ft#App#baby halloween outfit#bats halloween decoration#Bedroom#bluey halloween inflatable#Changing#Christmas#Color#Control#couples halloween costumes for adults funny#decoracion de halloween exterior#Decorations#department 56 halloween village#Dimmable#disfraces para halloween mujer#disfraz de halloween para mujeres#disfraz de halloween para niñas#disfraz de halloween para niño#dog custom halloween xl#Fairy#full size skeleton halloween 5 ft#garage buddy halloween 7x16#Halloween#halloween 0-3#halloween 0-3 month girl#halloween 0-3 months#halloween 0-3 months boy#halloween 00g
2 notes
·
View notes
Text
Presenting:
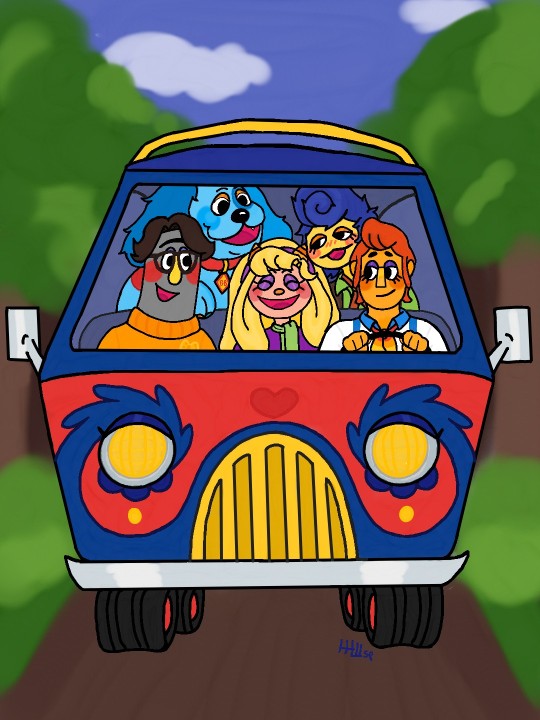
My very first AU: Welcome Home Scooby AU
Lmao i already gushed about it on the original post but it's still so funny to me, imagining the neighbors in like classic scooby doo hijinks lol
I just had to draw the gang all together and make it all pretty!
Here's the original post btw! (I forgot to link it) also the full colors are in the notes of that post
#lol i imagine this as just being like a one off bit rather than like a whole au but its still so funny#bc the story i have in my head would probably just be like an episode long#ill get around to drawing it all probably maybe lol#im just real slow at drawing and then transferring into my drawing app and coloring#it took me so long to make this lol#and i found out my drawing app doesn't have a symmetry tool which would've been REAL helpful for drawing Home and his design#its all a little off even the gangs proportions#but i tried#i had to stop working on it bc i kept going in and making little changes for a day or two i had to stop myself lol my app couldn't take it#just did a simple background too#anyway!#i wont fill up the tags completely lol#i would love feedback!#and any questions too! please!#ill have to remember to link the original post where im talkin about the designs and stuff#ok!#welcome home#welcome home au#welcome home scooby au#like man i do not wanna tag all the characters rn#scooby doo au#my posts#my arts#forgot to link the og post until after i got a bit of activity tch#i guess its ok
38 notes
·
View notes