#bow scrunchie
Explore tagged Tumblr posts
Text

Pretty order 💕
#bow clip#hair bow#bows#bow scrunchie#sydney#australia#brisbane#handmade#perth#aussiemums#craft#goldcoast#diy#melbourne#Scrunchies#purple scrunchies#hair scrunchies#scrunchy#scrunchies
2 notes
·
View notes
Text
orange icons


like or rb if u use !!
#eternalgyu ✮⋆˙#hannie boards ✮⋆˙#pngs#png#carrd png#random pngs#red png#png icons#transparent pngs#pngimages#pngfile#pngfree#orange png#orange pngs#pngs for moodboard#carrd resources#carrd stuff#carrd aesthetic#cute pngs#hairclip png#pie png#starfish png#scrunchie png#guitar png#macaron png#bow png#toffee png
403 notes
·
View notes
Text

www.instagram.com/officialnatalina
69 notes
·
View notes
Text


He's beauty he's grace x
#hes so vute omfg#the scrunchy looks like a bow#BOWS ON HIS HAIR LEMME DRAW IT#rhett and link#rhett mclaughlin#good mythical morning#gmm
99 notes
·
View notes
Text
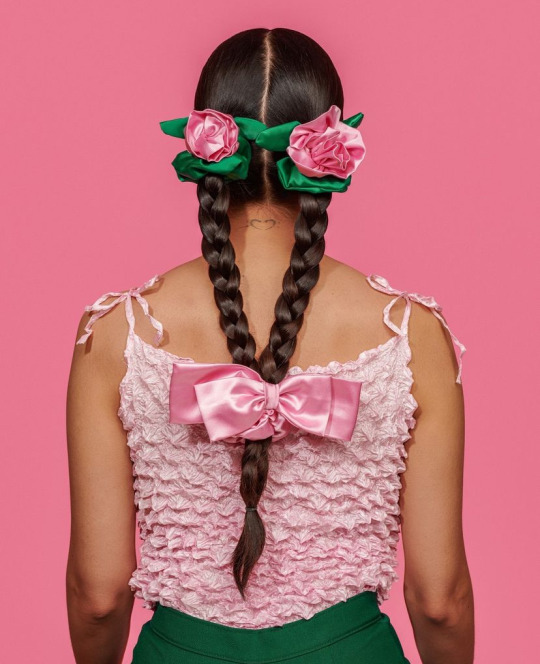
🌹♡˚୨୧⋆。
#bows#ribbons and bows#bow lover#girly#pink bows#ribbons#bow hair#hair bows#coquette hair#scrunchies#hair accessories#girlblog#girlblogger#latina owned#small business#handmade fashion#handmade accessories#slow fashion#susie#bowmagic
158 notes
·
View notes
Text


>> townleygirl hair stuffs
#sanrio#hello kitty#hair stuffs#hair clips#hair clip#scrunchies#scrunchie#hair ties#hair bow#hair elastic#sequins#hair chalk#hair bows#hearts#heart#kidcore#y2k#pink#white#red#hot pink#silver#glitter#charm#my gif#my gifs#stim#stimmy#sensory#short gif
27 notes
·
View notes
Text
i wanna put a bow on his dick . but i can’t tell him that 😞
#y’all r like: what is bro saying 💀#sora.txt#i wanna put a cute pink bow on the tip …..#block me it’ll only get worse 🙏#I WANT TO PUT A SCRUNCHIE ON IT !!!!!!!!!
23 notes
·
View notes
Text
back from barbie
#i can finally take this ponytail out i SLEPT in this bow and scrunchie 😭#movie was p good it was funny there was a guy in there laughing his ass off. a singular zack snyder fan as well#a guy behind us in line said 'hey barbie' 'hey ken' i think to get some of us to turn around 😭 it worked lmao#kae.txt
41 notes
·
View notes
Text

OKAY THIS IS ONE DAY LATE BUT I FELL BEHIND ON MY SCHEDULE OKAY SO JUST. DROPS THIS HERE
HAPPY LATE PRIDE?
#spooky arts#oc x canon#hollow knight ocs#hk ocs#faaf au#im probably also gonna draw something for disability pride month too just gotta figure out what. prepare for it to be late too because if#theres something consistent about me its that i am late with everything ever LMAO#thats the new polyam flag on that theyre holding btw. it just. doesnt show well#pan shirt for lummis#genderfluid scrunchie and abrosexual and obmnisexual makeup for petunia#and demi-acearo pin and genderqueer bow for flower :]#token cis lummis#aLSO AS I AM TYPING IT I CAME UP WITH THE ART IDEA FOR DISABILITY PRIDE MONTH LETS GO
38 notes
·
View notes
Note
Loafworm delivery for you

LOAFWORM LOAFWORM LOAFWORM 💖💗💕!!!
#fableasks#my wormsona#eeeeeeee#IT ME#so happy#I bounce#Scrunchie this is just the cutest little loaf#with a lil bow#consuming this#canNOT get over how cute this loaf is#💖💗💕#artbybae
26 notes
·
View notes
Text
Making a Scrunchie available at our Etsy store 🌸
#sydney#australia#brisbane#handmade#perth#aussiemums#craft#goldcoast#diy#melbourne#bow scrunchie#Scrunchies#satin Scrunchies
4 notes
·
View notes
Photo

Sarah Miska, Pearl Hair Net, 2022
13 notes
·
View notes
Text

the chihci i drew for @danggirlronpa! congrats for winning best girl chihiro i knew u could do it <3
#nana’s art#dr1#chihiro fujisaki#ummm some fun facts#shes wearing kaedes hairpins makis scrunchy mukuros hair rabbit (as a pin) sayakas bow bandaids from junko hiyoko gonta and kokichi bandage#s from mikan and chiakis hariclip (as a laptop sticker)#:)
7 notes
·
View notes
Text
I bought a new scrunchy for my hair and it's purple with black bats on it and honestly it's such a vibe and blends into my black and purple hair so well 😭 I really am all about co-ordination 🖤💜
#also i've now got a new travel mug which has ghost cobwebs spiders and bats on it!!!#and little spider clips to go in my hair which will look cute with my bows#and a new ghost mug 😭 i'm thinking of getting another skull one as well to go with my other one 💀#sky stop buying spooky things challenge#i have an orange scrunchy as well and last week we were given clothes with a colour on them to show the size#and mine was orange so I ended up wearing that scrunchy just so everything would blend in 😭#sky rambles ♡
2 notes
·
View notes
Text
The Scrunchie Problem
Last year in August I had a brilliant idea. I will use some scrap red sequined fabric from my stash and create a couple scrunchies for the annual Red Dress Run. It will be easy! I already have everything I need: fabric, elastic, thread, sewing machine. I can knock these out in an hour or two.
So I pull out the quilting cutting mat and fabric pizza wheel and make 2” strips. And thinking about how I’d like my seams to be both clean and easy, I sew the short ends of the fabric to make a loop first. Then the long edge leaving about 1” hole for turning the fabric.
But when I go to turn the fabric after making those seams, I get stuck. At first, I think I’m just physically stuck. The pencil I’m using to turn the fabric tube inside out is starting to get gunked up from the sequin glue. And I can’t seem to get the full turn out.
My hole must be too small and my fabric tube too narrow. That’s okay. I will sew the next strip the same way but leave a larger hole. But this time when the turn out won’t seem to complete, I realize what I’ve done wrong. My wrong-side-out shape was a doughnut. But my right-side-out shape was… tube snake.
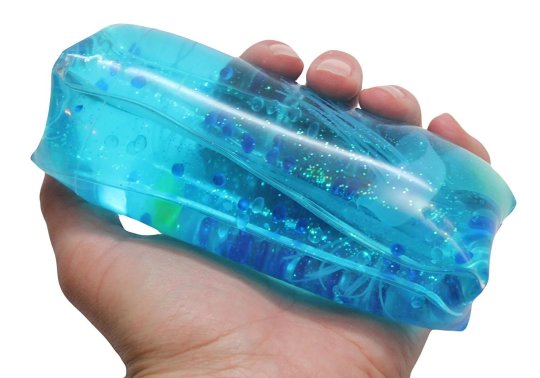
Do you remember these toys? IT’s a tube filled with water or gel and when you squeeze it, the inner part shoots to the outside and the entire thing pops out of your hand.
So how did my doughnut become a tube snake?
Both shapes are a form of a torus, or a circular toroid. The torus has two raidii, where r is the radius of a wedge of the doughnut and R is the radius of the entire doughnut ring. If we think of our donut ring as a latitude ring, once we turn it inside out, the latitude has become a meridian. So, our two radii have swapped places. Little r is now the overall radius and big R is now the wedge cross-section radius. Our shape has a large difference in scale between the two radii, so the new shape isn’t a doughnut. We get our tube snake. The tube snake is still a toroid, just a doughnut that has been stretched out to be tall.
Now that we understand the geometry, how do we sew a scrunchie correctly? I felt the internet had a lack of good instructions for this task, despite seeming so simple and like it would be a common craft idea. So I’m here to help!
Scrunchie Sewing Pattern Instructions
1. Cut out a strip of fabric. 2” was a bit narrow, 4” makes a good average sized scrunchie, and 6” will make a big bold scrunchie. The length should be about 24”, but exact measurements are not important.
2. Fold your fabric in half “hot dog” style and pin the long edges together. Sew the long edges together leaving a gap between 1” and 2” in the center.

Fabric Key

Step 2
3. Now we have to bring the short edges together by pulling one end inside of the fabric tube. We are making the tube snake on purpose! The shape will be turned such that the right side of the fabric is the inside surface of the tube snake and only the wrong side is exposed. Align the raw short edges of the tube. Pin and sew the complete ring. Please note that this seam is the entire circumference of little r and only through two layers of fabric.

Step 3
4. Now when we turn our shape with the right-side-out, we will have one big long doughnut.
5. Measure out a strip of elastic. I usually use ¼” width elastic and about 8” of length, but I have very thick hair and regularly destroy hair ties. Adjust based on your fit.
6. Feed the elastic strip through the tube taking care not to lose the tail end. I like to use two safety pins: one securing the tail to the opening and the second to help me feed through the tube. Sew the ends of the elastic to each other in a flat seam.
7. Last step is to close the opening. If you’re feeling fancy you can breakout the hand needle and close with an invisible (ladder) stitch. But if you’re a machine girl, tuck the raw edges in and sew a short straight seam over the opening.
And you’ve done it! You made a scrunchie!
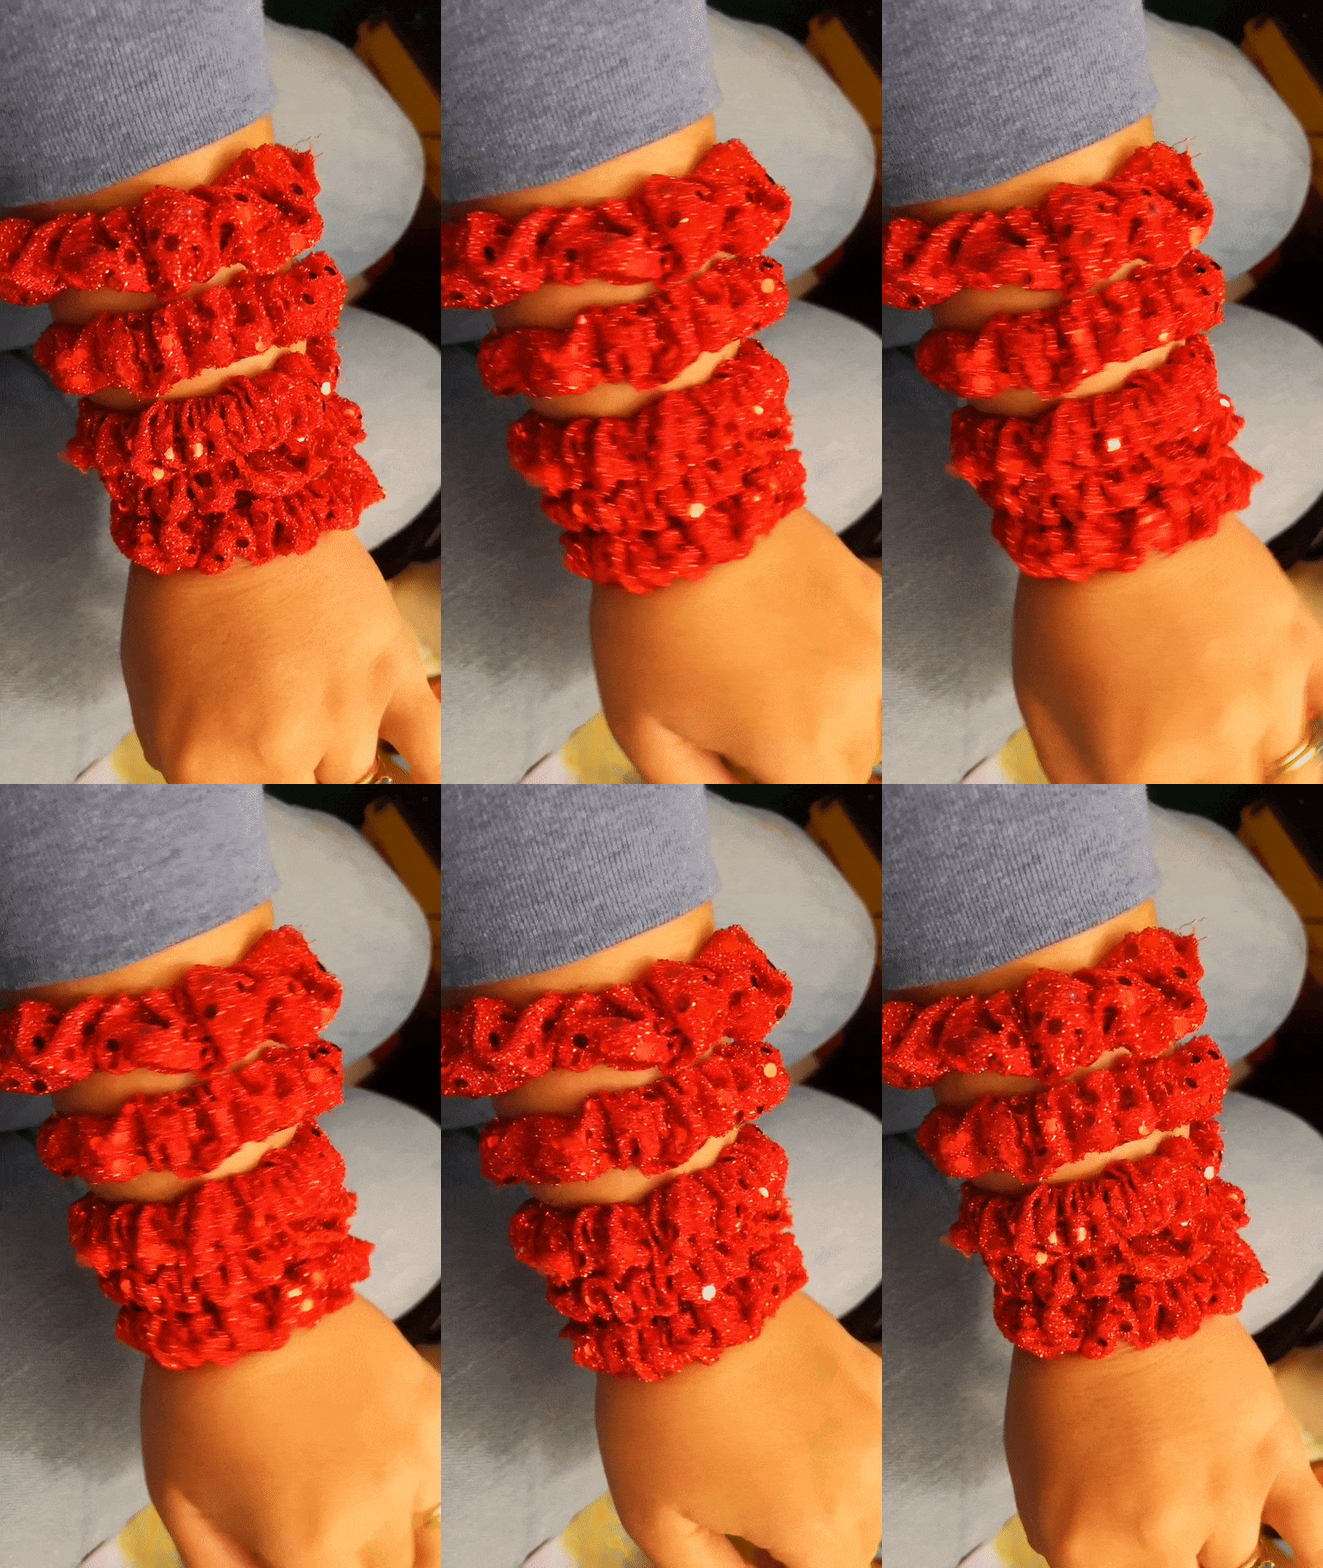
Bonus Round!
What if I wanted to use an off-the-shelf hair elastic instead of a strip? I had black chiffon scraps from a jumpsuit that was too long for my petite height. My white ¼” elastic would be visible (and unattractive) in a scrunchie made from that fabric. How would I get an already looped black elastic in there? I under-thought my very 1st scrunchie attempt. Time to OVER-think it!
In order to get your already loop-shaped hair elastic in your scrunchie, the elastic needs to be integrated in step 1. That means when you fold your strip in half hot dog style, the hairtie is already in the hotdog bun. Fold the fabric around the loop. Part of the hair elastic will be exposed at the ends of the fabric strip. It will look like an inside-out scrunchie already. Take care when sewing your long edge seam to stretch the section of fabric under the machine. Don’t let the scrunchie folds get sewn in.
When you turn your fabric to sew the short edge seam, about half of your hair elastic will be exposed with the other half inside the tube snake. This time you need to be sure not to catch the elastic when you sew the seam.
And here comes the magic. When you turn the fabric right-sides out, the hair elastic is carried to the inner tube. Close your last opening as before.
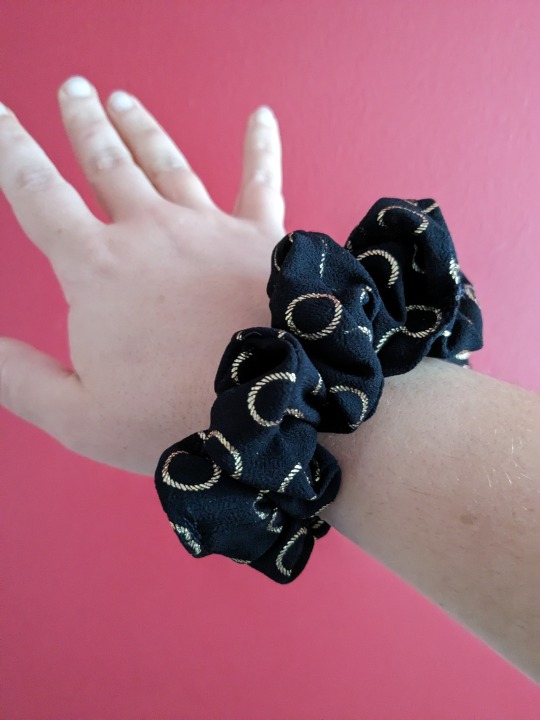
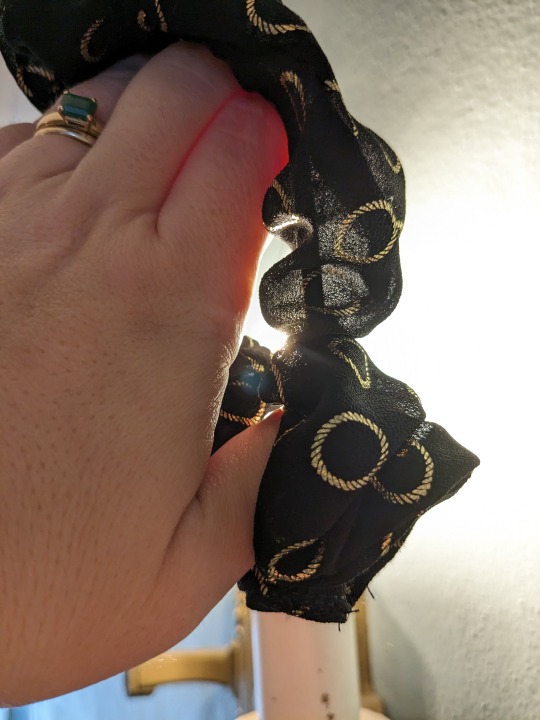
Can you even tell that I went the extra mile to use a black elastic?
Applications to other sewing projects
My most recent sewing project is a bridesmaid’s dress for me to wear at my sister’s wedding. My requirements were fairly open: black chiffon, maxi length. So I decided to make my own and selected a pattern from Simplicity, S8870 in “View A.”
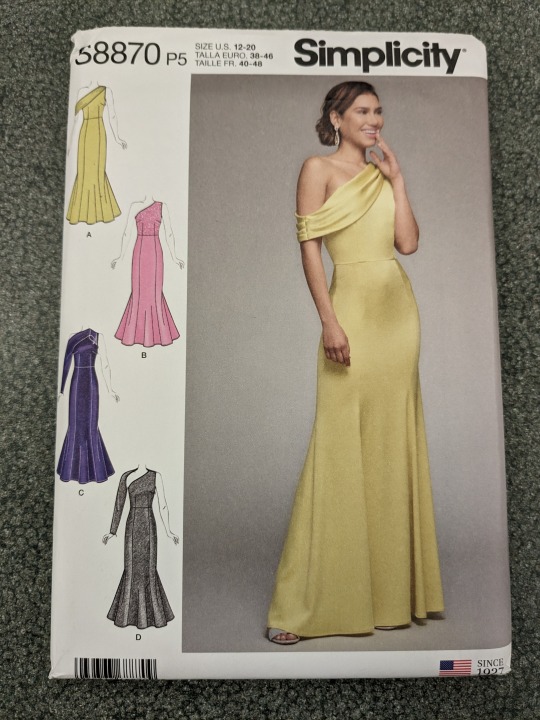
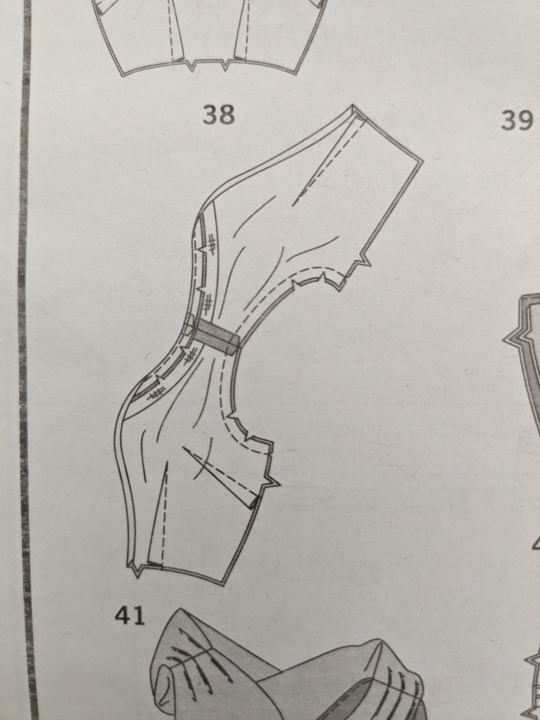
You’ll notice that the dress has a one-strap design with a loose drape that is attached at the left shoulder and then hangs over the right arm. The steps of the pattern have you sew that drape into the shoulder seam before any other steps that associate the overlay and lining or front and back of the bodice. Next, I had to understitch the neckline. Then came my secret application of The Scrunchie Problem.
“38. Tightly roll up drape for View A or Sleeve for View D. FOR VIEWS A, B, D- Stitch lining to bodice at entire armhole edge being careful not to catch drape for View A or sleeves for View D.”
I couldn’t see the drape anywhere in the diagram for that step so I rolled my drape cinnamon roll style and pulled it out of the way of my new seam. But I made the mistake of pulling it to the outside of my new seam. I did it again! I created a new tube snake that I can never pull my drape all the way out of!
The correct interpretation of that step was to roll the drape dosa style and hide within the shoulder section. That’s why I couldn’t see it in the diagram.
Wrap up
I hope I've inspired you to make a scrunchie. It’s a great use for scrap fabric. Especially from maxi dresses that us unfortunate, short ladies had to cut several inches off of the bottom.
What should I share next? Finished bridesmaid dress? Finished wedding present quilt? Or something I haven't even decided to make yet?

#diy#sewing#machine sewing#sewing problems#sewing patterns#scrunchie#hair accessories#hair ties#hair bows#crafts#dressmaking#geometry#torus#nerd alert#sewing nerd#toroid#craft nerd#problem solving#hashing#hash house harriers#red dress run#SOH4
5 notes
·
View notes
Text
i am in love w u arisa takamizawa
#the scrunchies..... the pink............ the whole thign.......#ken looks very nice too :] but AAUUWHWUEHFHHFF#AND THE RIBBONS. THE /BOWS/#duck rants about something
9 notes
·
View notes