#bleach dye
Explore tagged Tumblr posts
Text


Giygas sweat suit before I dye it red
112 notes
·
View notes
Text

Hey. Haven't posted here in a hot minute but thought I'd share that I eventually got around to re-making my Johnny Hobo shirt that finally fell apart in the wash, this time with bleach so the letters actually stay put lmao
20 notes
·
View notes
Text

#ignore the insta screenshot i cba taking more nice pics 😂#actually did some art! been a while 😅#managed to make chlorine gas in the process 😭😭#art#my art#diy#alt#alt fashion#punk#punk diy#bleach dye
26 notes
·
View notes
Text


YAYAYYAYA
#bill cipher#book of bill#gravity falls#the book of bill#art#artists on tumblr#bleach shirt#shirt#diy#diy shirt#diy project#bleach dye
27 notes
·
View notes
Text


first attempt at bleach print! it's not perfect, but I am damn proud of it!
#I've got more shirts so ill be doing more soon#i might end up reposting this eventually because i want to do stuff to the sleeves and maybe shade it a little if i have the patience#bleach print#my art#bleach dye#punk#punk diy#also please ignore the shadow of the chalk pen in places it will fade over time-
106 notes
·
View notes
Text

I love making unhinged shit
12 notes
·
View notes
Text


GUYS CHECK THIS OUT CHECK THIS OUT!!!!! AAAAA IM IN LOOOOOOVE!!!!
I ended up going with the second design regardless because the 3rd was too much (even though it won on 2/3 polls) and the 1st was too little
I'm in love aaaaaaaa
@tinyperson00
24 notes
·
View notes
Text

Fish shirt I bleach dyed!
11 notes
·
View notes
Text


bad pictures! but this is the shirt i made back in june for the central park summerstage show!!🖤
@mothercain
20 notes
·
View notes
Text

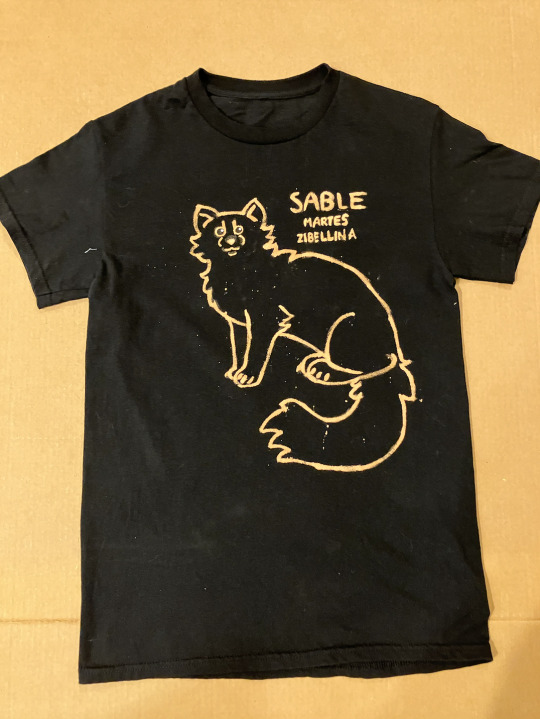
I see a lot of 'diy gear' around so I'm surprised I've hardly ever seen bleach dyed shirts! They're honestly one of the coolest, easiest, and relatively inexpensive ways to make discreet gear - especially if you're like me and you can't exactly find shirts of your theriotype being sold.
Tutorial under the cut!! :3
What you will need:
A black t-shirt, preferably 100% cotton (avoid polyester and spandex)
Bleach
Water
Sidewalk/blackboard chalk, or a chalk pen
A paintbrush to apply the bleach
A disposable cup
A bit of cardboard or plastic to put under the shirt (to prevent the design from bleeding through onto the other side)
GLOVES and other safety gear (ie, a mask and goggles)
fabric paint, not puffy paint (optional but if you're heavy handed like I am it helps so you can fix screw ups)
SAFETY:
Work in a well ventilated area.
Wear gloves, goggles, and ideally a filtration mask when handling bleach.
WASH YOUR HANDS thoroughly after handling the bleach and do not touch your eyes or face before washing your hands
Be mindful of chemical reactions that can occur when mixing bleach with other cleaning products - never, ever, EVER mix bleach with anything containing ammonia as it can react and create toxic chlorine gas.
Keep bleach out of the reach of pets and small children, and if you have small animals like birds or rodents, work AWAY from them as the fumes can damage their lungs.
Make sure you read the back of your bleach container so you know how to handle and dispose of it safely.
Process:
Slide the cardboard into the shirt, adjusting it so you'll be drawing on the side you want your design on.
Use the chalk to draw your design on the fabric - don't worry about screwing up here, it'll wash out later. (If you want to, you can digitally draw your design, print it out, then trace the back with chalk and press it onto the shirt to transfer the art)
Put on your safety gear (ESPECIALLY your gloves) and move to a ventilated area (I did this on my back porch)
Carefully pour some bleach into your cup, then cut it with water. Remember that the more water you add, the more of the solution you'll need to apply to get your design to show up.
Apply the solution over your sketch using your paintbrush. You might need to apply it multiple times if your bleach solution is less concentrated.
Once your satisfied with your design, let it sit for 20 minutes to allow the bleach to fully stain the fabric.
After 20 minutes, rinse out the fabric under cool water. Make sure you're wearing your gloves as you do this so you don't hurt your skin.
Wash your shirt in your washing machine by itself, otherwise the bleach might transfer to other laundry. Put it in the dryer after or hang it up to air dry.
Clean up your area, wash your paintbrush out thoroughly, throw the cup away, and then remove your gloves to scrub your hands with soap and water.
Once your shirt is clean and dry, you can use fabric paint to touch up any mistakes. I used black paint to remove excess lines and white to give my design eye shines. Follow the directions for fabric paint on the back of the bottle, as the instructions for washing it can be different. Don't use puffy paint, the touch ups will end up raised and it'll look funny.
And there you have it! :D DIY gear shirt for all your alterhuman needs >:)
#therian#therian gear#alterhuman gear#otherkin gear#textile art#bleach dye#otherkin#alterhuman#therian gear tutorial#otherkin gear tutorial#bleach tshirt#alterhuman gear tutorial
35 notes
·
View notes
Text
*keep in mind that this will go onto a shirt. Consider what will look best
** will post results! eventually
#marine biology#sea creatures#ocean creatures#shark#whales#whale shark#humpback whale#manta ray#poll#polls#clothing alterations#bleach dye#octopus#jellyfish
15 notes
·
View notes
Text
since tiktok got banned im gonna post a couple of my tiktoks so >[]<
also ignore the tanked video quality 😿
10 notes
·
View notes
Text


Some of my snail art!
11 notes
·
View notes
Text

patterns for an upcoming project - crinoid and bivalve fossils and lightning stones
77 notes
·
View notes
Text


I could give a fuck less who likes it & who doesn't.
I'm giving everything I make to folks free of charge.
Like I do all of my art.
#diy or die#diy punk#punk rock#punk aesthetic#artists on tumblr#diy#punk fashion#crust punk#counterculture#queer artist#queer punk#queer#bleach dye#knockoffs#free art#designer
18 notes
·
View notes
Text

02/17/24
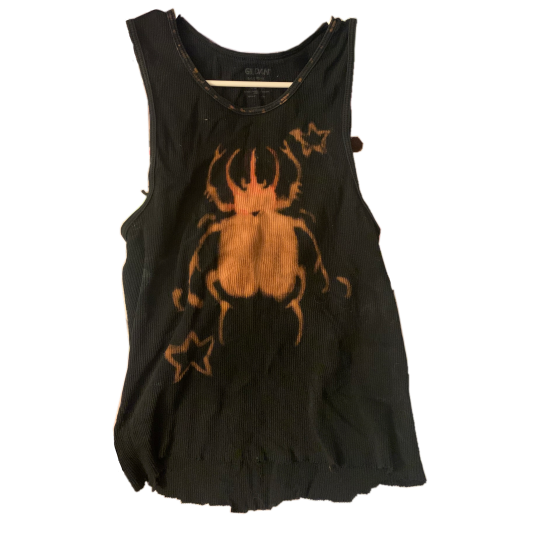
a shirt i bleach dyed :] the beetle on it is an Atlas beetle. very fitting as a first post
#wooo first post!!#while i did make this for my crochet stuff i wanted to post this :)#beetle.works#diy clothes#personalized clothing#personalized clothes#bleach dye#atlas beetle#diy craft#bleached shirt#craftblr#crafts
25 notes
·
View notes