#birthday invitation card template
Explore tagged Tumblr posts
Text
Editable Watercolor Rainbow Birthday Party Invitation Template, Colorful Party Invite, Editable Canva Template, Girls Party Invites, Digital E-Invite

#rainbow#colorful#invitation card#birthday party#birthday#ccelebrian#canva#template#editable#watercolor
2 notes
·
View notes
Text
Kids Rainbow Birthday Party Invitation
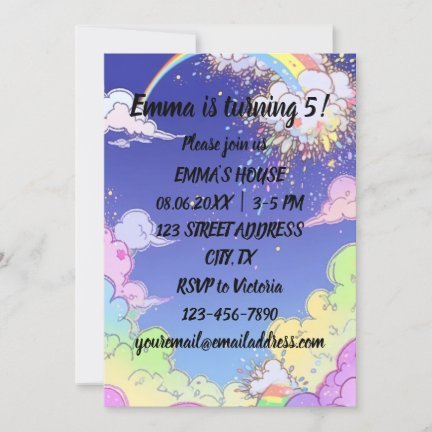
All lines of text are customizable, put anything you want or remove any lines you don't need. Paper plates, paper cups, and paper napkins in the same pattern are also available.
#birthday party invitation#invite#invitation card#kids party#kids birthday party#rainbow#customization#zazzle#zazzlemade#small business#shop small#shopping#kidcore#party invitations#invitation template#baby shower
0 notes
Text
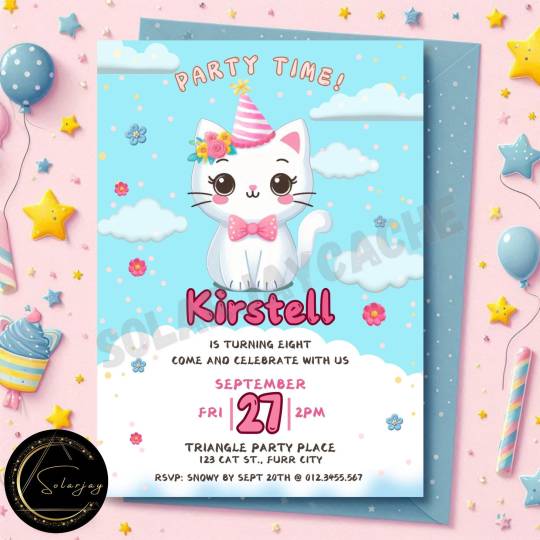
#birthday invitation#editable#template#glitter#invitation card#pink invitation#luxury#elegant#confetti#Solarjayartfulstuff
0 notes
Text
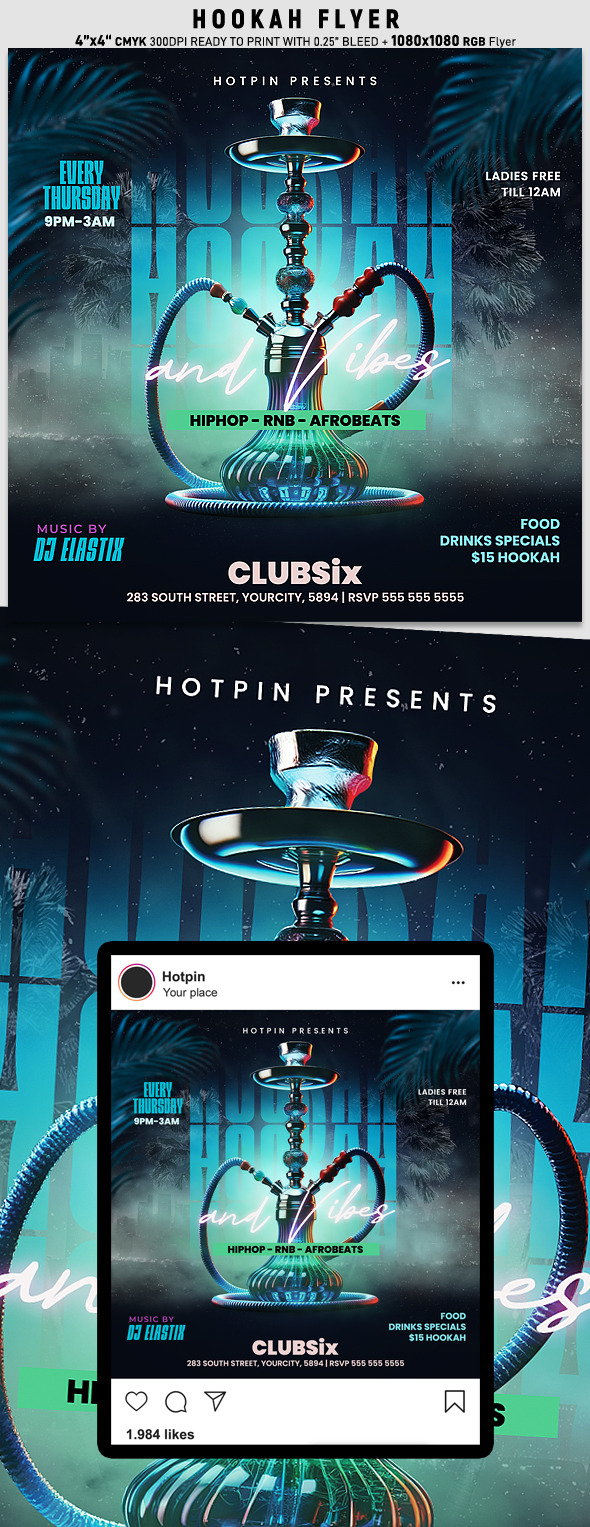
Hookah Flyer Template is very modern psd flyer that will be the perfect invitation for your Night Club event or party! All elements are in individual layers and the text is fully editable!
2 PSD files – 4”x4” with 0.25” bleed + 1080×1080 Rgb Flyer
#after work party#bash#birthday#birthday party#card templates#celebration#entertainment#event flyer#friday night#girl#girls night out#invitation#ladies#ladies night#luxury#music#night club#nightclub#party#party flyer#psd#seductive#sexy#shisha#summer#summer flyer#VIP lounge#weekend event
0 notes
Text
Craft Your Perfect Birthday Invitation with 247 Invites
Unleash your creativity and make your next birthday celebration unforgettable with 247 Invites. Our online birthday card maker and birthday invitation maker are here to help you design the perfect birthday party invitations. Explore our diverse collection of templates, including unique options like the Krishna theme birthday invitation card. Whether you want to create a traditional birthday card or a captivating birthday invitation video, our user-friendly platform has you covered. Join us at 247 Invites and let your imagination run wild, ensuring your next birthday celebration starts with a personalized touch that leaves a lasting impression.

#birthday card maker#online birthday card maker#birthday invitation maker#online birthday invitation maker#birthday party invitation maker#birthday invitation video template#Krishna theme birthday invitation card
0 notes
Text
#greeting cards#template#funny birthday card#father's day#invitation cards for birthday#good morning images
0 notes
Text
Acts of kindness ideas!!
The internet can be such a toxic place sometimes!! I think one way to change that is to spread positivity and inspire others to be kind, so here I'm making a positive corner on the internet where we can share ideas for little acts of kindness we can do for others to brighten up their day 🌞 Please share your own ideas too!!
For friends
Message a friend you haven't spoken/seen in a while and ask them what's up, or that you've been thinking about them!! (you never know what they're going through, they could be going through a rough time, and knowing their friend is thinking about them and wants to know how they're doing could really cheer them up)
Make a DIY project as a gift for a friend, even if there is no special occasion like a birthday coming up! This could be something like making them a necklace or bracelet out of beads, buying a felt kit and making them a little animal, making an embroidery or punch needle design (there are beginners kits online and in stores), make a little statue out of air dry clay or fimo, or just make them a drawing!
If you're going out for a walk, ask a friend if they'd like to join you
Compliment your friends often and/or tell them how much you enjoy spending time with them, some people never receive compliments and it can really make their day
Make a compilation of pictures you've taken together as a slideshow or as a cute video using capcut!! this app has many templates made by others, you can search for something like "friends" and get lots of cute video templates to add your pictures to with music
Send them videos or songs that make you think of them
Invite your friend to play videogames, and board games, or watch a movie/TV show with you
Bake yummy treats for your friends (banana bread is my fave thing to make for others)
Send them cute sparkly GIFs
For family
Honestly, everything I mentioned above you can do with family, but here are some additional things (ofc I know this doesn't apply to everyone since everyone's family situation is different, these are my personal ideas based on my experiences)
If there's a family member you haven't spoken to in a while, ask them for life updates, tell them that you love and appreciate them, and do whatever you think would be best to let them know they are thought of and loved!
Send them cute videos and GIFs, and good morning/goodnight pictures, or call them to say good morning or goodnight, older generations, especially like this
Interview them on their life and family history (if they're comfortable with this, not everyone has a great family), and write these things down and/or record it! Making a little biography on their life and history is good and lets them know you care deeply about them and who they are
Make a family tree together, going as far back as you can, writing as much extended family as you can, and also writing as many details as you can for each family member, it can be really cool! There are websites to do this for free or you can do it on paper
Ask them to watch their favorite movie or TV show together, you might find older movies you really like!
Make a playlist of their favorite songs
Give them compliments on their outfits, their hair, and their looks!!
Offer to help clean and cook
Send them postcards/greeting cards in the mail (or give them one in person) even the cute ones that say something like "thinking of you!" are so cute. A postcard is a good idea to send your family if you are on vacation.
For strangers
This, of course, will vary depending on culture and if the stranger is comfortable with being interacted with!!
If someone needs change or help buying essentials and you have the resources to help them, offer them help
If you see a homeless person and there is a grocery store or food place nearby, ask them if they need anything or buy them a meal
Compliment strangers, since they don't know you, it makes it more apparent to them that you genuinely mean it since sometimes we can overlook compliments from those we know
If a stranger sneezes around you, say bless you! (when this happens to me it always makes me smile idk)
This one is more for acquaintances, if you frequently see someone outside you occasionally talk to and enjoy their company, you could make them a little craft as a gift!
Say good morning to people (this may not be acceptable in certain cultures where strangers never talk to each other)
If there is someone with a cute dog, you could make someone's day by asking for their dog's name and saying their dog is cute!! It's also a good way to make acquaintances, complimenting someone's dog can lead to further conversation
Offer your seat to others on the bus or train, no matter their age
These are just some ideas...feel free to add on!!
3 notes
·
View notes
Text
3 notes
·
View notes
Text
Printable Vintage Floral Journal Cards ATC | Printable Digital Cards, Collage Sheet, Junk Ephemera, Embellishments, 50 Designs 2.5x3.5in
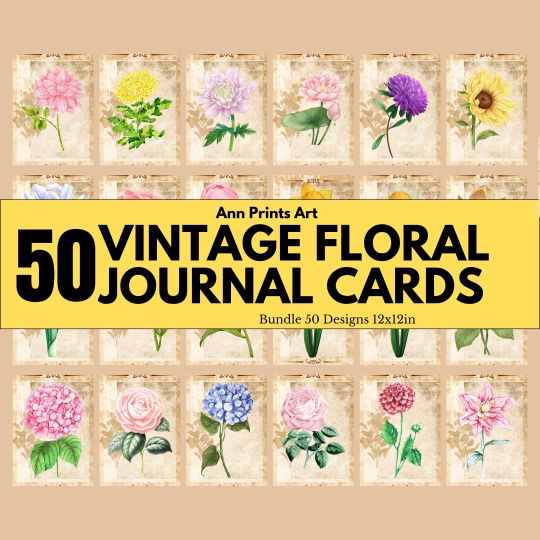
Each design is 2.5x3.5 inches and perfect for Scrapbooking, Cardmaking, Handmade Stationery, Invitations, Place Cards, Tags, Wrapping Paper, Books and Journals Hardcovers, Jewelry, Cards, Decoupage, Decorated Furniture, Packaging, Crafts for Weddings, Birthdays, Parties and any DIY Project you may dream of.
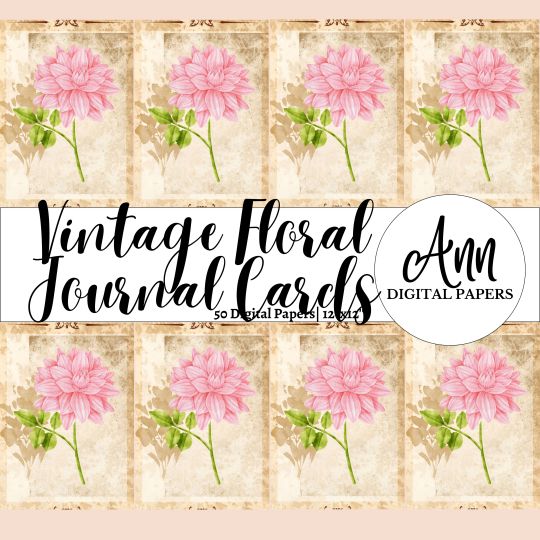
PRODUCT INFORMATION: 1.Included Template Designs: Vintage Floral Journal Cards ATC 2.Topic: Vintage Floral Journal Cards ATC 3.Amount: 50 Papers 4.Dimensions: 2.5x3.5 inches 5.Format: JPG
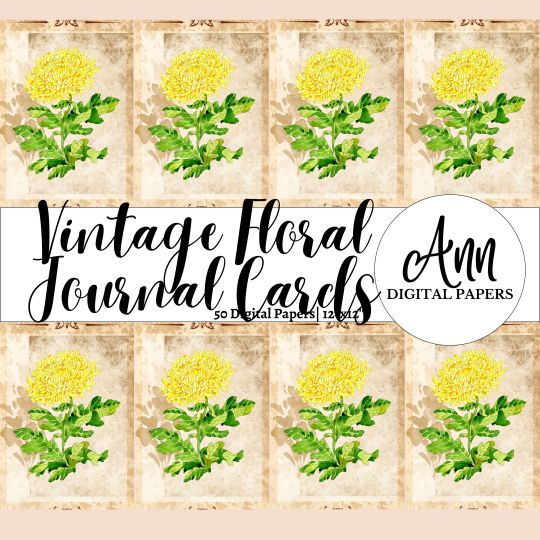
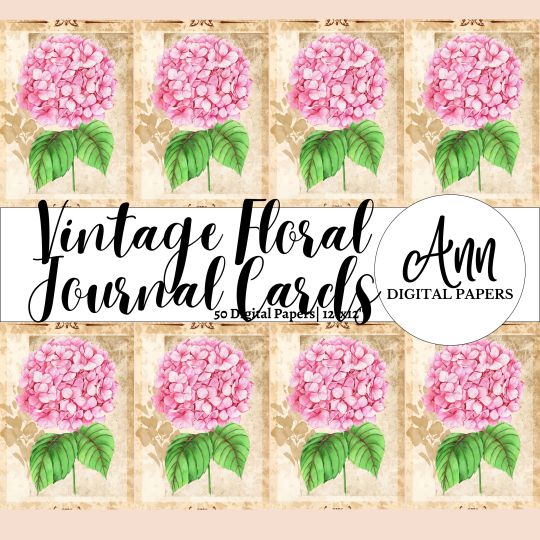
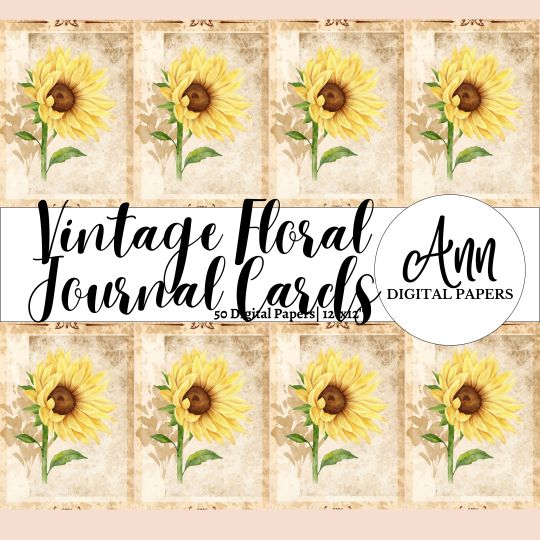
#AnnPrintsArt#printart#digitalpaper#digitaljunkjournal#printablevintage paper#junkjournalkit#printable#Invitations#CardsATC#DIYProject#CollageSheet#JunkEphemera#Embellishments#Crafts#Scrapbooking#Cardmaking#Handmade#VintageFloral
2 notes
·
View notes
Text
E-Invites for Weddings and Events: A Modern Solution for a Memorable Celebration
Wedding celebrations and other events have certainly changed over the years, but so has inviting loved ones to your special occasions. E-invites, or electronic invitations, have been becoming increasingly popular in recent years, an amalgamation of convenience, creativity, and eco-friendliness. Whether it is a wedding, birthday party, or any special day for that matter, e-invites are definitely a modern, stylish, and practical solution.
In this article, we’ll explore why e-invites have become a go-to choice for many, how they can enhance your event planning process, and tips to create the perfect digital invitation.
Visit For More Info- Oppvenuz.com
Why Choose E-Invites for Your Event?
1. Cost-Effective SolutionTraditional paper invitations can be costly, especially when you factor in printing, postage, and delivery expenses. E-invites eliminate these costs, allowing you to allocate your budget to other aspects of your event, such as decor, catering, or entertainment.
2. Eco-Friendly OptionIn a world increasingly focused on sustainability, e-invites are an environmentally friendly alternative to paper invitations. By opting for digital invites, you can reduce paper waste and contribute to a greener planet.
3. Instant DeliveryWith e-invites, there’s no need to wait days or weeks for invitations to reach your guests. Digital invites are delivered instantly via email, messaging apps, or social media platforms, ensuring your guests receive them on time.
4. Customizable and Creative DesignsE-invites offer endless possibilities for customization. From elegant wedding templates to quirky birthday themes, you can create an invitation that perfectly reflects the vibe of your event. You can include animations, videos, and personalized messages to make the invitation truly unique.
5. Easy to Track RSVPsManaging RSVPs can be a tedious task with traditional invites. E-invites simplify this process by integrating RSVP tracking. Most platforms allow you to see who has viewed and responded to your invitation, making it easier to finalize guest lists.
6. Accessible to EveryoneIn today’s digital age, almost everyone has access to a smartphone or computer. E-invites ensure that your guests can easily access the invitation and stay updated with event details.
How to Create the Perfect E-Invite
1. Choose the Right PlatformThere are numerous platforms available for creating e-invites, such as Canva, Evite, Paperless Post, and Greetings Island. Each platform offers unique templates, designs, and features. Choose one that suits your event’s theme and your technical expertise.
2. Reflect Your Event ThemeYour e-invite should give your guests a glimpse of what to expect at your event. For a wedding, opt for elegant and romantic designs. For a birthday party, choose fun and vibrant colors. Consistency between your invitation and your event theme enhances the overall experience.
3. Add Personal TouchesInclude personalized elements in your e-invite, such as the couple’s names, a heartfelt message, or a short video. Adding personal touches makes the invitation feel special and memorable.
4. Provide Clear DetailsMake sure your e-invite includes all the essential details, such as the event date, time, location, dress code, and RSVP instructions. If it’s a virtual event, include the meeting link or access code.
5. Use High-Quality VisualsVisuals play a crucial role in making your e-invite appealing. Use high-resolution images, videos, and animations to create a polished and professional look.
6. Send Invitations in AdvanceGive your guests ample time to plan by sending e-invites at least 6–8 weeks before the event. For weddings, consider sending a “save the date” e-card even earlier to ensure your loved ones can mark their calendars.
7. Include a Call-to-ActionEncourage your guests to respond promptly by adding a clear call-to-action, such as “Click here to RSVP” or “Reply by [specific date].”
Advantages of E-Invites Over Traditional Invitations
1. Real-Time UpdatesLife happens, and plans can change. E-invites make it easy to update event details and notify your guests instantly. For instance, if there’s a change in venue or timing, you can send out an updated invitation in minutes.
2. Interactive FeaturesUnlike traditional paper invites, e-invites can include interactive features such as clickable links, maps, and videos. This makes it easier for guests to navigate to the venue or access important information.
3. Shareable and ConvenientE-invites are easy to share, whether via email, WhatsApp, or social media. If your guests need to forward the invite to a family member or friend, they can do so with just a few clicks.
4. Perfect for Destination Weddings or Hybrid EventsFor destination weddings or hybrid events with virtual attendees, e-invites are an ideal choice. They allow you to share travel information, accommodation details, and virtual event links effortlessly.
Future Trends in E-Invites
The world of e-invites is constantly evolving, with new trends and technologies enhancing the experience. Some emerging trends include:
AI-Generated Designs: Platforms are integrating AI to create personalized and sophisticated designs based on user preferences.
Augmented Reality (AR): AR invites allow guests to interact with elements of the invitation, such as viewing a 3D model of the venue.
Eco-Certifications: Some platforms offer eco-certifications, emphasizing the environmental benefits of choosing e-invites.
Conclusion
E-invites transform the kind of celebration of weddings and events, due to their characteristic style, convenience, and sustainability. Thus, they serve as the epitome of modern-day hosting style. Digital invitations give people an opportunity to make an unforgettable impression while planning their event, making it easier to do so.
Whether it is an intimate gathering or a grand celebration, e-invites provide the flexibility and creativity needed to set the tone for your special day. So, ditch the traditional paper invites and explore the endless possibilities of e-invites to make your event truly unforgettable.
0 notes
Text
Elevate Your Celebrations with Evermine: Personalized Labels, Stickers, and More!
Every celebration is a special opportunity to create memories that last a lifetime. Whether it’s an intimate gathering or a grand event, personalizing the experience adds a unique and heartfelt touch. Enter Evermine, your one-stop shop for high-quality personalized labels, stickers, and more, designed to make your events unforgettable.
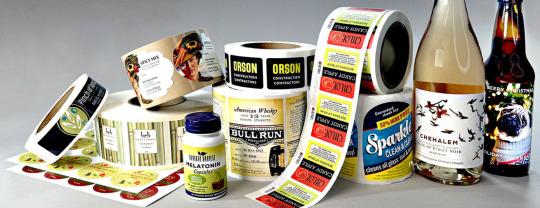
In this blog, we’ll delve into how Evermine’s wide range of products can transform your celebrations, enhance the guest experience, and ensure your special moments are truly one of a kind.
The Power of Personalization
Personalization isn’t just a detail; it’s an essential element that brings events to life. Here are key reasons why adding a personal touch matters:
Creates Emotional Connections: Personalized items show thoughtfulness, making your guests feel special and valued.
Unique and Memorable: Custom touches ensure your celebration stands out and remains etched in attendees’ memories.
Elevates Branding: For corporate events, personalization reinforces professionalism and brand identity.
Reflects Your Style: Personalization allows you to showcase your unique taste and preferences.
Fits Any Occasion: From weddings to birthdays, every celebration benefits from custom details.
Explore Evermine’s Product Range
Evermine offers an extensive array of customizable products, catering to every event and theme. Here’s what they bring to the table:
1. Custom Labels
Labels are a versatile and elegant way to add a personal touch:
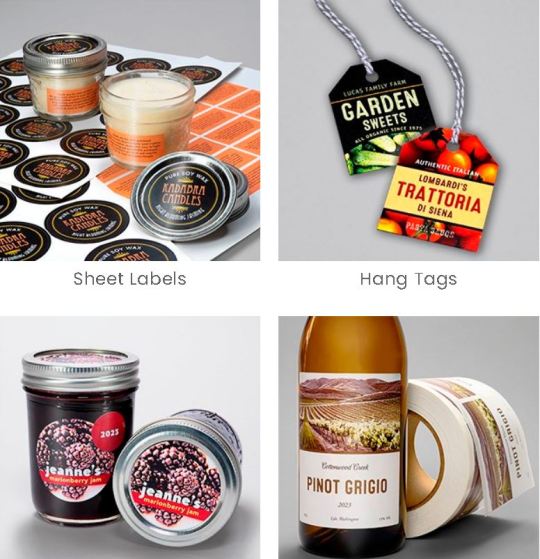
Bottle Labels: Perfect for wine, beer, or specialty beverages, these labels add sophistication to your drink selections.
Food Labels: Great for homemade treats like jams, sauces, or baked goods, providing a professional finish.
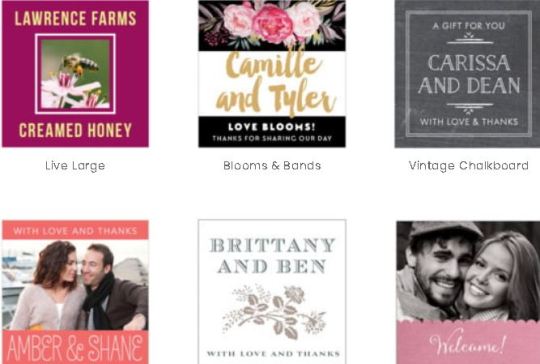
Address Labels: Elevate your invitations and correspondence with stylish, personalized address labels.
2. Personalized Stickers
Stickers offer endless creative possibilities to enhance your event:
Seals for Party Favors: Complete favor packaging with themed stickers.
Decor Accents: Use stickers on candles, balloons, or table settings for added flair.
Stationery Details: Add them to invitations, save-the-dates, or thank-you cards for a cohesive look.
3. Gift Tags and Coasters
Add functionality and charm to your event essentials:
Custom Tags: Perfect for gifts, party favors, or table place cards.
Personalized Coasters: Stylish and practical, coasters double as keepsakes for guests.
4. Invitations and Cards
Set the tone for your celebration with custom-designed invitations and matching stationery. Choose from a variety of designs to perfectly align with your theme.
How to Choose the Perfect Design
Designing personalized items can feel overwhelming, but Evermine simplifies the process. Here’s how to make the right choices:
Start with Your Theme: Ensure your designs align with the event’s theme and color scheme.
Focus on Details: Fonts, imagery, and layout are key elements to consider.
Use Templates: Evermine’s customizable templates make designing effortless.
Add Personal Touches: Incorporate names, dates, or meaningful messages for added significance.
Why Evermine Stands Out
Here’s what makes Evermine a trusted choice for personalized event supplies:
1. Top-Notch Quality
Evermine prioritizes durability and aesthetic appeal, ensuring your personalized items look stunning and last long.
2. Eco-Friendly Practices
Sustainability is a core value, with eco-conscious materials and production methods reducing environmental impact.
3. Easy Customization Tools
Evermine’s intuitive design tools cater to all skill levels, allowing anyone to create professional-quality designs.
4. Affordable Luxury
Despite their premium quality, Evermine’s products remain budget-friendly, ensuring value for every customer.
5. Exceptional Customer Support
From design assistance to order tracking, their dedicated support team ensures a smooth experience.
Creative Uses for Evermine Products
Evermine’s products go beyond traditional celebrations. Here are some innovative ways to use them:
Corporate Branding: Customize labels and stickers for promotional events, trade shows, or client gifts.
DIY Projects: Personalize your crafts with custom tags and labels.
Seasonal Celebrations: Add unique touches to holiday gifts and party decor.
Life’s Milestones: Commemorate graduations, retirements, or anniversaries with personalized keepsakes.
The Evermine Experience
Shopping with Evermine is designed to be simple, inspiring, and efficient. Here’s what to expect:
Seamless Navigation: Their website is easy to use, ensuring a hassle-free shopping experience.
Flexible Design Options: Choose from pre-designed templates or create something entirely unique.
Quick Turnaround: Fast production and shipping ensure your items arrive on time.
Inspiration and Ideas: Explore their gallery for creative inspiration and tips.
Conclusion
Celebrate life’s moments in style with Evermine’s personalized products. From custom labels to unique coasters, their offerings provide everything you need to make your event truly unforgettable. Whether it’s a wedding, corporate gathering, or intimate celebration, Evermine helps you create a personal and lasting impression.
Visit Evermine today to start designing your perfect celebration. Turn your vision into reality and let your unique style shine through every detail!
#Evermine#PersonalizedLabels#EventPlanning#PartyDecor#CustomStickers#EventInspiration#DIYProjects#PartyFavors#WeddingIdeas#CorporateEvents#CelebrationEssentials#EcoFriendlyEvents#EventDesign#PersonalizedGifts#PartyPlanningTips#CustomDecor#CreativeCelebrations#MemorableEvents#EventStyling#EvermineStyle
0 notes
Text
Anyone interested in exchanging holiday cards (digitally)?
I personally love giving and getting Christmas cards (i have terrible attachment issues to anything slightly sentimental so I collect every card I ever get in a box and make garlands as Xmas decorations). So I figured I’d try and propose a card swap on here of sorts. I really like to use the site “Greetings Island”. If anyone is interested I’d say to just reply to this post or reblog it. If it happens it is obviously completely optional, no one has to feel like they needs to do it. You can write a big long heartfelt message to someone or just choose one of their suggested messages. You can also send them through tumblr messenger just in case you don’t have any form of contact with them off the website. They also give you a pdf of the card you can print out if you want a physical copy. I think the idea of sending cards in the mail and stuff is cool, but many people are rightfully hesitant to give out their address to people online, not only that but I’m in Canada and our postal service is a bit complicated rn. As well as the fact that this way is completely free instead of worrying about paying for cards, stamps, and postage so it’s more accessible.
I say Christmas cause that’s what I celebrate and I know many of my mutuals do as well, but anyone can participate no matter what holidays you celebrate. If you celebrate Chanukah or kwanza, or even if you don’t have any December holidays there are many different card options available on the site i mentioned above.
If I gets no interaction then it’s obviously fine lol but this was something I’ve thought about so I figured it never hurts to ask ☺️
0 notes
Text
Celebrate Your Special Day in Ottawa with a Memorable Birthday Invitation
Your birthday is a personal celebration, so why not have an invite that reflects your unique personality? At Avefy, you can choose from a variety of templates that can be customized to fit the theme of your party. Whether you're having a classy garden tea party, a glamorous black-tie event, or a fun and casual outdoor gathering, there's a Birthday Celebration Invite Card in Ottawa that suits your vision.
0 notes
Text
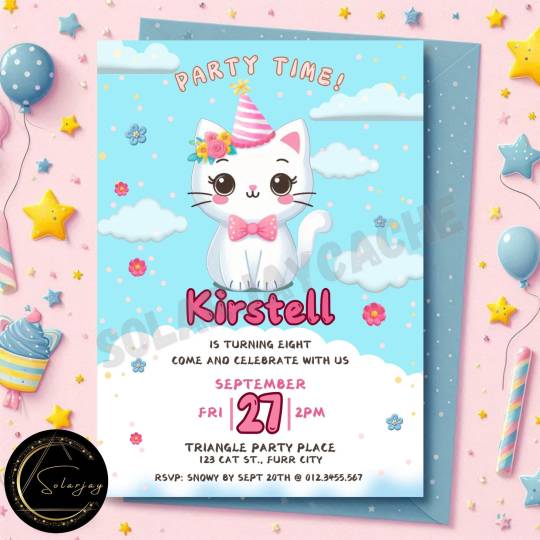
#editable#birthday invitation#invitation card#cat#white cat#kitty#cute kitty#kitten#template#digital products
0 notes
Text

Construction Theme Birthday Party
Are you planning a construction-themed party or event? Look no further than this amazing construction-themed invitation suite! Featuring cute and fun cartoon illustrations of a dump truck, digger, cement truck, wrecking ball crane, stop signs, and bunting, this adorable collection of party supplies is ideal for creating an amazing atmosphere that everyone will love. This suite is specifically designed with versatility in mind and includes a range of products to help you create the perfect look. From baby shower invitations, banners and napkins to birthday invites, thank you cards and more, this collection has everything you need to pull off the perfect party. You can even customize the modern celebration template to ensure your invites look just the way you want.
READ MORE
1 note
·
View note
Text
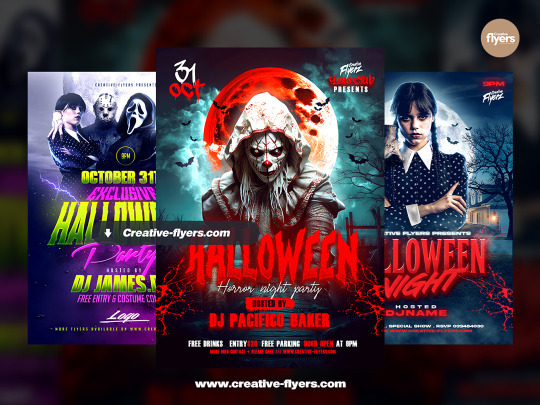
Download Best Graphic Flyers for Halloween (PSD) @creativeflyers
#flyer template#photoshop#graphic design#creative#flyer design#creativeflyer#creativeflyers#poster#flyer#halloween
1 note
·
View note