#MannequinEditing
Explore tagged Tumblr posts
Text
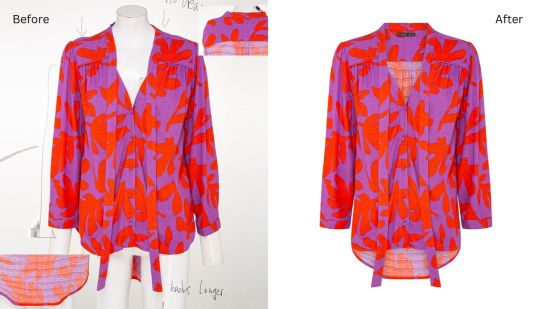
Need to make your product shots stand out? Look no further! We specialize in the Ghost Mannequin Effect, a technique that brings life to your clothing line without the need for an actual model. Our skilled team ensures high-quality, affordable, and reliable editing services, catering to clients worldwide. Let us elevate your brand's image today!
#GhostMannequin#ProductPhotography#PhotoEditing#Ecommerce#OnlineShopping#FashionPhotography#ProductShoot#ClothingPhotography#VisualMerchandising#RetailPhotography#MannequinEditing#ApparelPhotography#CreativeEditing#ImageManipulation#OnlineRetail
2 notes
·
View notes
Text
Remove ghost mannequin parts?
Product Photography Is An Absolute Necessity In E-commerce.
One popular technique is ghost mannequin photography, which allows you to showcase clothing with the shape and structure intact, while keeping the focus solely on the product itself.
However, to get that clean, professional look, you need to remove any mannequin parts that are still visible in the photo.
In this guide, we’ll walk you through how to remove ghost mannequin parts using Photoshop, so you can get those perfect product shots every time.
So, we can start now!
What is Ghost Mannequin Photography?
Ghost mannequin photography, also known as the invisible mannequin technique, is a way of displaying clothing without showing the mannequin itself.
This style gives off a floating appearance that will let viewers interested buyers funnel their attention to the product itself.
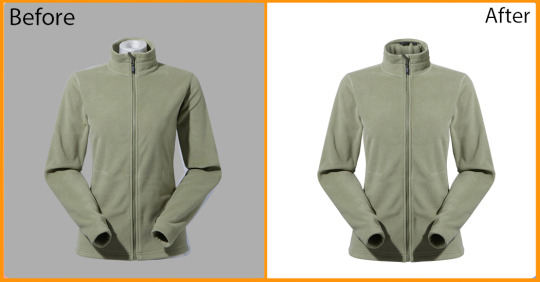
Commonly used in the fashion industry, especially for e-commerce websites, as it does not distort clothing allowing it to retain its natural shape without much distraction from a human model or mannequin.
Why Use Ghost Mannequin Photography?
Professional Appearance: Showcases the product’s fit and structure without distractions.
Focus on the Product: Keeps attention on the garment instead of the model or mannequin.
Consistent Look: Ideal for creating uniformity across all your product photos on your site or online store.
The Importance of Removing Ghost Mannequin Parts
Clear photos without any mannequin parts are important for your brand’s professional look and customer experience.
If parts of the mannequin are still visible, it can take away from the smooth, polished look you want.
Without the mannequin there to distract them, customers are better able to see the clothes and how they will look on.
Benefits of Removing Ghost Mannequin Parts:
Improved Visual Appeal: The focus remains on the product.
Higher Engagement: Clearer images can attract more clicks and views.
Increased Sales: A clean, professional image leads to higher trust, and in turn, more conversions.
Tools You’ll Need in Photoshop
To get started, let’s make sure you’re familiar with the tools you’ll be using in Photoshop for removing ghost mannequin parts:
Quick Selection Tool: Best for selecting broad, well-defined areas quickly.
Polygonal Lasso Tool: Perfect for manually selecting areas with more complexity, like areas where the mannequin and product colors blend together.
Eraser Tool: For fine-tuning and erasing any remaining traces or tones after removing the mannequin part.
Step-by-Step Guide: Removing Mannequin Parts
Select the Arm with the Quick Selection Tool
For sections where the mannequin and t-shirt have clear color contrasts, you can use Photoshop’s Quick Selection Tool. Here’s how:
Select the Quick Selection Tool from the toolbar.
Click and drag over the mannequin’s arm. The tool will automatically detect the edges and create a selection around the arm.
Press Delete on your keyboard to remove the selected area.
Switch to the Eraser Tool (shortcut key: E).
Carefully erase any leftover tone or edge to create a smooth transition between the t-shirt remove background.
When Quick Selection Won’t Work: Using the Polygonal Lasso Tool
When the mannequin and product share similar colors (like white-on-white), the Quick Selection Tool might struggle to differentiate between the two.
This is where the Polygonal Lasso Tool comes in handy.
Choose the Polygonal Lasso from the Toolbar.
Pinch-to-zoom in for finer detail. (Use Ctrl + Plus on your keyboard to zoom in, or Cmd + Plus on a Mac.)
Click along the edges of the t-shirt, tracing around the mannequin’s arm. Clicking until you’ve created a complete selection.
Once the selection is closed (by connecting the last point to the first), press Delete to remove the selected area.
Deselect the selection by pressing Ctrl + D (or Cmd + D on a Mac).
Pro Tips for Perfect Selections
To achieve best results, consider these additional tips:
Zoom in for Detail: Always zoom in when making selections to ensure accuracy, especially around edges.
Feathering the Edges: Use feathering to soften the edges of your selection, creating smoother transitions.
Refining Edges: Photoshop’s Select and Mask feature can help you refine the edges for a cleaner, more professional result.
Final Step: Adding a Clean White Background
Once you’ve removed the mannequin parts, you may want to place your product on a simple white background for that professional, e-commerce-ready look.
In Photoshop, create a new layer by going to Layer > New > Layer.
Drag the new layer beneath your t-shirt layer in the Layers panel.
Select the Paint Bucket Tool and fill the layer with white.

Credit: fotor
Common Challenges and How to Overcome Them
Here are a few challenges you might face when removing mannequin parts and how to tackle them:
Dealing with Color Overlaps: The Polygonal Lasso Tool is your best friend when colors between the mannequin and clothing blend together.
Take your time and careful selections.
Avoiding Jagged Edges: Use edge refinement tools to smooth out any jagged lines, and don’t be afraid to use the Eraser Tool for minor corrections.
Handling Shadows: Sometimes, shadows from the mannequin linger. Use the Clone Stamp Tool to blend and remove unwanted shadows while maintaining a natural look.
Before and After Comparison
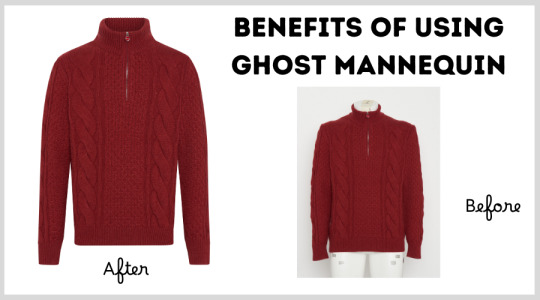
For a more eye-opening example of what this does, keep in mind the change below on the left.
On the left, you have the raw photo with mannequin arms visible, and on the right, the clean, finished product after following this guide.
Notice how removing mannequin parts enhances the professional quality and visual appeal.
The Benefits of a Mannequin-Free Product Image for Your Business
By investing the time to remove ghost mannequin parts, you ensure that your product images look polished, professional, and appealing to potential buyers.
Here’s how this can benefit your business:
Boost Your Brand’s Professionalism: Clean, mannequin-free photos elevate your brand image.
Increase Conversion Rates: High-quality product images build customer trust and encourage more sales.
Consistent Visual Branding: Creating uniform product images gives your website a cohesive, sleek appearance.
Credit: linkedin
Conclusion
For e-com and fashion brands removing the ghost part on path is required to be skilled in converting image into final product picture With those steps,
You get a high-quality edited professional look that increases the aesthetic appeal of your products.
Whether it's a single image on your to-do list for some fine-tuning, or you're batch-editing photos, these tricks will have you creating consistent,
Mannequin-less images that make your customers do a double-take.
If you have any problems working on the above tasks, you can definitely seek professional help.
And please don’t hesitate to let us know your thoughts.
FAQ:
How to remove models from clothes?
To remove models from clothes in photos, you can use Photoshop or similar editing software. Here’s a simple process:
Use the Quick Selection Tool or Lasso Tool to select the model’s body.
Once selected, delete the model, leaving the garment intact.
Use tools like the Clone Stamp Tool or Healing Brush to fill in any areas that need retouching. This technique is similar to ghost mannequin photography,
where the focus is on the clothes without the distraction of a visible model.
How to effect ghost mannequin photography?
The ghost mannequin effect can be achieved by following these steps:
Photograph the clothing on a mannequin or model.
Take separate images of the garment's inside (like the collar or back).
In Photoshop, remove the mannequin by selecting and deleting the visible parts using tools like the Quick Selection Tool or Pen Tool.
Merge the separate images to recreate the garment’s natural shape without the mannequin showing.
How can you obtain a ghost figurehead?
To obtain a ghost figurehead effect (similar to ghost mannequin photography):
Photograph the product (such as clothing or accessories) with a mannequin, ensuring the focus is on the product’s shape.
In post-production, carefully remove the mannequin’s head using Photoshop, keeping the garment intact.
For a full "ghost" effect, you can also blend multiple images to ensure the inner details of the product are visible.
How do you unlock the ghost set?
The ghost set often refers to the process or technique needed to unlock the ghost mannequin effect in product photography:
Prepare a mannequin with detachable parts (such as arms, legs, or heads) for easy photo editing.
Shoot the product in multiple angles (including an inside shot of the garment).
In post-editing, remove the mannequin from the product photos and merge the different shots for a seamless, floating look.
1 note
·
View note
Text
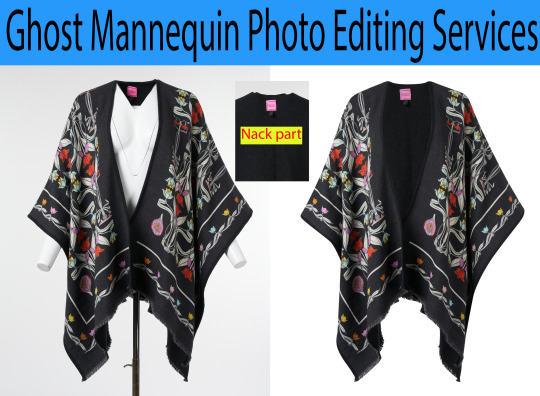
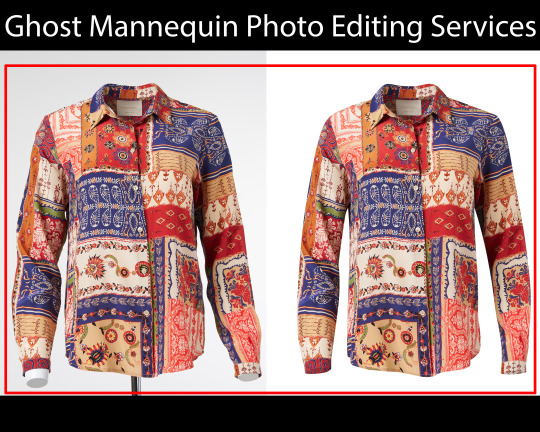
Looking for a seamless way to showcase your clothing line? Our Ghost Mannequin Photo Editing services are the answer.
#professionalretouching#photorestoration#original photography on tumblr#GhostMannequinPhotoEditingServices#MannequinEditing#GhostMannequin#ProductPhotography#EcommerceEditing#ClothingEditing#FashionPhotography#ProfessionalEditing#ImageManipulation#ProductRetouching#VisualMerchandising#OnlineStoreEditing#FashionRetouching#ApparelEditing#ImageEditingServices#PhotoshopEditing#PhotoPostProduction#CreativeEditing#VirtualMannequin#ClothingPhotography
1 note
·
View note
Text
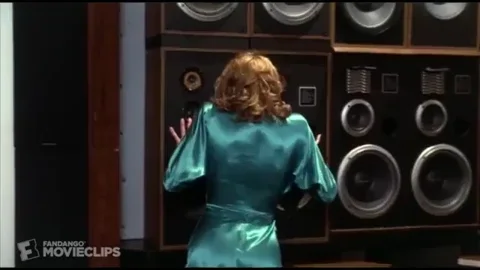
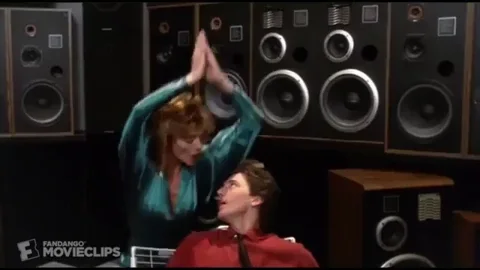
Mannequin (1987) [1/2]
3 notes
·
View notes
Photo


Mannequin (1987) dir. by Michael Gottlieb
#mannequin#mannequinedit#andrew mccarthy#kim cattrall#meshach taylor#estelle getty#80s#Michael Gottlieb#*#nati
206 notes
·
View notes
Text
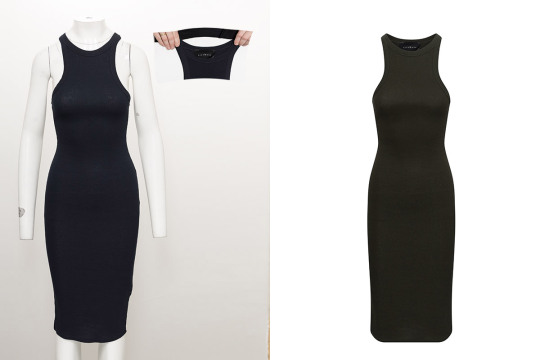
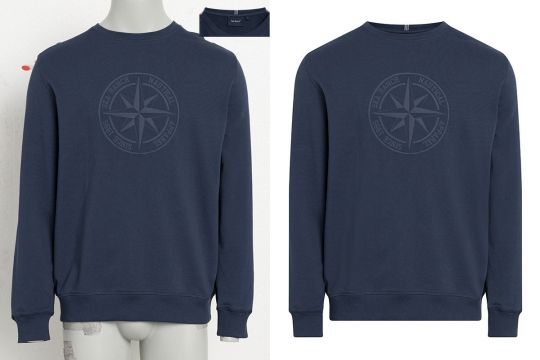
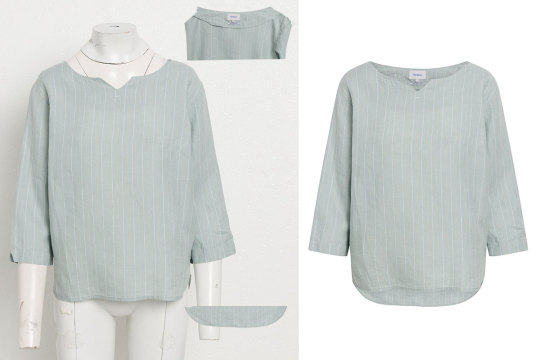
Unlock the invisible potential of your fashion brand with our Image Ghost Mannequin Service. Seamlessly showcase your garments in stunning detail and capture the attention of fashion lovers everywhere.
#FashionPhotography#GhostMannequin#EnhancedVisuals#InvisibleMannequin#ProductShowcase#FashionBranding#RetailPhotography#ClothingPhotography#VisualMerchandising#FashionMarketing#MannequinPhotography#MannequinEditing#ApparelPhotography#FashionEditing#ProductRetouching#EcommercePhotography#FashionCatalog#ClothingBranding#ProductPresentation#VirtualMannequin
0 notes
Photo


Andrew McCarthy as Jonathan Switcher in Mannequin (1987) dir. by Michael Gottlieb
#mannequin 1987#mannequin#mannequinedit#andrew mccarthy#andrewmccarthyedit#jonathan switcher#michael gottlieb#80s#*#nati
184 notes
·
View notes
Photo


Mannequin (1987) dir. by Michael Gottlieb
81 notes
·
View notes
Photo


Mannequin (1987) dir. by Michael Gottlieb
77 notes
·
View notes
Photo


Mannequin (1987) dir. by Michael Gottlieb
93 notes
·
View notes
Photo


#mannequinedit#mannequin#andrew mccarthy#andrewmccarthyedit#kim cattrall#80s#*#nati#Michael Gottlieb
285 notes
·
View notes
Photo


#mannequin#mannequinedit#andrew mccarthy#andrewmccarthyedit#80s#*#nati#for the record I'd die#Michael Gottlieb
115 notes
·
View notes