#MKV to GIF
Explore tagged Tumblr posts
Text
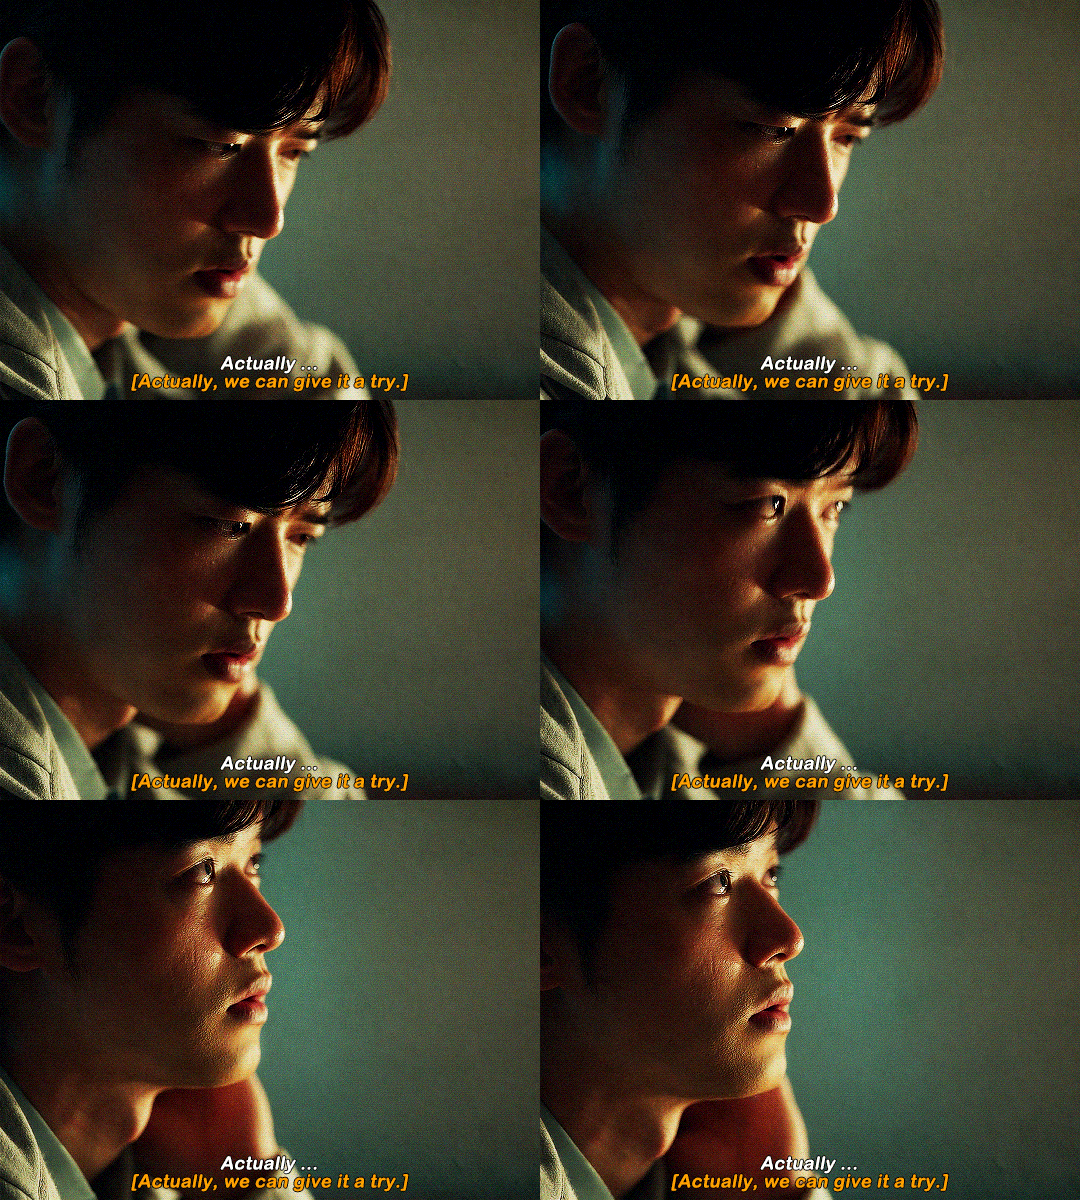
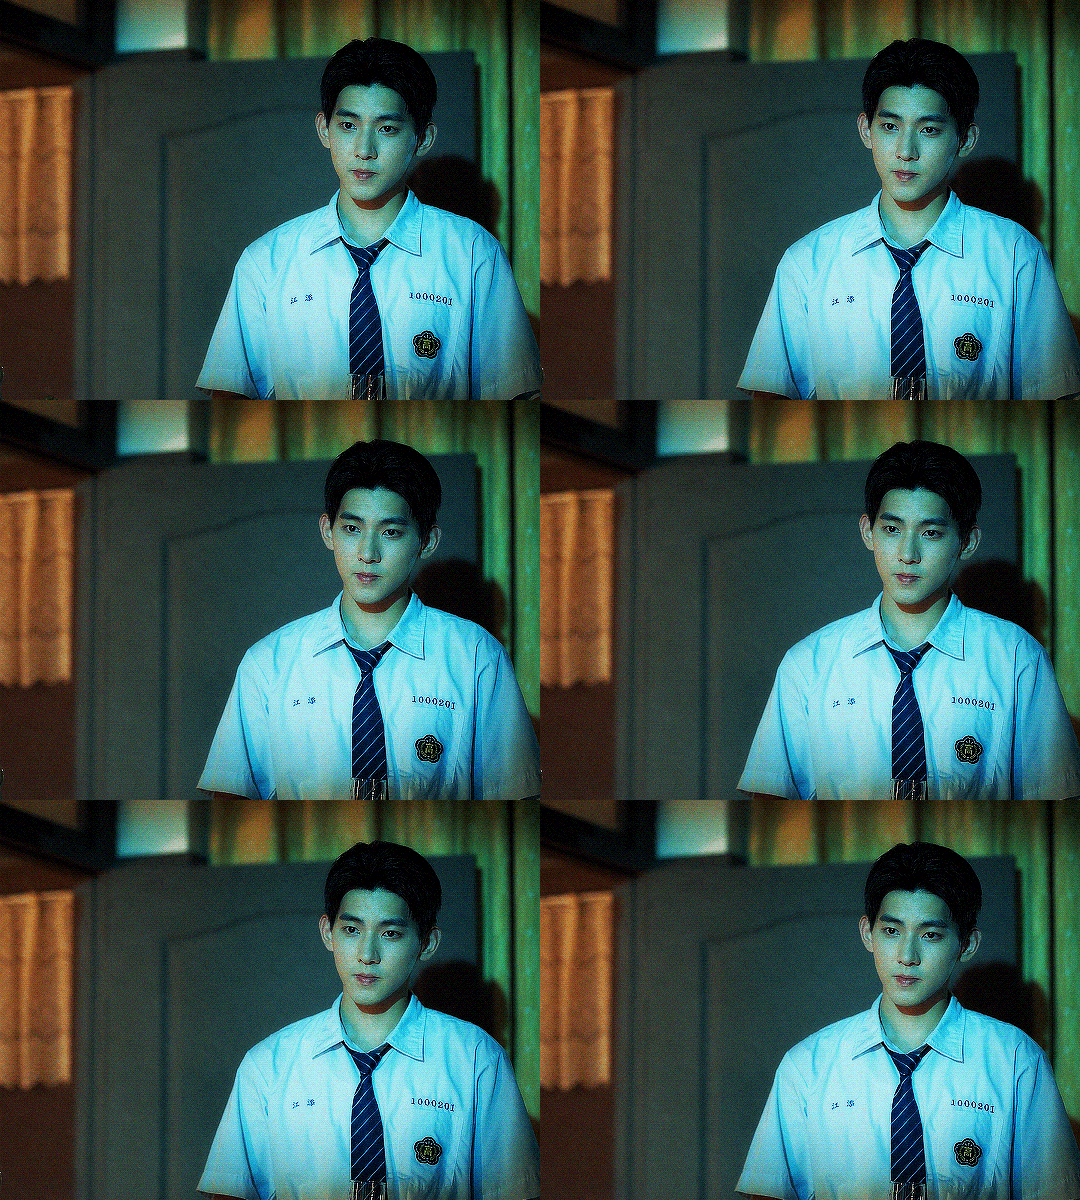
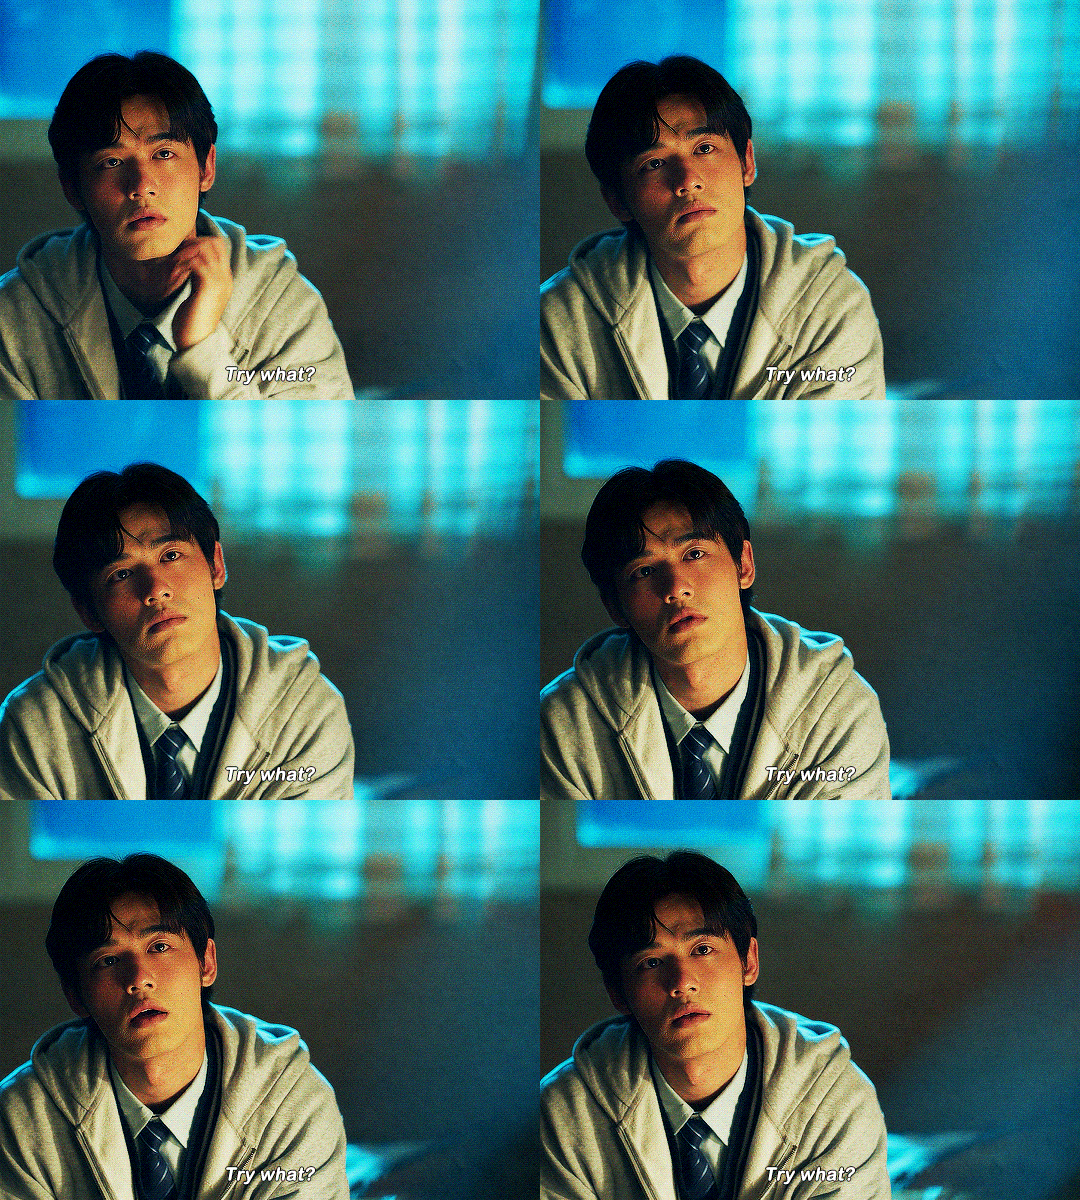
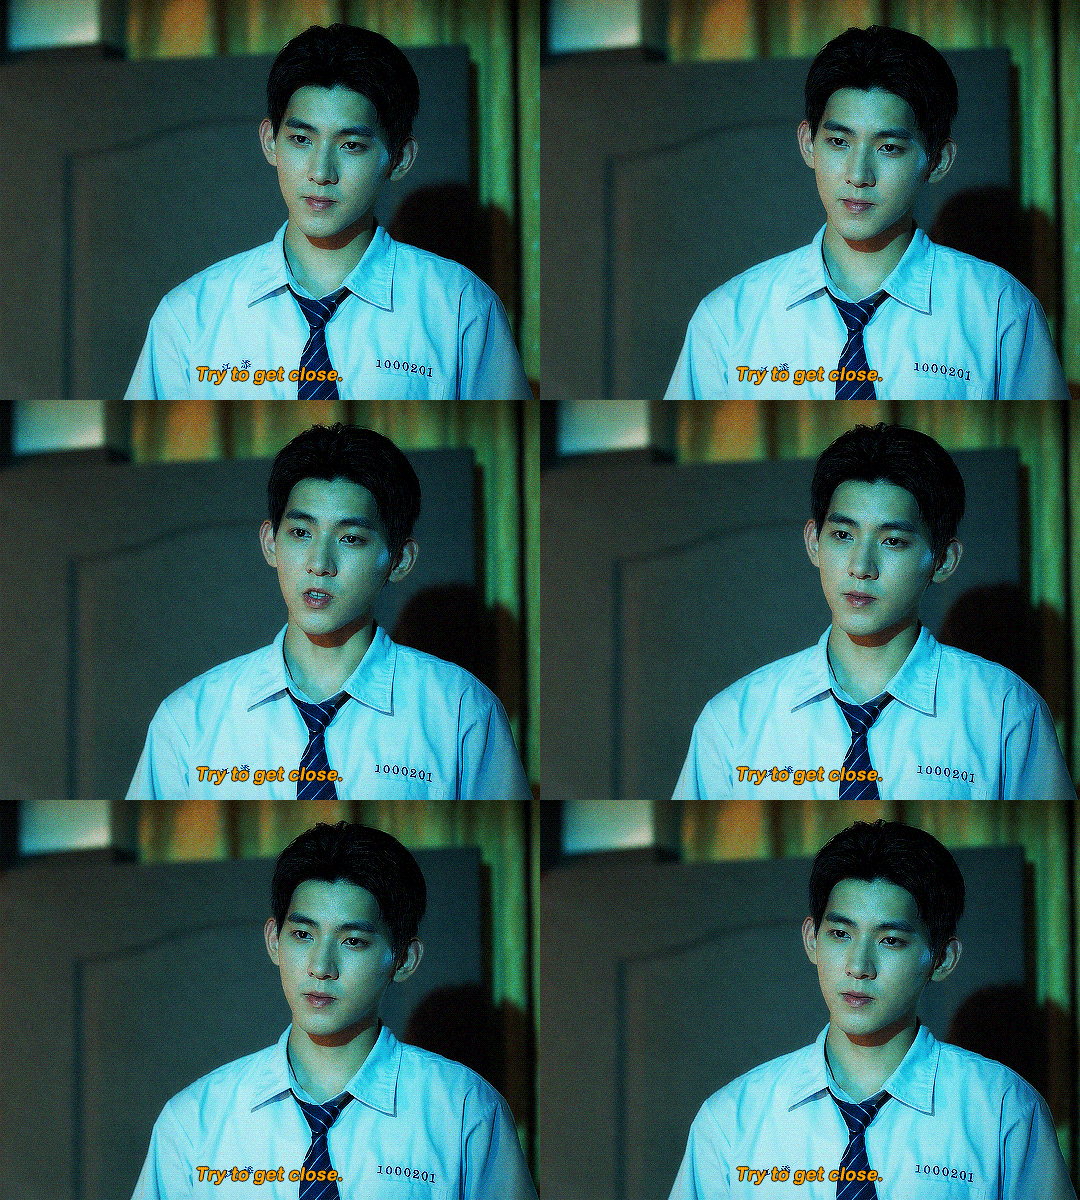
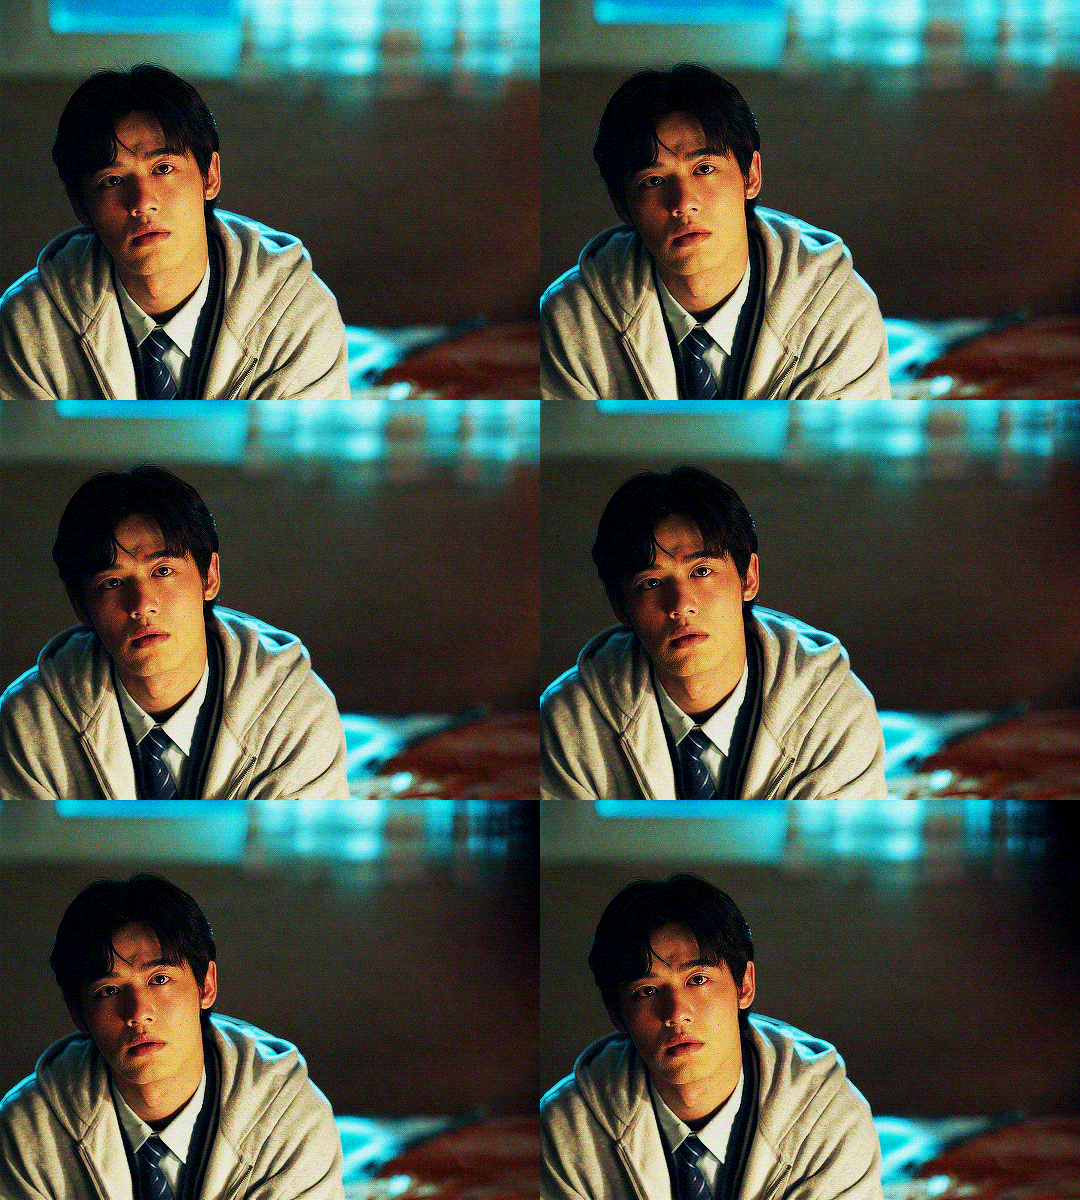
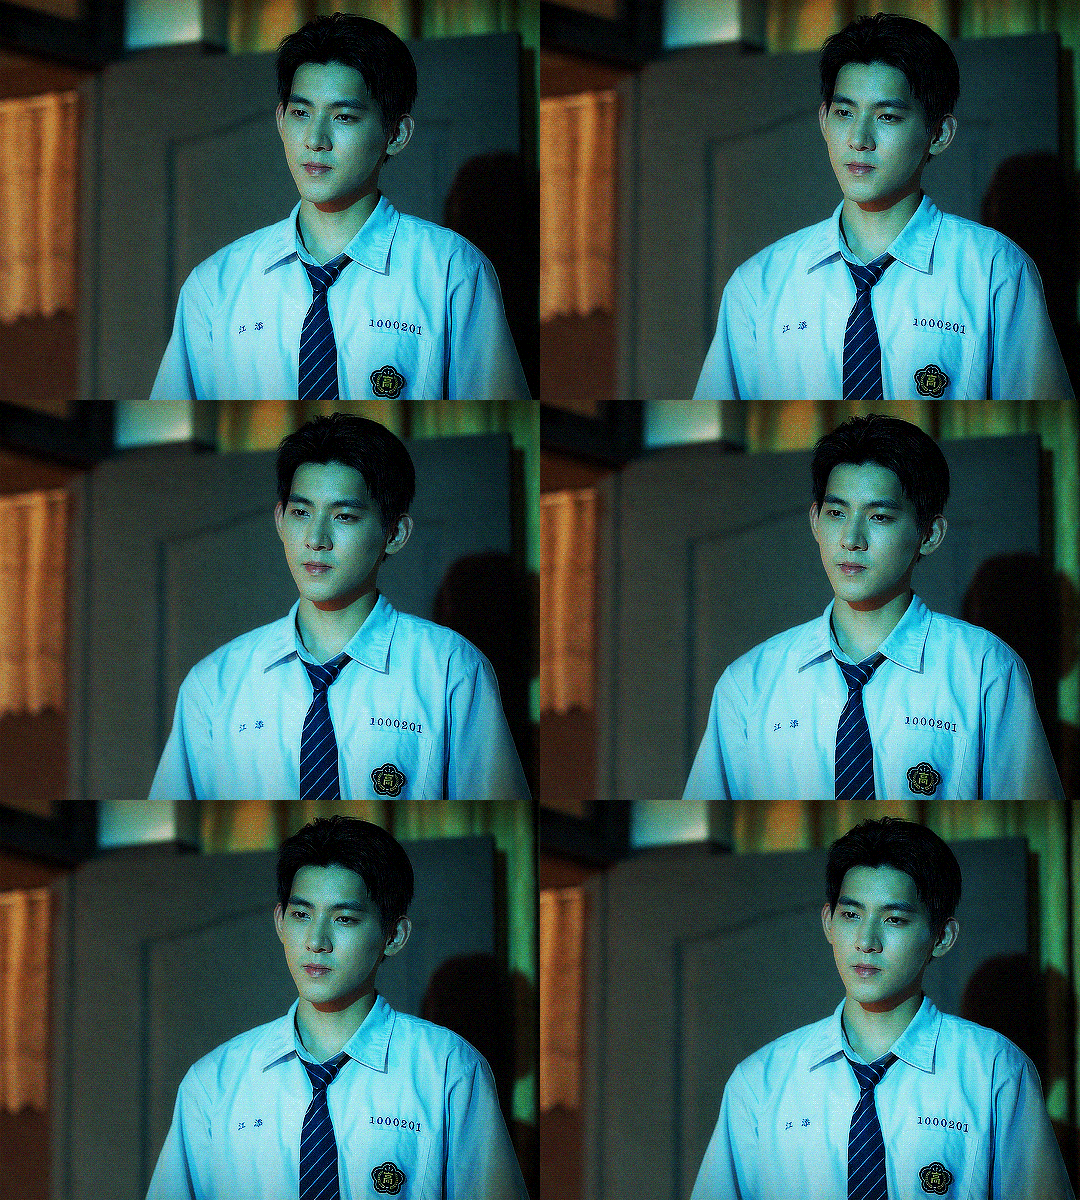
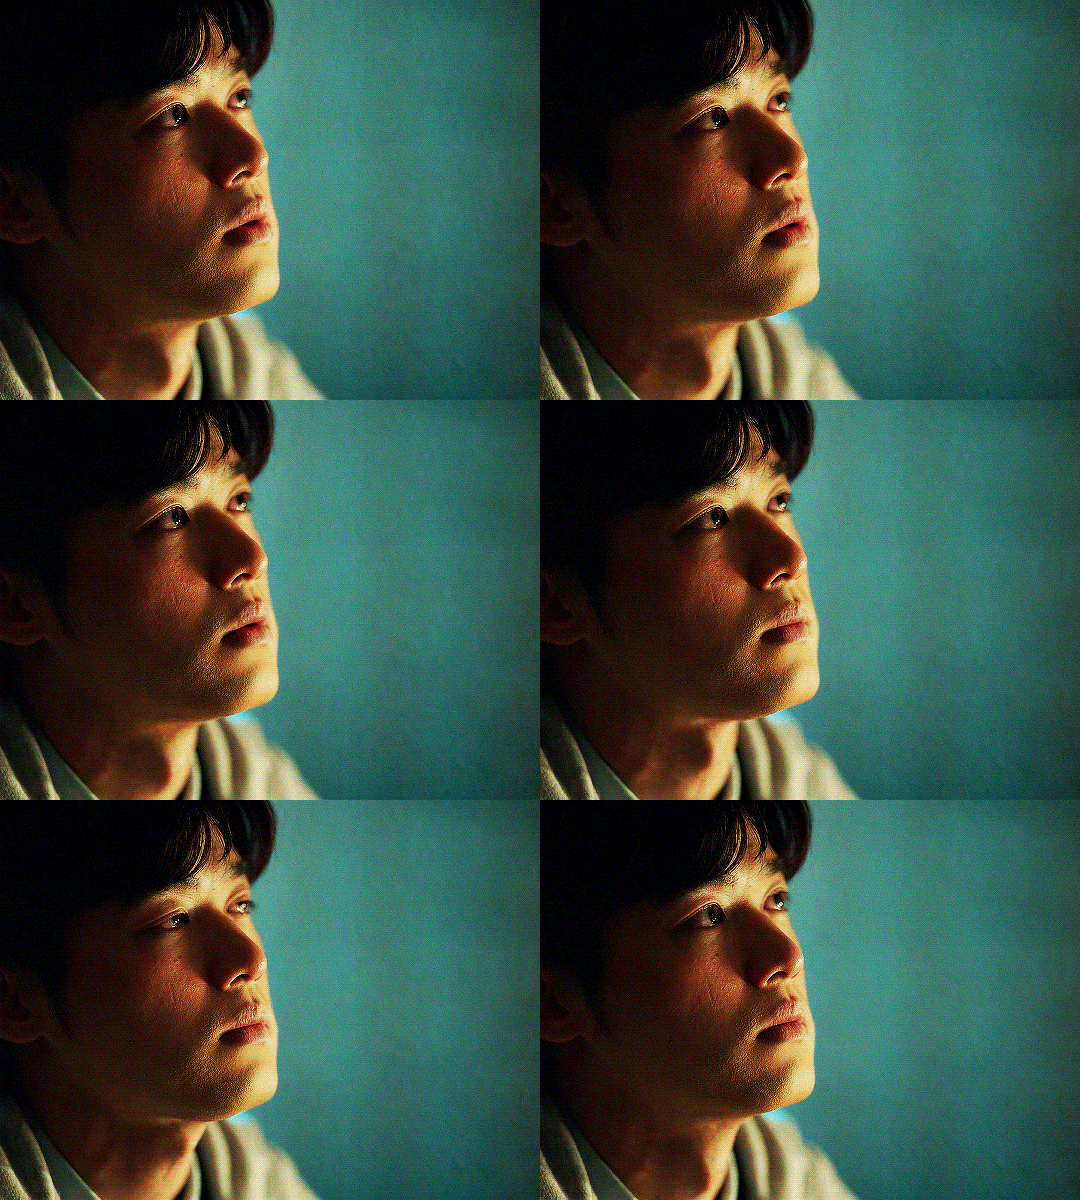
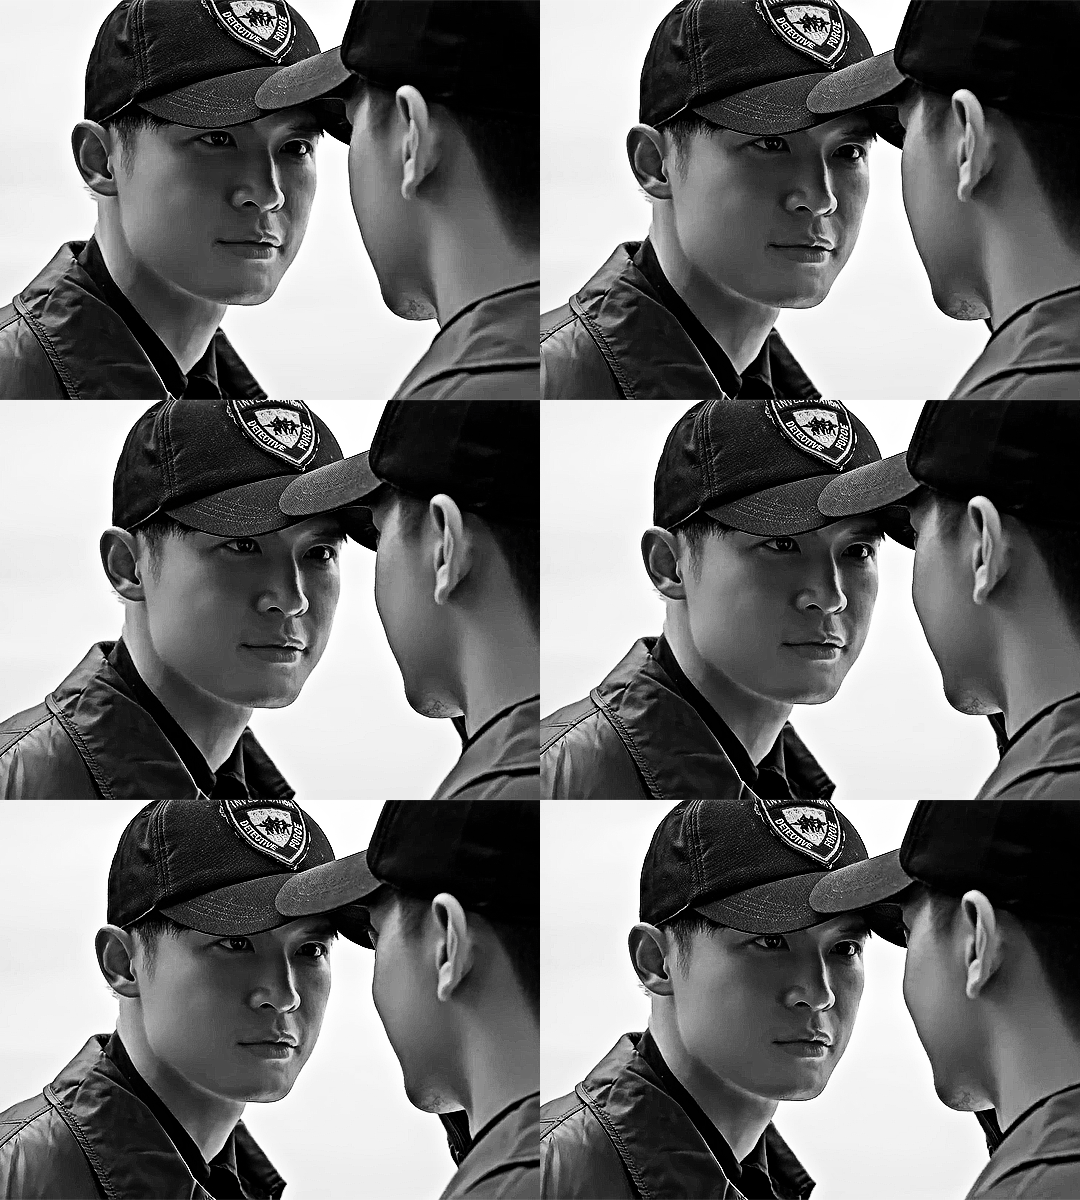
"At this moment, I completely forgot what the English teacher said about the difference between "up to you" and "down to you". Later, I realized, the moment Jiang Tian said that, my world was upside down. My world has been completely changed."
THE ON1Y ONE (2024). EPISODE THREE.
#the on1y one#asianlgbtqdramas#asiandramasource#twdramaedit#dramasource#tvedit#*#faiza gifs#oh god these 2 are going to DESTROY me i KNOW IT.#sigh i couldnt wait for mkv drama to upload the 1080phd netflix version of this i just made do OH WELL!
502 notes
·
View notes
Text
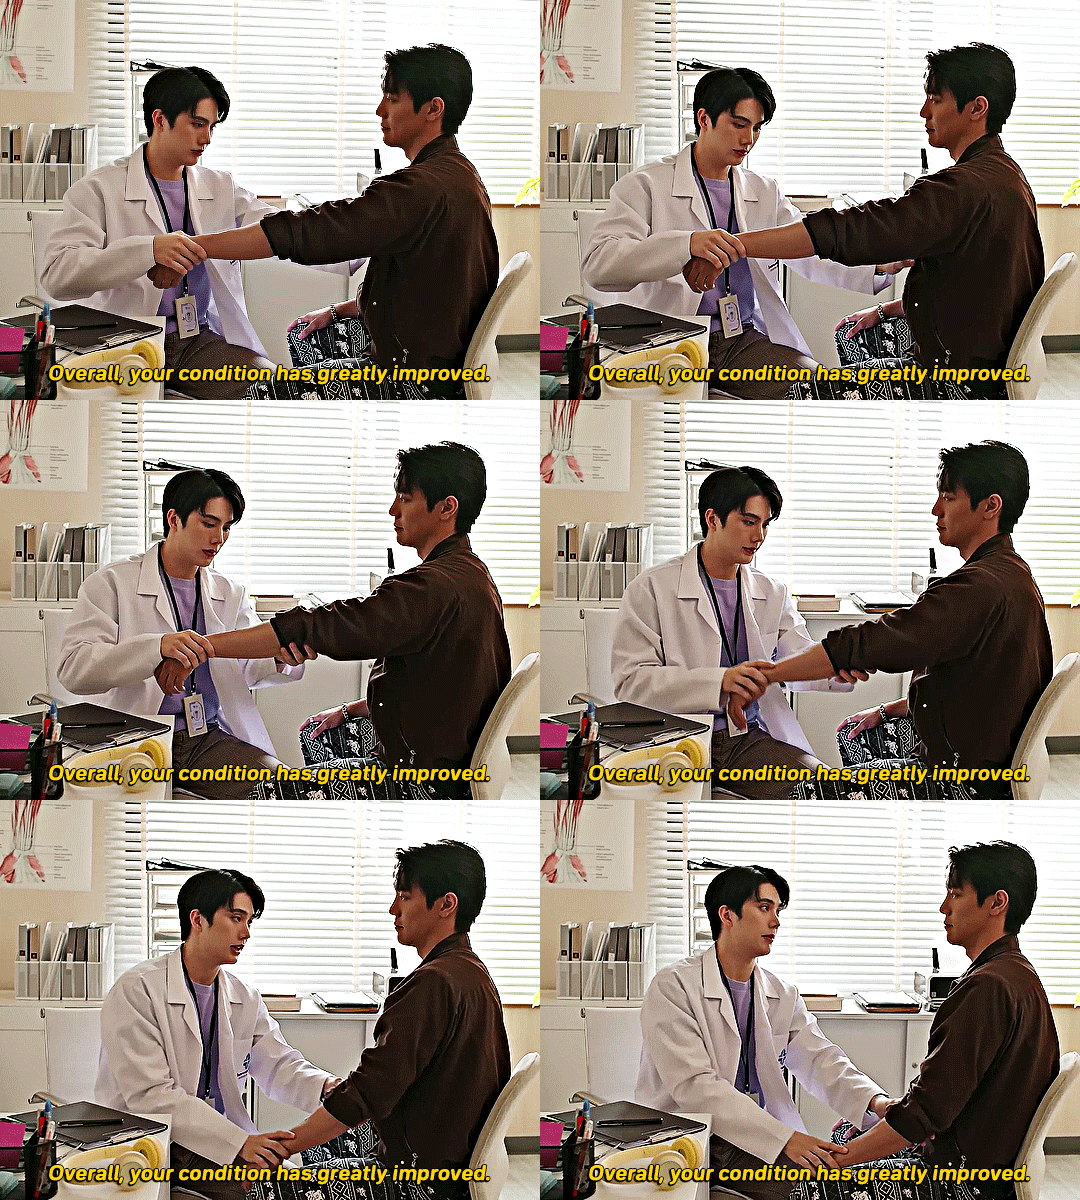
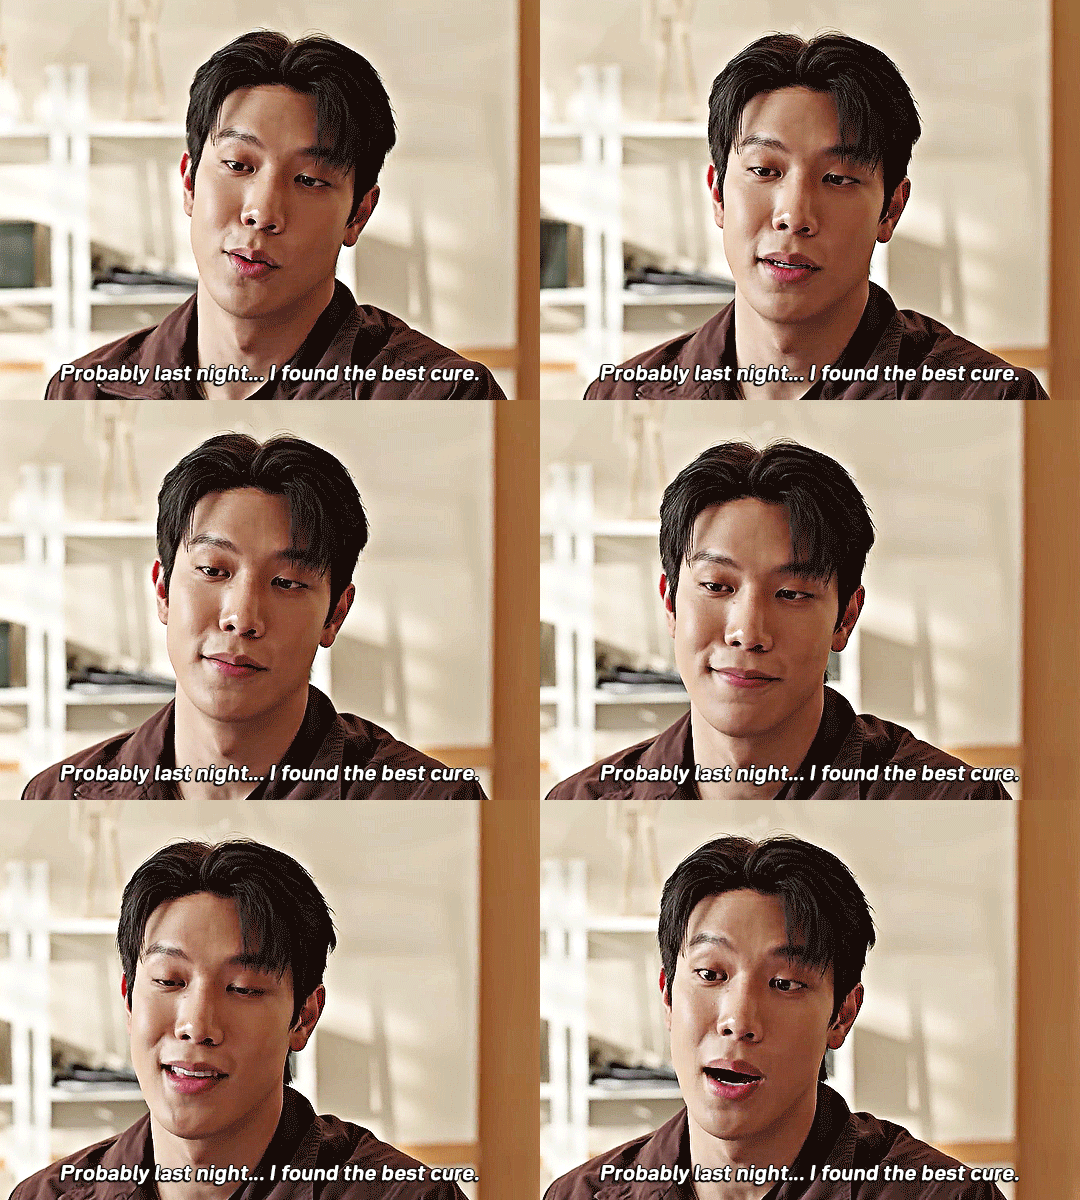

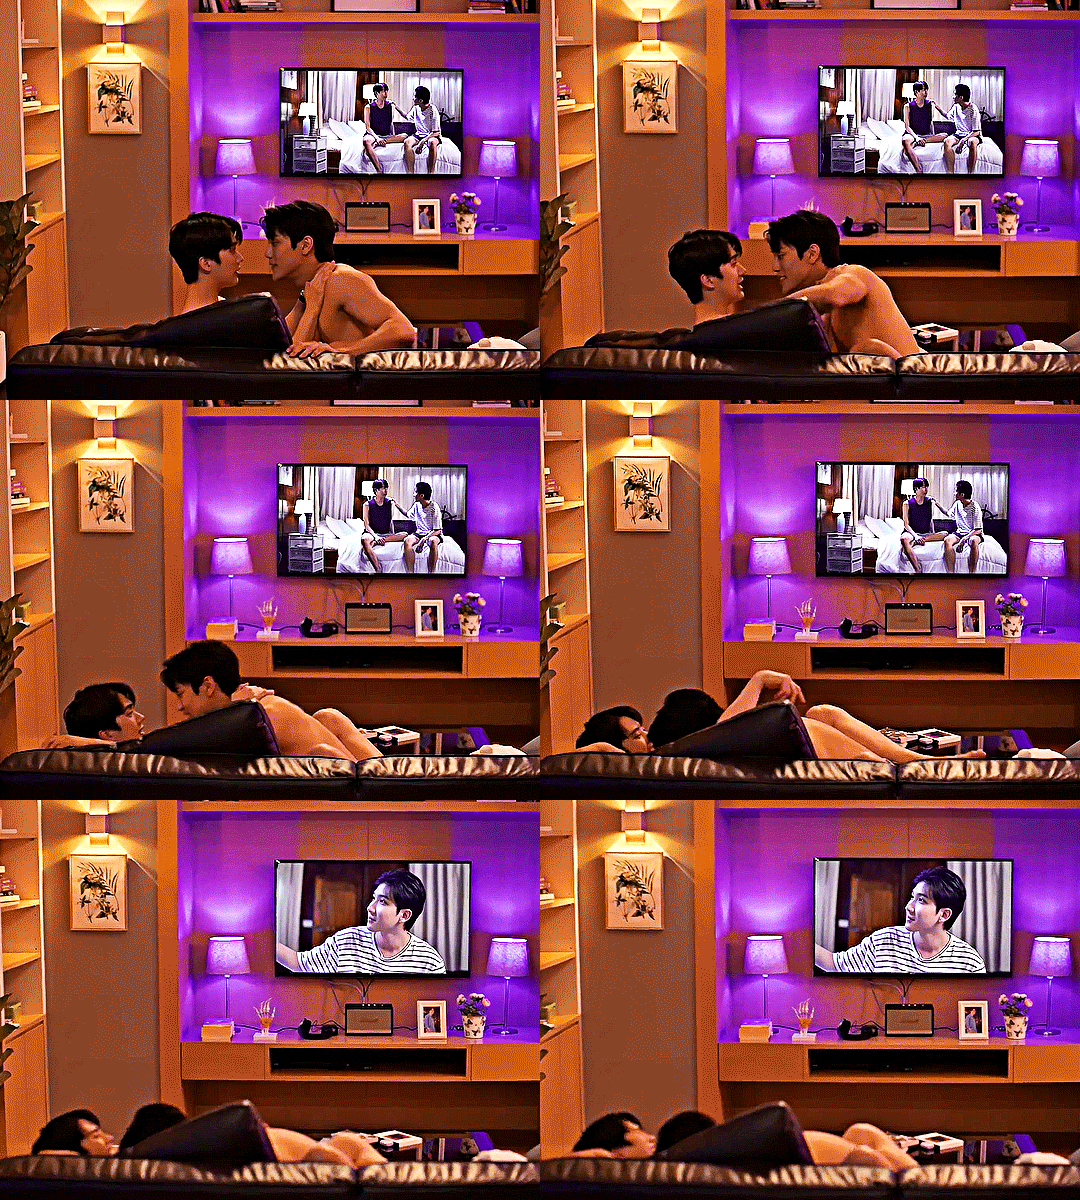

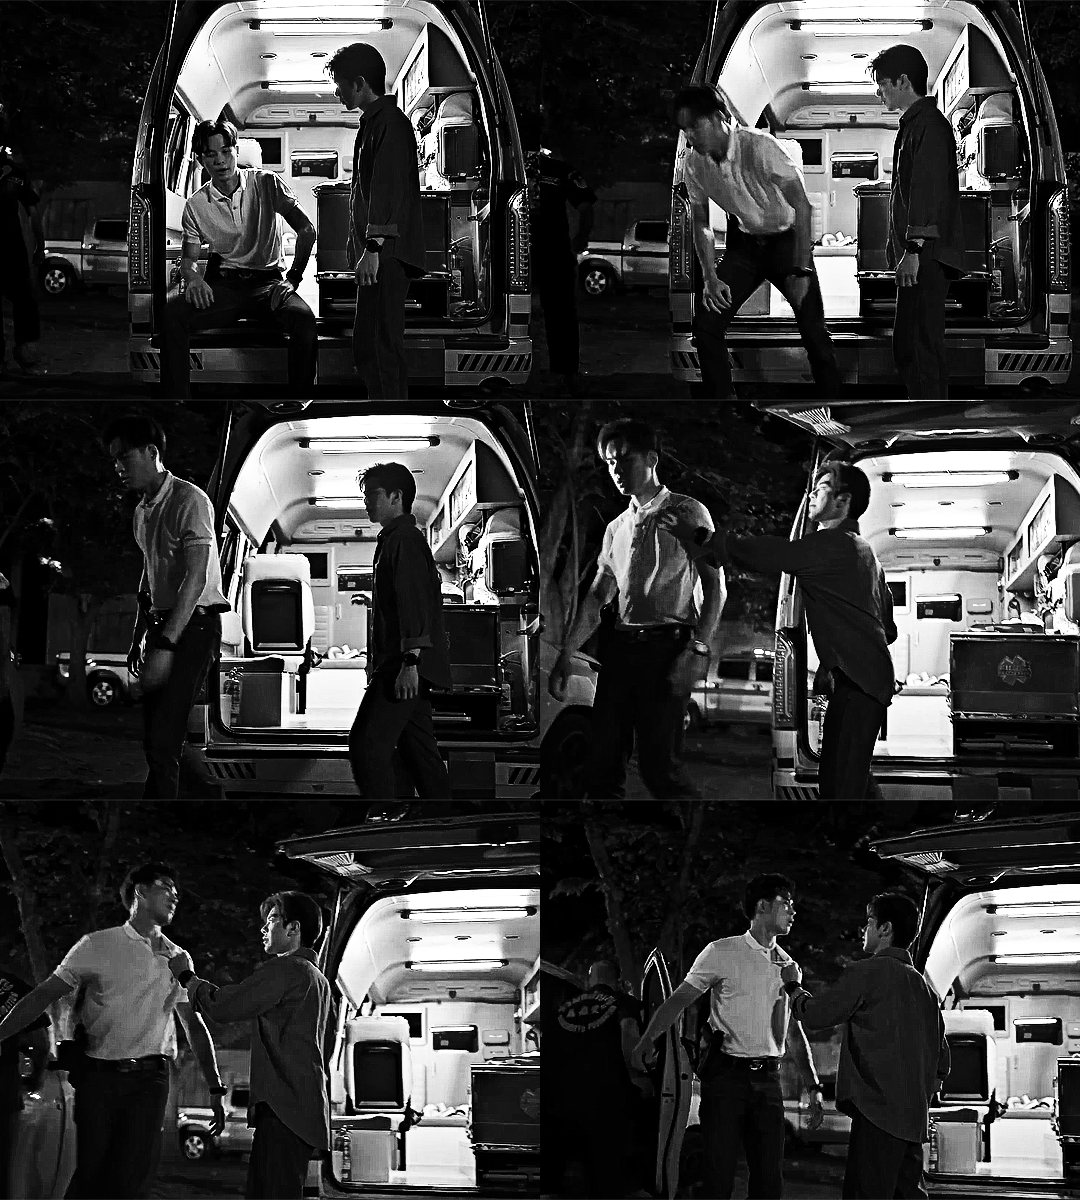
Do you have an injured shoulder? Try fucking your doctor while the eclipse is playing on tv! It fixed this boxer's shoulder in one night
WANDEE GOODDAY (2024) EP. 2
#wandee goodday#wandee goodday the series#yakdee#thaidrama#mjtag#uservix#userblmpff#userrlaura#userbon#esmetracks#userbunn#userpharawee#tusersilence#userpetri#vishingwell#asiandramasource#dramasource#dailyasiandramas#tansedits#edits:wg#that might be it for today#i'll wait for mkv to have the ep for the rest
567 notes
·
View notes
Text

go doggy go. trying to figure out her gait bc her legs r too long for her damn body
#i dont know aaanything abt proper 3d animation but im filled w the need to make my beasts go#look at my creature in mediocre gif quality#my art#steelheart redux#mercury#3d#animation#gif#god this gif is so fried lmfao sorry i used an mkv -> gif conv
75 notes
·
View notes
Text


You think up there, you're dead, believe me!
#top gun#topgunedit#filmedit#movieedit#top gun maverick#bradley rooster bradshaw#pete maverick mitchell#lost my usb w my beautiful mkv file and this new download is just.... Not the same </3#also havent giffed in so long the way i was Struggling....
110 notes
·
View notes
Text


Lord John’s reunion with Percy Wainwright
#tears literal tears#lord john grey#percy wainwright#outlander#outlander 7b#outlander 7x14#john x percy#john/percy#percival beauchamp#perseverance wainwright#outlanderedit#i literally bought photoshop to make gifs of them but photoshop doesn’t work for me bc i don’t have storage#so i spent WHOLE DAY on figuring out how to make gifs and how to download the ep in mp4 instead of mkv#and i ended up making gifs on my phone from screen recording#took me like 5 minutes#but i’m so happy#i love them#it was worth it#perioddramaedit#mine#hisuchanly
63 notes
·
View notes
Text


RYAN GOSLING as LARS LINDSTROM Lars and the Real Girl (2007) dir. Craig Gillespie
#GOT MY MKV WORKING LETS GOOO#Lars I missed you welcome back baby <3#lars and the real girl#lars lindstrom#ryan gosling#mine
124 notes
·
View notes
Text
grumbot in 3d

GRUMBOT!!!!!!!!!!!!!!!!!!


first ever render ive done lol. sorry if the quality is crap (especially the gif, like, w o w). also im planning to rig this, so if i do actually succesfully do that, then ill reblog it here :>
as usual, tumblr gets to see it first
#hermitcraft#hermitblr#mumbo jumbo#grumbot#hermitcraft mumbo#3d#3d art#art#guys i promise ill make jrumbot#i already cooked an idea for that#i want to post a transparent vid of this but its in mkv and im too lazy to convert it lol#hermitcraft fanart
132 notes
·
View notes
Photo


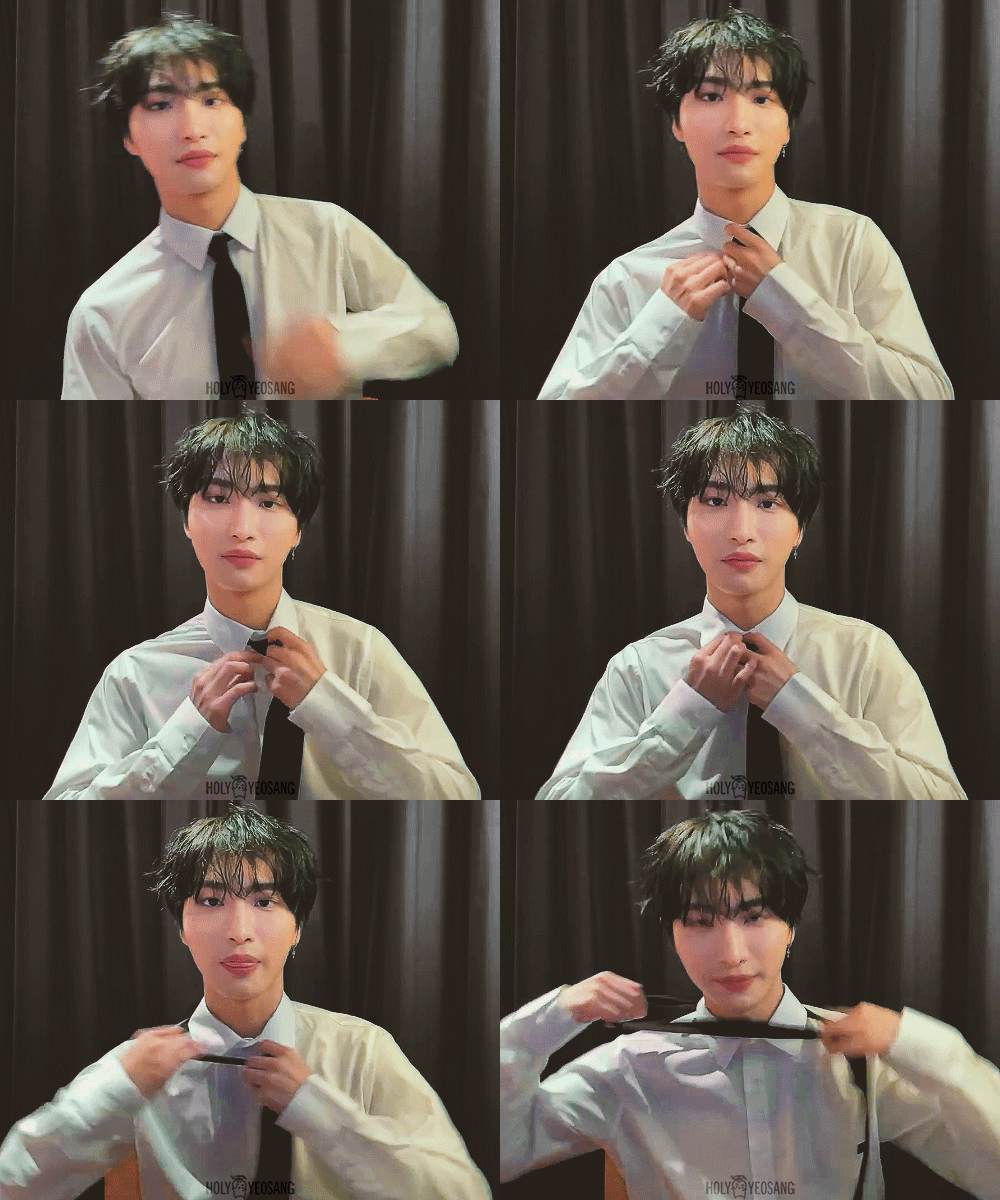

230306 || In Paris 🇫🇷
#ateez#ateez seonghwa#park seonghwa#ateezedit#ateez gif#m.gifs#sorry for the shitty quality ofm dfjqsdf#I had to download it in mp4 bc 4kdownloader didn't accept mkv or smth
775 notes
·
View notes
Text

13 notes
·
View notes
Text
Howdy! The name's Leif. Welcome to the little master post for what I'll be sharing for the UtY Anniversary!
First off: What I'm doing. Well, it's really simple. The mod I've been making for the past half a year. What's its name? It… doesn't actually have on yet lol. Suggestions would be appreciated, the only idea I have is along the lines of "Monstrous Yellow" Anyways, what are the changes? Well time for the mod overview!
Overview: 5 humans have travelled to Mt. Ebott and gone missing, and now a sixth is on their way. However, unlike the humans before them, they… do not make it past the first room of the Ruins. Luckily (or unluckily depending on your actions), a monster by the name of Clover came by shortly after the human kicked the bucket and absorbed their SOUL! So now, you play as Clover as you… basically do the plot of UtY but as a monster now. That's it. Credit to @howolonomy for this silly little goober who has invaded my mind and will likely never leave. You have cursed me, friend. I do not mind this curse.
Mechanics: Pretty much the same as vanilla. You can FIGHT, ACT, use ITEMs, use MERCY, use MAGIC-wait, what? That's right, as a monster you can use magic (available in the ACT menu) depending on what soul you're using (more on that later)! Over the course of your journey you'll learn many new spells, some offensive and some defensive depending on how you cleared the area boss (Steamworks not included for this ending difference). You will start with one (technically two) spell in your repertoire, but quickly learn more. Another new mechanic is the SOUL SYSTEM, in which you can swap between human and monster to change a few things up. But if you can't use magic as a human, what's stopping you from just using the monster soul the whole time? Well, we're playing by Deltarune logic here: Only humans can ACT (though I may have one exception for… reasons), meaning you'll honestly be using the human soul most of the time. Don't worry though, swapping which soul you're using doesn't count as an action and go into the monster attacking phase. So swap as much as you want, there is literally no downside to it.
The human: As this is in the world of Undertale, a human soul is pretty important. So making Clover a monster requires some human to fill the void. And that's where this one comes in! What's their name? You don't get to know! They do have one, but the closest you'll get is the first letter. (If you are one of my few friends who knows their name, do not tell. For the bit.) (Wait, I can be a pronouns lawyer since this is technically my own character. The human uses they/them and they/them ONLY, no he's, no she's, none of that please. If you do not respect this, I will blow you up with my mind. One million billion times. I've already had someone use he/him for them. Do not be like that person.) If you're curious about their design, here it is:
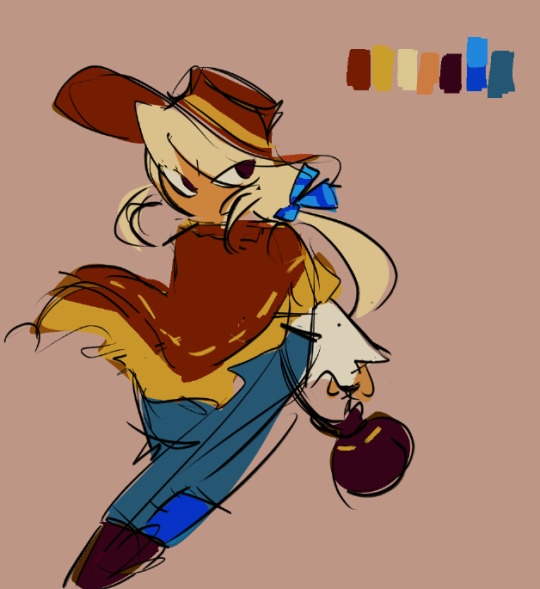
This design was made by @hollowgears, I was perfectly fine with keeping them like vanilla Clover but just look at them. Adorable. This little fucker can and will violate the Geneva Conventions if given the chance. Love that for them. And if you want, here's the sprite.


All colors (except for the mask thing for Genocide, the outline, and the vest) were taken from the original drawing to keep it accurate. Ignore the patch on the vest in the first one, I was given a sketch and first and assumed colors and other choices. It shouldn't be there in the final product... I think. I gotta double check
Other changes: A few silly little gags due to the existence of another character to do narration, an entire new area accessable in a route it normally isn't, and an entirely new ending for Pacifist!
The actual showcase: I'll be showing off a new thing each day via prerecorded videos (obviously), and they will all be linked here. Ruins Snowdin Dunes Steamworks Neutral Genocide Hotland/New Home In addition to the videos, I'll also be answering the main prompt for the day there as well as giving a fun fact for the area if I have one (I will, in fact, have one for each day).
Questions: If you have any questions, then be warned that some stuff won't be answered. I'll answer clarifying questions like "Why did x say y?" or "How did x know y?" or "What happened during x?" as well as any Behind The Scenes stuff you may want to know and a few other stuff like how I personally view a few cutscenes (as in, how I imagine them going in-universe) or things about the human minus their name, of course (Please ask about them, I wanna talk about them. You can use whatever name for them you want, just make shit up. Only names off the table are Ut(Y)Dr Characters because that might get confusing). But other than that, keep it to yourselves and have theories. I wanna see how crazy they can be. I may also allow questions to the characters (I feel mostly Clover or the human will be asked to, but the others are up) if I'm feeling up to it. It'll be a roll of the die on if I answer it or not tbh. Just be sure to provide context on the route you want just so I can answer properly, I will be assuming New Pacifist if no context is given.
Credits: The two mentioned above (don't wanna double tag them) as well as @freemonngo for help with coding. Like the spell system for instance. I am too stupid for most coding.
Edit: I made a new thing semi-related to this, check it out!
#utyversary#i already got most of the other posts done and ready by the time youre seeing this#(needed to change my vides from .mkv to .mp4 otherwise i couldnt post 'em and its taking a while to convert)#(like. one video second every four or so seconds long. i got a few that are an hour long at least. i doubt theyre all done now)#the videos will be posted at this time each day#though since i can only have one video per post ill have to make two posts for some days. like today#the links to each day wont be working for a little bit after posting since theyll actually be scheduled for before i wake up lol#anyways. hope ya enjoy!#uty#undertale yellow#uty clover#uty martlet#< because she appears in my test video which is also the only one that can be seen on tumblr whoops
14 notes
·
View notes
Text
since when does vegas pro 21 support .mkv files now???

#the previous versions of vegas pro didn't support them so i'm shocked it worked when i accidentally tried importing an .mkv file#i've been converting mkv to mp4 files for this exact reason for years
5 notes
·
View notes
Photo


RETURN MAN | EP. 8
#return man#alek teeradetch#pat chayanit#asiandramasource#thaidrama#lakornedit#catagifs#returnmanedit#shes SO CUTE i love her reactions#mkv quality sucksssss also it comes w hardsubs so i gotta crop them out ugh
24 notes
·
View notes
Text




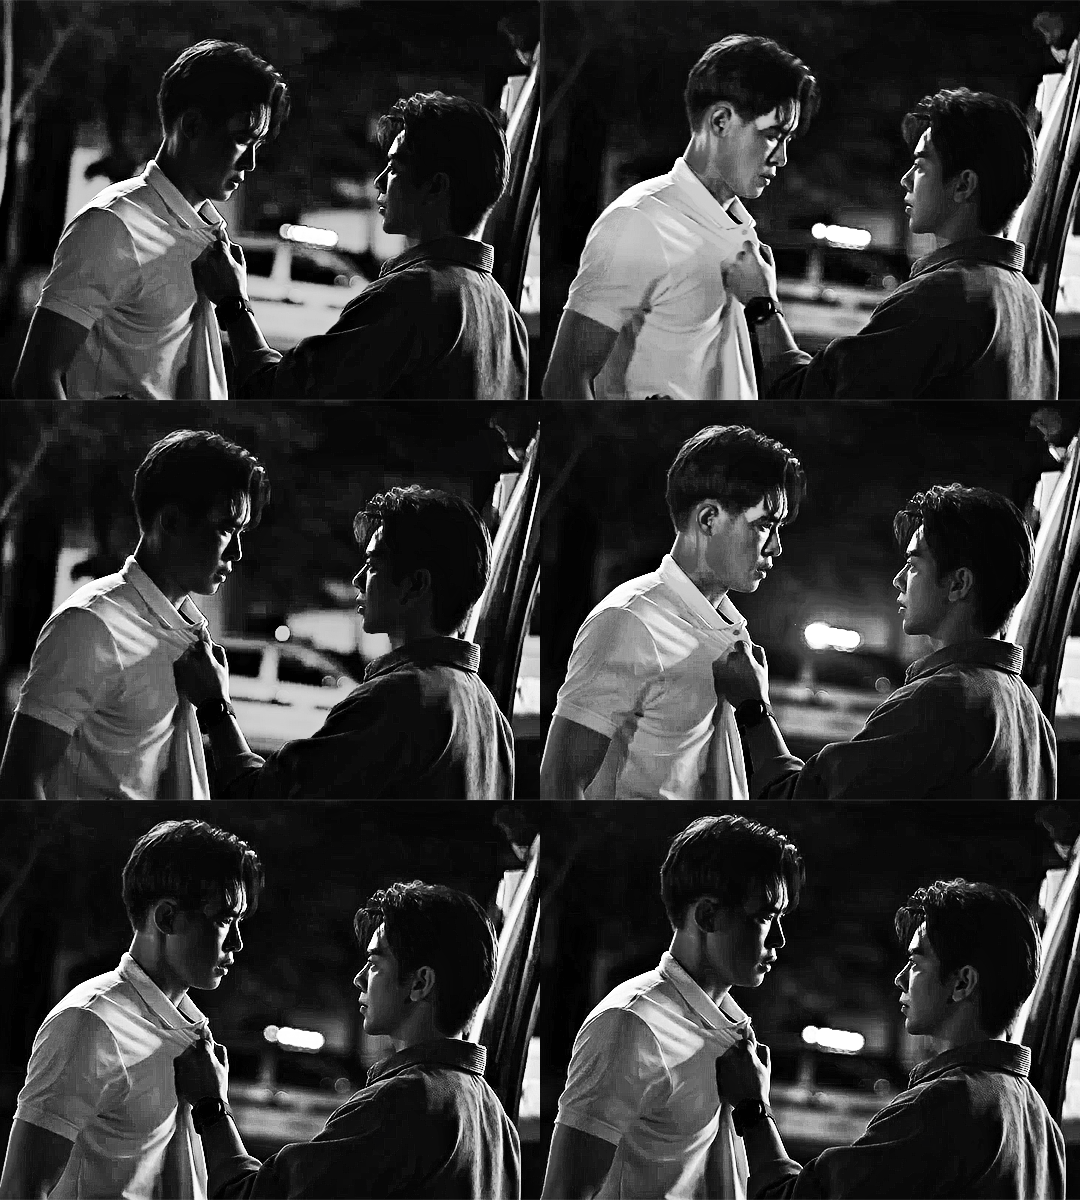

Inch resting
THE SIGN (2023)
#the sign the series#the sign#thesignsource#phayatharn#tusersilence#userpharawee#user25shades#mjtag#uservix#thaidrama#asiandramasource#dramasource#dailyasiandramas#tvarchive#asiandramaedit#tansedits#edits:ts#flashing#i know we talk about tharn liking being manhandled but what about phaya huh justice for my man#yeah i'm a size queen [makes a 13 foot long gifset]#mkv says 1080p my eyes say 480p so what is the true
393 notes
·
View notes
Photo
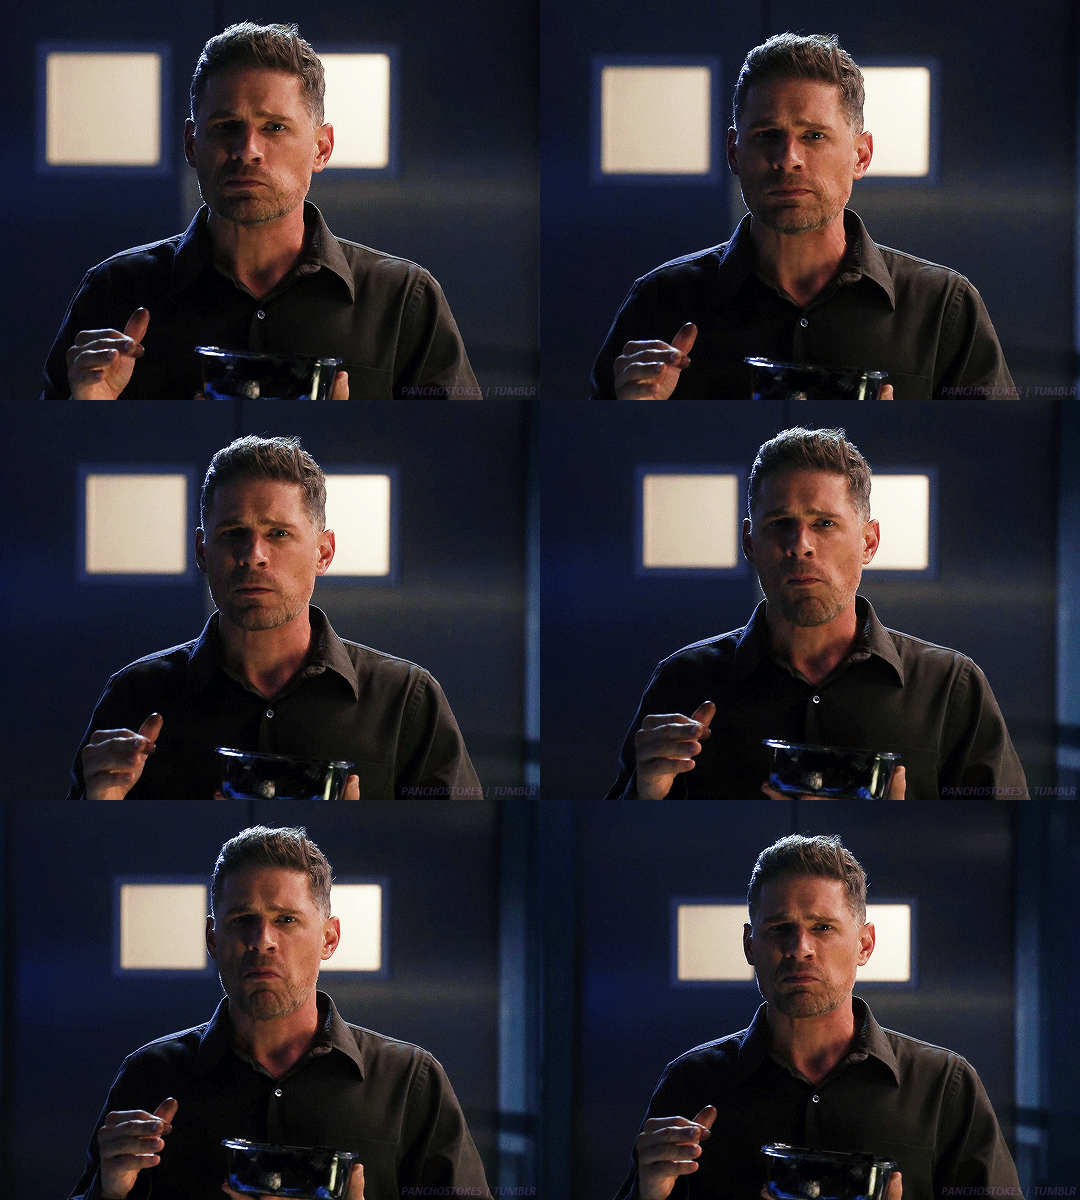
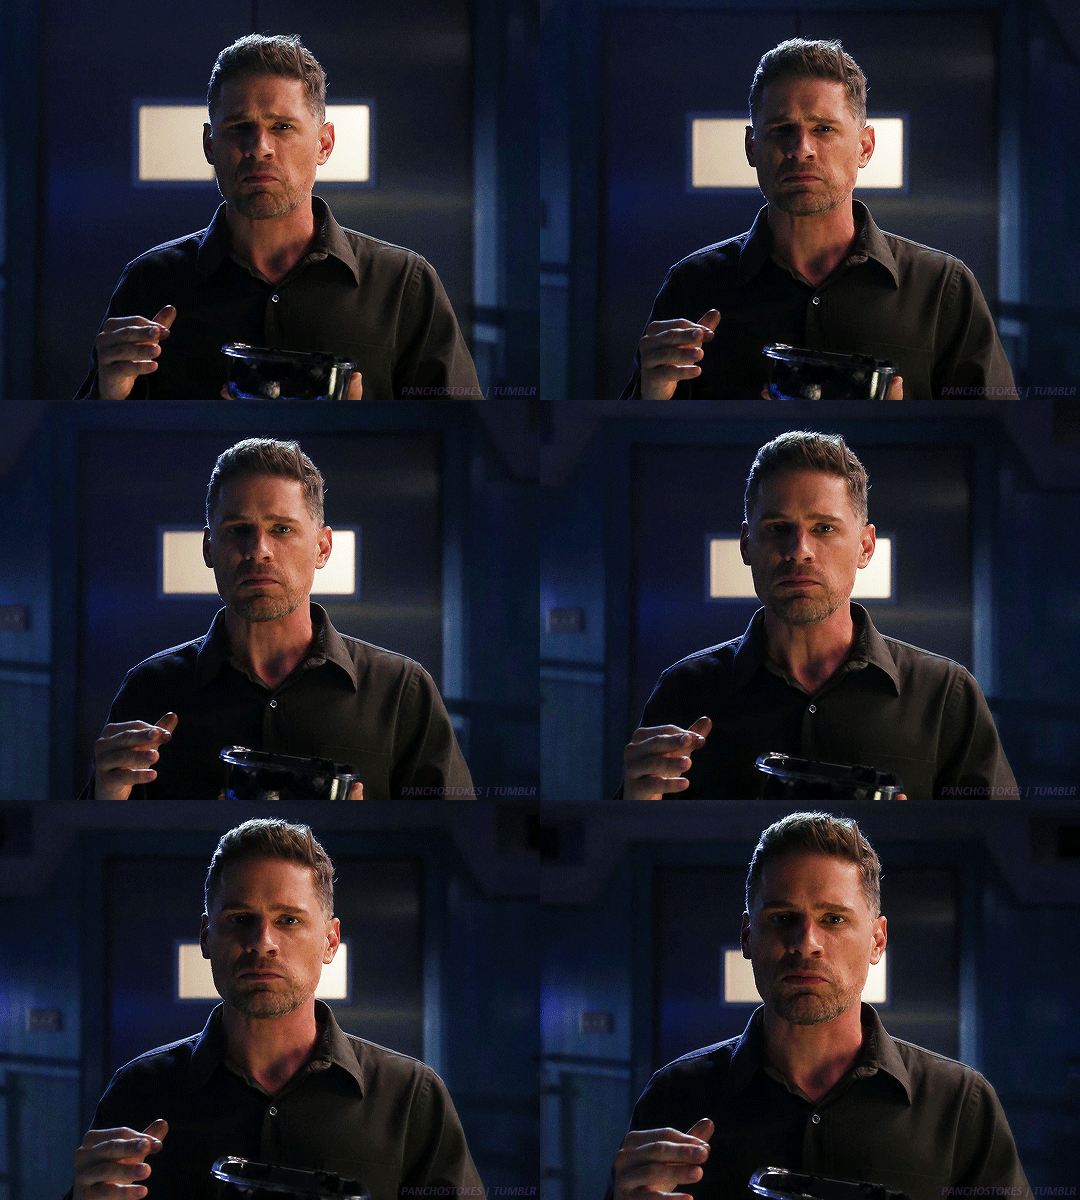
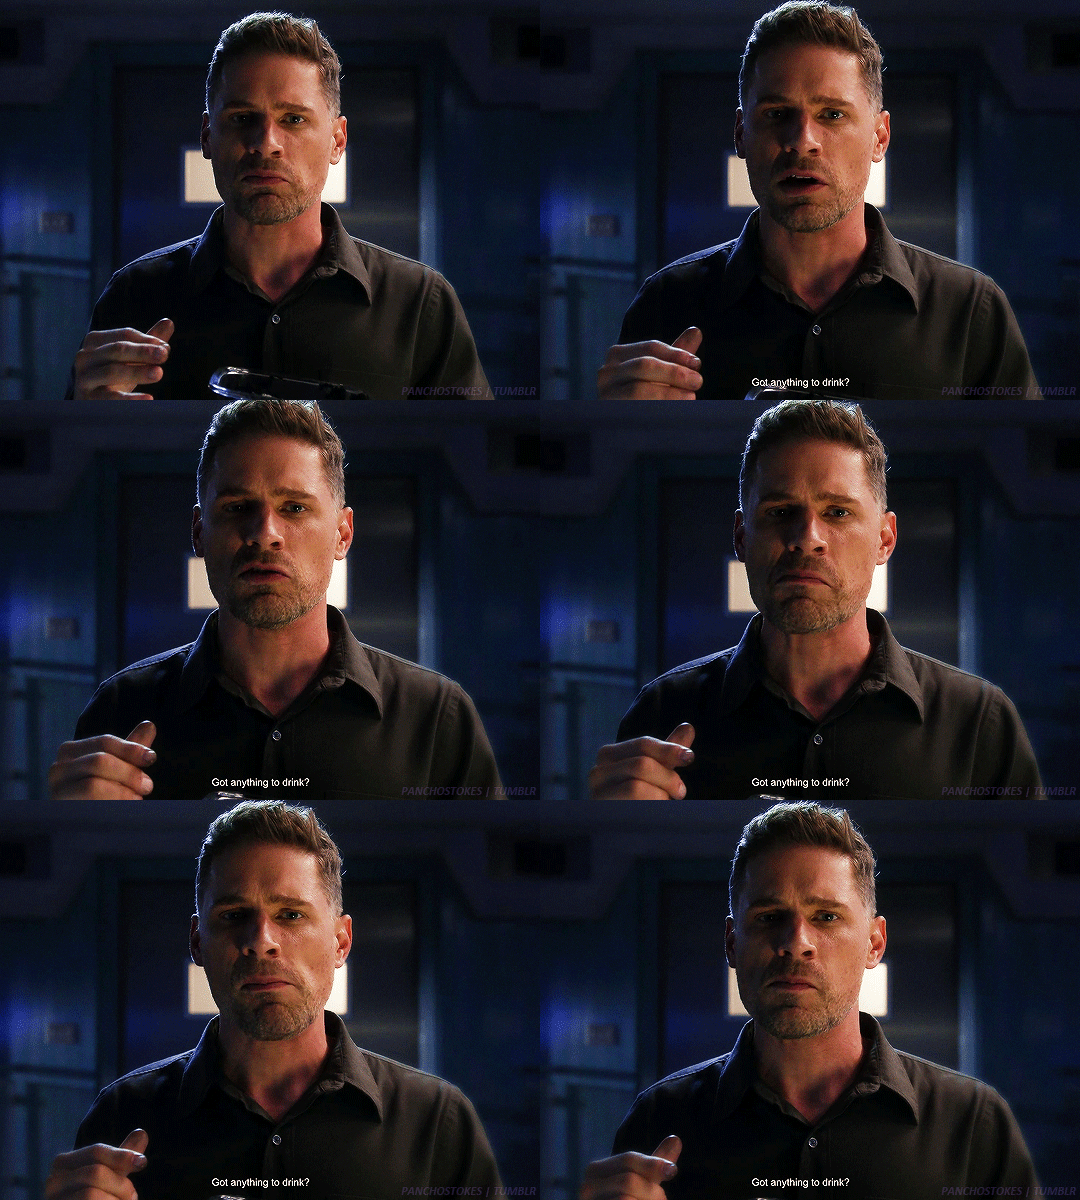
2.14 Third Time’s the Charm
#csiedit#csivegasedit#csi vegas#joshua folsom#matt lauria#csi vegas 2x14#so the good news is that i managed to download most of season 2 in mkv format#i'm just missing ep 4 and 5 and then the first two eps are weirdly small#bad news is the video converter i used converted this one with subtitles#that i don't know how to turn off when i do that? but honestly it might work to my advantage#also i caught up with the show again today (i keep falling behind)#because i saw this clip on youtube of folsom getting drunk and i loved it lol
30 notes
·
View notes
Text


I need y'all to know how much editing I did on these gifs


My notation is... Maestro.
#for whatever reason the mkv i downloaded of the episode looked. raw? like it was an unfinished version#which was strange. but i dealt with it#people don't realise how much editing goes into gifsets /lh
106 notes
·
View notes
Text

Hi ^^
It’s me, the creator of some gifs you like and the creator of many gifs you could’ve probably lived without. A few people have asked me for a giffing tutorial recently so I have made one documenting my normal process! I’m going to gif this Aespa stage in this tutorial because I am still pretty bad at coloring stages. So come struggle along with me 🫶!
Step 1. Getting Sources & Vapoursynth
The worst enemy of the tumblr gifmaker is tumblr itself. You will spend your time making the clearest gif imagineable only for the blue site to reduce it to pixels. But alas, we must gif on. The best way to get good results is have a good source and to precompress your gif with vapoursynth.
As far as downloading from Youtube the best app to use is 4k Video Downloader. 4kVD let's you get download your file as a .mkv which is how youtube stores their 4k quality vids. Only limitation is on the free tier you get only 10 downloads. There are other more technically dubious methods to get 4kvids but I've literally never hit this limit.
10 out of 10 gifmakers agree if you want those good good crystal clear gifs you gotta stick with 4k or 1080p sources. Although if you are a complete sicko like me you can gif 720p and still get pretty good (not great) results.
So now you got your source video but you won't actually be able to open that bad boy up in PS yet. This is where the Vapoursynth step comes in. Vapoursynth will blast that footage into a nice denoised, sharpened and resized little baddie of a video clip for us.
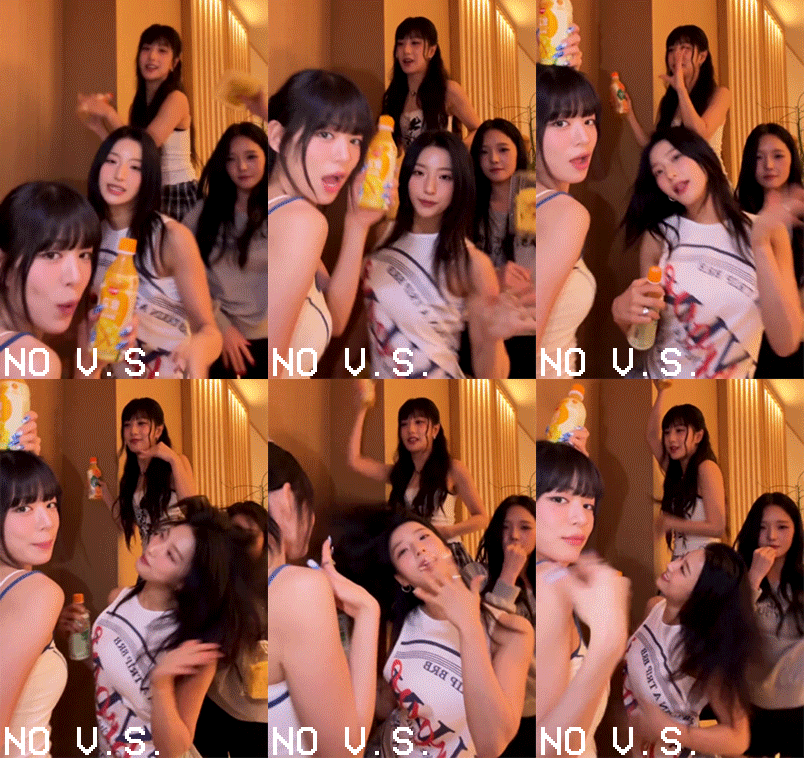

To download VS and get a more in depth explanation of the exact steps on how to use it please reference this post. The basic steps of Vapooursynth are:
Drop your source video on the "vapourscript (drop a video file on me).bat" icon and type in the timestamps
Crop your gif to your liking (I do a lot of 540 x405 or 540x335 for horizontal gifs. 268x480 for vertical.)
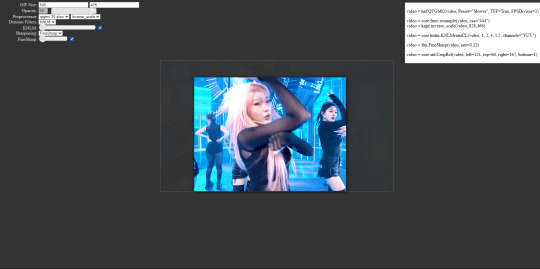
Apply the sharpness and denoise (these are the options I use):

copy the code from the white box and paste it into the script like below
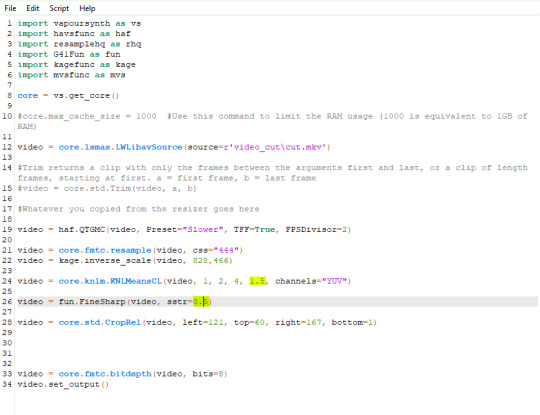
I set my denoiser to 1.5 and my sharpening to .5. (I stole this from @hyeongseo lol)
Go to Script > Encode Video. Make sure on this screen to name your file and set the header option to 'Y4M'. (Sometimes this is the step where it crashes and all your dreams are ruined because it can't convert it unfortunately. But 99% of videos are good lol)
You will find your Photoshop ready clip in gifs/output
Step 2. Photoshop
You are now good to open up your clip in Photoshop.

if we export our gif at this moment it will look like this:

Which isn't too bad. They just are pretty washed out and a lot of times at this step you'll see a lot of grain.
Sharpening (again lol) and Noise:
This might sound weird cause we just denoised lmao but stick with me.
We are going to convert our clip to a smart object. If you want to slow down or speed up your clip make sure to do so before converting.
(Often times if i have 60fps clip I put it at half speed, but if the action of the gif is really jerky or flashy at 30fps a lot of times I'll set it to 85% speed)
Convert your video to a smart object by right clicking it in the layers panel and selecting the "Convert to Smart Object" option
Create a copy of layer 1 and arrange it so it is aligned perfectly on top of the first video in the timeline. You have to drag it outside of the video group to do this. It should look like this once you are done:

On the bottom clip (layer 1), select filters -> sharpen -> smart sharpen. Apply the filter with these settings:

Then on the same clip (layer 1) apply the same smart sharpen filter with these settings

Setting up the Sharpness like this makes sure the finer details with stand out with crisp lines in the final product. (Look at how the mesh on her arms is in finer detail now)

Your video might look a little crispy at this point and that is ok cause we are going to soften that.
Now on our top video layer (layer 1 copy) select filters -> Blur -> Gaussian Blur. Use this setting:

Finally apply filters-> Noise -> Add Noise to layer 1 copy with these settings

"Vacancy what the hell? It looks like shit now."
Yeah... But now we'll put layer 1 copy at 25% opacity and it will look less like the shit that it does look like right now I prommy. Here is the current output:

The idea behind all this blurring and adding noise is that it will help create smoother transitions between the colors of the gif and reduce large blotchy bands of pixels that can sometimes show up
PLEASE!!! Save your current step as a PSD file. You can skip having to apply all those filters and just drag the filter groups on to the layers after the smart object conversion step.
Step 3. Coloring
Now to the fun part! There is a lot of trial and error in this step since we only have 256 colors to play with.
Typically my goals for this step are:
Raise the black point (Make Giselle's outfit in this gif black so more color can be used on her hair, skin and the background.)
Reduce the overall contrast of the gif. (Darken the lightest lights if possible)
Saturate the colors enough so they stand out but not so much that everything looks gross.
Depending on how we do these steps we may need to subtract frames from the gif. (Which I hope not cause there is exactly 69 frames in the current version lol)
Here is an example of what my coloring difference can look like:


In this case the colored gif is actually smaller because I elminated a lot of the dark greys in the background.
Vacancy's Dumbass Original Recipe thing
This is probably the only thing different that I do from most creators
My first adjustment layer is usually a gradient map. The green and red one to be more specific.

I then change the blend mode to luminosity and set the opacity somewhere between 12 and 20% (Usually 15%).
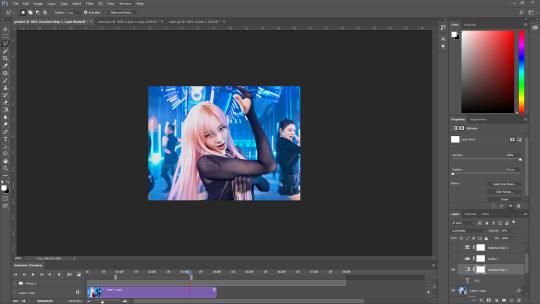
This step brings all our shades closer together so we have more freedom with coloring later. Also when idols are very white wash this seems to bring out the shadows and skin tone better in later steps as well. If you overdo it though the person in the gif can wind up looking very orange or yellow so less is sometimes more here.
There's also probably a better way to achieve this but you know... oh well
My Other adjusment layers usually consist of:
Levels: With the gradient map applied you can darken the blackpoint of your gif pretty significantly.
Selective Color: This is the most useful adjustment layer. Make sure to expirement with adding to the black slider on the blacks and neutrals color options. Often times kpop vids are over exposed and darkening this can bring out a lot of unseen color.
Hue/Saturation: I use this layer to darken the blues of the background with the lightness slider as well. You can adjust individual colors with this layer and with selective color and that is a very powerful tool for coloring.
Start:

Finish:
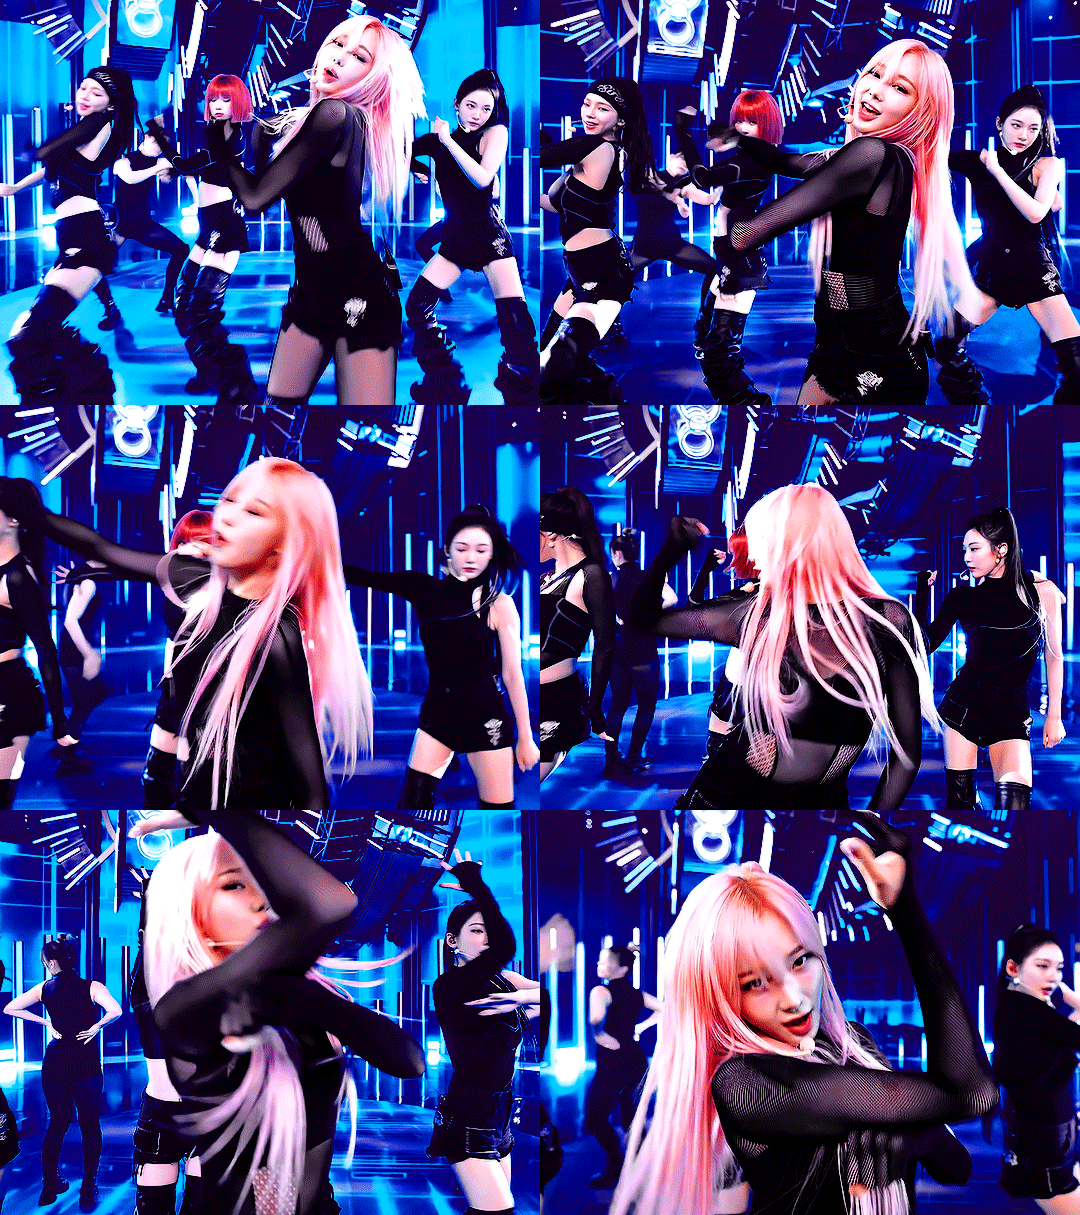
Because I darkened the gif so much I was able to add around 6 frames!
Though I’m not 100% satisfied with this gif, this would be my process from the start. You can put those adjustment layers all in a group and save it to the psd as well to skip all the steps to apply them. I used all the same adjustment layers for the header gif of this post as well which saved me a lot of time ^^!
Since every video is different you usually have to play around with the sliders a lot between clips.
Step 4. It Flops…
Jk jk but it does happen a lot tho on this site so don’t get discouraged ☺️
Parting Notes
If you want a really nicely colored fancam to practice on I would see if MIRAI on YouTube has a fancam of your fave idol. Their videos are really nicely color balanced from the start where stages like this tend to be very bright.
I’ll probably make a follow up post with more coloring tips and my thought processes while making gifs but this is the very basics to making hq gifs hope you learned a lot.
You can always hit my dms or inbox with questions if you have them ^^!
#hope this helps#tagging a few people#tuserflora#userdoyeons#forparker#useranusia#rhitag#usercherry#<- these are all creators I try to learn from#flashing tw#flashing cw#tutorials
87 notes
·
View notes