#DIY Dollhouse
Explore tagged Tumblr posts
Text
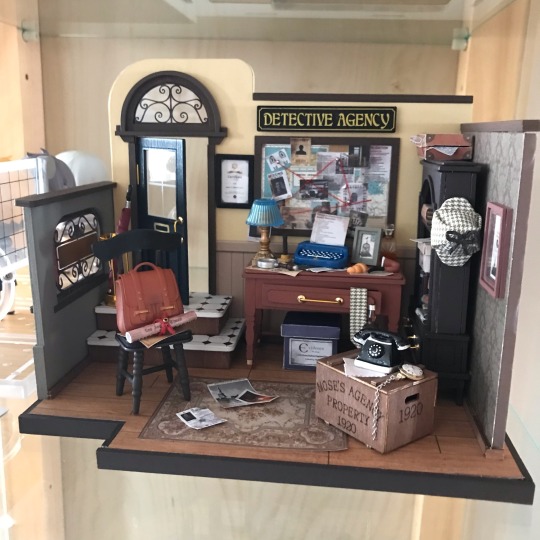
I finished another DIY dollhouse the other day!
152 notes
·
View notes
Text
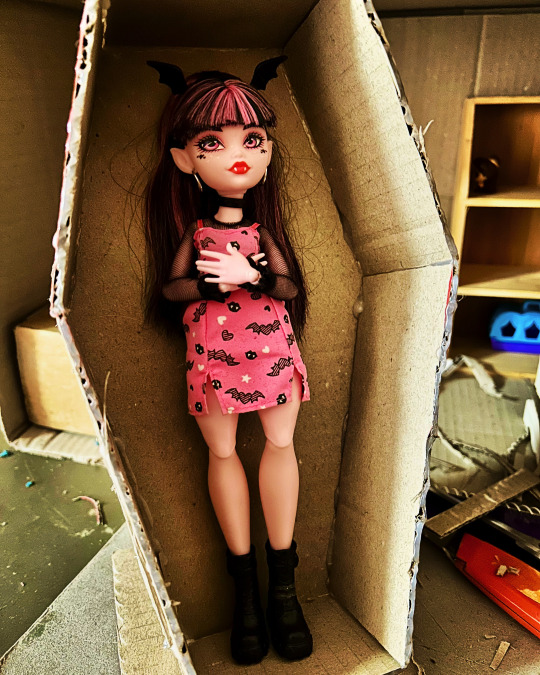
Building Monster High
My niece and I are making a dorm room for the three main ghouls. Here is a wonky prototype coffin to test scale and placement.
This is a mostly DIY project using cardboard boxes, recycled materials and hot glue. We’re making most of the furniture or thrifting things like the kitchen organiser that’s in the background that will one day be a book case.
Not that we won’t be buying some things new, we also have a few Miniverse creations and Minibrands that’ll fit in nicely and the dolls come with some accessories. We’re going for a blend between modern and gothic furniture taking inspiration from the movie, animated series and other media.
30 notes
·
View notes
Text

So I started this diy project back in early 2023...maybe late 2022. I thought I'd be done in a month but just yesterday I finally completed it! Ots shoddy work (especially the fact i finally got the lighting to work but it fizzled out...oh well at least my diy set is cute
(And during the time of start to finish I ended up buying 3 more diy sets..I have a problem)
7 notes
·
View notes
Text

Tell me why I’m so in love with this silly little post box I made my sylvanians out of an empty spice shaker
#sylvanian families#calico critters#hedgehog sylvanian family#diy#mini builds#diy dollhouse#diy craft#sylvanian families diy#minitures#hedgehog baby
8 notes
·
View notes
Text
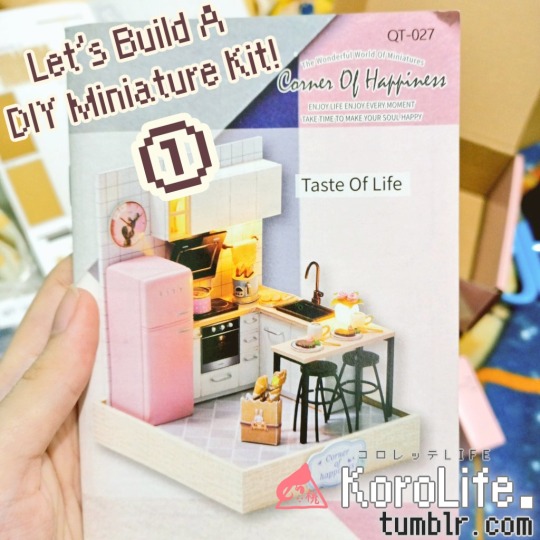
Blog No.002🍋 24年5月4日
「Working on My Very First Miniature Kit!」
Hi, this is a behind-the-scenes on my experience in making the Corner of Happiness: Taste of Life DIY miniature kit!
It was from a couple of years ago, we found a stall selling miniature craft kits while strolling around the mall. My sister bought me the very same model I've been eyeing on my online shopping cart as a birthday present.
Me and my sister both love miniatures since we were very young, but making them from scratch require a lot of time, materials, and tools we don't really have (especially if you don't want them to look crudely made). Luckily, now with a Do-it-yourself kit, that wasn't going to be much of an issue! ...or so I'd hoped as a miniature newbie.
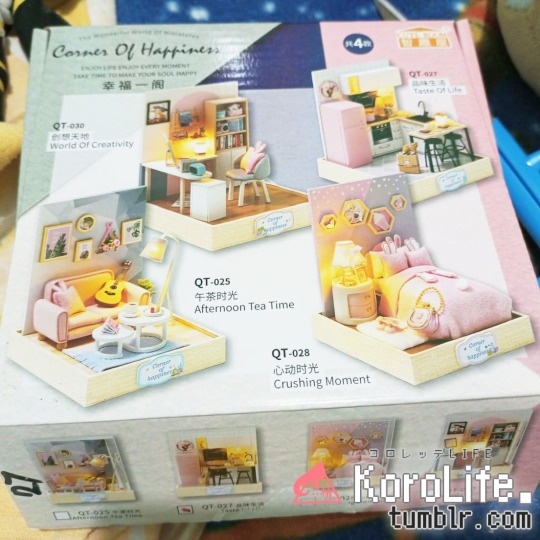
These are all the other variants of this series. I really dig the pink bunny aesthetics they're going for, though it's not as apparent on this one.
The kit also included custom wooden parts, wires, beads, and a tool kit necessary for the build. It also comes with an acrylic glass for dust-free casing!
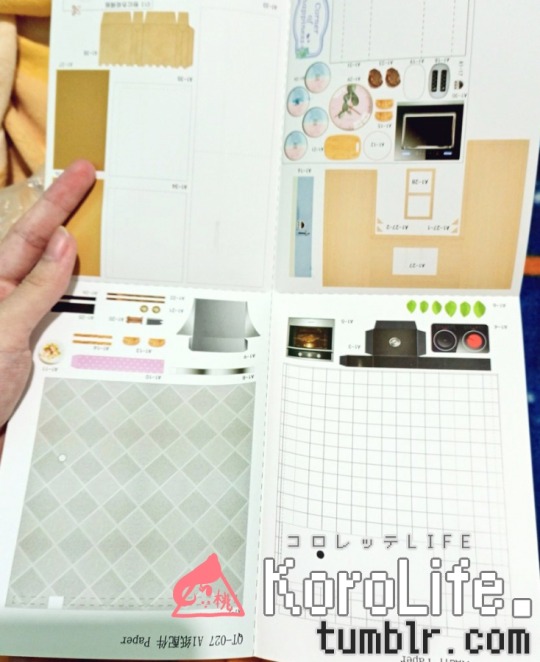
Most of the parts were made from a print-out glossy paper with all the items' photo-real textures; some of which are just to be pasted onto a harder material like wood shaped similarly to the object, but most of them are just the paper itself.
I guess doing it this way cuts costs for manufacturing, but it was very challenging to work with, in my opinion. You'll see what I mean in a bit.
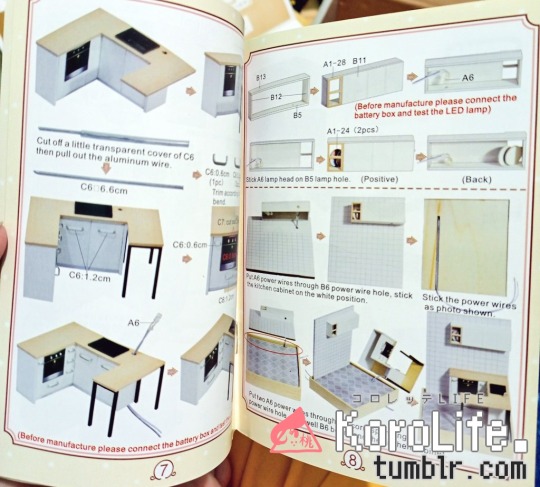
And here's a preview of the instruction booklet's contents.
I thought it was worded weirdly at parts, but still understandable enough with plenty of visuals to go with it.
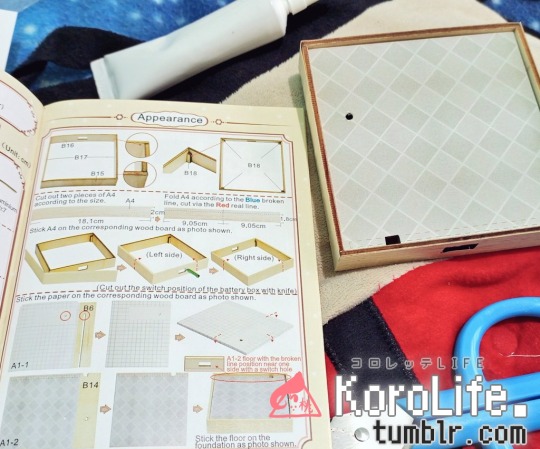
Starting with the base/foundation of the model before anything else seemed to be the best option... though I was very, very tempted to skip to work on the food items. I don't know why, but miniature food just gets me really giddy.
But, gotta hold backーcan't make food without the oven and all.
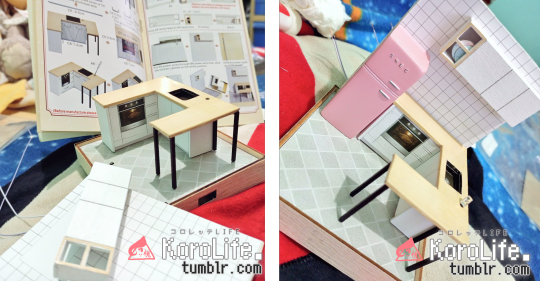
I then worked my way through the biggest parts and set them down permanently with the paste provided in the kit.
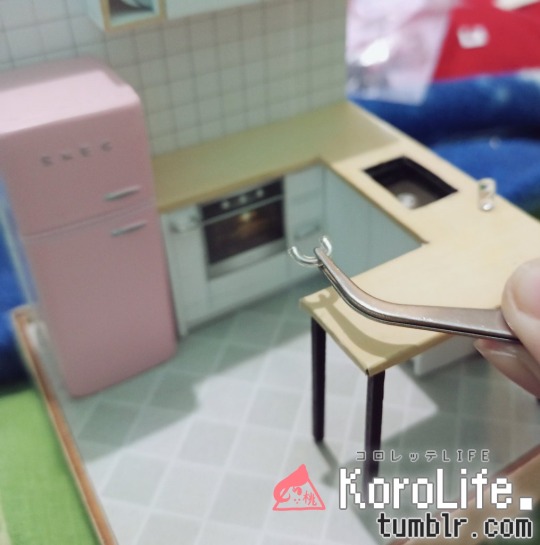
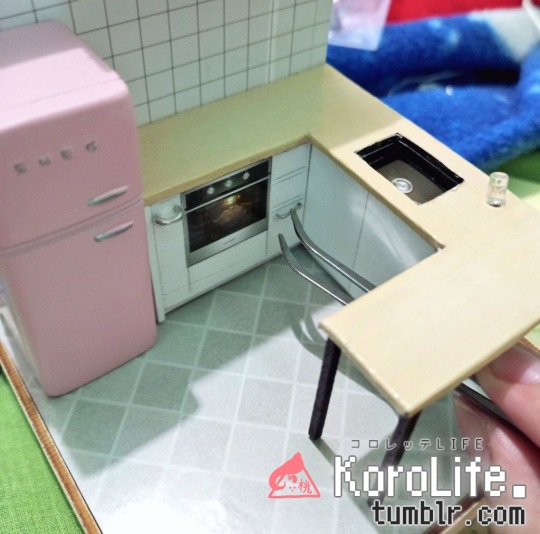
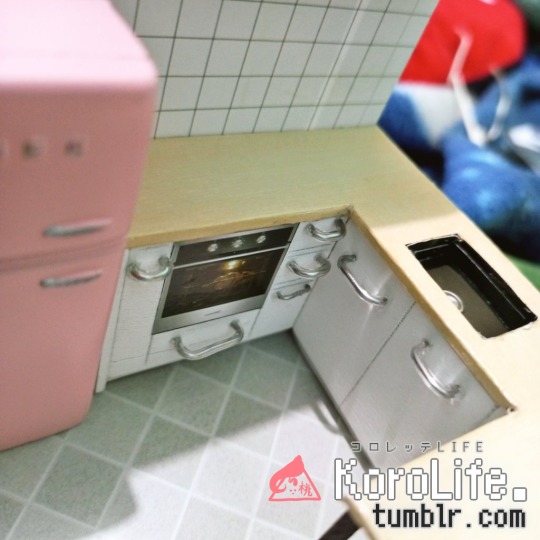
...but I probably shouldn't have glued the kitchen island in place before placing the handles...aiyah one of them is really crooked-
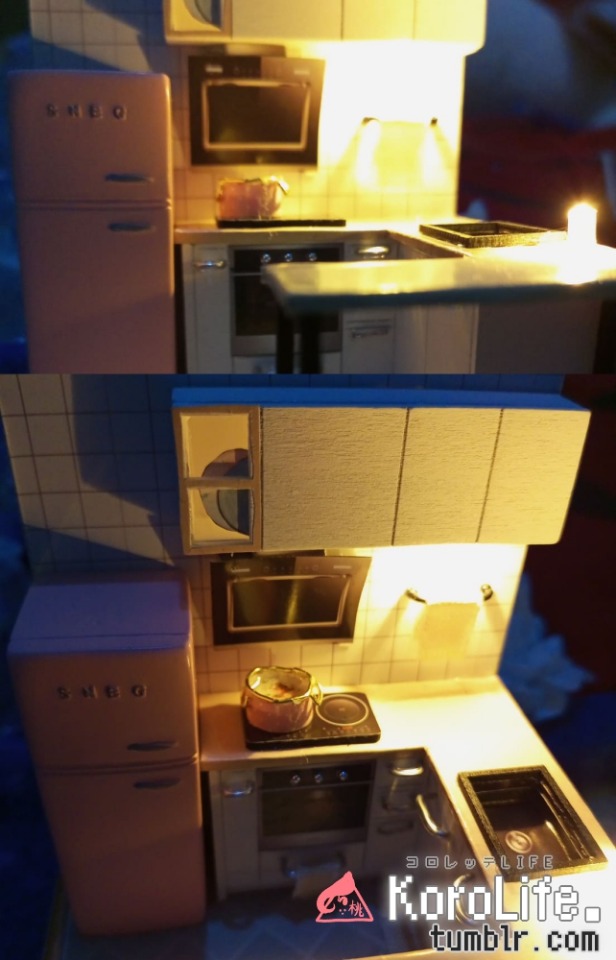
I'm not familiar with wirings, so setting up the LED lights made me panic a little. But somehow, it all worked out! I'm confident that if an idiot like me can get through this, so can anyone!!
And now I present to you: The Paper Struggles™
+ and a "It's so fakken small" compilation.
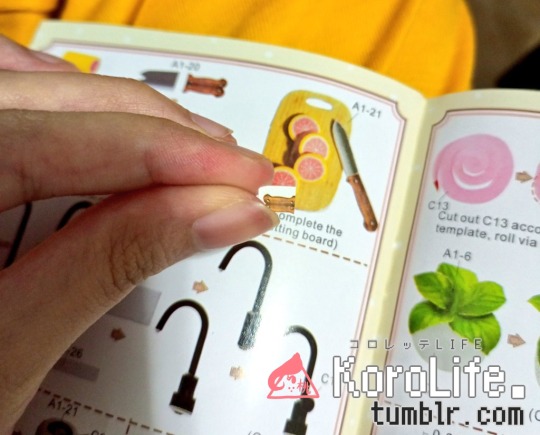
The booklet is a lie lol that knife .jpg is 5x bigger than what you've got to work with-
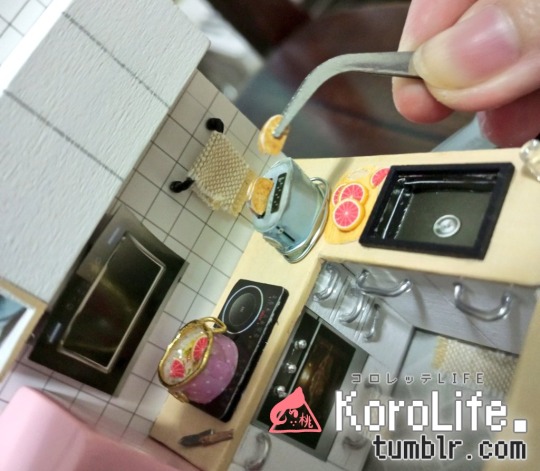
I remember both bread toasts being squished from the tweezers... thankfully tiny enough for anyone to really see, but there's definitely a shtload of dents on there...
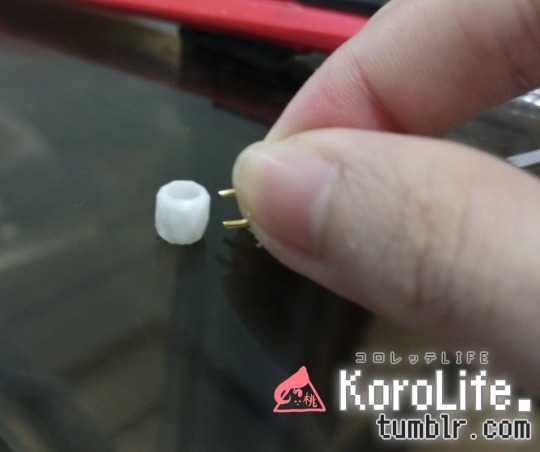
The wire handles for the mug was such a struggle lol it kept falling off no matter what, so I just kept adding glue and just... held on to it with pressure against the bead for what felt like eternity until it dried completely.
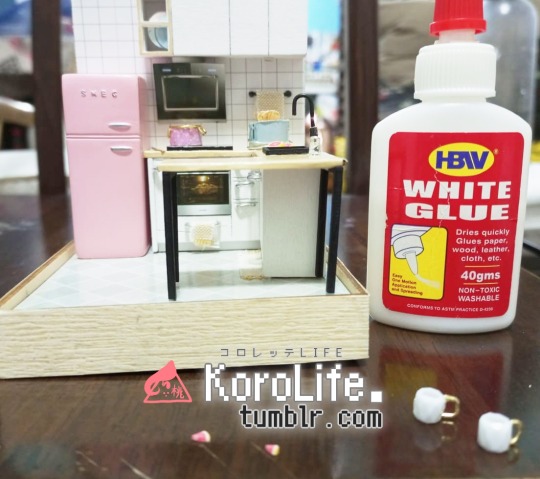
I also remember struggling with the semi-origami flowers quite a bit, but I think the trauma of it all made my brain forget to take photos-
Next up are the wires. I never really considered it before this kit, but they can actually have a lot of use when it comes to making miniature furnitures and accessories.
This was unfortunately before I got into making earrings, so I didn't have the right tools (pliers) to straighten them out. The very thin tweezers that came with the kit didn't help that much, so I just had to use my fingers.
The results... are as wobbly as the hands that created them lol I've learned my lesson...
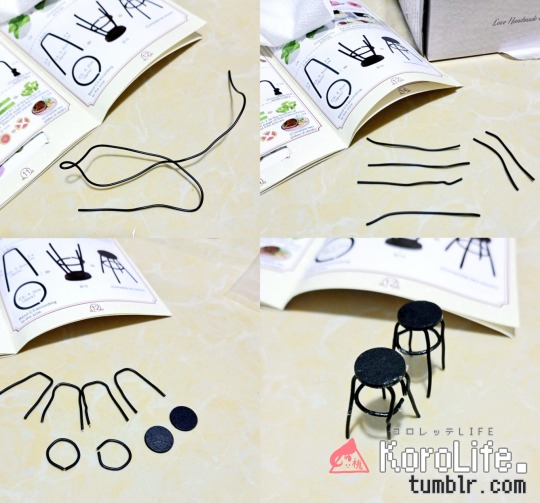
that incomplete circle pains me so
And here we have my favorite partーthe food! All the tiniest of detailing, the garnishing, the arrangements... it just makes me so happy, I really don't understand why.
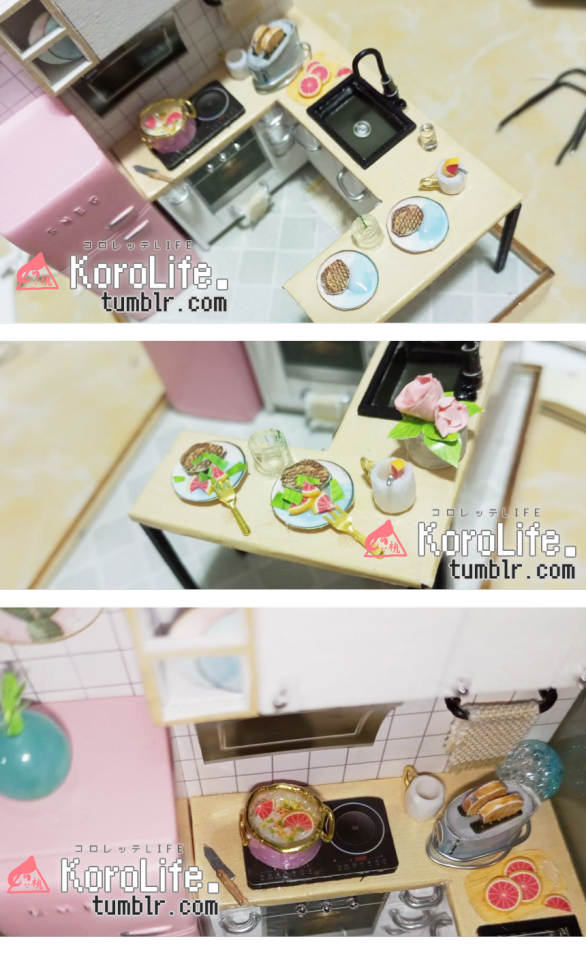
The original instructions only intended the oranges to be on the chopping board, but not in this household!!!
Oh, and the oranges were sliced up polymer clay rolls that I know are popularly used as nail art? Me and my sister used to sell polymer clay accessories back in the day and it felt very nostalgic seeing those tubes again.
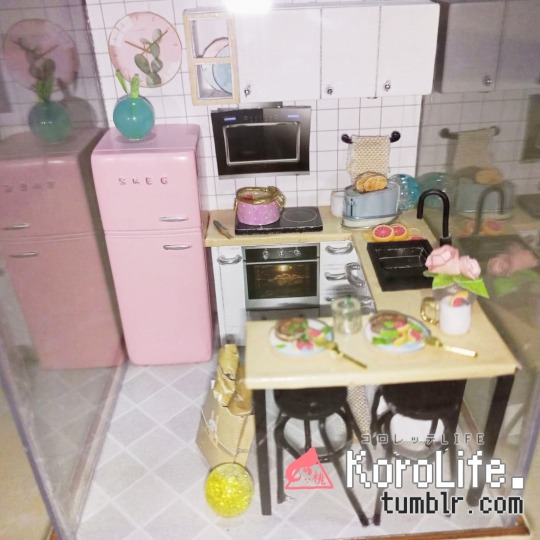
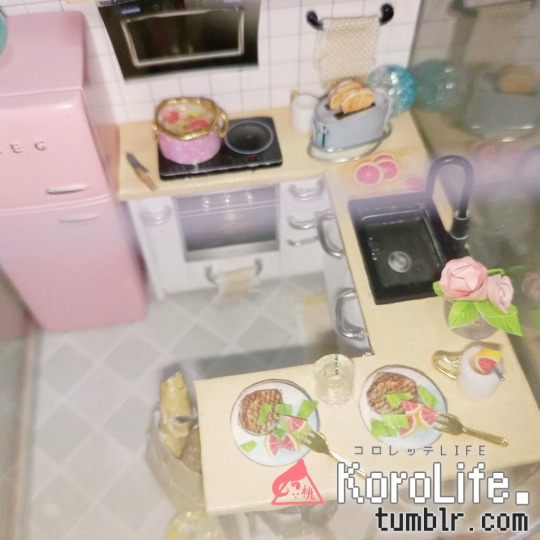
And here we have the finished model! ☆
I made a few changes from the original intended 'look' + added a couple of my own beads from my hoard material collection from childhood I planned on using for when we started making miniatures... and the time for use was most certainly now!
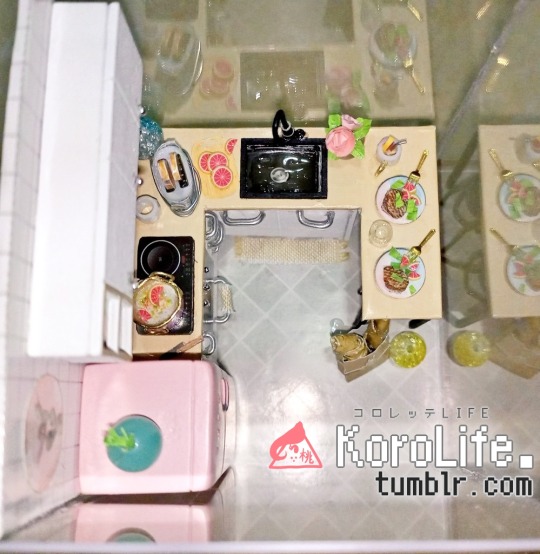
Aaand here's a bird's eye view before completing with the dust-free acrylic glass encasing top lid.
~ CONCLUSION ~
Overall, I thought it was really fun, despite the unforeseeable challenges along the way. Even as a newbie with little to no experience working on actual builds + with only the enthusiasm and love for miniatures to desperately cling to when the damn wires wouldn't stick on their corresponding surfaces properly... it seemed to turn out pretty OK!! I expected a whole lot more screaming and dying inside lol If you're interested in getting it, I think simply searching up "Corner of Happiness" or "Taste of Life DIY miniature kit" should get you some results on your preferred online shopping platform! ※NOTE: I do have to stress to make sure to check (either through other user reviews or the listing's description) if the seller is including a tool kit in your purchase. A lot of the items included in this kit you can probably find at home, but not a lot of people are so crafty to just have them lying aroundーespecially if you're a complete newbie with crafts/miniatures! You'll have a hard time trying to wing it without tools. ※also, they might just skimp on you by not including them, but still have you pay for the full price lol it's definitely worth considering when purchasing.
I know a lot of parents may see these kits to buy for their kids, but unless ➀ they're also helping out the kid in the process or ➁ if the kid in question has no interest or patience for these kind of things, I think it's best not to buy them DIY kits like these if you don't want to risk wasting money. But that's just my opinion, as a broke adult who's always wanted one of these haha
The amount of care, effort, and attention to make sure everything is sturdy enough and visually clean can be very drainingー but if you're willingーanyone can do it!
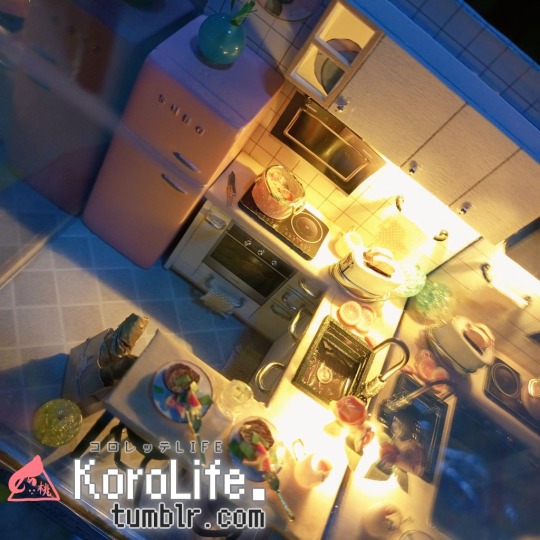
And of course, a final very cool look on LED lights turned on at night.
This project was done around 2022年. I've done one more miniature kit since then that was way more complex, but that's a whole 'nother journal entry for another day...
For now, here's a mini update of how this Taste of Life is hangin' after two years have passed:
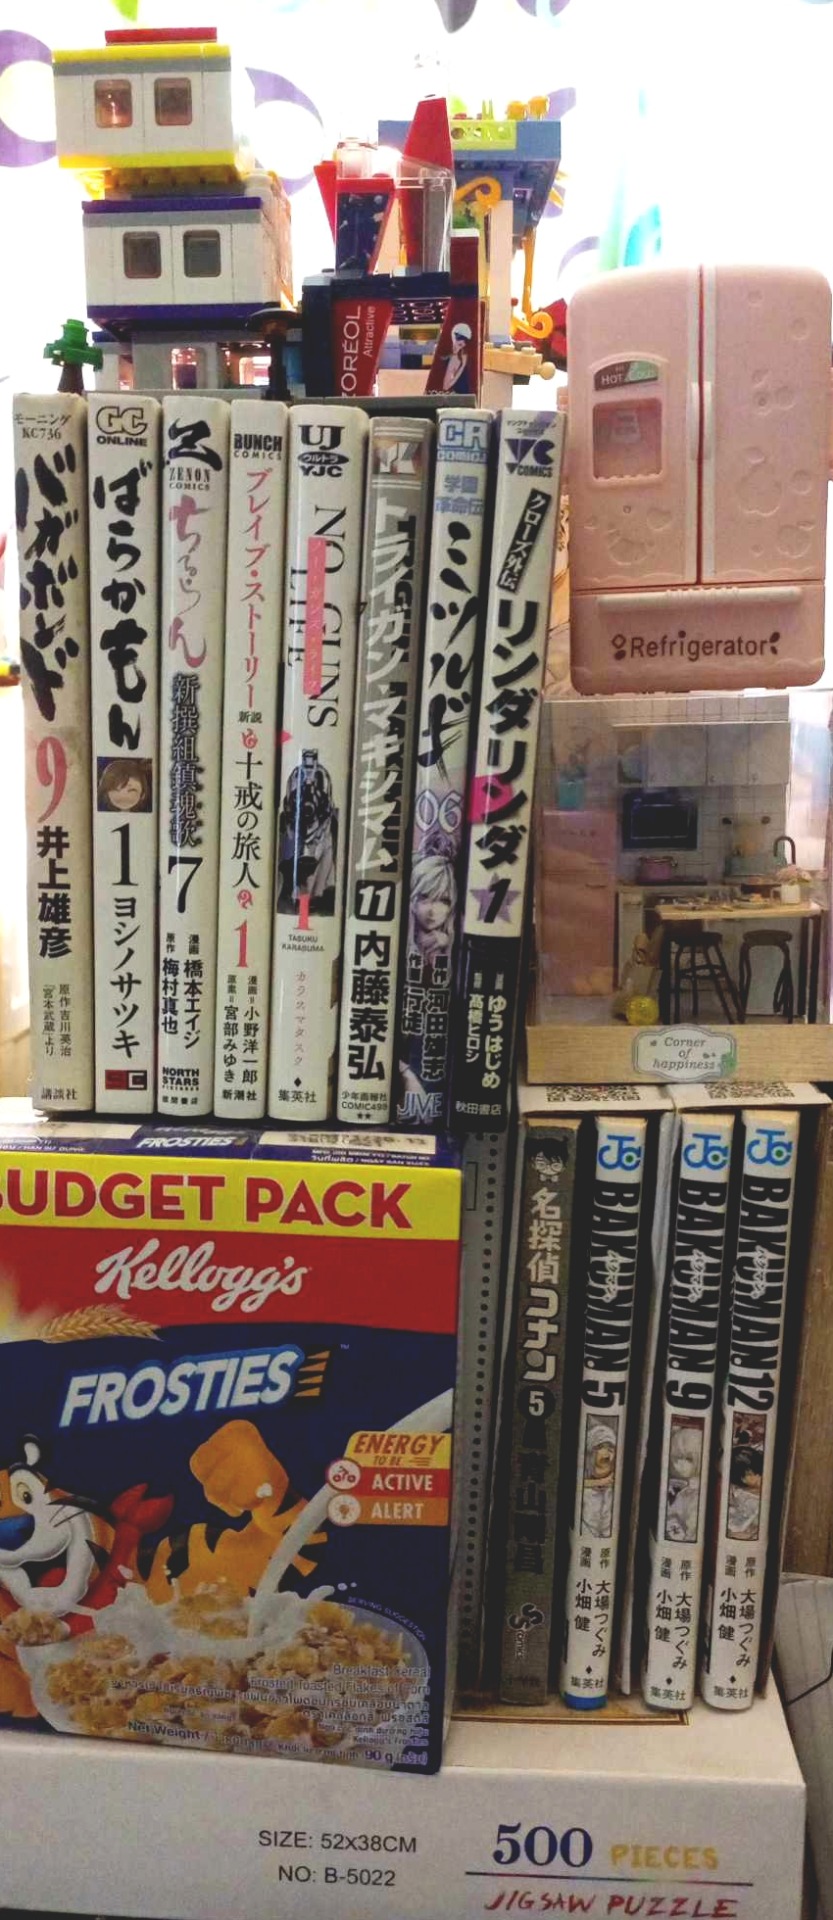
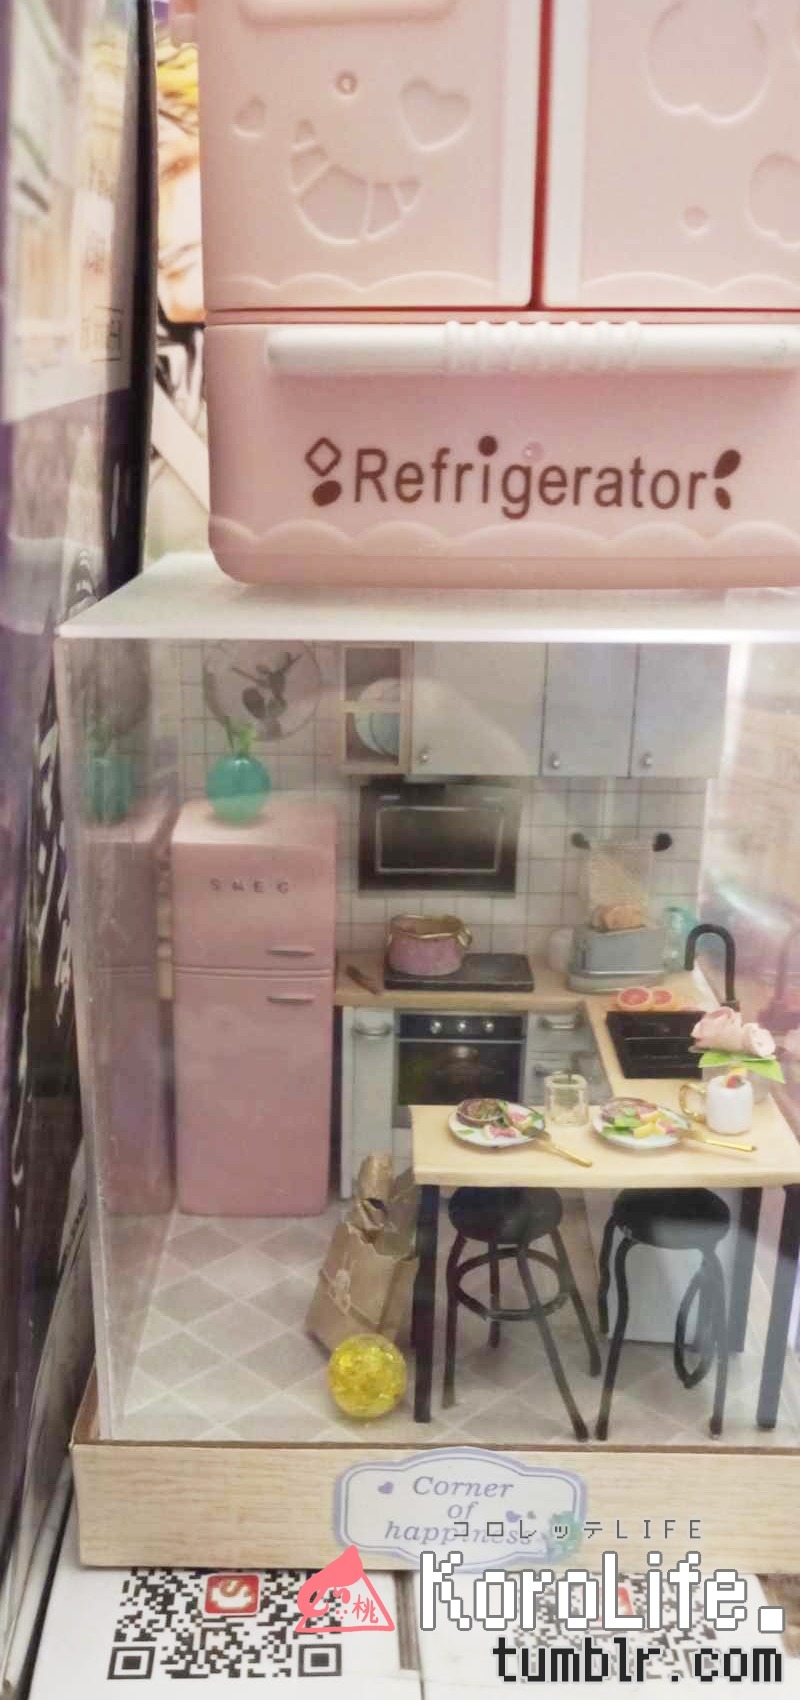
please don't mind Mr. Gamma side-eyeing you in the BG-
The batteries for the LED unfortunately need replacing and one of the wire chairs kind of died a bit, but it's still alive + currently displayed and part of my makeshift not-all-Shounen Jump Manga corner! I might make a separate blog about that too...
But until thenーthanks for reading ( ´ ꒳ ` )⸝ see you in the next one!★
#crafts#miniature#miniature model#kitchen#taste of life#corner of happiness#diy#diy kit#review#miniature dollhouse#miniature craft#craft kits#diy dollhouse#diy miniature
5 notes
·
View notes
Text

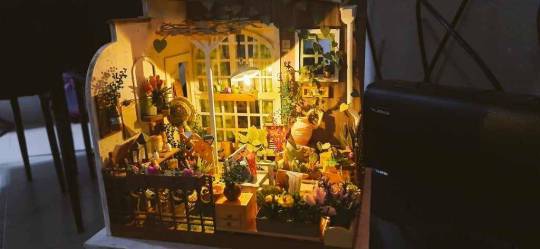
this is what sundaysays
#aesthetic#reblog#aesthetics#follow for more#my art#diy miniature#miniature#miniature photography#miniature dollhouse#miniature house#dollhouse#diy dollhouse#garden#plants#greenhouse#wildflowers#greenery#flower#warm and comfy#warm colors#warm light#comfy#cozy#window
10 notes
·
View notes
Text
i’ve been thinking about getting into building miniatures as a hobby. i’ve always really enjoyed having them and looking at them, and recently i built one with my sister that she got me for christmas and it was super fun. but i’m not really sure where to start other than just buying more pre-packaged kits. if anyone has tips or suggestions, let me know :)
#miniature#miniatures#diy miniature#diy dollhouse#idk man just trying to get into some hobbyist tags ¯\_(ツ)_/¯
16 notes
·
View notes
Text



#bankrollbarbie#bankrollxbarbie#barbie bankroll#bankroll barbie#street art#pretty in pink#barbie pink#pink core#pink aesthetic#pink y2k#pink moodboard#pink fashion#barbie girl#barbie aesthetic#mural#graffiti#graffittiart#urban photography#city life#coquette dollete#doll photography#dollcore#art doll#baby doll#barbie doll#bratz doll#custom doll#custom doll clothes#custom dollhouse#diy dollhouse
2 notes
·
View notes
Text
7 notes
·
View notes
Text
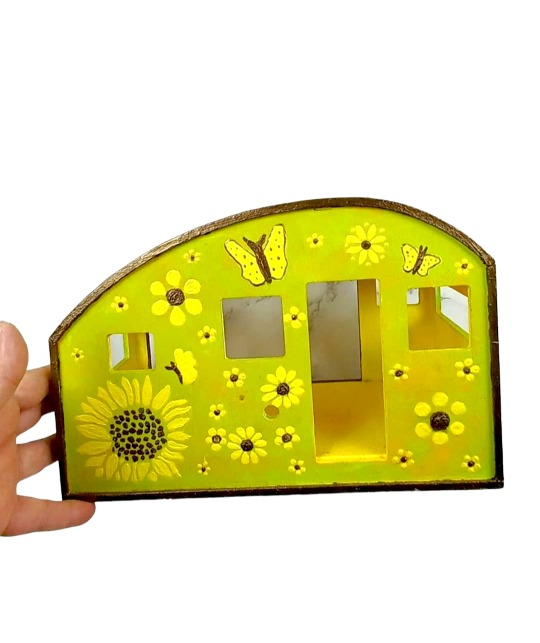
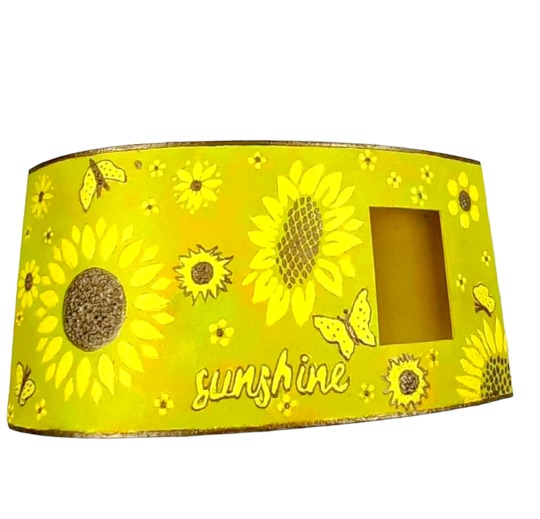
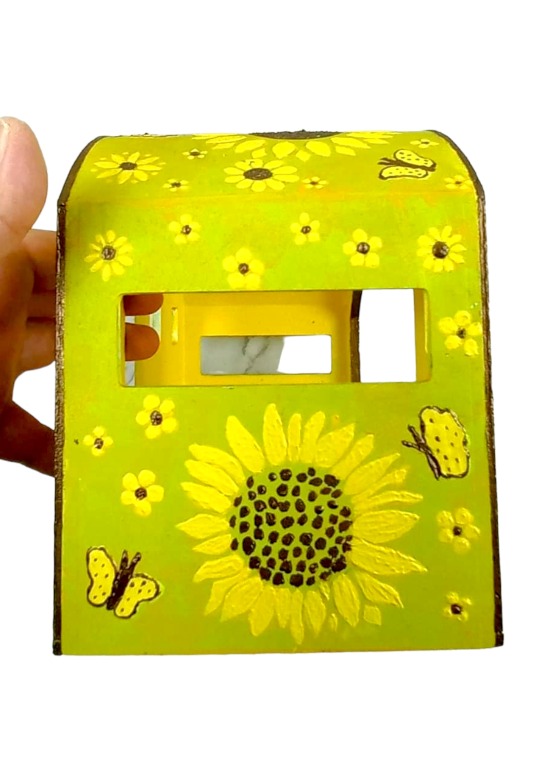
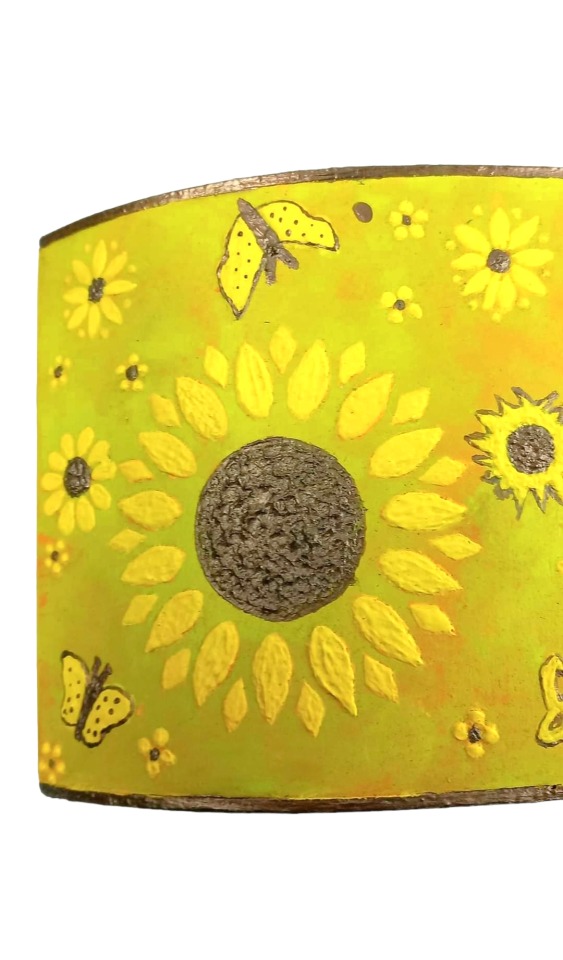
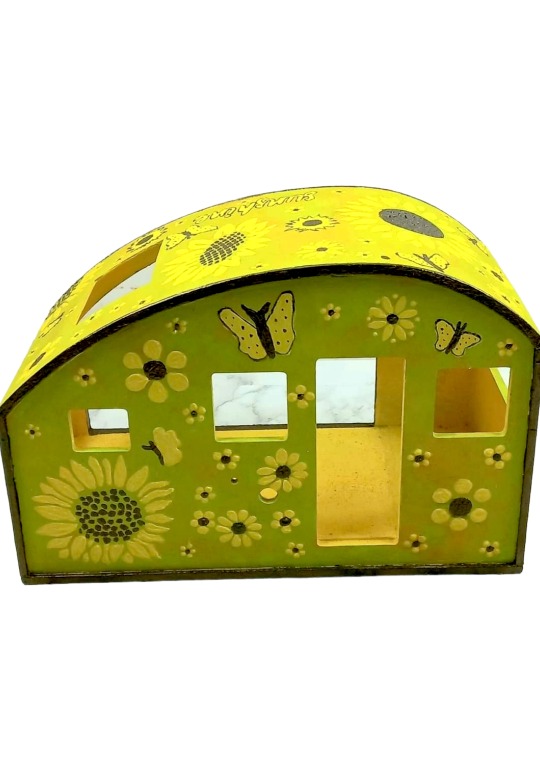
Caravan in miniatura, è un kit da assemblare, io lo sto personalizzando a mio gusto 😍



4 notes
·
View notes
Text
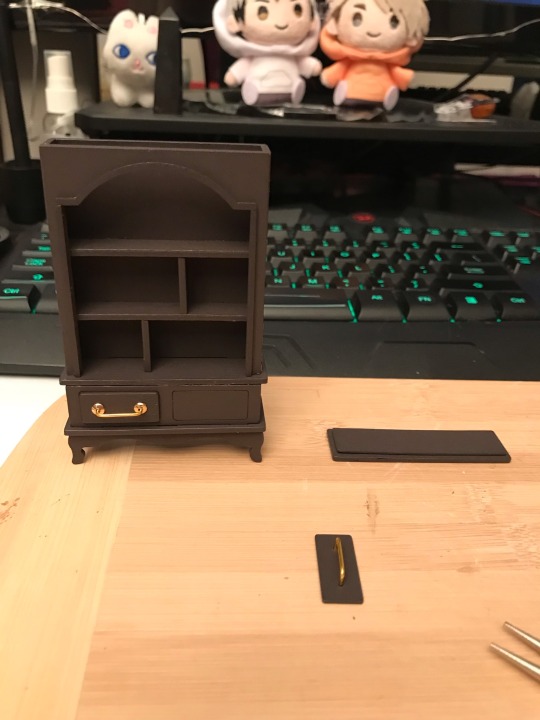

Been tired of drawing so decided to do my new detective DIY set, will probably finish it tmr!
67 notes
·
View notes
Text
vintage pattern wide washi tape
#vintage pattern#vintage fashion#vintage flower tape#vintage furniture#fabric tape#diy classic craft#diy classic decor#diy dollhouse#dollhouse wall tape
0 notes
Text
35 mini tile stickers
#mini tile#doll house#dollhouse kitchen#moroccan tile#tile pattern#diy dollhouse#dollhouse decor#bohemian tile
1 note
·
View note
Text
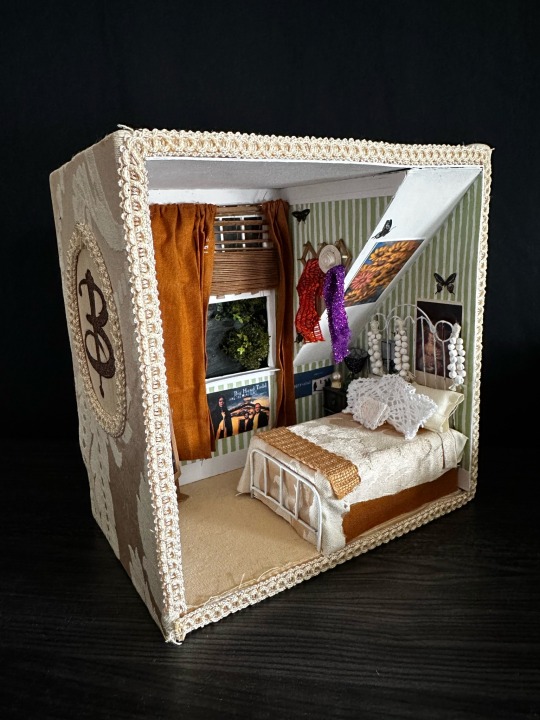
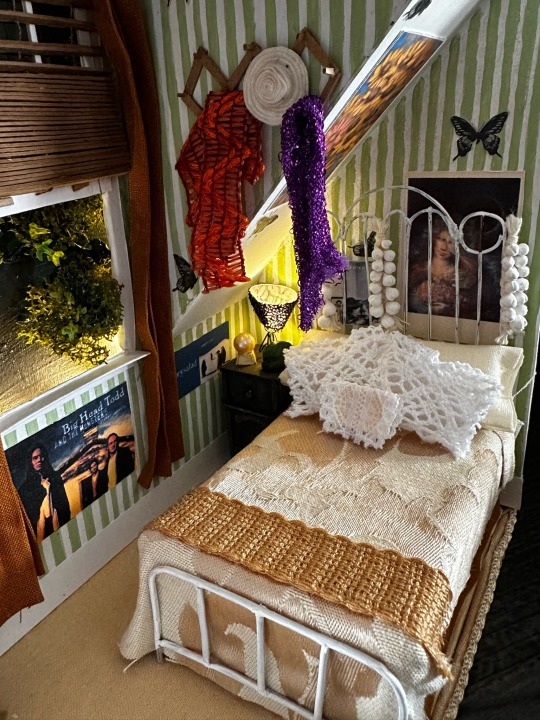


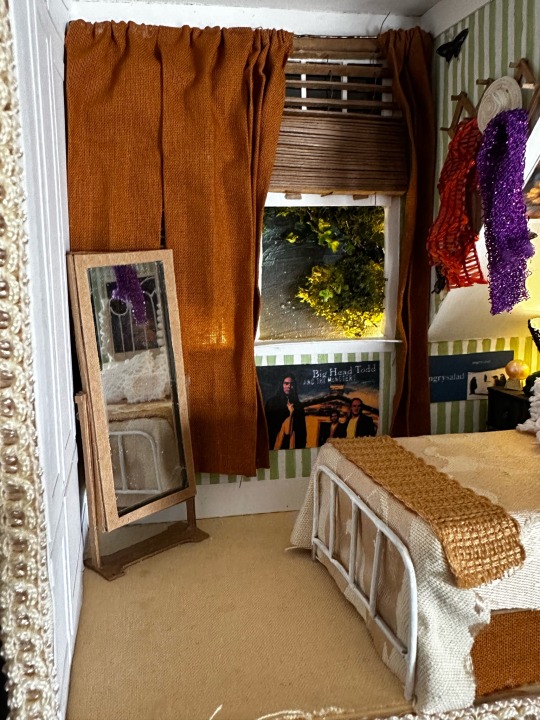
Sometimes the fun of miniature making is capturing something— in this case, the feeling I had watching Buffy the Vampire Slayer on a bulky tv in my bedroom as a teenager and finding her room to be a comforting place ❤️🪦 Wood box with an interior of cardstock, chipboard, fabric, wire, paint and scrap material, 7”x7”
#my art#miniatures#diorama#btvs#buffy the vampire slayer#Buffy summers#dollhouse#diy projects#Buffy#fanart
2K notes
·
View notes
Text
Want to see all the miniature dollhouses I have built out of popsicle sticks? Trick question you don’t have a choice!
From bigger to smaller.
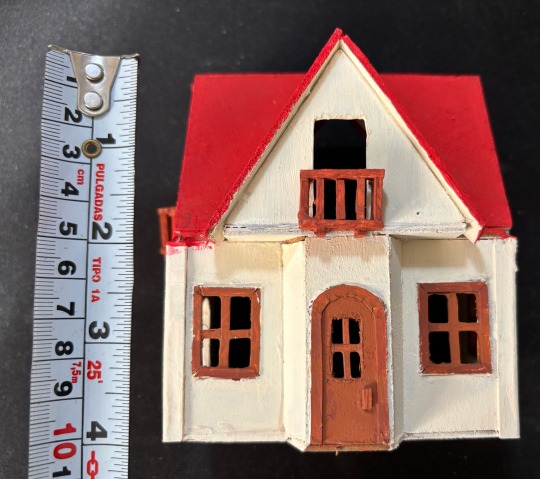
Newest house I have built, 1:48 scale based off the Sylvanian Families Cosy Cottage.

Technically a 1:144 house, didn’t exactly measure it but is close enough.

1/48ish room, not a dollhouse exactly, but it is cute, works fine for Polly Pocket sized dolls


Now these two are not in scale but I based them off of cardboard dollhouses H&M was selling a few years ago.
And here they’re all next to each other!

Thanks for your attention, you’re free to go now.
367 notes
·
View notes
Text

My new miniature strawberry plant in a ceramic pot. Strawberries are made of polymer clay, air dry clay and paper. The pot is real miniature ceramics. Scale 1:12🍓
347 notes
·
View notes