Don't wanna be here? Send us removal request.
Photo
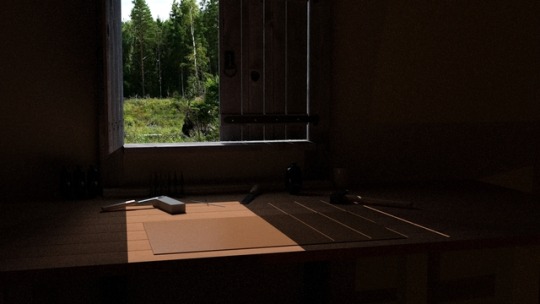
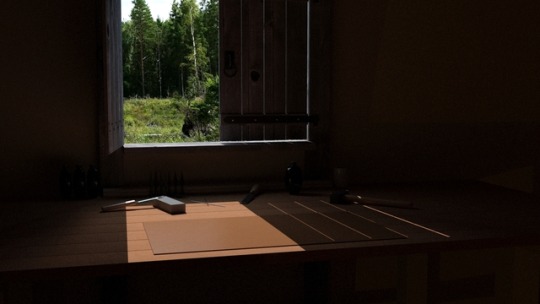
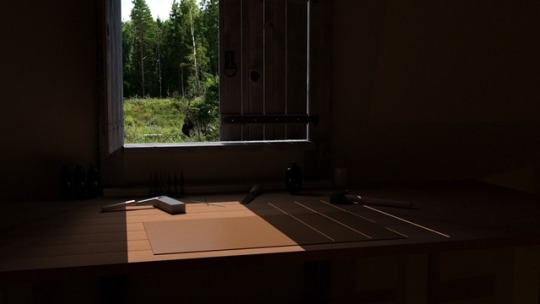
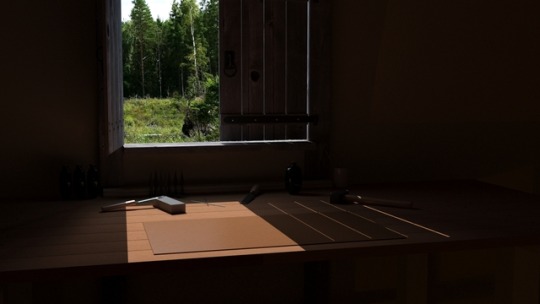
I wanted some sort of display case to better display the items I sometimes make. Decided to take a look at the Iray renderer in the process. Looks pretty good, but I don’t know how I feel about the whole iteration thing. This scene is not finished at this time.
0 notes
Photo
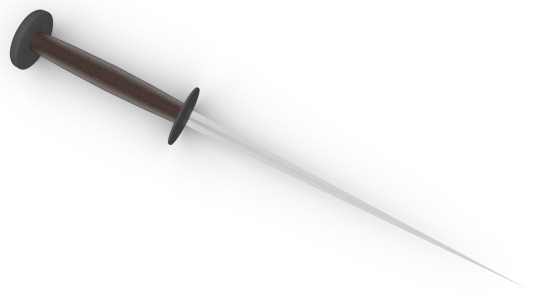
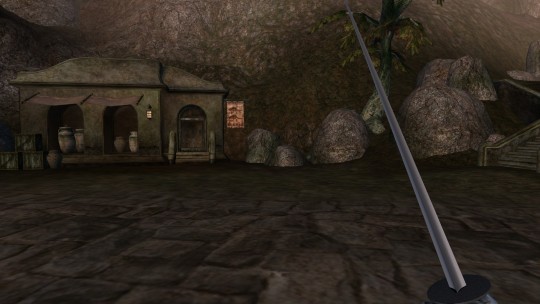
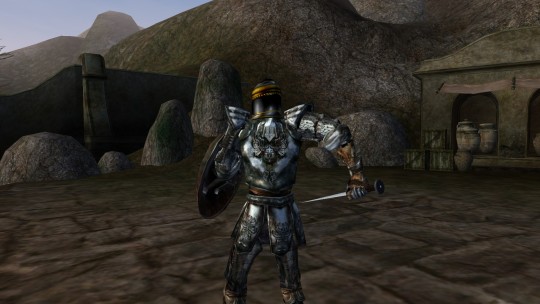
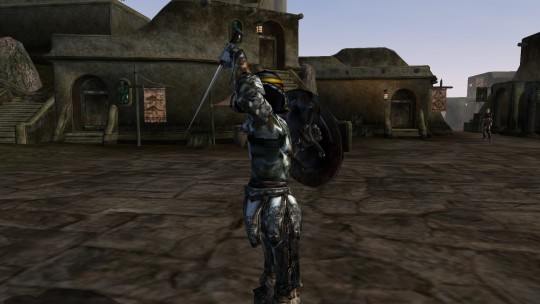
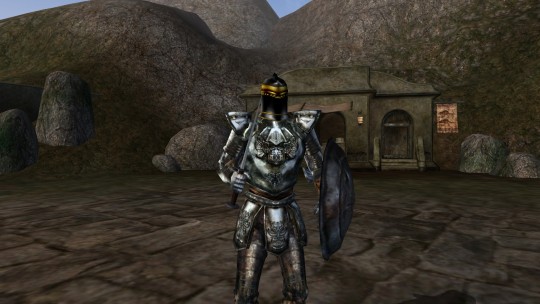
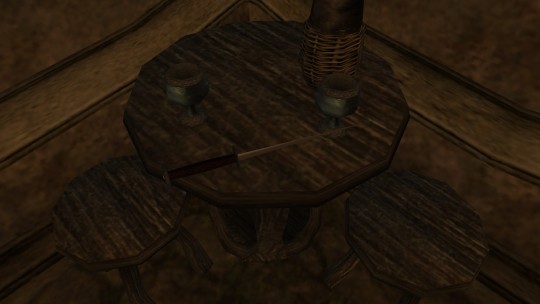
Brushed the dust off 3ds Max for the first time in a million years. Made a shitty meme for The Elder Scrolls III: Morrowind. It’s a rondel dagger.
Polygons: 737 Vertices: 829 Bitmap resolution: 512x512
0 notes
Text
Ambient Occlusion with mental ray in 3ds Max
Prerequisites mental ray set as default renderer, slate material editor. The following samples were made in 3ds Max 2016, but as this guide uses the slate material editor, it also applies to all releases down to 3ds Max 2011.
1. In the slate material editor, right-click, then select Materials>mental ray>mental ray. The mental ray material will only act as a container for the Ambient/Reflective Occlusion shader. It is the material that will later be applied to the scene.

2. Double click the material to edit it. Under the Material Shaders rollout, click the "None" button next to Surface to open the Material/Map Browser. Also make sure Surface is ticked/enabled.

3. Under the Maps>Standard>mental ray category in the Material/Map Browser, select Ambient/Reflective Occlusion. This is where you will control the attributes related to the ambient occlusion.

4. Apply the mental ray material to whichever scene objects. It should look something like this:

While this is more than enough for quick clay renders, the grainy shadows wouldn't be optimal for showing off.
The settings having to do with the ambient occlusion are found in the parameters rollout of the Ambient/Reflective Occlusion shader. For now, I will only pay attention to the top five: Samples, Bright, Dark, Spread and Max distance.
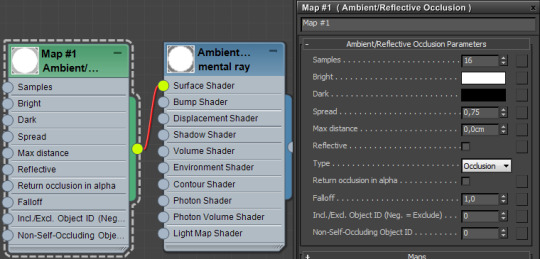
Bright and Dark Being the easiest to explain, I'll just get the Bright and Dark out of the way first. Simply, "Bright" is the color the object itself will be, and "Dark" is the color of the shadows. Samples The "resolution" or "precision" of the shadows. The higher the number, the better the shadows will look. Needless to say, it will also increase the rendering time. Massively.

Spread Spread determines how concentrated the shadows will be. Higher spread values work better with objects that have fewer details, while lower values work better with highly detailed objects.

Max distance Determines the overall size of the shadows. Again the more details in the scene, the lower the value should be.

4 notes
·
View notes
Photo


Highlands Claymore.
Polygons: 15217 Vertices: 15510 Bitmap resolution: 2048x2048
97 notes
·
View notes
Photo
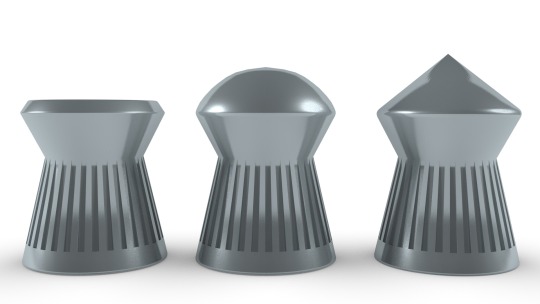
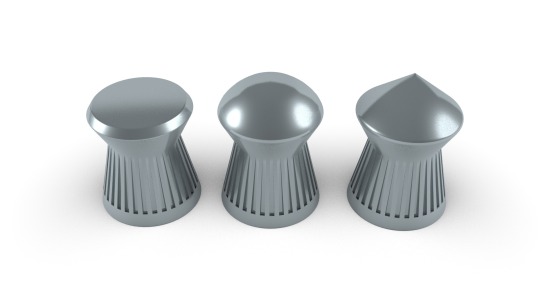
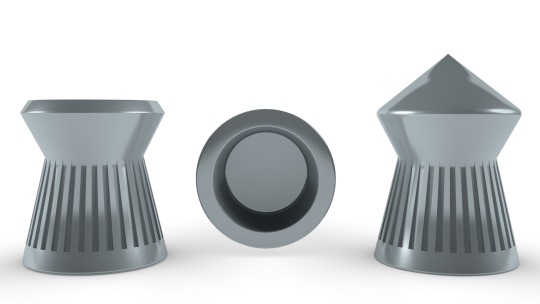
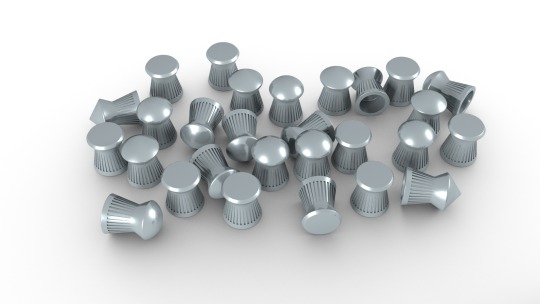
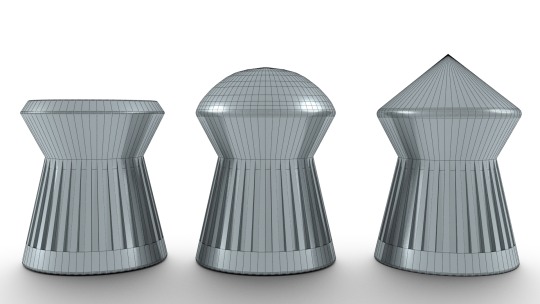
4.5mm air gun pellets.
0 notes
Photo

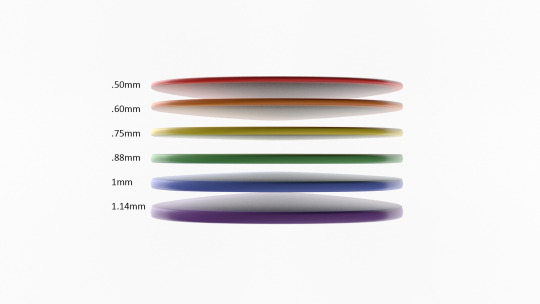
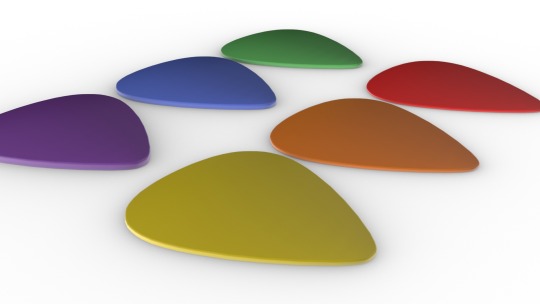
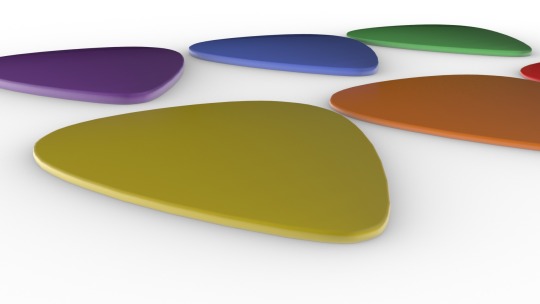
Dunlop Tortex.
0 notes
Photo
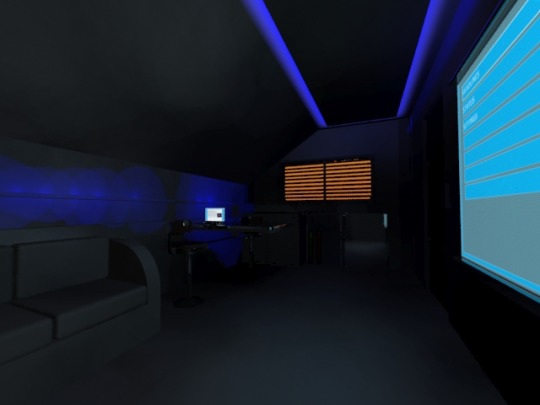
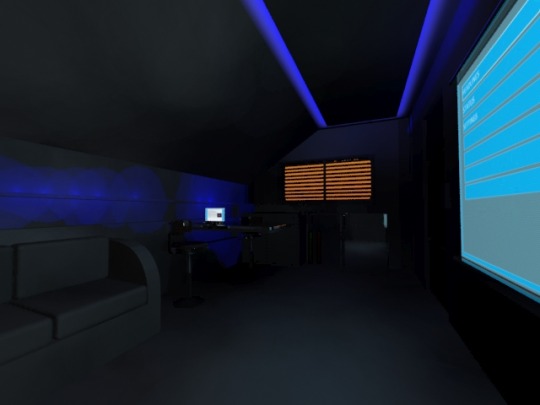
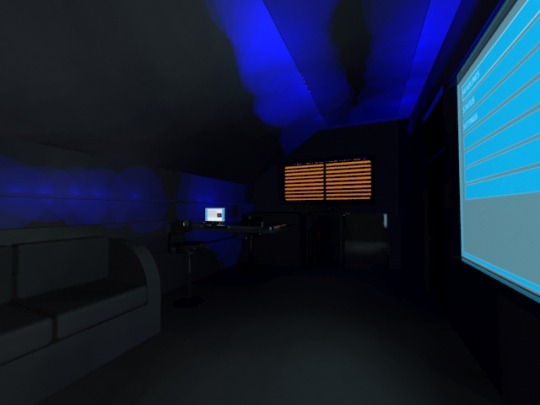
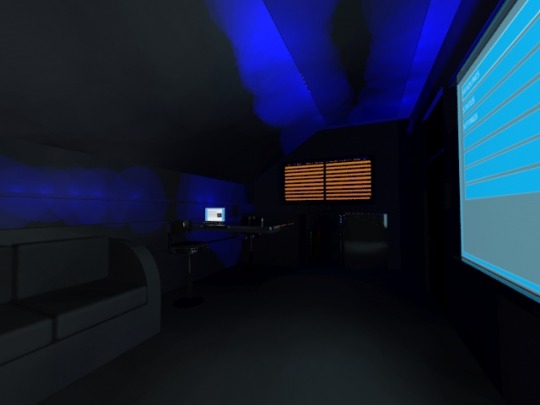
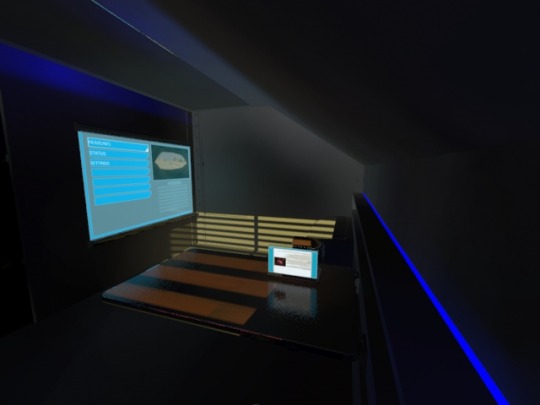
First incarnation of the 'barrack', part 2.
0 notes
Photo
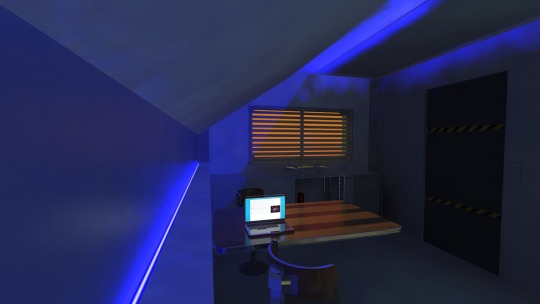
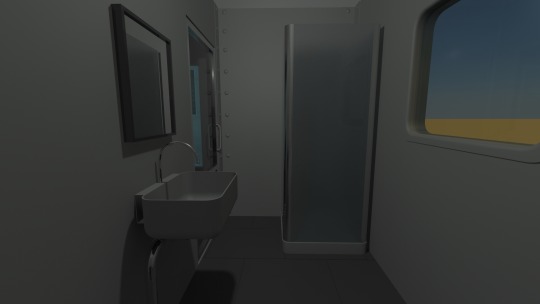
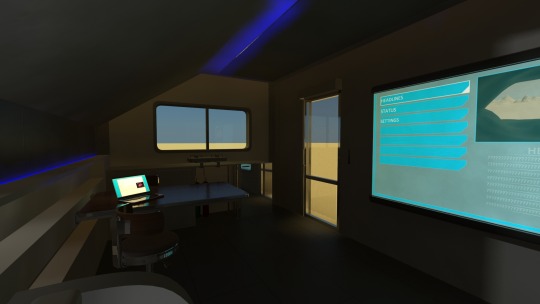
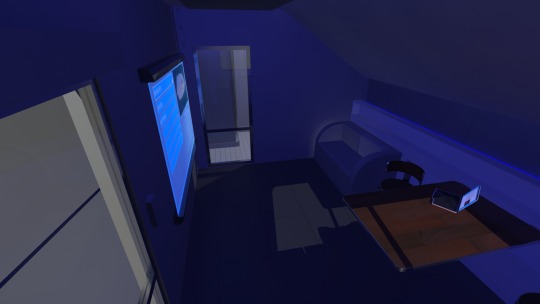
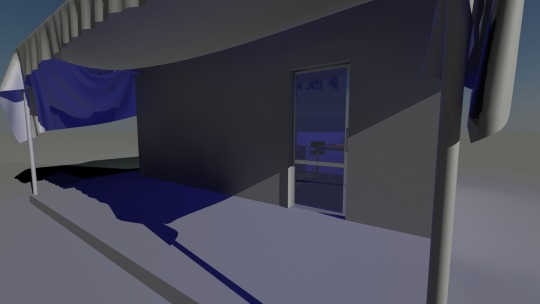
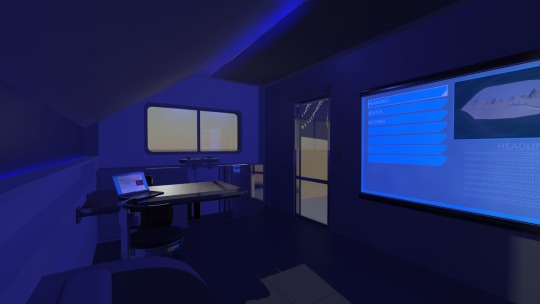
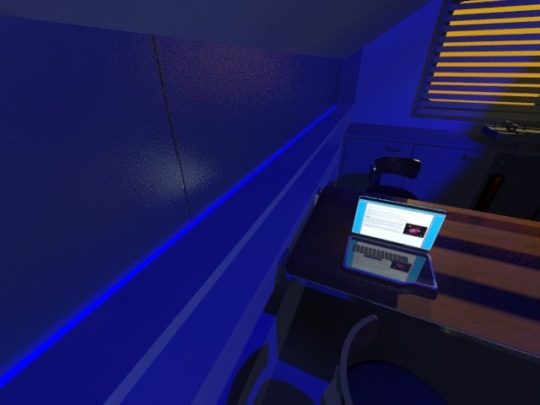
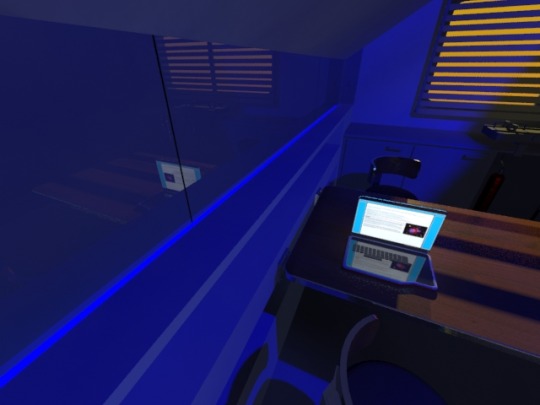
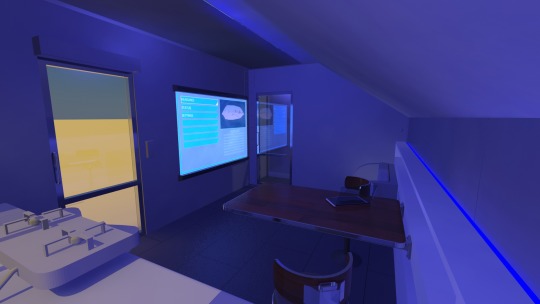
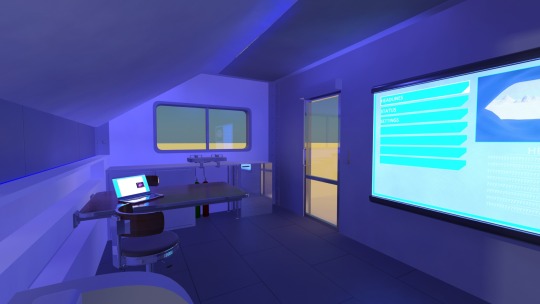
First incarnation of the 'barrack' with horrible lighting and materials. Never finished and lost.
0 notes
Photo
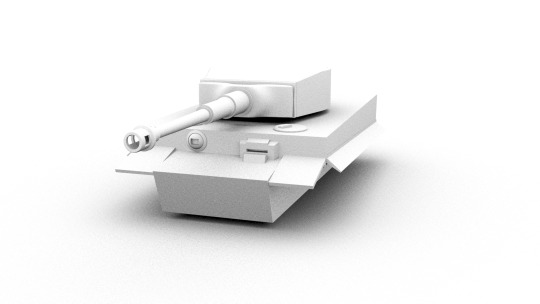
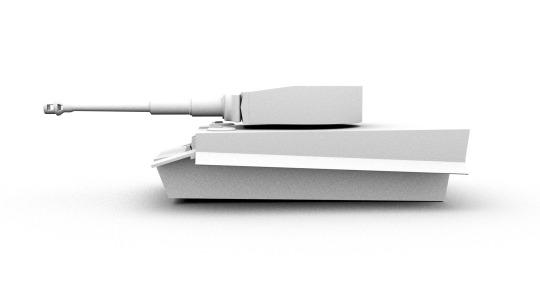
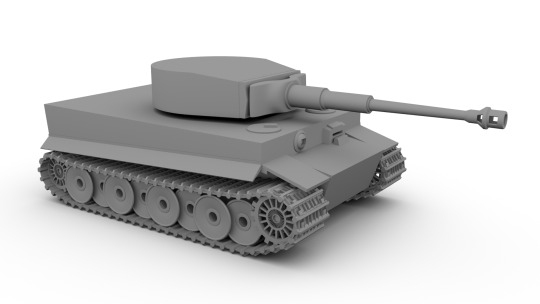
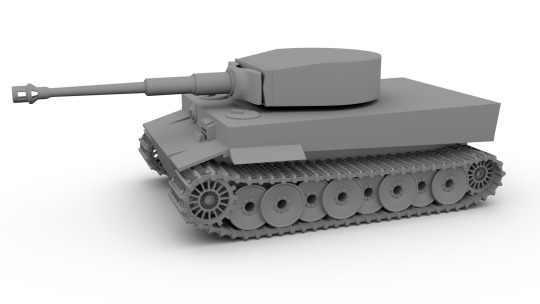
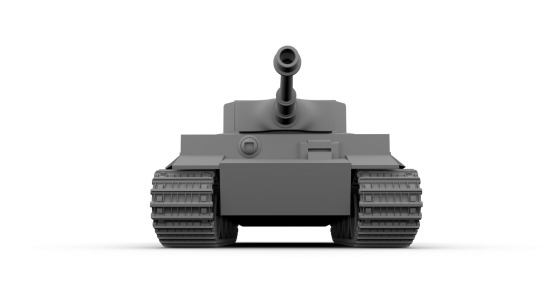
Beginning of the legendary German Panzerkampfwagen VI Tiger.
0 notes
Photo
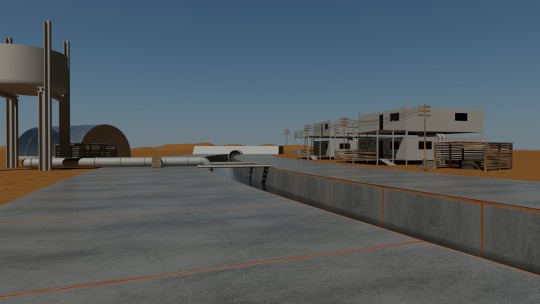
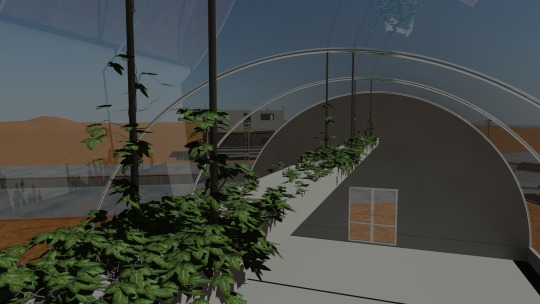
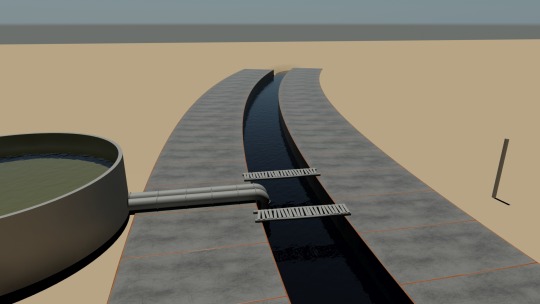
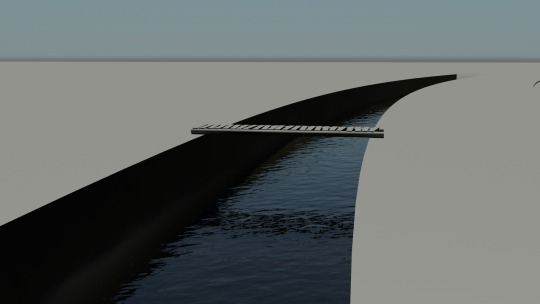
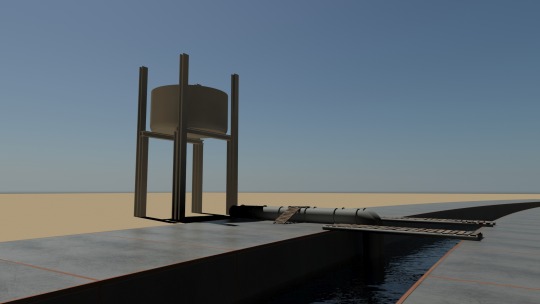
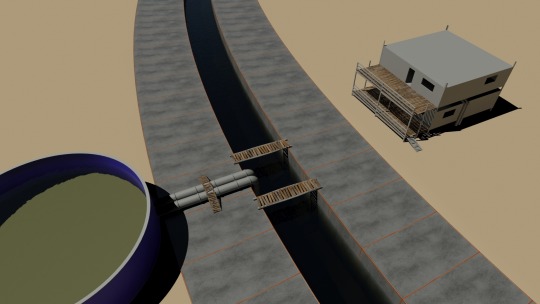
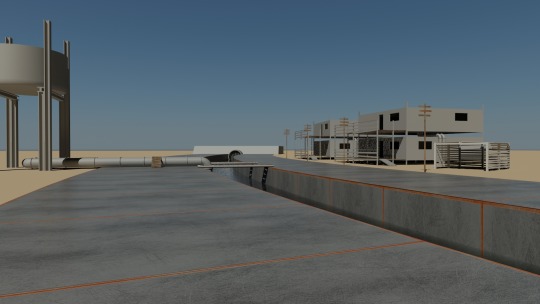
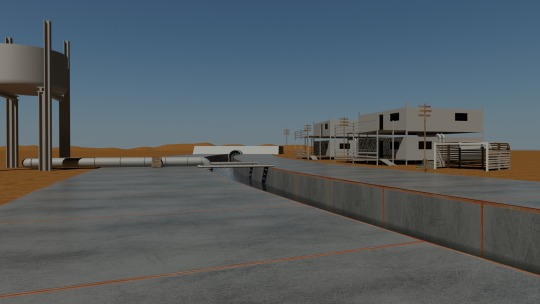
Attempted outdoors scene. Never finished.
1 note
·
View note
Photo

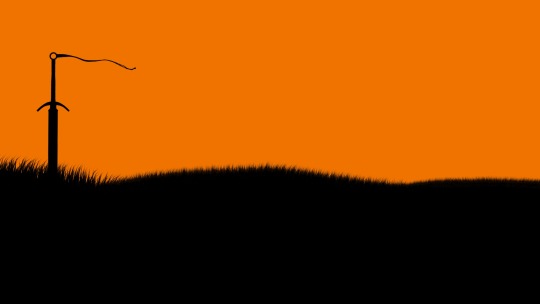
Quick animation, because why not.
3 notes
·
View notes
Photo
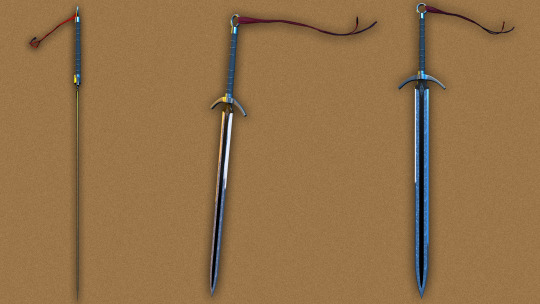
Tanya's Deliverance the way it would have looked when it was made over 200 years ago.
2 notes
·
View notes
Photo


Soviet PPSh-41 submachine gun. Never finished, file lost.
0 notes


