🌟 my art & photos + things i find beautiful 🌈 v ☆ they/them ☆ illustrator ☆ genderfluid⚧️🏳️⚧️trans/queer(t4t) ☆ desi-am ☆ turtle🐢island🏝SE➡️PNW ☆ health: hard mode ☆ years: XXX
Don't wanna be here? Send us removal request.
Text
READ THIS IF YOU PLAN TO BOYCOTT YOUTUBE LONG-TERM
get an invidious account. it is an alternative front-end to youtube, allowing you to make an account, subscribe to channels, make playlists, and all the other things you use youtube for; all without giving the company a single cent. swearing off youtube long-term is a tall ask, so you can use this to still follow the creators you want to keep up with while continuing the youtube boycott. it has a built-in adblock and anti-tracker, meaning that you can really keep fucking them over.
it doesnt interact with the API at all, it scrapes the metadata to make sure they get as little as possible.
6K notes
·
View notes
Photo
i love all the cute animals. and anti-colonial vibes.

Misionero comido por tigre —Missionary eaten by a tiger [indeed, a jaguar (Panthera onca)]. Noé León (b.1907, Barranquilla, Colombia) • via Bibliothèque Infernale on FB
13K notes
·
View notes
Photo
Dr. Fatima also had some great insights to further thinking around this topic of western science, pseudoscience and different cultural ways of knowing.
youtube
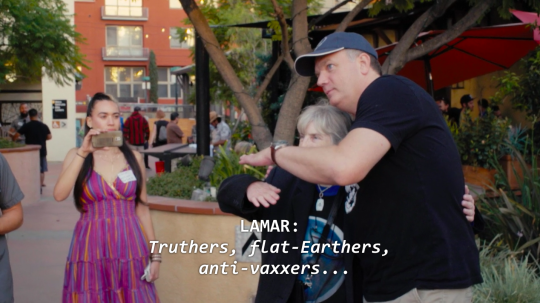
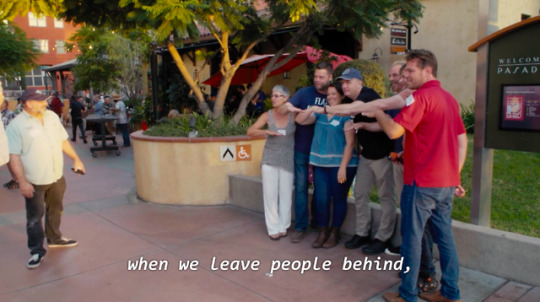
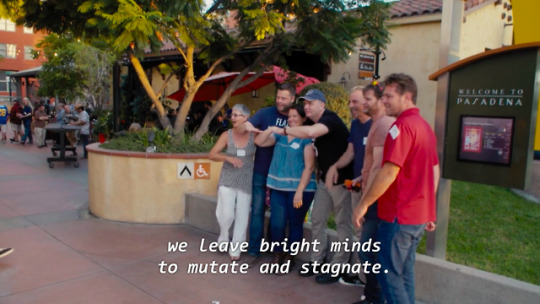


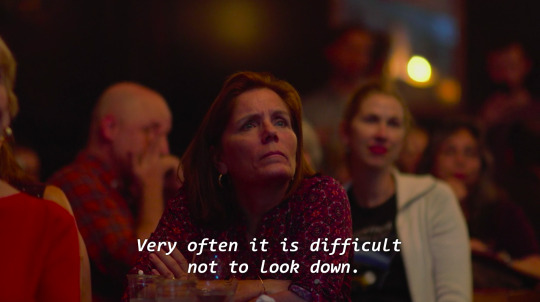
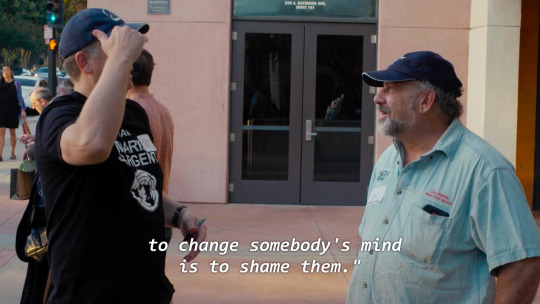
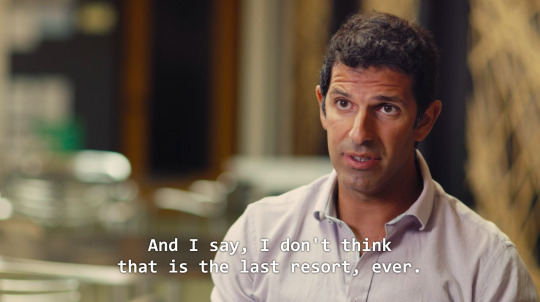
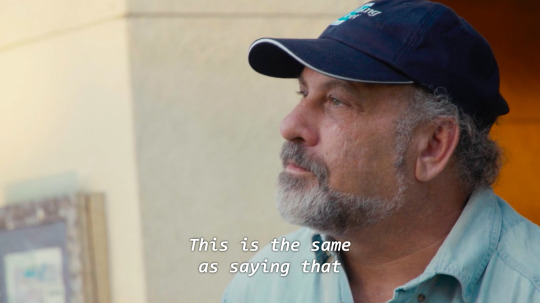
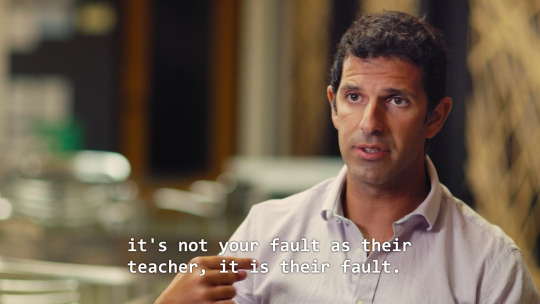
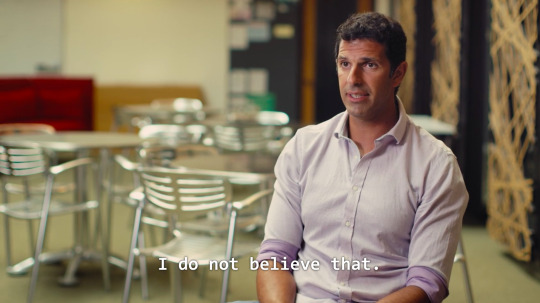
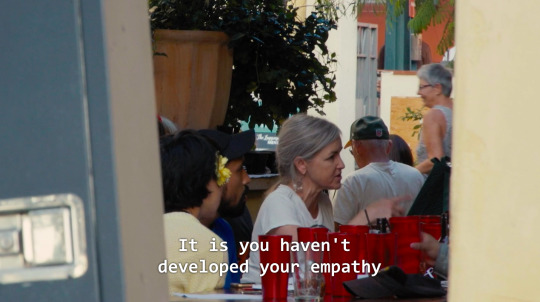
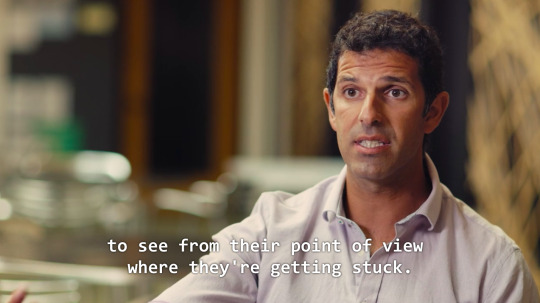
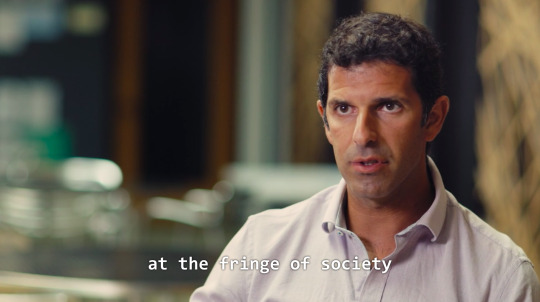
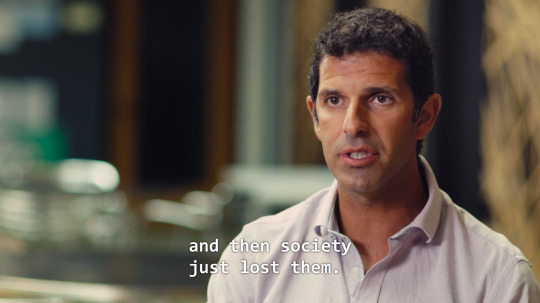
I really like what this physicist, Lamar Glover, has to say in Behind the Curve.
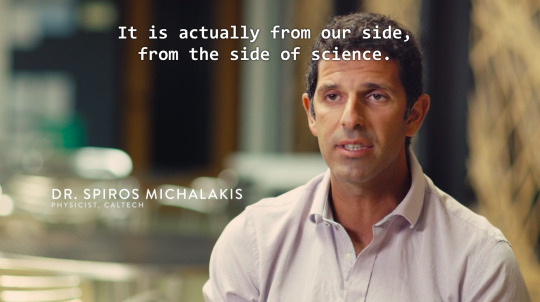
+ this part from Spiros Michalakis:






#lamar glover#dr. fatima#dr. fatima abdurrahman#bipoc in stem#women in stem#sociology of science#culture of science education#Youtube
135K notes
·
View notes
Text

a presence walks by
You don't recognize it
266 notes
·
View notes
Video
149K notes
·
View notes
Text
I am finally finished with my bag!! very happy with how it turned out

3K notes
·
View notes
Text

'Parade'. Audrey Helen Weber. 2017.
7K notes
·
View notes
Text


weird comets
6K notes
·
View notes
Text


Here are all the photos I have taken in 2025 so far. My goal was to take at least one photo every month, and so far I've been able to do that. 😊
I still have to take my June photo. I was thinking of a cute, cuddly photo of the piggies in a blanket or maybe a bookish photo? We'll see what this month will bring. 📷
56 notes
·
View notes
Text

What Trauma Actually Does To The Brain: An Educational + Deep Dive Into the Nuerobiology of Survival
1/7
When people say trauma “rewires your brain,” it’s not metaphor. It’s neurology.
Understanding trauma’s impact on the brain helps to demystify our reactions — and lift the weight of shame. Trauma survivors often ask, “Why am I like this?” The answer is: because your brain adapted perfectly to danger. Let’s break this down.
Chemically Speaking: What changes?
1.Cortisol & Adrenaline Override
Trauma floods your system with stress hormones, primarily cortisol and adrenaline.
This is useful short-term: it sharpens reflexes and numbs pain. But in chronic trauma? These chemicals get stuck on high.
🔸Result: Hypervigilance, anxiety, difficulty sleeping, poor digestion, high heart rate, emotional flooding.
2. Neurotransmitter Dysregulaion
Repeated trauma interferes with:
Serotonin (mood stability)
Dopamine (pleasure & motivation)
Norepinephrine (alertness)
Oxytocin (trust and bonding)
🔸Result: Depression, low energy, difficulty feeling joy, trouble connecting with others or yourself.
3. Histamine & Immune System Overreaction
Many trauma survivors experience mysterious allergies or sensitivities. That’s because trauma activates mast cells and increases histamine, which is meant to fight threats—but in trauma, the body starts treating life like one big emergency.
🔸Result: Skin flare-ups, food sensitivities, digestive issues, headaches, overeating.
Structurally Speaking: What gets rewired?
Amygdala (Fear Center)
The amygdala becomes overactive. It constantly scans for threat — even when you’re safe.
🔸You feel: Startled easily, overwhelmed by crowds, panicked by “nothing.”
Prefrontal Cortex (Logic & Decision-Making)
This part shrinks with chronic trauma exposure, making it harder to regulate emotion or make clear decisions.
🔸You feel: Scattered, impulsive, like your thoughts run too fast or not at all.
Hippocampus (Memory & Context)
This structure gets damaged by cortisol, shrinking over time.
You may struggle to remember things clearly—or feel hijacked by memory fragments or body sensations.
You feel: Disoriented, like past and present blur, or like your body “remembers” things you can’t explain.
You are not broken.
You’re adapted.
If you’ve:
Lost your appetite or have food aversions
Felt “frozen” when trying to make a simple decision
Reacted strongly to sound, smell, texture or light
Needed rigid routines just to feel okay
..your brain is doing exactly what it was trained to do.
Trauma isn’t just emotional pain. It’s a full-body reprogramming for survival.
The Good News: Neuroplasticity
The brain is not fixed. Healing is possible.
With:
Trauma-informed therapy (EMDR, somatic work, IFS)
Regulation practices (breath work, safe ritual, or co-regulation)
Nutrition and movement, when accessible
..your brain begins to rewire itself back toward safety.
Every time you listen to your needs, rest, hydrate, name your truth, or say no—you’re re-parenting your nervous system.
Instead of:
“Why am I like this?”
Try:
“What did I survive that made this necessary?”
Let this serve as both science and sacred permission.
To be soft. To be patient.
To be a body learning how to come home again.
#spiritualtrauma #scienceoftrauma
89 notes
·
View notes
Text

Anthony Aguilar, a former U.S. Green Beret.
“The American people need to know what the United States is involved in in Gaza. We’re not bystanders. We are a part of it. U.S. tax dollars are going towards this effort. Americans are on the ground, armed, in Gaza, engaging with Palestinians and involved in things that America needs to know about.”
Please help us and donate if you can, we are in dire need of help, please.
3K notes
·
View notes
Text

Linocut art by Elina Adrshina (source)
541 notes
·
View notes
Text
deep dive on the GHF's crimes, the medically emergency starvation situation & and how you can help
Over a thousand Palestinians have been killed in the GHF death traps disguised as aid distribution (run by the US and backed by Israel) since they opened in late May. Just yesterday, (Wednesday, July 30, 2025) Israeli forces attacked hundreds of starving people heading towards the Zikim crossing point for aid trucks entering northern Gaza, killing at least 51 and injuring over 648 others, and Nasser Medical Complex reported 20 others were killed in southern Gaza near Khan Younis. (Al Jazeera, Jul 30, 2025, "More than 70 aid seekers killed as starvation worsens in Gaza." )
These daily massacres are being enacted on a population who is experiencing what the Integrated Food Security Phase Classification (IPC) describes as the “worst-case scenario of famine.”
Think about what happens to the starving bodies of children. In the body, the digestive system slows and children's growth and development stall. Heart rate slows, blood pressure drops, body temperature falls. The body begins to consume its own organs, muscles, and bones. The immune system is weakened.
Think about children who are being brutally injured and denied sanitary conditions while starving. Malnutrition directly increases the likelihood of bones breaking and infections like pneumonia, diarrhea, measles, and sepsis. According to Dr. Aqsa Durrani (a physician and epidemiologist who worked this spring at a trauma field hospital in Gaza treating victims of airstrikes) when children are malnourished, even their surgical incisions cannot heal properly because their bodies don't have enough protein to rebuild the tissue. (Time, Jul 31, 2025, "The Medical Consequences of Starvation")
The only means of survival is buying food from markets where there is extreme price gouging, making the smallest amounts continuously more and more expensive the longer Israel prevents aid from reaching Gaza.
My friend Mahrah (@mahrahpalestine) is living in Gaza right now under these conditions. Her parents are losing weight rapidly as they starve. She was studying to be an engineer at Al-Azhar University, and over the course of this war, she is not only losing everything she had, but losing her opportunities. She dreamed of using her skills to rebuild Palestine and support her community. She writes, "My future is what is being lost. I am supposed to focus on my studies, but famine keeps us away from everything."
Her brother Mahmoud is in Egypt, doing everything he can to get her donations to survive, and they miss each other. They need to survive long enough to meet again.
Mahrah's family's fundraiser has been vetted by 90-ghost and shared by fairuzfan. Please support them. They are subsisting on the food they can buy each week with donations.
#free palestine#forced starvation is not a famine#end genocide#bad hasbara#comedy#matt lieb#daniel maté#dr. gabor maté
2K notes
·
View notes
Text
25 ways to be a little more punk in 2025
Cut fast fashion - buy used, learn to mend and/or make your own clothes, buy fewer clothes less often so you can save up for ethically made quality
Cancel subscriptions - relearn how to pirate media, spend $10/month buying a digital album from a small artist instead of on Spotify, stream on free services since the paid ones make you watch ads anyway
Green your community - there's lots of ways to do this, like seedbombing or joining a community garden or organizing neighborhood trash pickups
Be kind - stop to give directions, check on stopped cars, smile at kids, let people cut you in line, offer to get stuff off the high shelf, hold the door, ask people if they're okay
Intervene - learn bystander intervention techniques and be prepared to use them, even if it feels awkward
Get closer to your food - grow it yourself, can and preserve it, buy from a farmstand, learn where it's from, go fishing, make it from scratch, learn a new ingredient
Use opensource software - try LibreOffice, try Reaper, learn Linux, use a free Photoshop clone. The next time an app tries to force you to pay, look to see if there's an opensource alternative
Make less trash - start a compost, be mindful of packaging, find another use for that plastic, make it a challenge for yourself!
Get involved in local politics - show up at meetings for city council, the zoning commission, the park district, school boards; fight the NIMBYs that always show up and force them to focus on the things impacting the most vulnerable folks in your community
DIY > fashion - shake off the obsession with pristine presentation that you've been taught! Cut your own hair, use homemade cosmetics, exchange mani/pedis with friends, make your own jewelry, duct tape those broken headphones!
Ditch Google - Chromium browsers (which is almost all of them) are now bloated spyware, and Google search sucks now, so why not finally make the jump to Firefox and another search like DuckDuckGo? Or put the Wikipedia app on your phone and look things up there?
Forage - learn about local edible plants and how to safely and sustainably harvest them or go find fruit trees and such accessible to the public.
Volunteer - every week tutoring at the library or once a month at the humane society or twice a year serving food at the soup kitchen, you can find something that matches your availability
Help your neighbors - which means you have to meet them first and find out how you can help (including your unhoused neighbors), like elderly or disabled folks that might need help with yardwork or who that escape artist dog belongs to or whether the police have been hassling people sleeping rough
Fix stuff - the next time something breaks (a small appliance, an electronic, a piece of furniture, etc.), see if you can figure out what's wrong with it, if there are tutorials on fixing it, or if you can order a replacement part from the manufacturer instead of trashing the whole thing
Mix up your transit - find out what's walkable, try biking instead of driving, try public transit and complain to the city if it sucks, take a train instead of a plane, start a carpool at work
Engage in the arts - go see a local play, check out an art gallery or a small museum, buy art from the farmer's market
Go to the library - to check out a book or a movie or a CD, to use the computers or the printer, to find out if they have other weird rentals like a seed library or luggage, to use meeting space, to file your taxes, to take a class, to ask question
Listen local - see what's happening at local music venues or other events where local musicians will be performing, stop for buskers, find a favorite artist, and support them
Buy local - it's less convenient than online shopping or going to a big box store that sells everything, but try buying what you can from small local shops in your area
Become unmarketable - there are a lot of ways you can disrupt your online marketing surveillance, including buying less, using decoy emails, deleting or removing permissions from apps that spy on you, checking your privacy settings, not clicking advertising links, and...
Use cash - go to the bank and take out cash instead of using your credit card or e-payment for everything! It's better on small businesses and it's untraceable
Give what you can - as capitalism churns on, normal shmucks have less and less, so think about what you can give (time, money, skills, space, stuff) and how it will make the most impact
Talk about wages - with your coworkers, with your friends, while unionizing! Stop thinking about wages as a measure of your worth and talk about whether or not the bosses are paying fairly for the labor they receive
Think about wealthflow - there are a thousand little mechanisms that corporations and billionaires use to capture wealth from the lower class: fees for transactions, interest, vendor platforms, subscriptions, and more. Start thinking about where your money goes, how and where it's getting captured and removed from our class, and where you have the ability to cut off the flow and pass cash directly to your fellow working class people
54K notes
·
View notes

