#xochiminis
Explore tagged Tumblr posts
Text
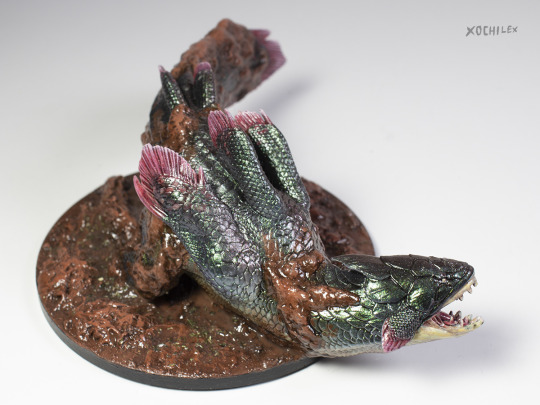
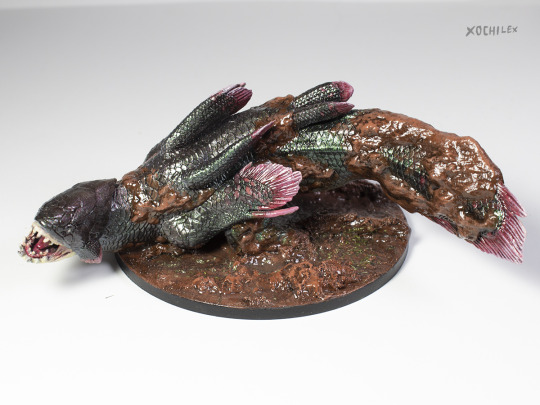
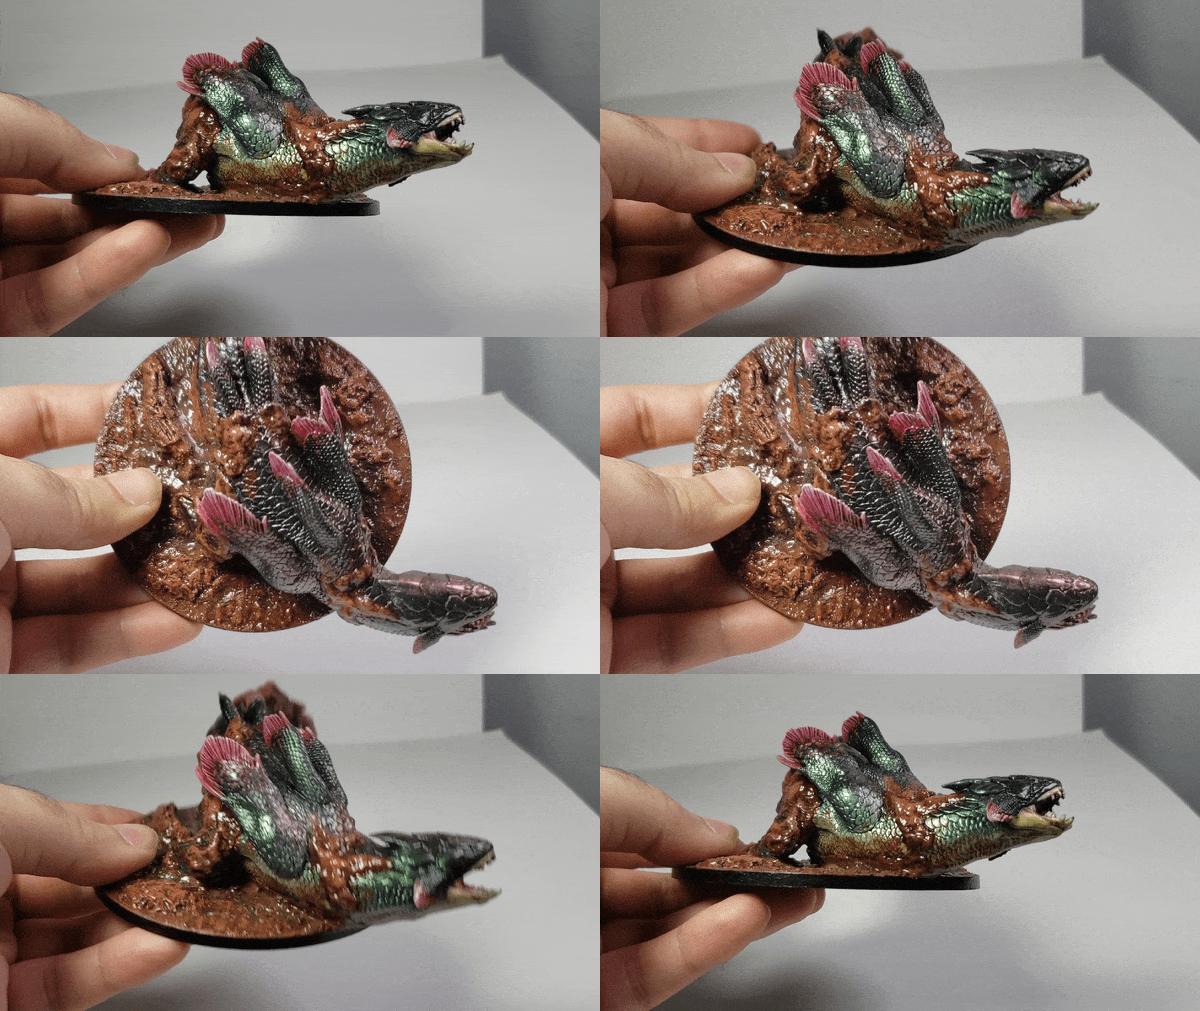
Got pics of the boy! Really happy with how this one came out, especially the shimmery scales. I'm also really happy with how absolutely squelching he looks.
Tried to capture the color-shift properties of the metallics (Don't mind my shaky hand lol). I used a green/yellow paint as the base, then did a few layers of silver/magenta paint just on top.

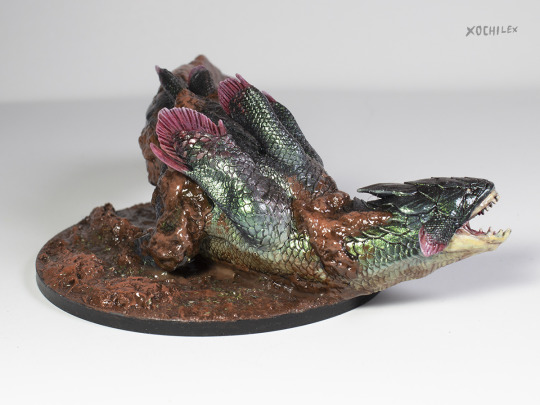
The figure comes from the Monster Hunter: World board game.
More pics after the break!

Though the mud on the fish was part of the original sculpt, the base was mostly just flat. I decided to sculpt some more mud to go with the mud already on him! After painting I added some fake pooling water to complete the look.
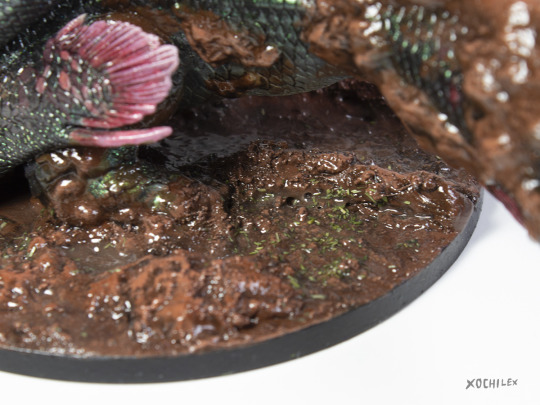
My wife suggested I throw a little grass in the pools of water. It was the right choice tbh
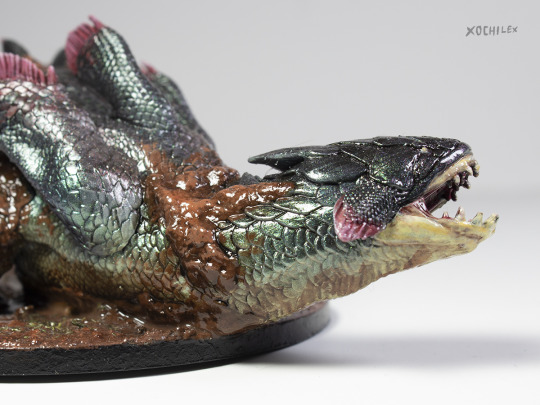


Some details!
#jyuratodus#monster hunter#monster hunter world#miniature painting#mini painting#mhw#mh#fish#xochiminis
485 notes
·
View notes
Text
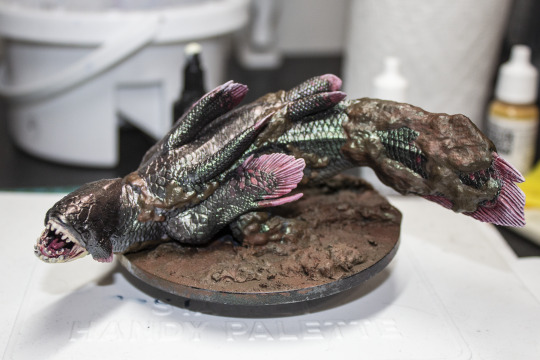
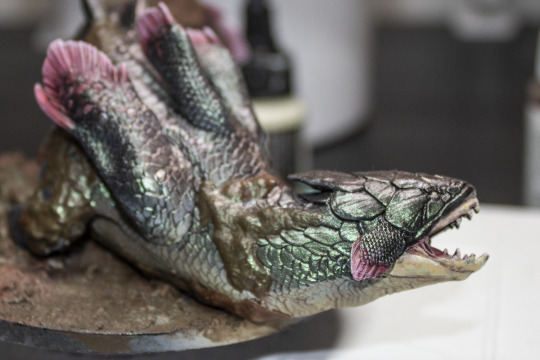
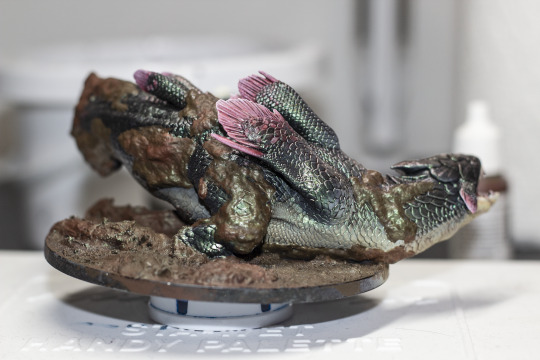


Haven't actually made much progress on this since I last posted, however my wife @yaristari wanted to test her camera on this little guy. Here's some cool pics she got!
592 notes
·
View notes
Text


🎨 My art tag!
🖌️ My painted minis tag!
✒️ My MtG proxies tag!
🔗 My Carrd links!
Hello folks!
I go by Xochilex, or Xochi for short. I'm an illustrator and motion designer and mainly draw and post about whatever nerdy thing I'm currently into. I mostly post digital art, but I may also share some of my mini painting projects from time to time!
#artist on tumblr#pinned intro#my art#digital art#miniature painting#animation#xochiart#xochiminis#xochianimation
252 notes
·
View notes
Text

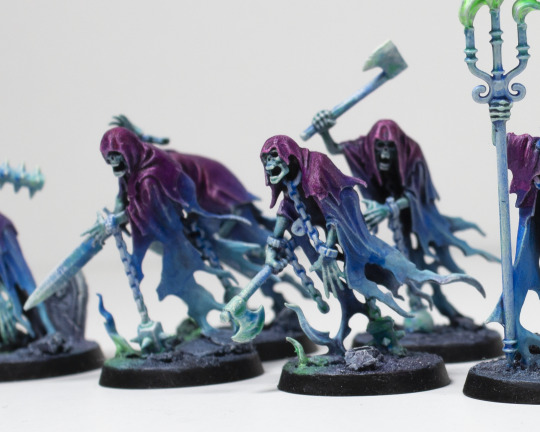
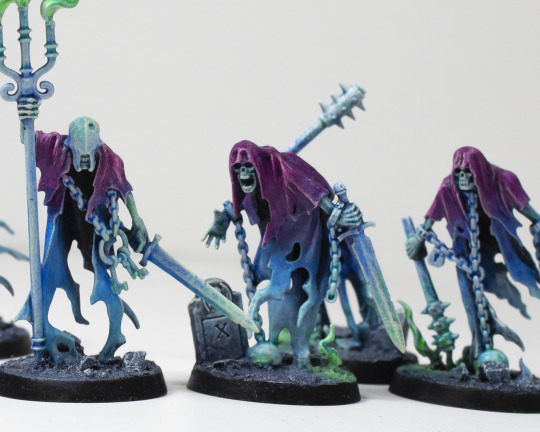
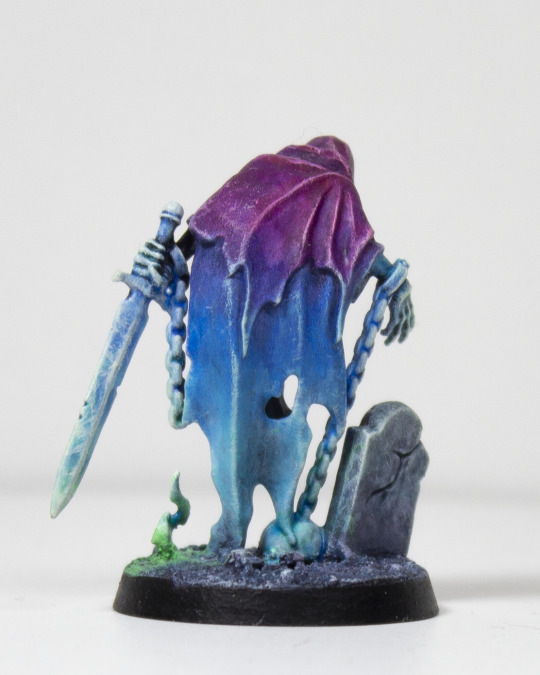
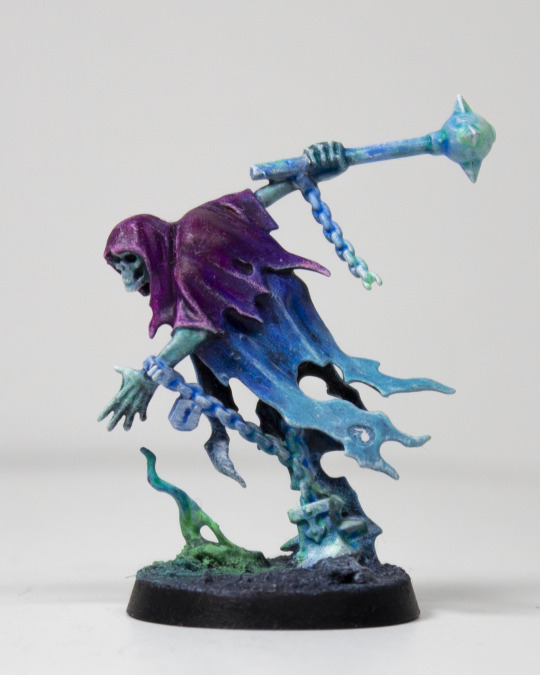
Finally got some good pics of these fellas. I painted them a long time ago but I am still very happy with how they came out. Check out more pics under the break!

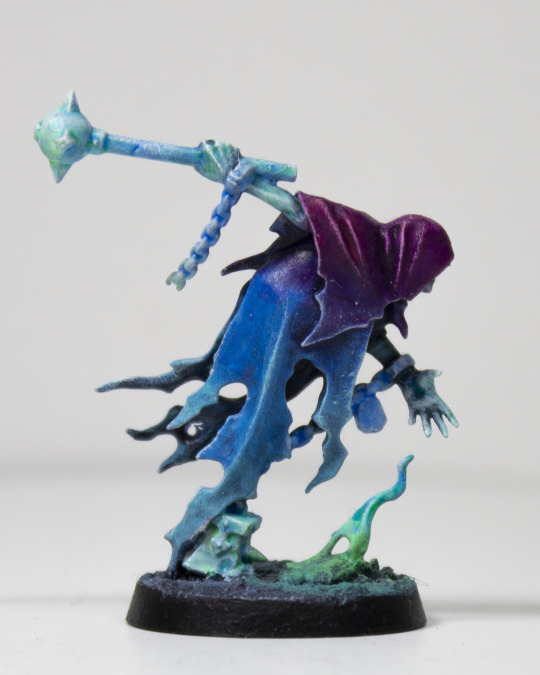
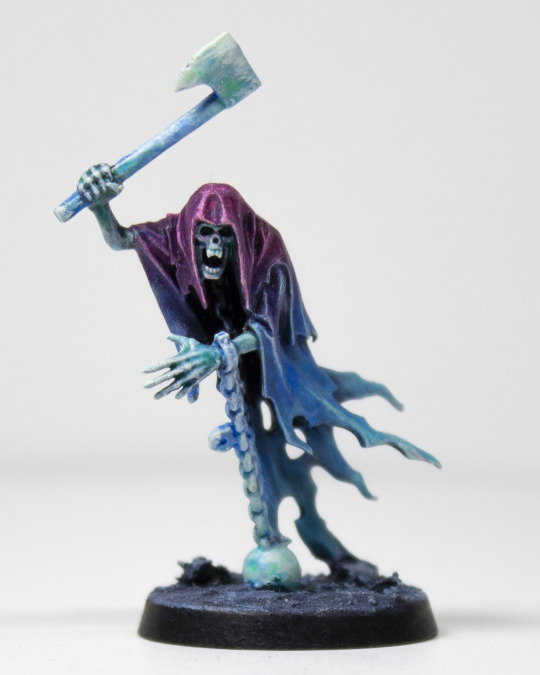
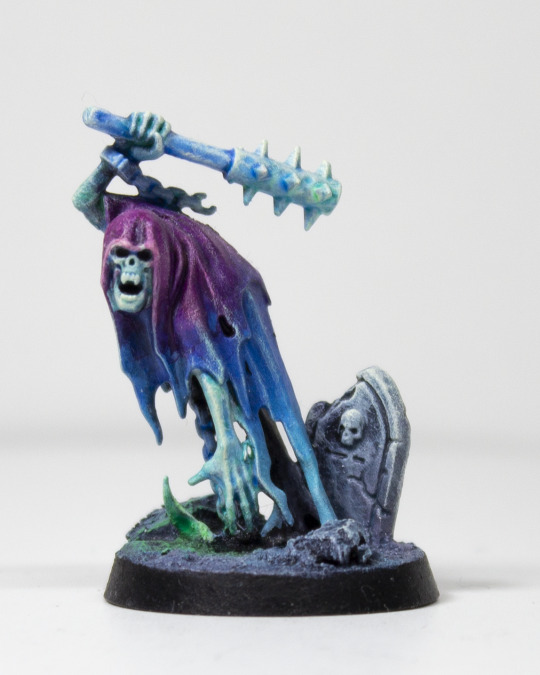
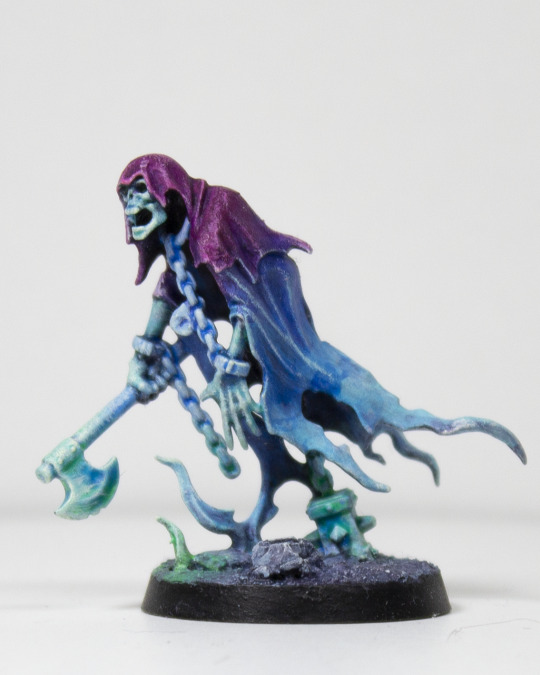

222 notes
·
View notes
Text


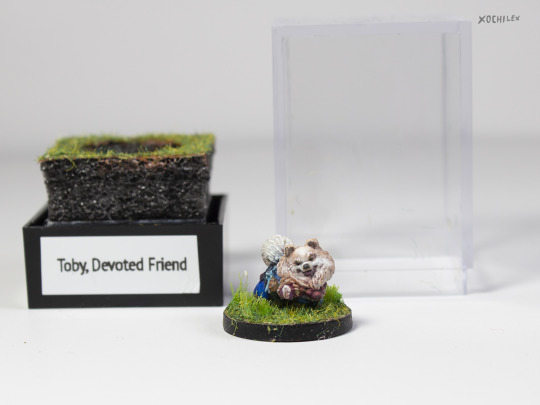
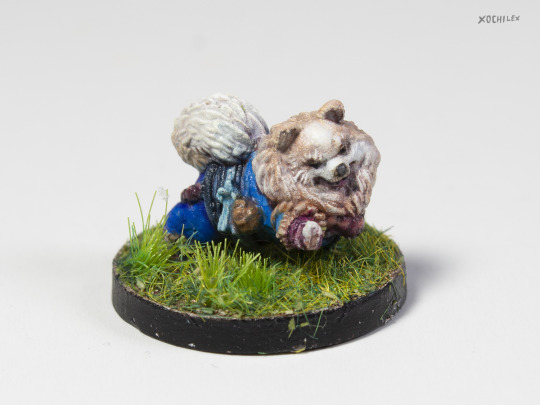
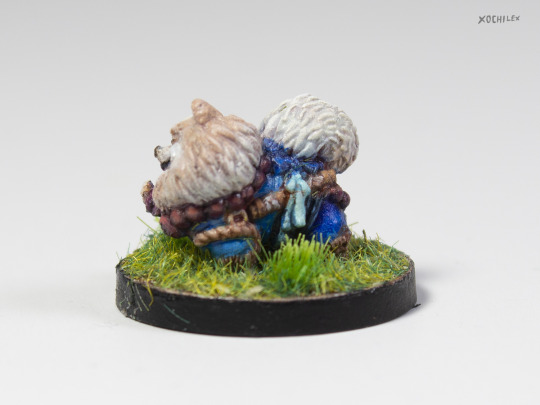
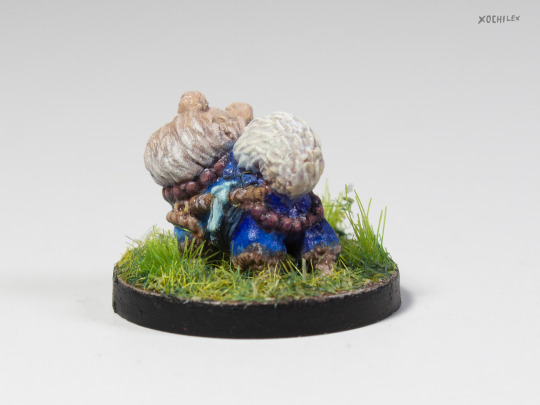
Finally got some good pics of Toby! This piece is also a bit of a memorial to a real life pomeranian named Toby, may he rest in peace.
Because of this, I wanted to make him a sort of display case. I experimented with a dice box and some foam. I wanted him to also be a playable mini, so you can still remove him from the base. I think the design of the display could use some tweaks, but it worked better than expected!
I also want to make him a better label, but for now the simple one serves it's purpose.
The figure is from one of the doggy sets of Animal Adventures

More pics after the break!

91 notes
·
View notes
Text
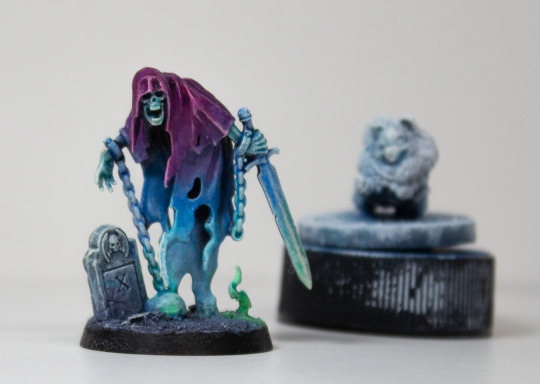
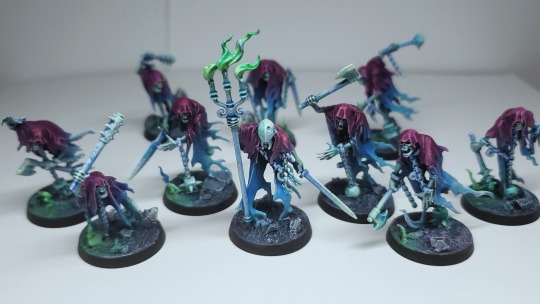
Testing new camera setup with a nighthaunt I painted a long time ago
107 notes
·
View notes
Text


Some minis from the Darkest Dungeon board game! I painted the plague doctor and my wife @yaristari painted the musketeer. I tried to be a bit more true to the game but she decided to kind of do her own thing, which turned out great! Especially love what she did with the cape


I also started painting some brigands. They're nearly done but they just need a little more cleanup!
135 notes
·
View notes
Text


Some mini painting wips!
#pomeranian#animal adventures#monster hunter world#darkest dungeon#miniature painting#mini painting#xochiminis
65 notes
·
View notes
Text


Finally got back on this one. I painted the fins mostly. This is the darker pass so that they really pop when I go in with a dry brush of a lighter red. After that it'll be time to paint all that mud!
#miniature#miniature painting#mini painting#monster hunter#monster hunter world#jyuratodus#xochiminis
98 notes
·
View notes
Note
Hello! I love your finished Jyuratodus mini a lot and was wondering how you applied the silver paint? The scales almost looked like bismuth, and I wanna try to emulate that
Thank you!
So for the scales, let's talk supplies first.
The main thing I used are color shifting metallic paints. These paints by Vallejo are neat, because the painted object appears to change color depending on the angle the light hits them. Here is a video showing off all the paints in Vallejo's line. Highly recommend at least skipping through to check out the effects!
youtube
There is also a brand called Turbo Dork with a lot of cool paints that have the same effect! Sword n Steele has another similar video going over some of the paints in the Turbo Dork line.
Finally you'll need gloss primer, or some gloss varnish. Shiny!
So in my specific case, I used these two colors (I think. I have many colors and I don't remember exactly lol).

So the key thing is that for these paints to work best, they must be applied on top of solid black. Ideally a glossy solid black!
Sadly I did not take progress pics, but I can describe the steps briefly. Note that I used an airbrush for each of these steps.
I primed the whole figure in solid black. I did not have gloss primer on hand, so I used a matte black
Then I applied some gloss varnish on the whole thing. Got it nice and shiny
I applied the Green Silver Blue to the whole figure. I made sure to get full coverage on the body, so we could see the color shifting from any angle.
Finally, I applied a few layers of the Orange Violet just from the top. I wanted a little more color variation, and I thought having another color just partially there would be cool. And I think the final result was pretty successful!
I then painted the rest of the non-metallic colors using some pretty common techniques, both with an airbrush and a regular brush. I did give the scales a gloss varnish at the end as well.
Now if you don't have an airbrush, these paints still work but you have to be a little extra careful. The main thing is you want to apply thin layers carefully and slowly. You want to avoid pooling in the recesses, because the particles that make the effect will get stuck there. Here is an example I did with a regular paintbrush

You can see how the mushroom cap is already having the blue to violet color shift effect. I want to say I did about three to four layers of the paint after painting it with a glossy black.
I can recommend this video by Dana Howl for another example of how to use these paints. I also found this video by Kris Belleau where he does a quick demo on applying a Turbo Dork paint with a regular brush.
Hope all that helps!
8 notes
·
View notes