#realtimevfx
Explore tagged Tumblr posts
Text
Procedural Cyclic Slash
Get the code for this shader here -> https://godotshaders.com/shader/procedural-cyclic-slash/
This is a really jank shader, but it looks pretty nice when the values are just right. So that's what this post is for! I'll help you with understanding the uniforms and value setup and leave some general tips so you can experiment easily on your own.
Quick Setup
Here is a quick rundown on how to get something similar to the video above:
Create a MeshInstance3D node and set the mesh to QuadMesh
Apply the shader as a Material Override (GeometryInstance3D -> Geometry)
Set these values:
Animation.Derive_Progress = -1 Animation.Time_Scale = 0.25 Shape.Rotate_All = 285 Shape.Noise = - New NoiseTexture2D - - Width = 512 - - Height = 128 - - Seamless = True - - Noise = - - - New FastNoiseLite - - - - Noise_Type = Cellular - - - - Fractal.Gain = 4 - - - - Cellular.Distance_Function = Manhattan Shape.Width_Gradient_Mask = - New GradientTexture1D - - Gradient = - - - New Gradient - - - - Offsets: 0.2, 0.5, 0.52 - - - - Colors: #FFFFFF, #000000, #FFFFFF Shape.Length_Gradient_Mask = - New GradientTexture1D - - Gradient = - - - New Gradient - - - - Offsets: 0.25, 0.4, 0.6, 0.65, 0.7 - - - - Colors: #FFFFFF, #7F7F7F, #000000, #7F7F7F, #FFFFFF Shape.Highlight = - New GradientTexture1D - - Gradient = - - - New Gradient - - - - Offsets: 0.5, 0.52, 0.54 - - - - Colors: #000000, #FFFFFF, #000000 Coloring.Color_Lookup = - New GradientTexture1D - - Gradient = - - - New Gradient - - - - Offsets: 0.0, 0.1, 0.2 - - - - Colors: #BF40BF, #008080, #ADD8E6
Overview
This shader works by taking a noise texture and wrapping it around the center point of UV1. The curved noise texture is then masked twice to set its width and "length" and an additional texture is applied to add a highlight effect. The shader uses values of gray, a lookup texture, and UV.x to apply colours. Lastly, motion is created by shifting the UV sample of the original noise texture and running the combined grayscale texture through a smooth step function to determine its alpha. This is a text-based shader written in Godot's Shading Language. Sorry, I can't help you implement it in Unity or some other engine or software. --
Animation Uniforms
The Progress uniform sets what point in time the shader is in. This only works when the Derive Progress uniform is set to (0). You can pretty much use the progress uniform to scrub through the shader's animation. If you set the progress value in code or through an animation player, you can control the animation as you like. Derive Progress changes what drives the shader's animation. If set to (-1), TIME will progress the animation. If it animates too quickly, you can use Time Scale to speed it up or slow it down. If set to (1) the particle LIFETIME will progress the animation. This is useful if you plan to set this shader as the material of a particle in a GPUParticles3D or CPUParticles3D. Ease Progress gives you a bit of control over how the shader's animation progresses if you are driving it with TIME or LIFETIME. When set to (0) no easing will occur. (-1) Will ease in exponentially and (1) Will ease out exponentially, but if you have the chops you can tweak this by changing the functions in the shader code. Time Scale alters the speed of the animation when Derive Progress is set to (-1). Anim Rot Amt controls how much the shader rotates as it animates. Set it to (0) if you want the effect to remain in the same place instead of rotating around the center of UV1. This value is put through an easing function, so it doesn't adjust linearly. I personally, wouldn't try setting this to anything other than (0) or (1). --
Shape Uniforms
Zoom controls the size of the effect on the quad. The value is interpreted inversely, so setting a larger value will make it smaller. The effect will repeat if you set this value above (1). Rotate All lets you rotate the effect on the quad. Use degrees. Base Noise generates the main shape for this effect. You can use any type of noise and I encourage you to experiment. Just make sure it's seamless so you don't get any odd artifacts. By setting the noise to be wider than it is tall, you can stretch out the shapes it makes which I think better resembles a slash. Decreasing the dimensions of the noise can lead to bigger streak blobs and softer-looking shapes depending on the noise used. I'd look into this if you want a more stylized/cartoon-looking effect.

Width Gradient Mask masks the Base Noise in a way that controls the width of the final effect. Like Base Noise this will be wrapped around the center point of UV1 so I suggest using a GradientTexture1D. You can do some cool things here if you're willing to experiment (and possibly alter the code) just make sure this is set to a grayscale image. The way I wrote the math dictates that darker colours will be kept and light colours will clip, so use white to control what to cut out and black to control what to keep. A gradient that transitions from white to black back to white is a good place to start.

Length Gradient Mask masks the Base Noise in a way that controls the "length" of the final effect. This also controls how it animates sorta. I can't really explain it, but how this overlays the noise will alter how the smooth step function works... I think. White denotes the edges and Black the center. If you use a gradient here, moving the white values closer to the center can help with shaping. I also suggest using gray so you can better shape the length of the effect.

Highlight is overlayed on the effect. like everything else, it is wrapped around the center point of UV1. A thin white stripe works best. Unlike the other textures this one is played straight, so black won't appear and white will. Moving the white stripe closer to the right edge of the gradient will move the highlight effect to the outside of the slash, left will move it inside. I like to set it so it's a bit closer to the right so it appears on the outer edge. If you don't want a highlight at all leave this uniform empty. --
Coloring Uniforms
Emission Strength controls how much it glows. If it doesn't glow in the editor, add a world environment node and enable glow, you will also need this in your game scenes fyi. Mix Strength controls how much the Color Lookup is applied to the effect. If Color Lookup is applied, decreasing this value will give a darker appearance. At (0), the effect (excluding the highlight) will appear black. You can add extra glow by increasing this above (1).

Color Lookup is used to color the effect. I think I screwed up the math, so just ensure the colors you want the shader to sample from are close to the left side of what you set here. Three colors is pretty nice, I like to put darker colors closer to the left side and lighter ones to the right. --
Final Notes
Sorry for this lengthy post. I've had issues before where a shader I found on GodotShaders was a bit obtuse and I didn't want others to run into that with this one. I've spent quite some time trying to figure this out but I still feel this is a pretty meh effect. I think I need to look into how people animate shaders using a static image and clipping/stepping/smooth stepping it. If you have any good resources for shaders I'd be interested to hear about them. I'd prefer not to get any articles about visual or node-based shaders since I keep fumbling how to convert some nodes into functions or what sorta math is going on, but at this rate, I'll take whatever I can get lol. Hopefully, this shader saves you some time or teaches you something new! If you have any questions (and I can answer them) don't hesitate to ask. However, I'd prefer if you contacted me on Discord. I'm in Godot Café, Godot Engine, and the Godot Effects and Shaders discord servers as (@)Aiwi.
17 notes
·
View notes
Text
Ice VFX
I started my VFX journey this year and I'm excited about everything I've learned. So this is my first post here and I intend to use this blog to record what I'm learning/creating.
This is the breakdown of an ice VFX in which I tried to include stages of anticipation, impact, and dissipation.
Anticipation
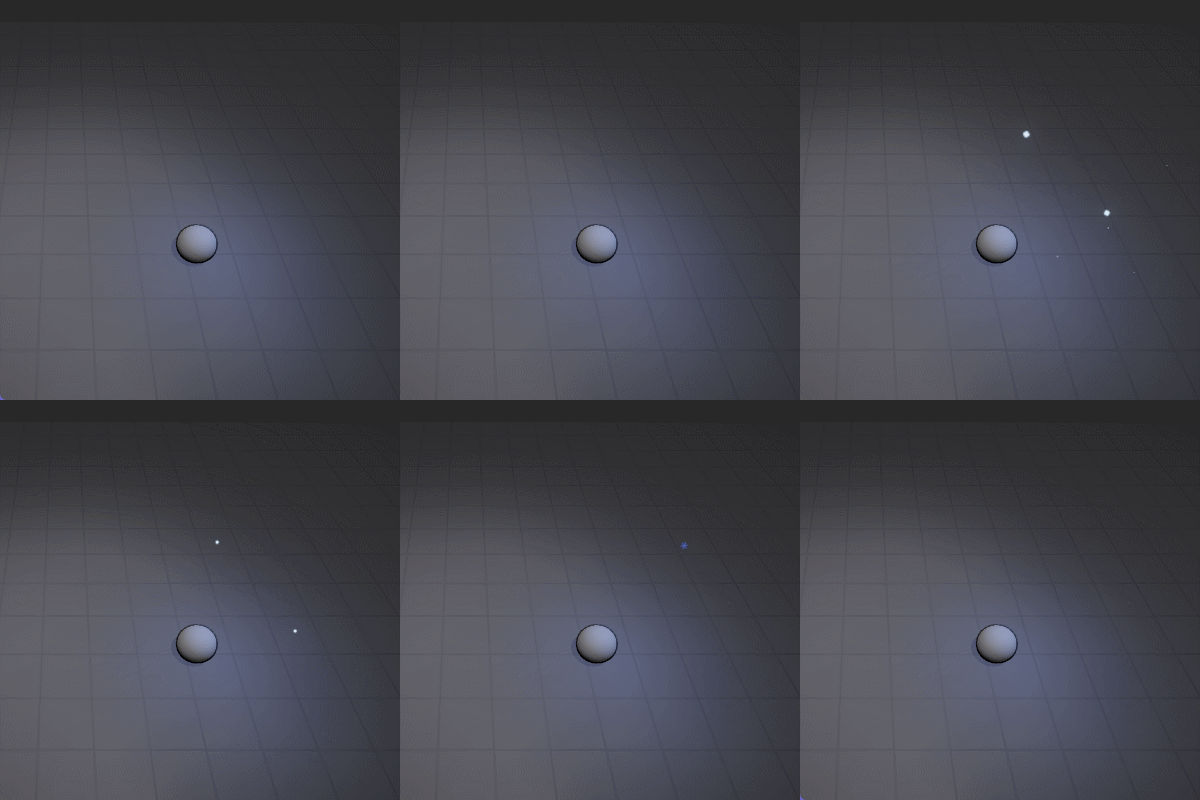
Five particle systems were used to create the anticipation: bluish light, glow, rays, and snowflakes.

The particle systems individually are:

Hit
The muzzle was composed of three elements: a spiked shape in the back to create shade, the impact shape with a white high value, and a blue ring around that grows in size.


Projectile
The projectile has a trail with dissolves and a light on its "head", even tough it appears very quickly on the screen.
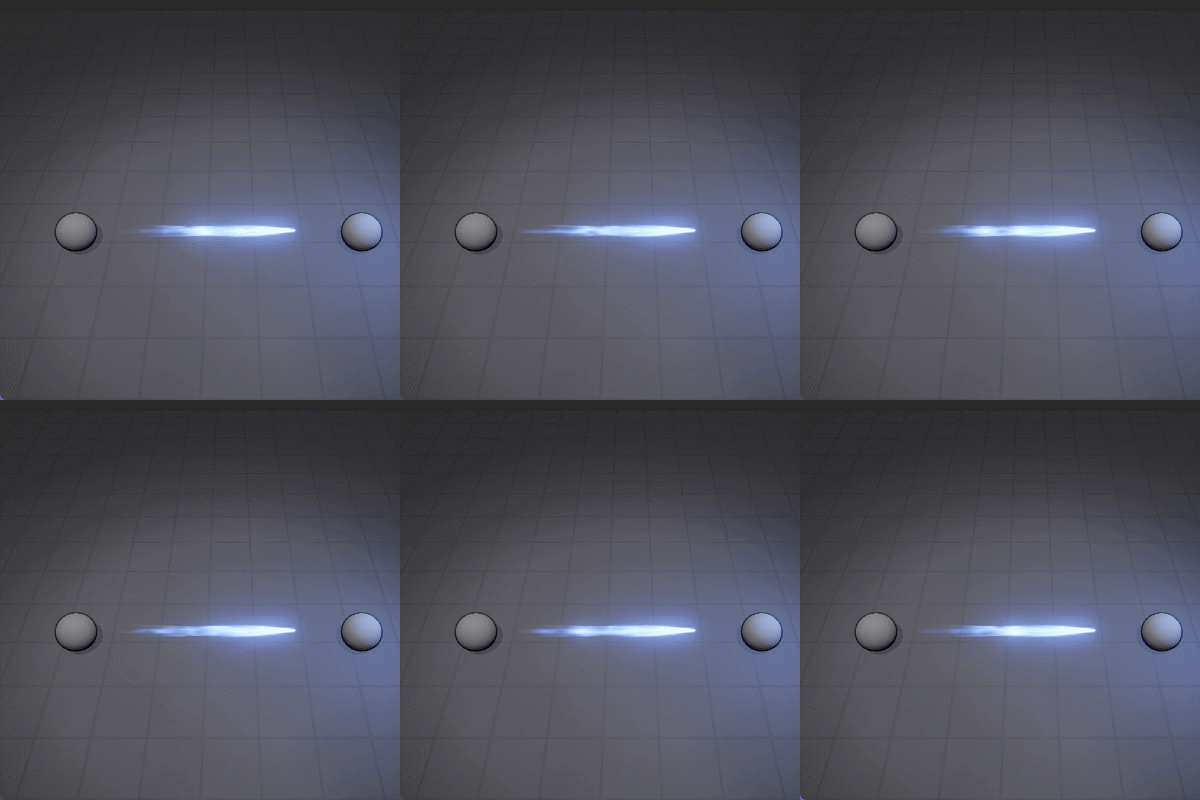
Additionally there are tiny snowball particles with the trail, steam, and snowflakes to add more strength to the burst

Impact
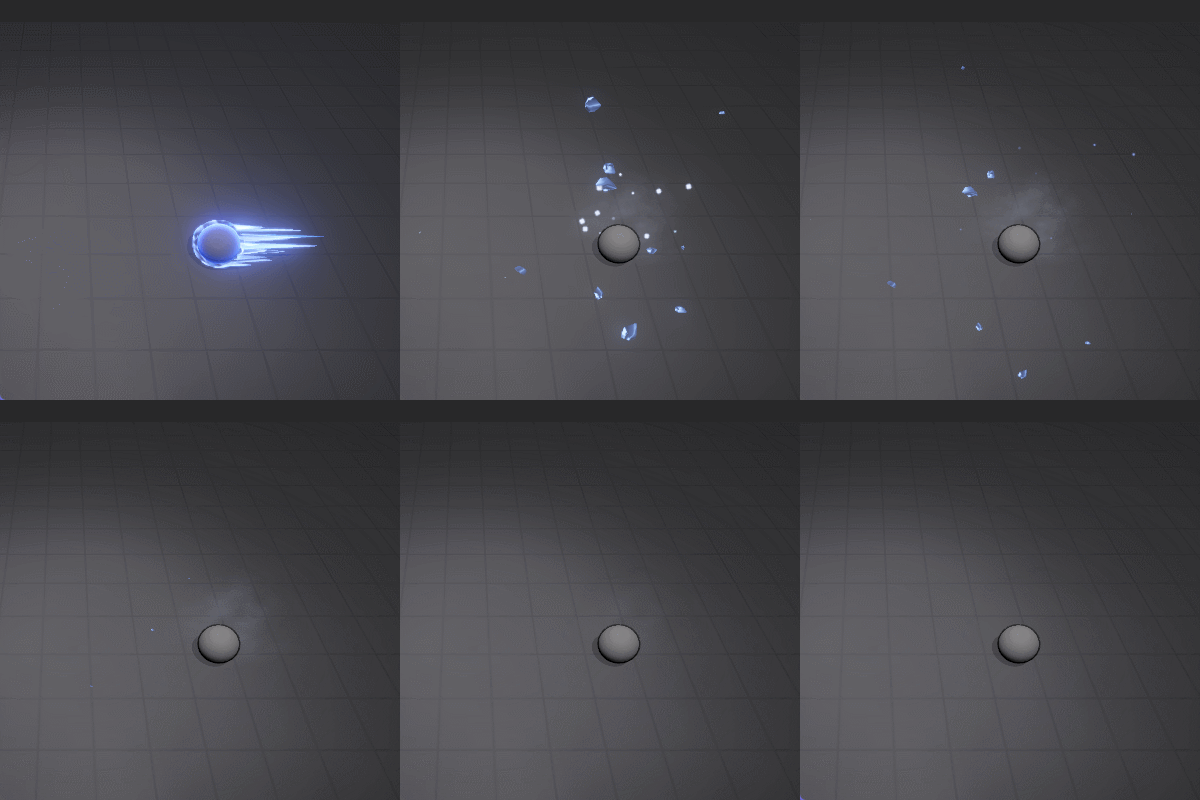
On impact, there is a frozen sphere mesh, a broken ice texture on the ground and some particle systems to complete the impact. Here all the elements together

Explosion
For the explosion, I used a mesh of stylized rocks that I created in Blender with variation in size and rotation in the particle system.
The frozen sphere mesh disappears and is replaced by a burst of small ice rocks and snowballs that are thrown by the impact, with a bit of dampen in the Limit velocity over lifetime module
Additional animation
For readability, I added an animation for the attack and impact, with a fresnel effect to indicate that the target was hit.

In the next post I will talk about the textures that I made in Substance Designer and the shaders.
2 notes
·
View notes
Text
Pinterest no longer uploading gifs
Actually, more then 3 years but ok. So there is copy of my gifs from artstation and i have to do this to made a pins for it with proper thumbnail images.
https://www.artstation.com/pavelshevtsov


1 note
·
View note
Text
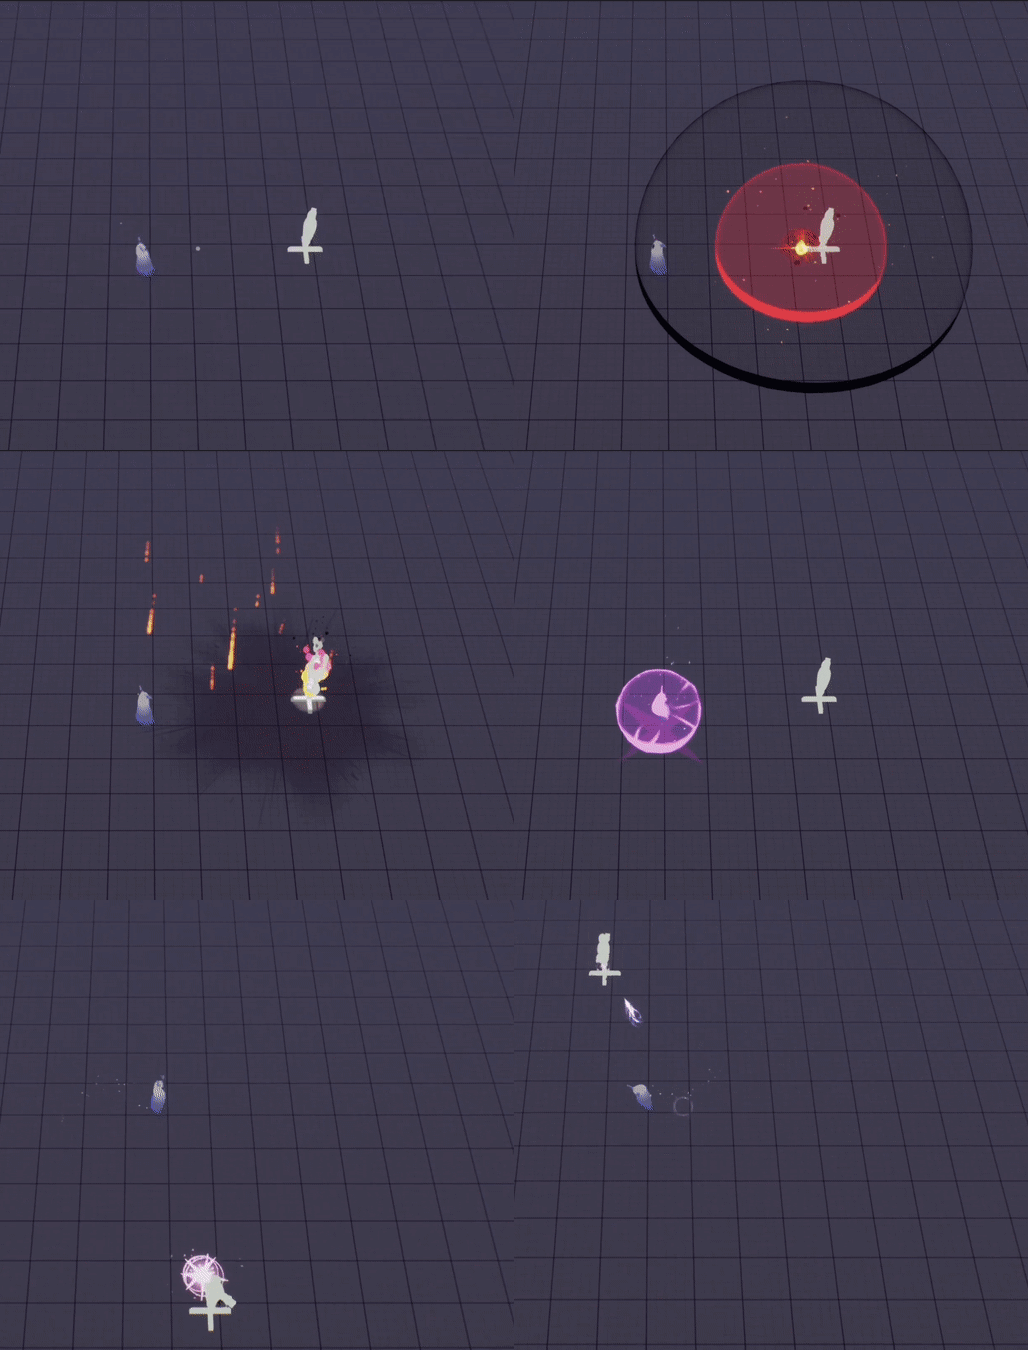
Just some simple vfx I've been working on for my game that's still in a very early stage⭐️
3 notes
·
View notes
Photo
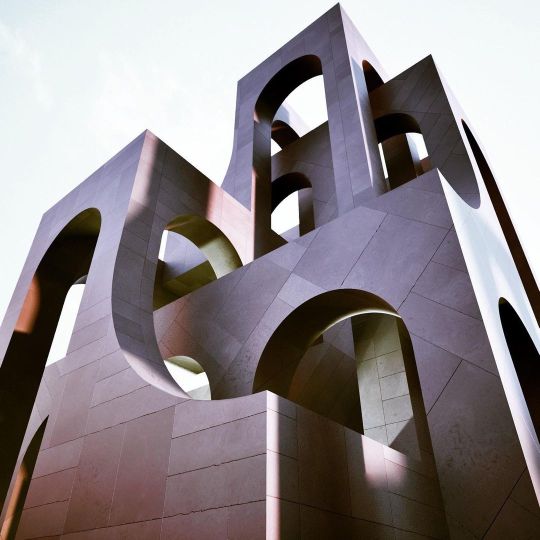
Repost from @russelltickner_ Geometry workout just for fun - modelled in UE5 with Geometry Scripting tools. Based on the original Art and Sculpture of @david_umemoto . . . #ue5 #unrealengine #realtime #realtimevfx #substance #brutalism #brutalist https://www.instagram.com/p/CiiIifgL_j5/?igshid=NGJjMDIxMWI=
7 notes
·
View notes
Video
instagram
Plantas y luz / Exploración 03. Plants and light / Exploration 03. . . . . . . #interactive #realtimevfx #digital #art #interactiveart #creativecoding #code #newmediaart #videosynth #glsl #digitalart #newmedia #generativeart #generative #generativedesign #realtimegraphics #mediaart #newmediaart #mixedmediaartist #newmediaartist #resolume #vj #audiovisual #plants #botanical #plant #garden #plantas (at Oaxaca City) https://www.instagram.com/p/CQw1Wj4jU8f/?utm_medium=tumblr
#interactive#realtimevfx#digital#art#interactiveart#creativecoding#code#newmediaart#videosynth#glsl#digitalart#newmedia#generativeart#generative#generativedesign#realtimegraphics#mediaart#mixedmediaartist#newmediaartist#resolume#vj#audiovisual#plants#botanical#plant#garden#plantas
9 notes
·
View notes
Video
tumblr
Kawaii Projectile
13 notes
·
View notes
Photo
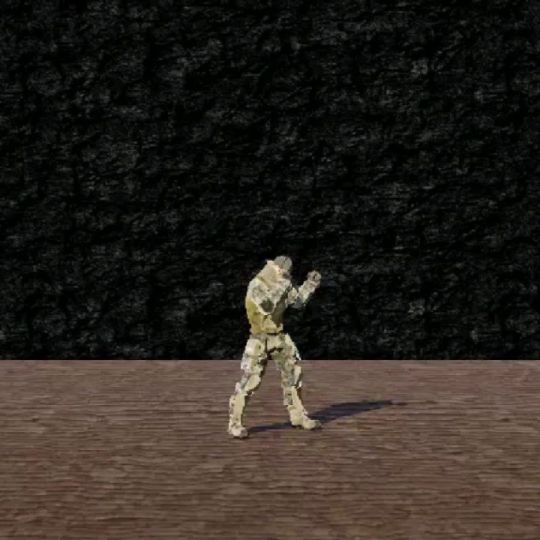
Devlog 03 new skill + jump and air attacks . . #VFX #Slash #Skill #Trail #Effect #FX #RealTimeVFX #MadeWithUnity #gamedev #Unity #Unity3D #GameVFX #GameDesign #GameVFX #indiegame #game #beatemup https://www.instagram.com/p/CI3rwfgBqm0/?igshid=1mru551brc1on
#vfx#slash#skill#trail#effect#fx#realtimevfx#madewithunity#gamedev#unity#unity3d#gamevfx#gamedesign#indiegame#game#beatemup
1 note
·
View note
Photo
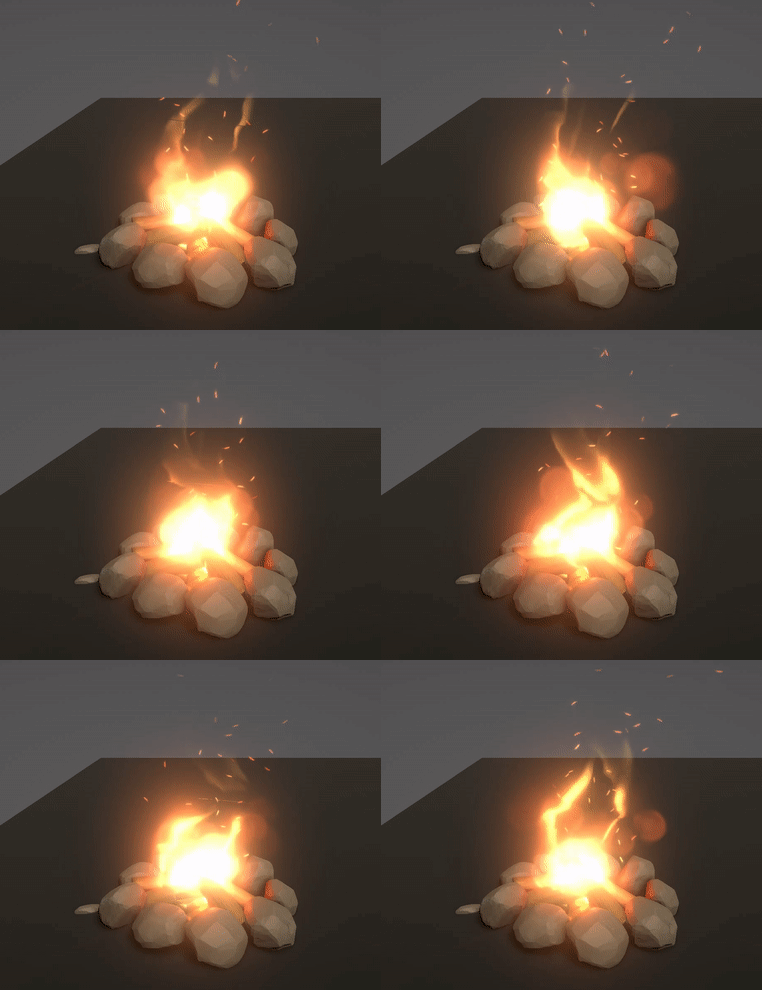
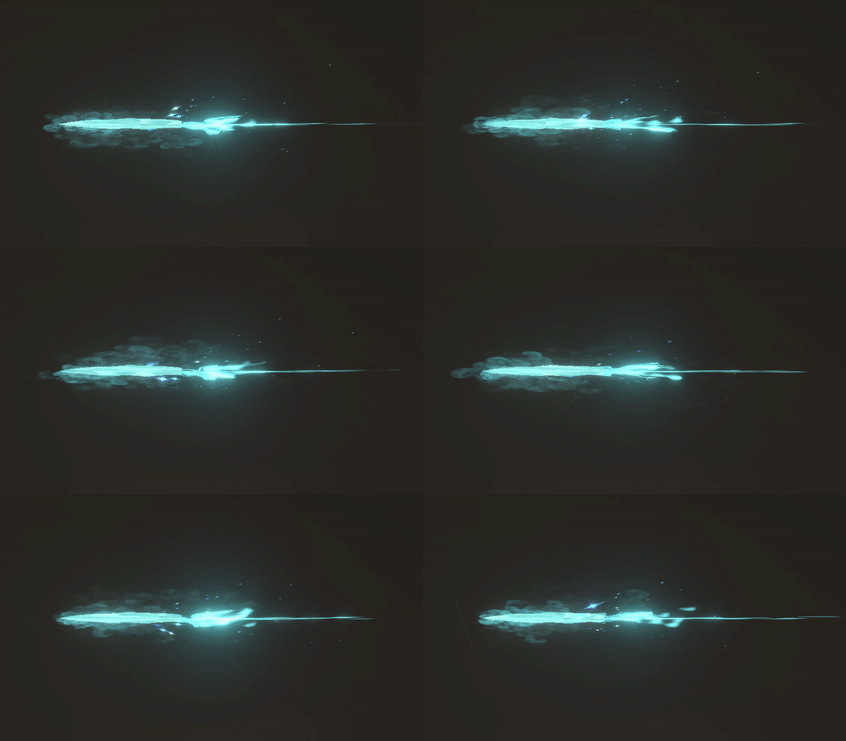
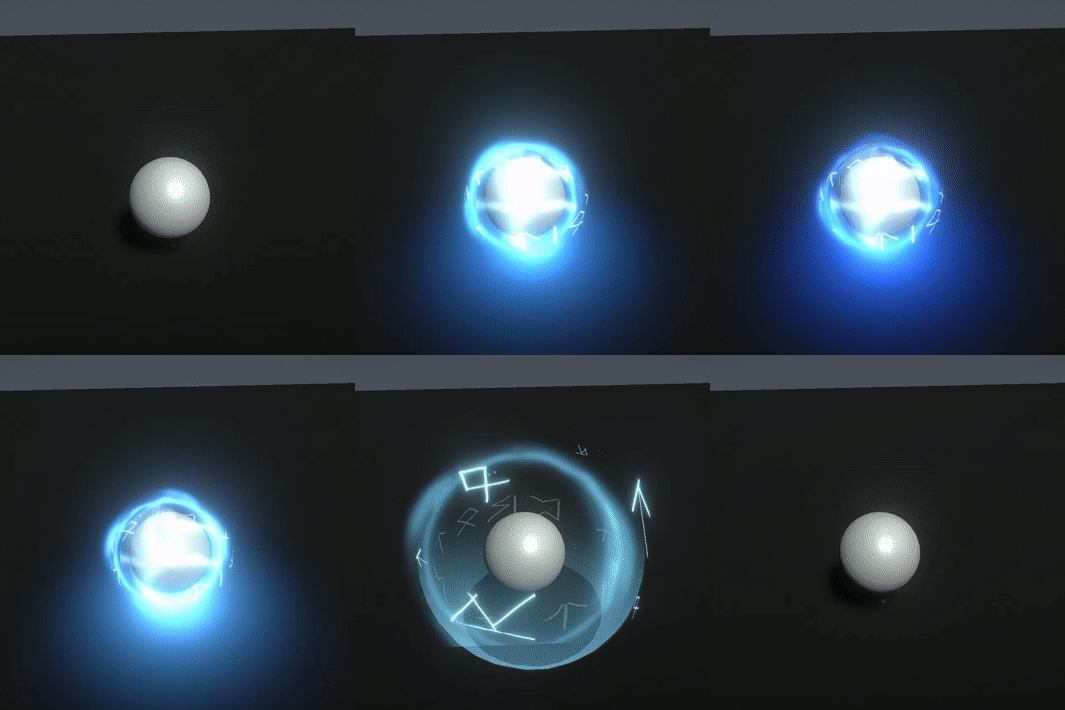

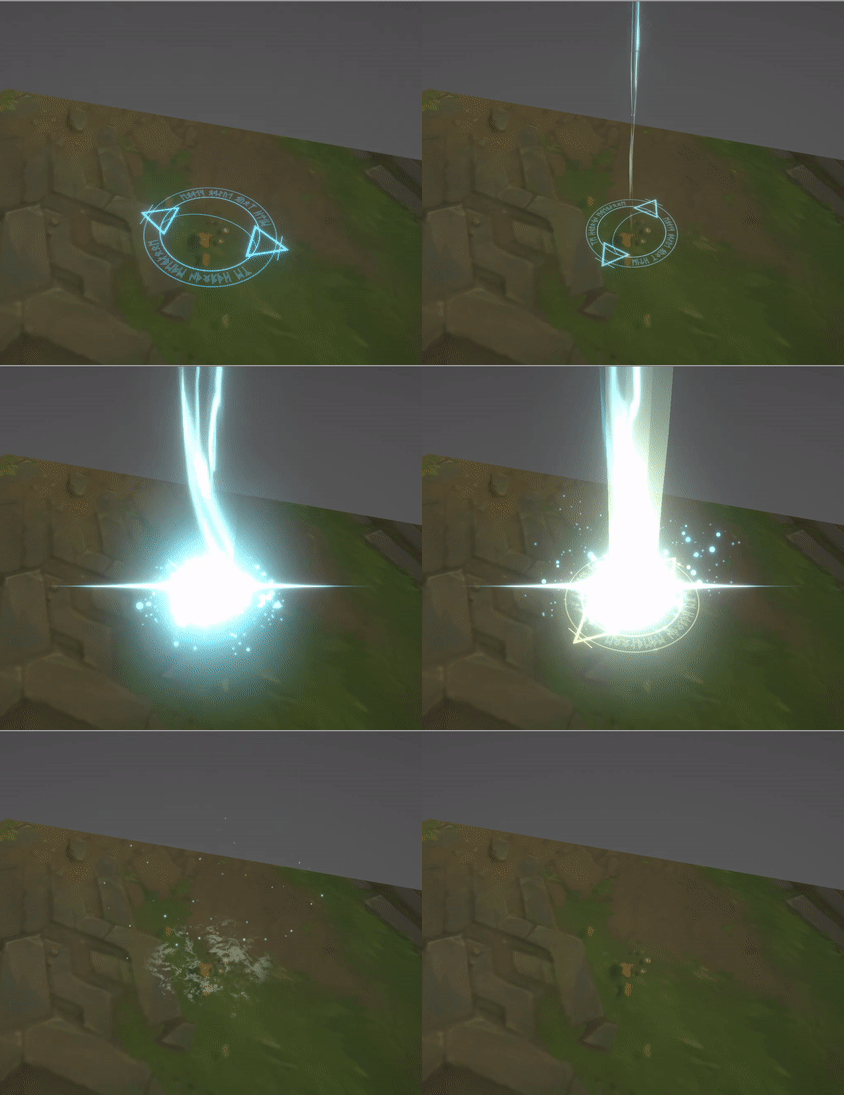
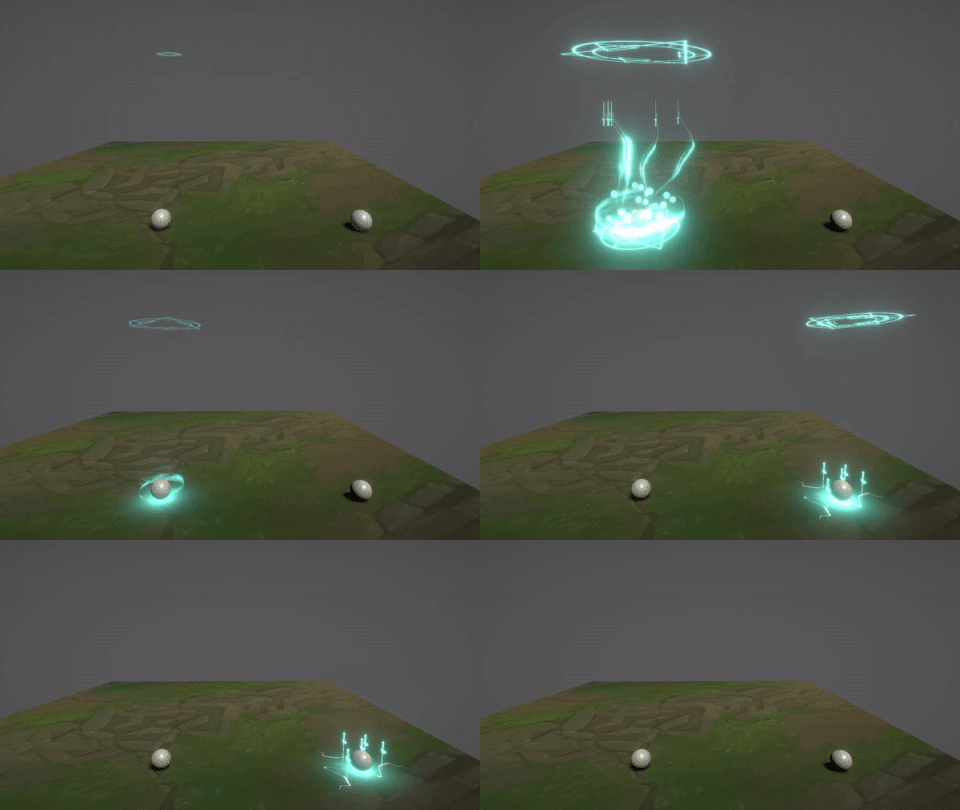
Tried putting together my first Art vs. Artist post.
Slowly but surely expanding my spellbook of digital magic
#my art#artvsartist#art vs artist#vfx#realtimevfx#gameart#indiedev#gamedev#particles#particle effects#gamefx#magic#spells#digital magic
26 notes
·
View notes
Text
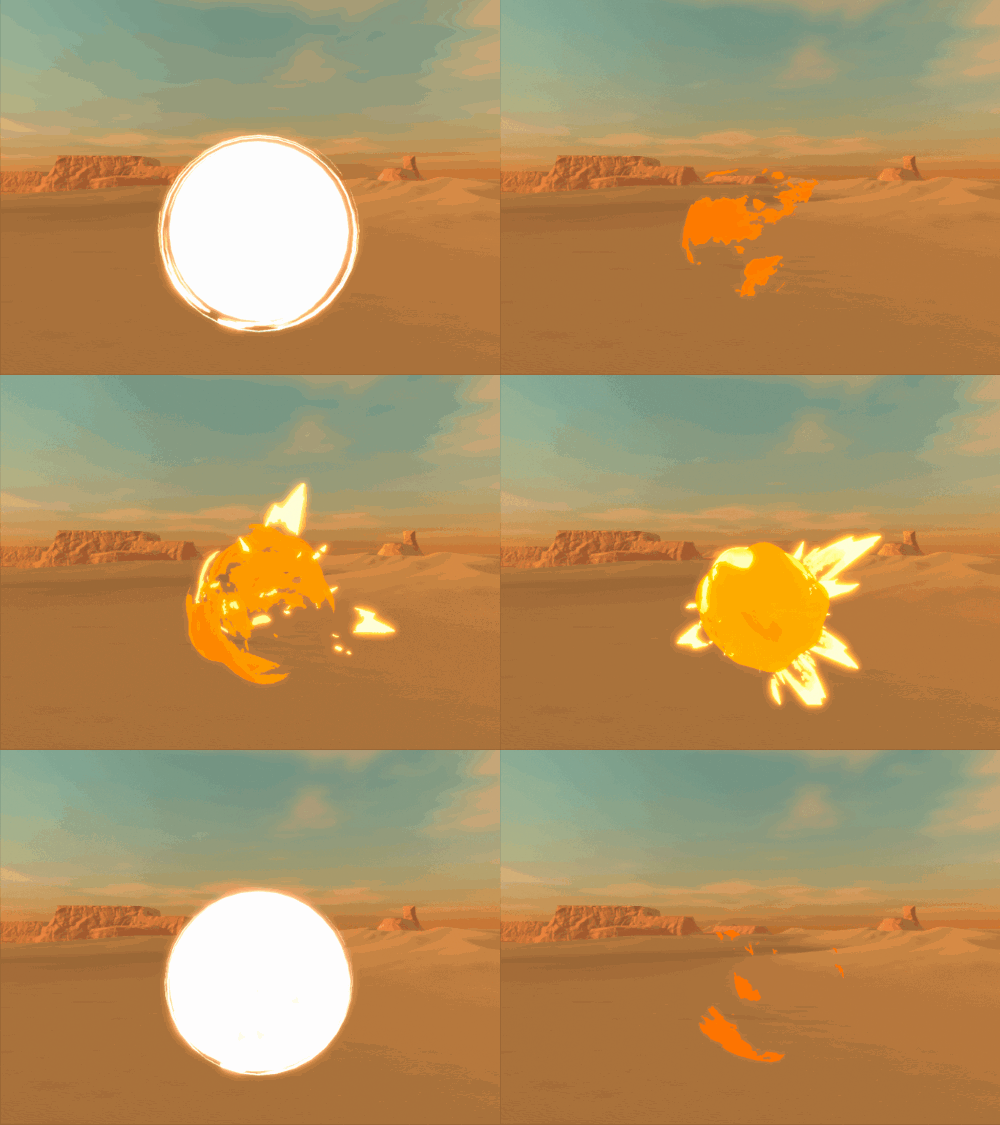
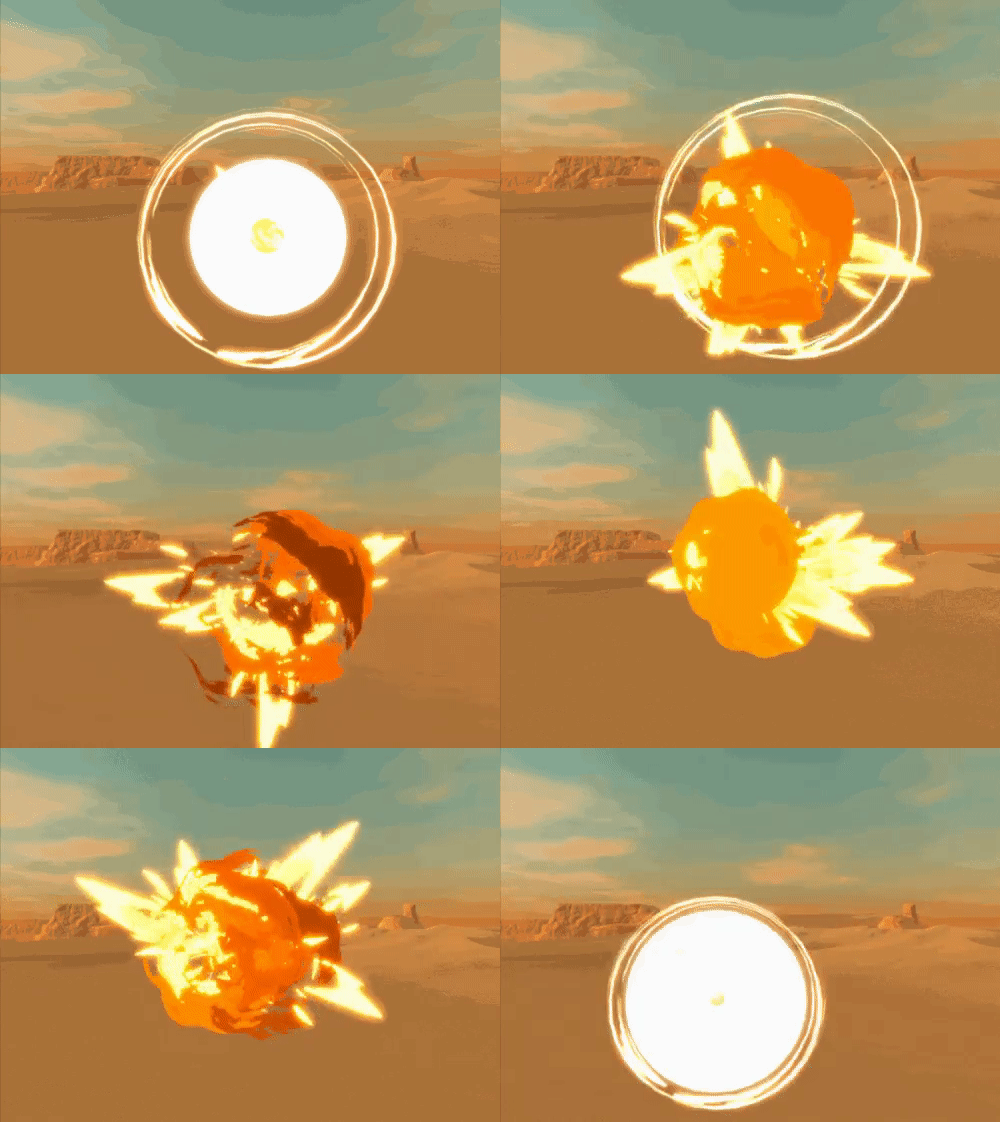
explosions made with Unity’s VFX graph, using the subemitter module to chain them together.
background assets done by my very talented coworkers.
particle shader referenced off of @CultureAttack on twitter
4 notes
·
View notes
Text
2023 recap
2023 was the year that I decided to learn more about VFX and this whole new universe. I'm grateful for everything I've learned so far, all the incredible artists I've met and this amazing community. This highlight is one of the VFX I'm most proud of, because I was able to do a good job in a limited time frame. Hopefully good news comes up next year
#artstationrecap2023
1 note
·
View note
Text
I started playing Last Epoch recently and was charmed by the graphics. Vfx in game are awesome, and there is so many of those.
This inspired me to do something similar, test myself, finally try myself in the fantasy art style and craft a couple of fanarts. Of course, I could not pass by the first mini boss and his fire spells ( on video below )
youtube
Yeap, i've created new character just to record this xD
I've already recorded lots of references for other effects.
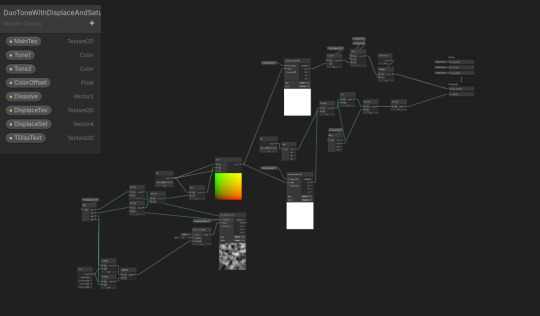
By the way, Embergen turned out to be very useful in creating fire sprites. You can achieve the necessary detail level in just an hour or two, and as a bonus there is an infinite number of variations. For this vfx didn't want to create whole effect with flipbook sequences, so used 4 flame spites, animated by displace texture.
I've quickly made shaders in shadergraph, nothing special here, dissolve and displace.

0 notes
Photo
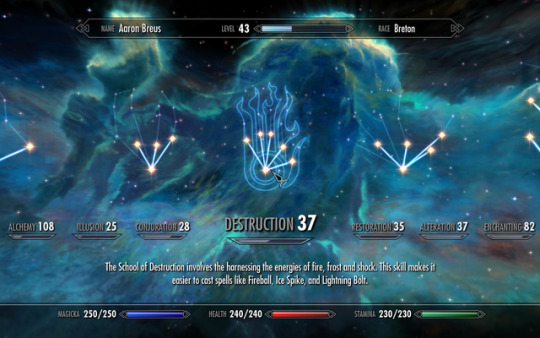

Skyrim: Skills Menu
The skills menu work began early on in the process of developing Skyrim and was changed and improved throughout the duration.
youtube
The very first step was to take Todd's notes and put a visual stake in the ground we could build from.
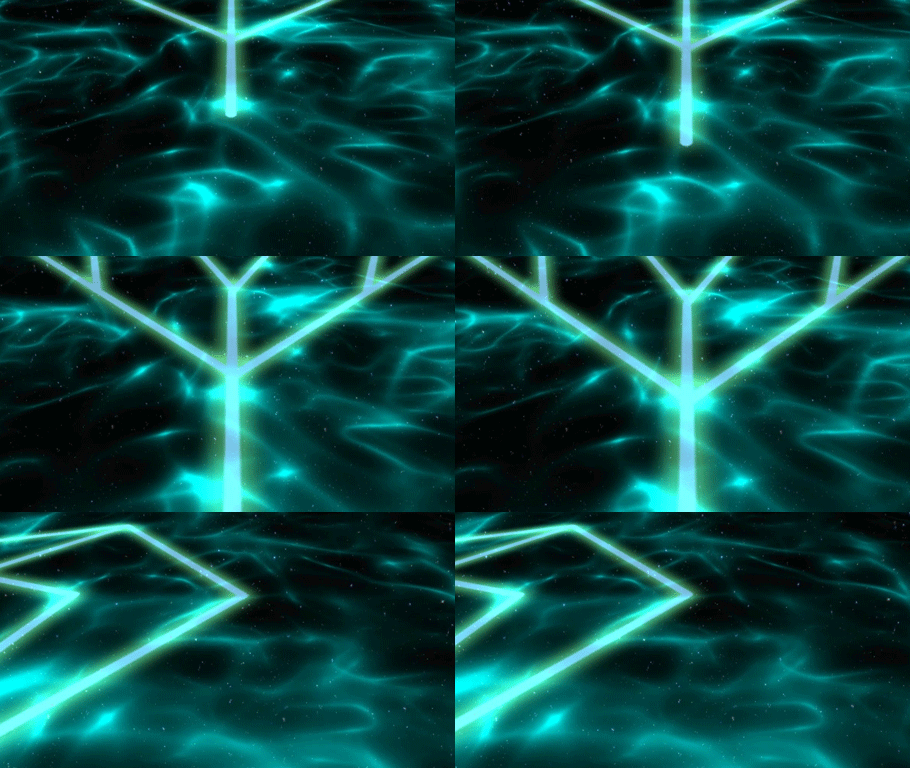

I blocked in a very rough version in 3DS Max and animated the camera so we could begin the discussion about how this menu could work

There was always the idea of skills and perk trees as constellations (based on 3 from Oblivion) but it took on many different forms as we progressed.
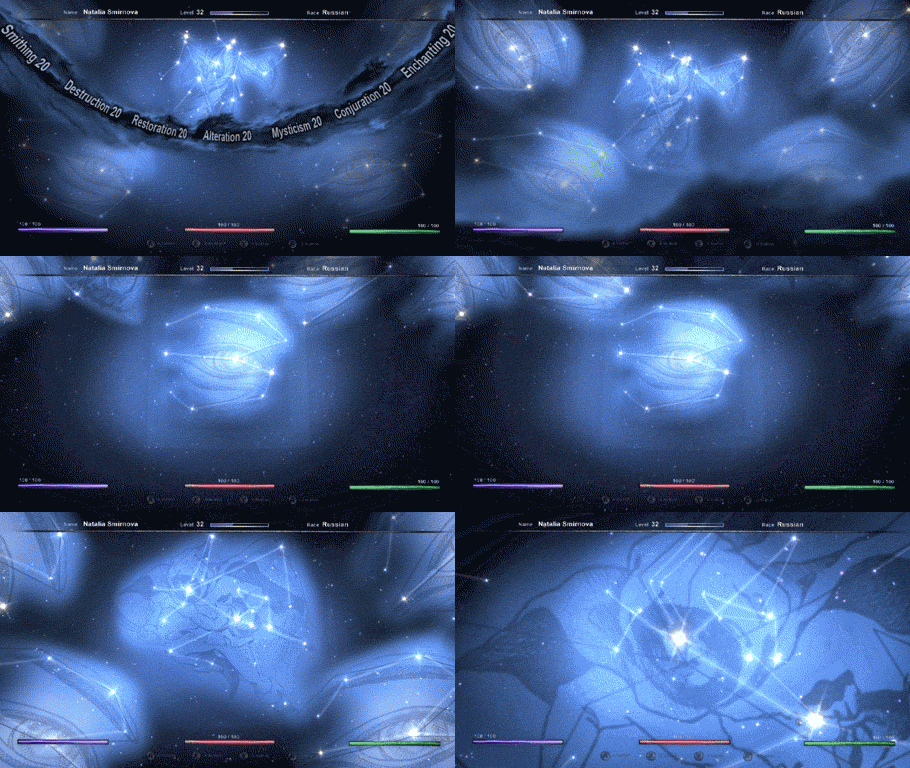
At on point I was toying with the idea of the stars being distributed in the depth in space and only forming the constellation in the back out view but navigation felt to uncontrolled in that reality.

Early on I also tried to use Fume FX to create the nebulae using a sim with some decent results but the speed at witch I could create like this was limited due to the simulation time.


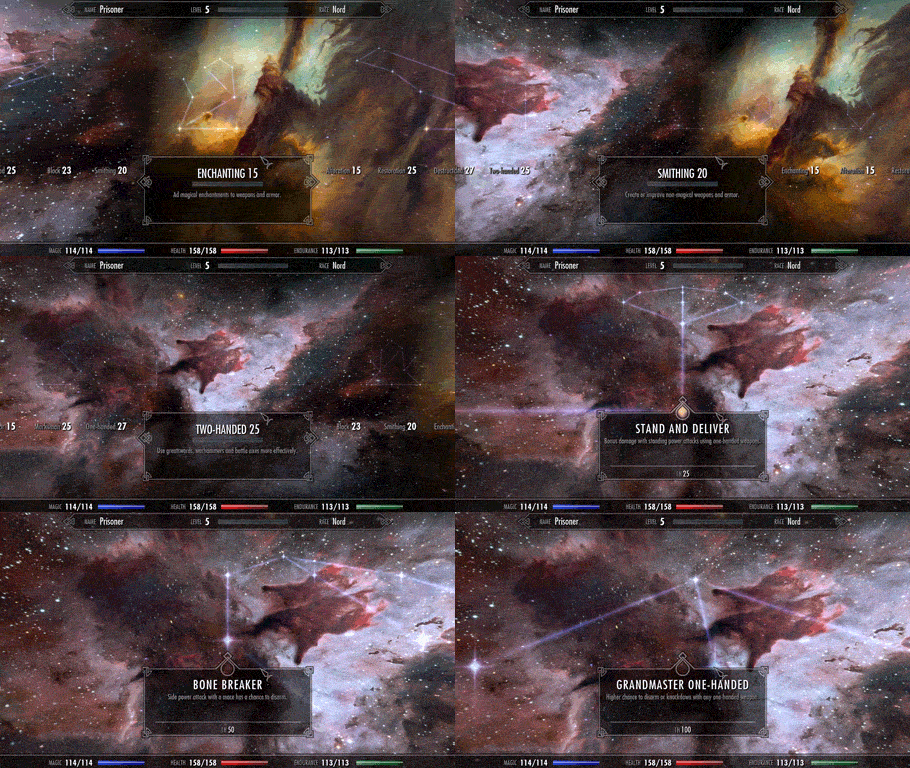
My first pass at pass at painting the oblivion constellations as nebula worked out pretty well so I decided to take that route. In some way I like these version better but I have to visually reinforce the colors associated with the different skill groups in the final painting.

Once I dropped my nebula paintings into the scene the final look of the menu started to come together.
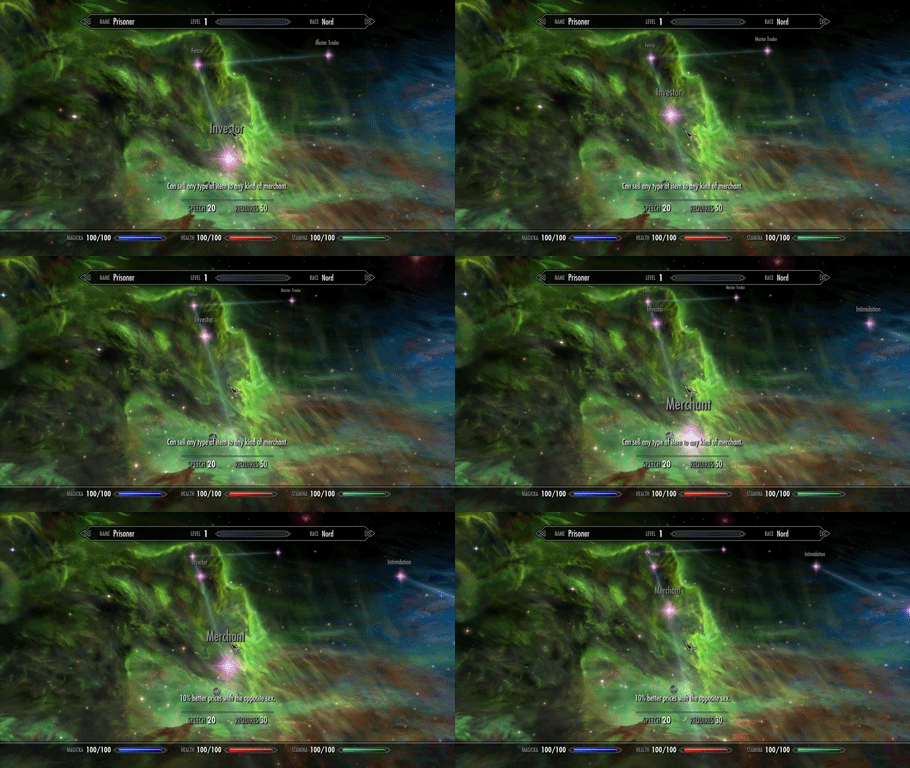
At this point I was also iterating on the stars and lines and their animations so we could build the perk availability and unlocking UI mechanisms.


Once we has all of that I took some time to finalize the nebula painting and break them into layers to create parallax. The entire menu was one 3d file that contained the background, animating perk tree art, and nodes to attach the code built perk trees. As long as each piece was scaled from the center of the scene you would always see the layers line up correctly when you moved back to the origin in the menu.


As a nod to the heavenly nature of Sovengarde and the skills menu Noah Berry the environment lead and the artist making the Sovengarde skybox took my paintind and incorporated it subtly into the sky.

Once the game shipped we had to repeat the process on a smaller scale for the DLC monster form perk trees.
#skyrim#skyrimvr#GameDeveloper#realtimevfx#BethesdaGameStudios#mark teare#markiepoo#concept art#previs#animatic#menu#UI
1K notes
·
View notes
Video
instagram
Plantas y luz / Exploración 02. Plants and light / Exploration 02. . . . . . . #interactive #realtimevfx #digital #art #interactiveart #creativecoding #code #newmediaart #videosynth #glsl #digitalart #newmedia #generativeart #generative #generativedesign #realtimegraphics #mediaart #newmediaart #mixedmediaartist #newmediaartist #resolume #vj #audiovisual #plants #botanical #plant #garden #plantas (at Oaxaca City) https://www.instagram.com/p/CQwe1izDl0X/?utm_medium=tumblr
#interactive#realtimevfx#digital#art#interactiveart#creativecoding#code#newmediaart#videosynth#glsl#digitalart#newmedia#generativeart#generative#generativedesign#realtimegraphics#mediaart#mixedmediaartist#newmediaartist#resolume#vj#audiovisual#plants#botanical#plant#garden#plantas
0 notes
Video
tumblr
Having a lot of fun with this effect (ノ´ヮ´)ノ
(Got a little checkbox to turn this twister on and off and just... somehow it’s a good time, heh)
#storm#tornado#island#weather#ship#torrential#fun#bool#particles#effects#wind#hurricane#spout#pixel#gamedev#indie game#solo dev#cool effects#water spout#realtimevfx
8 notes
·
View notes
