#photoplus
Explore tagged Tumblr posts
Video
Amber Art by Paula Puddephatt Via Flickr: My childhood dog, Amber - original photograph by R. Plimsoll - version produced on Serif PhotoPlus 11
#art#colours#dog#dogs#puppy#puppies#labrador#labradors#labrador retriever#labrador retrievers#retriever#retrievers#golden labrador#golden labradors#yellow labrador#yellow labradors#yellow labrador retriever#yellow labradors retrievers#golden labrador retriever#golden labrador retrievers#pet dog#pet dogs#flickr
5 notes
·
View notes
Video
Rainbow Colours by Paula Puddephatt Via Flickr: Artistic image, created using Serif PhotoPlus 11 software
4 notes
·
View notes
Photo
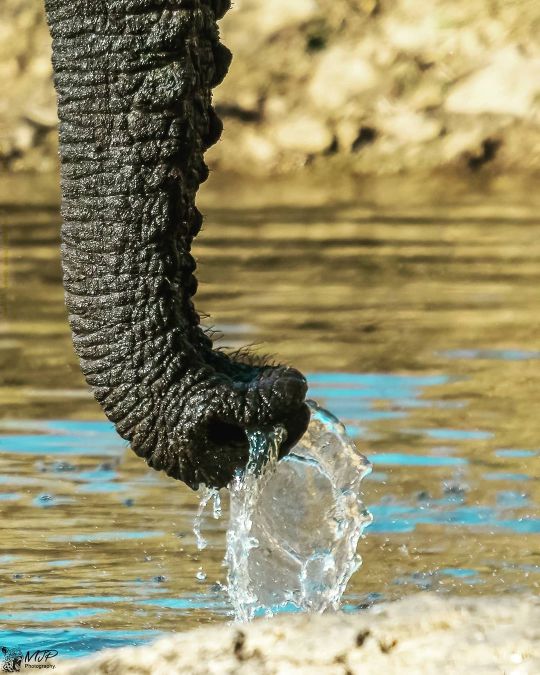
Thirsty... Elephant drinking on Nkakane at Pilanesberg National Park with a Canon 70D and a Sigma 50-500 mm lens. #africanelephant #elephant #big5 #pilanesberg_ #africageografic #menseselense #natgeo #natgeoyourshot #natgeowild #wild #wildanimals #naturephotography #canon70d #Sigma50500mm #mjpphotography #wildlifeplanet #photoplus #splendid_animals #blackandwhite #digitalcamera #practicalphotography #marvelshots #animal_sultans #wegtydskrif #raw_africa_ https://www.instagram.com/p/CQlxXQ3AIh3/?utm_medium=tumblr
#africanelephant#elephant#big5#pilanesberg_#africageografic#menseselense#natgeo#natgeoyourshot#natgeowild#wild#wildanimals#naturephotography#canon70d#sigma50500mm#mjpphotography#wildlifeplanet#photoplus#splendid_animals#blackandwhite#digitalcamera#practicalphotography#marvelshots#animal_sultans#wegtydskrif#raw_africa_
3 notes
·
View notes
Photo
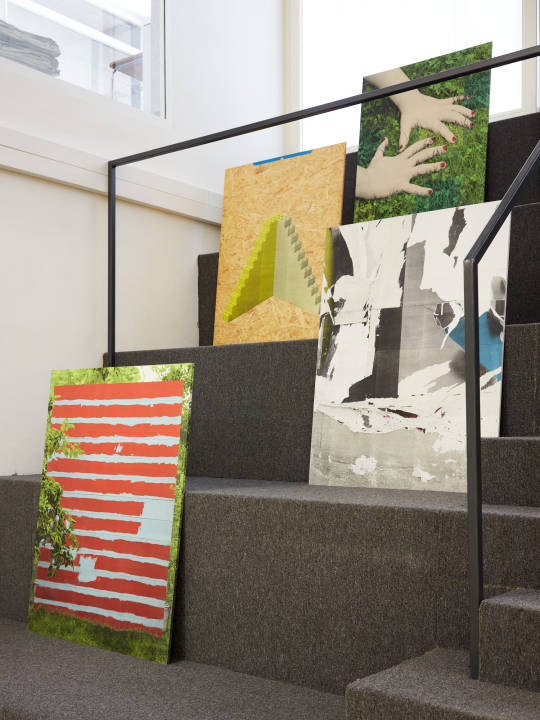
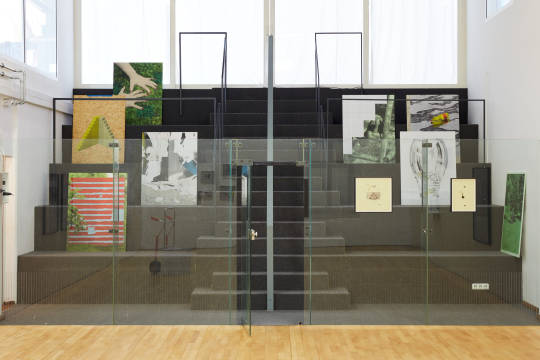
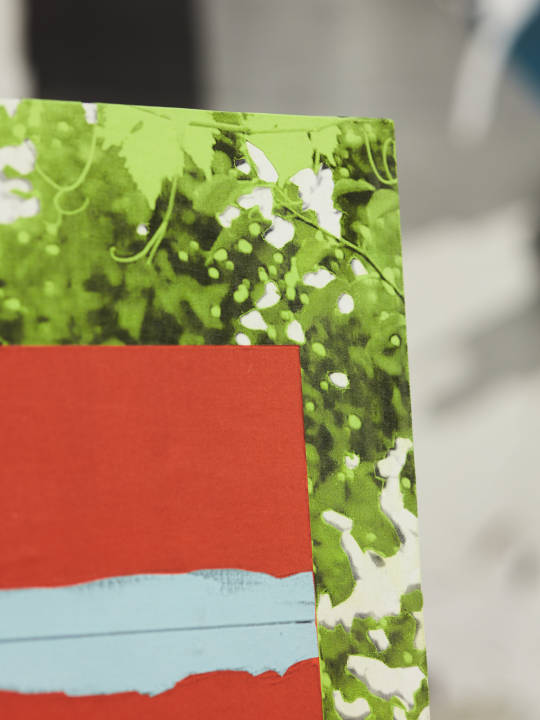
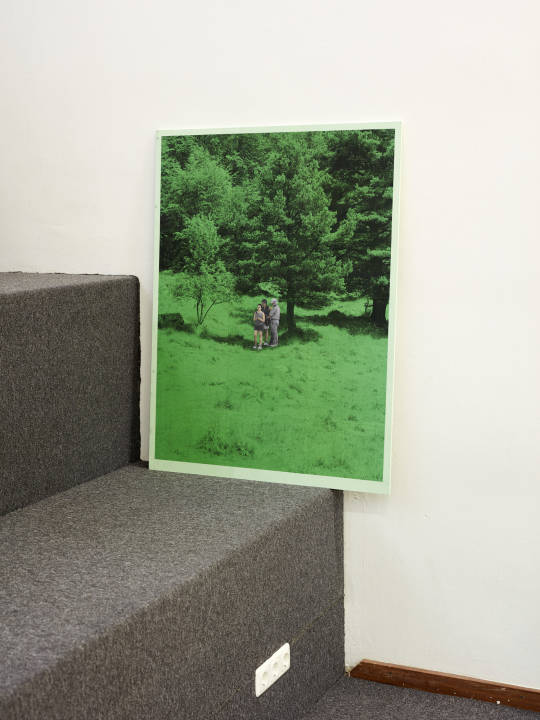
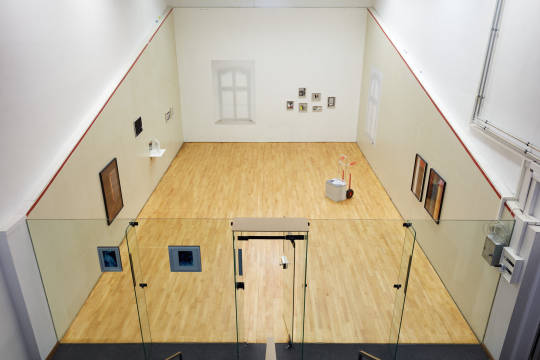
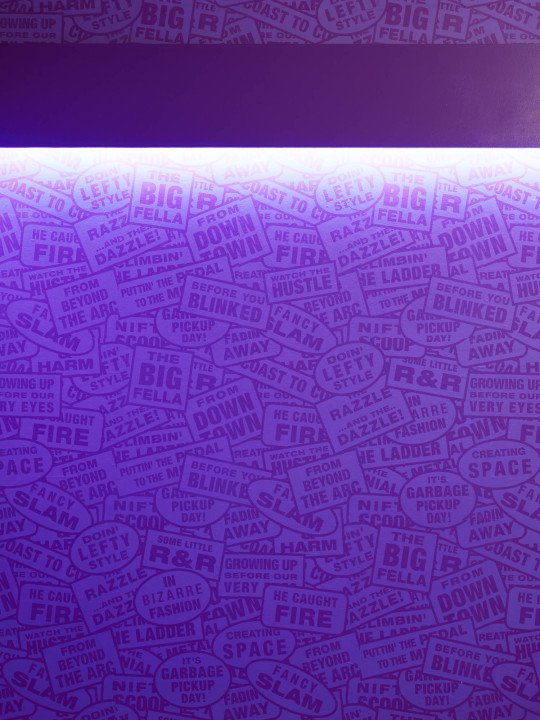
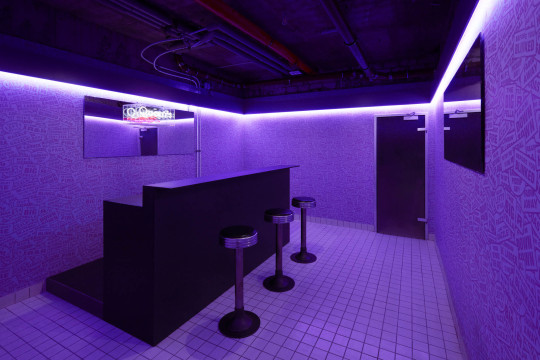
Jonas Gerhard
Big Mag (Serie)
2013
jeweils SW-Laserdruck auf farbigem Papier, Holzplatte
In Bizarre Fashion
2014 / 2020
Laserdruck auf farbigem Papier
Wandarbeit in der Queen’s Bar / Sammlung Dahmen
Ausstellung:
Sweet Spot
mit Julius Brauckmann, Jonas Gerhard, Alex Grein, Julia Kernbach, Martina Sauter, Katharina Sieverding
13.3.–29.3.2020
Sammlung Dahmen Engerstraße 56 40235 Düsseldorf
#Jonas Gerhard#Julius Brauckmann#Alex Grein#Julia Kernbach#Martina Sauter#Katharina Sieverding#Sammlung Dahmen#Sweet Spot#2020#Ausstellungen#Düsseldorf#photoplus#photo+#photo plus#düsseldorf photo+#Queen's Bar#Wandarbeiten#Tapete#photography#exhibition#Squash
2 notes
·
View notes
Note
I think you've already talked about this before but I couldn't find the post on your Tumblr, so I was just wondering what your process was for making animated gifs. Like what methods you use to make them, what software you use, etc? Also, what parts do you find most fun or difficult or challenging? I've started making some animated gis, and while I don't know if I'll ever be nearly as prolific as you are, I was interested in learning more about them.
Oh hey! Thank you!! I don’t think I’ve ever gone through the process of how I make gifs in detail before, mainly because I don’t use Photoshop so I just assume my advice won’t be helpful to anybody. I don’t know how helpful this will be to you, but I’ve done a little step by step walkthrough of how I make a gif with a few general pointers thrown in. I was gonna try and keep it brief but it turned out much longer…..sorry.
I’ve put what I find most difficult and fun at the end, so you can just skip to that if you want.
As for the rest, here goes….
So, background: I taught myself how to make gifs using Serif Photoplus X2 because we used their products in highschool. Then a few years later, I updated to Photoplus X7 (made hardly any difference though). Serif doesn’t even make the Photoplus range anymore (they still sell X8 but it’s rubbish and crashes a lot, and their new product Affinity doesn’t even let you make gifs!). I’ve tried to use Photoshop in the past and everyone says it’s better, but I’m stuck in my ways like the stubborn old woman I am.
Anyways, when I want to make a gif I start off by capturing screenshots for the frames. I’ve always used GOM Player and their “Burst Capture” option to do this. GOM Player lets you choose the format your images are saved as and where you want the frames saved to. I have a special “captures” folder for temporarily storing the files in. So for example, these are my frames:
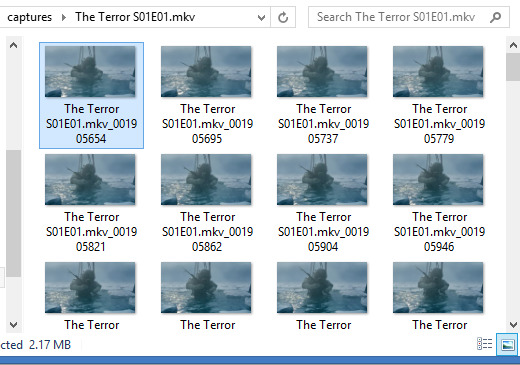
A good general tip for making gifs with any software is to use the best quality video you can find. Most of the stuff I make is with 1080p or 720p quality. I find it helps when it comes to colouring and making the gif look clearer.
Once I have my captures, I copy them into my animation “canvas” (or SPP file) which has a base colouring I’ve already made on it. It’s kind of like a PSD on Photoshop. I select my captures and drag them onto the canvas which looks like this:
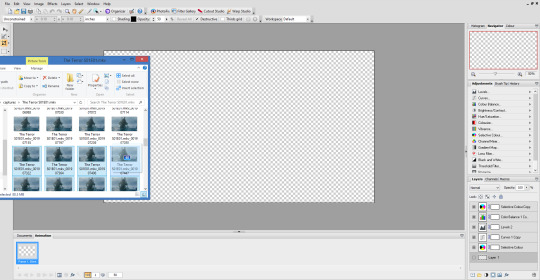
The canvas is 1080p, the same as the captures but everything will be resized later. I originally captured 100 screenshots here, but I’ve decided to use only 40 in the end because I want to make a 540px width gif. If I used all 100 frames for a 540px gif it would end up being way over the 3mb limit and it wouldn’t work on Tumblr.
Now this is where the time consuming work comes in for me. Once my captures have been copied into the SPP file, they actually become layers which I have to turn into gif frames (if that makes sense). So at the moment they look like this
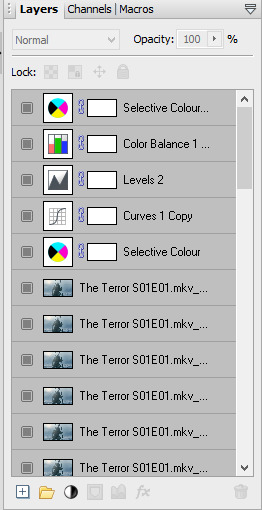
But I don’t have any actual frames yet at the bottom of the screen. So what I do next is go to the layers tab at the top of the screen and click “hide layers”, making them all invisible
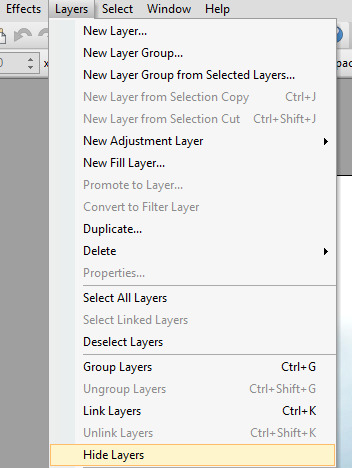
Then basically what I do next is create a frame at the bottom and assign an individual capture to it by clicking the little grey square (making it visible again). So as you can see, my first frame is for my first capture/layer. The next frame will be the capture/layer on top of that.

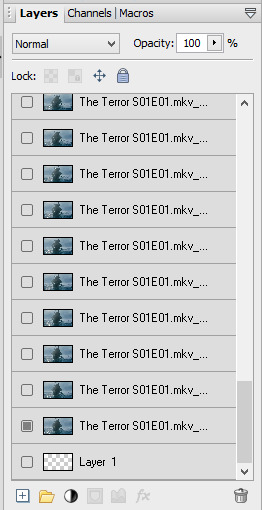
So yeah, that means I create each frame individually. It’s veeery time consuming but you get quicker at it the more you do it (it’s also faster to do on a laptop touch pad rather than a mouse.).
Once I’ve created all my frames, I reselect the colouring layers at the top so they’re visible on every frame. It should look like this

Next, you need to crop your gif and resize it. I want my gif to be 540px by 270px so I put 54.00 and 27.00 into the crop feature to get it accurate. This allows me to crop the canvas into the right dimensions.
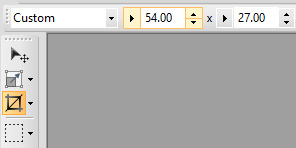
Once I’ve cropped the canvas, I then go to the Image tab at the top and click “Image Size…” and set the image size to 540px by 270px. I usually ignore the Print Size bit.

540px is the best size for a full width Tumblr gif, anything bigger or smaller will make your gif look blurry. This gifset is a good guide for making sure Tumblr doesn’t blur or crop your gifs.
My gif is almost ready to be exported. But I want it to look clearer, so I sharpen all the layer/captures (yes, individually again). I have no settings for sharpening, but I find using the standard “Sharpen” effect under the “Effects” tab is enough.
Once I’ve sharpened everything, I get to the colouring and exporting which is the biggest challenge for me. Photoplus’ options for exporting gifs are limited, so the only decent export options are these
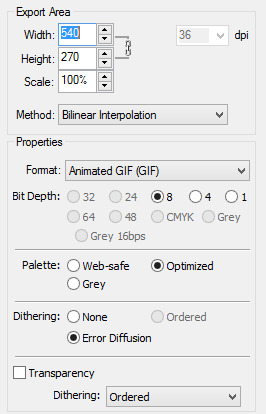
“Web-safe” and “Ordered” makes the gif look like this
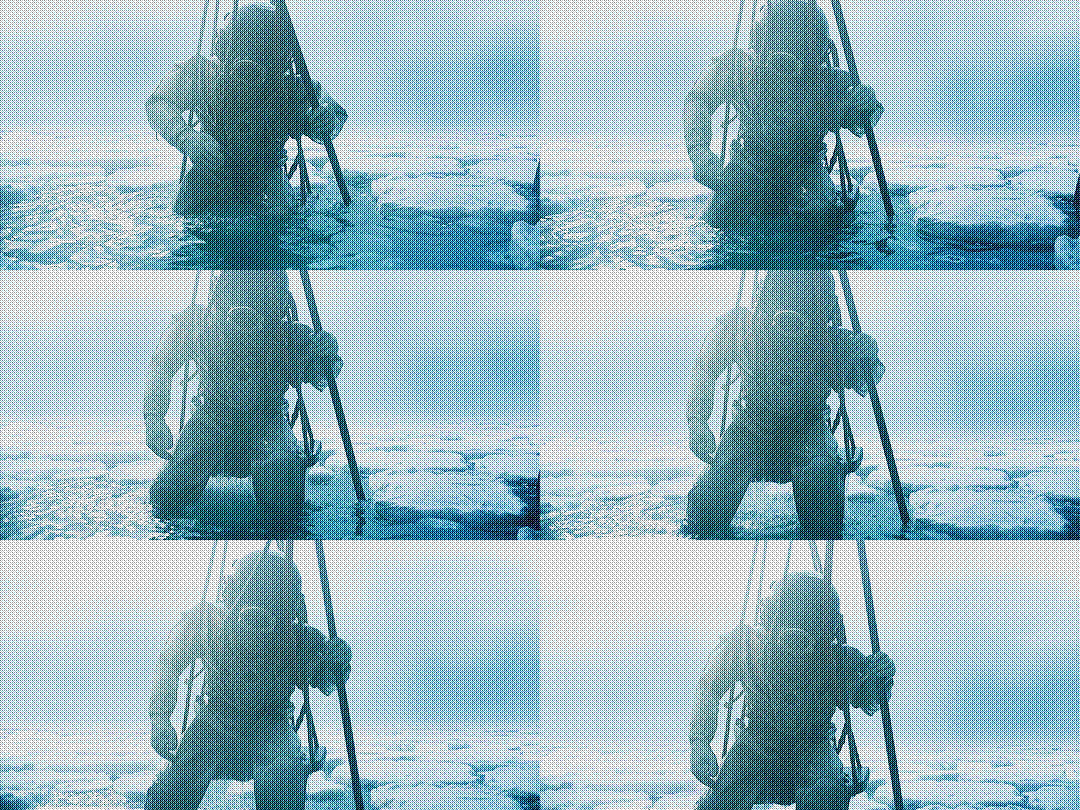
“Optimized” and “None” makes it look like this. Okay, but the background looks low quality and patchy

“Optimized” and “Error Diffusion” is the only one that to me, looks the best quality. That’s probably why it produces the bigger file size too (the gif below is 2.78mb)

But there’s other downsides to Error Diffusion which I’m still trying to figure out to this day. Like how it makes parts of the gif “glitch” (that’s the only way I can describe it) or look extra fuzzy. The only way you can fix it is by playing around with the colouring. And by “playing” I mean adjusting and previewing until you want gouge ur eyes out :)
I think that’s why I like giffing The Terror so much, because the film they used has a grainy texture to it, making it easier to hide all my Error Diffusion sins. Though there’s been many times I’ve posted something and hoped no one’s noticed all the mistakes.
Some general tips for colouring
Unless you’re going for a certain effect, emphasise on the colours that are already in the shot. In my gif above for example, I turned up the blues and cyans.
Use Levels or Curves instead of Brightness and Contrast.
Zoom in on your gif to spot any Error Diffusion glitches.
Be mindful about whitewashing POC, especially if you’re following the pastel gif trend.
Look at how other people colour their gifs and use PSDs for reference but don’t rely on them too much.
Colouring can increase or decrease the gif file size. If you need to get below 3mb, try toning down super vibrant colours. If the shot you’re giffing is dark, make it a bit darker. If it’s light, make it a bit lighter.
If all else fails, just make the gif black and white.
Reading all this back makes how I make gifs look like a nightmare lmao. But I’ve been doing it this way since like, 2012 and i love it. I started out making very bad Star Wars and Lady Gaga gifs but as time has gone on and I’ve gotten better, I’ve found I enjoy making things for smaller fandoms much more. I like that if I want a certain set or edit on my blog, I can just go and make it (with varying degrees of success) instead of waiting for someone else to do it.
You appreciate the work that goes into making a movie or show when you make gifs too. Like, you notice subtle little things in the actors performances or something the cinematography is trying to convey. You get to revisit a scene in detail and then share it with everybody else and if you’re lucky, watch them scream in the tags get some nice comments.
There’s lots of other stuff I like about making gifs but I’ve rambled on far too much so I’m just gonna shut up for now. But I think I’ve covered all the important stuff. I don’t know how much of a help I’ve been (there’s still stuff I don’t understand myself) but if there’s anything else you want to know just drop me a message. Good luck with your own gifs!! I’m sure you can do a much better job than me!
#Ask#unspeakablehorror#phew! this is a full on essay i'm sorry#gif making#Serif Photoplus#photoplus#long post
22 notes
·
View notes
Photo
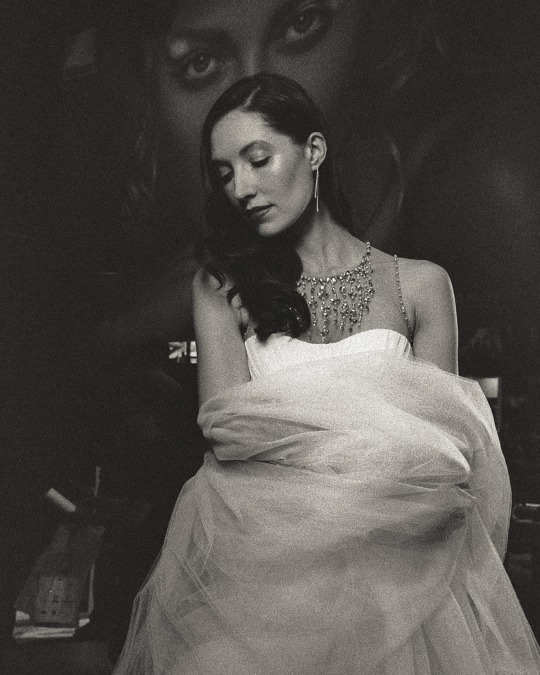
Caught the last few hours of Photo plus last weekend at NYC. Literally jumped on the plane and flew once I've found out that about the event. Surely spontaneous adventures are fun! Got to meet some awesome people along the way (including Greg Watermann through Zeiss) and a moment capturing @tatjana_sinkevica posing with Nikon and Wescott Lighting. Was Pushing #ilfordphoto HP5+ to roughly 2000iso with Zeiss Biogon 35zm f2. Snuck in there amongst the other photographers to capture something. 📸 . . . . #35to220 #35mm #zeiss35zm #fashionmodel #Fashionaddict #ilovefilm #hp5 #hp5pushed2stops #blackandwhitephoto #girlsonfilm #leicacamera #leicam2 #photoplus #photoplusexpo #newyork #nyc (at Photo Plus @ Jacob Javitz NYC) https://www.instagram.com/p/B4ViAVxHQvW/?igshid=1fadwf3s3hlzv
#ilfordphoto#35to220#35mm#zeiss35zm#fashionmodel#fashionaddict#ilovefilm#hp5#hp5pushed2stops#blackandwhitephoto#girlsonfilm#leicacamera#leicam2#photoplus#photoplusexpo#newyork#nyc
2 notes
·
View notes
Photo
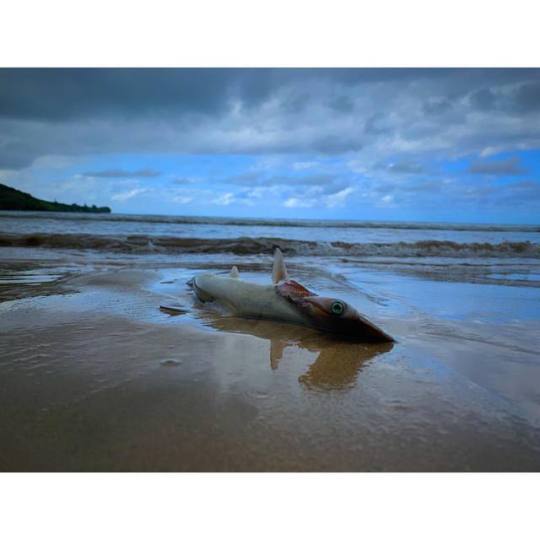
Dead Baby Hammerhead on the beach of Hauula Hawaii- #iphonexsmax #iphonephotography #iphonephoto #vscofilter #photos #photo #iphonevideo #4k #24fps #photoplus (at Hauula, Hawaii) https://www.instagram.com/p/Bw0dTdbF8ij/?utm_source=ig_tumblr_share&igshid=r18h2s0zbsgf
1 note
·
View note
Photo
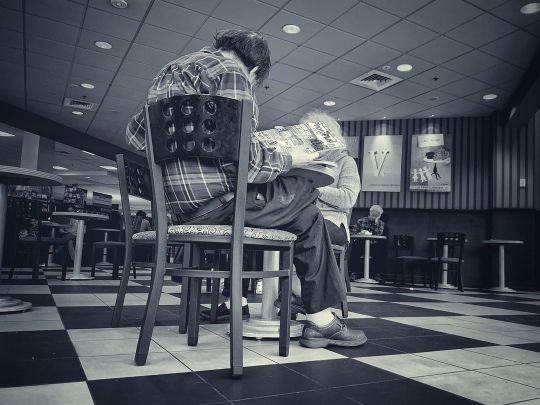
2022.10.02: The new issue of Photo Plus is out - Stamford, CT #magazine #bookshop #newissue #photoplus (wait, no: that’s the summer issue!) (at Barnes & Noble) https://www.instagram.com/p/CjO3cnMu03I/?igshid=NGJjMDIxMWI=
0 notes
Text
Photoplus Becomes Create NYC and Relocates To Brooklyn
The Press Release: After two years of in-person event cancellations due to the COVID-19 pandemic, PHOTOPLUS is proud to return this year as Create NYC Powered by PHOTOPLUS. To be held from September 29 to October 1, 2022, the three-day event leaves the Jacob Javits Convention Center for the Duggal Greenhouse in Brooklyn, NY. The photography industry’s premier trade show morphs into a festival…

View On WordPress
0 notes
Video
Dreams and Illusions by Paula Puddephatt Via Flickr: computer art image - produced using Serif PhotoPlus software, but not from a photo
3 notes
·
View notes
Text
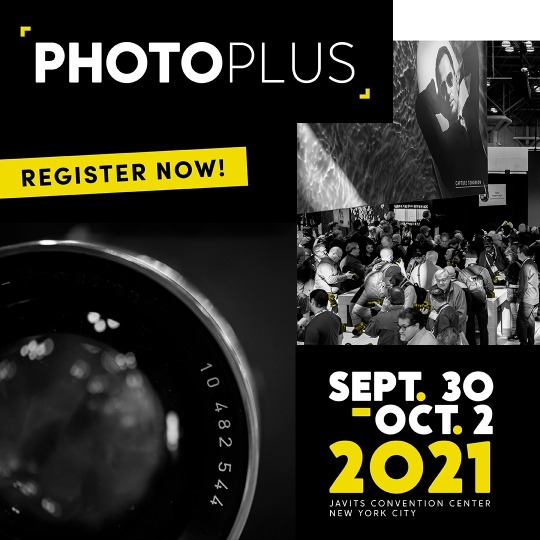
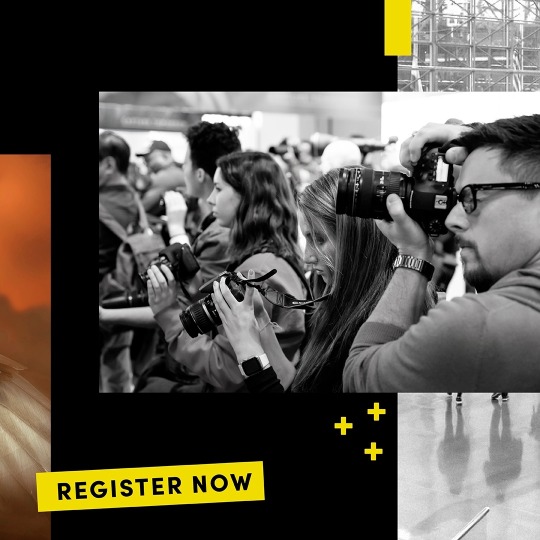
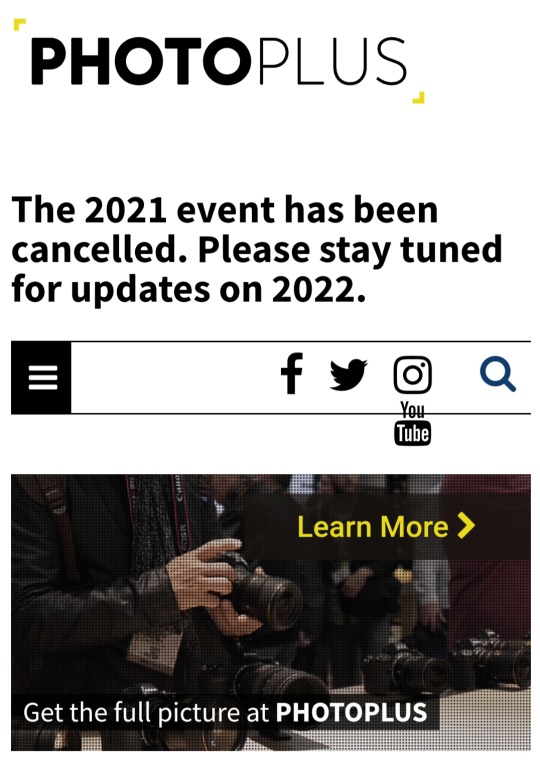
Photo Plus Expo 2021 CANCELED ‼
Cancellation was just posted on their Instagram account and website,that the annual event that was suppose to take place at the Jacob Javitz Center at the end of this month due to concerns of "Rona" and her "Variants".
This event was a week before New York Comic Con.
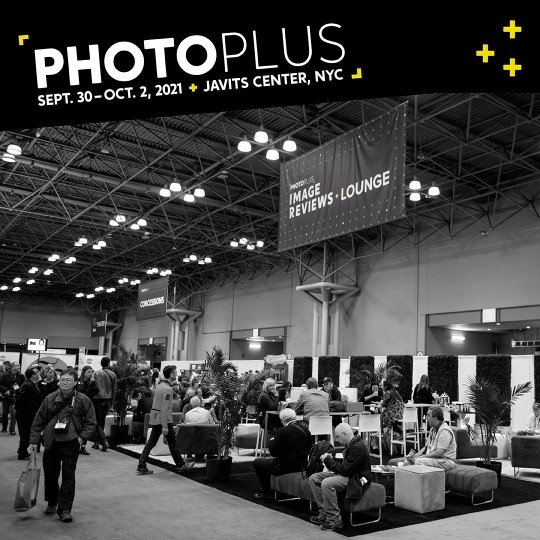

Wednesday September 08,2021
L.George
0 notes
Photo
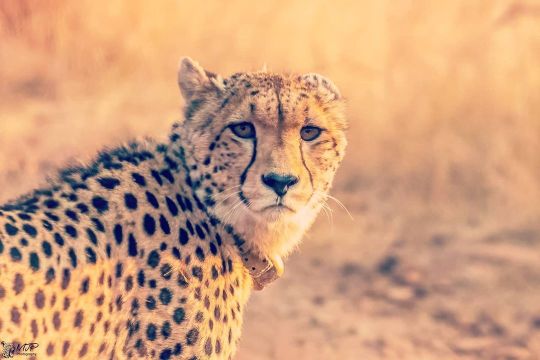
Staring into your soul.. Cheetah on Tshepe drive at Pilanesberg National Park with a Canon 70D and a Sigma 50-500 mm lens. #cheetah #pilanesberg_ #africageografic #menseselense #natgeo #natgeoyourshot #natgeowild #wild #wildanimals #naturephotography #canon70d #Sigma50500mm #mjpphotography #wildlifeplanet #photoplus #splendid_animals #digitalcamera #practicalphotography #marvelshots #animal_sultans #wegtydskrif #raw_africa_ https://www.instagram.com/p/CQ6ZHN5CG-U/?utm_medium=tumblr
#cheetah#pilanesberg_#africageografic#menseselense#natgeo#natgeoyourshot#natgeowild#wild#wildanimals#naturephotography#canon70d#sigma50500mm#mjpphotography#wildlifeplanet#photoplus#splendid_animals#digitalcamera#practicalphotography#marvelshots#animal_sultans#wegtydskrif#raw_africa_
1 note
·
View note
Photo
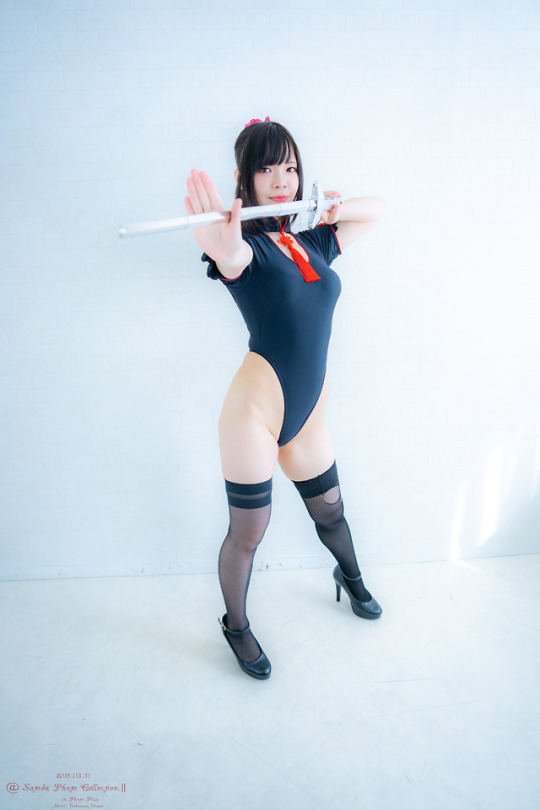
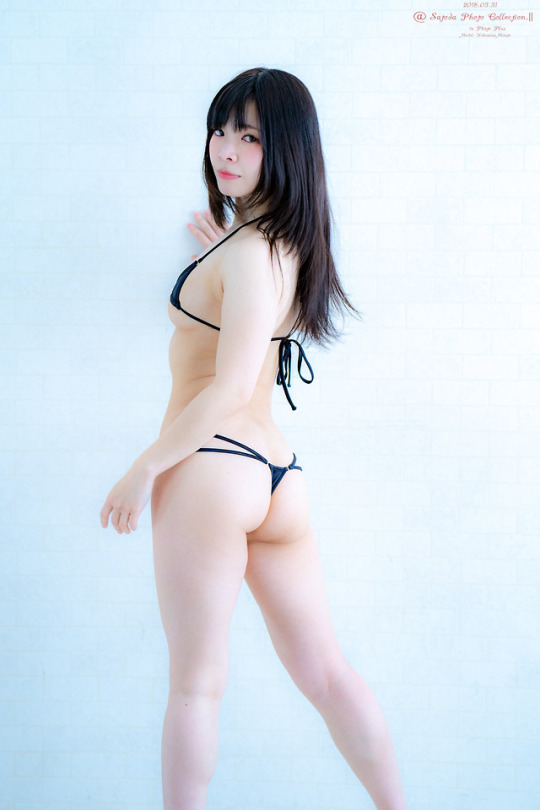
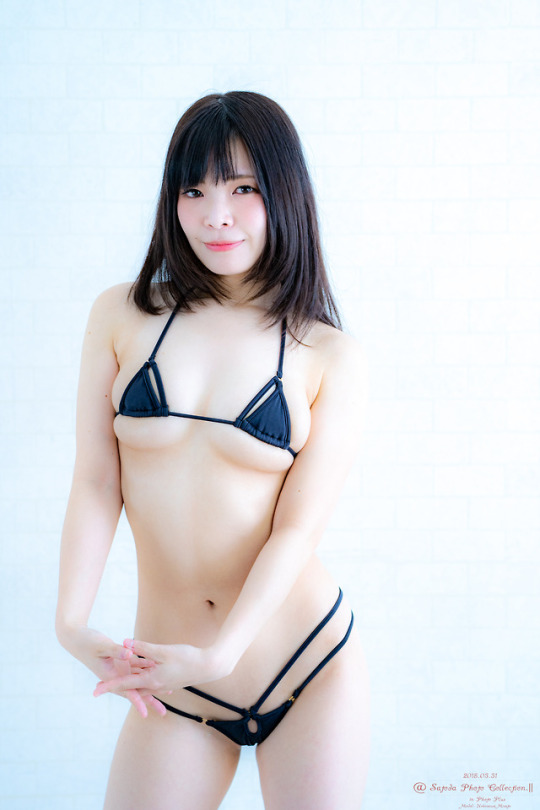
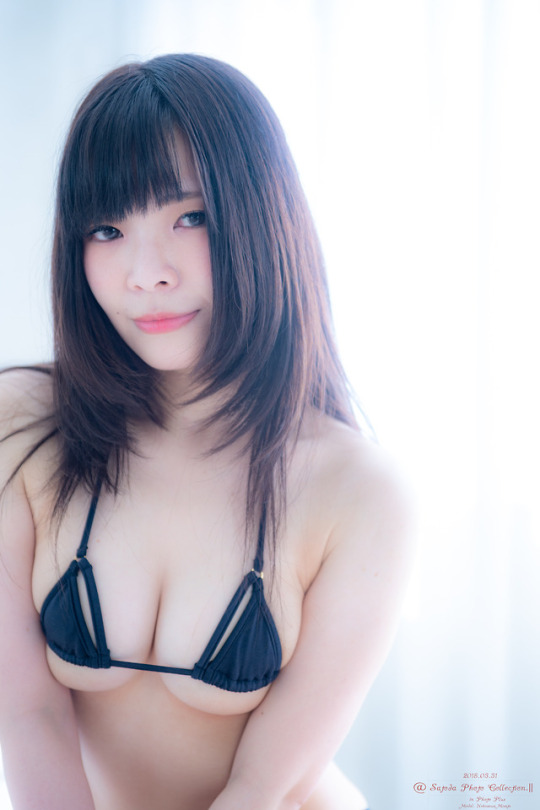
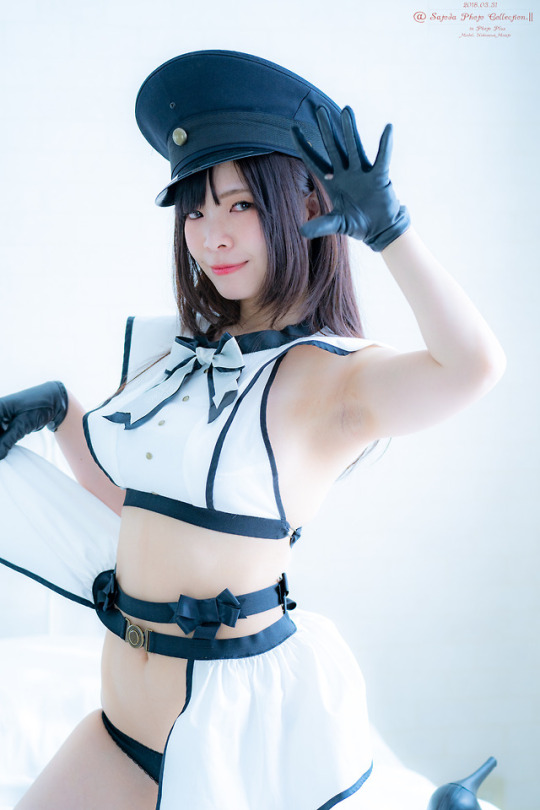
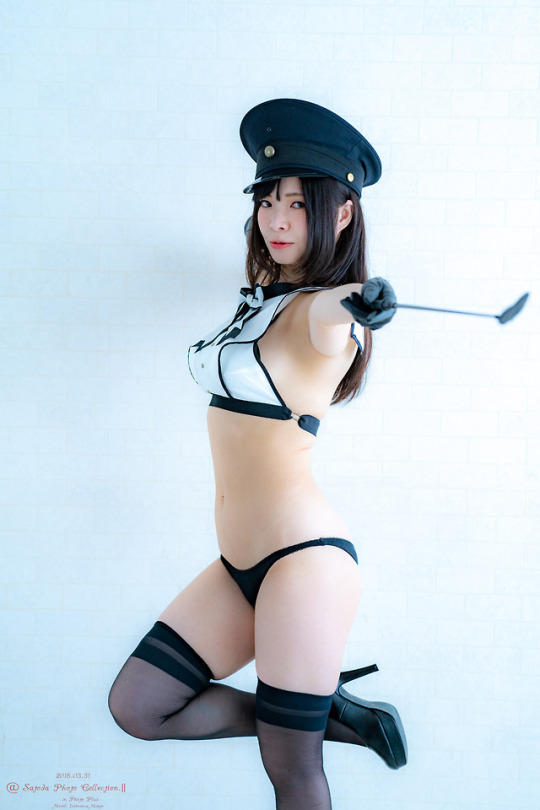
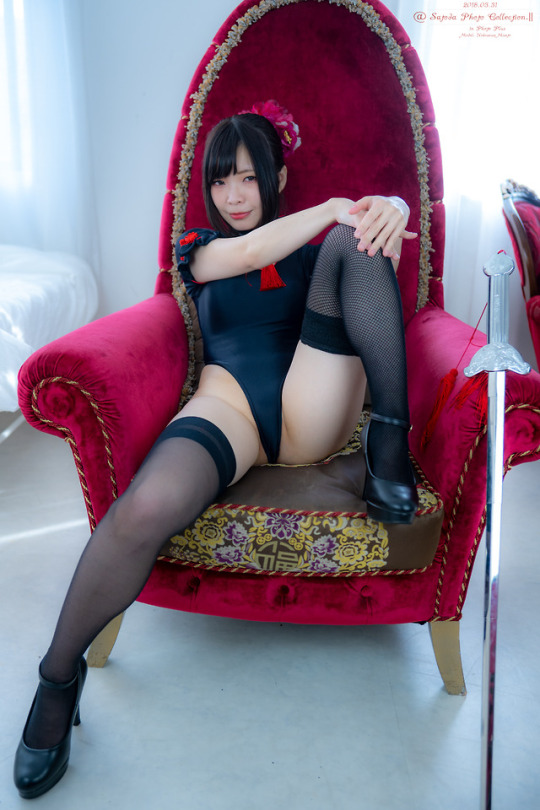
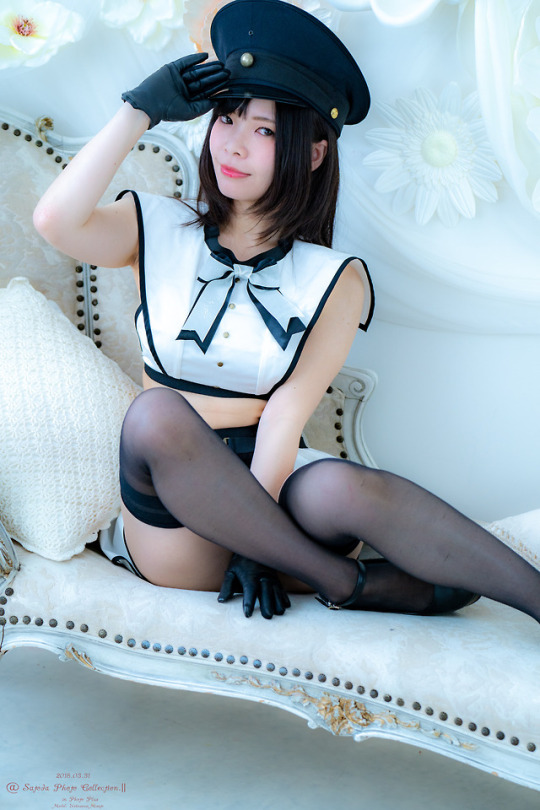
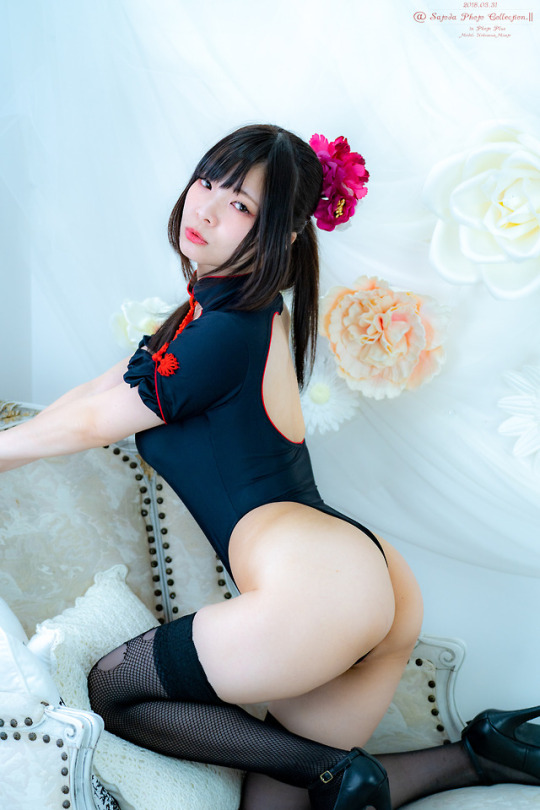
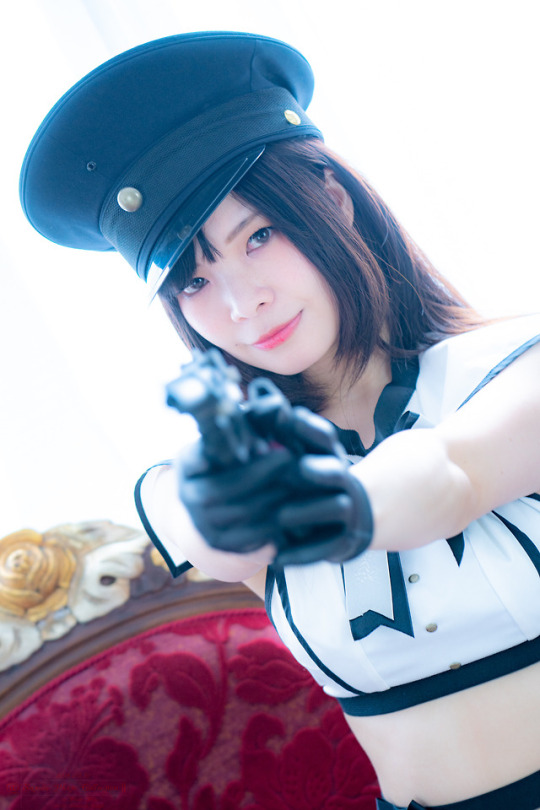
2018.03.31 Photo Plus
おつかれさまでした。 誕生日おめでとうございました!! その他の写真は Photo Plus
4 notes
·
View notes
Photo


Sony Surprises with Enhanced a7R III and FE 24-105mm f/4 Lens!
youtube
FIRST LOOK at the all new SONY A7RIII!
New features Include->
BIONZ X & Front-End LS, 399-Point AF & 10 fps, UHD 4K30 w/ HLG & S-Log3 Gammas, 5-Axis Stabilization and Dual Card Slots
#sonya7riii#sony#sony first look#fe 24-105mm#sony fe#sony fe 24-105mm f/4 lens#sony glass#dual card slots#s-log3 gammas#4k#sony 4k#a7r iii#sony a7r iii#yougotobh#photoplusexpo#photoplus#ppe2017#sony cameras#sony pro#brian smith#brian smith photo
6 notes
·
View notes
Photo

Bridal photoshoot at Photoplus, NY #blackandwhitestreetphotography #blackandwhite_art #blackandwhitenewyorkcity #newyorkcity #newyorklife #newyorkarea #newyorkcitylife #photoplus #photoplusexpo #photoplus2019 https://www.instagram.com/p/B4UqNfHBTs6/?igshid=1c2ie370g94fq
#blackandwhitestreetphotography#blackandwhite_art#blackandwhitenewyorkcity#newyorkcity#newyorklife#newyorkarea#newyorkcitylife#photoplus#photoplusexpo#photoplus2019#photography
0 notes
Text

Went to the Photoplus event. I’m so mad that I didn’t get to meet Brandon Woelfel because I went too early.
0 notes

