#perfect enclosure for like a 8ft tree boa
Explore tagged Tumblr posts
Visit Tumblr Blog
Explore Tumblr blogs with no restrictions, modern design and the best experience.
Last Seen Tumblr Blogs


Fun Fact
After the announcement of the deal with Yahoo!, there were 170K signatures of unhappy Tumblr users petitioning to prevent the sale in 2013.
Text
Cheap custom backgrounds?
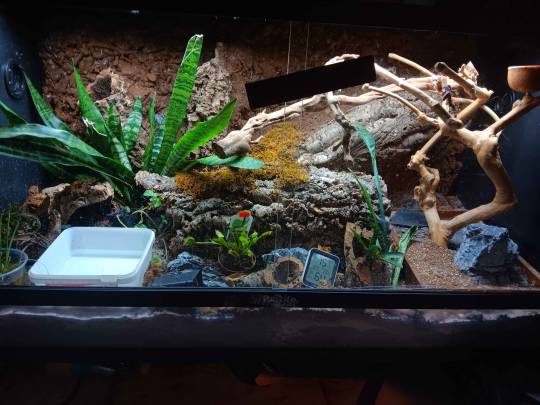
Hi! Want to give your enclosure something like this?
Well let me help you do this in a affordable way to give your animal some new enrichment and climbing opportunities!! Theres a misconception fancy backgrounds are hard to do or are expensive to do. This is... Very much not true! So lets do the one above together! Heres an overview of the supplies you'll need: -Your Enclosure of choice -Cocofiber and Sphagnum moss(OPTIONAL, can opt to paint) -Aquarium grade Silicone -Great stuff pond and Stone -Cork bark, roots, sticks, small rocks(OPTIONAL) First things first, you're going to want an enclosure.
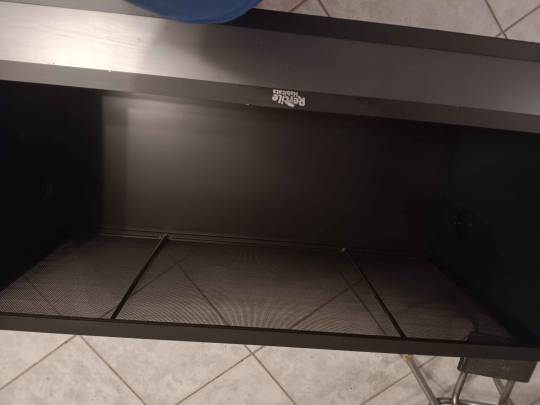
This is a DUBIA 4ftX2ftx2ft[LengthsXwidthXHeight), Also known as a 48"L x 24"W x 24"H(Inches) or a 120 Gallon Enclosure. This is considered the researched minimum size for common exotics like Ball pythons, Corn snakes, Bearded Dragons and the like to thrive. *Disclaimer: Im aware there is several groups and movements who are pushing for a 5x3x2(ft) minimum for Bearded dragons, I ultimately agree with them and the advancement of exotic keeping, but a Bearded won't suffer in a 4x2x2. Dubia Enclosures are some of the cheapest in the market, however they're decent for the price. They are stackable which makes it great for saving space, but please note they can NOT hold a lot of weight, so be mindful of that.
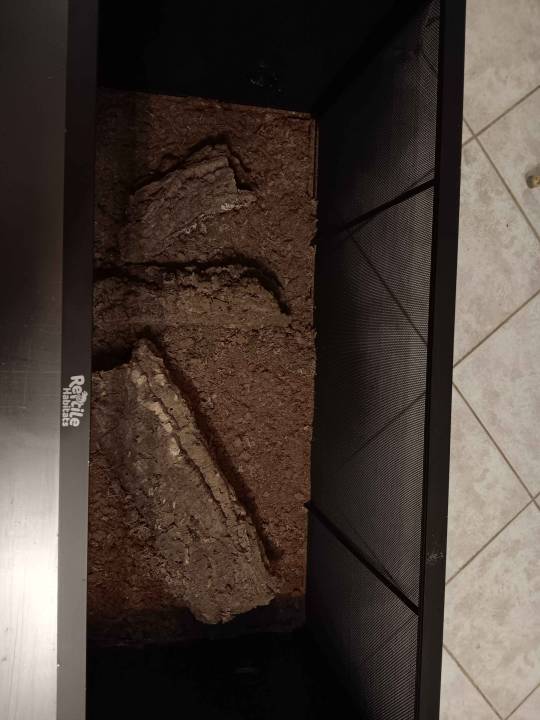
I own 3 of these. Two Version 1s and on Version 2, which is the one above. The V2s are generally nicer in design in my opinion, theyre functional more importantly. Once you have your enclosure of choice, lay it on its back as shown in in the first image. Next, you're going to want to prep your dry background. I use Organic Cocofiber and Sphagnum moss. I buy these extremely cheaply from Home depot or in bulk off Amazon. Make sure your material is COMPLETELY DRY! It will NOT stick if it has any moisture. Break apart your Cocofiber block and mix it with your dried Sphagnum moss in a container and have it ready on the side. I use the bulk Coco fiber, which costs about $23 for 5 bricks on Amazon. You can get them cheaper if you dont buy bulk, I do a lot of gardening and have a lot enclosures so its easier for me! https://www.amazon.com/Organic-Coco-Coir-Bricks-Compressed/dp/B01N1YP8O6?th=1 for a 4x2x2, I only use 2 bricks. Likewise, I buy Bulk moss for the same reason: https://www.amazon.com/dp/B0BK7XMNWL?ref=nb_sb_ss_w_as-reorder_k0_1_10&=&crid=1RDHFNSAUX0DF&sprefix=spaghnum%2Bm&th=1 You will only need. ONE BRICK. For the Sphagnum moss. Maybe even less than a brick. You're going to want to wet this then dry it before use. Dont be me. Dont be fooled over how small and thin those moss bricks are. I made the mistake of trying to wet an entire brick and I had to use a deep soup pot to contain it. It *explodes*. You will be buried in moss. You will scream and cry and beg for mercy as you are overwhelmed by the amount of moss Expanding from a singular brick. I am not exaggerating, I learned my lesson, please god, do not make the same mistakes I made. I still have. So, so much moss. Sometimes I still find Moss from my Mossaggeden. NOTE: Please make sure to use organic, and do not used DYED moss! Double check your ingredients, Dyed moss can be toxic to your animals! Next,
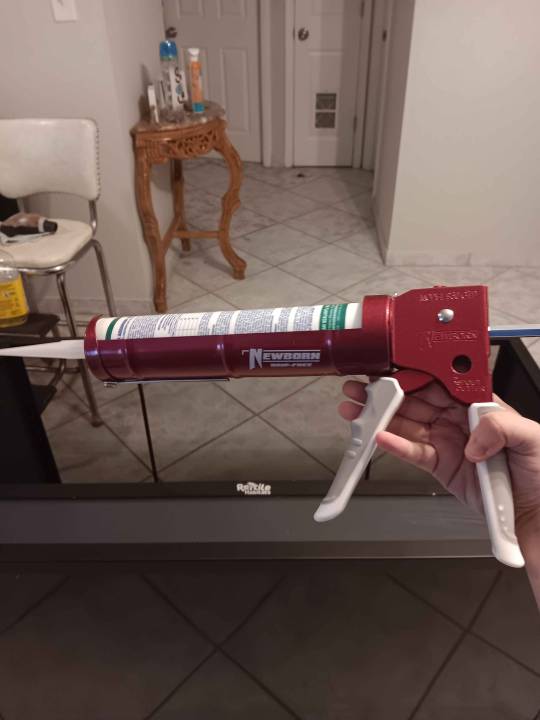
Silicone time, baby! You're going to want to use Aquarium grade Silicone from Home depot, please double check to make sure you're getting Aquarium grade! This will cost you a whopping $3 At Homedepot. The Caulking gun was an additional $12 if you dont have one already, however, it is re-usable so its a great one time purchase because I use that bad boy for a lot of my projects lmao. Once you struggle to open your stupid bottle of Silicone without exploding it like I have on several occasions; time to be silly!
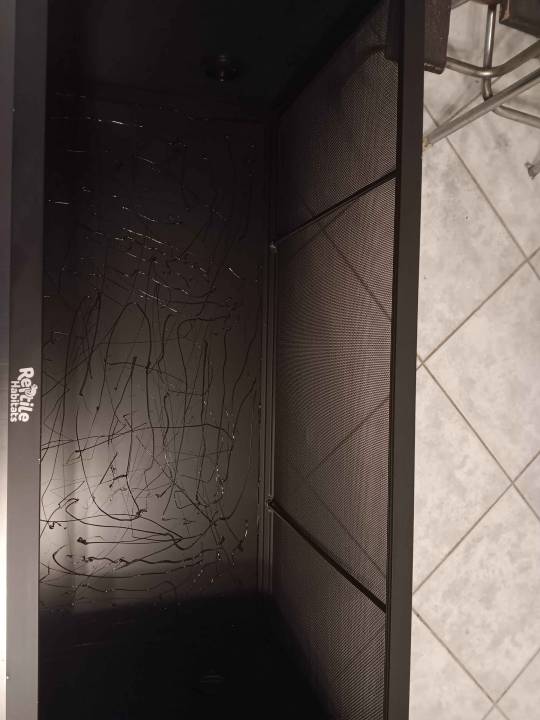
We're going to Silicone this bad boy up reaaaaal good. Dont be me, USE GLOVES! It makes your life so much better I promise. So why are we doing this exactly? Its simple, this will help your background last! It gives it texture and helps the spray foam stay in place. It also keeps your background from peeling so easily, texture matters! Your hands going to be very tired after this. Youre going to want to leave this alone for the next 24-48 hours. Minimum. You want your silicone to dry and want to make sure the smell is gone before continuing to the next step!
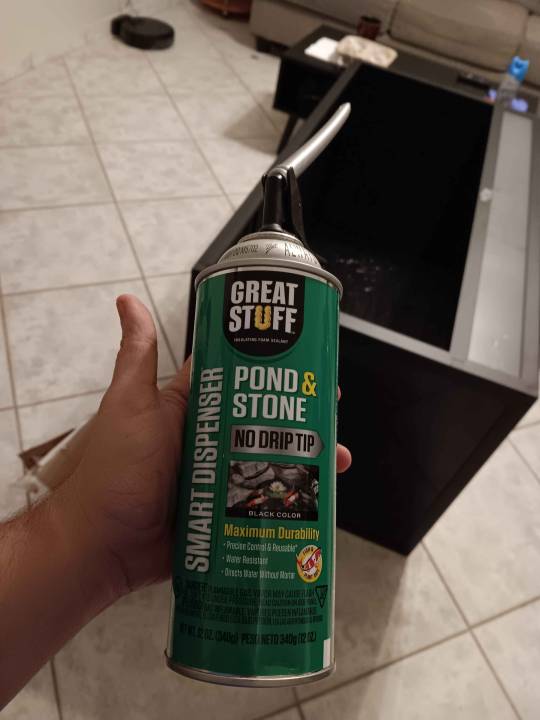
This is the funnest part. Spray foam time! For the 4x2x2, I use about 3 Bottles of this stuff. Make sure you're using NON-TOXIC Spray foam! Pond and Stone is my favorite to work with. When I add things into the background, I make sure to have a 4th can of this stuff on me. This will be the most pricey part about it. Lowes has it for $12-14 a can, but its $15 a can on Amazon. This is really the only big 'expense' when it comes to backgrounding. Smaller enclosures use less, but bigger enclosures will need more. !!!!!!!THE NEXT STEPS NEED TO BE DONE TOGETHER!!!!!!!! Youre going to want to be fast about it if youre using my method. Start spraying random patterns into the background. Youre going to want to make sure youre covering every inch of the enclosure, you can do zigzags, cut it into triangles, squares, it doesnt matter. Different shapes give you different background textures, so go nuts!!! Dont leave space between the foam, and go ham. Theres no wrong way to do this. Once thats done though, you're going to want to do the next step IMMEDIATELY:
Adding your background texture and features!! This step MUST be done while the spray foam is still wet. First, take any rocks, cork, sticks, ext if youre adding them and shove them into the background. Dont have money to pay for expensive Reptile decor? You can sanitize your own rocks and sticks from outside yourself for free. I will make a guide about how I do that soon ahah. Press any features you want into the spray foam background nice and firm, then use the extra to spray around the items to secure them in place. Once you got your features in, its time to take your pre-prepped background and begin pouring it in! Spread it evenly across the enclosure. Do NOT worry if you have excess, poor it in anyway. Once you've poured the background in. GENTLY pat it over the sprayfoam. Next, you'll want to leave this to dry for the next 24 hours minimum. Leave it laying on its back so nothing drips or sags where you dont want it to!!! After 24hours, lift the enclosure and gently tap the back of it to knock off your excess background to reveal your background!
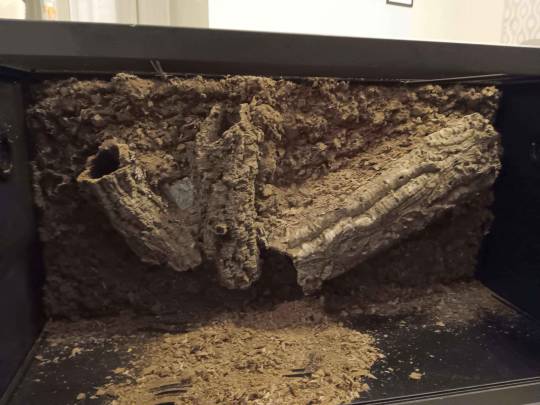
Annnnnnd you're done!!! Now you're free to add your lighting, real or fake plants, heating, substrate and other decor as you please! This can add so much more enrichment to your animal and give them so much more room to utalize their space. My individual personally loves his background and utilizes it all of the time! Contrary to belief, a lot of snakes aren't 'pet rocks' if you give them stuff to explore and climb. My guys out pretty often! Of course it comes down to personality too ahah.
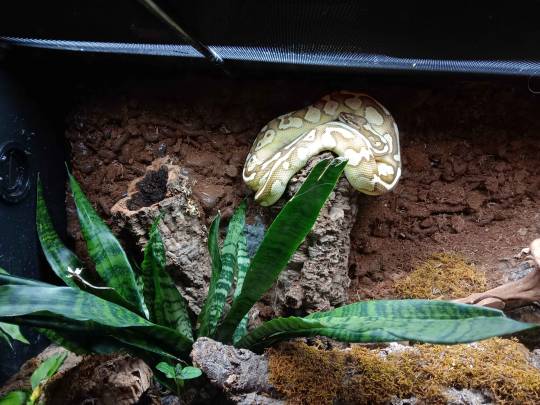
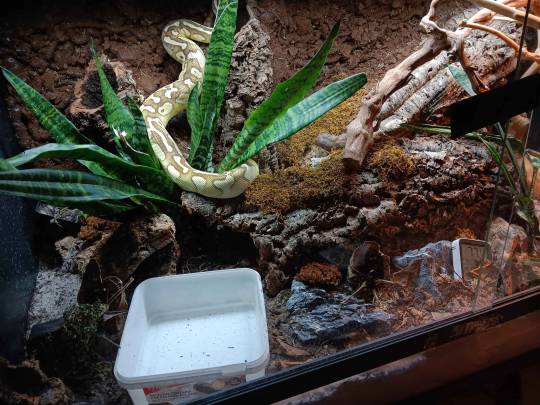
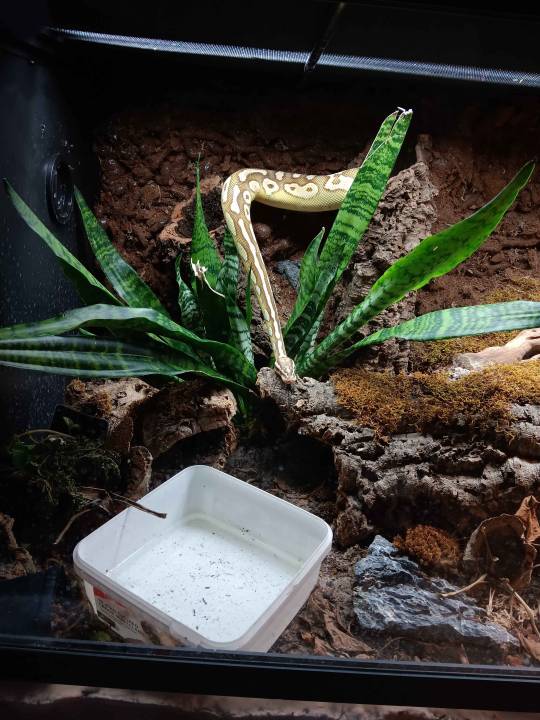
Heres some pics of him using his climbing features! He prefers the middle climbing feature here and the one off to the right, where he uses to bask when he doesnt want to be seen and hangs out the top of it, or his bird perch when he doesn't mind being right there out in the open. c:
#reptiles#snake#herpetology#ball python#background#How to craft#Custom enclosure#Mossaggeden still haunts me#And my hands have known no peace since I started doing these#I hate silicone#More so I hate caulking#bioactive#tutorial#I picked up that little bird stand for like $15 at a local owned exotics store and thats been his favorite thing ever#Sanitized it real good and I have hundreds of pictures of him on that thing#I have a big one for my tree boa its like 5 ft tall#I cant wait to use that when shes ready for her adult enclosure#Did you know you can get a 10x10 growtent for like $300?#Thats a steal actually#Modify it real good and boom#perfect enclosure for like a 8ft tree boa#Im going to try growing a tree in it#Godspeed#dont let this flop#My hands will never recover from the amount of caulking ive done in my life
14 notes
·
View notes