#pastawayallday
Explore tagged Tumblr posts
Note
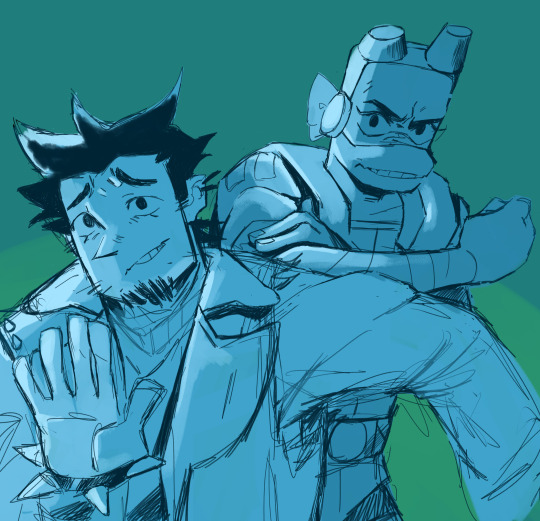
Tim teaching italian swear gestures to Donnie and regretting it almost immediately (I hope this is ok, love your work so much. I want to study your style under a microscope fr)
TIMOTHY WOULD NOT TEACH HIM THAT. HE KNOWS NOT TO EQUIP DONATELLO WITH DANGEROUS TOOLS UNLESS HE IS PREPARED TO DEAL WITH THE CONSEQUENCES.
279 notes
·
View notes
Text
ROTTMNT reanimated project clip!
I had so much fun helping on this! More coming soon ;)
Please have a look at all the lovely people working on this! They’re doing awesome!
Kindly comped by @pastawayallday
#drawing#animation#unpause rottmnt#save rottmnt#rottmnt#leo rottmnt#rise of the teenage mutant ninja turtles
544 notes
·
View notes
Text
WIP Game
Rules: In a new post, post the names of all the files in your wip folder regardless of how nondescriptive or ridiculous. Let people send you an ask with the title that most intrigues them and then post a little snippet and tell us about it!
---
tysm for the tag @birdmenmanga <3 i'm going to cheat a little and post only WIPs from projects i'm actively seeking to finish, since my actual WIP repository spans years:
OPERA OF THE URCHIN
UNIVERSE ON FIRE
RUN
HOMECOMING DENIED
SPIRITUAL INSTINCT
VIDEO NIGHT
MUTTER
*sorry for all caps LOL this is how i label my folders and sub-folders
(tentative titles) ((if gallery sites like FA and dA didn't force me to think of titles i'm not sure i would ever name anything))
Tagging @derangedhyena @livmadart @destructix @pastawayallday @marshmallowgoop! And of course anyone else who wants to play!
5 notes
·
View notes
Text
Rules: In a new post, post the names of all the files in your wip folder regardless of how nondescriptive or ridiculous. Let people send you an ask with the title that most intrigues them and then post a little snippet and tell us about it!
.
MY FOLDER!!!
- blind spots
- confess or else
- ICU
- you've got several matches, surprisingly
- the last chapter for real this time
- the twin track
- picture puzzles
.
thanks @pastawayallday for the tag! 😚 paying it forward by tagging @kuroko99 @blenderfullasarcasm
3 notes
·
View notes
Text
Wip game
Rules: In a new post, post the names of all the files in your wip folder regardless of how nondescriptive or ridiculous. Let people send you an ask with the title that most intrigues them and then post a little snippet and tell us about it!
Tagged by: @pastawayallday
Tagging: Anyone who wants to do it!
Amnesiac Shinichi
AUs
Hakuba Van Helsing
Heiji's Stray Cousin
KH amnesia au
KH week
Nanami the Familiar
The Thing with Kid
Unlife Editing
Unlife Info Sheet
#ummm not all of these are actually WIPs really...#some of them are abandoned notes fjkshdflksahfk#tag game#ask game
2 notes
·
View notes
Text
We just got submerged by art in every form, and you’re complaining.
--pastawayallday, haiku-ified by the-haiku-bot
#quotes#words to remember#pastawayallday#haikubot#I just had to save it to come back to like#I need to remember this forever and ever
0 notes
Text
@pastawayallday @jeannettegray
anyway in case you don’t know it yet

42K notes
·
View notes
Text
There were so many FANTASTIC responses to this subject!
So, I just had to compile them.
Here are further examples of the pure raw MUSCLE POWER of these boys.
(Plus I gave credit to all those that contributed 💜)
○○○○
All of the turtlemen are RIPPED.

(Credits: @fjtrickster-blog @nesting-dreams)
RAPHAEL
He carries this speaker all by himself.

(Credit: Anonymous)
LEONARDO
The Snow Day Stacked Carry.

(Credit: @ilk-insolence)
Leo's strong mouth.


(Credit: @getindumdums)
Leo causally lifting extremely heavy concrete with his bare hands.

And kicking in the concrete, as well.

(Credits: @turtleinsoup @tmnt-soup @krisanthimum)
How he just kicks all three of his brothers into a mysterious hole...

(Credit: @jenn28-vw)
The way he just eats this punch.

Also, how devastatingly hard he hits this man with a pie is criminal.

(Credit: @partyfowl17)
MICHELANGELO
He carries Raph and Leo in the comics.
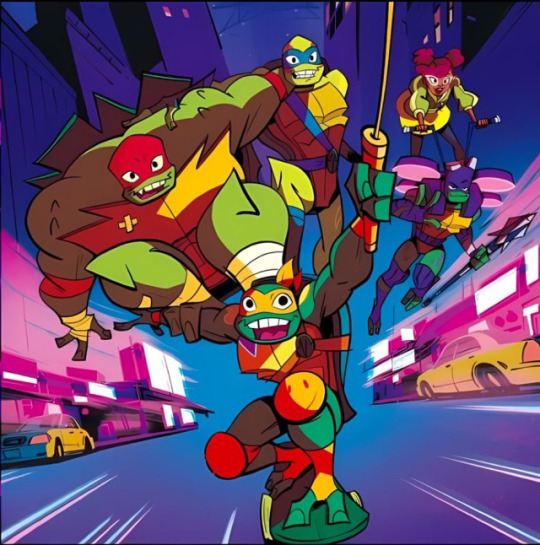
(Credits: @musicalcorn @animatedjunkfood @getindumdums)
Also, I discovered that Mikey flings Raph with his kusari-fundō BEFORE he unlocked its "magic."

DONATELLO
Donatello actually trains and goes on the most missions (second to Raph).

(Credit: @getindumdums)
The one armed dumbbell weight throw.

(Credits: @pastawayallday @getindumdums @desceros)
Donatello spinning/wielding his titanium bow (mostly with his fingers) like it's no problem.

(Credits: @deadhearthotline, and Anonymous)
Donnie swings around his bow as a Warhammer. (Yes it's also rocket powered, but still.)

(Credit: @dandylovesturtles)
Donnie totally bends this hoe.

(Credit: Anonymous)
Donnie throws Leo as well!

(Credit: @mudlarkspur @anotherdragonsfan)
Honorable Mention:
Although he is using Ninpo, throwing a cargo ship and a whole building is no easy feat for the Mikester.


(Credits: @cynfandoom @twin-disaster-tutel-brainrot @skillzissuez @hyperfixation-tangentopia)
○○○○
Thanks to everyone that contributed, liked, reblogged, commented, sent asks, etc. etc. etc.
You guys are the best! (I love this fandom 😌) 💜💜💜
Strength
Rise Ramblings #565
While watching the show, I realized that we don’t really get to see the boys’ true strength very often. Yes, we see their Ninpo at work, especially towards the end of the series, but I believe that outside of their Ninpo there is so much more to these boys than meets the eye.
When thinking about raw strength, it’s easy to say something like “Yeah, Raph is the strongest.” And for good reason...
He is the one that works out the most.
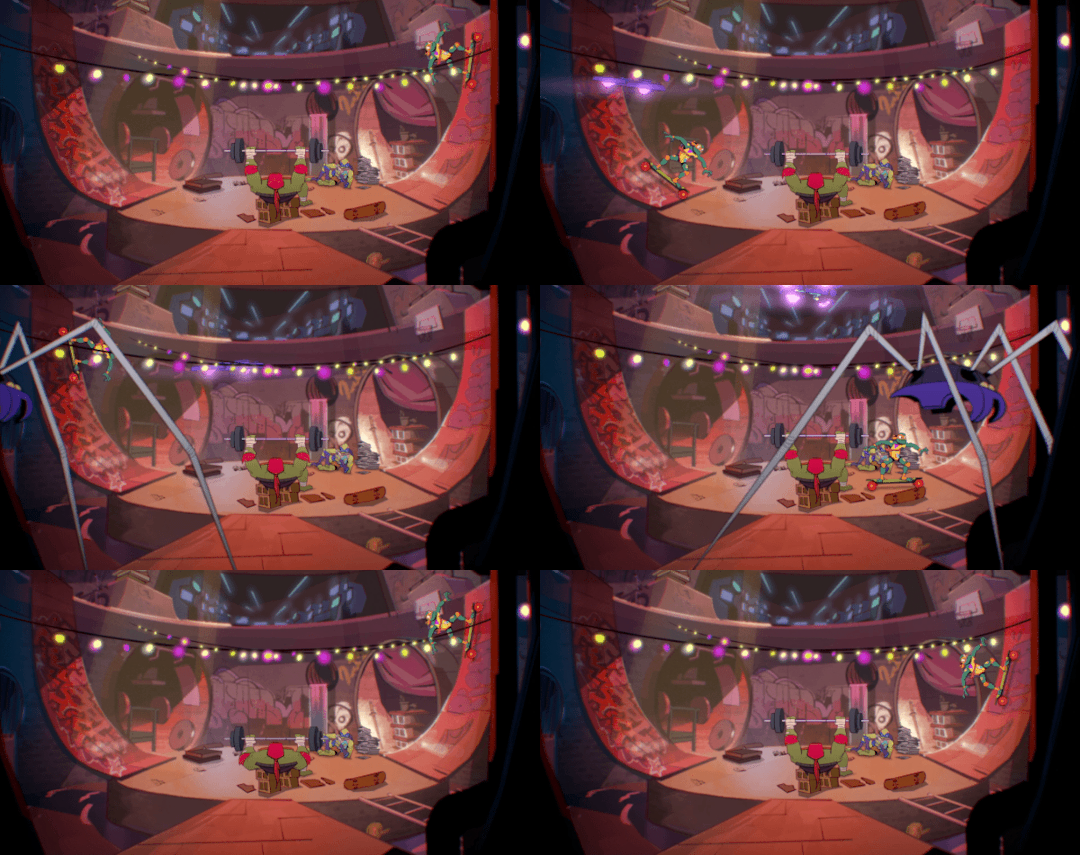
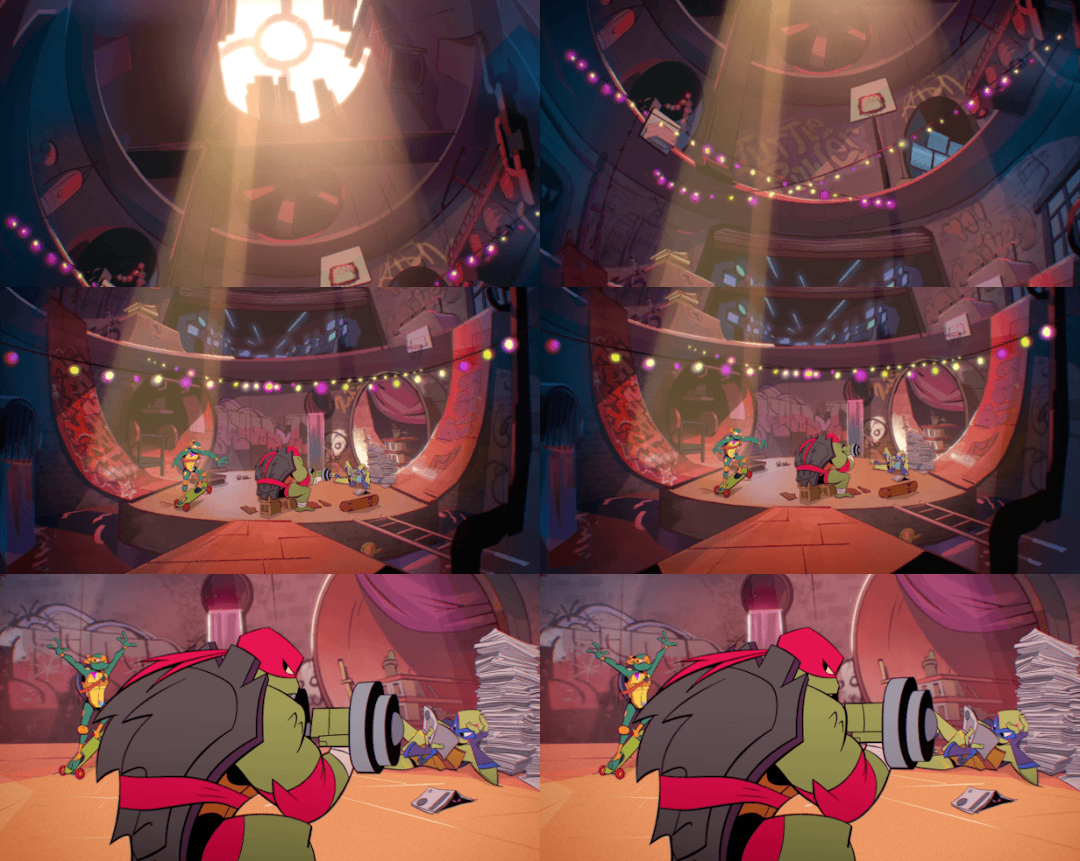
His build is the largest and the most intimidating.

Often times we see him picking up, carrying, or tossing his brothers around, no problem.


And that’s why this big guy gives the best hugs.


But the main reason why he's seen as the strongest is because he’s the one generally seen picking up the most impossibly heavy objects.
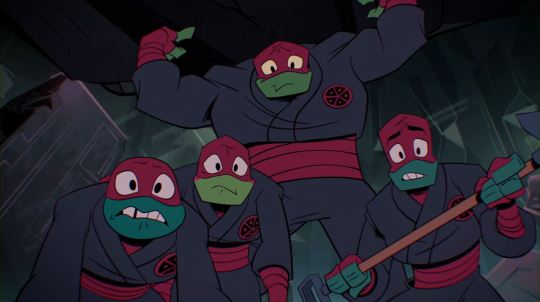
Although, he does have his limits.

Yes, Raph is the strongest, but that does not negate the strength of the rest of the bros.
The physical abilities of the other three are nothing to sneeze at, especially since they were all originally created to be weapons. (See “What Was Meant To Be” for more on that subject.)
Take Mikey for instance.
Of all of the boys, you wouldn’t think of Mikey as particularly strong, but here he is shoulder pressing one of his brothers for fun.

And flinging the boy in plum.

What about Leo? Sure, we never really see him exert himself, especially when it comes to weightlifting or exercise, but I can’t help but notice how much he tends to carry his little brother.
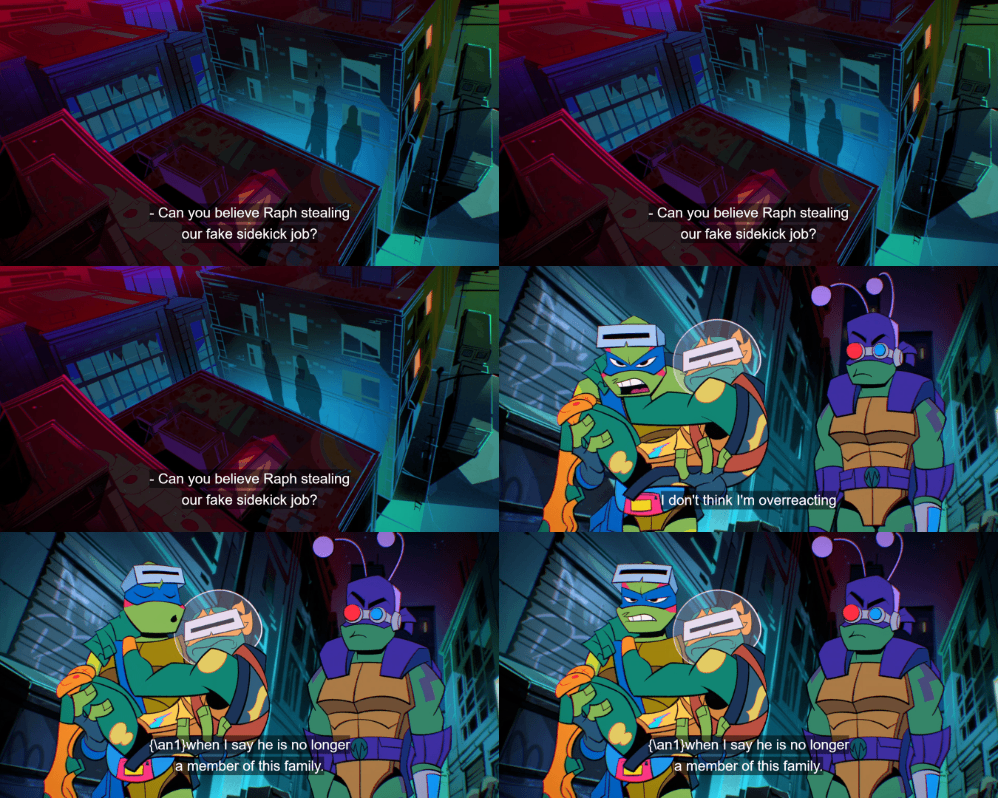
Furthermore, Leo doesn't just carry Mikey, but throws him around as well.

But I believe the one that low key shows off his strength the most is Purple.
(It might have something to do with his overall lack of restraint, but I digress.)
He easily carries his brother when he needs to.

And more impressively, he throws Mikey like nobody’s business using his bow staff and his own brawn.

Speaking of his staff, if this is true:

Then what do we make of this instance?
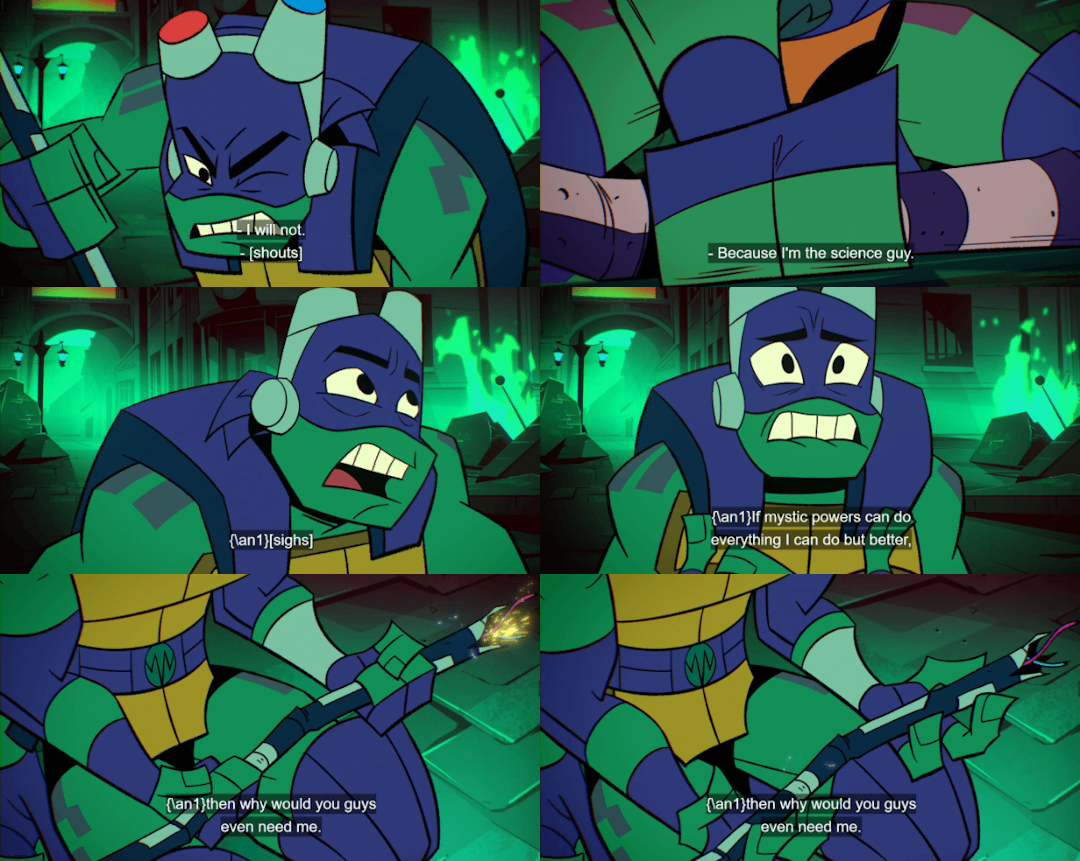
Yes, the staff was already semi-broken, but does he go on to completely demolish the titanium staff in frustration with his bare hands? (Kudos to @theaphaeon for pointing this out!)
You be the judge.
Nonetheless, for me, what really proves Donatello’s strength are these scenes:
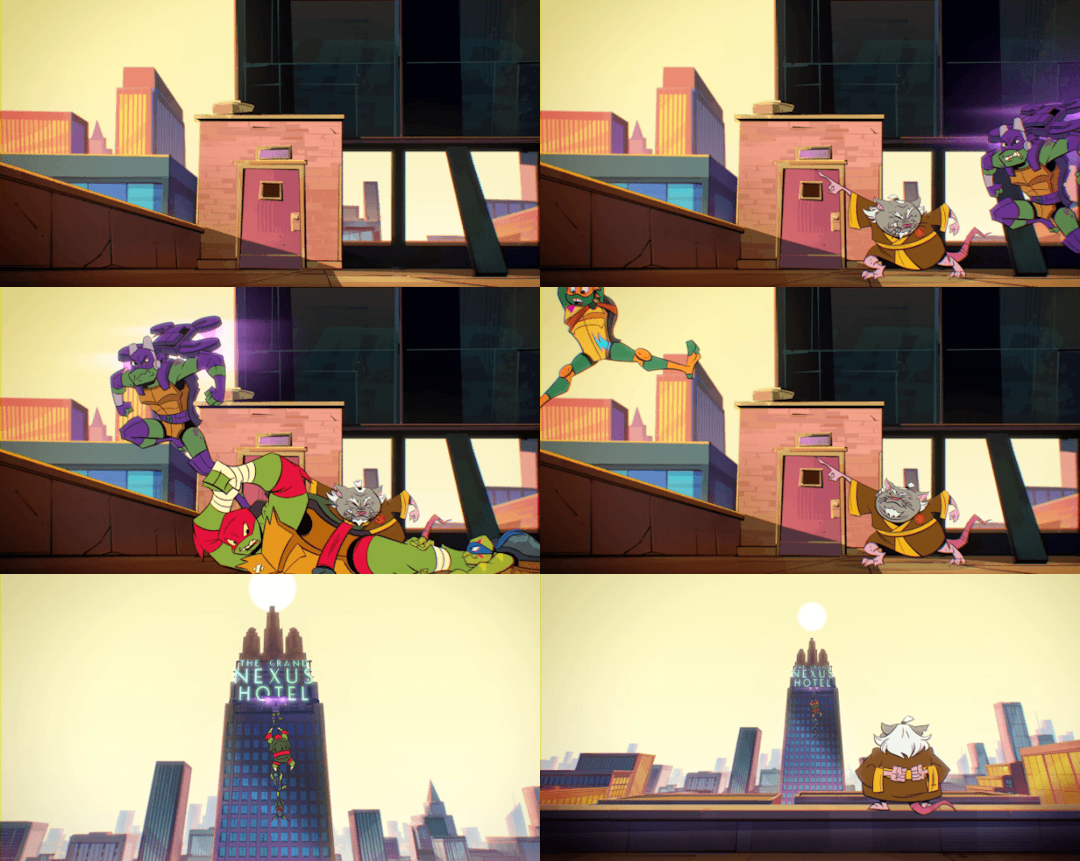
Donnie doesn’t just carry out this feat once, but twice!

Not only does Donnie hold up the combined weight of ALL of his brothers, but he does it via one leg. For a normal person, if all of that weight was put on one leg they would be severely injured. But for Donnie, this is just a silly mode of travel with his beloved bros. Meanwhile, his jet pack is struggling under the combined weight of all four turtles...
All-in-all, I just wanted to really highlight the turtles' physical strength and remind myself that strength is not just a Raphie thing, but something that stems across all of the turtle teens.
Do you guys have any more examples of the boys being the powerful weapons they were created to be without using their Hamato Ninpo?
All comments and reblogs are welcome! 💜
#starkiss ramblings#rise analysis#rottmnt analysis#character analysis#Mad Dogs Ramblings#rise leonardo#rise leo#rise raph#rise raphael#rise mikey#rise michelangelo#rise donnie#rise donatello#donatello#michelangelo#leonardo#raphael#rottmnt leonardo#rottmnt raphael#leonardo hamato#raphael hamato#michelangelo hamato#donatello hamato#rottmnt#tmnt#teenage mutant ninja turtles#rise of the teenage mutant ninja turtles#rise of the tmnt#tmnt2018#tmnt 2k18
2K notes
·
View notes
Text
@pastawayallday
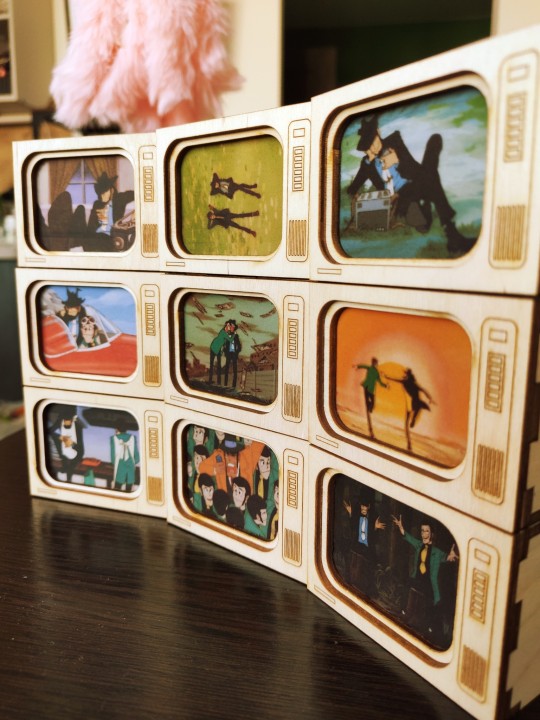
More Lupin the Third in my life! 🥰🥰😁
88 notes
·
View notes
Text
@pastawayallday
my thoughts on how to do Basically Kinda cel animation but cheap as fuck. strap in this is a long post and there are many swears PART 1
Really long intro
ok so I was animating my thing the other month right, and I was going to infodump on how I do cel animation without the right training from the comfort of my chaotic mess of an office. But I got into it and I was like "my god, I'm going to have surgery in a few months and my gofundme has accumulated dust, I can't be buying fucking $1/each cels and more paint". that got me thinking like....MOST people are probably like "wow I'm broke as shit I can't do this" even if they want to, but I think you can, so I took a couple weekends to hurl myself face first into seeing if I could do this - the version for if you're broke as fuck or don't want to spend money.
Obviously if you want something good quality AND you don't want to make this a struggle, splurge on good supplies like real cels and paint if you have the money. But if you don't or you just want to fuck around, this info dump is for you.
Disclaimer: I'm not a professional (if you can't already tell lol 👀👀👀) and I have no idea if this is what cal arts would approve of or whatever the shit but to be brutally honest, I also don't give a fuck, they're too busy fulfilling their role as the gatekeepers of the human-expression-to-corporate-tax-write-off pipeline to watch your heartfelt if low res artistic expression so come join me in this pit and let's just do whatever the fuck we want with whatever we got.
My goal is to give you ideas so you too can do the fucking thing. It's not gonna be Snow White. It's not gonna even be Steamboat Willie. That's fine. The point is to do the thing anyway and make some shit you wouldn't have tried otherwise. (And share it with me here on the internet bc I'm bored and depressed. If you feel like it) because sure you can go and pull up your 2d animation software and rig some shit up and blow anything I can do by hand out of the water in about 3 min flat but THATS NOT THE POINT IS IT THE POINT IS THAT YOU TOO WANT TO EXPERIENCE ART AS SUFFERING AND MAYBE ALSO UNDERSTAND THAT SOFTWARE DOESNT MAKE ART FORMS OBSOLETE.
Anyway let me just stow this soap box under the counter real quick.
There.
K So I'm gonna go through how I tackled this challenge - cheap ass cel animation - starting with prep, then the drawing steps, then getting the shit into some form where you can put all the frames together.
Prerequisite suggestion
This ramble assumes that you at least vaguely understand how drawing works and understand the basic idea of how animation works. How to animate overall - like the principals of animation- is a wee bit outside the scope of this post, in no small part because I know there are a BILLION people out there who understand those principles and execute them better than I do. I think I followed some of Aaron Blaise's videos to learn, but there are also other tutorials on YouTube. I also just learned from watching pencil tests and filming references of my long suffering friend in which i gave her instructions like "ok NOW put your hands on your hips dramatically in the direction of that rock". But yeah like I said the principals of animation themselves are better off taught by someone who isn't me (and I'm honestly still practicing).
Alright that's enough intro. Let's start with setup
FINALLY THE INGREDIENTS LIST
Most of the stuff in this ?tutorial? is really probably honestly laying around your house right now, especially if you live with any 50+ people who have ever had an office job. But I will talk about costs anyway in case you're starting from scratch. I found pretty much all of the stuff at Dollar Tree, and yeah, it's not an ideal place to go, but also this is a tutorial for if you're broke. And also unlike things that you have to repeatedly buy that cost you more per unit in the long run, most things you are using here are one time necessities, so you really are saving money. ....Now I'm in the US. If you're not in the US, I think there are also similar stores in other places....It'll be similar to something like if there's a shop that sells stuff for 1-2 euro or whatever. Things at dollar tree range from about 1-5 bucks, but I managed this with the $1.25 items (some were actually less than that but I lost track of my receipt).
You will need the following shit for part 1 of this vaguely educational series:
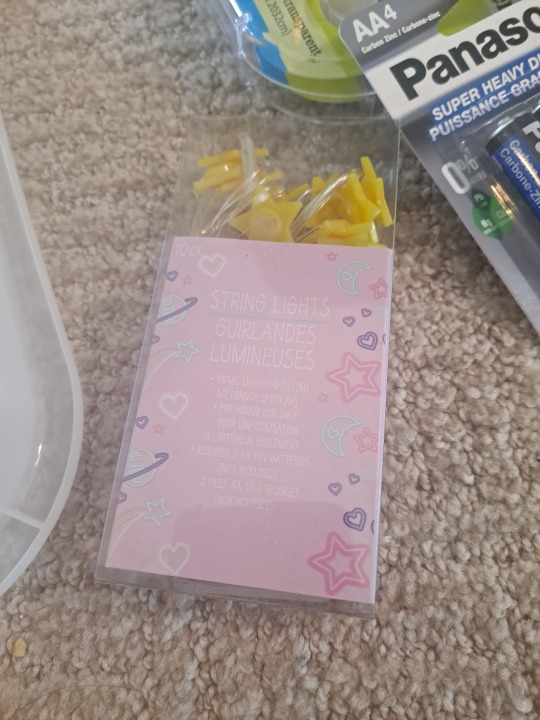
The smallest cheapest strand of fairy lights you can get. Mine were battery powered, doesn't really matter either way. If you can get white ones get white ones. (I could Not find white ones :/)*
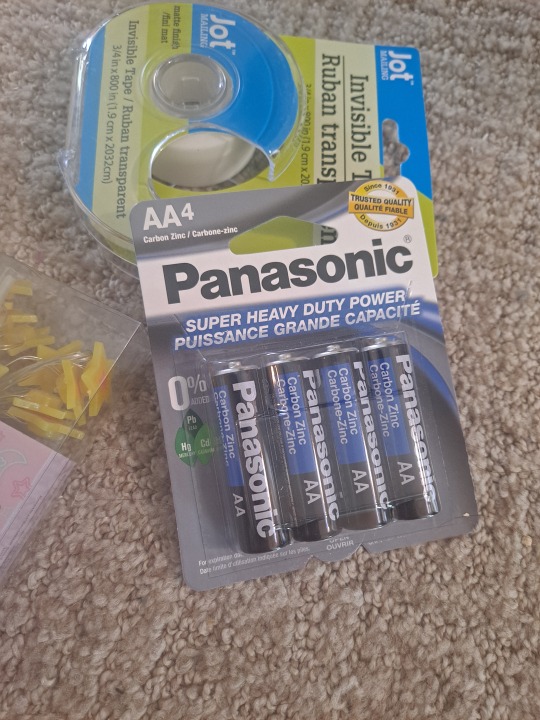
Batteries if they need batteries *
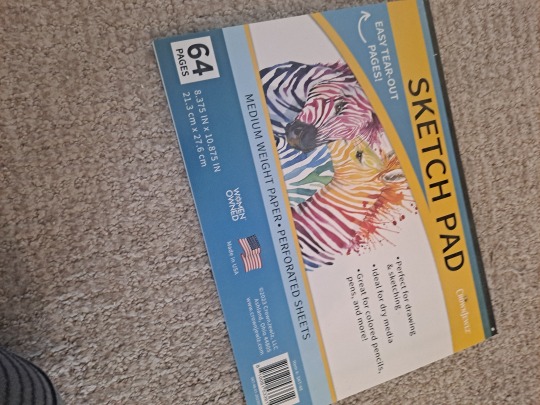
An 8.5x11 drawing pad (at the dollar store I got the 64 pg one)
A translucent container with a flat bottom. I got a little 8x12 storage basket for this. You probably can't get anything big at the dollar store but try to get something with a bottom as close to the drawing pad size as possible (it's ok if it's a little smaller) *
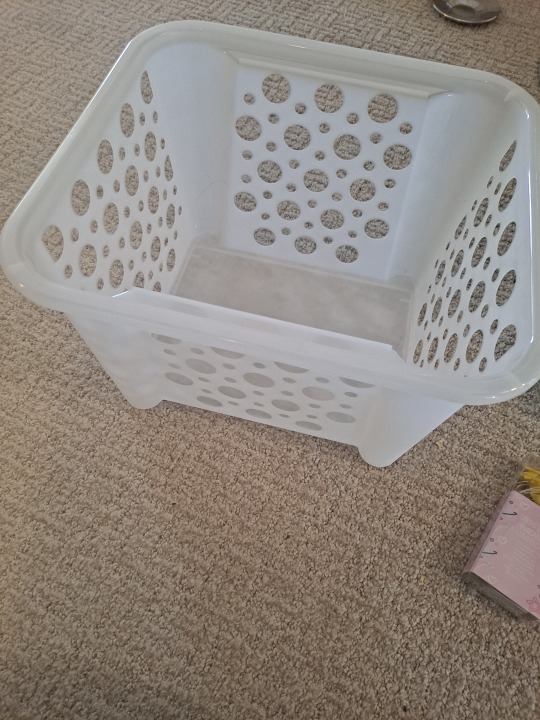
Scissors (or a knife/craft knife you don't mind destroying. You may want safety goggles if you don't have them. These also exist in dollar tree)**
Clear tape**
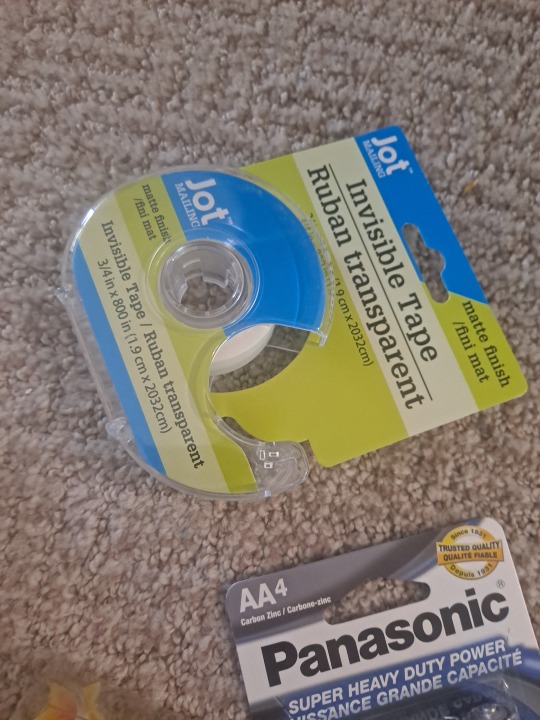
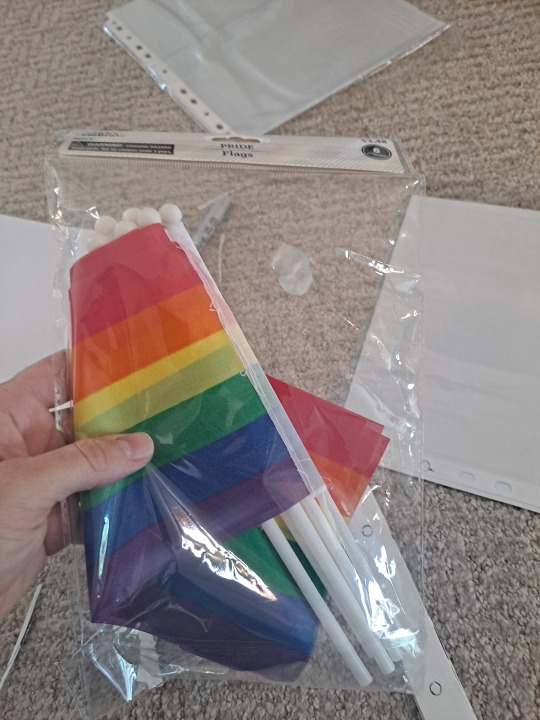
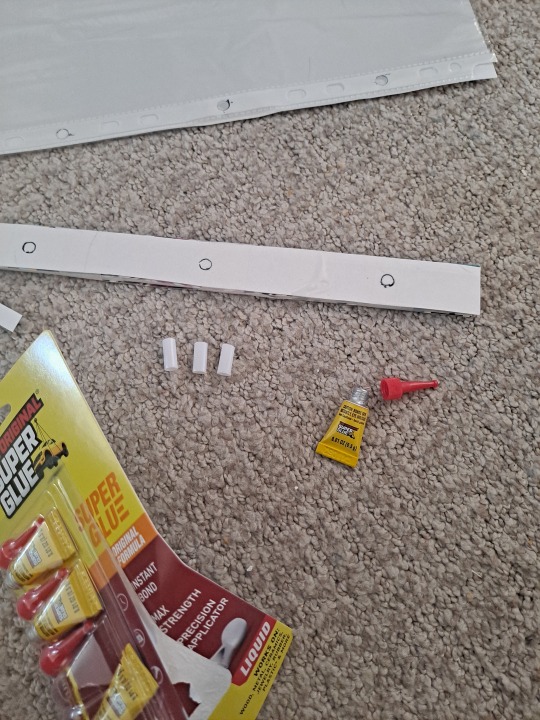
Something small and tube like. Maybe plastic straws. I actually used flagpoles from those tiny flags, you know the ones (ok these in the picture are NOT from dollar tree and i will provide excuses later on in this document. You could also use straws i think)
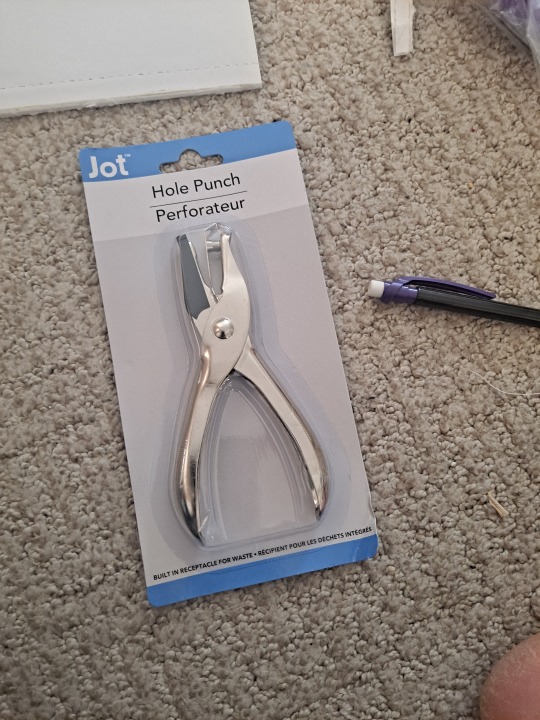
Hole punch
Super glue (or the strongest adhesive you can otherwise get if this isn't available to you)**
pencils (I don't know why I didn't take a picture of them but you're on the gay art website I feel like you've probably seen a pencil in your life)
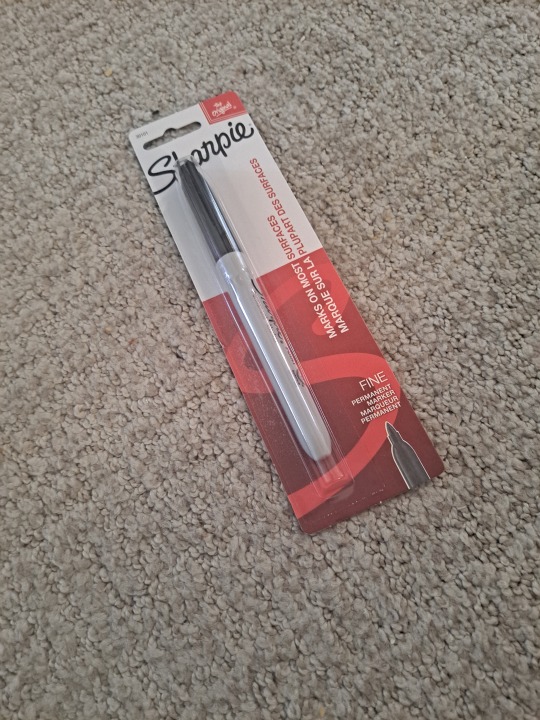
sharpie (you'll use it more later but you might as well get it now)
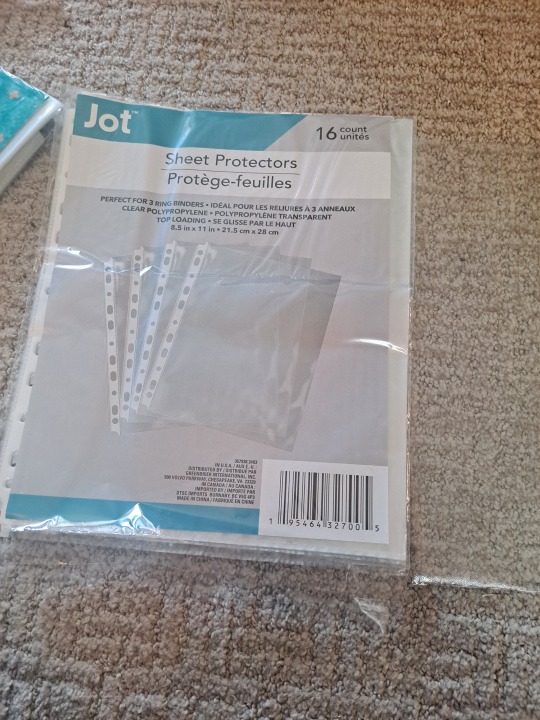
A pack of sheet protectors (you may or may not need more depending on how many frames you're doing but for now one will do but for this first part you only need one)
* this is part of an optional component but you WANT TO HAVE IT TRUST ME
**if you are REALLY not in the mood to buy these things and you don't need the tape/scissors for the above optional item, you can technically just go to FedEx and like make a cheap b/w self serve photocopy of something to avoid the employees yelling at you and then quickly go use their choppy thing and the tape and scissors they have laying around in the self serve area. They may have a hole punch too idk
And now FOR THE MAKING PART
First thing to make: substitute peg bar
Some things I'm doing here are optional, but the one that really isn't is the peg bar. That's the thing that keeps all your stuff lined up. Without this your frames are going to be moving all over the place and movements won't register the right way. It's got (if you couldn't guess) pegs on it. And these match up with the holes in your paper or cels.
This is a real peg bar
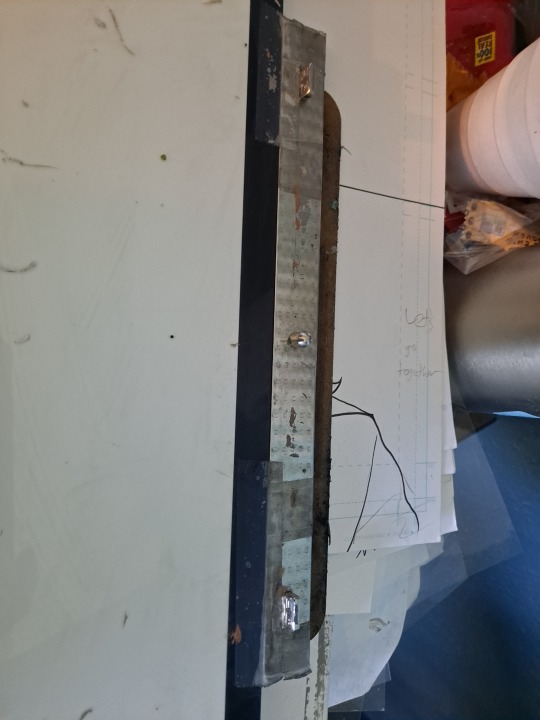
I think this is like 16-20 bucks if you buy it on Amazon, maybe a smidge cheaper if you go through someone else (I will discuss traditional animation supplies for when you're NOT broke as shit in another post). The problem is that this is for acme punched paper (notice how two of the holes are long). Yes it helps things register better, but we're going to be punching our own paper and a 700 dollar acme punch is NOT in our budget today.
There is a version of a peg bar you can get that fits normal hole punch holes. But this isn't the buy things the easy way tutorial, this is the broke as fuck tutorial. So we're going to be making this shit.
Steps to make the thing (I'm sorry about this list not being numbered apparently even when you fuck with the html directly you can't put images in a numbered list on this webbed site):
Ok first we need some cardboard or cardstock. Something sturdier than regular paper. OH GUESS WHAT WE HAVE THAT. If you don't have other stuff to use laying around, take all the backing cardstock off the drawing pad. Be careful to keep as much of the adhesive stuff left on the actual paper as possible.
We're going to cut that into strips. Keep them as straight as possible. They should be like 1/2-3/4 in wide.
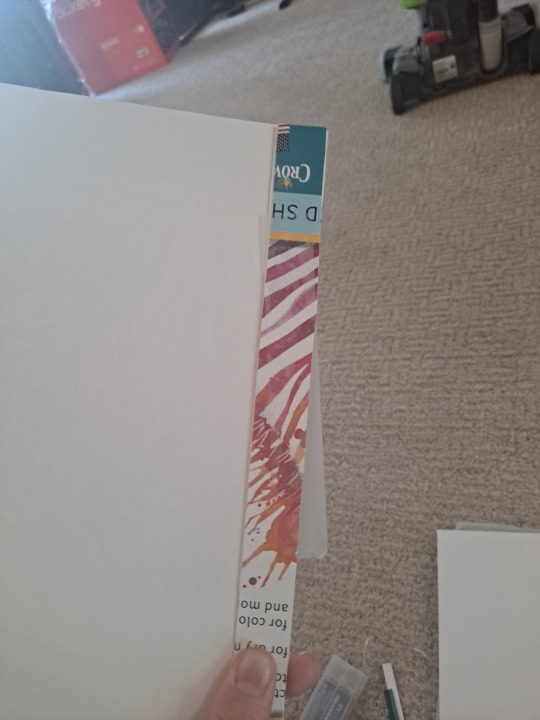
(You may want to skip ahead in the steps a bit to see how we're using this so when we use tape in this step you can avoid putting it where the pegs go. You don't have to but things will stick better) Stack them and tape them together as tightly as possible. This will be the bar part of the bar.
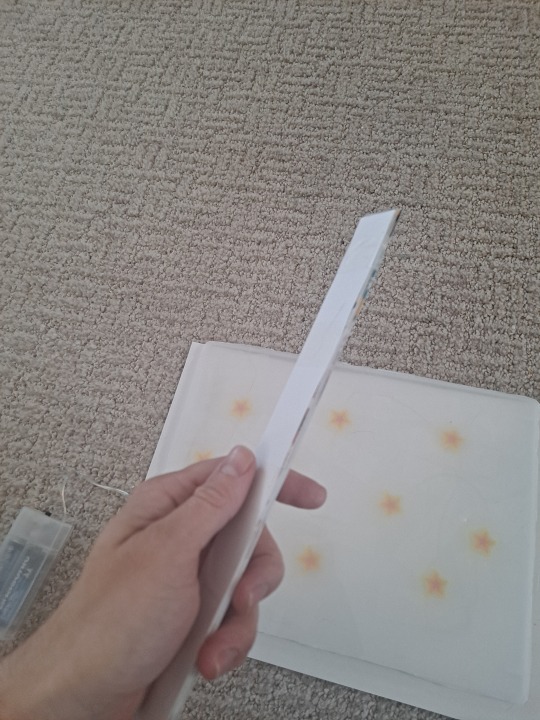
Take one of your page protectors and place it on the bar and try to center the middle hole on the bar. Trace that hole onto the bar and pick two others to trace (pick circle ones that fit entirely onto the bar).
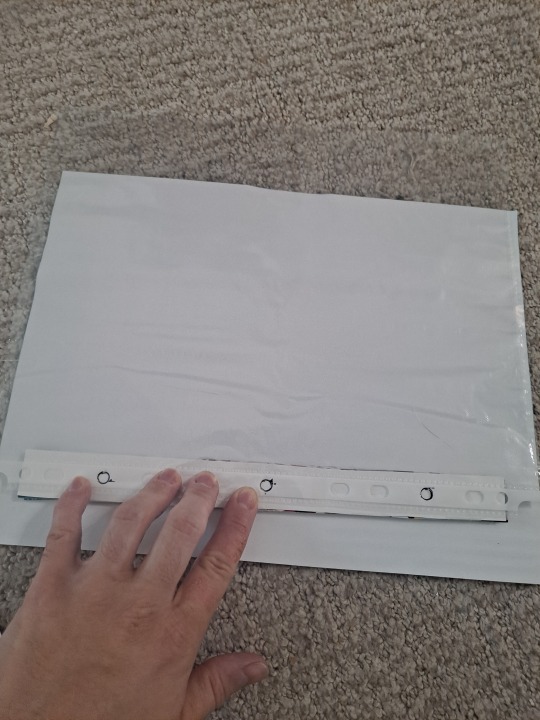
Now we make the pegs. You will use the flags for this (or straws, see flags and note in the Ingredients TM list) So I actually had these pride flags from Walmart (please remember we are trying to stay dirt fucking cheap here, I promise I don't usually go to Walmart at all.) Bc my dollar tree doesn't have them yet, HOWEVER I KNOW THEY WILL BECAUSE IVE GOTTEN THEM BEFORE so technically by the time I finish writing this you will be able to get them there most likely. Now the great thing about cheap flags is they're cheap. That means they use shitty hollow plastic tubes as poles. That's great for us because we are going to snip off the ends and use them as pegs. You want to measure up a 1/2 inch from the bottom and cut them. Do this on 3 SEPARATE flags, because you want at least one perfectly flat end for each (that's likely the factory end, so keep track of which end that is). You can also use plastic straws for this probably, or paper sticks for thick lolly pops. The idea is whatever you use needs to fit the page protector holes.
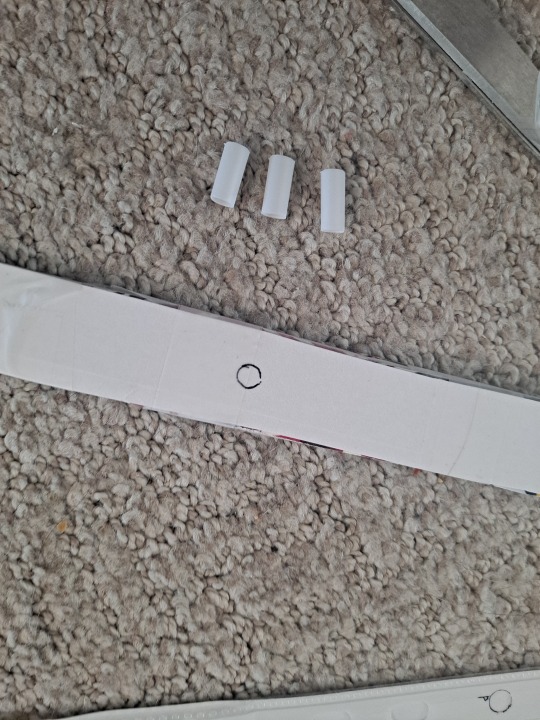
Take your super glue or other adhesive and put a little on the "pegs" and attach them (factory side down) to the bar where you marked the holes in step 4. (note that the pic shows that I taped both this and the thing you're making next to the leftover cardstock to keep it all together, which is an option but you don't have to if you like to suffer)
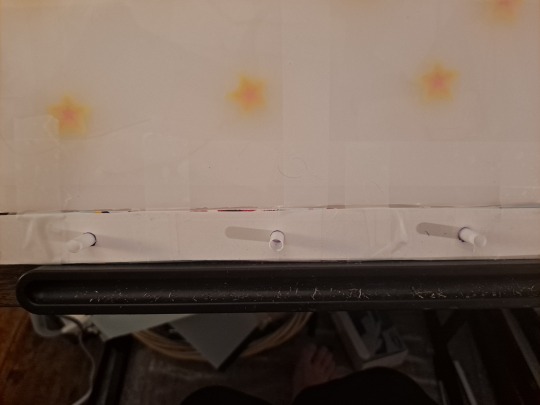
Let this dry while we work on the next part.
Second thing to make: "light box" (I use this term COMICALLY loosely. Optional but you will have an easier life if you have one)
This is the LED Light pad I use for animating. If you can afford like 30 bucks, just splurge and get one. It helps you cheat and see your previous pencil drawings under the current one so you can better draw the current frame. (And before you ask yes I know it looks like I dug it out of apocalypse aftermath rubble I will not be taking criticism at this time,,,,)
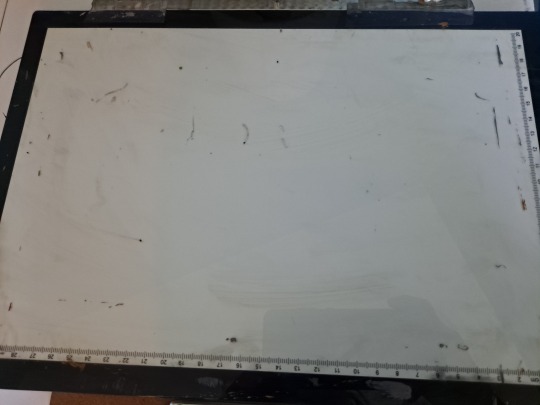
If you can't afford that, we're going to MacGyver together a little apparatus that works basically the same way. The "we have LED light box at home" if you will.
(I mean you can also just tape a peg bar to a window and go at it which is free but your arms are going to hurt drawing like that. You can also just get really good at page flipping while drawing. I am NOT good at that )
Steps to make the thing:
Remember how I made you get a plastic container with as flat of a bottom as possible? (It can be flat on the inside or outside bottom doesn't matter) We're going to mutilate that. Put on your safety glasses if you have them and you're scissor-cutting something that tends to crack rather than bend because the occasional plastic shard will fly off. Cut the sides off the container. It's probably easier with a knife but I was all about suffering. Try to get as much of the sides off as possible. It's ok to leave some of them if that's the side you'll have facing down. (For me my container had an annoying hard to cut rim on the bottom so I just decided to cut the sides off entirely and have that side down).
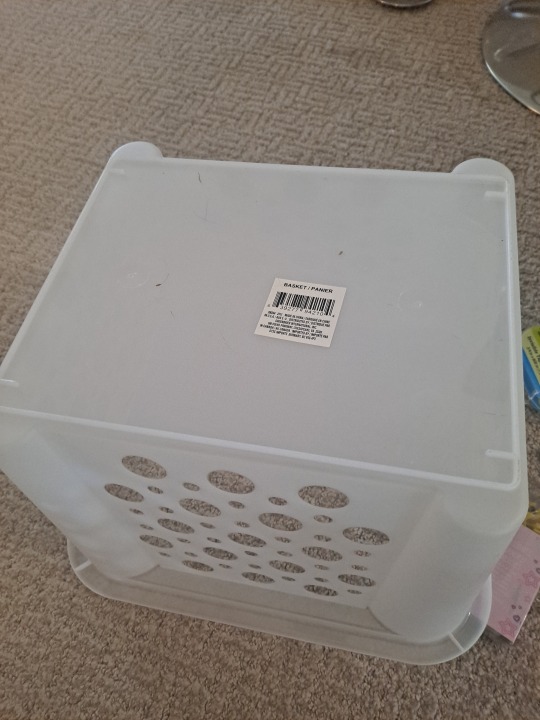
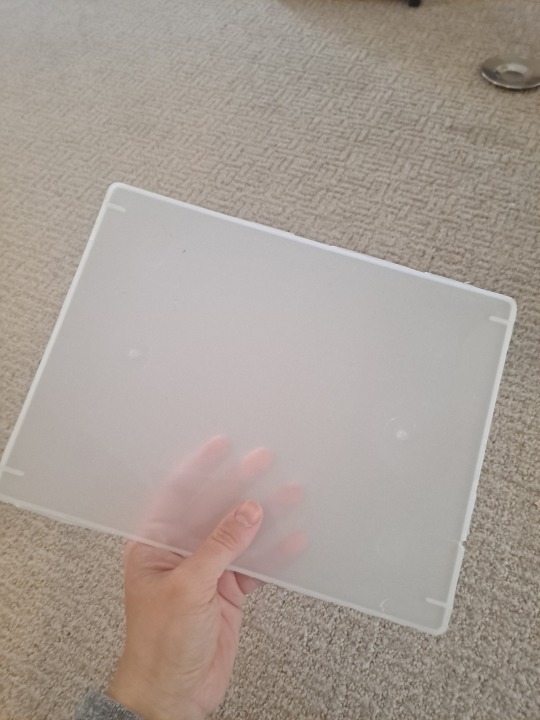
Take your fairy lights out and unwind them. If you have battery powered ones... Pry the cheap little battery compartment open (you can see there's a screw driver there so use one if you have it but this plastic is so cheap you'll probably be able to just bend the cover and pry it open and rotate it out of the way tbh) and stick the batteries in. We do this first to make sure the lights work before we waste time using them.
Cut a little notch in the side of your plastic piece where the wires can go.
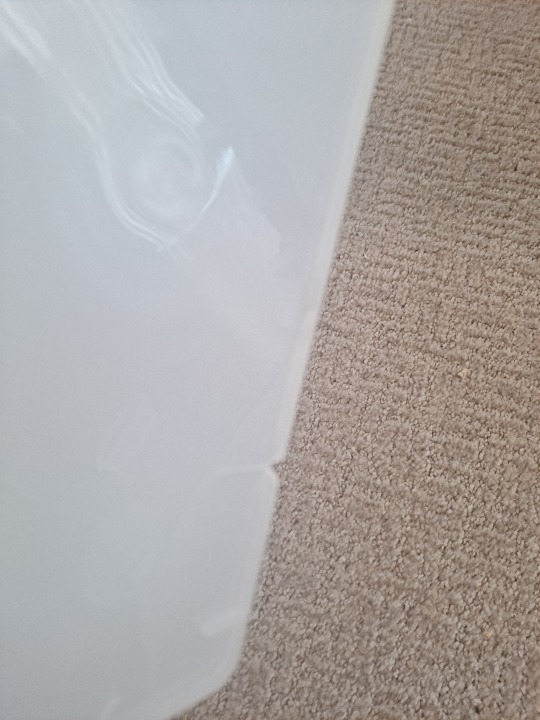
Flip your plastic piece so that the side facing you is the side you want facing down the rest of the time when you're actually drawing on this thing.
Feed the wire from the battery box (or coming off the plug if no battery box) through the little notch , with the battery box OUTSIDE the plastic area, and tape the wire in place.
Now arrange the strand so you have as even as possible a distribution of lights all over the plastic, and tape the wires down to hold the arrangement in place.
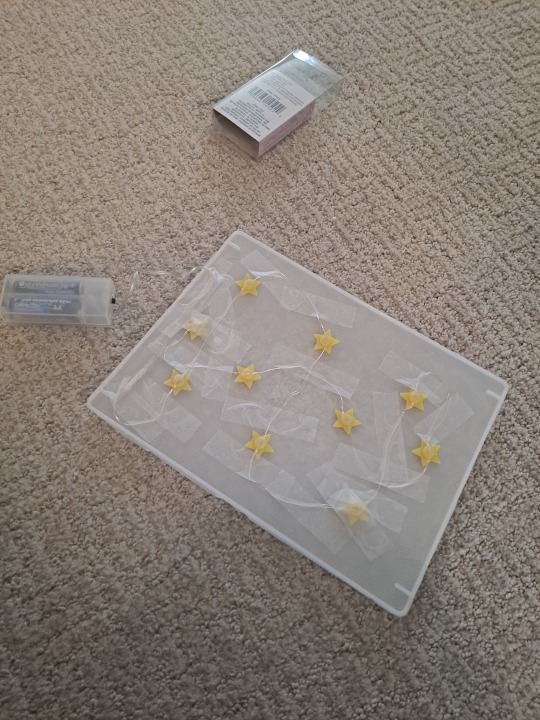
Flip it back over and switch it on. Voila shitty light box. Now you can't put a lot of PRESSURE on this but it'll do the job. You can see like 1-2 previous images through it too believe it or not. And this is with these horrible yellow lights I found, if you have brighter ones it should be more effective. (Now switch it off so you don't eat battery life)
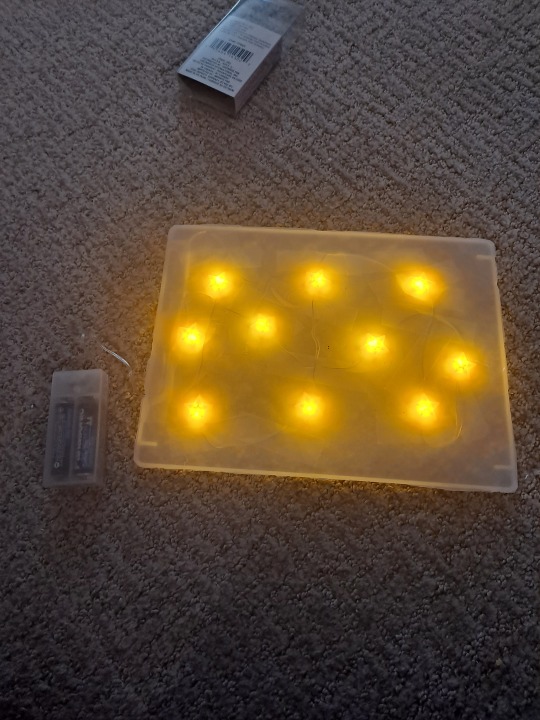
Now let's get the paper ready
Now that the first part of your setup is done you need shit to do your pencil tests/preliminary animation on. (The thing you'll eventually trace onto the cel)
Take the paper you removed the backing from. We're going to mark and punch it. We'll be punching from the ADHESIVE/PERFORATED SIDE. This is important because it will help keep the pages and therefore holes aligned when we take the hole punch after it.
Here's how you go about it for the best result in my humble opinion:
If you made your peg bar as above, you've already removed the cardstock cover of your cheap drawing pad so go to step 2. If you haven't, then remove the cardstock cover/backing from your pad now. Try to keep the adhesive intact as much as you possibly can (basically you want to keep the pages from slipping when you eventually punch them so they need to stay in a neat little stack. If you're having trouble or you're having to use a different type of paper such as ink jet paper, you can probably also achieve this with binder clips in a pinch- is that what they're called? the black things? look like 90s butterfly hair things if you squint? Just make sure the paper is stacked evenly and the stack is held firmly together. )
Still trying to keep the adhesive holding the stack together as much as possible, carefully separate the paper into 2 or 3 smaller stacks. (ignore the hole markings in this picture I took it after I realized I needed to demonstrate this step)
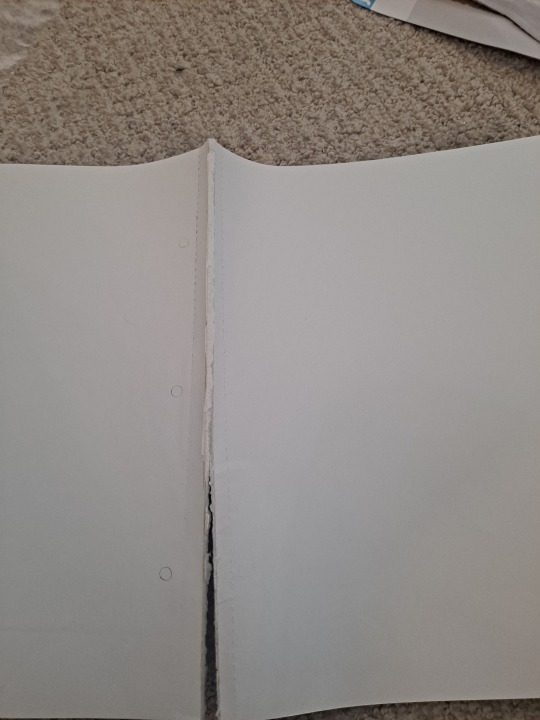
Take one stack and put one of the sheet protectors over it, lining the side with the holes up so that that edge is along the perforation in the drawing paper (if you're using a different type of paper than the dollar store pad, line the edge of the sheet protector up with the edge of the paper, but move it about 1/8th to 1/4th inch away from the edge. basically you don't want the holes right on the edge of the paper). Trace the holes onto the paper with a pen or pencil. (Note: if you're using a manufactured peg bar, use that to determine the hole placement instead of a sheet protector - it'll be easier to modify the holes in sheet protectors if necessary later).
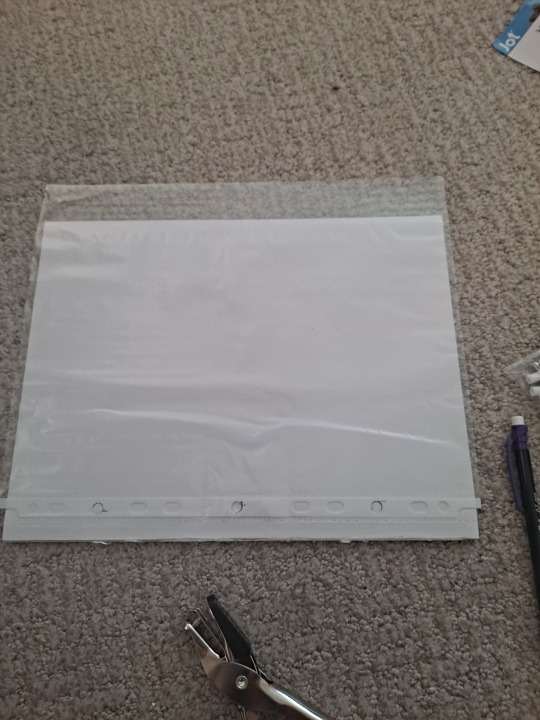
Carefully, keeping the stack of paper all lined up and together, punch each of your three holes with the hole punch. (The reason you made stacks is that do you really want to do this with each individual page? I didn't think so)
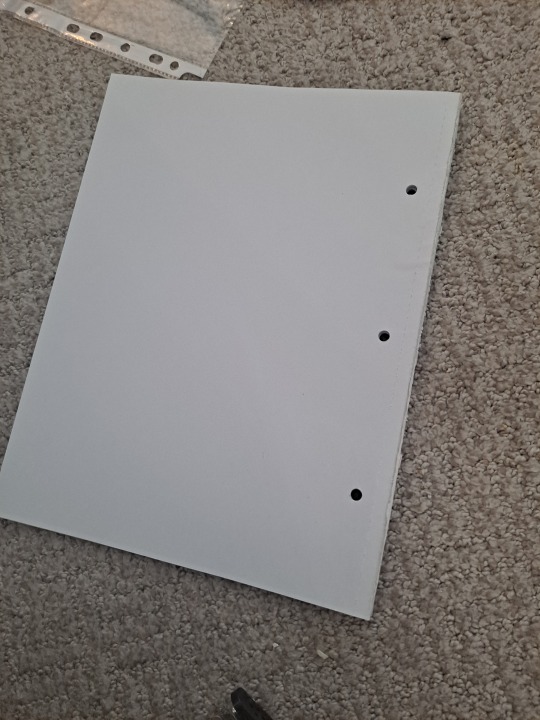
Ok Let's Try It Out!!
Alright here's a shot of me using this to draw some frames from my animation about some creepy deer (coming soon to a feature envy productions official tumblr near you). You take some paper and carefully place it on the pegs, sketch a key frame, and then place another sheet over that on the pegs, switch on the "light box" and sketch the next key frame, referencing the first one. (Oh and of course make sure you're drawing on the smooth side - not the side you taped the lights to). Like I said, this is definitely like. If you have no other options you might as well try it - You generally can see through about 3 sheets of paper in a dark room. At least the key areas. So you should be able to in between with this setup as well. Not great but hey! If you're on a strict budget, you can still do this, and it beats buying a bunch of expensive shit on Amazon. I'm pretty confident that most people have almost all of these items laying around their house like I said, but let's break it down - If you're like me and you animate at 24 fps but on 3s, that's an average of 8 frames per second. So for each pad of dollar store paper, you're getting about 8 seconds of animation (maybe more, maybe less). You can factor that in when deciding how many drawing pads to purchase (keep in mind if your backgrounds are very simple, you may be able to use the additional cardstock for this purpose as well instead of using up sheets of paper).
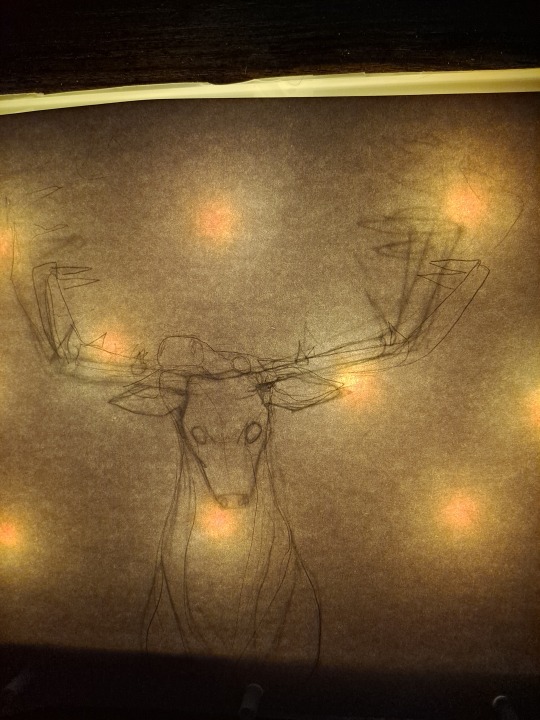
Stay tuned because we're not done yet!
Part 2 will be Inking and painting. (Note: on the day I'm writing this I have a placeholder post there, but if it's still a placeholder when you look, please keep checking, I will add the second part, I just didn't want someone to have to HUNT for it if you're looking at this from like a year from now) Yes ink and paint. You didn't think I was getting you all excited for a vine's worth of pencil tests were you? no we're doing the whole expensive process from pencils to final product. And I'm going to show you the cheapest way I could figure out.
24 notes
·
View notes
Text
@pastawayallday

drawing idea I had in my head. Need to outline and color later, wrist hurt lol
More Conan and Lupin III stuff
21 notes
·
View notes
Text
@pastawayallday
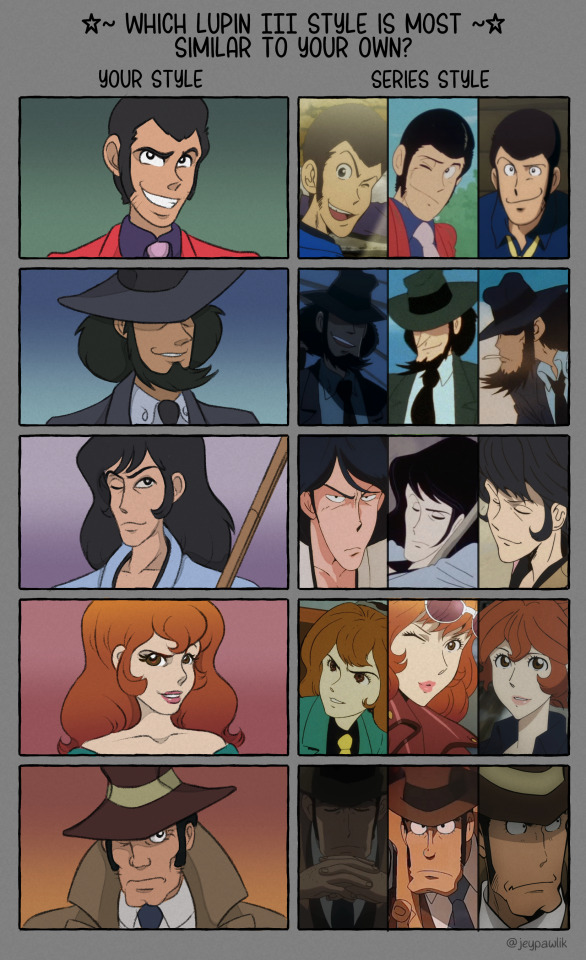
Filled out a style meme from Twitter's jeypawlik. While I usually try to mirror whatever style is needed for the picture I'm working on, this is closer to what I'd do if I was going free-range. Definitely have some favoritism for parts 2, 4, and 5, along with TV specials/pachislot games, but there's a few curveballs in there as well.
120 notes
·
View notes
Note
@pastawayallday
How about Lupin III?


Please read the rules + option meanings!
55 notes
·
View notes
Text
We just got submerged
by art in every form,
and you’re complaining.
Beep boop! I look for accidental haiku posts. Sometimes I mess up.

152K notes
·
View notes

