#just standard 3d model -> sketch and fix as i go -> blue filter over so i can line over it
Explore tagged Tumblr posts
Visit Tumblr Blog
Explore Tumblr blogs with no restrictions, modern design and the best experience.
Last Seen Tumblr Blogs


Fun Fact
Kazakhstan’s Minister of Communications and Informatics has blocked the Tumblr site because it contained 60 sites of terrorism, extremism, and pornography in 2015.
Text
Timelapse under the cut!
⚠️WARNING: Flashing lights⚠️ Timelapse | Real time: ~7h
youtube

🧡 For Azuki_Nyan on Toyhouse 🖤
#convincing my brain to let me be an art youtuber one unlisted timelapse at a time#some stuff were done off-camera#like the sketch (i forgor to record timelapse)#just standard 3d model -> sketch and fix as i go -> blue filter over so i can line over it#you can see it flash on screen sometimes as i reference colors and details lol#also the retro filters are auto-actions and had to be applied off-screen bc they require the drawing to be merged#and i wanted them to be less intense so i had to overlay them on the “finished” drawing#honestly i get why fake-retro screenshots became a thing#they're so much fun and look so nice#and are surprisingly easy on the eyes despite all of the chromatic aberration stuff#but ye mary out#Youtube
1 note
·
View note
Text
Final piece based on pitch
Developing my favourite idea
The idea that I have chosen to follow through with is the third idea as I think it’s not that similar to other projects I have done, unlike the other two ideas where I have used most of the techniques before and wouldn’t be learning a lot of new things.
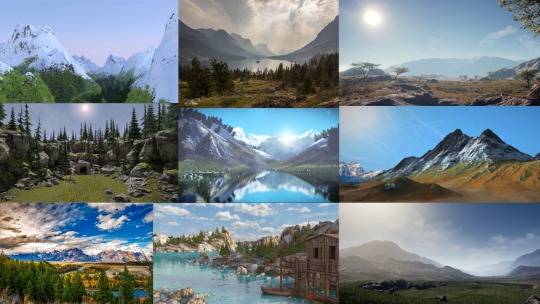
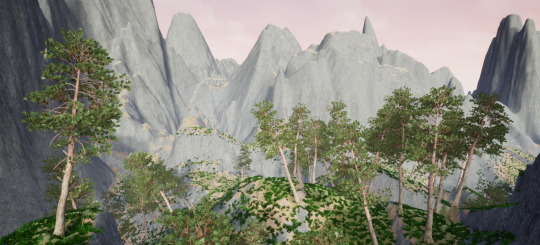
To start, I created a mood board of different 3D environments that people have created to get a better idea on multiple things such as which surrounding climate I would prefer the piece to take place in, the appearance of the sky and the size of the mountains.
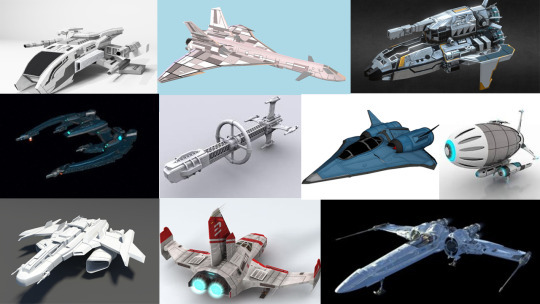
Creating a mood board for the potential main object which would be a spaceship. I decided a spaceship as I thought it would be interesting to animate as well as it’s more adventurous than the standard plane which could potentially look good but wouldn’t be as imaginative.
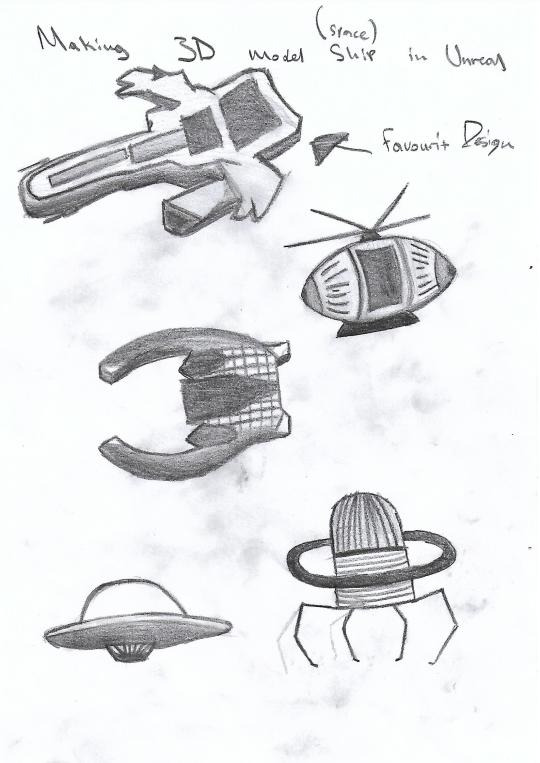
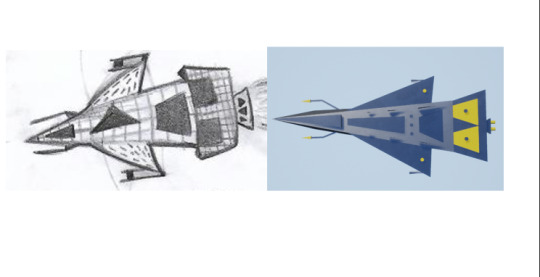
Sketching out different ship designs which could then suit as a good foundation for development.
After choosing the ship design I liked the most out of my ideas I began to develop it.
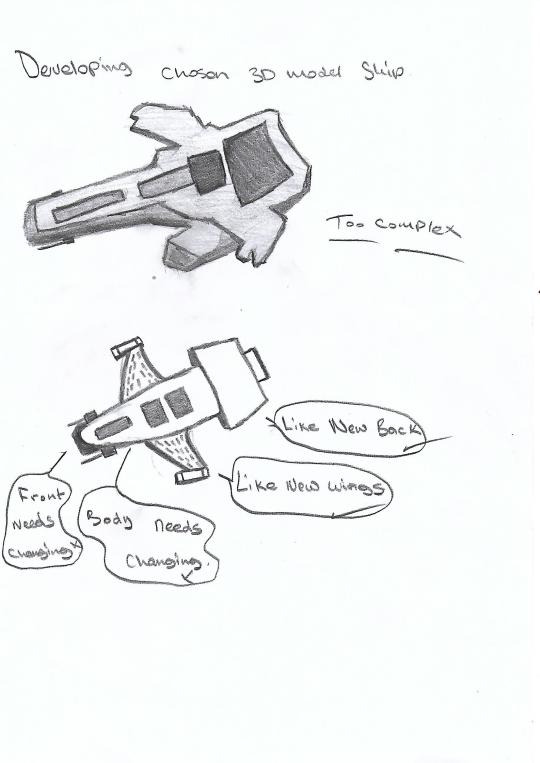

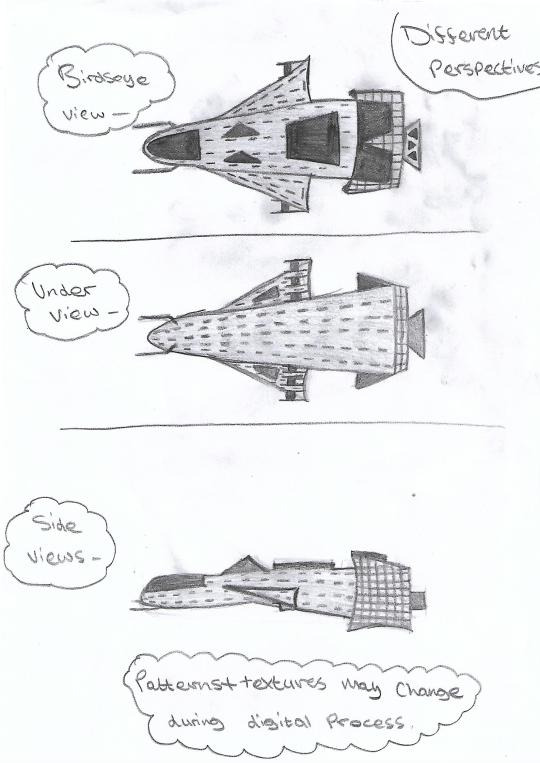
After coming up with a final design for the ship I sketched out the different perspectives as it would be created in a 3D environment.
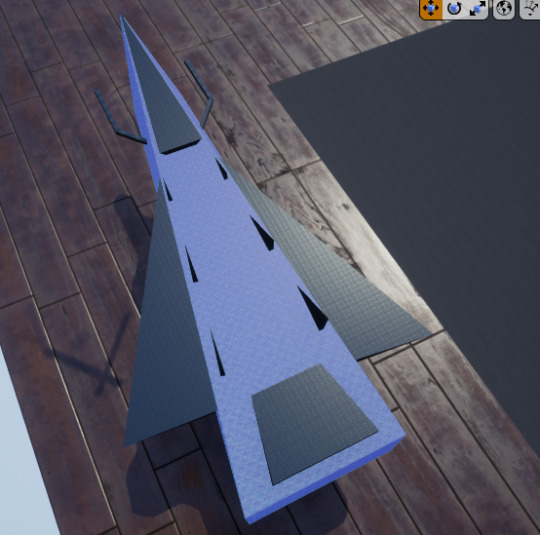
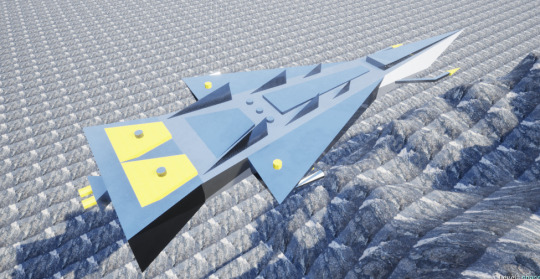
I then began to create the ship using Unreal Engine.
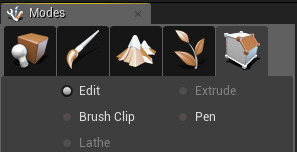
To start, geometry shapes were added and then edited using the geometry editor where each point of the 3D shape would have to be adjusted.
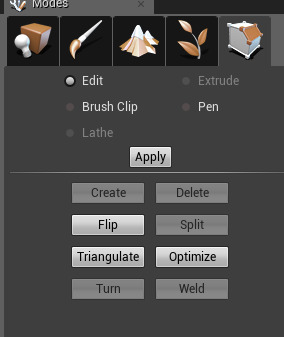
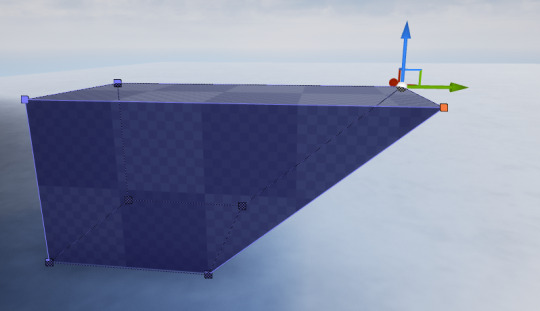
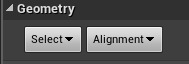
After the shape was completed I would select all of the faces.
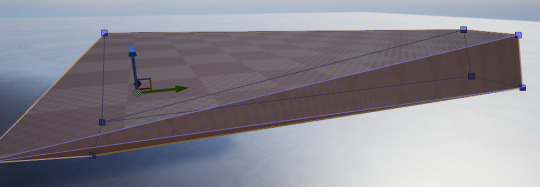
Then change the alignment settings to “Align Surface Planar” which would even out the surface so that when the material was added it wouldn’t appear stretched like the shape was.

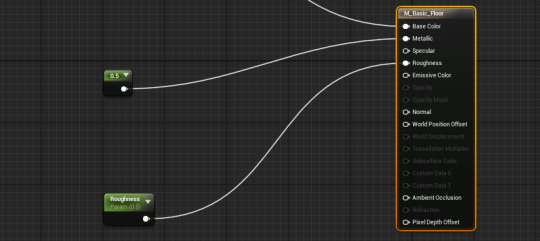
After some of the shapes were created the materials were then changed to give me an idea as of to how the final ship would look like.
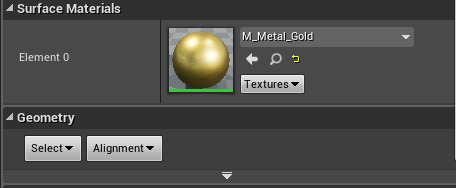
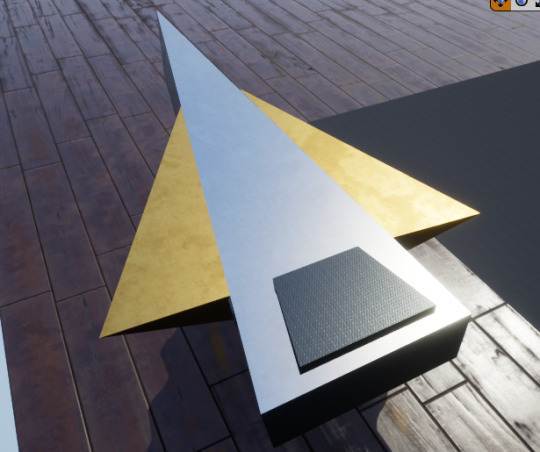
These materials were experimented with more until I found a style that I thought I could work with.
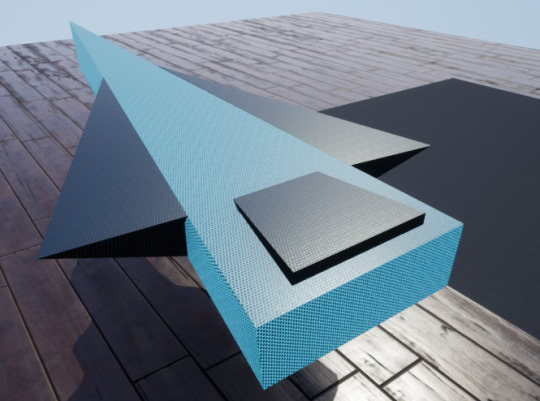
The rest of the ship was created using the same techniques with some added features that I thought would add interest.
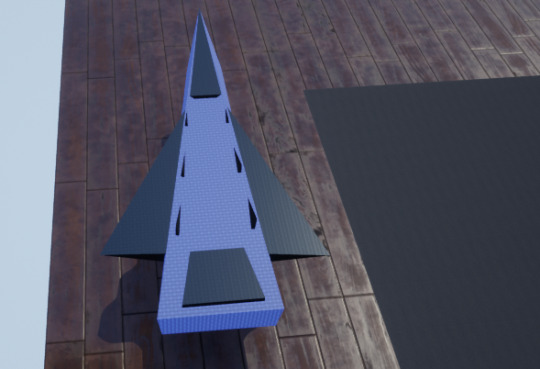
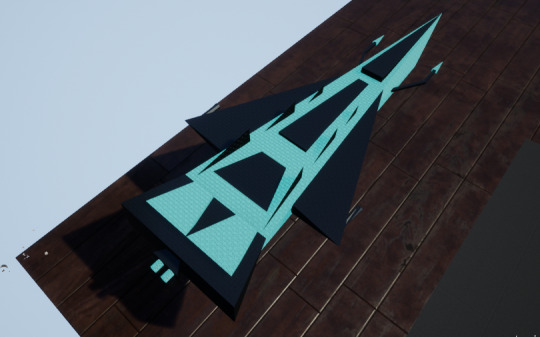
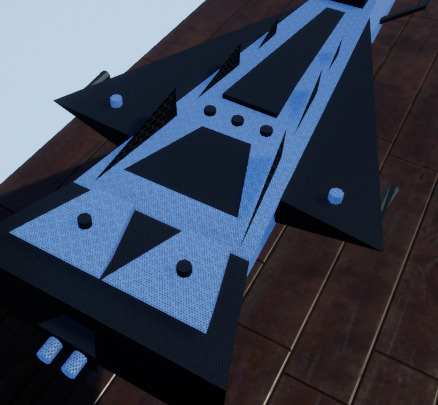
The ship shapes were then compiled into one static mesh for it to be exported as an OBJ and opened in Photoshop. This was done to experiment and create an even more realistic personalised material.

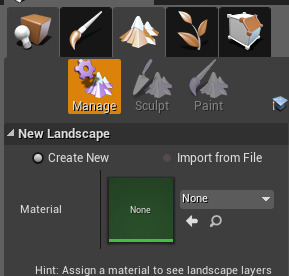
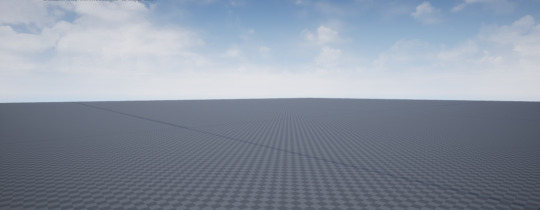
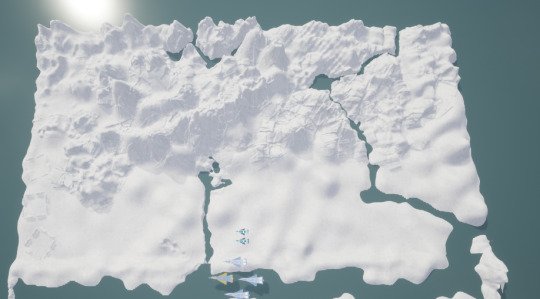
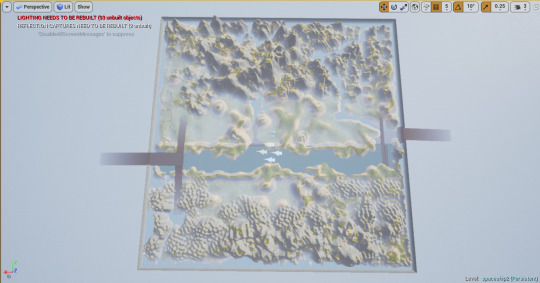
As I liked the ship how it was and time was running out I decided to begin working on my landscape. To start I had to create a basic flat landscape using the manage landscape settings.
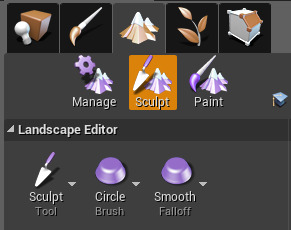
The sculpt and material tools were then used to build a simple mountain range.
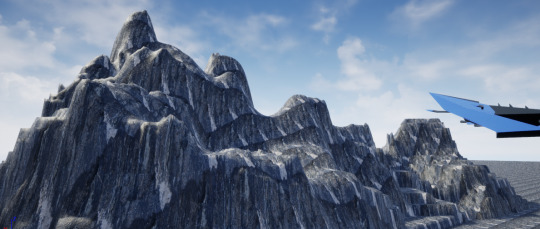
Whilst I was creating the landscape the ship colour didn’t fit in with the rest of the scene so I decided to create a mood board of different ships to change the colour to make it more believable.
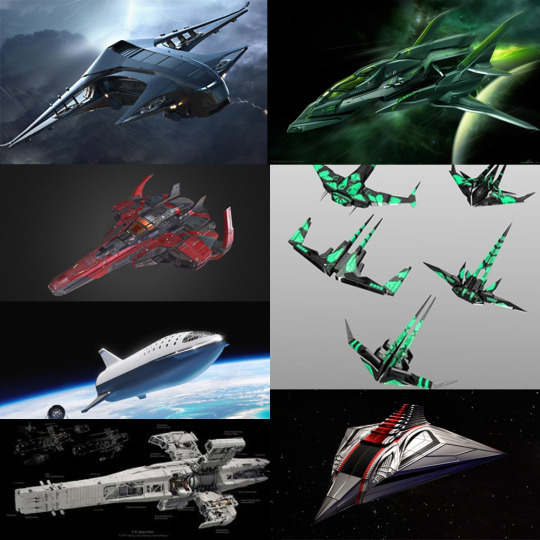
I noticed similar ships tended to include white and grey colours along with some elements of a more interesting colour such as red or blue.
I also looked up what the exterior of a standard spaceship is made out of so the material would look more realistic.
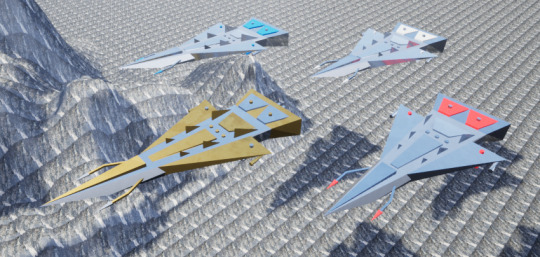
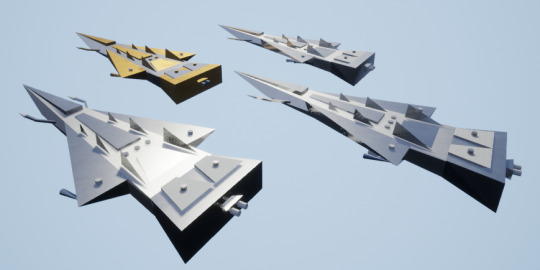
Comparing my digital ship to my drawings from different perspectives.
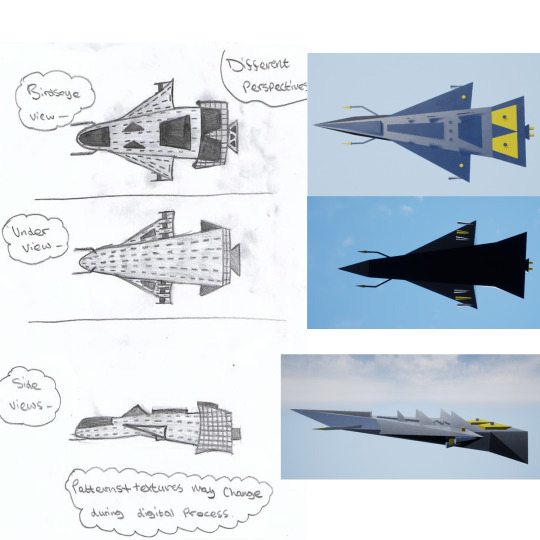
Overall the digital version looks more like an older idea which resembles too much of a jet fighter and less of a spaceship due to it’s pointed edges. However, since additional elements such as the objects coming out of the sides and from under the ship were added it still resembles something from the future to some degree which is what I was going for.
I thought about my idea more and thought that the scene would look better with more ships with one main ship standing out as this would look more interesting.
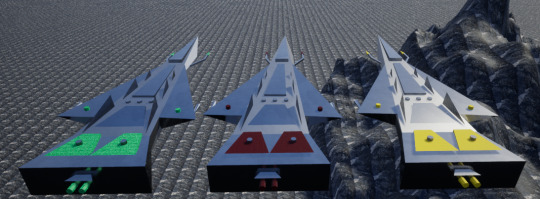
I changed the three other colours to red, white and blue as I think these three colours have really good contrast together.
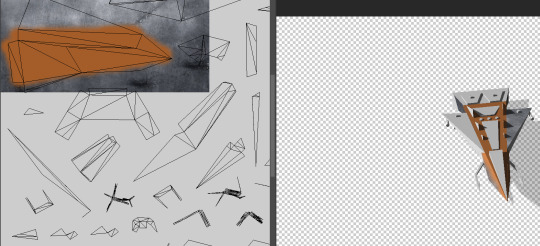
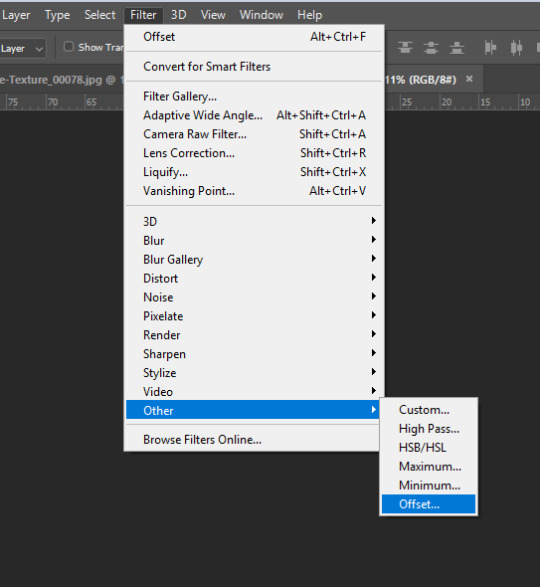
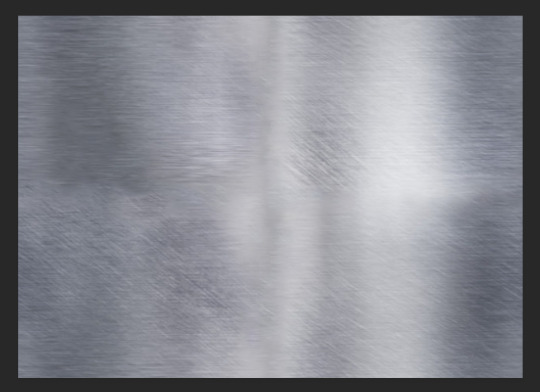
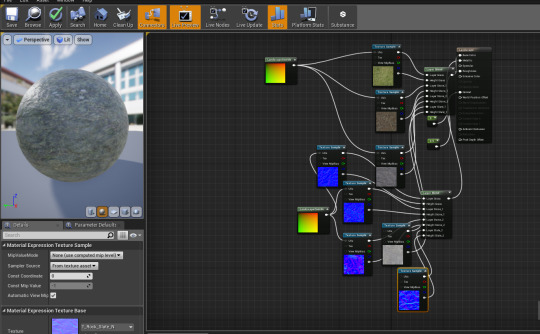
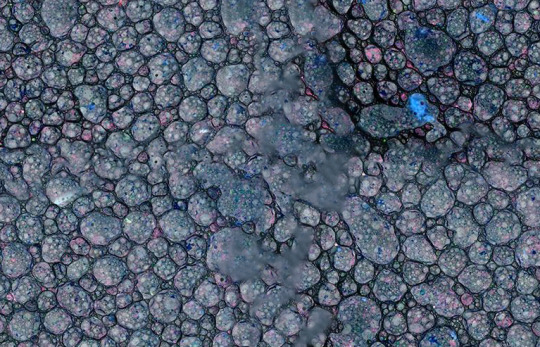
Creating metallic shine texture in Photoshop for my final ships.
By first finding an image, splitting it into four and rotating it, this was done by going to “Filter”, “Other” then “Offset” where I entered half the amount of the aspect ratios.
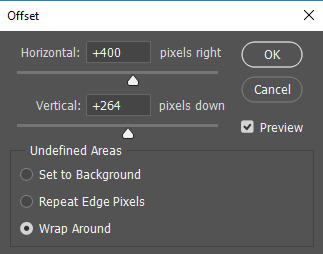
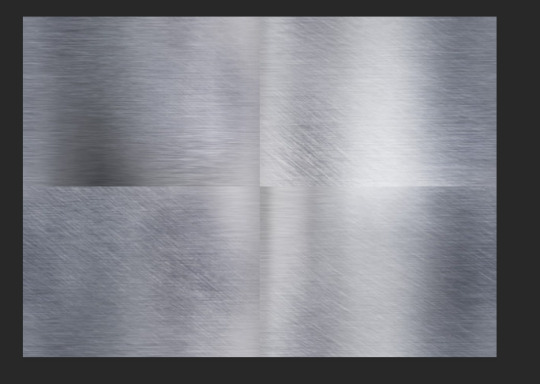
It was then blended using the spot healing brush to make the to be material seem seamless and wouldn’t be obvious that it was just the same image repeated.

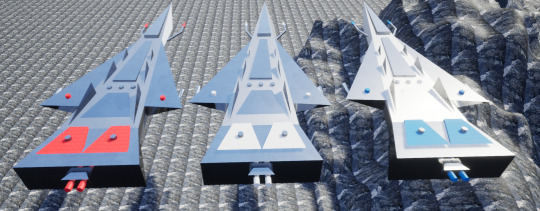
For my main ship, I decided to have half the ship be a gold material to emphasize that it’s more important than the other three.
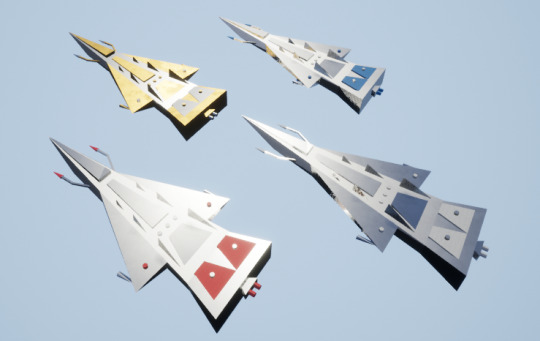
Changing other ship colours to all chrome to make the main ship stand out even more.
After I was satisfied with the final versions of the ships I continued working on my environment.

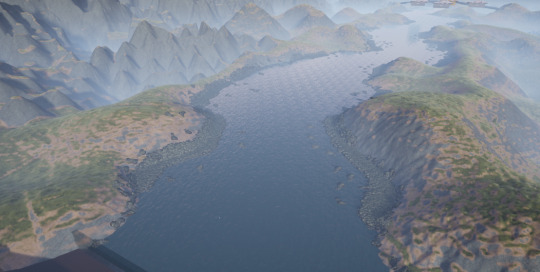
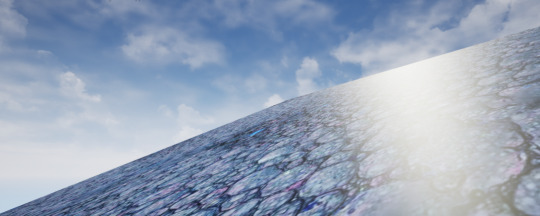
Adding streams created by sculpting out the landscape under a liquid materialised layer.
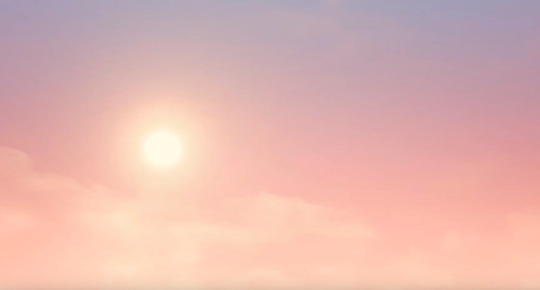
Was going to use a preset sky…
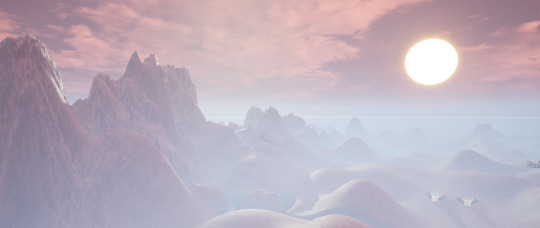
But decided against it as I didn’t see it as an asset which could be given to me if I were to do this in the VFX industry.
Instead, I tried to create a sky that I thought looked similar using the colour and cloud opacity settings.
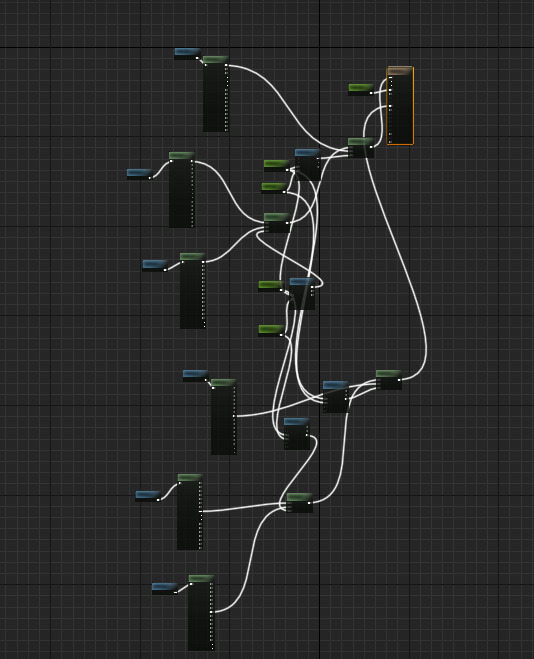
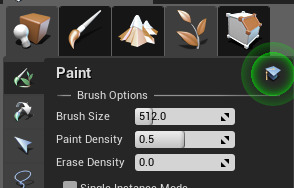
Following multiple tutorials then experimenting with creating materials to paint the landscape with.

I then added rocks along the main stream using the foliage tool.
Although I didn’t create the rocks, the way they would be distributed wasn’t pre-set, unlike the sky plugin.
I also did this to add trees and grass.
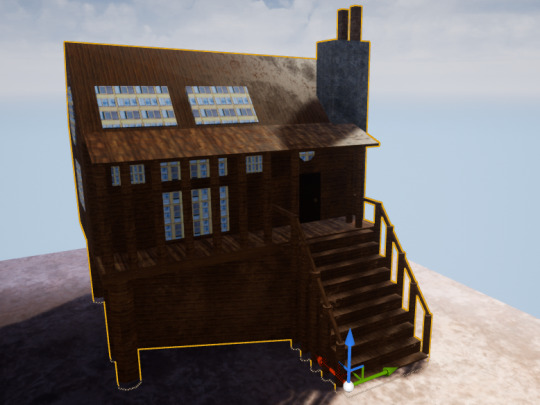
Creating a cabin asset in its own environment.
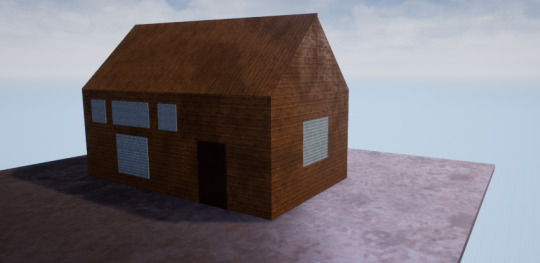
Then converting into a static mesh and importing into the mountainous environment.
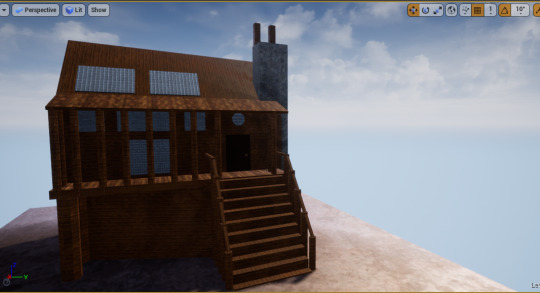
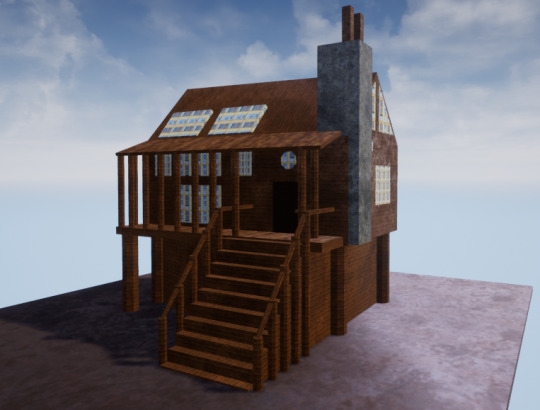
I decided to duplicate then recolour my imported cabin.
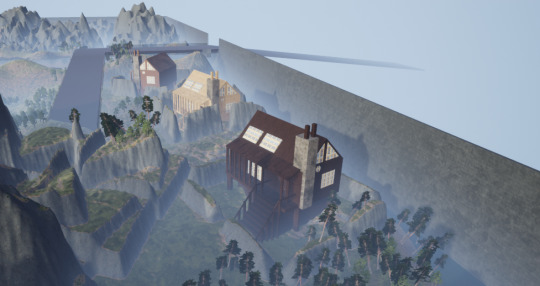
I noticed that the size was just too inaccurate after comparing them to the spaceship and the trees so I shrunk and duplicated them even more.
I thought that one side of the environment didn’t look effective as it was just mountainous like the other half and didn’t help add character to it. So, to fix this I thought I would stick with the surreal theme and try to create a castle design to be implemented.
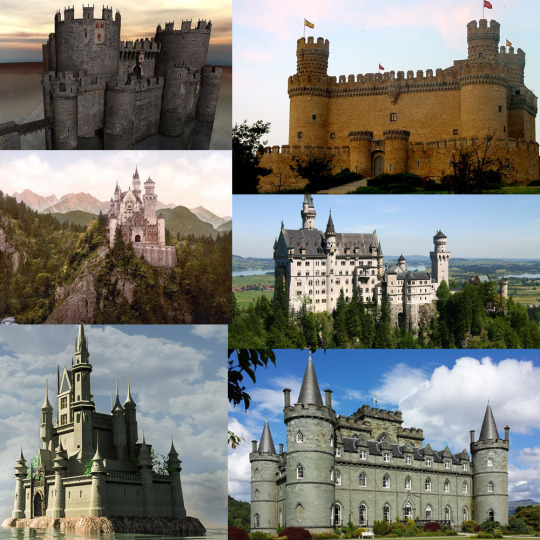
Creating a storyboard of different castles from 3D models and real life to influence and help design my own castle design.
Sketching out some ideas of the castle which could work.
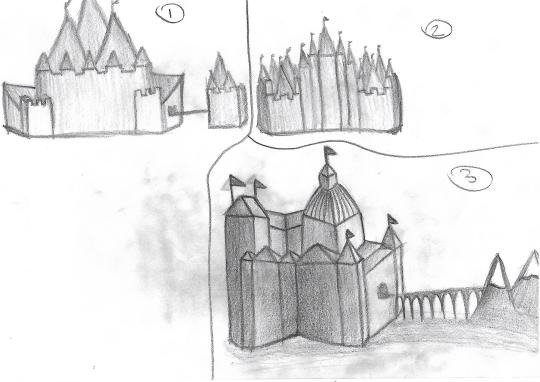
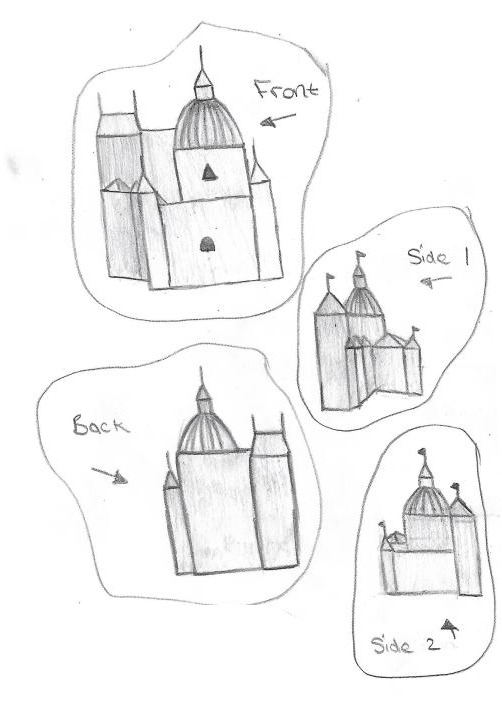
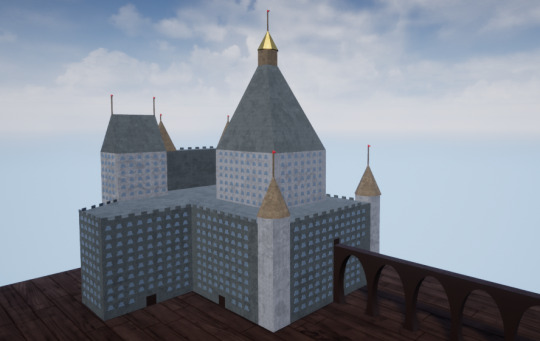
I decided to keep the design simple as I was still low on time.
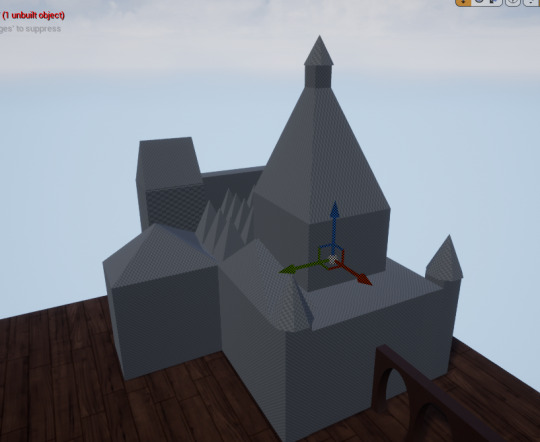
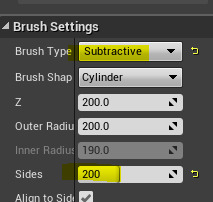
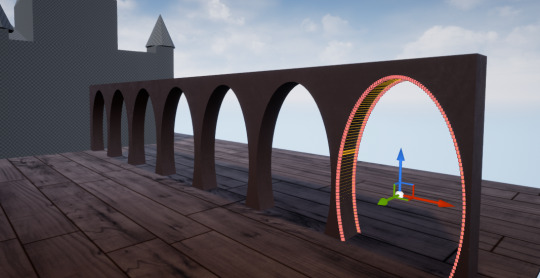
Apart from the bridge, the castle was created using the same techniques as the cabin and the ship. The bridge was created by first creating a cuboid then adding cylinder shapes with the number of sides turned up and the brush type set to “Subtractive” which removed parts of the cuboid where the cylinder was placed.
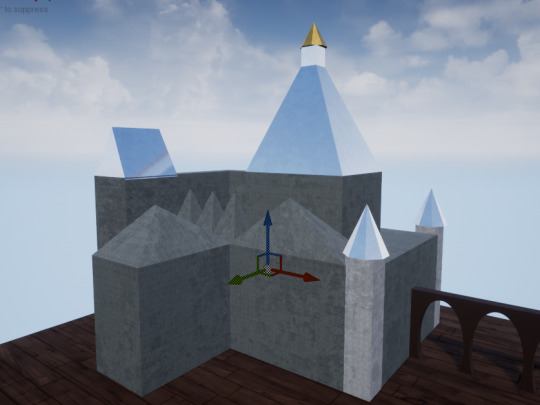
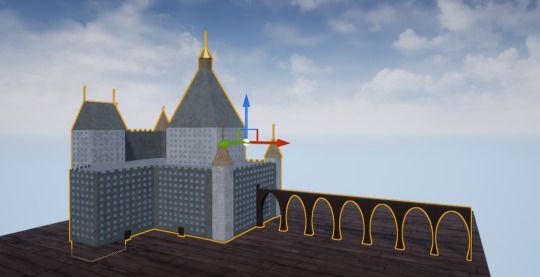
I didn’t like how uneven the castle looked or the colours which didn’t work together very well, so I experimented with the design until it looked somewhat decent.
Before -
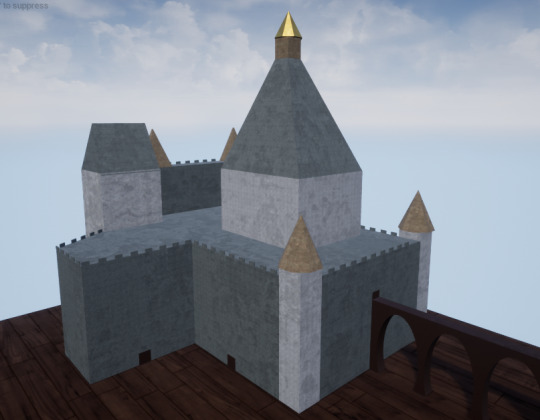
After -
Converting to static mesh.
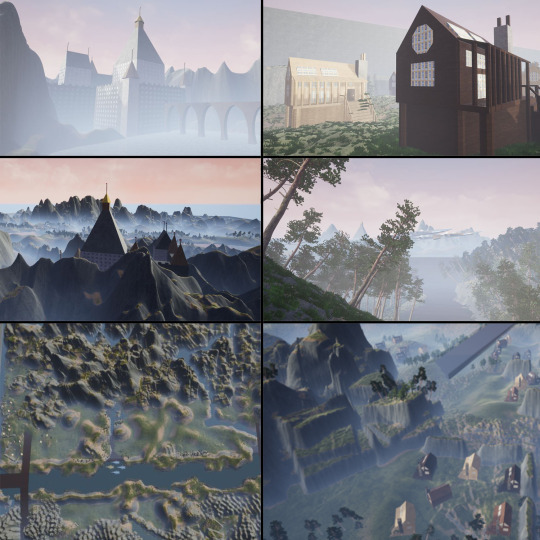
Importing into the environment -
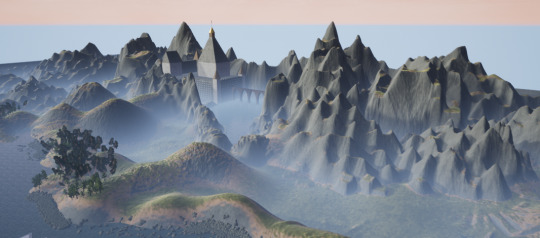
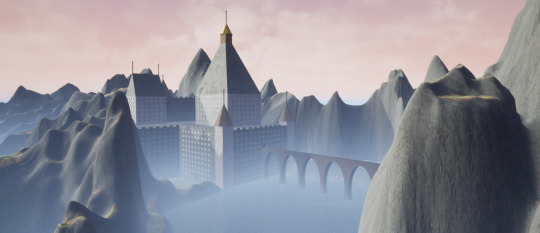
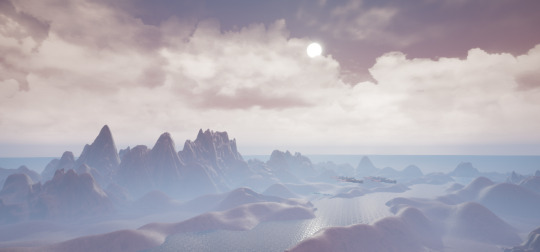
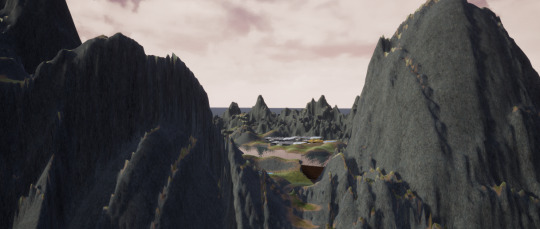
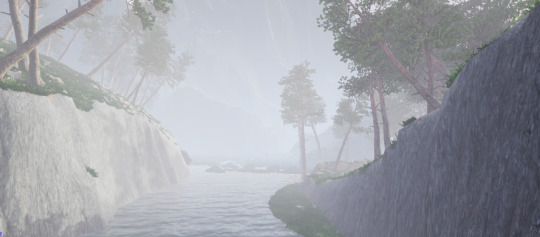
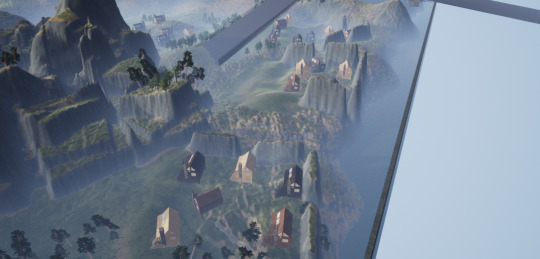
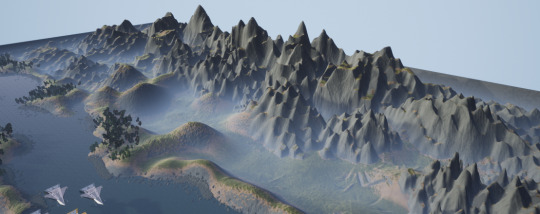
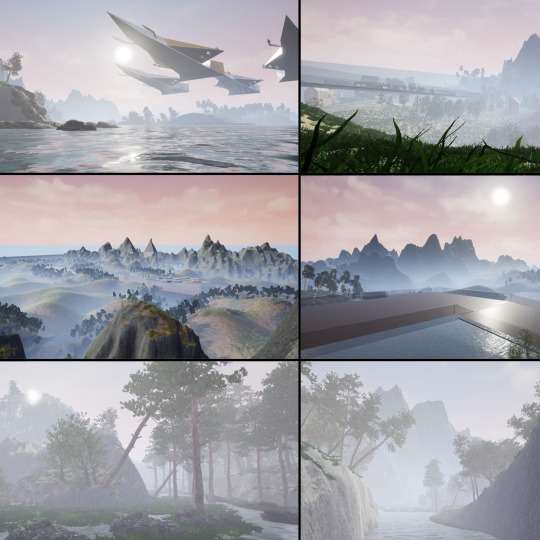
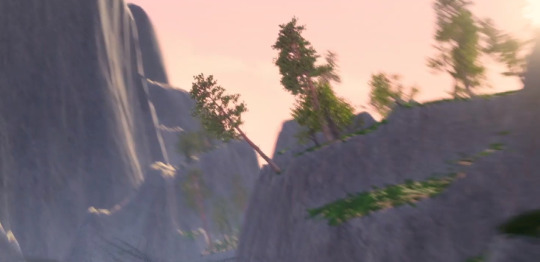
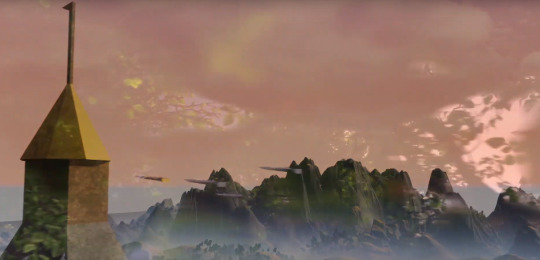
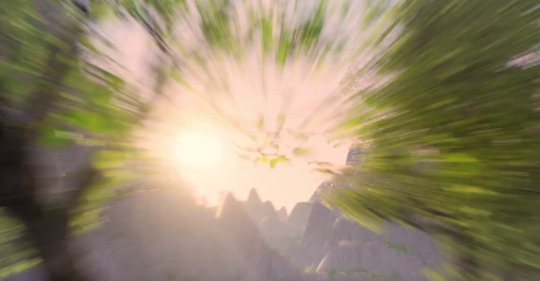
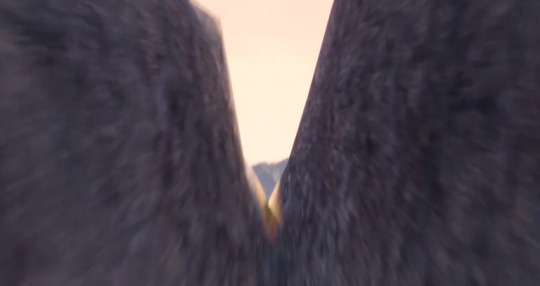
Images of areas from the final environment -
Since I planned to record my environment I looked at how different 3D environments were recorded to give me an idea of how to record my own. I liked this map reveal showing different heights through the perspective of multiple cameras.
youtube
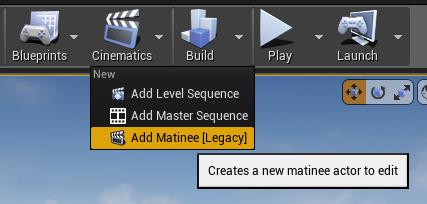
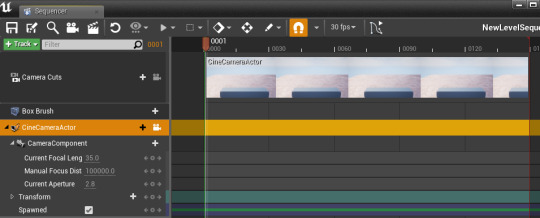
Recording the journey sequence throughout the environment in Unreal Engine using the matinee settings.

I also decided to record different sequences of areas which I thought needed to be highlighted as they wouldn’t get much film time if the environment was just recorded in one continuous journey. I would add these different short recordings between the journey so it remains interesting.
Unfortunately, during the main journey recording in, the camera kept rotating itself between two keyframes which I couldn’t fix even after replacing the keyframes multiple times. To get over this issue I thought to just replace the moment when the camera did this with other recorded sequences.
The video below is just the journey recording so the error is still visible at 1:02.
youtube
The rest of the recording sequences in the form of just one video since Tumblr doesn’t allow more than 5 videos to be embedded into one post -
youtube
After Effects -
I used After Effects to trim down the footage and make the files smaller by exporting them as a Quick Time H.264 format which changed the total size from 7.28 GB to 2.21 GB.
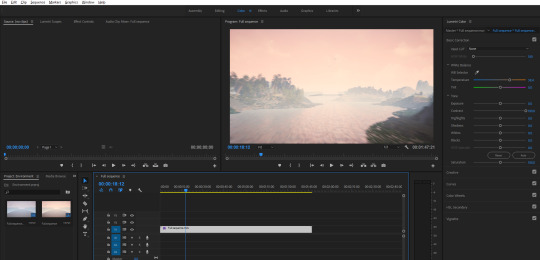
Premiere Pro -
Premiere Pro was used to put the separate recordings together, change the pace and change other visual aspects such as the colour grading, the tint and the contrast to make it look more professional.
Putting the clips together -
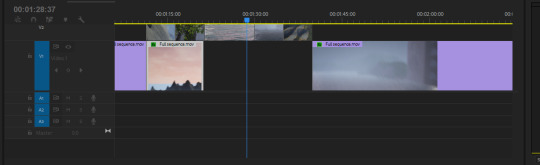
The clips were put together by placing them next to each other on a timeline and adding blend effects so that the transitions would be smooth.
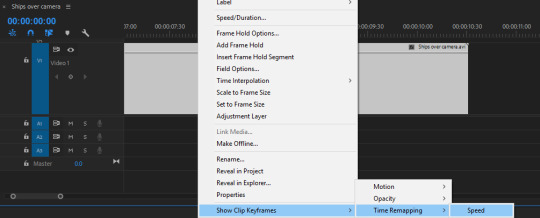
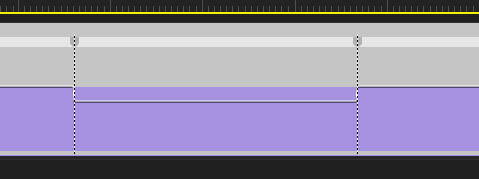
Changing the pace -
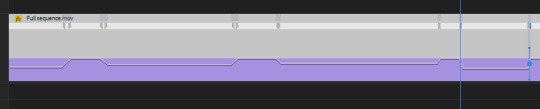
The pace was changed by right-clicking on the timeline, going to “Show Clip Keyframes”, then “Time Remapping” and selecting “Speed”.
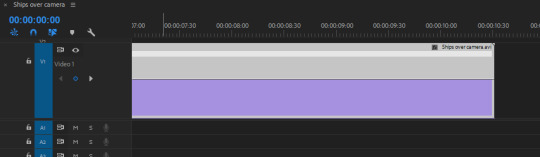
I then used the pen tool to select certain times of the footage I wanted to change.
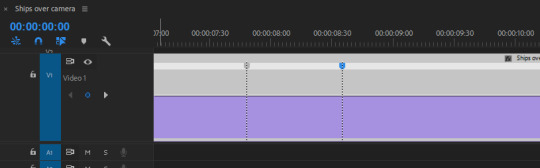
And either lowered or heightened the cutout area to change the time.
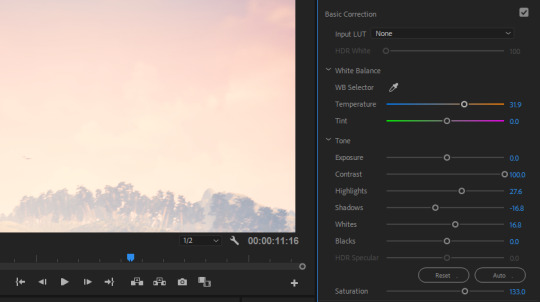
Changing the visual aspects -
I changed the visual appearance by going to the colour options

And changing the settings on the right.
Video so far -
youtube
More After Effects to add audio -

I first imported the music I wanted to use then placed it on the timeline, I then added rainforest sounds and used keyframes to fade in and out the sounds depending on where the camera was in the scene.
Final video -
youtube
Final video on Behance - https://www.behance.net/gallery/81319421/3D-Unreal-Environment
Evaluation -
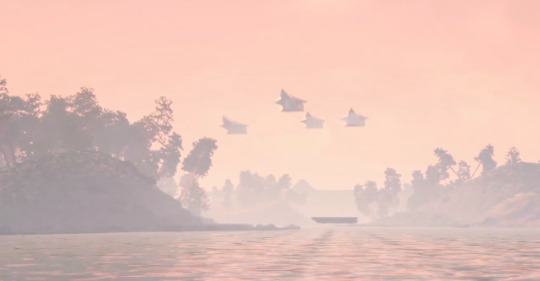
Successful?
I would say that this project was carried out successfully as I think the animation looks interesting throughout the whole duration in terms of motion and colour. The cameras showing the ships going over the water (from 1:21 to 1:27) in my opinion looks especially impactful as the combination of the two shots made it look more professional and thought out.
However, I think I could have done a better job when using the foliage tool as some of the trees are at unrealistic angles.
The mountains could also have been sculpted out more using the hydration tool to make them appear less rounded and natural.
What skills have I learned?
During this project, I have become a lot more comfortable with using Unreal Engine in general. Including how to distort and manipulate geometries, how to align panels of objects, how to experiment with material appearances, and how to record and render without external software such as OBS.
Regarding areas outside Unreal Engine, I have learned other things such as how to create my own raw materials and textures in Photoshop, and how to blend and edit videos to a much better degree than what I could before in Premiere-Pro.
What went well?
During this project manipulating the shapes in Unreal went well since this was easy to pick up and allowed me to create objects and looks which I couldn’t create before.
Another thing that went well was the recording stage in Unreal as it was, in my opinion, entertaining to carry out due to how I could control the motion and the perspective of the camera allowing me to be more specific with what I could show and how it would be presented.
What didn’t go so well?
One thing that didn’t go so well was that making the size of the environment so large caused vast amounts of foliage to be added and therefore created lag which strained the computer and showed in the final rendering of the video.
Although the texturing and materialising for the mountains looks decent, I think it could have looked a lot more realistic with overlapping the textures and having less consistency.
After reviewing the final animation even more, I noticed that the camera seems to appear sharp and jittery in areas where too many keyframes were added, this causes the flow of the animation to be halted for a brief moment causing the viewer to be taken out of the journey through the environment.
What I would do differently next time
Following on from the point made about the jittery camera movements I think next time I would have to try and use less individual keyframes within short durations.
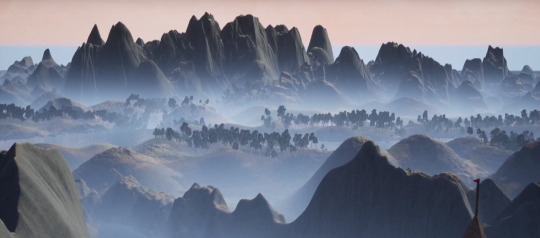
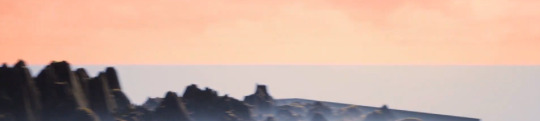
In addition, when looking at my environment from a higher perspective like shown at the end of the video, the horizon line is flat causing the piece to look smaller than what it actually is as well as it looking unfinished and obvious that the landscape is computer generated. So, to fix this for next time, I could make the landscape larger and sculpt the horizon line or I could create or find a landscape image which blends into my environment background like a matte painting.
0 notes