#diy plants
Explore tagged Tumblr posts
Text
What it takes to grow little transplants in my apartment!
I'm starting my first plants of 2023, and I'm going to go thru every single step I have to take in order to have them grow! This is extremely diy, no budget, we use resources we find on the street, I picked out these seeds from a vegetable I got from a friend, type of thing.
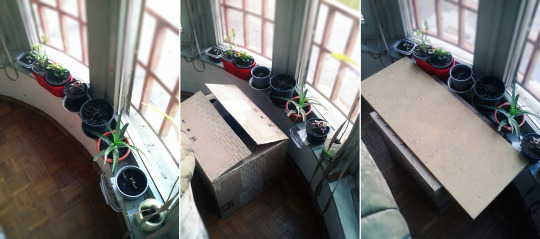
The first step is creating the place to put the plants. They need to be inside where it's warm, but get as much light as possible. I have these big french windows in the kitchen, and it’s the place that gets the most light in the morning. I will often carry the plants to the other side of the apartment for the afternoon, especially if there's sunlight! I don't have enough space on the windowsills to put all the plants there, so I have to create a makeshift table for them.
Now the way I usually make a table is I go to the basement, pick out a board (I collect abandoned boards next to the trash), and put it on the top of a big cardboard box. The cardboard boxes can actually take a lot of weight, so they work fine as a table stand, especially if the board is heavy. I found the board I used the last year, and then realized, that my roommate took all of my cardboard boxes when she was moving out, and I do not have an appropriate box to use! I went outside to see if anyone had abandoned a cardboard box, and in about 10 minutes, I found one:

And this is how the construction works:
Now that is taken care of, I need to decide what seeds I'm planting. Have I ever shown you my seed box? This is my seed box:
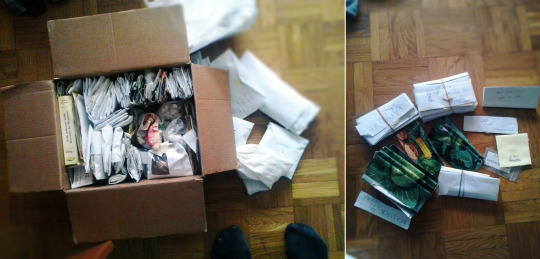
It looks messy, but all of the seeds I collected are in little packets I made from envelopes, and then they're sorted into categories, and each category is kept together by a piece of elastics. I just had to take out the brassicas (kale, cabbage, broccoli) and some early tomatoes, peppers and basil. I decided to sow a lot of kale and cabbage, and 5-6 little dwarf tomatoes, they’re an early variety and they'll give produce as early as May! I've had both basil and peppers successfully grow, sown as early as January, so I'm taking a chance at them again. These plants may not make it, since there's not a lot of light yet, but if they do, they'll give me the earliest produce in the year, and it's worth the effort. If it doesn't work out, I'll sow them all again in February.
Now the next step is finding the containers for them; I have lots of both found and gifted stuff, but my favourites by far are the yogurt cups, they're the ideal size for a pepper or a kale plant, and I can just fit a lot of them next to each other! I'm also trying these tiny black containers, to see how I like them. I'm using the food container with a lid to grow basil, because I've noticed basil germinates more willingly in damp conditions, and once I close that lid, the water won't be able to evaporate. Also all these containers need to have a decent sized hole on the bottom!

Now before I go on to get the soil and start planting, I figured I should make the labels! Once my hands are dirty I will be unwilling to wash them just to cut some labels out. My labels are just a random piece of thin cardboard (like from a chocolate box) cut into a strip, and then I write the name of the plant there. Otherwise I will immediately forget what I planted where. These are short-lived, for a lasting one, I've seen people cut out plastic containers into strips, and write on them with a permanent marker, that would last! But I only need these temporarily, I don't mind if they decompose later.

Now, the soil! If I hadn't been prepared for this, I would have to go to the forest, or some area where a lot of leaves were decomposing, to get my soil, but I always remember to take some home in the fall, so I already have a bucket filled with soil here.
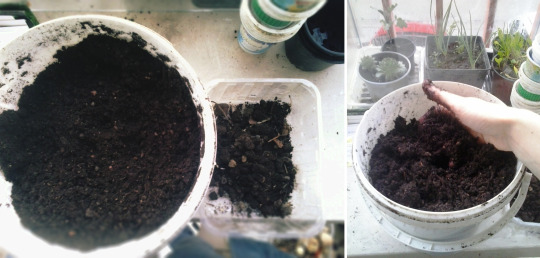
This bucket is great for it because it has a lid I can close, and soil can't dry out in there. Soil benefits a lot from being kept damp, so all of the useful bacteria can keep living inside it. If it goes dry, it loses a lot of its biodiversity! This specific soil is from the forest, dug from under a rotten tree trunk. There's a lot of clumps and pieces of bark and roots, so I'm taking a minute to clean it out a little, I'm taking bigger pieces out so they can't obstruct my little plants. When it's all good, I'm mixing it with some more water! Ideally, your soil would be nice and warmed up before you're about to plant, because seeds like warm soil to grow in. But, if it's not, you can cheat and mix it with warm water to warm it up!
Now to fill the containers:
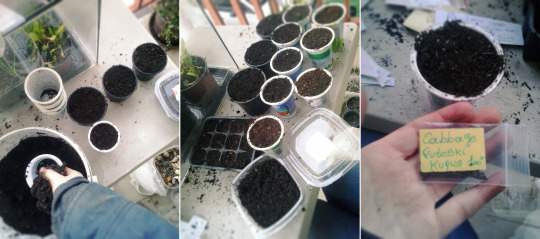
And now I have all of them filled up, I can finally plant. These cabbage seeds on the picture are new and untried, I ordered them online because I want to try and make sauerkraut this year! I'm excited to see if they grow well.
The only thing you really need to know about sowing seeds, they're supposed to go twice as deep as they're wide. Since all these seeds are tiny, all I need to do is to gently push them under the soil, and then pepper some soil on top. Like this:
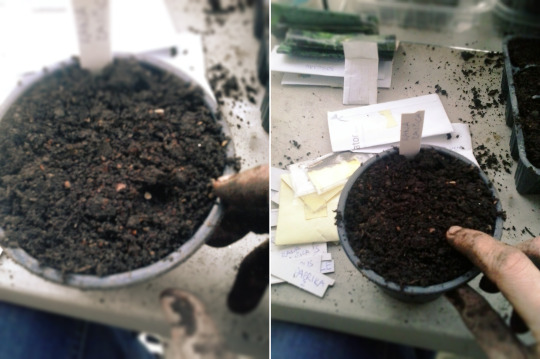
I put two seeds in each container, just in case. Now they're all sowed, I'm spraying them with water gently, so that the soil would properly settle on top of them. If you were to water them with pouring water, it could easily displace the seed, so it's recommended to just gently spray on top!
There's one more important step to this; all of these containers have holes at the bottom, and they need to be put in watertight containers, so that they wouldn't leak when you water them! I always have bunch of old food containers on hand for this purpose:

Now with this setup, it's very convenient to bottom-water them. This means you never water the top of the soil; instead, you pour water in the watertight container, and all of the soil in the containers with holes will soak up exactly as much water as they need. This takes care of the risk of overwatering, your plants will not drown in this way, and also their roots will be encouraged to grow deep down to the source of the water.
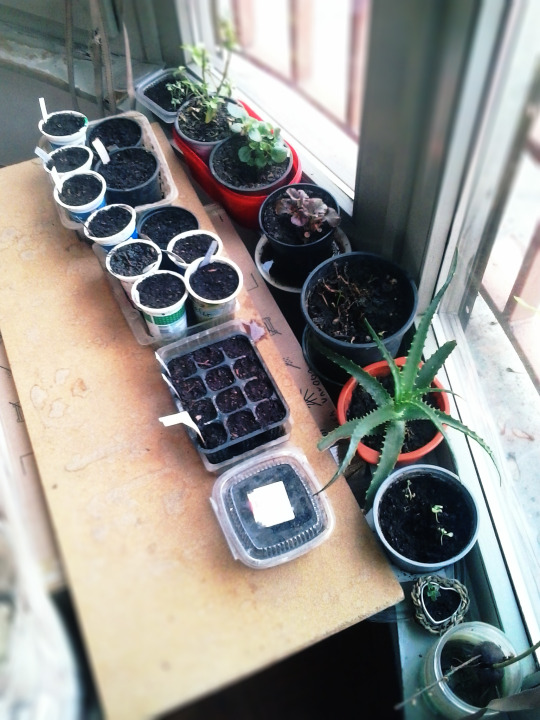
And now they’re on their makeshift table! All the attention these need now is to get some water every few days, and to be in the brightest place possible.
#gardening#diy#sowing seeds#growing food#growing transplants#seed tutorial#growing seeds#growing from seed#diy plants
105 notes
·
View notes
Text


Vegan Garlic Knots
#vegan#appetizer#bread#garlic knots#diy#yeast#plant milk#garlic#bread flour#vegan butter#parsley#coconut sugar#olive oil#sea salt
153 notes
·
View notes
Photo

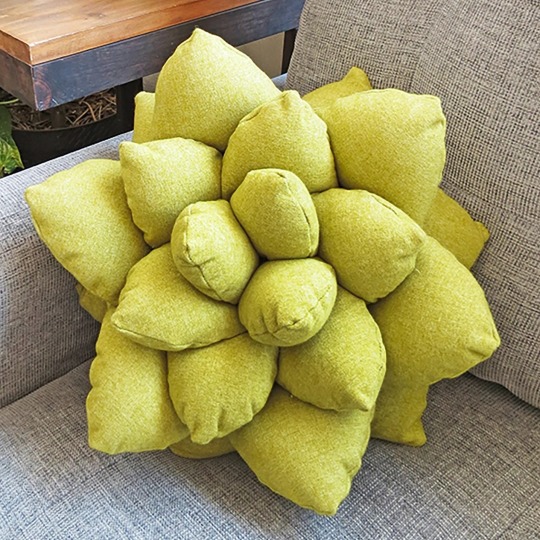

Pillow Sewing Patterns // Oh oh Deco on Etsy
2K notes
·
View notes
Text


Embroidery piece, inspired by a trip to the Olympic Rain Forest.
Glass pearls, cotton thread, wool and silk, hand stitched on a linen cloth. 15 x 21 cm.
#artists on tumblr#embroidery#artwork#botanical#rainforest#plants#moss#forest#crafts#diy projects#diy craft#diy#needlework#green#art on tumblr#handmade#texture#beadwork#glass beads#garden#wall art#olympic national park#olympic peninsula
167 notes
·
View notes
Text
Extract hydrangeas with bananas. 🤔
#pay attention#educate yourselves#educate yourself#knowledge is power#reeducate yourself#reeducate yourselves#think about it#think for yourselves#think for yourself#do your homework#do some research#do your own research#ask yourself questions#question everything#flowers#try it#natural way#plants#grow your own#diy
132 notes
·
View notes
Text
made this little guy!!!
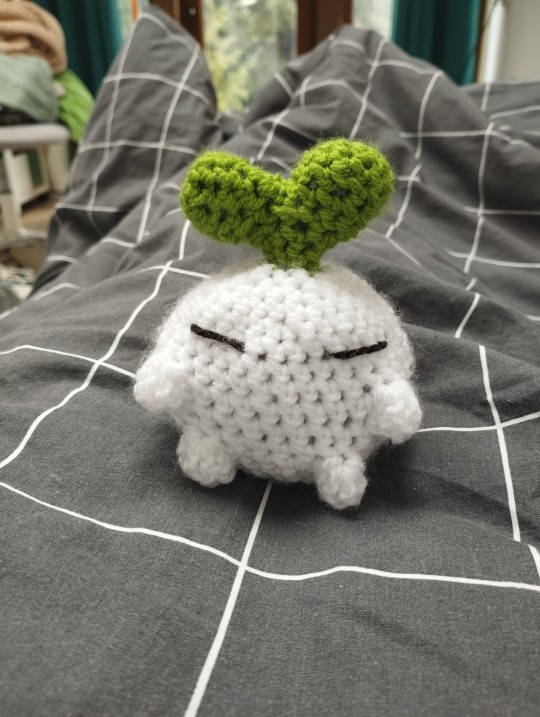
then made him a brother!

#crochet#crocheting#fiber arts#fiber crafts#yarn#yarn crafts#diy#colors#sprout#plants#plushies#crochet plushie#white#green
251 notes
·
View notes
Text

A small air plant + an empty snail conch, and there you have it! Your very own earth friendly table squid 🐙 🥹
#diy#diy projects#diy craft#plantblr#plantas#plants#cute#snail#green is good#go green#tate talks#meme#memes#art#so cute#cute creatures#cute crafts#cute diy#homemade
50 notes
·
View notes
Text

Photo of a concrete head I made. Its a planter, and weighs about 40 pounds.
47 notes
·
View notes
Text
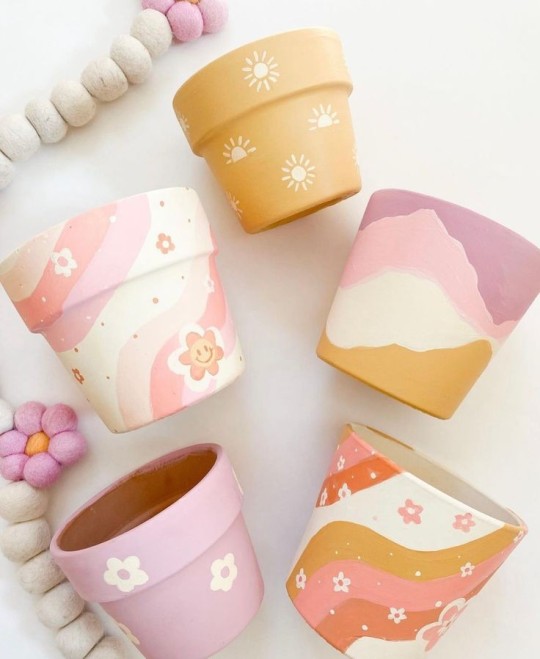

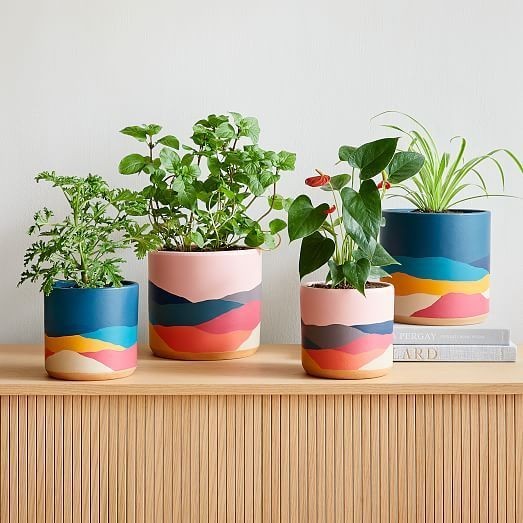
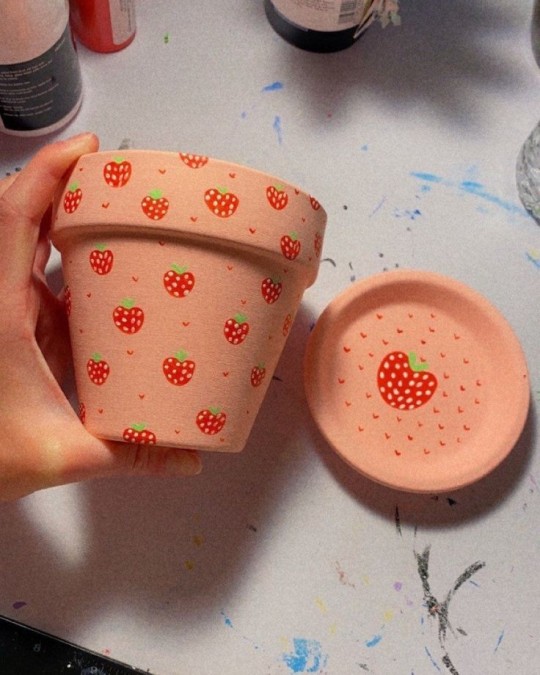
I want to paint planters this spring 👀❤️
795 notes
·
View notes
Text
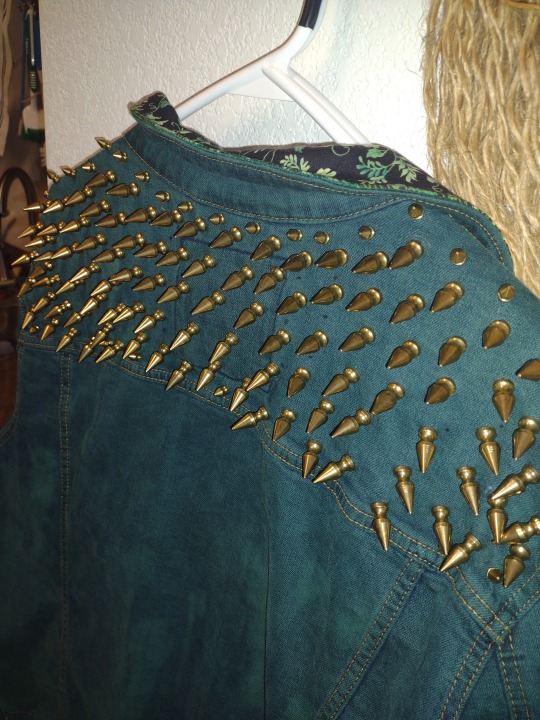
SPIKES.... DONE🎉✨
next up is making some side panels out of this rad plant fabric and doing pocket-flap overlays 👀
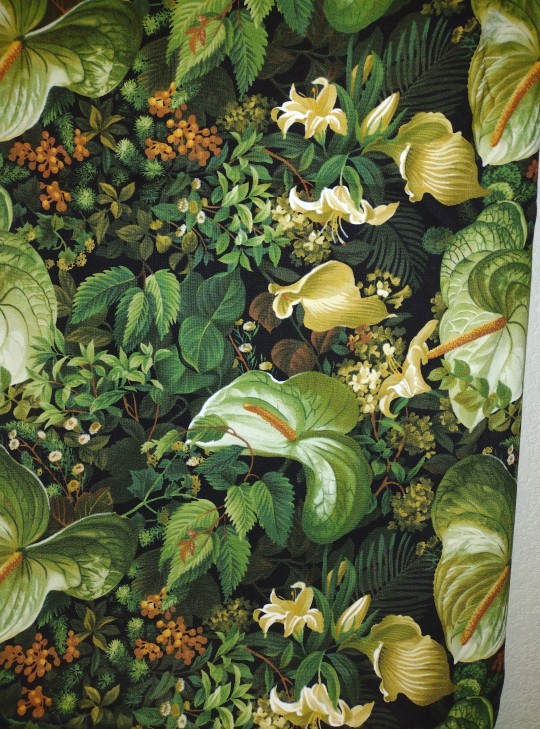
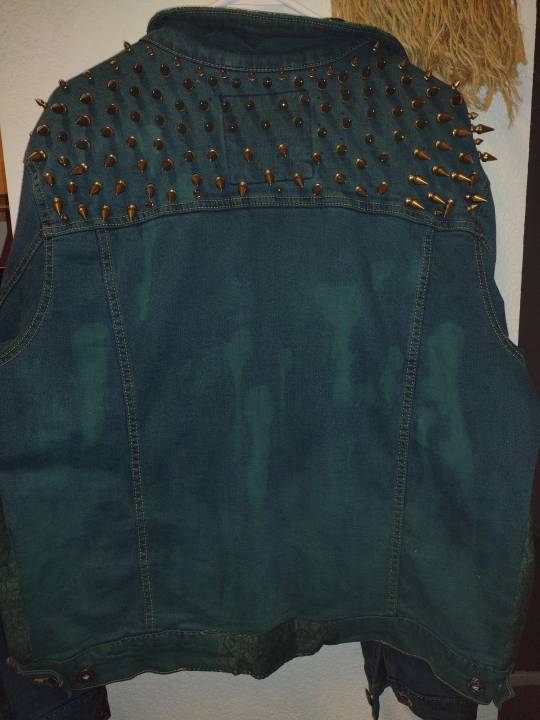
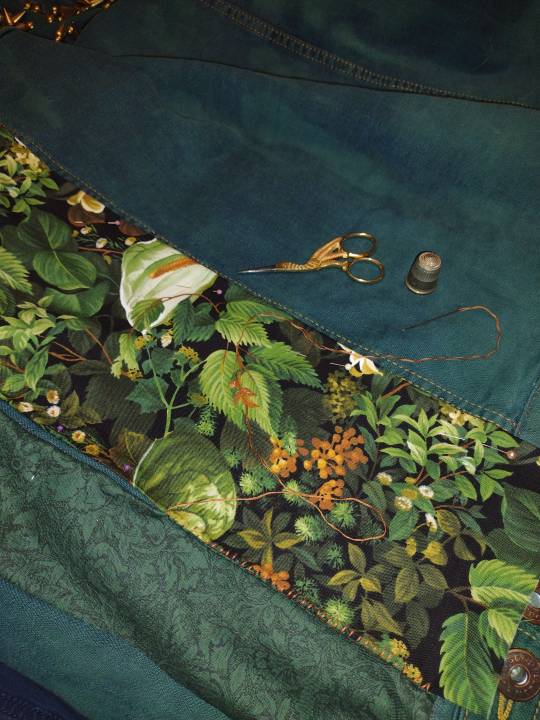
#fiber arts#sewing#battle jacket#alterations#diy clothing#WIP#I've got some (differnt) rad plant fabric I'm going to do the pocket-flap overlays with next#but i think ill have to take the pocketflaps off entirely to make it blend best so that's after I do these side panels in the back#green jacket#crafts
367 notes
·
View notes
Text
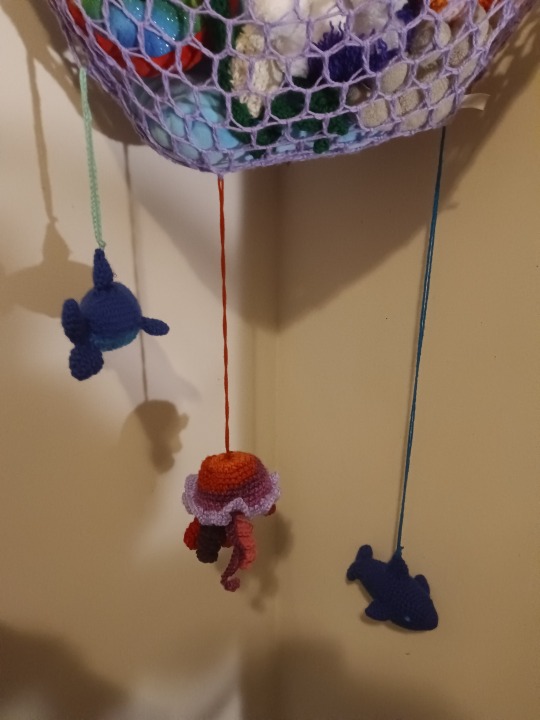
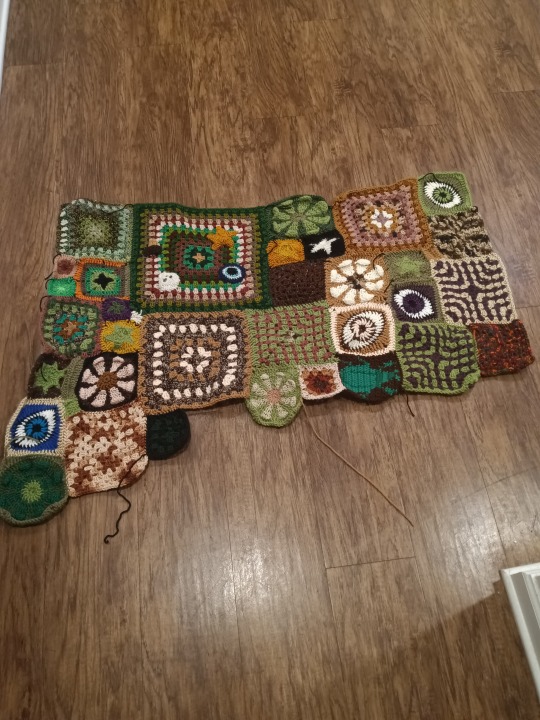
new projects
im back from my posting break😽



47 notes
·
View notes
Text
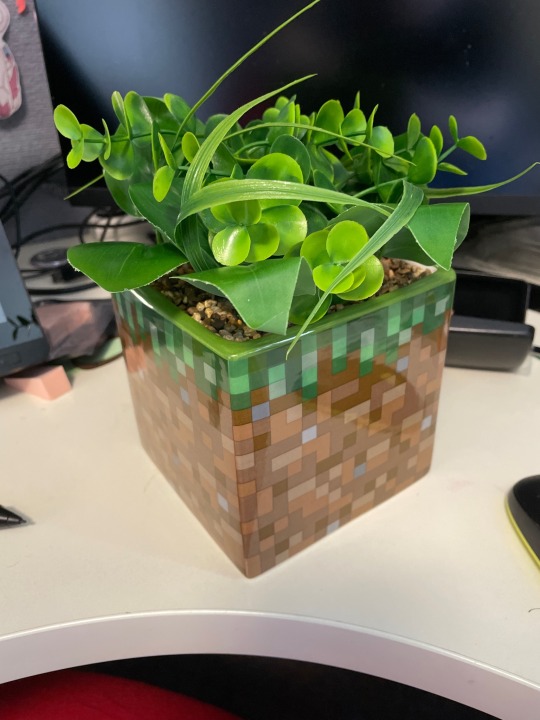

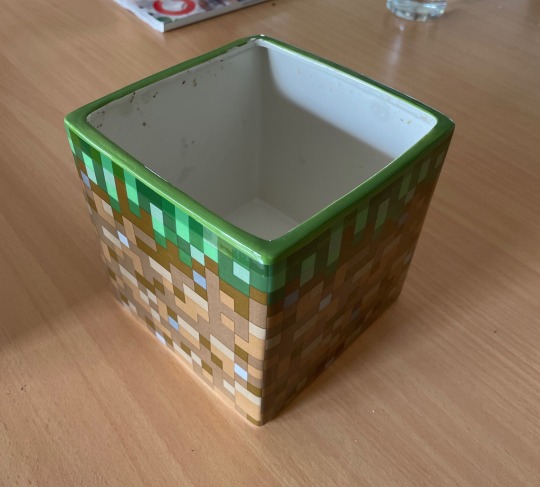
If anyone was wondering, you can indeed remove the fake plants from the zing minecraft pots! Will update when I've found a suitably minecraft lookin plant to put in it
#minecraft#mineblr#diy#plants#dirt block#I think u can dissolve the glue but i decided stabbing was more effective#and more fun#its literally just a foam block under the rocks
133 notes
·
View notes
Text

Vegan Korean Strawberry Milk
#vegan#drinks#swets#korean cuisine#East Asian cuisine#diy#korean strawberry milk#strawberries#plant milk#maple syrup#lemon
84 notes
·
View notes
Text

Sitting Empty (1980s) Wisteria is a Whole Thing

Cleaned up (1990s)


The years pass. 2024
(the first picture and the last one are the same angle - but you can barely tell!)
#farmblr#farm#abandoned house#abandoned homes#appalachia#appalachian gothic#diy#renovation#tree planting
33 notes
·
View notes
Text
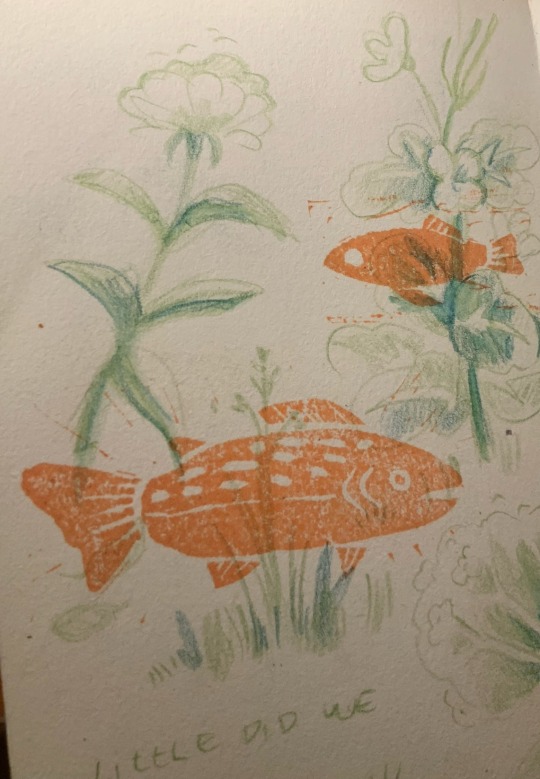
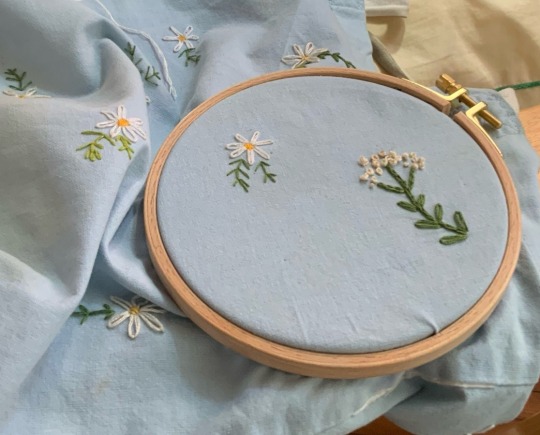
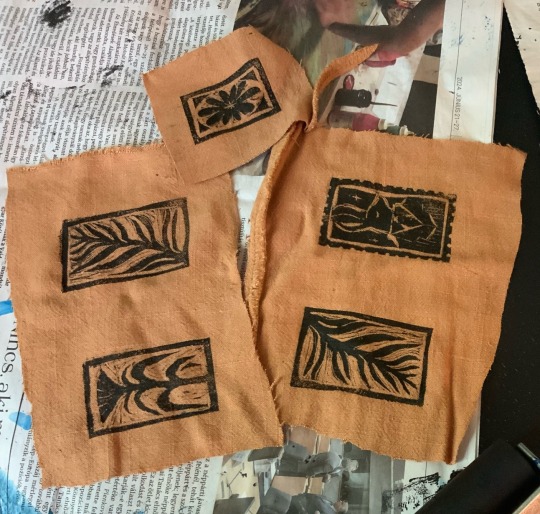

#creative moodboard#It was a creative day#im unemployed#can you tell?#usless#artist on tumblr#art#linocarving#linoprint#diy patches#patches#fish#stamps#colored pencils#embroidery#flovers#plants#sketch#sketchbook
45 notes
·
View notes
Text
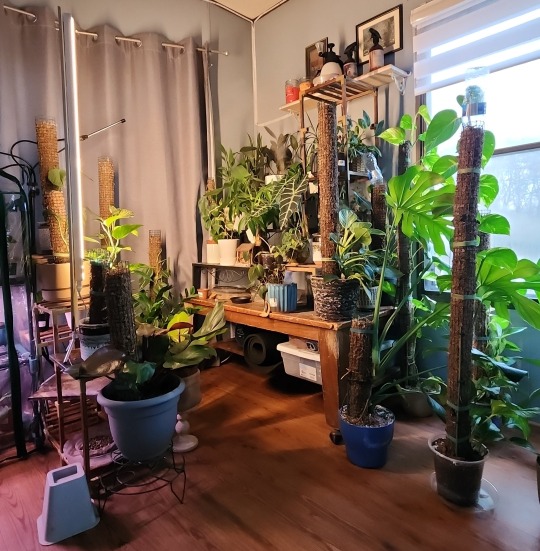
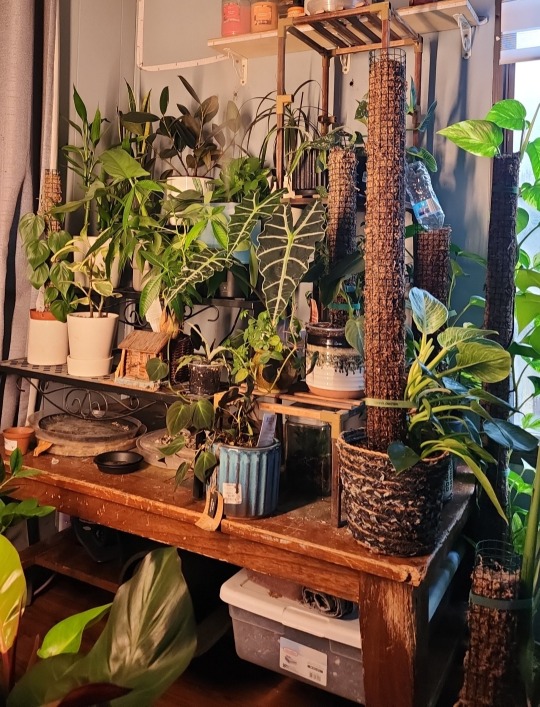
I made a little DIY standing plant light last night, and I LOVE it and it looks so good on my plants! 💚
#plants#diy#foliage#indoor plants#houseplants#made my own plant light#save dat money#tropical plants#green#plant aesthetic#plant photography#potted plants
72 notes
·
View notes