#comfi cardi by joshybearhuggies
Explore tagged Tumblr posts
Text


Comfi Cardi in Red Heart Unforgettable yarn! Which, I had the misfortune of learning the hard way, can't be frogged. I mean it can, and I did, but wow it sucked and I had to tediously unpick every damned stitch from a web of snarled fibers.
So with a 4mm hook and loose stitching as is my wont, I barely squeaked this out of one skein. Had to frog the bottom band and redo it smaller to have enough left to go around the front edge, but I managed, with like one inch left.
Won't use this yarn again if I can avoid it, oof. It gets all fuzzy just looking at it sideways. Suspect even taking it on and off a doll several times will make it scraggly beyond repair.
This is a Spiridoll Abies v1 head on a Dollzone b70-004 body with Dollshe hands I believe.
59 notes
·
View notes
Text

Comfi Cardi update & completed project! Went on a bit of a journey with this one, which I'll explain under the cut XD Before I get into that I thought it would be fun to share Naturally Perfect Grace (formerly Camryn) alongside one of my favorite Rainbow High makeovers, since they share a very similar color palette (I used the same crochet thread for the edging on the cardi and the main body of Coco's skirt).


The fibers used for the cardi are Elite Shawl Glitz (discontinued) from Ice Yarns; and Lizbeth Size 10 crochet thread in 122-Caribbean.
So. I started off following the Comfi Cardi tutorial using the yarn weight and hook size indicated to make a garment for American Girl dolls. What quickly became apparent was that this piece was going to be MUCH too large for the doll I intended to wear it. Although Naturally Perfect and American Girl dolls are both 18 inches tall, their body types are quite different. I was aware of this, but as I do not own and have never handled an AG I had no clear idea of just how great the difference was until I began this project.


Nevertheless I continued to work my way through the various sections, both to familiarize myself with the process and to create a visual aid to refer to on my next attempt. I stopped just short of the finishing stages (sewing the sides and adding the ribbing) for easier reference, though I did work a row of the ribbing stitch on one of the cuffs and sew down the side to try it on the doll and make sure I understood the directions before pulling it out again (no reason to leave the yarn attached and trailing about).
The other reason for finishing the main work on this piece is simply that I hope sometime in the near future to acquire an appropriately sized doll to wear it! If not AG then Our Generation or similar. At that point I can circle back and complete it.

Once I had worked through the pattern-as-given I had the guidelines I needed to start over and create a piece custom fit to my doll. I switched from a light(3) to a fine(2) weight yarn, and went down to a B-2mm hook. Checking against the doll as I went I ended up reducing the main granny square from 11 rounds to 9, then adjusted the front panel and sleeve lengths accordingly.


For the cuffs and edging, instead of ribbing I opted for something more in line with my personal aesthetic, and chose a couple of simple lace stitches that would adapt easily to this scale and allow me to incorporate some beadwork and a button. These beads were leftover from jewelry I made in the late 90s and have been knocking around my stash ever since; it was particularly satisfying to almost use them up on a piece intended for my tiny doppelganger XD I'll probably incorporate the few that remain into one of her necklaces.


And that's it! I'm looking forward to doing this again for my other Naturally Perfect girl, after I complete her skirt. For simplicity's sake I'm going to repeat the same layout with different yarn/beads/thread. After that I might try scaling it down even further for my 14 inch dolls, but knowing my tendency to get distracted I don't want to plan too much in advance.
Big thanks again to @joshybearhuggies for sharing such a clear, well-paced, easy to follow tutorial! Over the past 15 or so years I've gathered my crochet techniques from books, written patterns, and stitch diagrams, but video instruction is an area I haven't ventured into much. This project was such pleasant experience I'm definitely going to be on the lookout for similar content in the future.
32 notes
·
View notes
Text

Finished the larger size Comfi Cardi. I cannot stress how huge this felt while handling it. Like ... baby sized 😂
My Limhwa Mano head is on a Dollstown 18yr body, 73cm tall. It's even chunky on him
This yarn turned out looking meh in photos BUT it felt so nice and smoothly squishy soft to handle. So it was enjoyable anyway
26 notes
·
View notes
Text
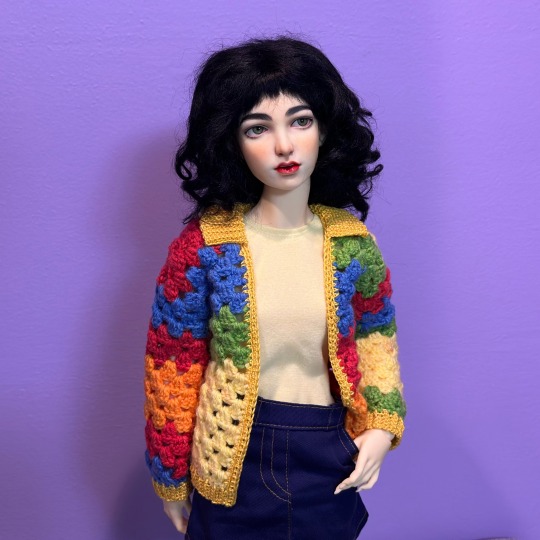
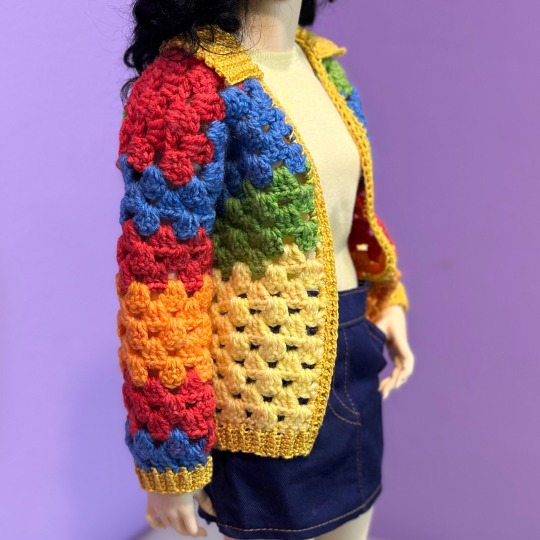
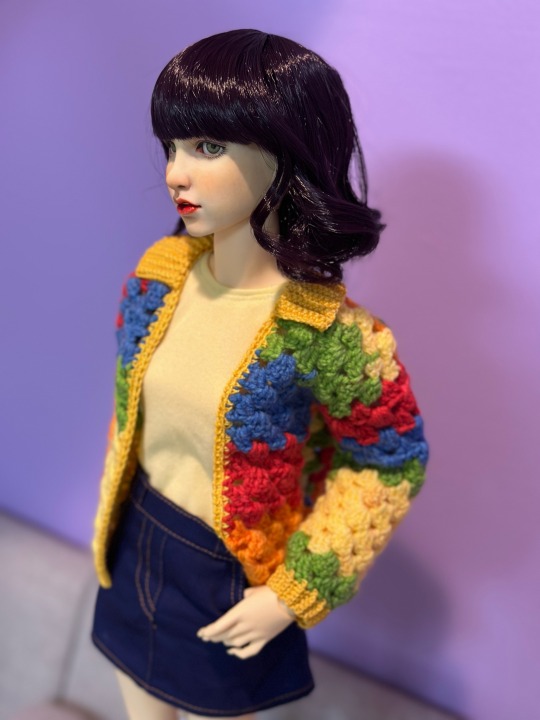
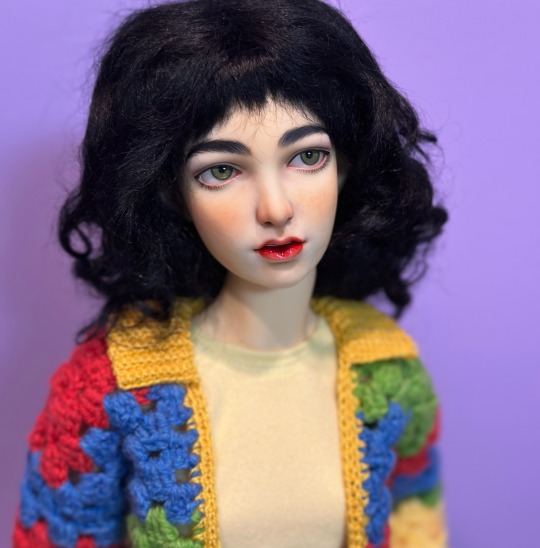
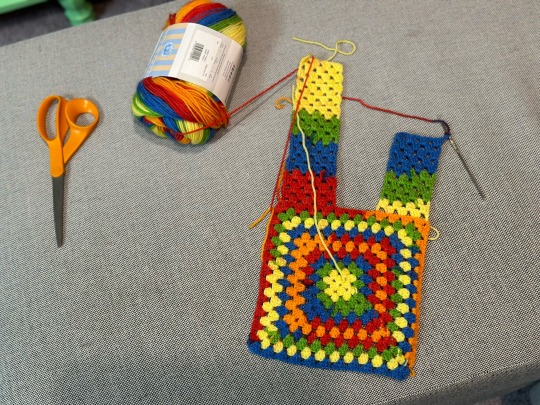
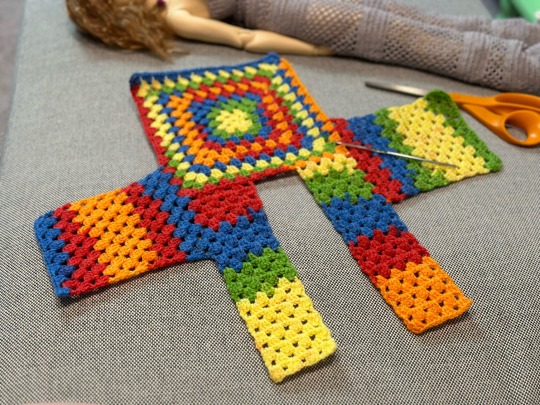

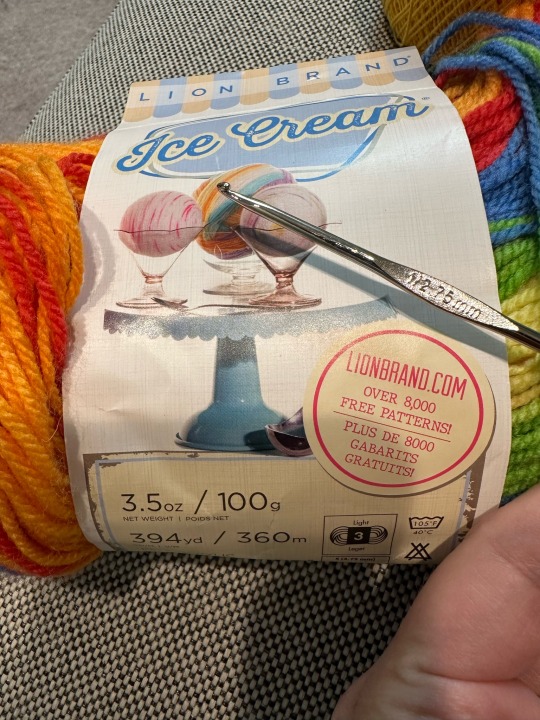
Thank you so much @joshybearhuggies for the FUN crochet tutorial for your ✨Comfi Cardi✨. It was so relaxing to make and your vid was lovely, I watched it twice while working just for the joy of it. Every step was easy with the visuals and description.
So! I used Lion Brand Ice Cream 3 weight and a 2.75 hook exactly like the tutorial and it fits perfectly on my Limhwa girl (1/3 BJD size). The edging is a thrifted thread so I'm not sure the size of that.
When it came time to decorate, I thought it looked so Kidcore that I had to put some kind of a collar on it. I used the exact technique from the cuff and hem, but started with a 10 chain and then slip stitched the ends of each row into its own half double crochet on the cardi edge (instead of slip stitching two together). I slip stitched into the loop on the right side of the garment only. I started the collar at about the bottom edge of the fourth row of granny clusters.
It turned out so cheerful and I'm thrilled to have a piece like this! Thank you again Joshy!!!! ♥️
Limhwa Eva faceup by @zaksdolls ♥️
230 notes
·
View notes
Text

when the back panel of the cardigan is looking gorgeous but then you get trapped in the world's longest stretch of PLAIN WHITE when starting the front 😤
17 notes
·
View notes
Text


My third "Comfi Cardi" with @joshybearhuggies pattern 😍♥️
This time I didn't have a smaller yarn for the cuffs and trim so I used the same size 3 and made it work 😆
The yarn is Loops & Threads Delicate DK. I found it moderately splitty, but very soft while new. Suspect it would pill up immediately with human wear, but doll wardrobes are so much easier.
This doll is the adorable (and not nearly popular enough) Dikadoll Dobbie head, on a Zaoll body. I need to paint her but my brain is terrified of losing that delicate charm she has while blank. Scared of messing it up y'know.
The wig is from Jusuns
83 notes
·
View notes
Text
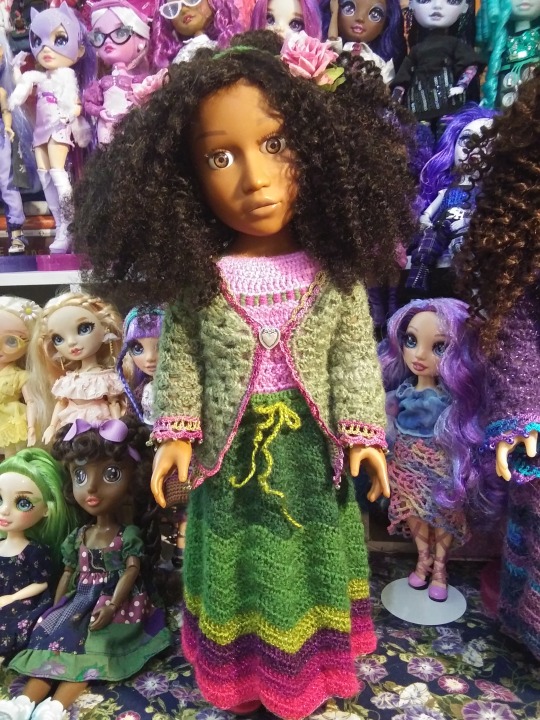
The crochet outfit I've been working on for Naturally Perfect Angelica is complete! Had a lot of delays and setbacks with this one over the past month due to a lingering chronic illness flare-up, so it feels like a real accomplishment to finally get this done. And I'm just over the moon with how adorable she turned out.
I neglected these girls for years due to my apathy towards their stock outfits and the weirdness surrounding their release (a topic for another day), but after putting all this effort and care into making things especially for them to wear I can honestly say they've become some of my favorite dolls in my collection.
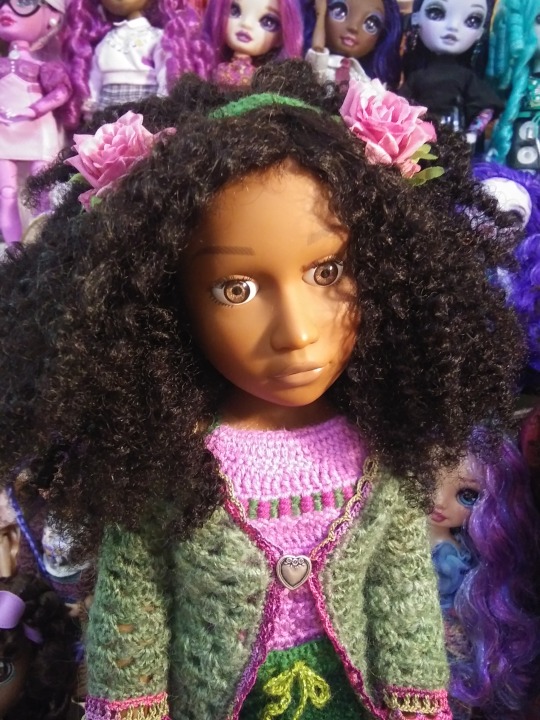

(few more details shots + before & after comparison of both NP girls and their new outfits)
I had no pattern for this top so I just made it up as I went, not my best work but an okay first attempt XD

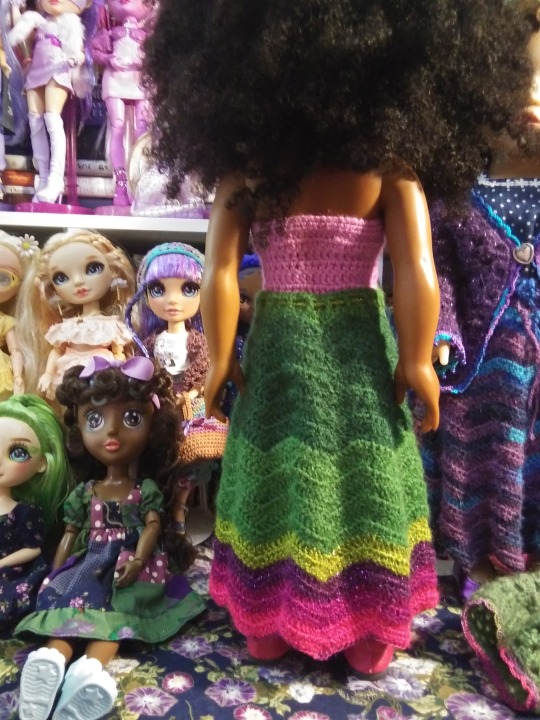
I'm honestly so, so glad I decided to do this. I got a lot of practice working in an unfamiliar clothing size, and I have a whole new appreciation for these dolls. I never really connected with them before due to their plain fashions, but now they really feel like my dolls ^_^ I'm going to work out a dedicated display space for them soon.
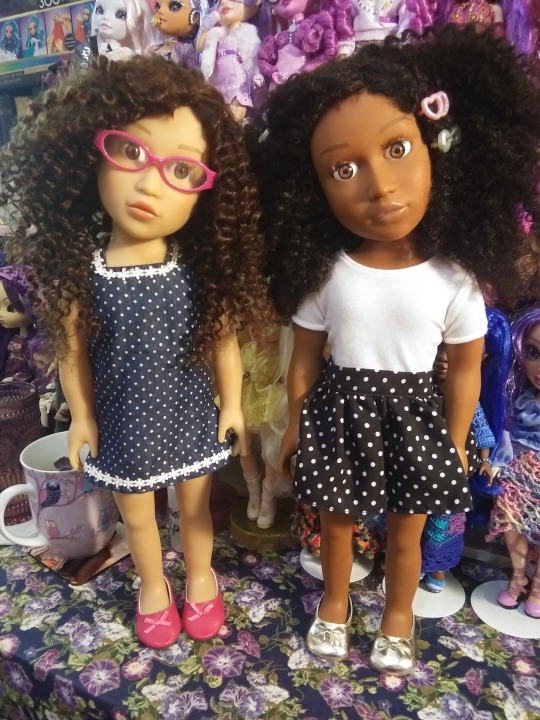

Huge debt of thanks once again to @joshybearhuggies for his Comfi Cardi tutorial, which was the unwitting catalyst for all of this! I never expected to get so inspired by this project, but I'm glad I took it and ran with it.

P.S. ~ Apologies for the super weird lighting in this one, there's a very yellow reading lamp next to my desk that I forgot to turn off before taking photos XD)
17 notes
·
View notes