#all psds
Explore tagged Tumblr posts
Text


When you're worried you might have made a zombie.
#agatha all along#lilia caldery#alice wu gulliver#patti lupone#i know the colouring on this is shitty quality#but the woods are so hard to colour and i got slightly fed up of it#i might make aaa psds soon so i don't have to individually edit every time
3K notes
·
View notes
Text

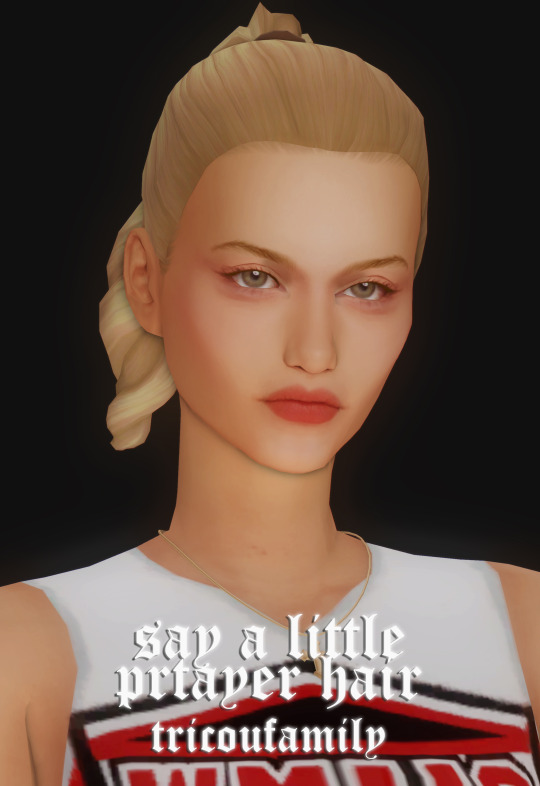
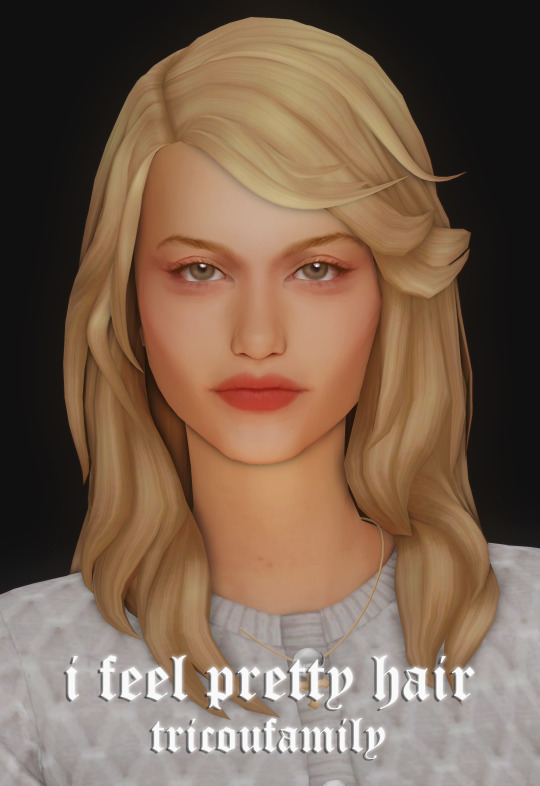
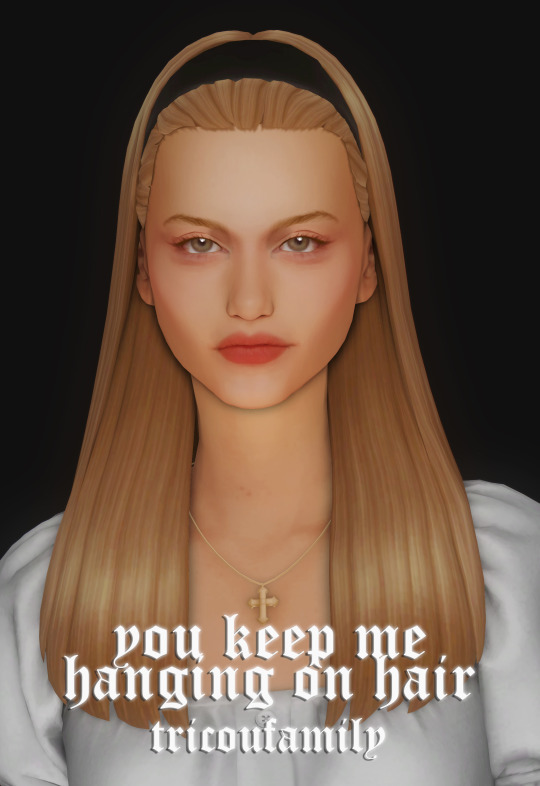
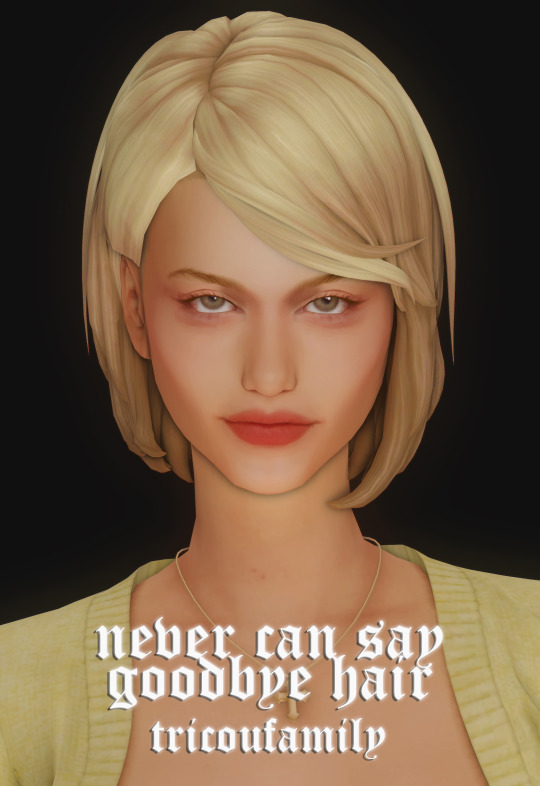
fabray set
big plans. does that mean anything to you
base game compatible
feminine
hat compatible
all lods
all ea swatches
there are. swatches for the headband acc. look i'm gonna be honest i never know what colors i'm supposed to do for those
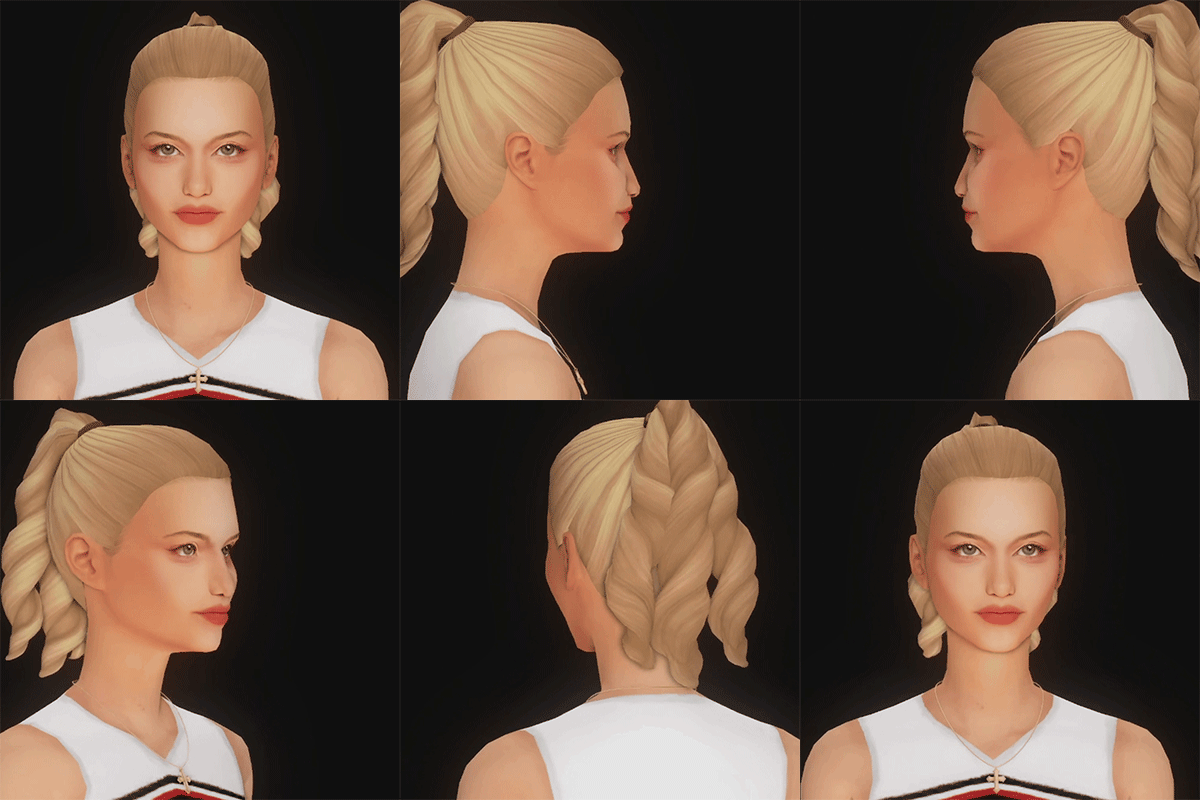
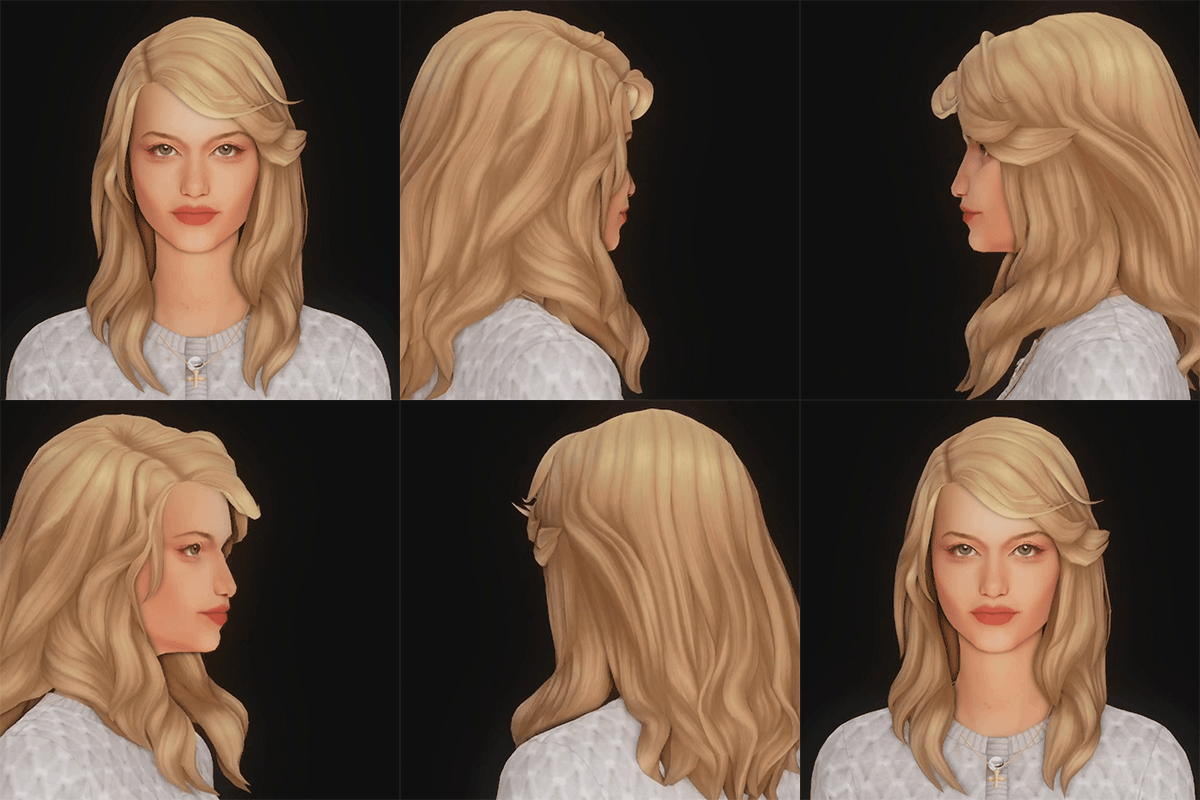

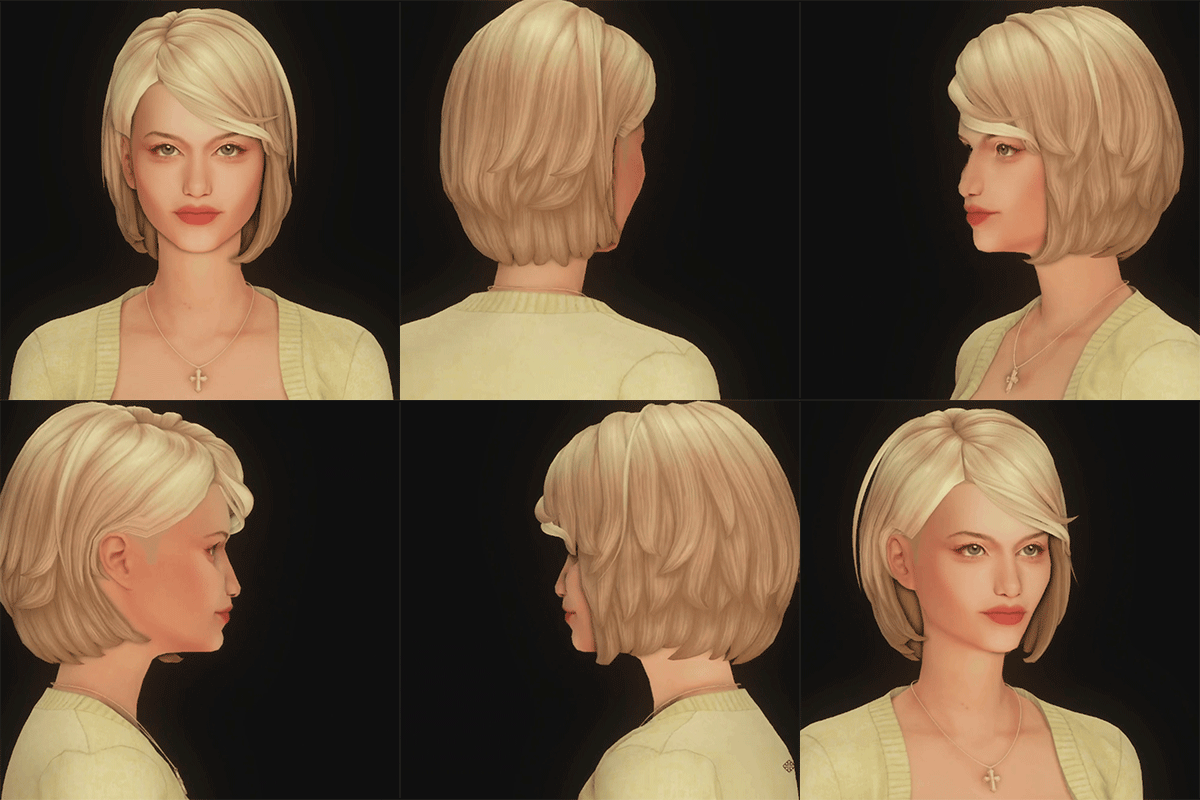
download (sfs)
#my original little meow meow#framing an innocent woman for child abuse and i'm watching age 10 like ok and. she was bullied in middle school#literally the character of all time there will never be another who compares#making these previews like ok as resident bad at female sim maker let me take a crack at making the most beautiful woman in the world#i dont have my psds for my cc previews and thumbnails i hope you appreciate my new technique of 'just post the shit'#i have NEVER fucking liked doing the graphic design shit i hate it i hate it i hate it. i have shown you the cc i did my job#ts4#ts4cc#ts4mm#s4cc#s4mm#the sims 4
880 notes
·
View notes
Text


#leo/need#leoni#project sekai#saki tenma#ichika hoshino#honami mochizuki#len kagamine#pjsk#prsk#project sekai colorful stage#prsk edit#mine: all#mine: headers#mine: prosekai#tried to make the psd a bit different this time but idk if its any different from how i usually color sjakgdkjasgdjka#anyway! i love blue! i love this set!
2K notes
·
View notes
Text
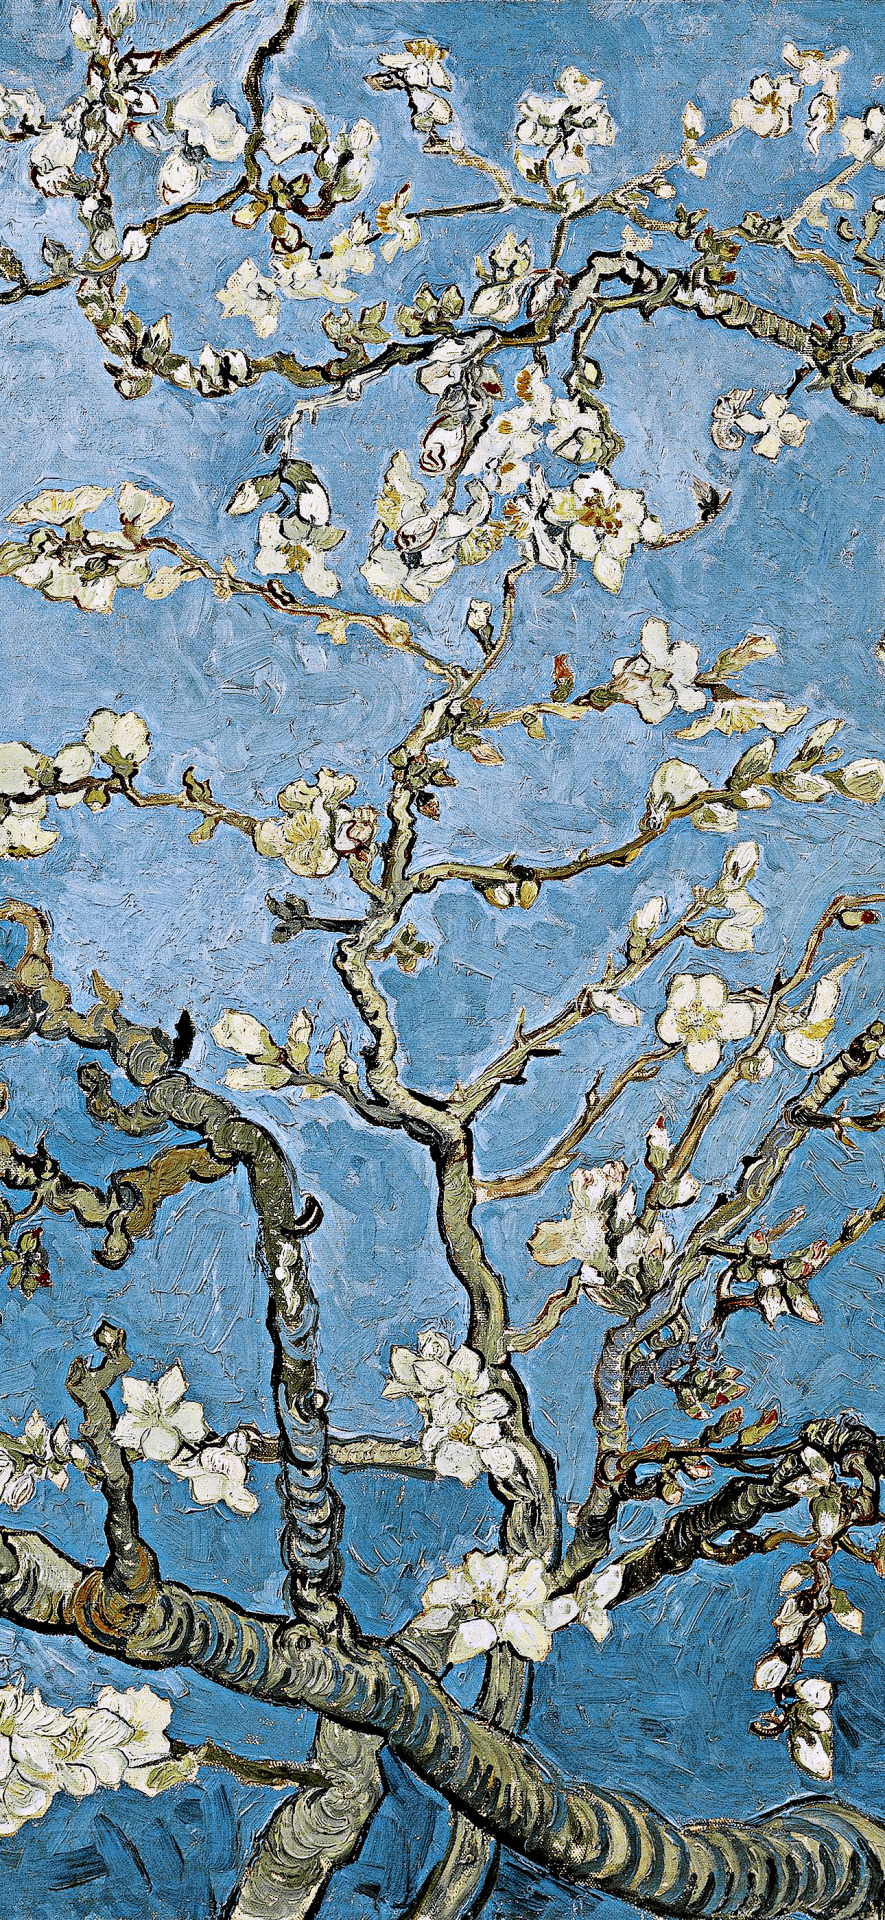
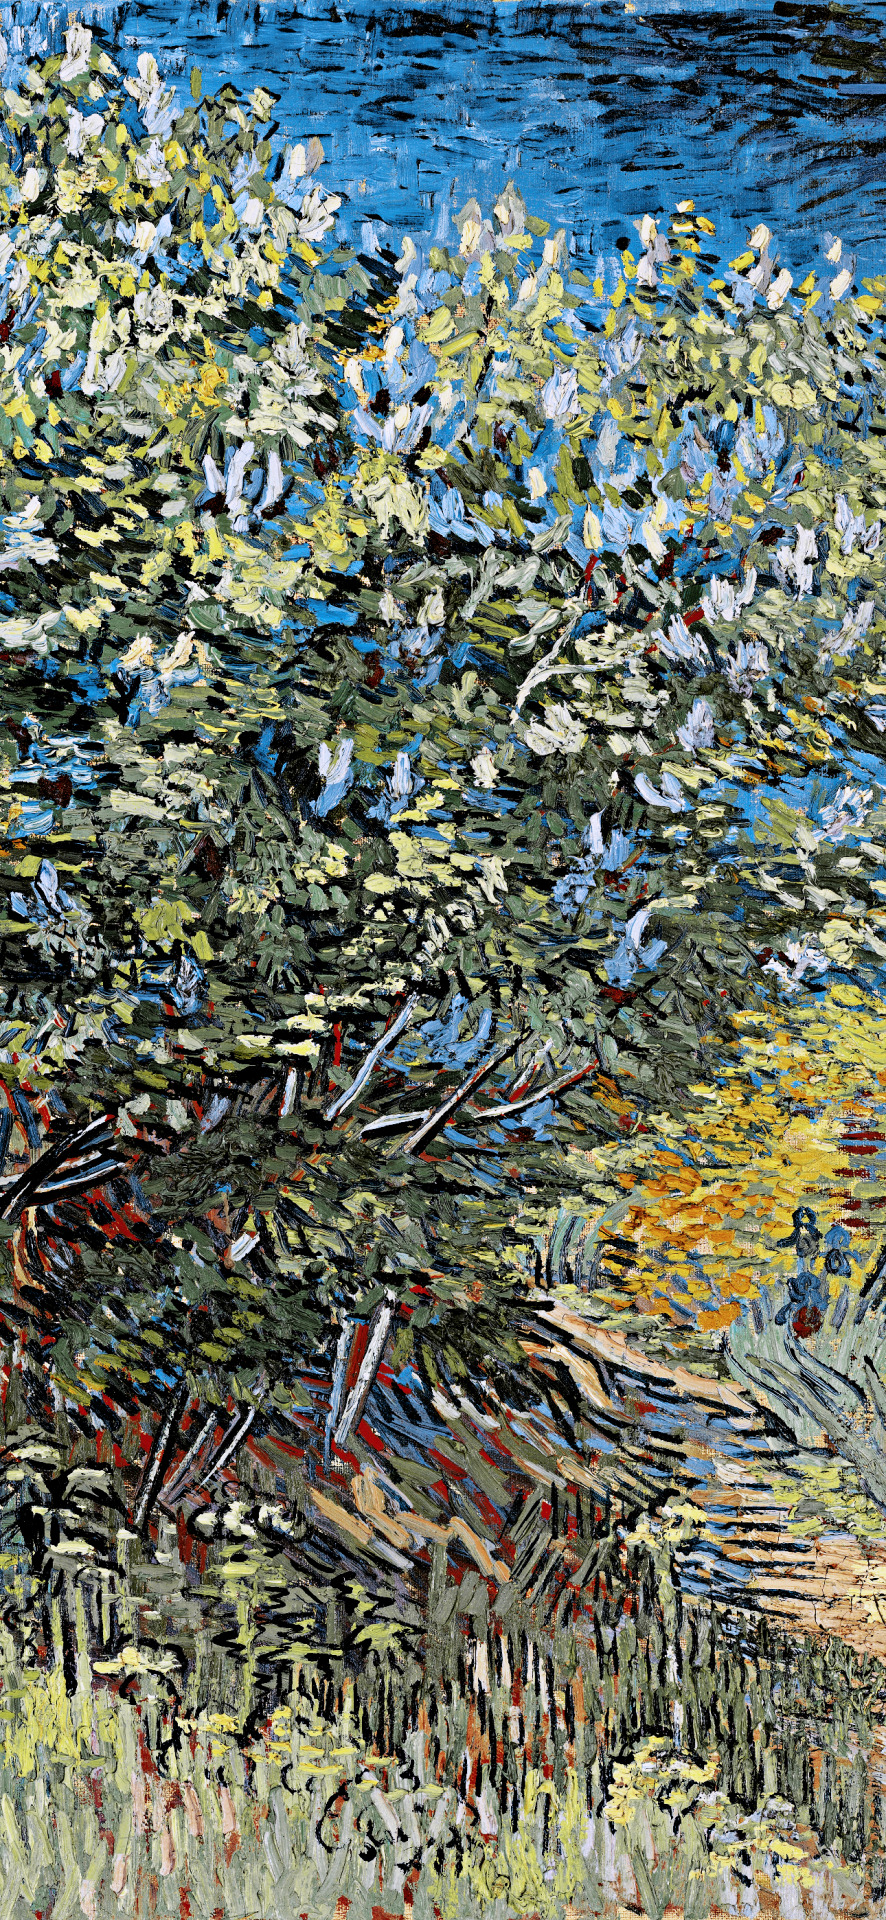
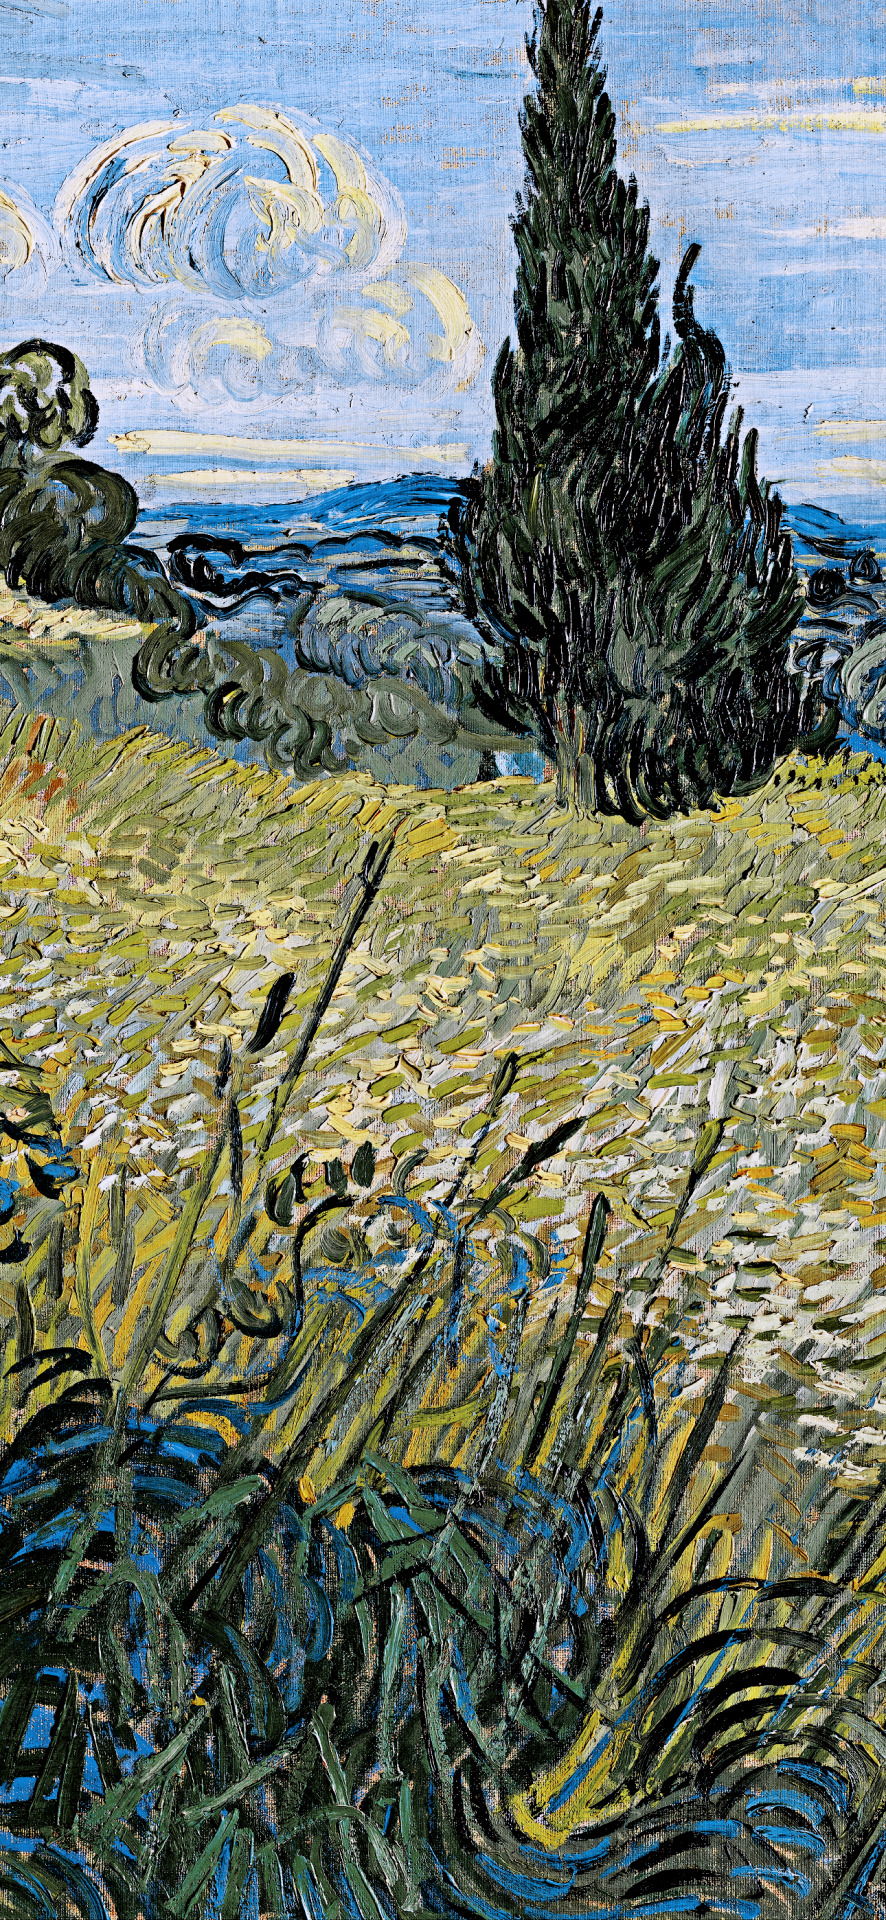
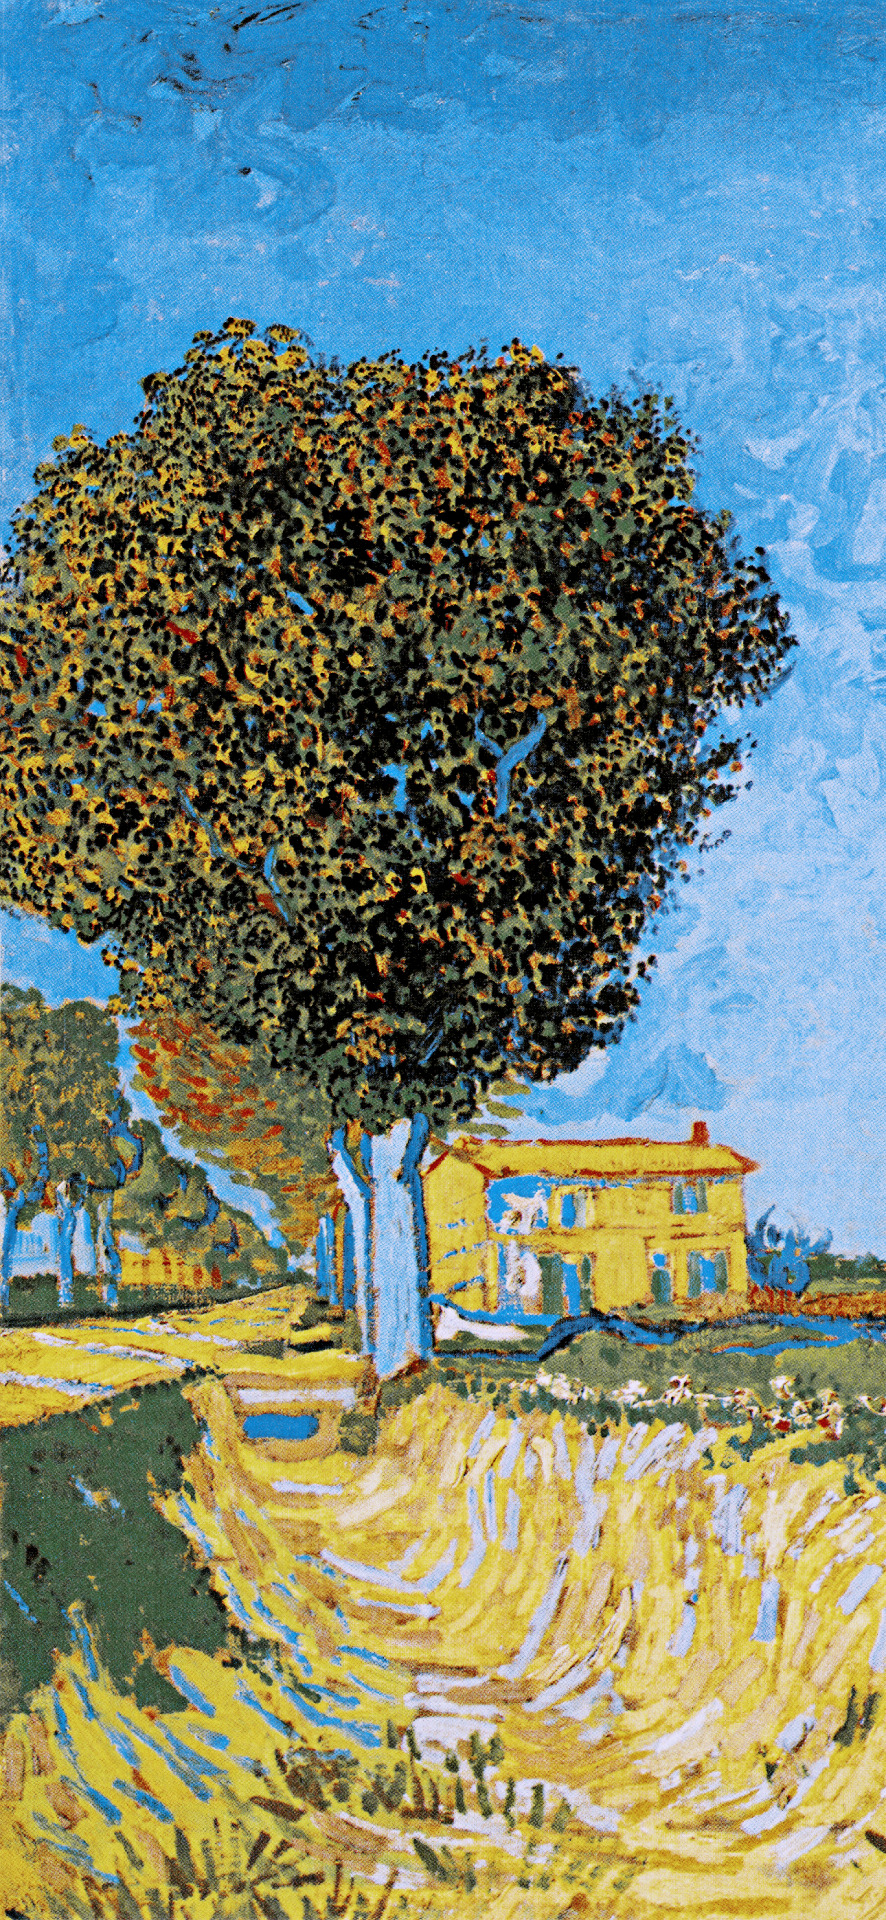
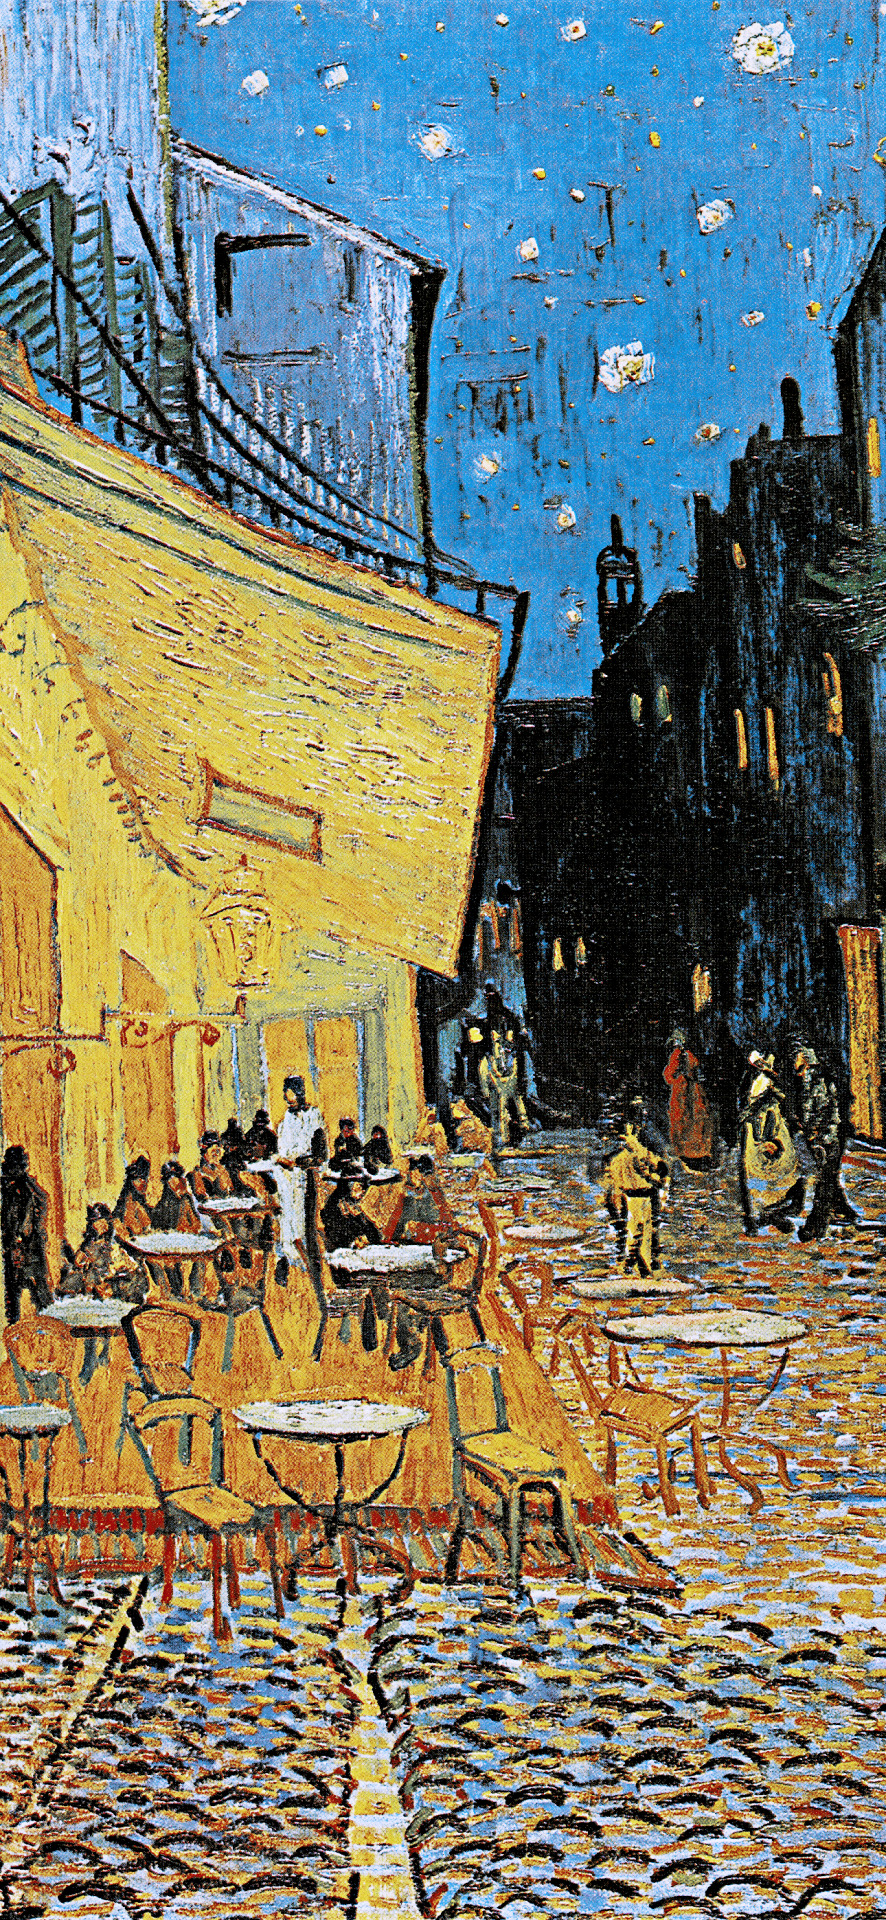
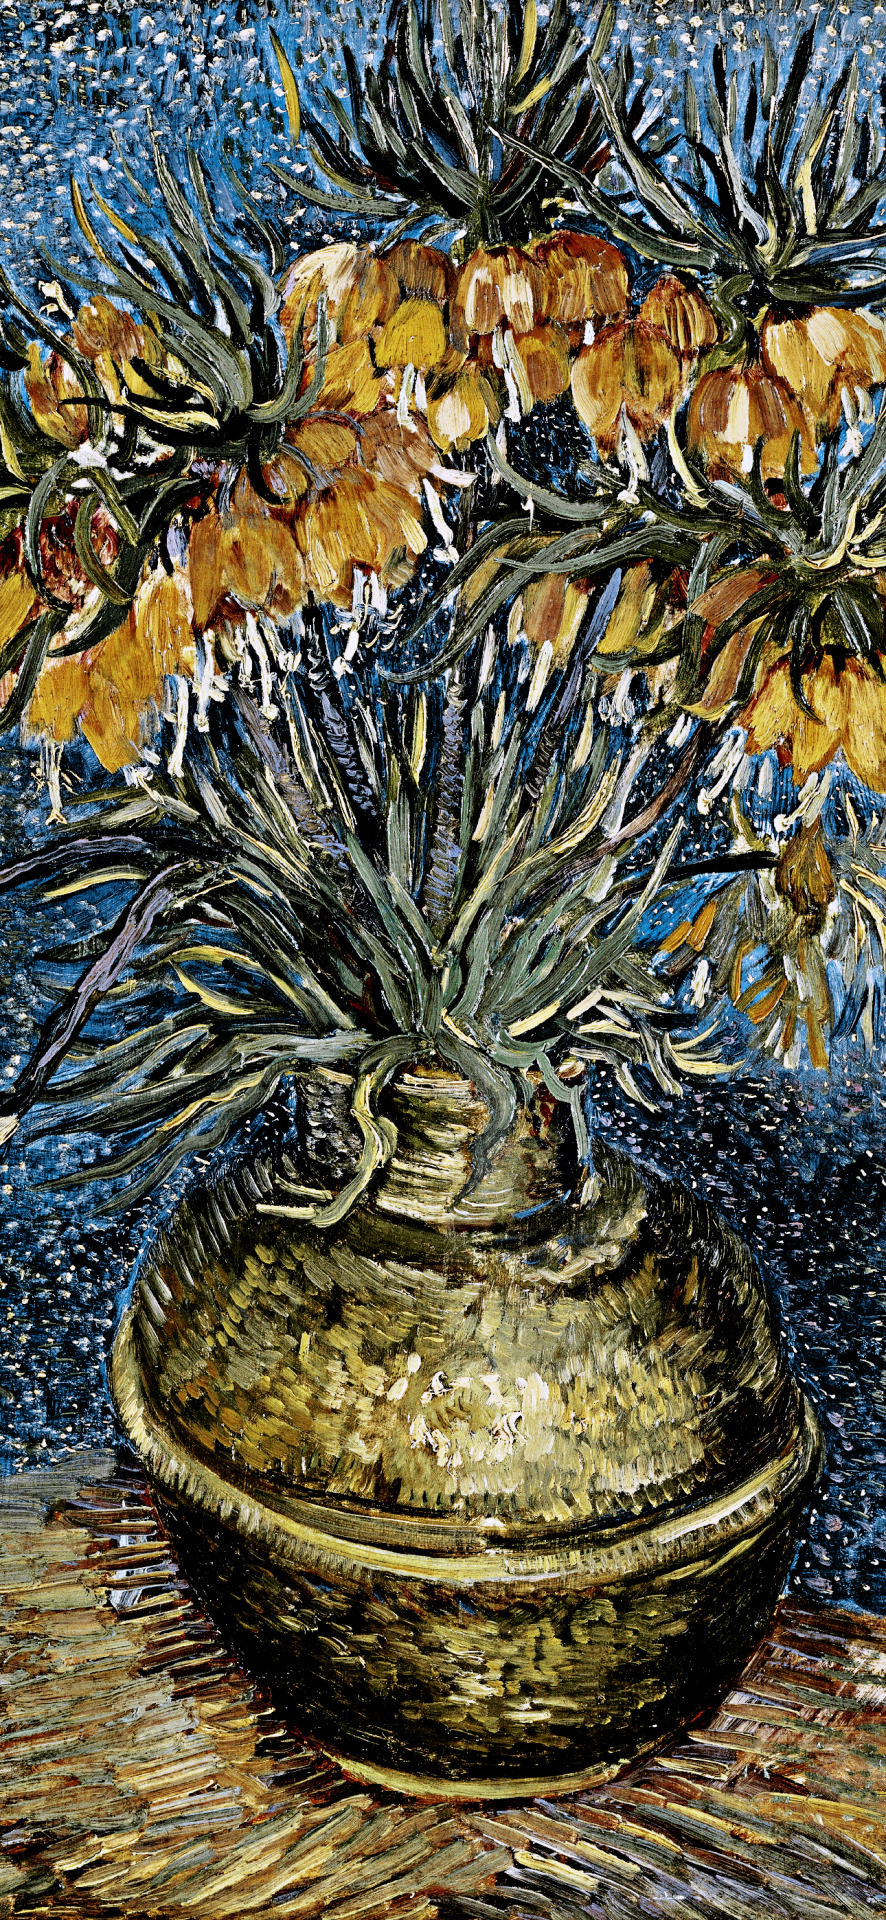
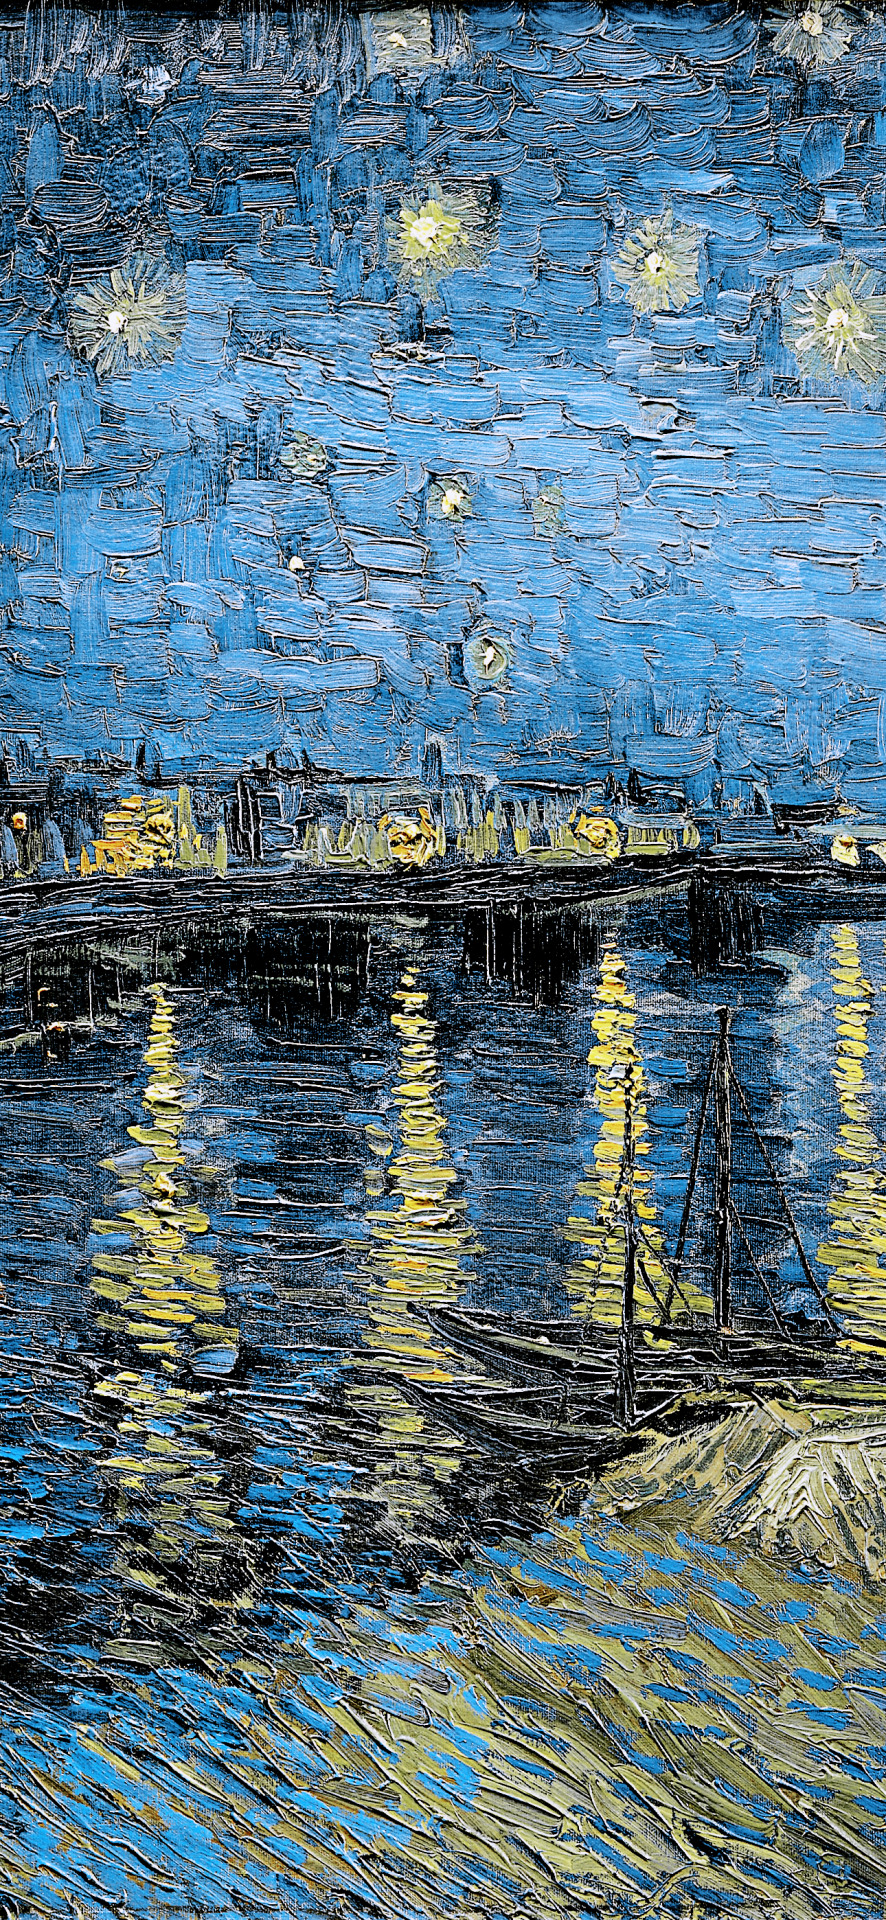


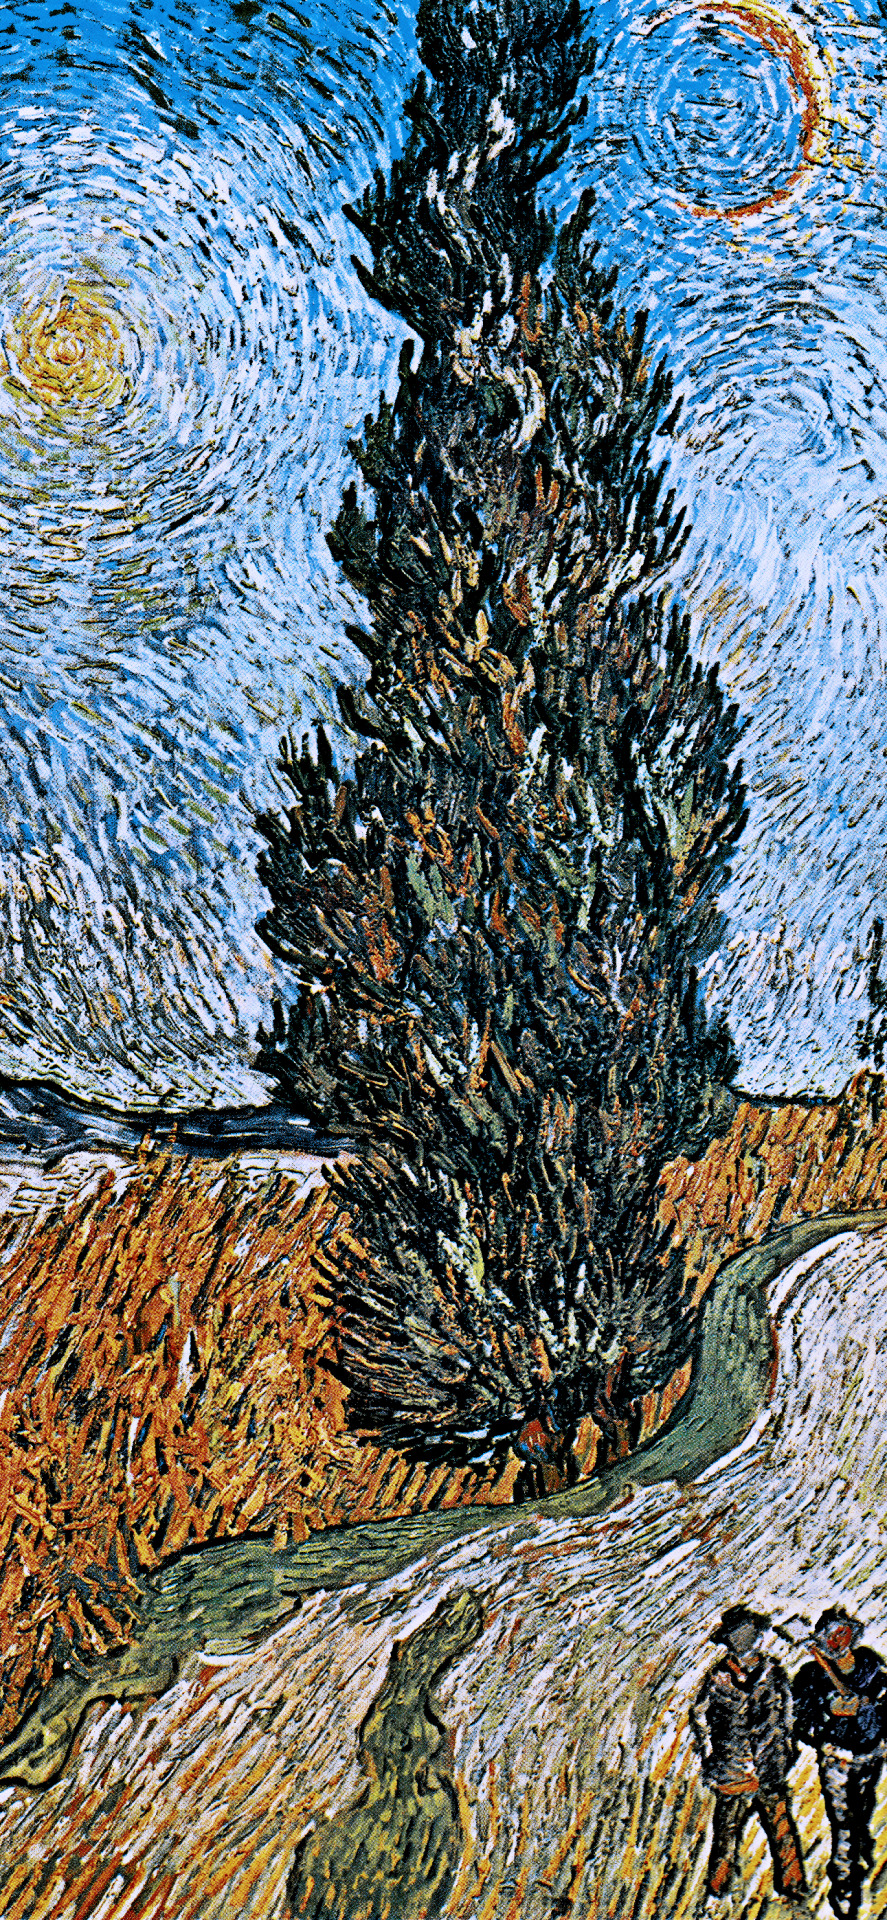
PHONE LOCKSCREENS: BLUE IN PAINTINGS by vincent van gogh
#random lockscreens#art lockscreens#art wallpapers#art wallpaper#aesthetic lockscreens#van gogh lockscreens#van gogh wallpaper#phone lockscreens#iphone wallpaper#lockscreens#art#art aesthetic#random#phone#vincent van gogh#van gogh#painting#all#psd: archer#wallpapers
7K notes
·
View notes
Text


Here are some Season 2 Arcane GIF comparisons before and after I color and sharpen them! | Season 1 Comparison GIFs
#arcane#arcaneedit#gifmaking#reminder that if ur not a fan of the coloring and sharpening then i dont need to hear ur opinion so fuck off and make your own gifs :)#sooo yeah!!! just sharing this very old coloring comparison i use from time to time to make sure i follow a certain peg for my gifs#but i dont really follow it to the T of course#and now i will use the tags to rant/comment about my coloring process lmao#ok so.... arcane s2 is SOOOOO much brighter than s1 i am so so so thankful we have such bright scenes instead of all the dark ones in s1#because it makes my life so much easier#that being said my coloring isnt really perfect i still cant handle more complex tones like the mel gif......#i used to have a more stylized coloring wayyy back in s1 (esp when u look at my old gifs) but i kinda realized i had to change it#so i scrapped all my old psds and now coloredit EVERYTHING MANUALLY#hence why sometimes i gif the same scene but theyre colored different since i never use a preset PSD now#however it became way more tedious to make gifs... so yeah.... lmao#but in the end i like it more!!! i like that my new coloring just basically matches the show more but is just brighter and more saturated#unless ofc i dont like the tones of the original show i.e. the vi gif you see there where its super green gray???? idk i dont like it so#i recolored the entire thing#anyways thats really it coloring will always be something i continue to try to improve on but recently ive just been v busy so i just#speed color and edit everything and dont rlly take all adjustments into account so no more complex tones and#i just stick to basic things#oh right sharpening! so for sharpening i use a very basic setting: just 500 px and 0.4 radius which is what i use for almost everything#i also dont add noise bc the landscape photographer in me does NOT like it LMFAOOOOOOOOOO#but yeah thats really it for sharpening oh i also use 4k sources as much as possible bc it gives the best quality and if#i cant find any source i just upscale everything by myself then crop stuff again back to 540 px and imo it really just does look better#personal tag
737 notes
·
View notes
Text

CRITTER BY kawaanago0827 ON TWITTER!
#IM CRYING IM CRYING. OPENING THE PSD TOO THE ARTIST DREW ALL OF ITS ACCESSORIES... ID DINT EVEN ASK THEM TO DO THAT#THIS MADE MY ENTIRE DAY AAAGGHGHH#critter#fursona#furry
856 notes
·
View notes
Text
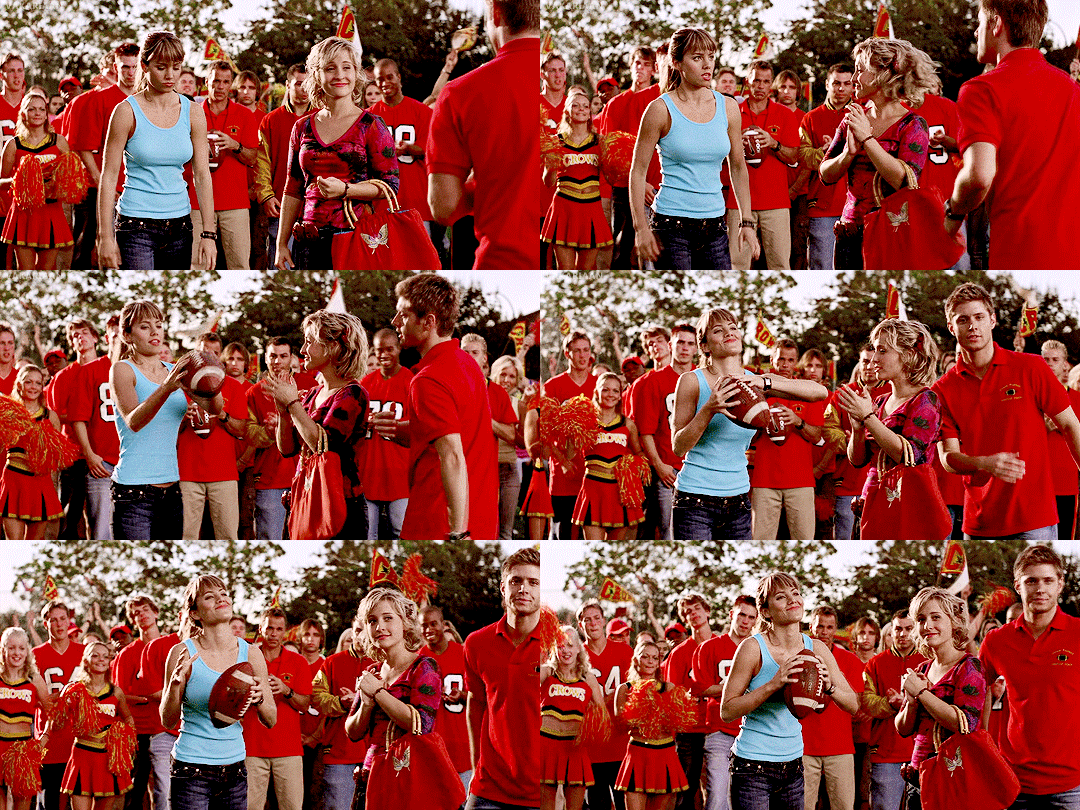
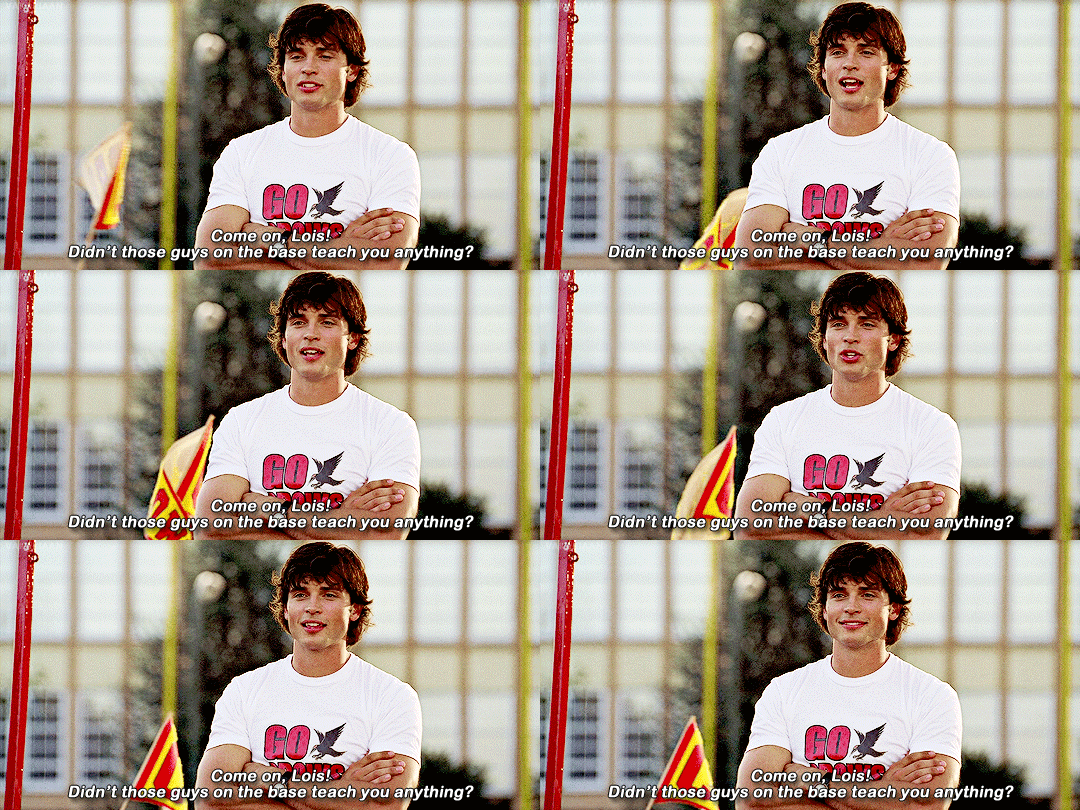
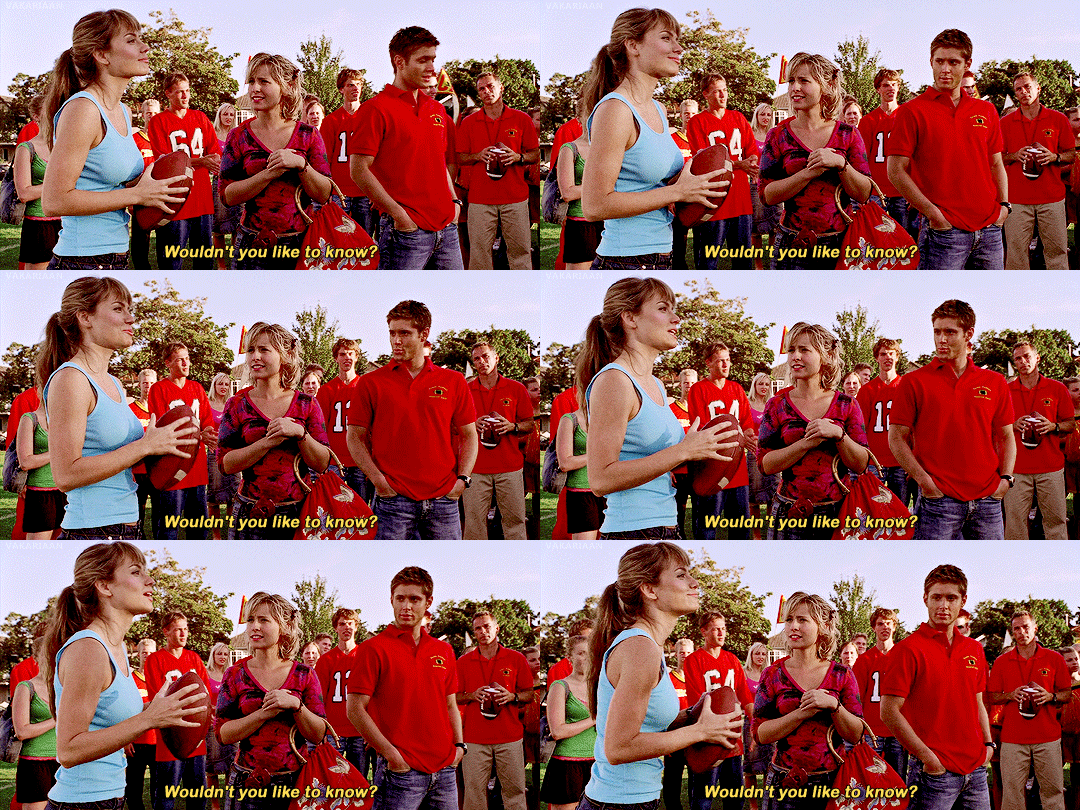


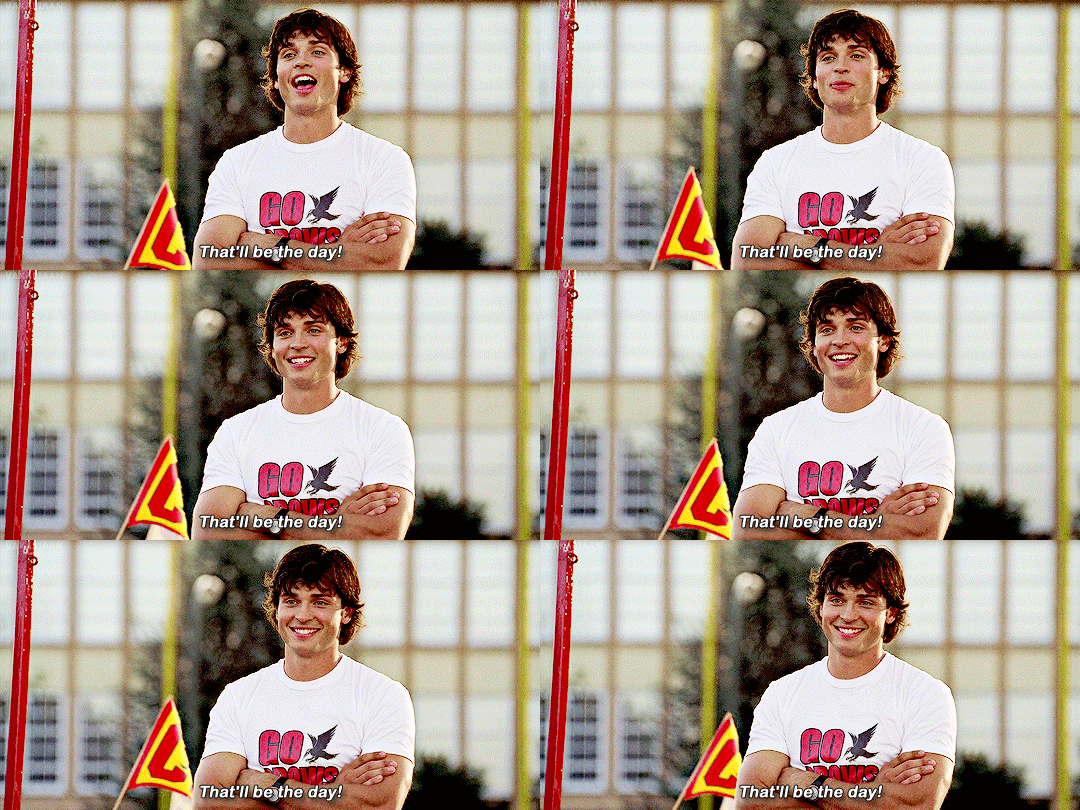


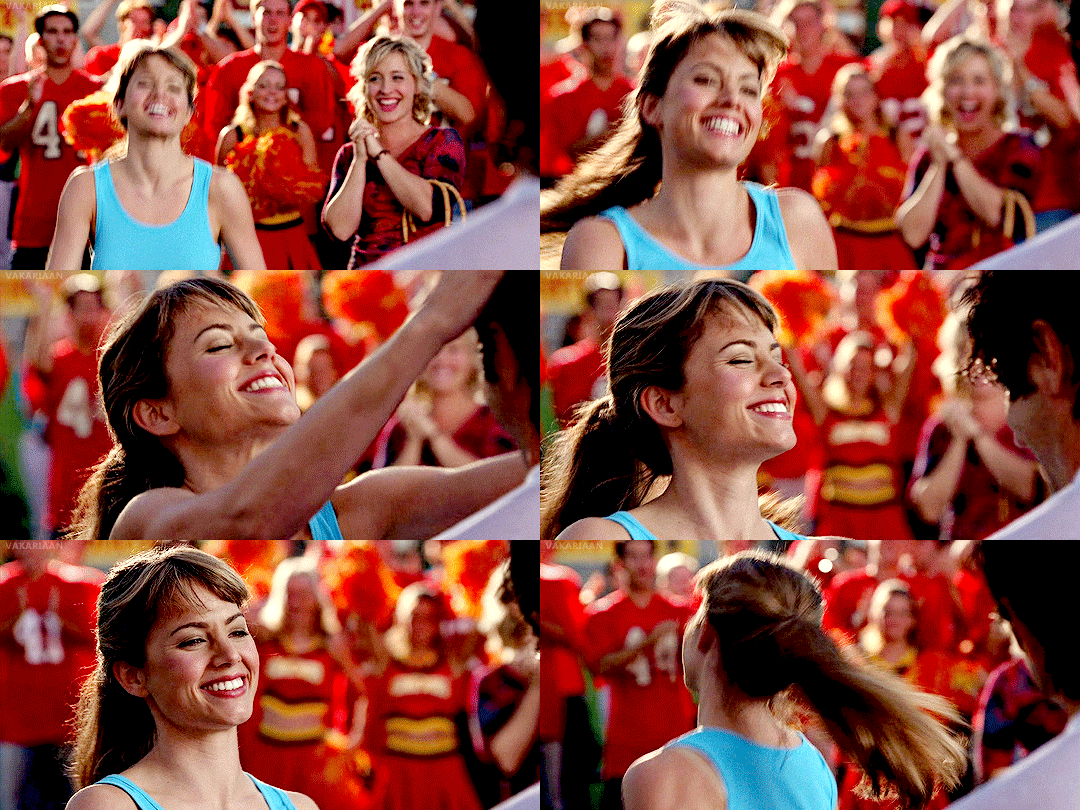
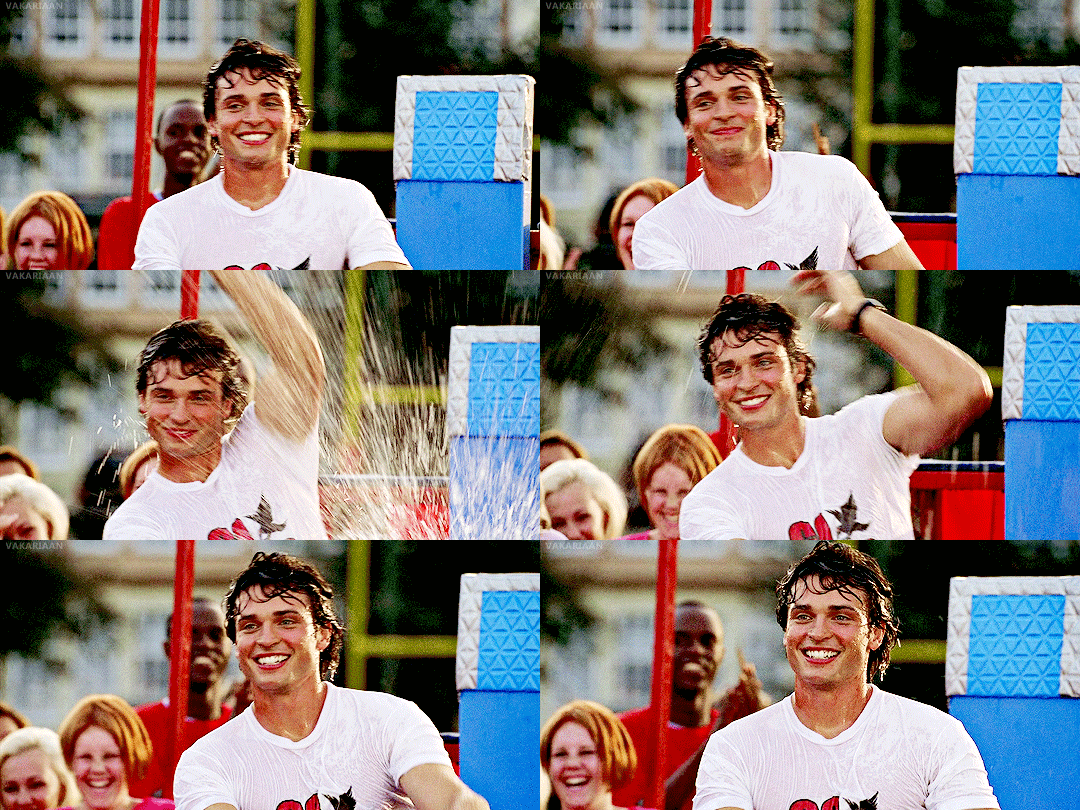
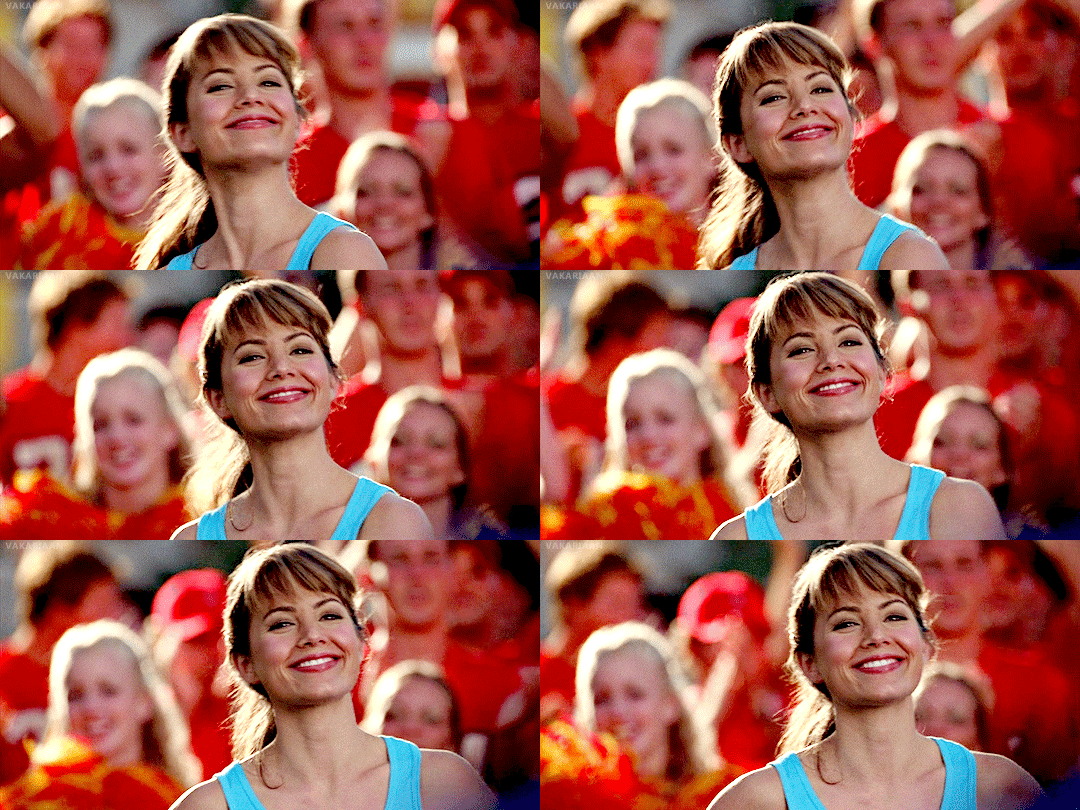

ultimate ships challenge - [1/10] smiles
#cloisedit#smallvilleedit#dcedit#dctvedit#tvedit#teendramaedit#dcfilmblr#televisiongifs#dailyfilmtvgifs#tvarchive#dailyflicks#otpsource#junkfooddaily#userstream#myedit#ultimate ships challenge#dc#smallville#clark kent#lois lane#clark x lois#THE SCENE OF ALL SCENES#THE SPARK#THE JOY#THE HAIR RUFFLE#I didn't realise until after I'd posted I forgot to add a whole Lois gif in there because I'd had to recap it#but it was too late cause PS was already closed and I didn't save the PSD *sob*#oh well I will be sure to include it the next time I inevitably regif this scene in the future
731 notes
·
View notes
Text


ON Kinetic Manifesto Film Shoot Sketch | Hyung line🖤
#btsgif#btsedit#cyphernet#dailybts#userdimple#raplineuser#userpat#useremmeline#annietrack#creatyoon#seokjinedit#namjoonedit#yoongiedit#hoseokedit#kim seokjin#kim namjoon#min yoongi#jungkook#bts#*#i blame joon's smile he gave me the idea😁#and i like on aethetic so i really enjoyed giffing these#and i'm still experimenting with sharpening and all#looks okay (me thinks)#yoongi as usual gave me the biggest headache but i'm proud how it turned out (i even saved psd for the next before\after round)
564 notes
·
View notes
Text
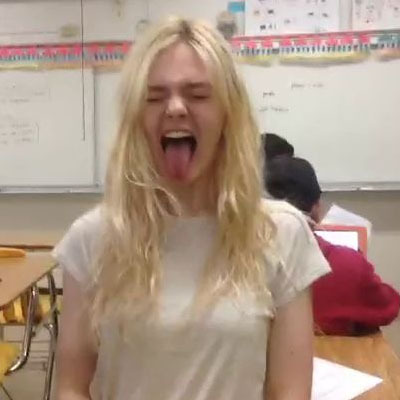
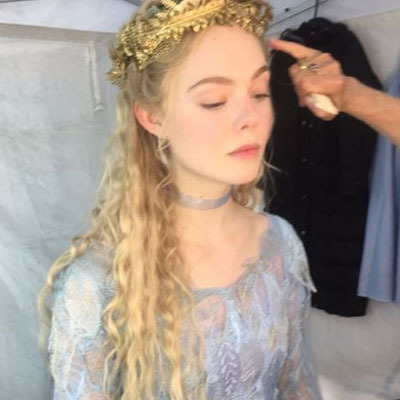
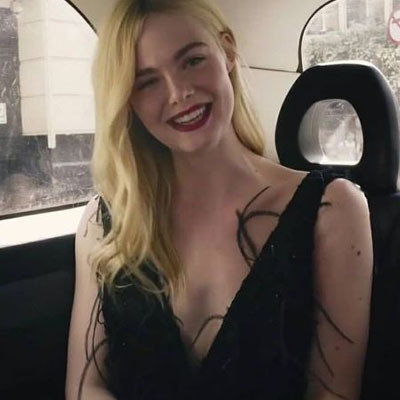
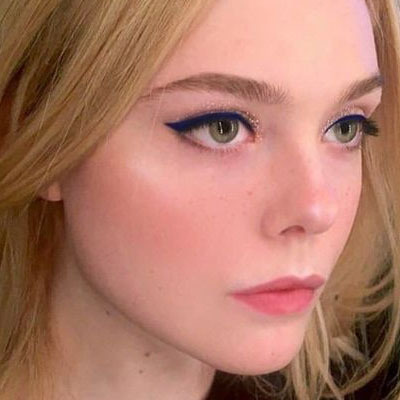
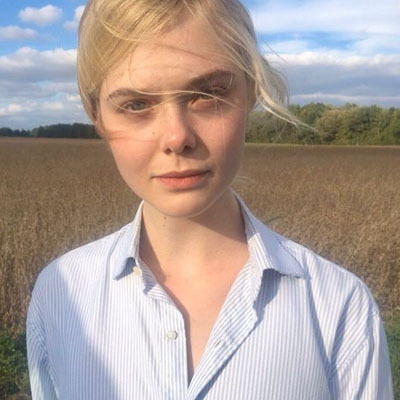
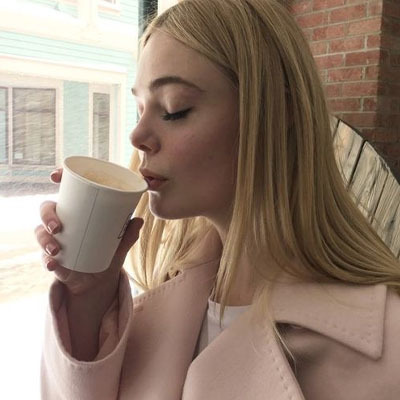
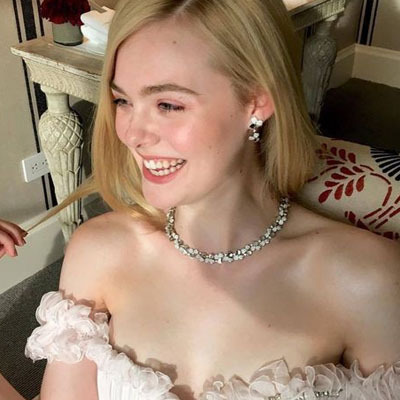
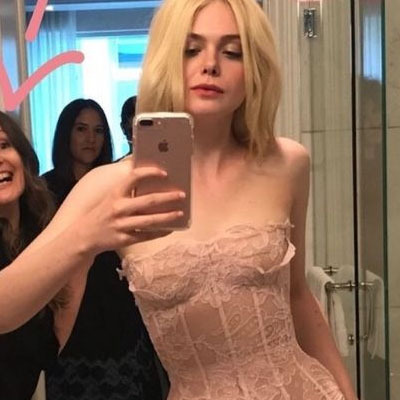
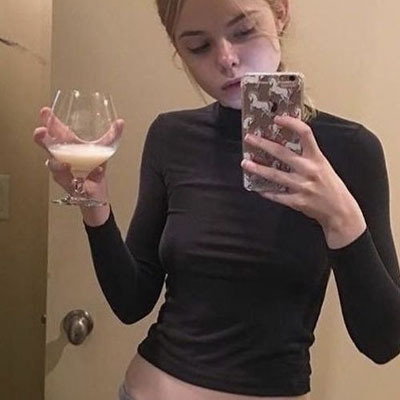
Elle Fanning
#elle fanning#elle fanning icons#the great hulu#the great icons#twitter icons#icon psd#girls icons#model icons#hollywood icons#actress icons#aesthetic icons#icons#all the bright places#movies#series#icons actress#icons without psd#icon#random icons#site model icons#icons elle fanning#no psd icons#icons blonde girls#blonde girls icons#elle icons#icons elle
2K notes
·
View notes
Photo
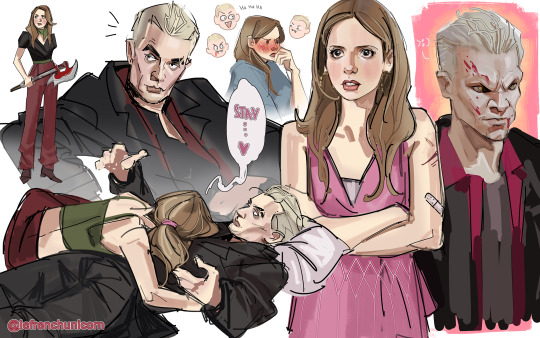
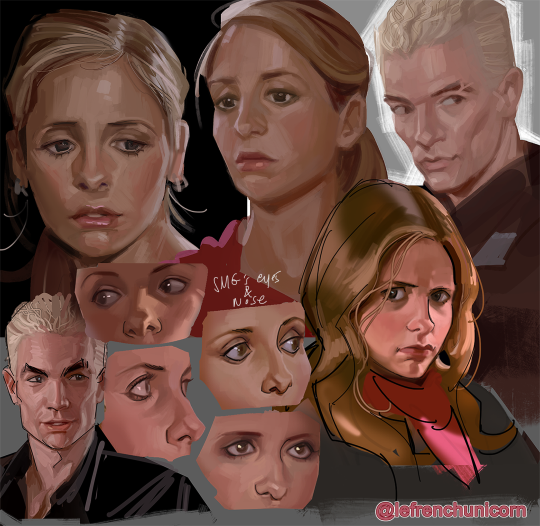
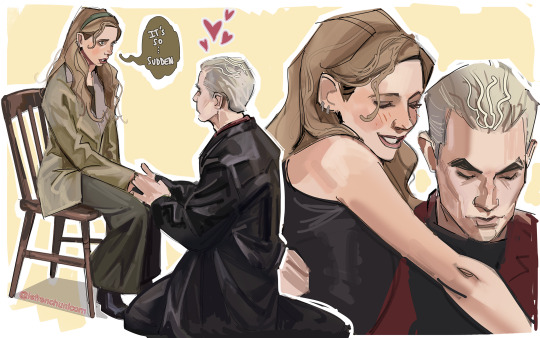
spuffy
#spuffy#Buffy The Vampire Slayer#btvs#buffy x spike#I lost my PSD file and everything in it#i saved these all thanks to captions i sent my friends#and kinda worked with that#so if some pieces are pixely#this is honestly the best i could do#lmao#this is a fucking miracle#btw do you ever get spuffy brainrot 'cause i do#my art#Please don't repost
5K notes
·
View notes
Text


♡ INTRO/ABOUT TEMPLATE — the feminine urge
two (2) free templates made from scratch and fully customizable. even when text, colors, and images can be changed easily, you’ll need to know how to use the clipping mask and how to change the bending option of each layer.
credits: beckan (findt it here) and poppins as the fonts used.
as usual, don’t claim this as your own and reblog if you find it useful.
#rph#rp template#rp psd#about template#about psd#promo template#promo psd#character template#character psd#wardrobe psd#supportcontentcreators#rp resources#mine: psd#happy holidays yall!!!!!!!!!#hope you enjoy it#it's my christmas gift to all of you uwu
375 notes
·
View notes
Text
My GIF Making process: Screen capturing using MPV player, Organizing files, 3 Sharpening settings, Basic Coloring PSD + Actions set

This is a very long post so heads up.
I’ll try to be as thorough and true as much as possible to the way I make my gifs (I already use Photoshop Actions which I’ve long since set up but now for this tutorial I’m reviewing them to show you the exact steps I’ve learned to create my gifs 😃) and present them to you in a semi-coherent way. Also, please bear with me since English is my second language.
First things first. Below are the things and tools we need to do this:
Downloaded 4K or 1080p quality videos (let’s all assume we know where to get these—especially for high definition movies and tv series—so this post doesn’t get removed, okay? 😛)
Adobe Photoshop CC or the CS versions can work as well, but full disclosure I haven’t created gifs using the CS versions since 2020. I’m currently using Adobe Photoshop 2024.
mpv player. Use mpv player to get those frames/screenshots or any other video player that has a screen grabber feature. I’ve used adapter for the longest time but I’ve switched to mpv because the press to screenshot feature while the video is playing has been a game changer not to mention ultimate time saver for me. For adapter you need to play it in another video player (like VLC player), to get the start and end timestamps of the scene you want to gif which takes me ages before I can even open Photoshop.
Anyway! Please stop reading this post for a moment and head over to this amazing tutorial by kylos. She perfectly tells you how to install and use mpv player, both for Mac and Windows users.
One thing I have to share though, I had a tough time when I updated my MacOS to Sonoma since MPV is suddenly either duplicating frames or when I delete the duplicates the player seems to be skipping frames :/ I searched and found a solution here, though it didn’t work for me lol. My workaround for this in the meantime is decreasing the speed down to 0.70 then start screenshotting—it’s not the same pre Sonoma update but it works so I’ll have to accept it rather than have jumpy looking gifs.
Now, after this part of kylos’ tutorial:

you can continue reading the following sections of my gif tutorial below.
I want to share this little tip (sorry, this will only cater to Mac users) that I hope will be helpful for organizing the screenshots that MPV saved to the folder you have selected. Because believe me you don’t want to go through 1k+ of screenshots to select just 42-50 frames for your gif.
The Control + Command + N shortcut
This shortcut allows you to create a new folder from files you have pre-selected. As you can see below I have already created a couple of folders, and inside each folder I have selected screenshots that I want to include in one single gif. It's up to you how you want to divide yours, assuming you intend to create and post a Tumblr gifset rather than just one gif.

Another tip is making use of tags. Most of, if not all the time, I make supercorp gifs so I tag blue for Kara and red (or green) for Lena—just being ridiculously on brand and all that.
Before we finally open Photoshop, there's one more thing I want to say—I know, please bear with me for the third? fourth? time 😅
It's helpful to organize everything into their respective folders so you know the total number of items/frames you have. This way, you can add or delete excess or unnecessary shots before uploading them in Photoshop.
For example below there are 80 screenshots of Kara inside this folder and for a 1:1 (540 x 540 px) Tumblr gif, Photoshop can just work around with 42-50 max number of frames with color adjustments applied before it exceeds the 10 MB file size limit of Tumblr.

Sometimes I skip this step because it can be exhausting (haha) and include everything so I can decide visually which frames to keep later on. You'll understand what I mean later on. But it's important to keep the Tumblr 10 MB file size limit in mind. Fewer frames, or just the right amount of frames, is better.
So, with the screenshot organization out of the way, let's finally head over to Photoshop.
Giffing in Photoshop, yay!
Let’s begin by navigating to File > Scripts > Load Files into Stack…

The Load Layers window will appear. Click the Browse button next.
Find your chosen screenshots folder, press Command + A to select all files from that folder then click Open. Then click OK.
After importing and stacking your files, Photoshop should display the following view:

By the way, I'll be providing the clip I've used in this tutorial so if want to use them to follow along be my guest :)
If you haven't already opened your Timeline panel, navigate to Windows > Timeline.
Now, let's focus on the Timeline panel for the next couple of steps.
Click Create Video Timeline, then you’ll have this:

Now click the menu icon on the top right corner then go to Convert Frames > Make Frames from Clips

Still working on the Timeline panel, click the bottom left icon this time—the icon with the three tiny boxes—to Convert to Frame Animation
Select Make Frames From Layers from the top right corner menu button.
So now you have this:

Go and click the top right menu icon again to Select All Frames
Then click the small dropdown icon to set another value for Frame Delay. Select Other…

The best for me and for most is 0.05 but you can always play around and see what you think works for you.
Click the top right menu icon again to Reverse Frames.
I think Photoshop has long since fixed this issue but usually the first animation frame is empty so I just delete it but now going through all these steps there seems to be none of that but anyways, the delete icon is the last one among the line of feature buttons at the bottom part of the Timeline panel.
Yay, now we can have our first proper GIF preview of a thirsty Lena 😜

Press spacebar to watch your gif play for the very first time! After an hour and half of selecting and cutting off screenshots! 😛 Play it some more. No really, I’m serious. I do this so even as early (lol) as this part in the gif making process, I can see which frames I can/should delete to be within the 10 MB file size limit. You can also do it at the end of course 🙂
Now, let’s go to the next important steps of this tutorial post which I’ve numbered below.
Crop and resize to meet Tumblr's required dimensions. The width value should be either 540px, 268px, or 177px.
Convert the gif to a Smart Object for sharpening.
Apply lighting and basic color adjustments before the heavy coloring. I will be sharing the base adjustments layers I use for my gifs 😃.
1. Crop and Resize
Click on the Crop tool (shortcut: the C key)

I like my GIFs big so I always set this to 1:1 ratio if the scene allows it. Press the Enter key after selecting the area of the frame that you want to keep.
Side note: If you find that after cropping, you want to adjust the image to the left or another direction, simply unselect the Delete Cropped Pixels option. This way, you will still have the whole frame area available to crop again as needed and as you prefer.
Now we need to resize our gif and the shortcut for that is Command + Opt + I. Type in 540 as the width measurement, then the height will automatically change to follow the ratio you’ve set while cropping.
540 x 540 px for 1:1
540 x 405 px for 4:3
540 x 304 px for 16:9
For the Resample value I prefer Bilinear—but you can always select the other options to see what you like best.
Click OK. Then Command + 0 and Command + - to properly view the those 540 pixels.

Now we get to the exciting part :) the sharpen settings!
2. Sharpen
First we need to have all these layers “compressed” intro a single smart object from which we can apply filters to.
Select this little button on the the bottom left corner of the Timeline panel.


Select > All Layers
Then go to Filter > Convert for Smart Filters
Just click OK when a pop-up shows up.
Now you should have this view on the Layers panel:

Now I have 3 sharpen settings to share but I’ll have download links to the Action packs at the end of this long ass tutorial so if you want to skip ahead, feel free to do so.
Sharpen v1
Go to Filter > Sharpen > Smart Sharpen…
Below are my settings. I don’t adjust anything under Shadows/Highlights.
Amount: 500
Radius: 0.4
Click OK then do another Smart Sharpen but this time with the below adjustments.
Amount: 12
Radius: 10.0

As you can see Lena’s beautiful eyes are “popping out” now with these filters applied. Click OK.
Now we need to Convert to Frame Animation. Follow the steps below.
Click on the menu icon at the top right corner of the Timeline panel, then click Convert Frames > Flatten Frames into Clips
Then Convert Frames > Convert to Frame Animation
One more click to Make Frames From Layers
Delete the first frame then Select All then Set Frame Delay to 0.05

and there you have it! Play your GIF and make sure it’s just around 42-50 frames. This is the time to select and delete.
To preview and save your GIF go to File > Export > Save for Web (Legacy)…
Below are my Export settings. Make sure to have the file size around 9.2 MB to 9.4 MB max and not exactly 10 MB.

This time I got away with 55 frames but this is because I haven’t applied lighting and color adjustments yet and not to mention the smart sharpen settings aren't to heavy so let’s take that into consideration.
Sharpen v1 preview:

Sharpen v2
Go back to this part of the tutorial and apply the v2 settings.

Smart Sharpen 1:
Amount: 500
Radius: 0.3
Smart Sharpen 2:
Amount: 20
Radius: 0.5
We’re adding a new type of Filter which is Reduce Noise (Filter > Noise > Reduce Noise...) with the below settings.

Then one last Smart Sharpen:
Amount: 500
Radius: 0.3
Your Layers panel should look like this:

Then do the Convert to Frames Animation section again and see below preview.
Sharpen v2 preview:

Sharpen v3:
Smart Sharpen 1:
Amount: 500
Radius: 0.4
Smart Sharpen 2:
Amount: 12
Radius: 10.0
Reduce Noise:
Strength: 5
Preserve Details: 50%
Reduce Color Noise: 0%
Sharpen Details: 50%
Sharpen v3 preview:

And here they are next to each other with coloring applied:
v1

v2

v3

Congratulations, you've made it to the end of the post 😂
As promised, here is the download link to all the files I used in this tutorial which include:
supercorp 2.05 Crossfire clip
3 PSD files with sharpen settings and basic coloring PSD
Actions set
As always, if you're feeling generous here's my Ko-fi link :) Thank you guys and I hope this tutorial will help you and make you love gif making.
P.S. In the next post I'll be sharing more references I found helpful especially with coloring. I just have to search and gather them all.
-Jill
#tutorial#gif tutorial#photoshop tutorial#gif making#sharpening#sharpening tutorial#photoshop#photoshop resources#psd#psd coloring#gif coloring#supercorp#supercorpedit#lena luthor#supergirl#my tutorial#this has been a long time coming#guys. i'm BEGGING you. use the actions set - it was a pain doing all this manually again ngl LMAO#i've been so used to just playing the actions#so this has been a wild refresher course for me too 😆
494 notes
·
View notes
Text


Kant? Khaotung Thanawat as Bison; First Kanaphan as Kant (The Heart Killers, 2024-25)
#thkedit#the heart killers#bisonkant#kantbison#the heartkillers#thk bison#thk kant#asianlgbtqdramas#tuserrowan#userjamiec#userbon#tusersilence#tuserhidden#fordaniseyes#my gifs#my edits#mine: the heart killers#mine: kantbison#my photoshop decided to die so i found a new copy but i now have to stop freaking out because the workspace is WroNG#i rebuilt my sharpening action but i've lost all my presets so i'm starting from scratch with a bunch of stuff#thank fuck i tend to save .psds separately at least#anyway i needed this hug thanks#i'll gif more at some point later maybe but i needed this hug#it's very nearly eclipse-e06-beachhug#(nothing will ever touch it but this is so close)
300 notes
·
View notes
Text
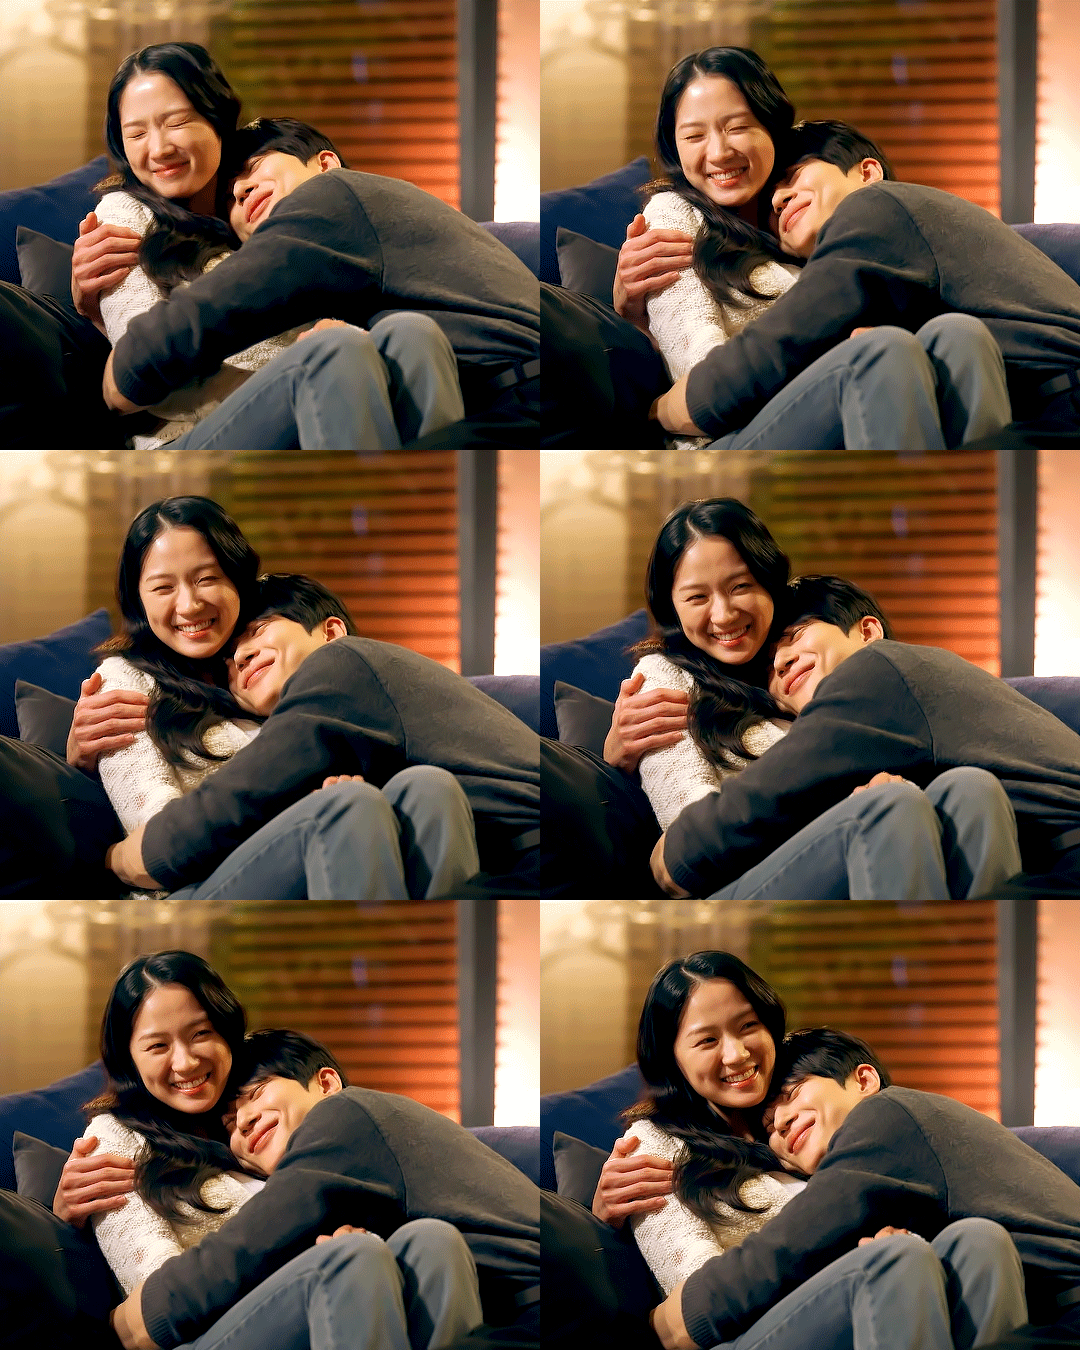
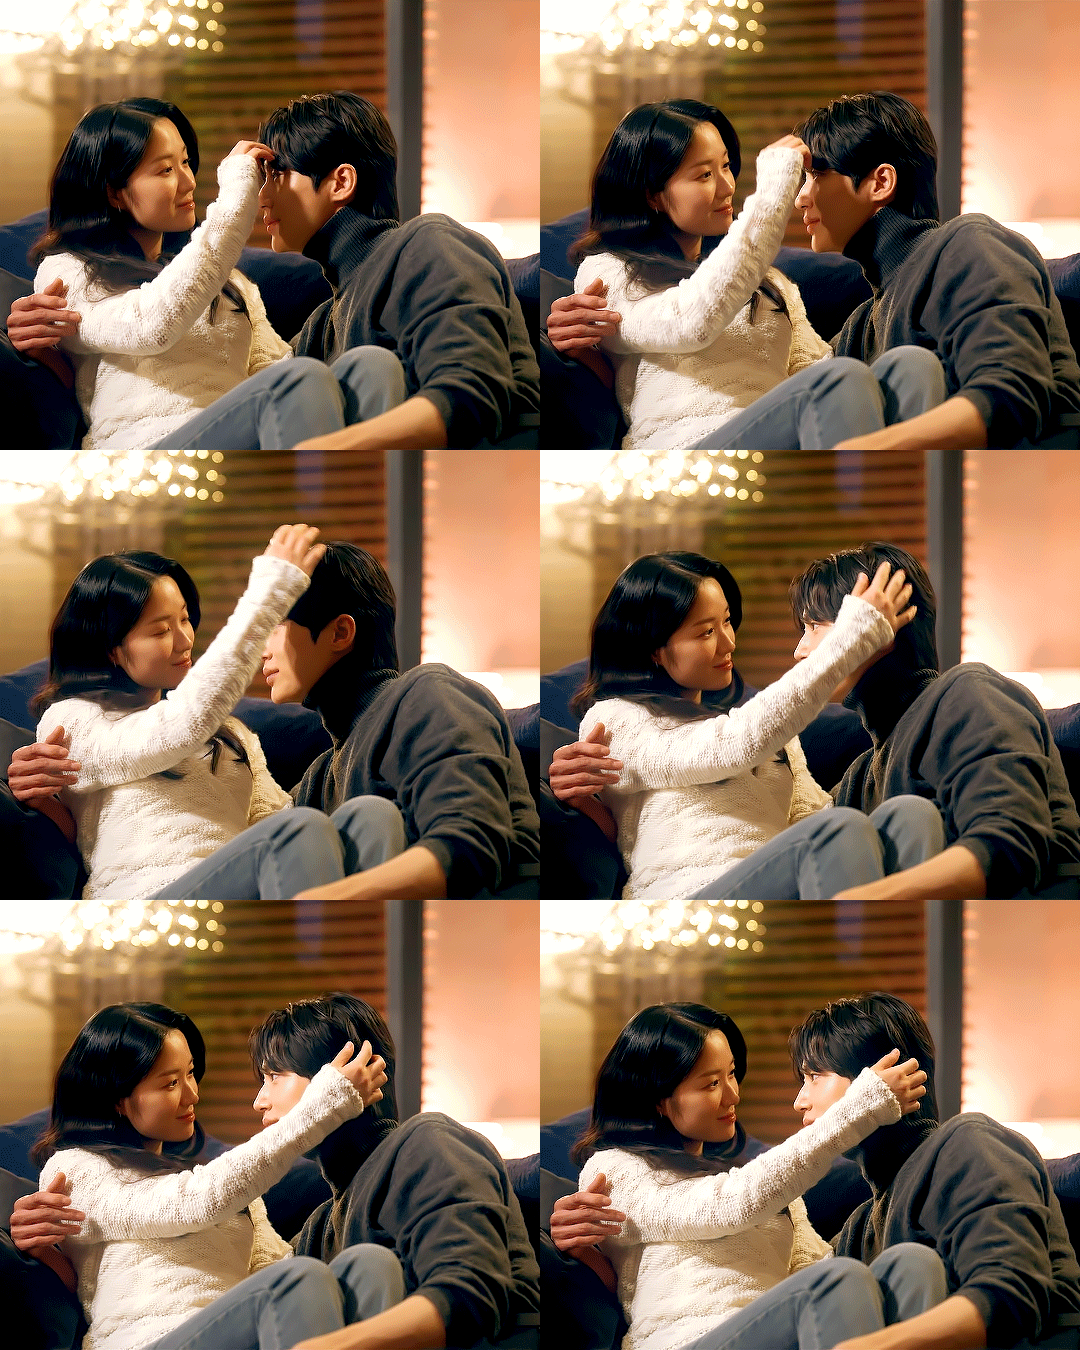
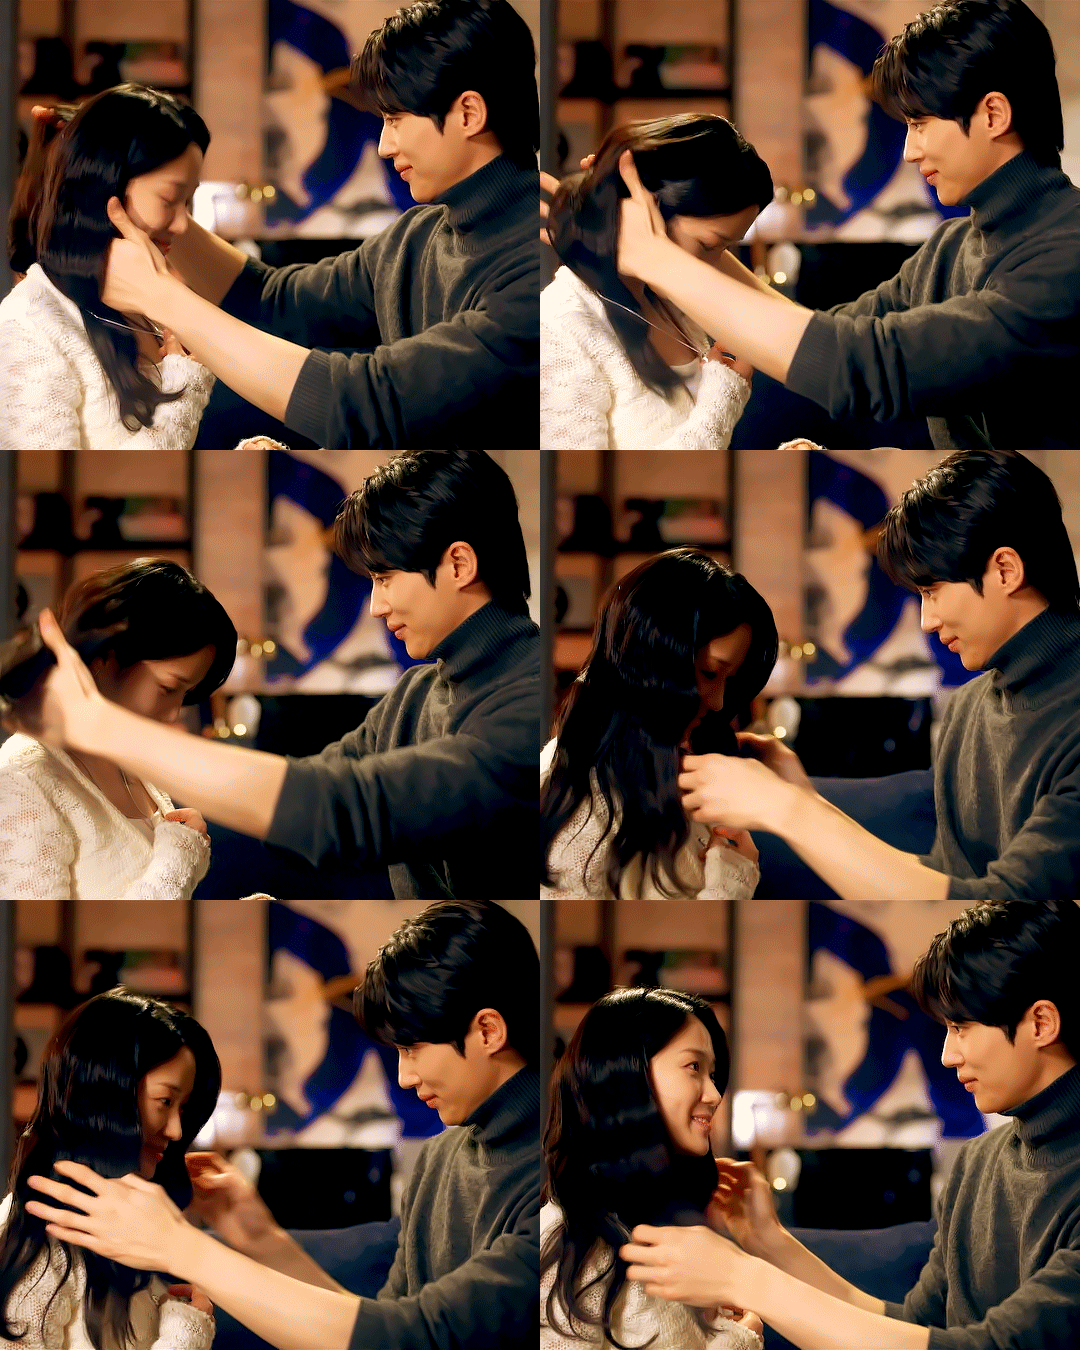
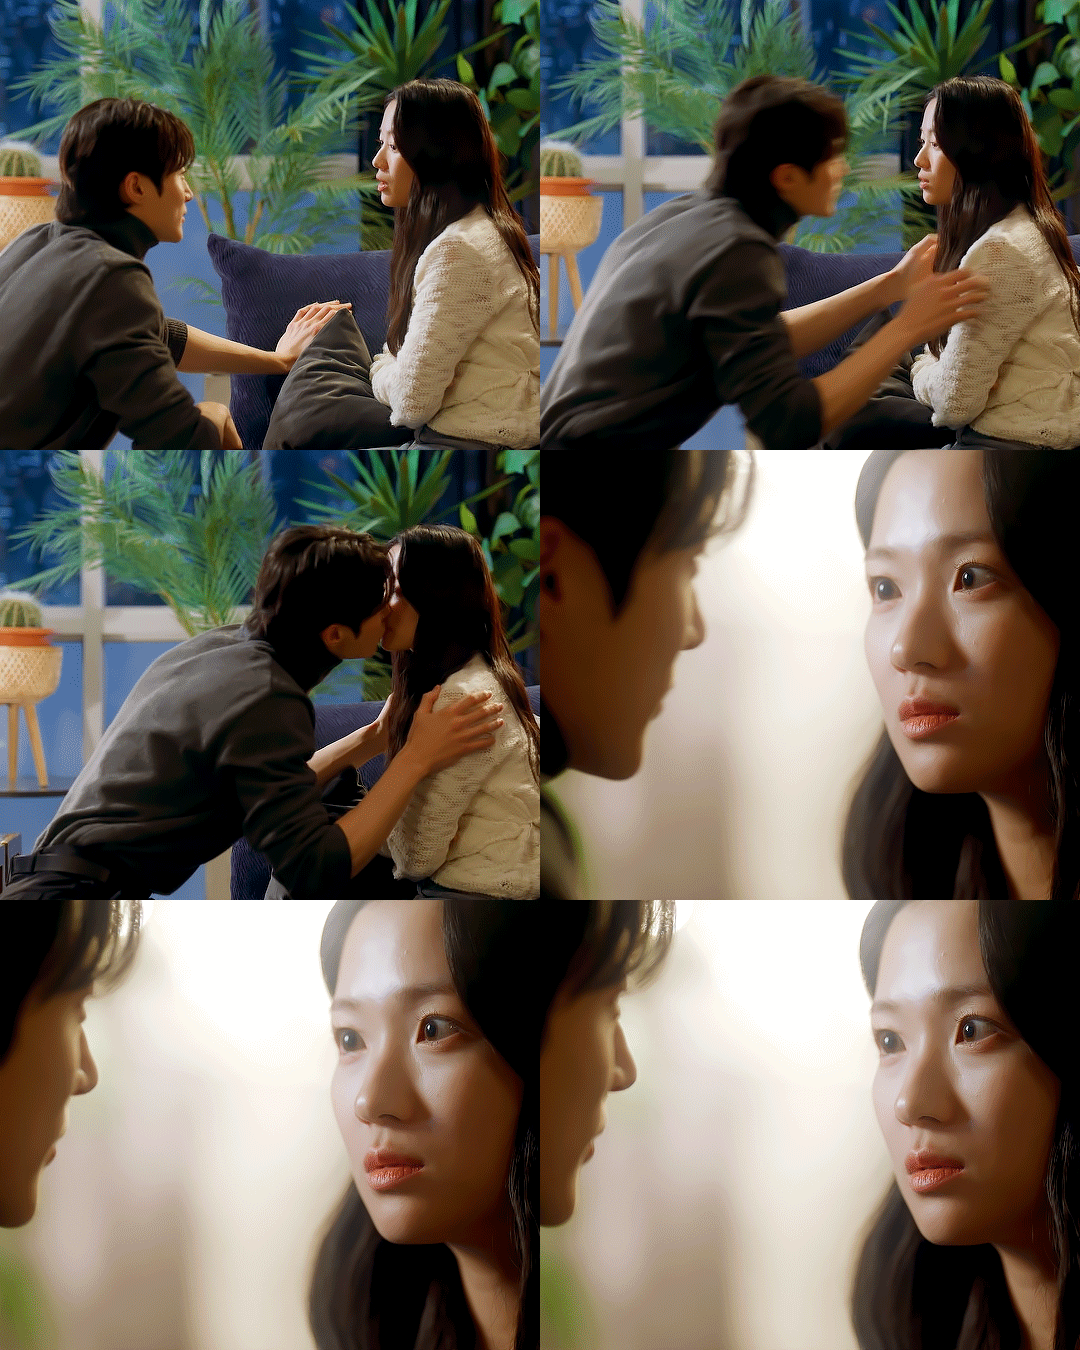
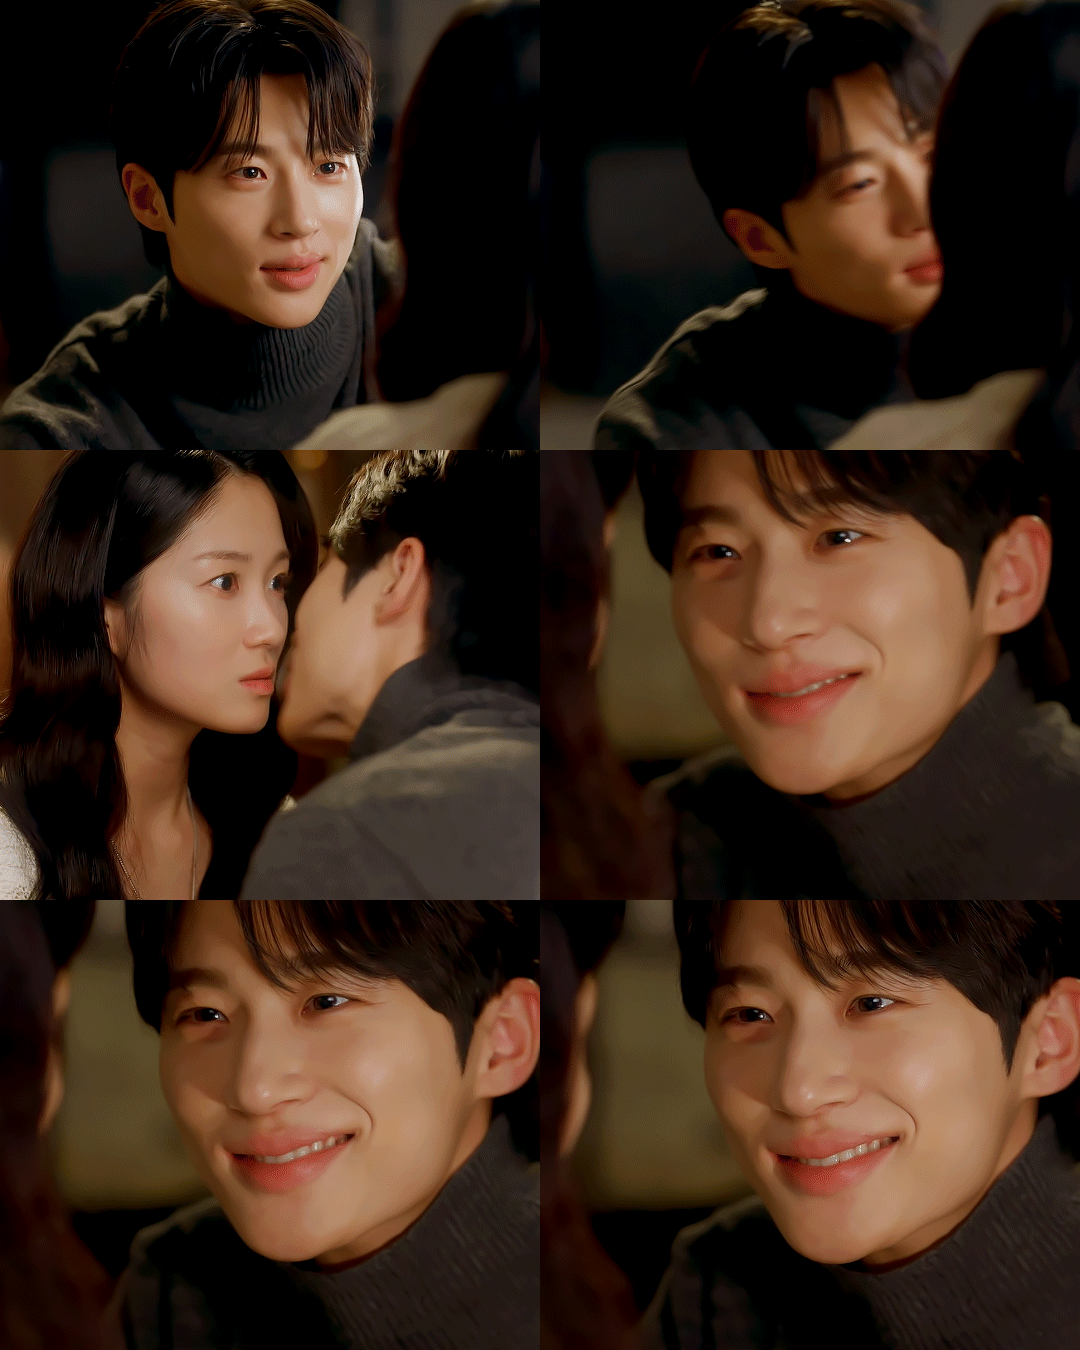
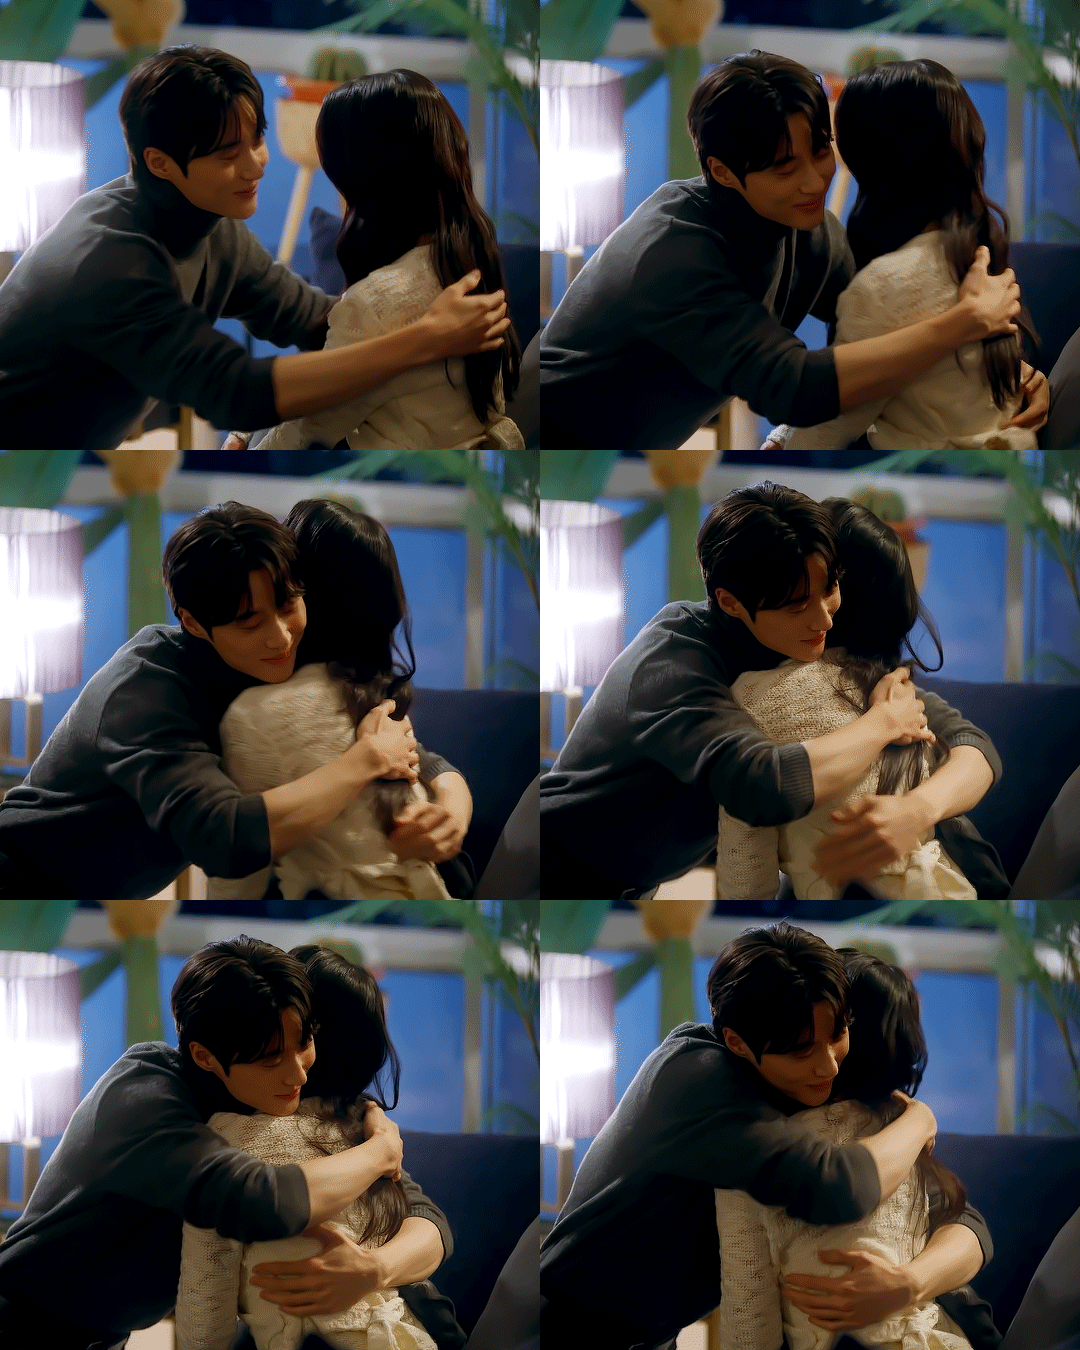
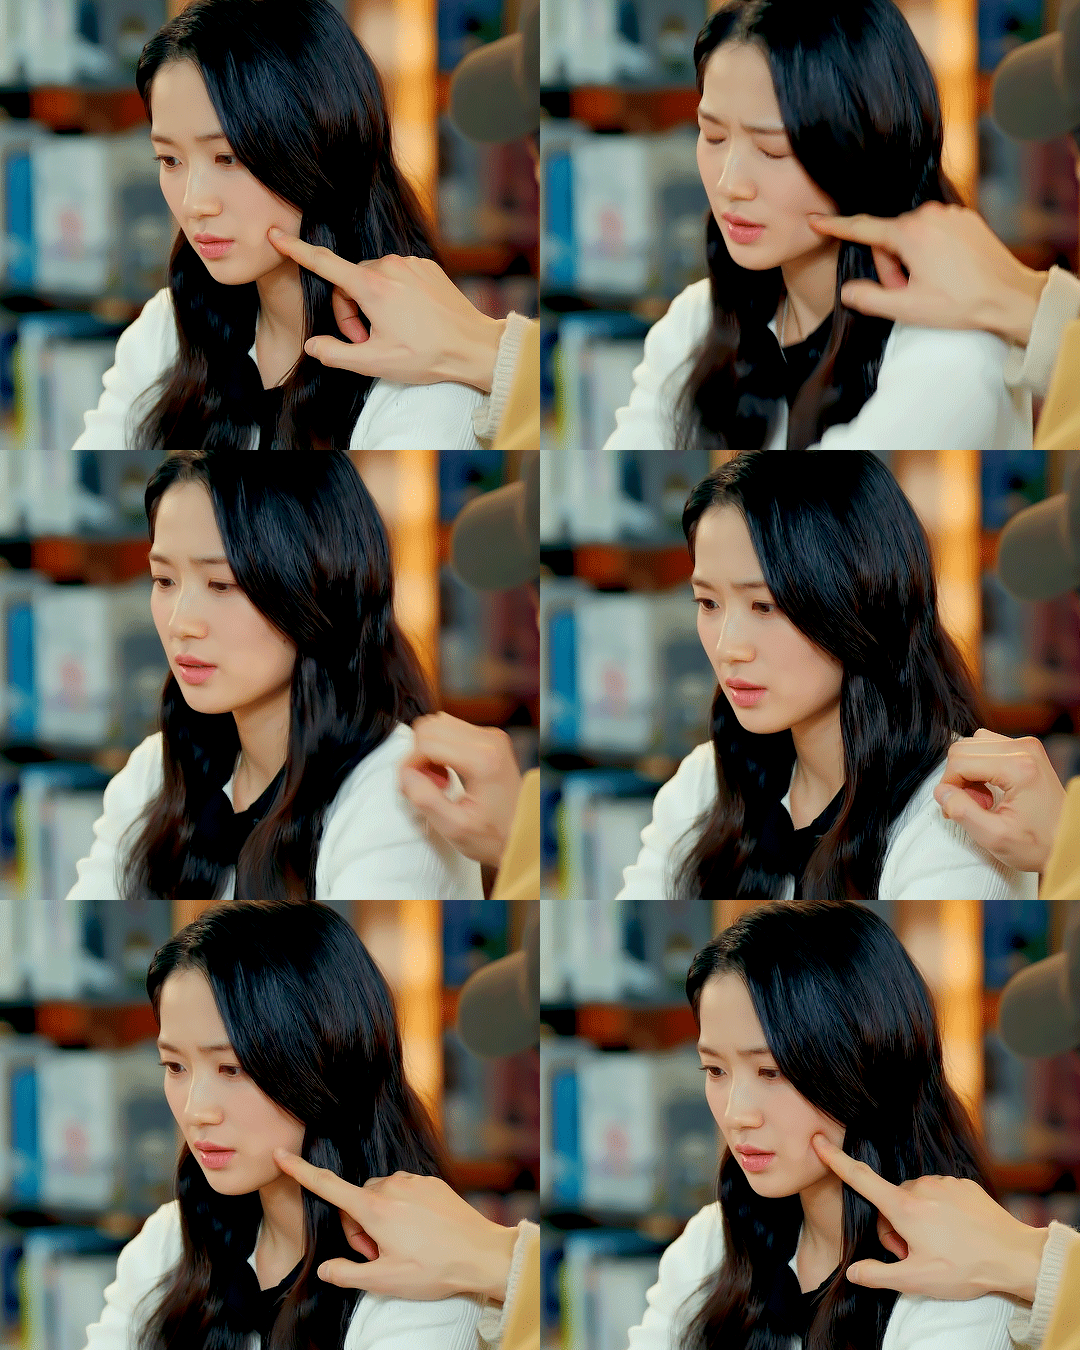
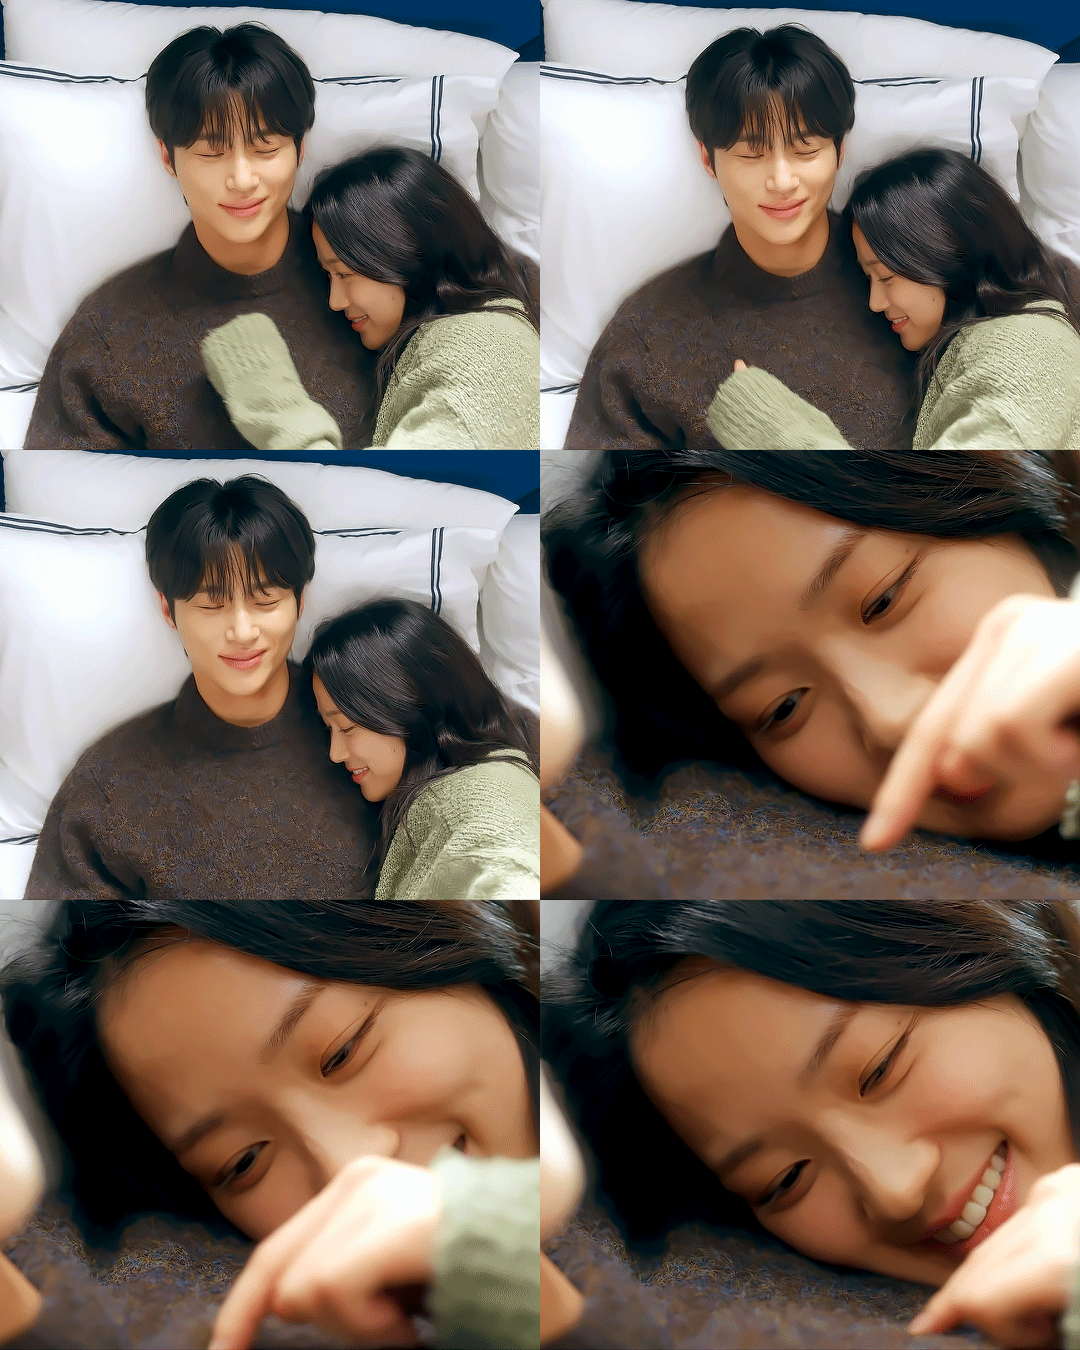
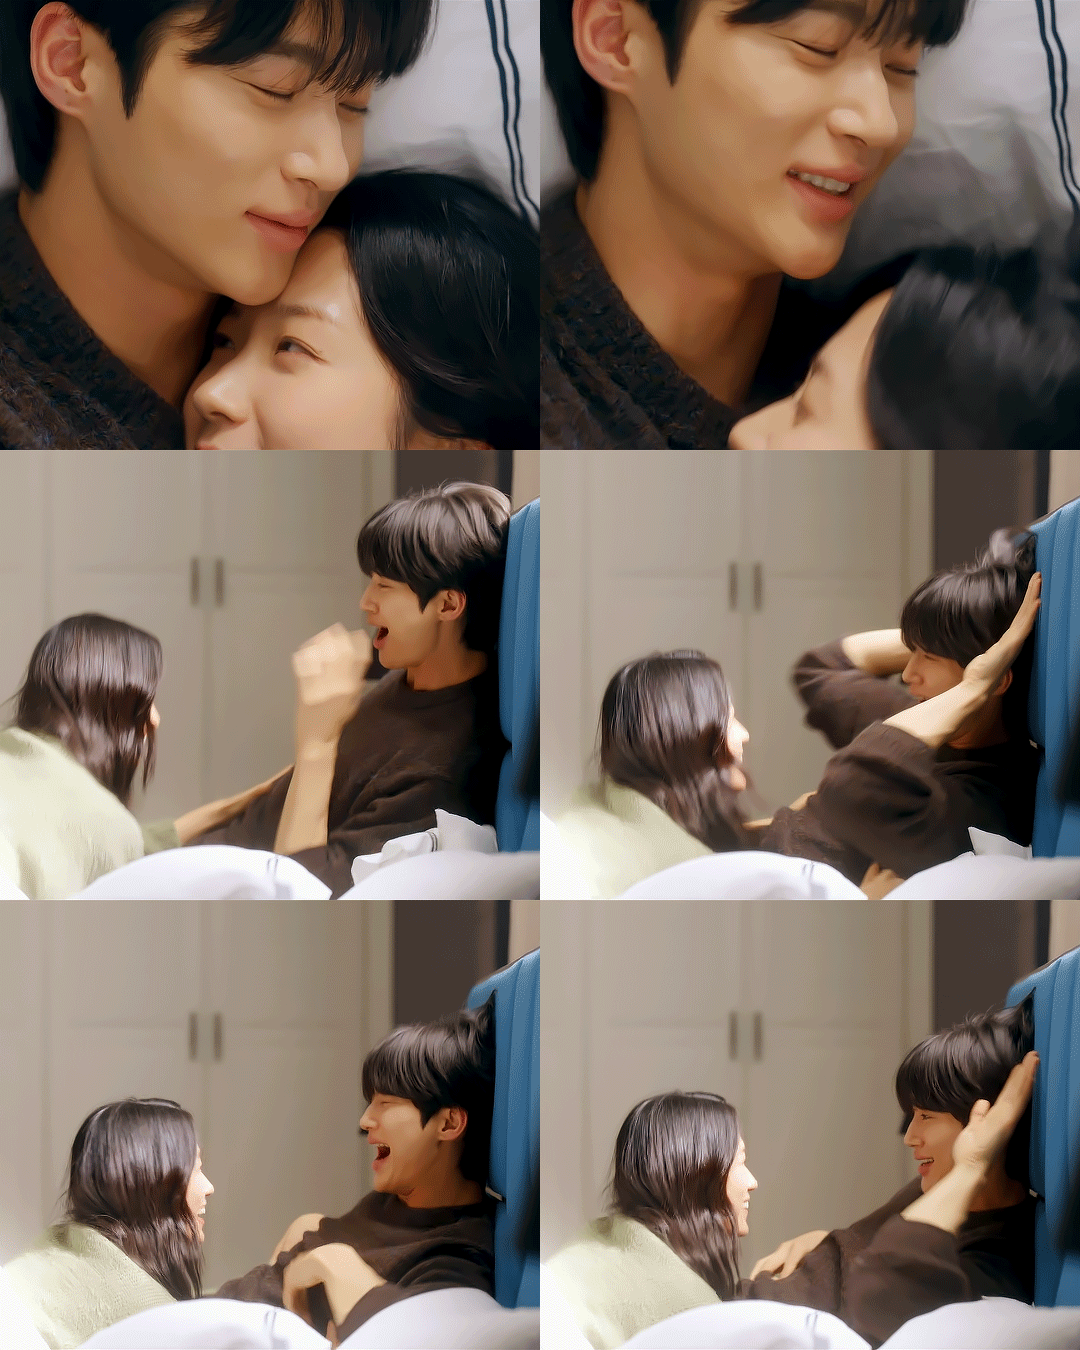
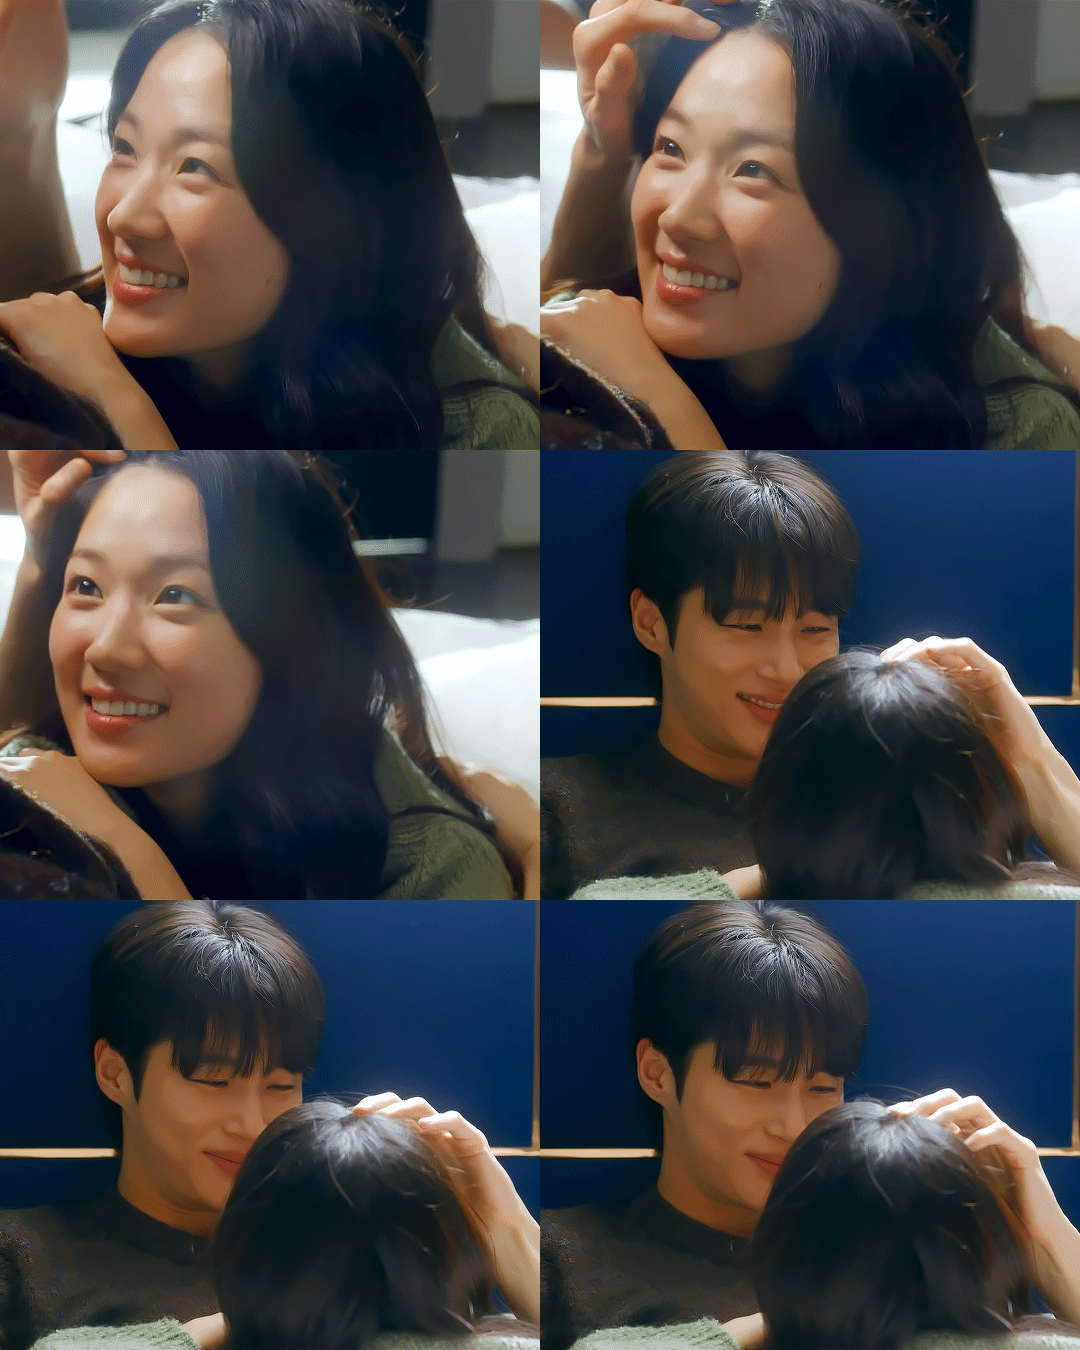
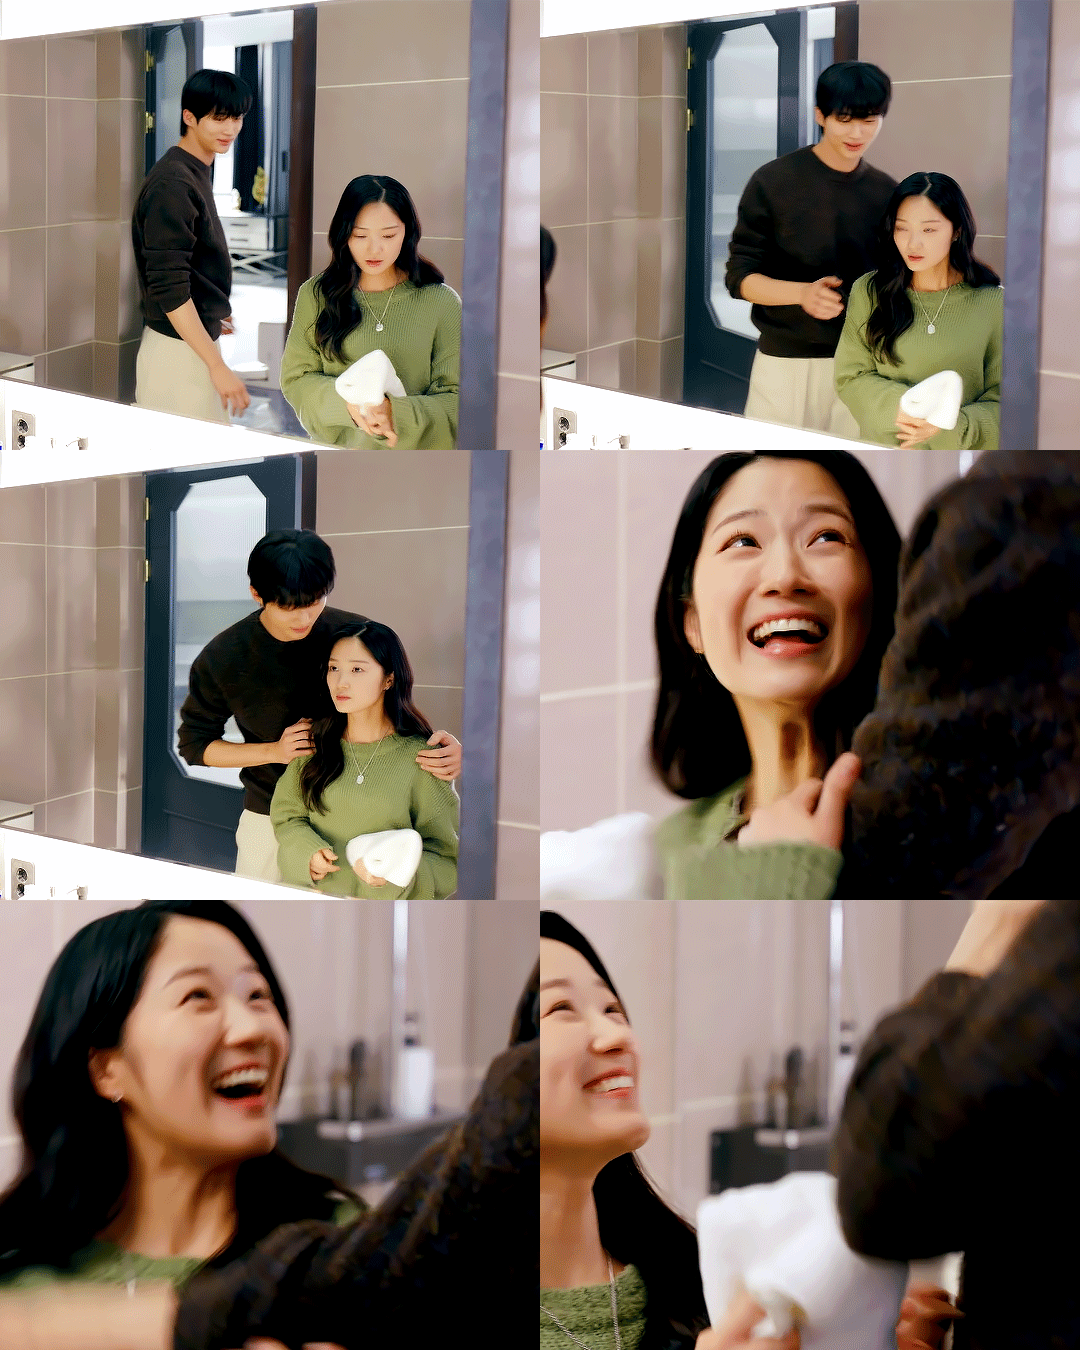
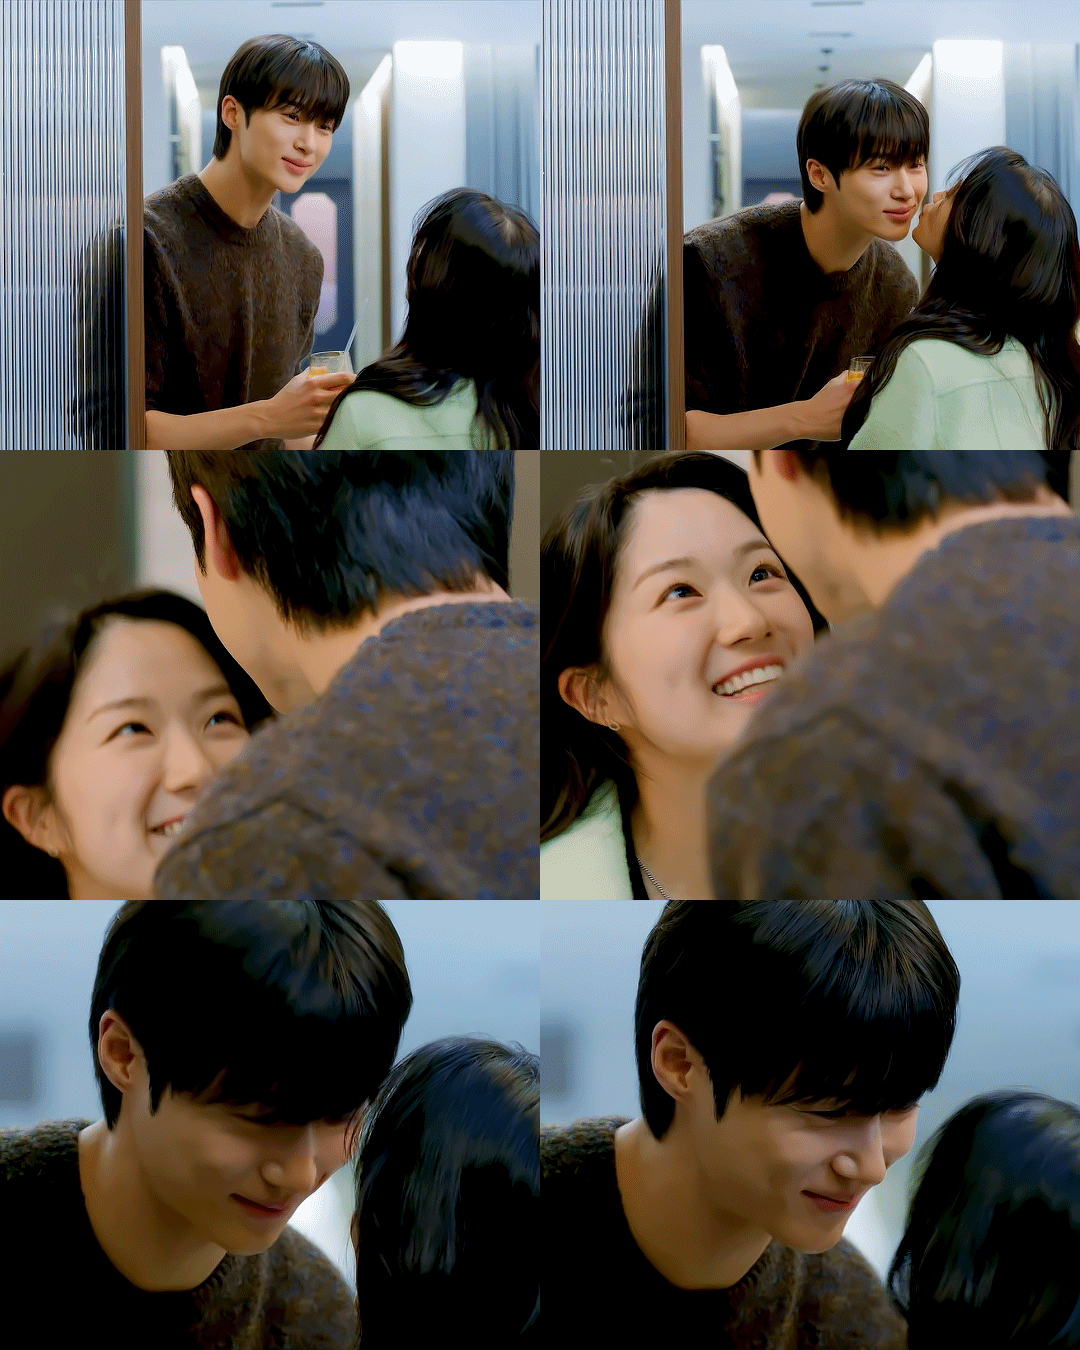
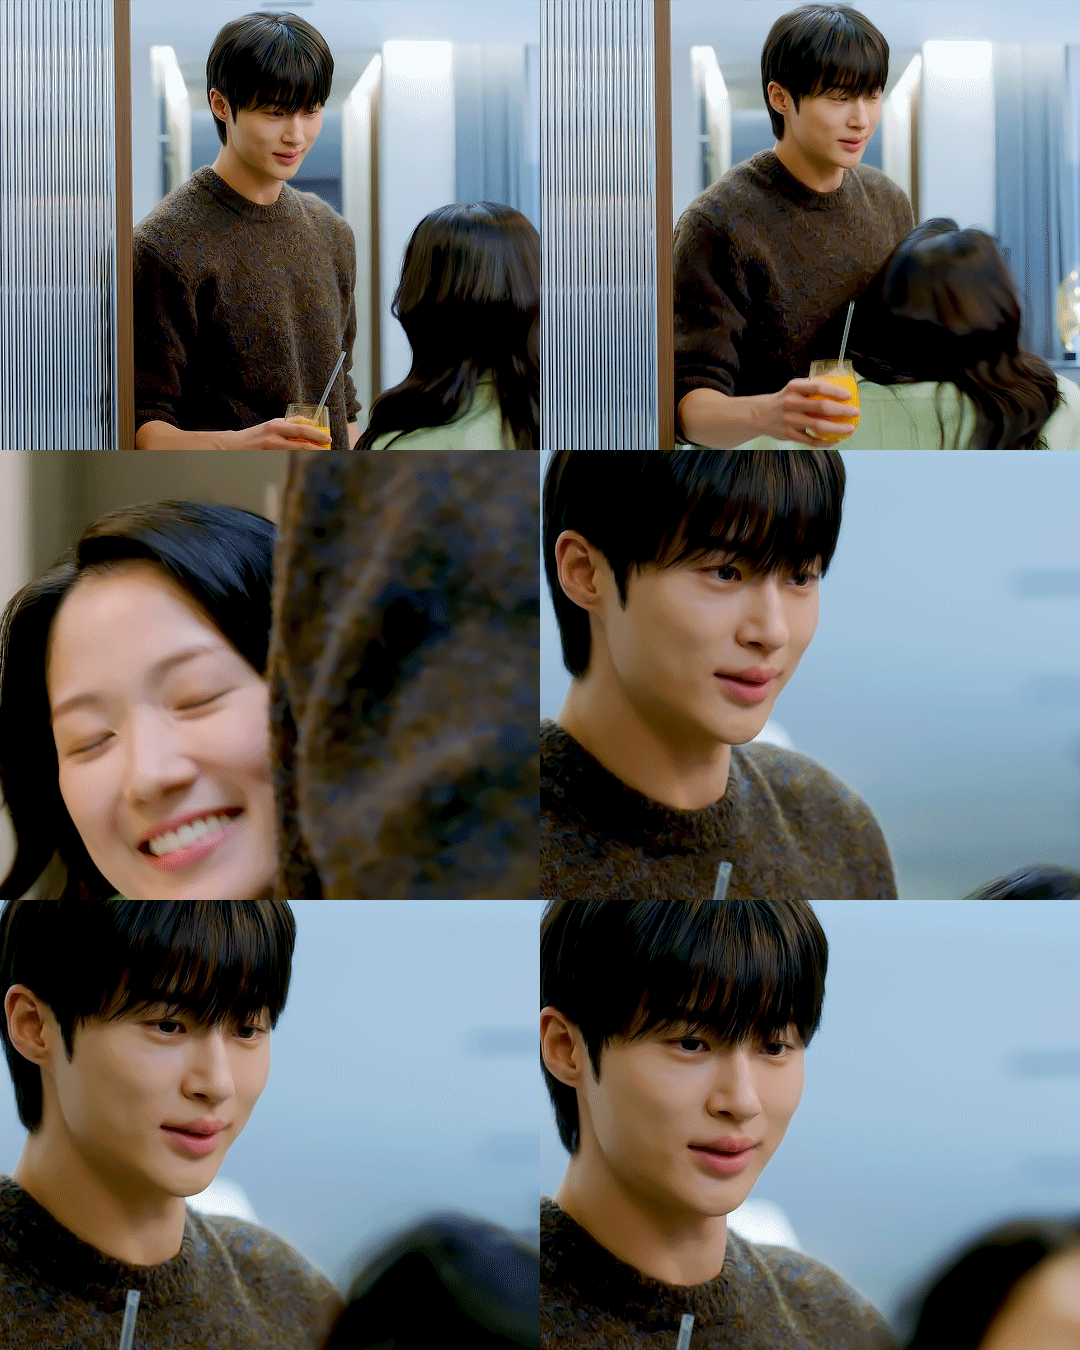
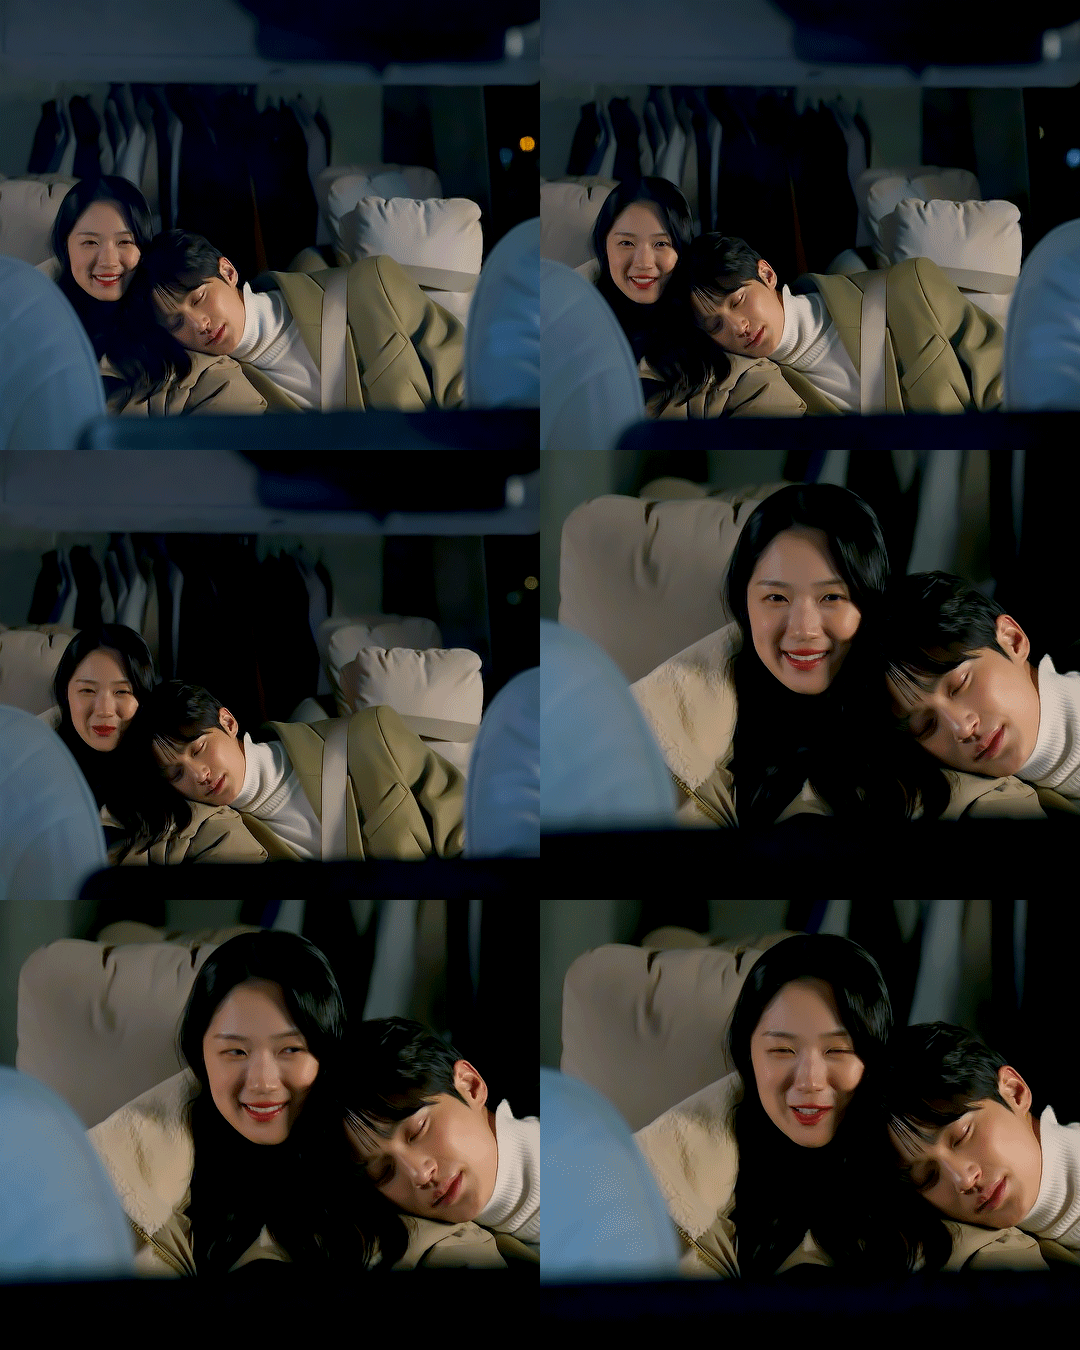
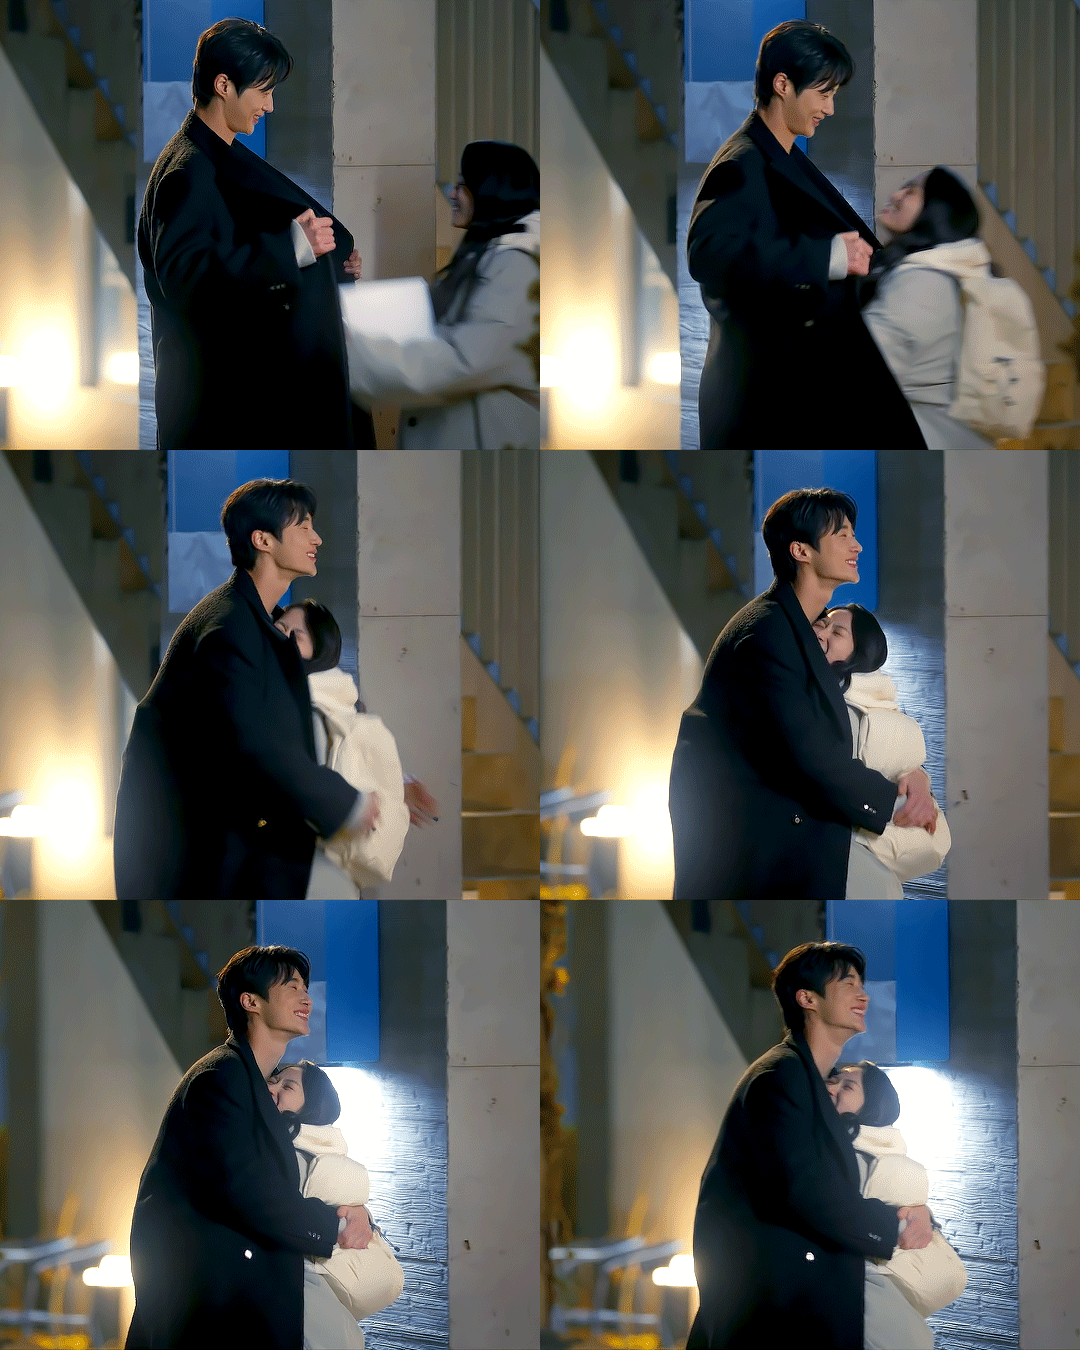
Casual touches between Sol and Sunjae 💛
LOVELY RUNNER - EPISODE 16
#lovely runner#kdramaedit#kdramadaily#kdramanetwork#userlab#my edits#if anyone is wondering why the colouring is kind of all over the place it's because:#a) i'm all over the place#and b) my computer crashed while i was in the middle of this set ghjfkg just started glitching out of nowhere#[ the out of nowhere is actually me having around 40 psd files opened :))))) ]#anyway i say casual touches because they're not the big kiss or the reunion or the proposal etc#but i love that we got so many this episode they really felt like a couple (grown up too)#and also i liked that sol initiated so many because a lot of kdramas tend to have their fl shy away from that#but they're both playful with it#ok i'm done giffing now sorry @my pc#byeon woo seok#kim hye yoon#this isn't even all of them btw 💜#mine: lovely runner
815 notes
·
View notes
Text

Little Dragon's Strong Arm
#am i done? i think i'm done. for the time being at least.#tempted to tweak the colouring a little but then again. i'm over looking at those textures and the absolute mess i've made of all 6 psds#maybe will come back to it if i manage to gift them with some footwear (or if i bribe someone to do it for me) who knows#lady's screencaps#lady's DA4 caps#taash#taash dragon age#dragon age the veilguard#gamingphotography#modding [am ded]#i really like their default palette okay 😌
234 notes
·
View notes
Text
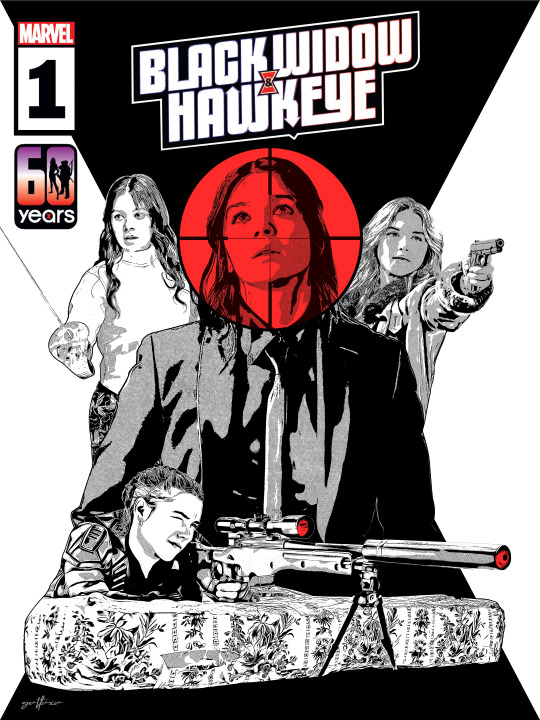
"I've got your next target. I thought I'd hand-deliver it. Maybe you'd like a shot at the woman working with Wilson Fisk and who's responsible for keeping the Red Room alive." Or: A Black Widow assassin keeps trying to kill her. Kate's in love.
#“what's the best shot you didn't take?” well acktually yelena shot Multiple times with various high-calibre weapons#katie kate is just surprisingly good at dodging (something about boomerang arrow training???)#“an assassin trying to kill you is just a lover you haven't met yet.” - kate bishop probably#hawkeye#black widow#kate bishop#yelena belova#bishova#kate x yelena#kate bishop x yelena belova#yelena belova x kate bishop#hailee steinfeld#florence pugh#***#this cover was obvs heavily inspired by the nat & clint comic run from last year#c'mon do a limited run with these two#a widow and hawk trying to kill each other and then teaming up? that's FATE baby!#hawkeyed (hah) viewers will know that particular shot was taken from lil drummer girl :)#i'm smushing all my barbies together in this psd#click for higher quality!
247 notes
·
View notes