#Product Photo Editing
Explore tagged Tumblr posts
Text


#graphic design#photography#poster design#graphicdesign#photoshoot#drinks#beverages#product photography#product photo editing
5 notes
·
View notes
Text
What are your favorite kind of product photos when buying stickers?


I have some go to photos that I try to take for every sticker to help with judging size and imagining it in use, but what is your favorite photo to see when judging stickers online?
Here's a bunch of different stickers I often take, to help with thinking of the different options:
Held in hand
Stuck on water bottle
On laptop (either lid or near touchpad)
Flat on palm
Elevated above desk
Beside stationery and desk items
On a packaging card / in example packaging
Up close (detailed shot of the printing/colors)
From the side (to see thickness)
On a plain white background
I'd LOVE to know what stickers you like best when shopping!


#sticker#stickers#sticker shop#product photography#online shopping#sticker design#sticker art#vinyl sticker#product photo editing
4 notes
·
View notes
Text
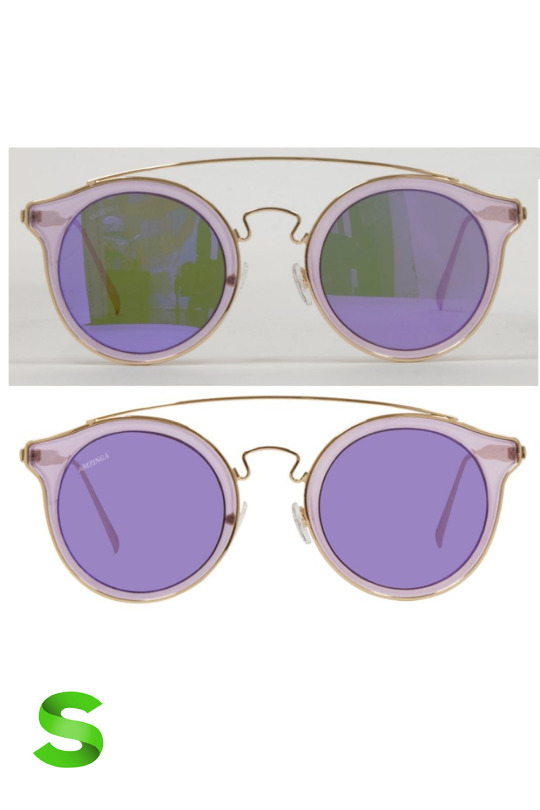
Unleash Your Creativity with Our Exclusive Free Editing Offer!
Are you ready to transform your photos from ordinary to extraordinary? Our Free Editing Offer is here to take your visuals to new heights of brilliance and creativity! Whether you're an aspiring photographer, a business owner, or simply someone who loves capturing moments, this is an opportunity you won't want to miss.
#commercial#marketing#ecommerce#branding#product photo editing#smartservice24#upwork#fiverr#freelance#virtual assistant#freelancers#photoshop#editing#image_editing#graphics design#product design#designer#studio#clipping path#background remove#Photo Editing#Photoshop#E-commerce#Image Editing#Commercial Product#Photography
2 notes
·
View notes
Text
YET photo retouching | Good | Better | Best - Free

Discover the ultimate in photo retouching with YET, where quality meets simplicity. Our platform offers a seamless and intuitive experience, allowing you to enhance your photos at three distinct levels: Good, Better, and Best. Whether you're a novice looking for basic touch-ups or a professional aiming for perfection, YET provides the tools you need without any cost. Transform your images effortlessly and elevate your photography game with our free, top-tier retouching services. Dive into the world of YET Photo Retouching and see your pictures reach their full potential!
0 notes
Text

Our Product Photo Editing Service ensures your product images works for you. With expert background removal, color correction and retouching. Our service is perfect for eCommerce. We improve image quality, making your products more attractive to potential buyers.
productphotoediting #photoeditingcompany #photoediting #productimagesretocuhing #backgroundremovalservice
0 notes
Text
One of my image editing project


#image editing services#graphic design#background remove#product photo editing#clipping path#portfolio#Image resize
0 notes
Text
How to Make Your Product Photos Pop with Editing
In the competitive realm of e-commerce, striking product photos are key to capturing the attention of potential customers. High-quality images not only enhance the appeal of your products but also instill trust and professionalism. To ensure your product photos stand out, mastering the art of photo editing is essential. This comprehensive guide will walk you through the best practices and techniques to make your product photos pop.
1. Understanding the Importance of Product Photo Editing
Product photo editing is crucial for several reasons. It helps in highlighting the product's features, removing any imperfections, and creating a consistent look across all images. Properly edited photos can significantly increase conversion rates and reduce return rates by providing a clear and accurate representation of the product.
2. Choosing the Right Editing Software
Selecting the right editing software is the first step. Popular options include Adobe Photoshop, Adobe Lightroom, GIMP, Capture One Pro, and Affinity Photo. These tools offer a wide range of features that cater to both beginners and professionals.
3. Basic Adjustments: Exposure, Contrast, and White Balance
Start with the basics. Adjust the exposure to ensure the image is neither too dark nor too bright. Increase contrast to make the product stand out against the background. Correct the white balance to ensure the colors are accurate and true to life.
4. Cropping and Straightening
Cropping helps in focusing on the product and removing any unnecessary background elements. Ensure the product is centered and fills the frame appropriately. Straighten the image to make sure all lines are horizontal and vertical, giving it a professional look.
5. Background Removal and Replacement
A clean, distraction-free background highlights the product. Use tools like the pen tool or magic wand in Photoshop to remove the background. Replace it with a solid color or a simple gradient to make the product stand out.
6. Enhancing Colors and Saturation
Vibrant colors make product photos more appealing. Use the saturation and vibrance adjustments to enhance the colors without making them look unnatural. Be cautious not to overdo it, as overly saturated images can look unrealistic.
7. Retouching and Cleaning Up
Remove any blemishes, dust, or scratches using tools like the healing brush and clone stamp. Smooth out surfaces and correct any imperfections to ensure the product looks flawless.
8. Sharpening for Clarity
Sharpening enhances the details and textures of the product. Use tools like Unsharp Mask or Smart Sharpen to make the product appear crisp and clear. Again, avoid over-sharpening, which can introduce noise and artifacts.
9. Using Layers and Masks for Non-Destructive Editing
Working with layers and masks allows for non-destructive editing. This means you can make changes without altering the original image. It also makes it easier to experiment with different adjustments and revert to previous states if needed.
10. Adding Shadows and Reflections
Adding shadows and reflections can give your product photos a professional, polished look. Use layers to create realistic drop shadows and reflections that match the lighting of the scene.
11. Utilizing Presets and Actions for Efficiency
Presets and actions are pre-recorded sets of editing steps that can be applied with a single click. They are useful for maintaining consistency across multiple images and speeding up the editing process.
12. Batch Processing for Multiple Images
When dealing with a large number of photos, batch processing can save a significant amount of time. Most editing software allows you to apply the same adjustments to multiple images simultaneously.
13. Exporting for Web
Ensure your images are optimized for the web. Export them in the appropriate format (JPEG, PNG) and resolution to balance quality and file size. Properly compressed images load faster, improving user experience and SEO.
14. Creating Consistency Across Product Photos
Consistency is key in product photography. Ensure all your product photos follow a similar style, background, lighting, and color scheme. This creates a cohesive look on your website and strengthens your brand identity.
15. Staying Updated with Trends and Techniques
The field of photo editing is constantly evolving. Stay updated with the latest trends and techniques to keep your product photos fresh and engaging. Follow industry blogs, join photography forums, and take online courses to continually improve your skills.
Conclusion
Mastering product photo editing is essential for creating images that captivate and convert. By following these detailed steps and utilizing the right tools, you can ensure your product photos stand out in the crowded online marketplace. High-quality, professionally edited images not only attract more customers but also build trust and drive sales.
1 note
·
View note
Text

Top-Rated Product Photo Editing Service Provider for Stunning Visuals
Global Photo Edit is the premier Product Photo Editing Service Provider. They make your products shine with flawless edits that highlight their best features. Their services include color correction, background removal, and retouching,and much more.
You can simplify your workflow with their Product Photo Editing Online services. Easily upload your images, specify your requirements, and let their experts handle the rest. They provide fast, high-quality edits that make your product photos look professional and appealing.
0 notes
Text

Kz graphic is a Product listing images Design TEAM that specialized in Amazon Sellers. Are you struggling to generate sales on Amazon? Then you should try us right now. We helped many Amazon Sellers like you to boost their Sales. We ensure Good Quality product photography editing that boosts sales. Our expert designers will help you to stand out from struggling to generate sales. We are (7/24) providing Services.
0 notes
Text
Pixel Perfection: A Guide to High-Quality Photo Editing
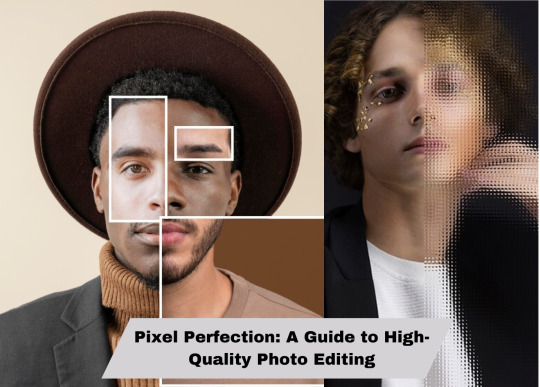
In the digital age, photography has become an integral part of our lives. Whether we're snapping pictures with our smartphones or capturing breathtaking landscapes with professional-grade cameras, the desire to produce high-quality images is universal. However, the process doesn't end with the click of a shutter button. In fact, it's just the beginning.
Photo editing plays a crucial role in transforming raw images into stunning works of art. With the right tools and techniques, you can enhance colors, adjust lighting, and eliminate imperfections to achieve pixel perfection. In this guide, we'll explore the essential steps to take your photo editing skills to the next level.
1. Choose the Right Software:
The first step in any successful photo editing workflow is selecting the right software. While there are countless options available, Adobe Photoshop and Lightroom remain industry standards for professionals and enthusiasts alike. These powerful tools offer a wide range of features and capabilities, from basic adjustments to advanced retouching techniques.
2. Understand Basic Editing Principles:
Before diving into complex editing techniques, it's essential to understand the basic principles of photo editing. Familiarize yourself with concepts such as exposure, contrast, color balance, and composition. These fundamentals will serve as the building blocks of your editing process, allowing you to make informed decisions and achieve the desired results.
3. Master the Art of Retouching:
Retouching is a critical aspect of photo editing, allowing you to remove blemishes, wrinkles, and other imperfections from your images. Whether you're working with portraits or landscapes, mastering the art of retouching will help you create flawless compositions that captivate viewers' attention.
4. Embrace Non-Destructive Editing:
Non-destructive editing techniques allow you to make changes to your images without altering the original file. This means you can experiment with different adjustments and effects without fear of losing valuable data. Embrace tools such as adjustment layers and smart objects to maintain flexibility and control throughout the editing process.
5. Experiment with Filters and Effects:
Filters and effects can add a creative touch to your photos, transforming ordinary images into extraordinary works of art. Experiment with various presets, overlays, and textures to achieve the desired look and feel. Just remember to use these tools judiciously, as excessive use can detract from the overall quality of your images.
6. Pay Attention to Detail:
The difference between a good photo and a great photo often lies in the details. Pay close attention to small elements such as sharpness, clarity, and noise reduction to ensure your images are crisp and clear. Take the time to zoom in and inspect your photos at 100% magnification to catch any imperfections that may be overlooked at a glance.
7. Develop Your Style:
Ultimately, photo editing is a form of creative expression. Develop your unique style by experimenting with different techniques, colors, and compositions. Whether you prefer bold and vibrant images or soft and muted tones, let your personality shine through in your work.
In conclusion, achieving pixel perfection requires a combination of technical skill, artistic vision, and attention to detail. By following the tips outlined in this guide and practicing regularly, you'll be well on your way to creating high-quality images that leave a lasting impression. So, grab your camera, fire up your editing software, and unleash your creativity on the world of photography.
0 notes
Text
online face portrait editing | starts at $1.50 per image

Transform your portraits with our online face editing services. Achieve professional-looking results without the hassle of complicated software.
0 notes
Text
The Visual Advantage: How Photo Editing Agencies Boost E-Commerce Success

Nowadays, every business comes with an online platform where they can connect with different clientele. It helps in expanding their business and making professional relationships with other companies. Therefore, let's find know some interesting facts about the visual advantage of the internet and see how it helps you to grow your business online. High-quality images are becoming a requirement for the establishment of online businesses or already established businesses. Photo Editing Services are becoming a trending and crucial part of the online business. Take a look at the benefits of consulting a photo editing company for your work.
#photo editing services#photo editing company#photo editing agency#product photo editing#product photo editing services#Photo Editing Company India#Photo Editing Company in India#photo editing#Image Editing India
1 note
·
View note
Text
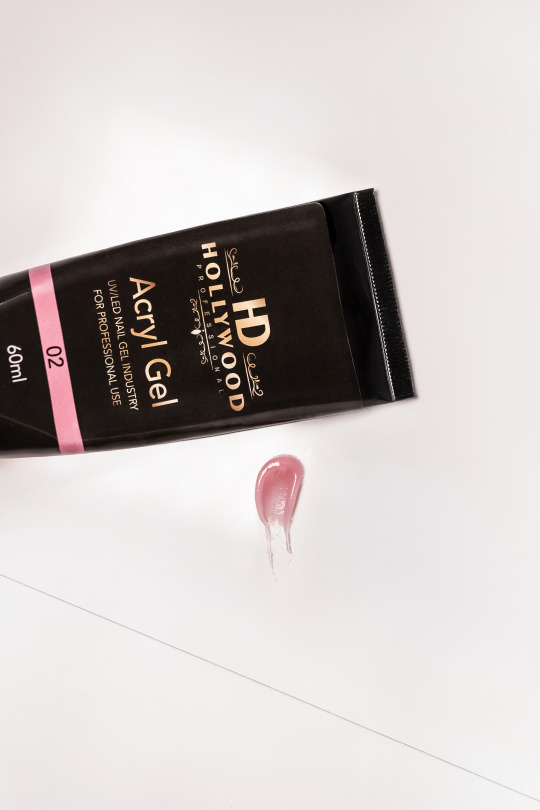
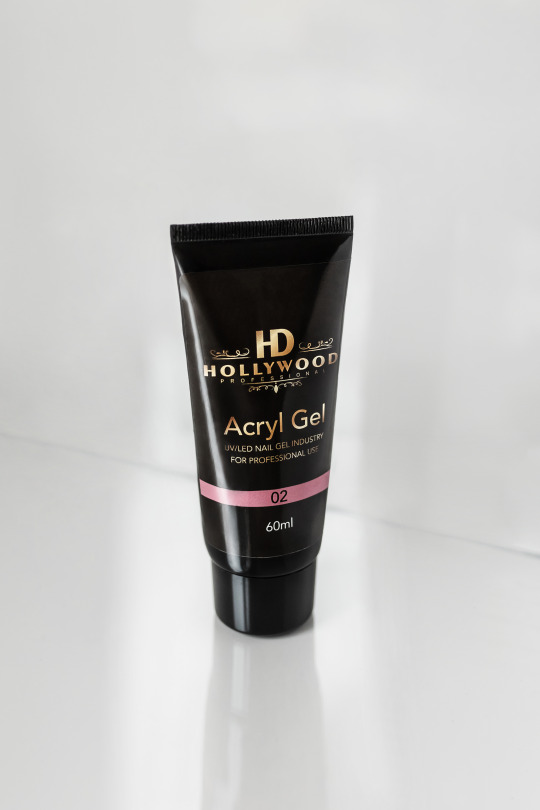
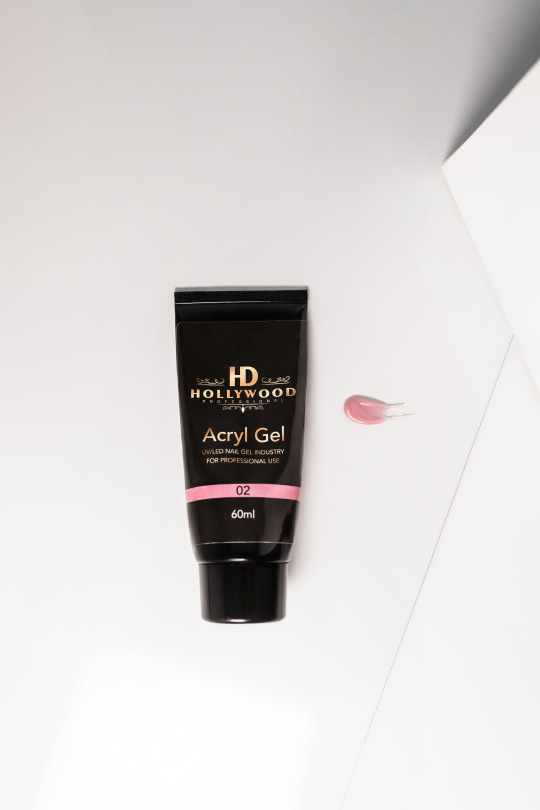
0 notes
Text
Photography
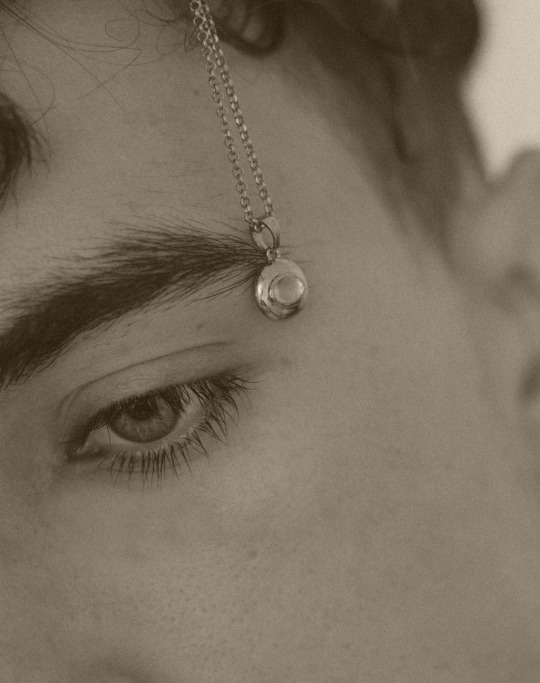
Photography isn't just a skill for me—it's a lens through which I capture the essence of moments. Specializing in portraits, I find profound joy in unravelling the stories etched on the faces I photograph. Beyond people, my lens ventures into the intricate details of product photography, where each shot becomes a visual narrative. Embracing the vastness of landscapes, I navigate the play of light and shadows to craft images that breathe life into scenery. Through my lens, I weave a tapestry of emotions, whether in the subtlety of a portrait, the precision of product photography, or the expansive beauty of landscapes. Every frame is an exploration, and every click is an invitation to see the world through my eyes.




#photographer#picture#photograph#photoshop#places#photography#my photos#photoshoot#photooftheday#phtography#landscape#portrait#self portrait#beauty#product photography#product photoshoot#product photo editing
0 notes
Text
Mastering Product Photography: Tips and Tricks for Stunning Images

In today's visually driven world, where e-commerce and online marketing dominate, the importance of high-quality product photography cannot be overstated.
Stunning product image editing services can make the difference between a potential customer clicking "Buy Now" or scrolling past your product.
In this article, we will delve into the art of mastering product photography and provide you with tips and tricks to create stunning, captivating images that sell.
Why Product Photography Matters
Before we dive into the technical aspects of product photography, it's crucial to understand why it matters. The human brain processes images faster than text, and when it comes to online shopping, your product photos act as your sales representatives. Compelling images build trust and drive conversions. A high-quality product image can showcase your product's features, quality, and value, ultimately influencing purchasing decisions.
Essential Equipment
To master product photography, you need the right tools. Here's a list of essential equipment to get you started:
Camera (DSLR or mirrorless)
Tripod
Lenses (macro, prime, and zoom)
Lighting equipment (softboxes, reflectors, and more)
Backdrops and stands
Product styling tools (props, mannequins, etc.)
Photo editing software
Lighting Techniques
Natural Lighting
Utilizing natural light can create a soft, appealing look. Position your setup near a large window, but avoid direct sunlight. Diffusers can help soften the light further, reducing harsh Shadow creation services.
Artificial Lighting
Artificial lighting offers consistency. Invest in soft boxes and reflectors for even illumination. Experiment with different angles to achieve the desired effects.
Setting Up Your Photography Studio
Creating a dedicated photography studio ensures consistency in your product images. Designate an area with ample space for your equipment, backdrop, and product. Ensure a clutter-free environment.
Choosing the Right Background
Selecting the appropriate background removal services is crucial. Solid colors or textured backdrops can enhance the product's appeal. Consider the contrast between the product and the background.
Camera Settings
Aperture
Adjust your aperture to control depth of field. A wide aperture (low f-number) blurs the background, while a narrow aperture (high f-number) keeps everything in focus.
Shutter Speed
Choose the right shutter speed to control motion blur. Faster speeds are ideal for capturing still products, while slower speeds can create a sense of movement.
ISO
Maintain a low ISO for sharp, noise-free images. Increase it only when shooting in low light conditions.
Framing and Composition
Experiment with different angles, perspectives, and framing. The rule of thirds, leading lines, and negative space can all add visual interest to your product photos.
Product Styling
Perfecting the arrangement and styling of your product is essential. Pay attention to details, textures, and the product's best features. Use props to enhance the shot.
Editing and Post-Processing
Post-processing is where you bring your images to life. Use photo editing software to adjust exposure, color balance, and sharpness. Remove imperfections and enhance details.
Mastering Angles and Perspectives
Don't be afraid to explore various angles and perspectives. Bird's-eye views, close-ups, and dynamic angles can create captivating shots.
Consistency is Key
Consistency in product photography is vital, especially for brands. Use the same lighting, background, and styling to maintain a uniform look across your product catalog.
Product Photography Tips for Different Categories
Each product category requires specific techniques:
Apparel: Use models to showcase fit and style.
Jewelry: Focus on macro photography to capture intricate details.
Electronics: Highlight features and functionality.
Food: Showcase freshness and texture.
The Role of Models
In some cases, using models can add a personal touch to your product photos. Models can help customers visualize how the product looks in real life.
Conclusion
Mastering product photography is an art that combines technical expertise with creativity. By understanding the importance of product photography, investing in the right equipment, and honing your skills, you can create stunning images that drive sales. Remember, it's not just about capturing products; it's about telling a compelling visual story.
FAQs (Frequently Asked Questions)
Do I need a high-end camera for product photography?
While a high-end camera can deliver exceptional results, you can achieve great product photos with mid-range DSLRs or even high-quality smartphone cameras.
How can I create a DIY photography studio on a budget?
You can set up a DIY studio with minimal investment by using natural light, inexpensive backdrops, and homemade reflectors.
What is the best background color for product photography?
The best background color depends on your product. White and black are versatile options, but you should choose a color that complements your product.
Is post-processing necessary for product photos?
Post-processing can enhance the quality of your images, but it's not always mandatory. However, it can make a significant difference in the final results.
How can I learn more about advanced product photography techniques?
There are many online courses, tutorials, and photography communities where you can learn advanced product photography techniques and get feedback on your work.
#product photography#product photo editing#ecommerce photography#ecommerce image editing#ecommerce#product photo retouching
0 notes