#Epson V600
Explore tagged Tumblr posts
Video
Arby's drive thru - Ximg478 by T. Brian Hager Via Flickr: Arby's drive thru in fog - Easton, PA - Fujicolor Superia X-tra 400 - scanned on Epson V600 - shot with Canon EOS Rebel G.
#Arby's#drive thru#lights#fog#foggy#early morning#analog#film#color#35mm#Fuji#Fujicolor Superia X-tra 400#Superia#Canon#Canon EOS Rebel G#Rebel G#Easton#PA#scanned#Epson V600#flickr
2 notes
·
View notes
Video
The loneliest bull by Mike Zielinski Via Flickr:
#Canon AE-1#Kodak Portra 400 35mm film#Epson V600 film scanner#rural#cows#bulls#bovine#trees#countryside#Canon 50mm 1.8 FD lens#flickr
4 notes
·
View notes
Video
Zeiss Ikon Super Ikonta B 530/16 by Steve
#Zeiss#Ikon#Super#Ikonta#B#530/16#Tessar#80/2.8#8cm#80mm#f/2.8#folding camera#Fujifilm#PRO#120#Medium format#Epson#GT-X820#V600#film#snaps#400H#6x6#square#format#People in the city#白鏡#老折#non-coated lens#RF
1 note
·
View note
Text
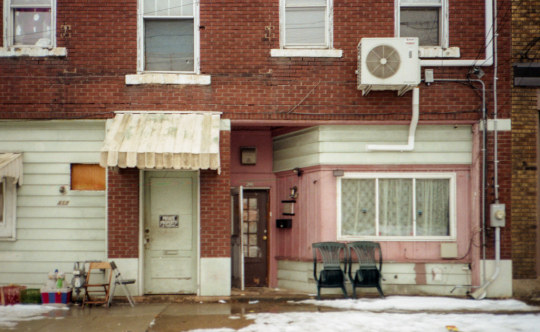
#.\everywhere & nowhere/. by long_lost_analog https://flic.kr/p/2qJCePG IFTTT#Flickr#film#photography#35mm#somewhere#nikon#f3#epson#v600#homedeveloped#fujicolor#fuji#classics
1 note
·
View note
Text
How I Scan Negatives
I've been doing film photography for 3 whole weeks so of course I am now an expert and you should toooooootally listen to me for my expert opinion on this matter.
But in seriousness, this post isn't meant to be a how-to guide, but if you can glean some useful information from it, that's really neat and I'm glad.
Part 1: The Scanner
There are a couple different ways to scan negatives. The simplest is known as camera scanning, and that just means you use some kind of backlight and take a close-up picture of a negative with a digital camera of some kind.
I've done a couple of scans like this but since it ideally relies on a macro lens, something which costs about $300 at a bare minimum, and more if you want one that's actually, yknow, good. Also, camera scanning inherently limits you to one picture at a time.
So my scanner is a flatbed Epson "Perfection" V600. I purchased this scanner because it is the least expensive flatbed scanner you can find that also does transparencies. It can scan 12 35mm negatives or two 6x9cm 120 negatives at a time. The Perfection V850 can do a full 36 exposure roll of 35mm but costs 4.33x as much.
So this thing is fine.
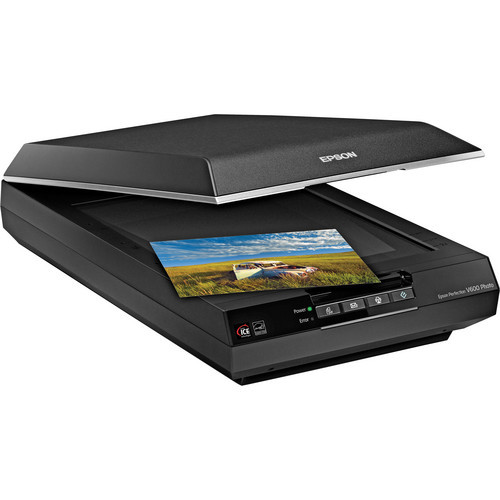
The first step is to cut my negatives up. This isn't as horrifying as it sounds. I have binder pages that hold 6 6-exposure strips, so a full roll of 35mm (which i will from here on out refer to with the slightly antiquated but slightly faster to type "135") takes up a single page.
Next, I mount them in the handy negative mounting frame that Epson provides, and put it in the scanner.


Now we can move on to the actual scanning.
Part 2: Scanning Software
This is, without a shadow of a doubt, the most irritating part of the whole ordeal. There's lots of decent scanning software out there, but there's fewer options for really good scanning software. Most of the "automatic" stuff sucks at being automatic so I end up doing most of it manually.
The scanner comes with the inventively named "Epson Scan," which is a very competent program if you want to scan and don't care about dust and scratches on your film. That is because I have yet to figure out what combination of options actually gets it to properly remove dust and scratches. This is mandatory, because I do not have $10,000 to spend on an industrial-grade negative pressure ventilation system for my bathroom/processing lab. Dust is avoidable, but ultimately inescapable.
The ins and outs of dust and scratch removal are interesting but not interesting enough for me to do a deep dive on them. The very short version is that the scanner scans every frame twice, once with visible light and once with infrared, and overlays the information from these to get rid of dust and scratches.
So instead of using the admittedly competent pack-in software, I opted to purchase SilverFast 9 SE. I paid $49 USD for this because I could not find a cracked version of the full-featured "HDR Suite" version and, frankly, i haven't missed the additional features.
SilverFast has a wizard option (Do they still call it that?) that walks you through the various steps of scanning. I haven't used it since my first roll.
The first step is to do a "pre-scan", which just scans the whole thing at a low resolution so you can pick the frames out of the lineup.

This is my screen at this point. The first step is to draw around the individual frames. This takes about 5-10 minutes depending on how anal i'm being about framing and overscan.

Now that i've let the computer pick the frames to save time for demonstration purposes manually picked my frames its time to boost the scan resolution from a postage-stamp 300 pixels per inch to an actually-usable 3200. You'll also note that i'm scanning these as "positives" rather than negatives. The "negative" scan option adds something called "Negafix" that i cannot turn off and that tries to color-correct for the negative stock's film base color. It is monumentally bad at this unless your stock is pre-loaded in its database which, as far as I can tell, hasn't been updated since 2005. We'll deal with that later though.

Now that we have the basic setting defined we go over to the "frame" menu seen above and copy these settings to all frames. I could set them manually, but copying settings over is the one thing this software is good at doing automatically. This may have something to do with the fact that it is essentially copy-and-paste, which you may recognize as a basic feature of every computer since 1987.

Occasionally, and unpredictably, the scanning software will turn on "Unsharp Masking." The wikipedia page on this option will explain it. I will not, because my contempt for the option rivals my contempt for the Republican Party, The Catholic Church, and Portland's insistence on driving 5 below the limit on the highway. I turn it off and if I could i would find whoever invented this option and eat their dog.

Once that is turned off we get to turn on the most beautiful option that SilverFast 9 SE has to offer, iSRD. iSRD is the previously-mentioned scratch-and-dust removal.

I have found that, in this one instance, the automatic settings are completely acceptable to me. They eliminate most of the really problematic dust in high-detail areas. The hairs and dust that gets left behind is usually easy to deal with via clone stamp later.
Now that the boring stuff is out of the way we get to the tedious, yet, to me at least, fun part. Histogram adjustment!


What you're seeing here is a histogram, its a graphical representation of the brightness of an image. Our goal with this is to maximize the dynamic range of the image. All that blank space to the right of the "mountains" (and some of the "lowlands" on the left) need to be eliminated so that the file can use as much of the bandwidth they have for actual useful image file stuff. This is pretty simple. We just slide those little arrows until they bound the mountains better.

Once we do this we can check the output histogram and see how it's mapped all the image data to the full bandwidth.

This has to be done individually per-frame, since each frame is slightly different.
Now that's done we can actually scan. I use the "Batch Scan" function, which scans everything one-after-the-other. I'm not going to show the dialog windows because 1.) its boring and 2.) I don't want to reconfigure the save path the way I did for the above images. It's a privacy thing.
After we've scanned everything its time to move on to...
Part 3: Color Grading
This is the part you've never heard about before. It's the most involved, and the most important, and it's worth getting into why.
Computers are amazing at storing information, at sorting information, at rearranging and processing information, but they are fundementally incapable of the most important part of dealing with information, assigning meaning.
I'm sure a lot of folks are going to be very very angry at me for saying that, but I actually don't care, and what's more, I'm confident the computer scientists I know will agree with me.
Film is better at storing images than computers. Period, this is a physical fact. The amount of dynamic range and resolution contained in film exceeds the ability of computers to contain it completely. So scanning is always going to be about compromises. You're trying to maximize the amount of useful information you can see by eliminating as much of the un-useful information as you can. But the computer doesn't actually know what is and isn't useful, so we have to tell it.
In order to do this, we use image editing software. I know a lot of photographers who swear by Photoshop, but fuck Adobe, and I know a lot of photographers who love GIMP, but GIMP's user interface is so convoluted as to be detrimental to my purposes. So I use Paint.NET, which is Windows-only, a fact which is sure to get me hate mail from several users including one of my best friends. (Sorry, Murder*.)

Here we have an unaltered** negative. There's a bit of overscan you can see on the left side of the image, and obviously its currently in portrait orientation. Before we go any further, I'm going to fix both of these things.
I like to crop my negatives in a 3:2 ratio. This is the natural aspect ratio of 135 film, and i like that similitude. Paint.NET lets me set a fixed aspect ratio for selections, which is nice


Now that the overscan has been cropped out and the picture is rotated properly, we can invert the image to a positive, and here is where it will become apparent to you exactly why color grading is important, and why there's no such thing as an "pure scan".

Wow! That's very...blue? Well, yes, it is. Color negative film mostly has an orange base. This helps compensate for shortcomings in the dyes used, and those shortcomings are why we have to color grade. The next step I take is to open the "levels" controls, where you'll see our old friend, the histogram!


This histogram looks different, but it's the same basic concept, with the difference that this program lets me adjust red, green, and blue individually. You'll also note that the individual RGB histograms broadly look similar, just out of sync. This is because of the orange base. They won't always look that similar, and in this case it's largely because the sky was overcast that day and there's a large amount of gray in the entire image.
We're going to adjust the input histogram first. Here, our goal is to map the maximum amount of dynamic range possible to the final image. Color balance is not yet important. So we slide the little arrows up and down from the top and bottom so that as much of them fill the output histogram as possible without clipping.
What is clipping? Clipping is when the black or white levels "blow out". Some clipping is acceptable in some images. A bright, sunny day will invariably have some clipping, and if you go out of your way to avoid it the image will look weird and flat. But in a picture like this where everything is muted and gray, we want to avoid it.

Clipping, by the way, looks like this, and is why i don't let the computer automatically adjust the level balance. Some people like this look with the deep black shadows, I do not.
But, onto doing it the Proper*** way

You can see the image is looking a lot better, but it still has a notably off color cast to the image. Its kind of green. Now we can move on to adjusting the output histogram. There's two ways to deal with this. We can adjust the input red, but this will result in highlight clipping. I actually don't mind highlight clipping as much, and in this case we have several red lights in the image both on the BMW and the crossing gate, so we're going to adjust that input histogram.
Truthfully, I should have thought of this before picking this image to do a demonstration on, but at this point its too late to turn back, and like I keep saying, this isn't a "how-to" guide.

So we still have a bit of a color cast, but its (mostly) in the midtones. Now it's time to bring out our secret weapon: gray balance, also known as neutral point or gray point.

That middle slider can be adjusted for red, green, and blue independently, and that's exactly what we're going to do.

This looks, for the most part, very good. I'll probably go back and tweak the gray points in the red and green a bit more, and i often go through these steps 2-3 times, repeating with finer adjustments before finally confirming the changes.
Truthfully, I don't remember if the BMW was pure white or eggshell white, so i'm going to err on the side of "eggshell" because the rest of the image looks weirder if i adjust for that white to be "pure".
And now, Voila! A fully color-graded image.
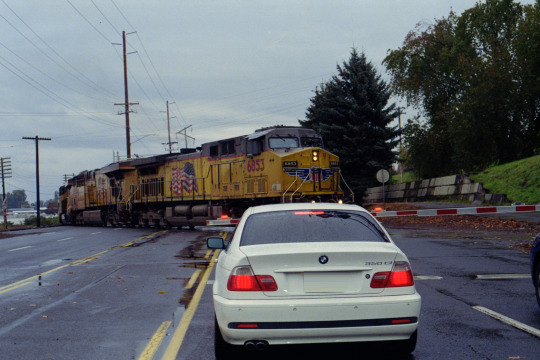
Does it look exactly like it did IRL? No, not quite, but again, scanning is all about compromise. I'm sure someone with more experience could do a better job than me, but the point here isn't to show you how to make things perfect, it's to show how I, Ivy Michaels do this.
If you made it through this far, congratulations! I love you! I hope you found this interesting. Thanks for reading <3
*Murder is e's actual name.
** i have censored the license plate of the 25-year-old BMW in my shot out of privacy concerns. It is not my car, and i do not know the owner. The negative has not been cropped, rotated, inverted, or graded in any way. Only the license plate has been removed by select-and-stretch. *** Despite my repeated slides into "we/us" language, this is not a how-to and is not intended to be a statement of objective correctness. It is "correct" in the sense of "correct to my personal workflow"
56 notes
·
View notes
Note
what do you use to scan your polaroids? they’re very clear!
epson v600 flatbed scanner theres alot of different settings i use but thats the scanner
40 notes
·
View notes
Note
Hey, how are you doing? hope this is alright to ask, what type of scanner do you use for your traditional artwork? I have a scanner, but the scan keeps coming out too light, yours look great! Love the detail and colors
Epson Perfection V600 Photo!
My scans come out pretty light still, I think that's just all scanners. I have to edit everything I scan in Photoshop after.
Also for some reason a lot of scanners default to scanning as jpeg, changing it to pdf and making sure it's at least 300dpi makes the images look a lot better
87 notes
·
View notes
Text
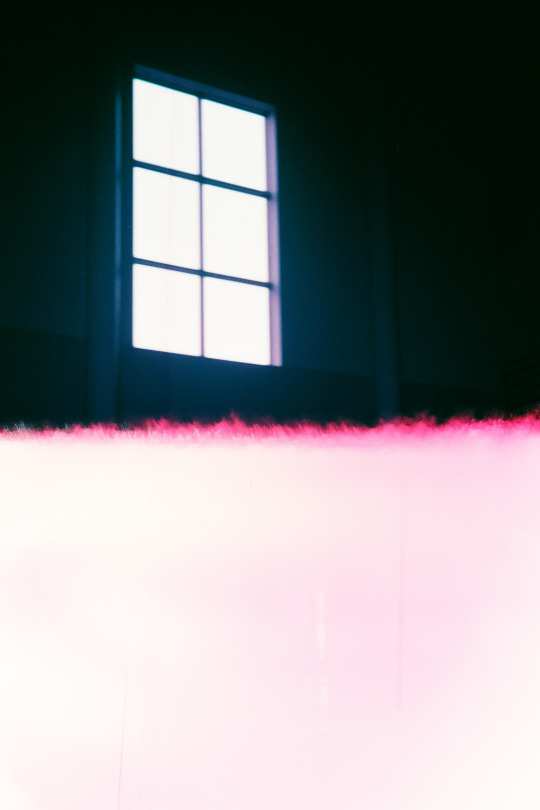

A WINDOW ABOVE FIRE/GROUND ph. by Kalan Naylor + Mario Piper - ASA 200, Nikkormat FT2, Vivitar 28mm f/2.8, C41 Epson V600 June 17, 2024
10 notes
·
View notes
Text
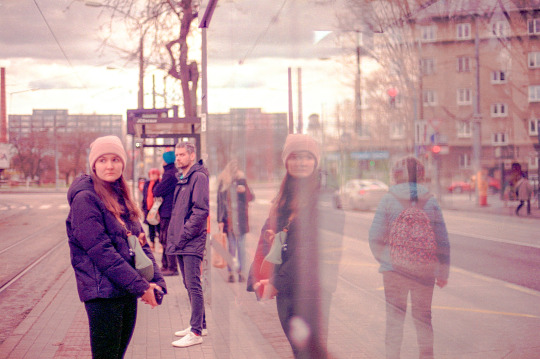

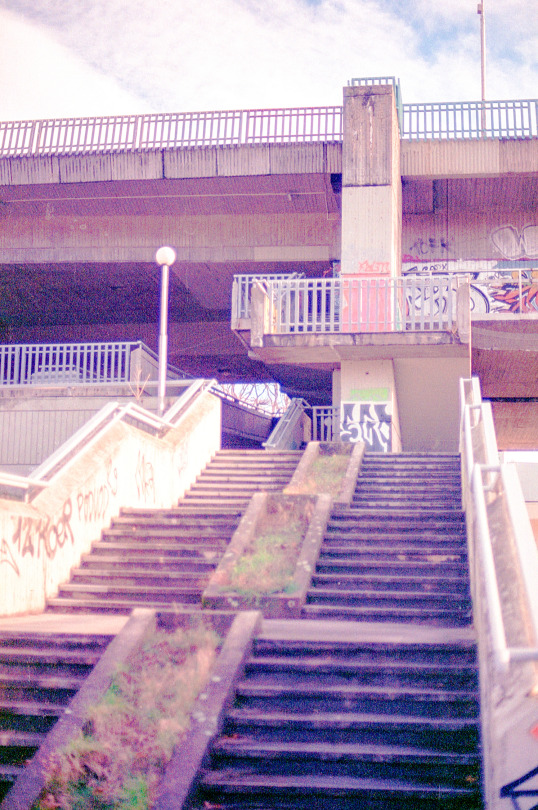
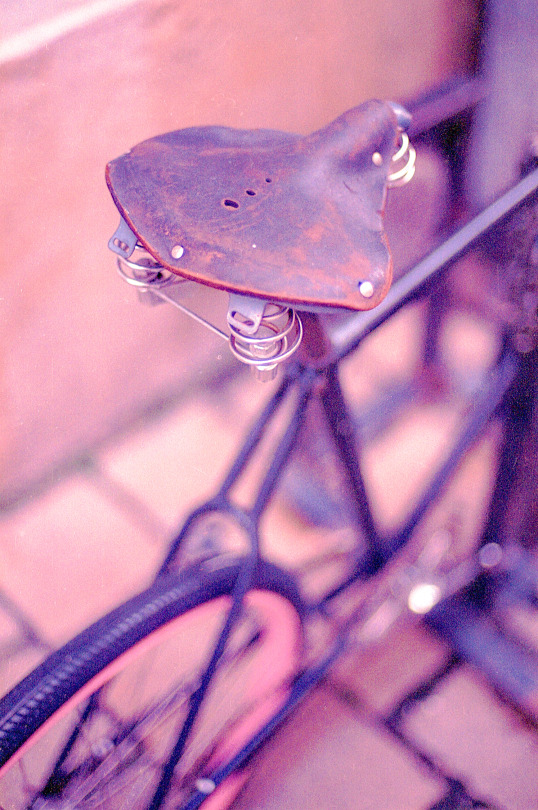
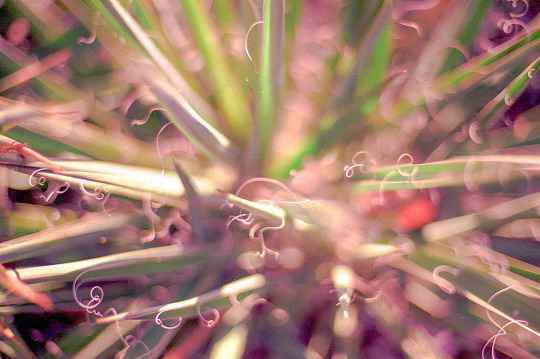
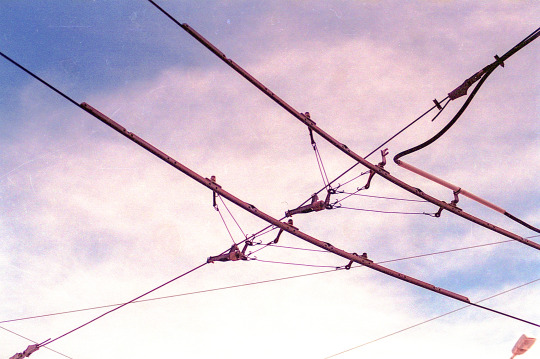
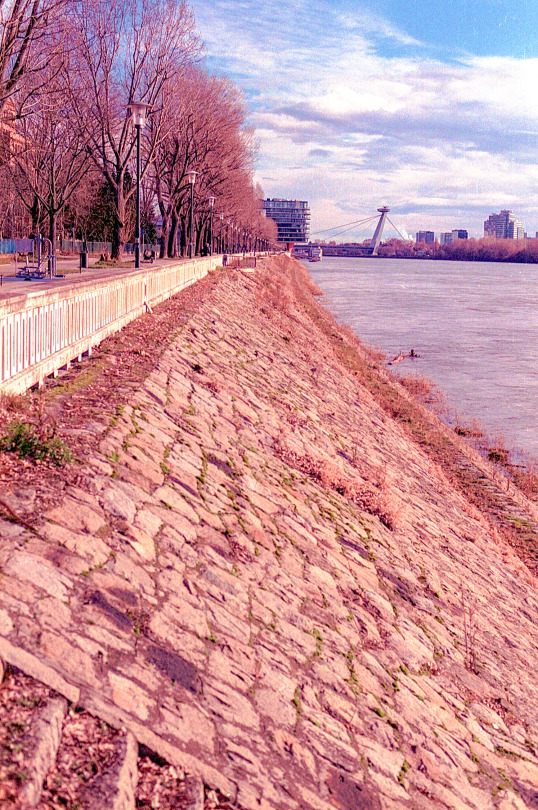
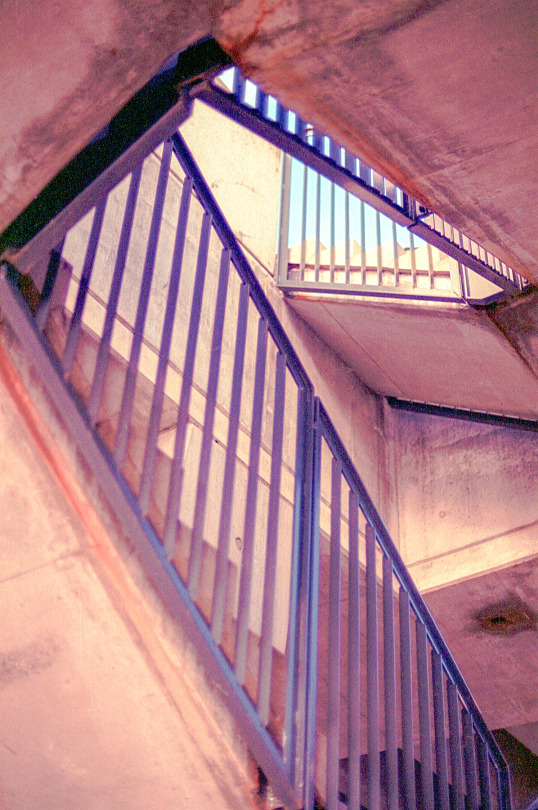
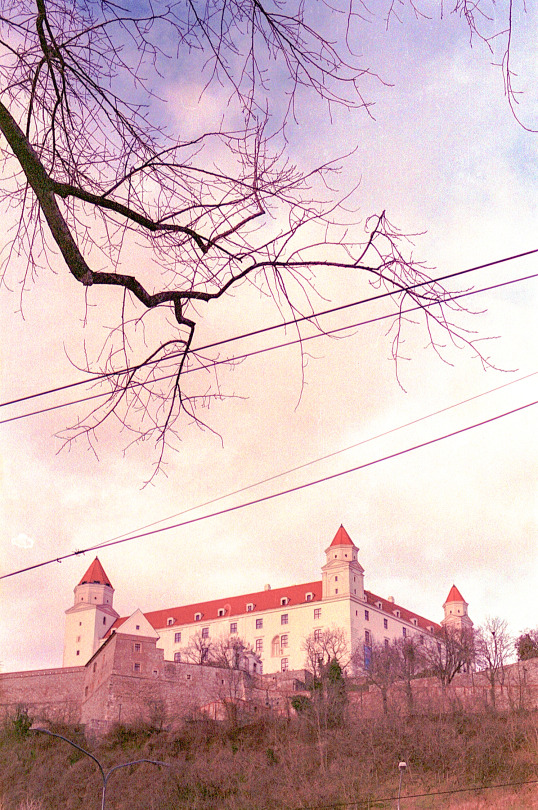
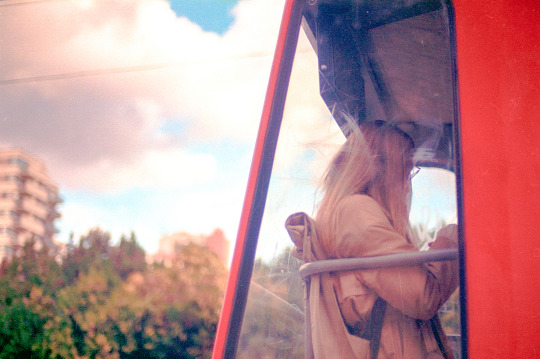
[ PhotoSeriesNo 059 24 - 36 ]
[ Bratislava, Slovakia ]
camera • Nikon F65
lens • AF Nikkor 50mm f/1.4
film • 35mm Lomography color negative 400
scan • Epson Perfection V600 Photo
[ © 2023 Zoltán Borsos ]
[ instagram • flickr • lomography ]
#photoseriesno#059#nikonf65#nikkorlens#lomofilm#iso 400#color negative film#homescan#epsonv600#ishootfilm#heylomography#film photography#filmisnotdead#35mm#film photograhers#fromatob
3 notes
·
View notes
Text
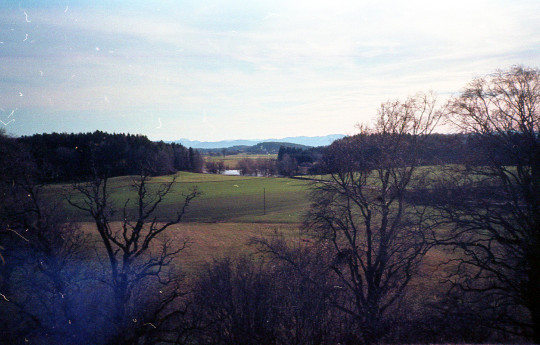
Film: KODAK Ektar 100 Camera: HANIMEX REFLEX flash Developer: ARS-IMAGO C-41 Color Negative Rapid Kit Scanner: Epson Perfection V600 Photo
9 notes
·
View notes
Note
Heya! I'm just wondering, did you ever end up finding a solution to all your printer problems?
SORRY I MEANT SCANNER NOT PRINTER LOL
Yes, I did! It turns out that my scanner, the Epson Perfection V600, requires a driver (a type of software) from the manufacturer to work. This driver is required even for third-party scanning software like Vuescan (which is what I use).
Despite the V600 still being a product that is actively sold by Epson, they have not updated the driver for Macs since like fucking 2021. What's even worse is that on the page they make it sound like the driver was only updated a few months ago when it really hasn't been. I was only able to discover this problem thanks to a helpful user on the Apple forums.
Because the V600 is such a nice scanner and I haven't been able to find anything remotely of its quality for a reasonable price, I'm currently using my old laptop from like 2015 to use the scanner. I just dump all the scans onto a flashdrive and transfer them to my main computer for editing/storage.
It's honestly indefensible that Epson has stopped supporting Macs despite still actively selling this model of scanner. Like if you know that you're gonna not support scanners after a few years, it's really scummy to make them only able to function with a driver from you that even third party software needs. This is planned obsolescence in action and like the ten billionth reason why capitalism sucks lmao
So yeah, if you use a Mac, I can't in good conscience recommend the V600 to you even though it's an amazing scanner. I have no idea if this also applies to Windows; I DO know, however, that Windows also requires the driver, but I'm assuming that driver is still being updated. This is also just yet another case of Mac users being left in the dust by software developers tbh.
7 notes
·
View notes
Video
Tree - Ximg862 by T. Brian Hager Via Flickr: Tree next to Giant Supermarket in the dark - Allentown, PA - Fujicolor Superia X-tra 400 - scanned on Epson V600 - shot with Canon EOS Rebel G.
#tree#building#dark#night#supermarket#analog#film#color#35mm#Fuji#Fujicolor Superia X-tra 400#Canon#Canon EOS Rebel G#Rebel G#Allentown#PA#scanned#Epson V600#flickr
1 note
·
View note
Video
Untitled by bluebird87 Via Flickr: Nikon N2000 Kodak Ektar Epson V600
0 notes
Note
Hello! If you don't mind, what scanner do you have? Your traditional work looks so nice!
Thank you!
It's an Epson Perfection v600 Photo scanner, which is kinda pricey, but which is worth the cost if you do a lot of art scanning - it handles color very well, and goes up to an insane resolution, which is the biggest factor in getting good scans. I would recommend it as a good option. (My last scanner, a cheap HP printer combo, could not handle either pinks or oranges at _all_; the amount of time this one saves in color correction is substantial.
7 notes
·
View notes
Note
I love your art its so vibrant and cute!!! May i know what camera+editing app you use to take your paintings picture? Or do you use a specific scanner for it? I paint too and I never be able to take pictures of my paintings as high quality as yours ;w; hope you have a good day! 💗💗💗
Thank you for your warm messages!!🥰
I use Epson Perfection scanner V37 to digitalize my watercolor works!
I scan 600dpi first > edit colors and paper textures by photoshop > resize it in 200dpi image > and upload it on internet!🖥️
I found epson v37 scanner (CCD) is discontinued now, by epson us standards they are now producing V39 (CIS) and V600 (CCD)!
This is the link for the epson photo scanners!
I hope this helps you!😊 Have a wonderful day!!😁
9 notes
·
View notes
Text
Hello Tumblr, I'm Wub
As you can tell by looking at my page I am a huge Daft Punk fan. Some of you may already know me from Twitter but this post is meant to be an introduction to the Daft Punk fans here on Tumblr who don't know what I do.
I became a fan in 2013. In 2014-2016 I spent some time on the daft club forums obsessing over Daft Punk's music and personas. I eventually just started collecting as many photos of them as I could which led to me joining Tumblr in early 2016. I really only used it for a few months mainly just to collect photos and read interviews. I idolized the work done by fans like ifcwdjd, cylee77, & one-additional-time who would share mountains of content for fans to enjoy. But like I said, I didn't really stay for long, stopping by once or twice a year ever since.
In March, 2016 I made my Daft Punk fan account on Twitter and for the past 7+ years it's been my main place to talk about Daft Punk and share media. In 2018 while I was completing my B.A. in History I made my own website thedaftpunkhistorian.weebly.com where I could organize the heaps of Daft Punk information that existed online but was becoming difficult to find if you didn't know where to look. Over the years I've made it my mission to find and share every known interview they've ever done. I've also made it my mission to find and share every known Daft Punk photoshoot in as high of quality as possible. I've noticed that as time moves forward and our screens are getting higher and higher resolution, those old scans aren't looking as sharp as they used to.
So in 2021 I took inspiration from ifcwdjd, cylee77, & one-additional-time and started collecting / scanning Daft Punk magazines myself. In August 2021 I bought a nice EPSON Perfection V600 scanner and have been obsessively tracking down magazines to scan for the past 2 years. In the past 2 years alone I've added around 100 magazines to my collection. By this point I have tracked down a couple dozen interviews that didn't previously exist online as well as scanned hundreds of photos (several of which didn't previously exist online or only existed in poor quality). I usually upload the interviews to Archive.org and the photos to my Twitter but now I will also be uploading them here along with other things I've collected over the years.
So yeah...that's who I am, what I do, and why I do it. I hope you enjoy my page!
12 notes
·
View notes


