#800 iso shot at 400
Explore tagged Tumblr posts
Text
The Sea Horse Inn. Nikon F65. CineStill 800T. (Shot at 400.)
Every time I go back to New Quay I make a point of visiting The Sea Horse. The beer is always fantastic (there is even an IPA brewed especially for them by Evan Evans) and the regulars are always friendly and welcoming.
Another advantage is that it is at the top of the hill so it is not too much a a struggle walking home after refreshing oneself.
I decided to finish my roll of CineStill after my walk along the front. I only got a few questions and people did not seem to object.


#liverpool#liverpoollomo#lomo#lomography#analogue photography#nikon f65#nikon slr#film slr#cinestill 800t#800 iso#800 iso shot at 400#fast film#the sea horse#new quay#Ceredigion#west wales#pub#bar#film is not dead#don't think just shoot
2 notes
·
View notes
Text

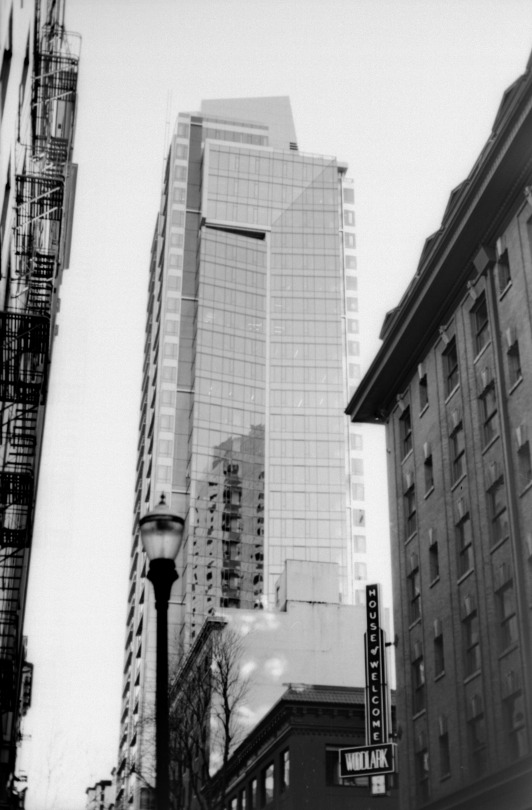
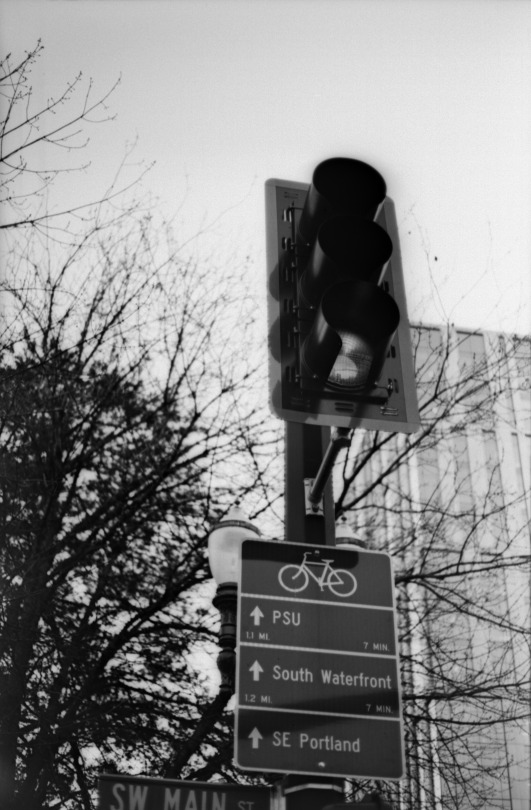
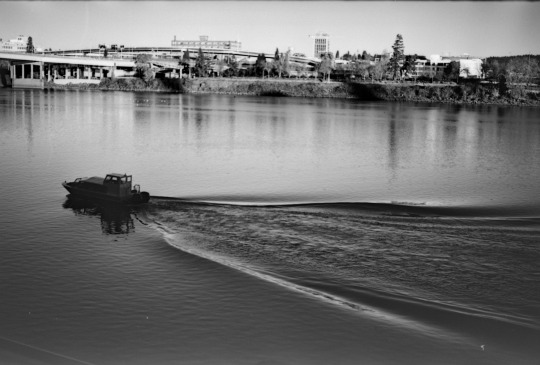
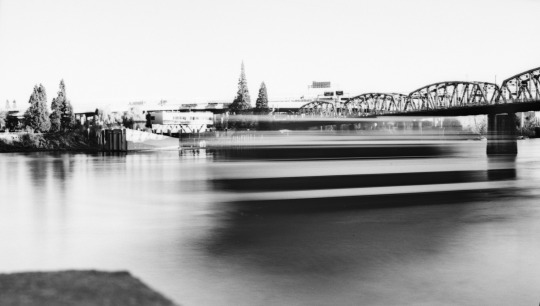
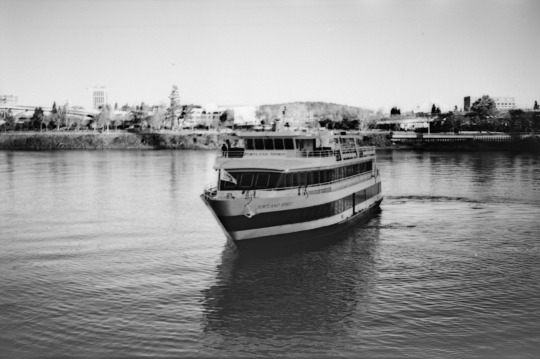
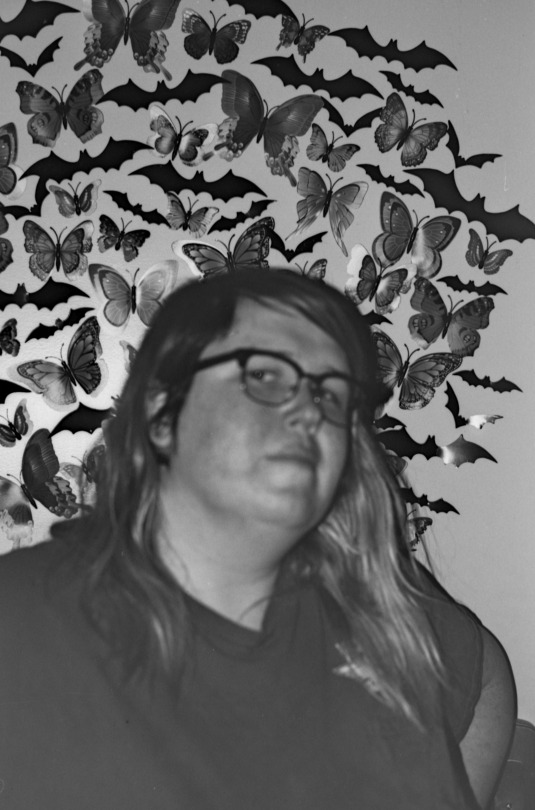
I've been wanting to try this film for a while. It's Lomography Fantôme Kino, also available as Wolfen DP31.
It's an ultra-low-speed Black And White film. It has an ISO of 8. Not 800, not 80, 8. So it's got incredibly high contrast, incredibly long exposure times, and it looks bitchin.
Film speed is logarithmic, every time you double the number, it doubles the sensitivity. Your standard walkabout film back in the day was 400, decently good for outdoor photography and indoor with flash. Your phone camera now is usually around ISO 800 at a minimum if you're indoors. (As a side note, ISO is not a unit, it's a rating. It's not correct to say a film has "8 ISOs")
Based on the above, this film requires about 7x as much light as my phone to make a good picture. This lets you slow down your shutter speed even in bright daylight to get long-exposure shots like the one in Row 3.
I'm surprised it shot so well with flash indoors.
I'm definitely buying this film again. It fucking rules.
P.S. I traded in my old canon A2 for a slightly newer Canon EOS 33 and it slaps. These were all taken on that one.
88 notes
·
View notes
Text
Bad Film - push/pull
Shot ISO 400, should have pushed to 800 at least

February 2024
Location: Chinatown, San Francisco, California
#bad film series#photography#photoblog#photo blog#photographers of tumblr#photographers on tumblr#film photography#35mm#35mm camera#35mm color film#35mm photography#35mm film#film#film camera#street photography#chinese new year#pushed film#chinatown#san francisco#california#iye415
18 notes
·
View notes
Text


Today was about testing two cameras,
And developing the test rolls from both cameras!
Minolta x570 had Rollei retro 80s
Canon EOS a2 had hp5 that I thought was set to iso 800 but the camera had other ideas and shot it at 400.
Definitely not something I did wrong, I’m a blameless child of god.
#film#believeinfilm#film photography#analog#35mm#photographers on tumblr#photography#canon#eos#Minolta#ilford hp5#Rollei retro 80s
10 notes
·
View notes
Text

Praktica FX2 with Paragon 400mm f6.3 lens, shot on Kodak Tri-X 400 pushed 1 stop to ISO 800 and developed with Ilford Ilfosol 3
#photography#film photography#ishootfilm#analog photography#filmisnotdead#nature photography#b&w photography#wildlife photography#grey squirrel#squirrel#telephoto#praktica#35mm format
7 notes
·
View notes
Text
Sony RX100 VII Thoughts After Two Months
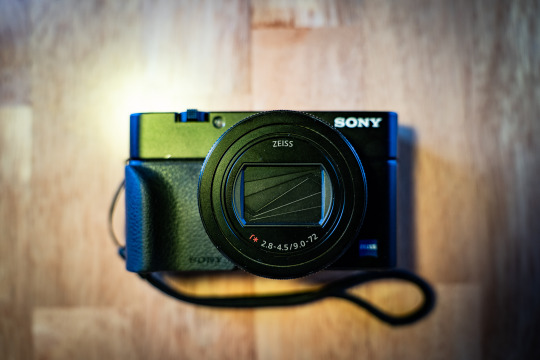
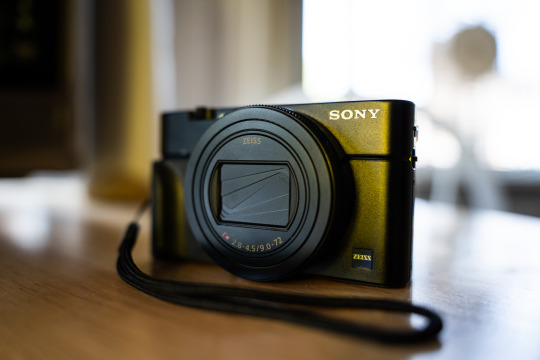
PROS:
Stacked sensors are the future. Well, technically the present considering that Canon, Nikon, Sony, Fuji, and OM Systems all use stacked sensors in their top of the line cameras. Either way, finally getting to experience shooting with one on a daily basis has made me want one in pretty much any camera going forward. The benefits are twofold: Not only do you get shutter speeds up to 20 frames per second, and without a mechanical shutter flipping in the way obscuring your view in between shots, but you also get no rolling shutter while doing it. Pretty much every Sony camera can shoot 10 fps bursts with the silent shutter, but any movement can give you a jello-like effect since the sensor reads out so slow on non-stacked cameras. The only con, at least on this camera, is that you can’t shoot flash at higher than 1/100 with the electronic shutter. That’s still plenty fast for a lot of stuff, but well below the 1/2000 you get when shooting the mechanical shutter.
The fast frame rate wouldn’t make much of a difference if the camera was bad at autofocusing, but this camera is great at it. It has a lot of the same fancy focusing stuff that my full frame Sony has like human/animal eye autofocus and all the tracking modes I’m used to. It actually makes the camera pretty solid for wildlife if you can get close enough at the 200mm end.
Speaking of that, the 24-200mm equivalent is a great range, and one that I missed a lot since I traded away my Tamron 28-200 to help cover the cost of my A7RIV. The small size and extra 4mm on the wide end actually makes it even more convenient than that Tamron.
Aside from covering a broader range than the 24-70 equivalent lens from the older RX100 cameras, this lens also seems noticeably sharper. The last RX100 model I had, the Mk. IV, just didn’t seem as crispy as this lens is.
It has a touchscreen! It’s wild to think that the previous RX100 cameras I owned didn’t have this basic ass feature, but Sony was very late in putting touch screens in their cameras. Ironically, I don’t really use it in this one because the AF is good enough that I can just do focus and recompose with tracking.
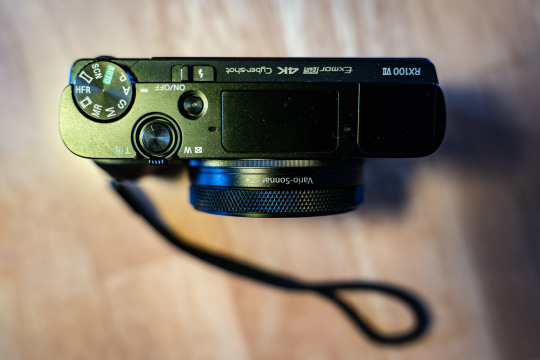
CONS:
It’s still only a 1” style sensor so high ISO isn’t the cameras strong suit. Programs like DXO PureRAW help a lot and let you get somewhat usable images at ISO 6400 in a pinch, but you’re kinda pushing things at that point.
While the lens is sharper and covers a wider range than the older models, it’s also significantly slower. At 24mm equivalent it’s already at f/2.8 where the old cameras were f/1.8. It’s f/3.2 at 25mm, f/3.5 at 33mm, and f/4 at 40mm. From 109mm to 200mm you’re at f/4.5. The relative slowness of the lens combined with the small sensor means that this can struggle getting quality images in low light without a tripod or something.
No USB-C. My Fuji, Ricoh, and larger Sony all have USB-C charging, which is amazingly convenient when traveling. I haven’t really gone anywhere with this camera yet, but having to account for a micro USB cable is annoying since pretty much everything aside from my iPhone uses USB-C.
It’s expensive. Just like my Mk III and Mk IV I got it used so it was cheaper than retail, but the copy I got cost about twice what I paid for the previous models.
Start up time is just a tad bit slower than I’d like. The GRIII and X100V both beat it that regards, albeit those aren’t zoom lens so I have to cut the Sony some slack.
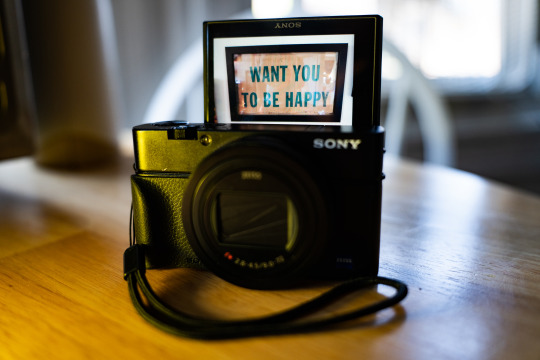
SAMPLE PHOTOS:
(The sample photos were edited in Lightroom Classic and DXO PureRAW2. Also, the sensor creates a roughly 2.7x crop factor, so the 9-72mm lens equates to 24-200ish)

Young Bird | ISO 160. 72mm. f/4.5. 1/200.
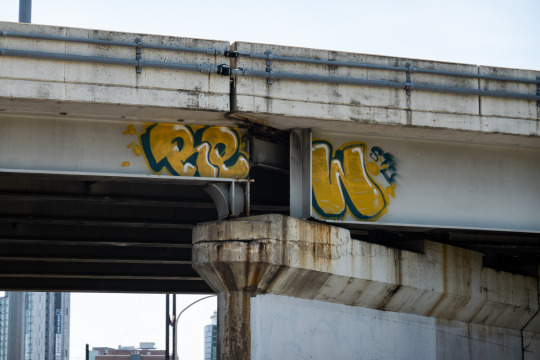
Graffiti Shot from a Car | ISO 100. 33.98mm. f/4. 1/400.
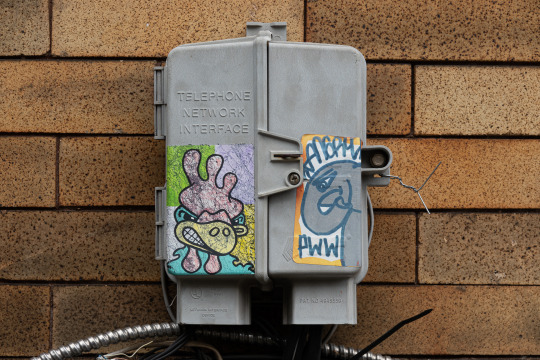
Stickers | ISO 100. 29.67mm. f/4.5. 1/100.
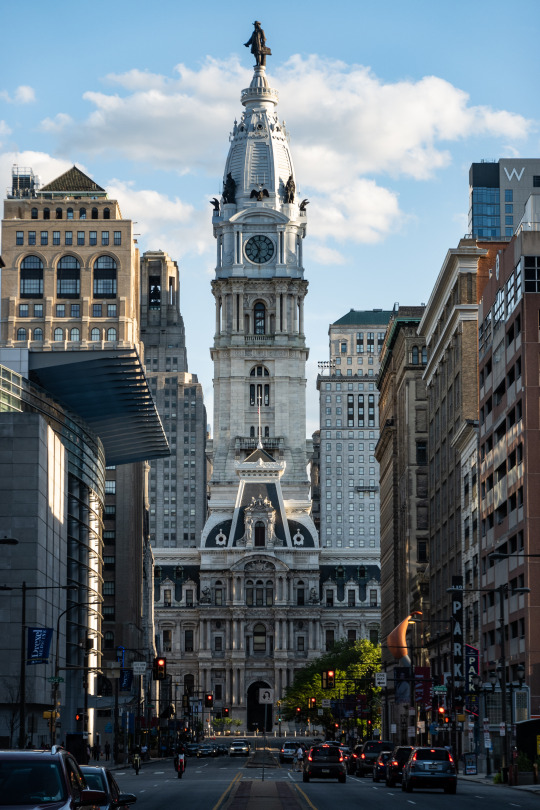
City Hall | ISO 100. 38.13mm. f/4.5. 1/200.
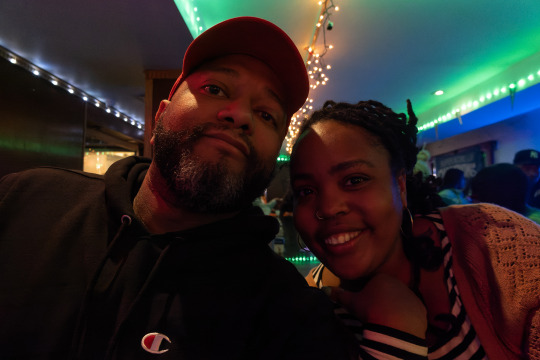
Flip Up Screen Selfie with My Friend Hanae | ISO 3200. 9mm. f/2.8. 1/40.
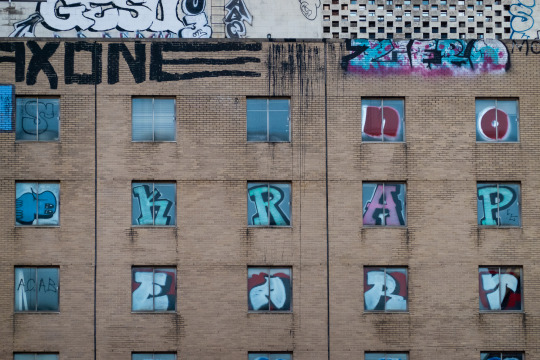
Zoomed in Graffiti | ISO 640. 72mm. f/4.5. 1/500.
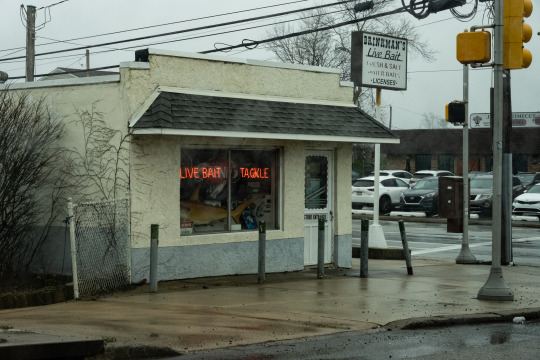
Fishing Store Neon | ISO 800. 28.67mm. f/8. 1/200.
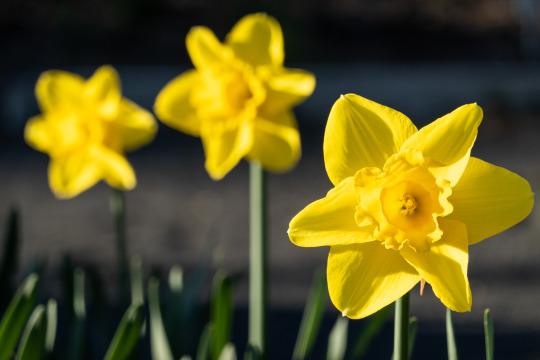
Flowers | ISO 200. 72mm. f/5. 1/640.

Selfie Shots with My Sister | ISO 3200. 9mm. f/2.8. 1/100.
29 notes
·
View notes
Text


Shredding Sunlight
Settings...
First 3 images:
800/second
200 ISO
f16
Tunnel Image (4)|
800/second
400 ISO
f16
Last 6 (towards begining of golden hour)
500/second
100 ISO
f16
I wanted to capture an alternative side of SBU, a school known for it's rigorous STEM program, an asocial commuting population, and burnt out students. These skaters are friends of mine, young adults in STEM, leading somewhat of a double life. Skating during their breaks between labs, catching air after assignments, living in the sun for as long as they can before they get called away to take tests. I tried to capture a rebellious nature as well as the beauty of the sport and the skaters themselves. They are a small subculture on campus living their best lives and beating stress by forming a community revolving around an activity they live for.
The Photos:
Initially, it was my plan to continue work on a photojournalism project of mine. But some time before break I decided to deviate and go outside my comfort zone. I'm not a sports photographer, but I wanted to open myself up to a new kind of craft. I'm proud of myself for how I did given the circumstances, and now I have some alternative pics to ad to my portfolio.
I shot them on my Nikon D750, with a wider angle than what i typically use, 35mm, for a tad bit of distortion, which I exaggerated in post. I shot during golden hour, which made taking these pics within a half hour pretty hectic, but a fun experience. As far as any other post edits, I put some pics in partial b/w, and all the pics into a grainy, greenish edgy filter preset in lightroom which I made myself for a teenage 90's aesthetic that fit my subjects well.
3 notes
·
View notes
Text
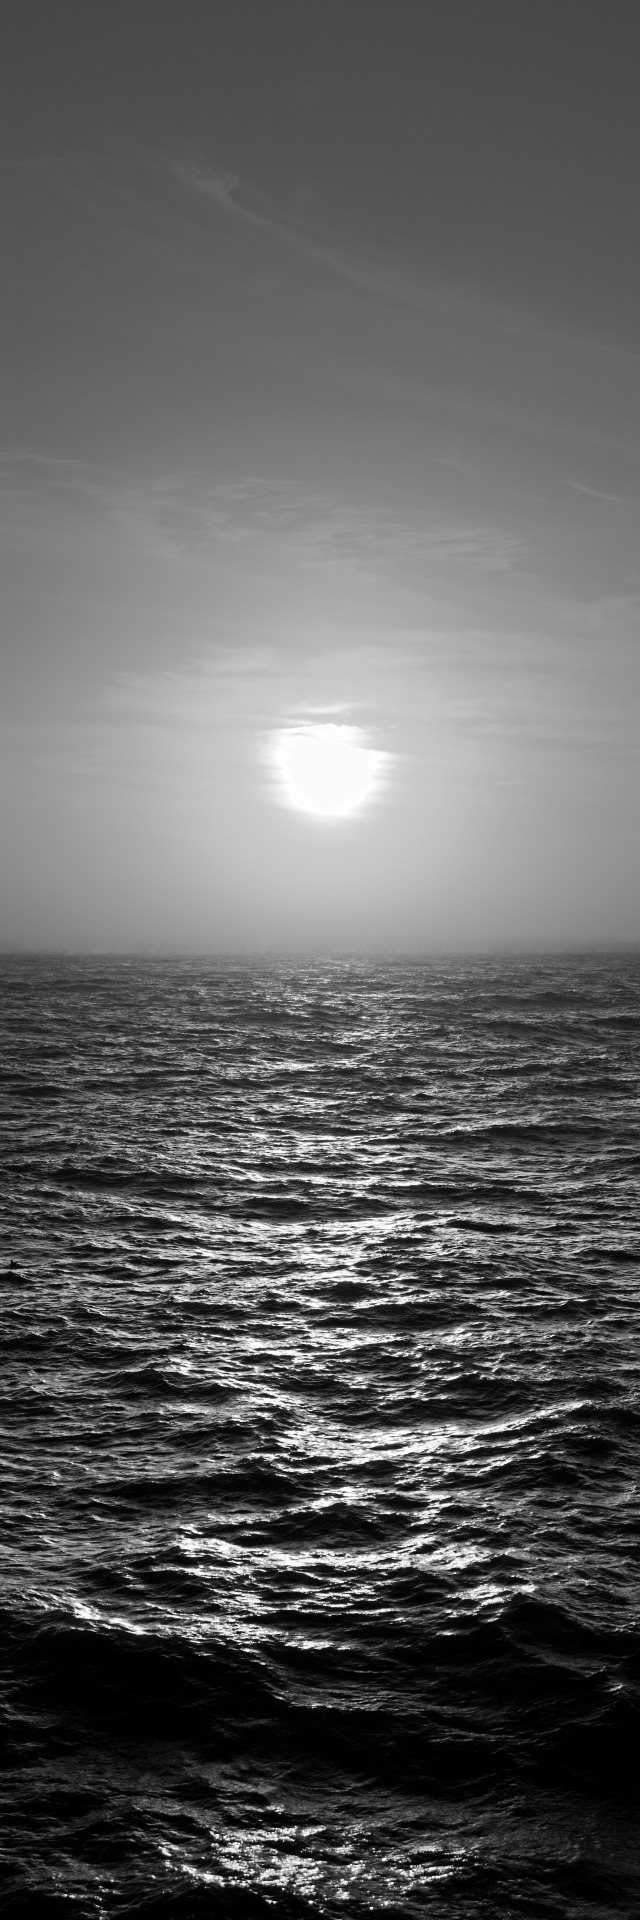
Sunset
Nikon D50; (1/400, 1/800, 1/1600, 1/4000); F/8; ISO 200; 55mm, Four Image Vertical Panorama
Shot 27/11/2006 Edited 03/02/2011
#Nikon D50#1/400#1/800#1/1600#1/4000#F/8#ISO 200#55mm#27/11/2006#03/02/2011#photography#art#archive#panorama
2 notes
·
View notes
Photo


A blast from the past for Throwback Thursday. This was taken in Spring 2014. I was driving home from San Francisco after a multi-day consulting trip to the Bay Area. The last second impulse to pull off mid-span at the Treasure Island exit was definitely a worthwhile impulse stop!
The black and white version with the sailboat was taken about an hour after the color blue hour shot of just the bridge. As much as I like the color version, I think the sailboat adds a lot to the B&W image, and I like how the mast of the sailboat is lining up with the bridge tower. The old eastern span section of the bridge can still be seen behind the new bridge. That span was dismantled over the course of a several years. The metal trusses were totally gone by mid 2017, and the last of the marine foundations were imploded in 2018.
For the exposure curious... BW = 2 seconds, f/8, ISO 400. Color = 1 second, f/8, ISO 800.
#throwback thursday#bay bridge#treasure island#san fransico#bridges#bayarea#sfbayarea#night photography#black and white photography#Black and White#blue hour#sailboat
3 notes
·
View notes
Text
Workshop: Exposure | Week One.
Task 1 : 3x Photographs of the same scene -> Take an exposure reading from highlight, mid-tone and shadow + using all the different metering systems available. -> How do these different light qualities impact on your image?


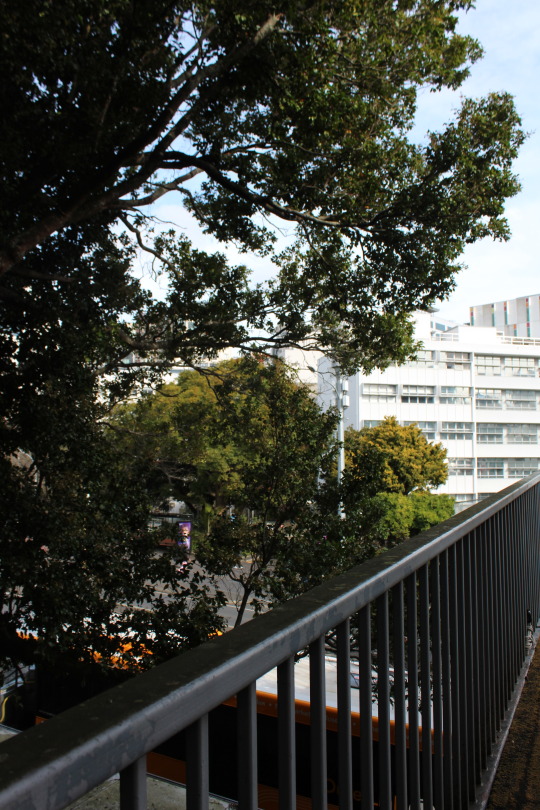
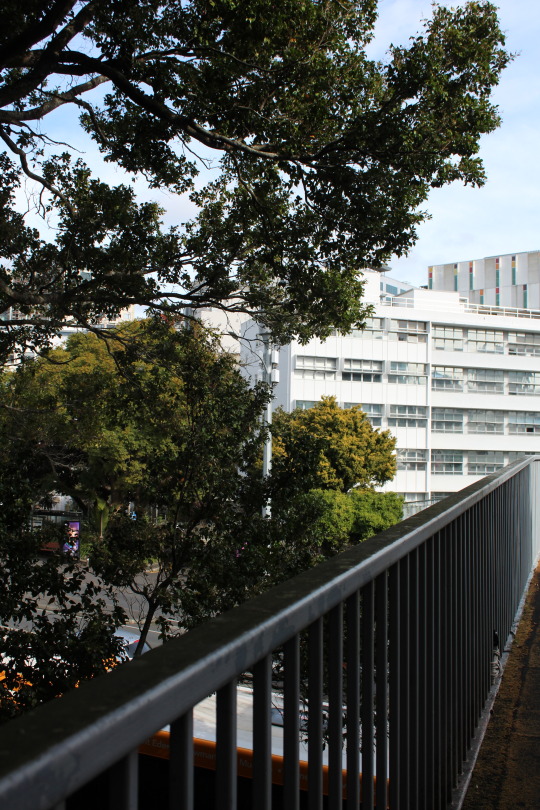
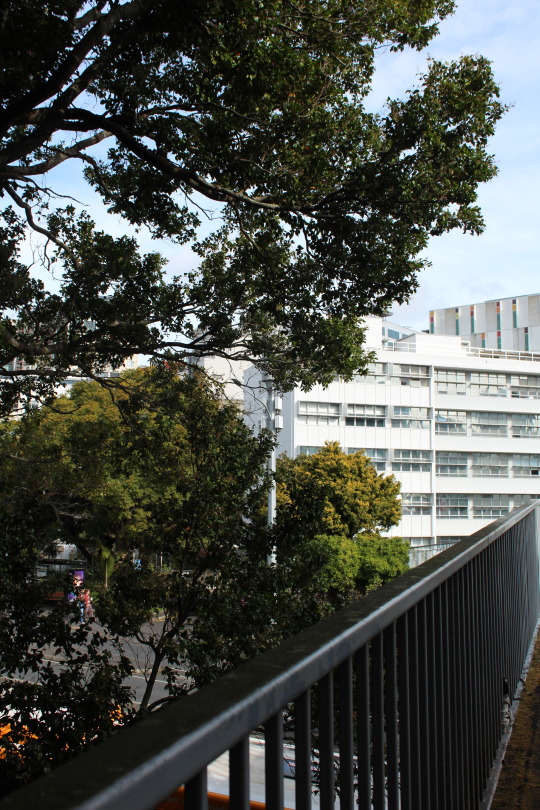
-> First photo is shot in a shutter speed of 1/200, F stop 5.6, ISO 100 and an evaluative metering system. -> Second photo is shot in a shutter speed of 1/320, F stop 5.6, ISO 100 and a partial metering system. -> Third photo is shot in a shutter speed of 1/320, F stop 5.6, ISO 100 and a centre-weighted metering system.
The photos look pretty much the same even shot in somewhat different settings besides not in the exact same position. The first one looks like there is more brightness within the photo compared to the other two.
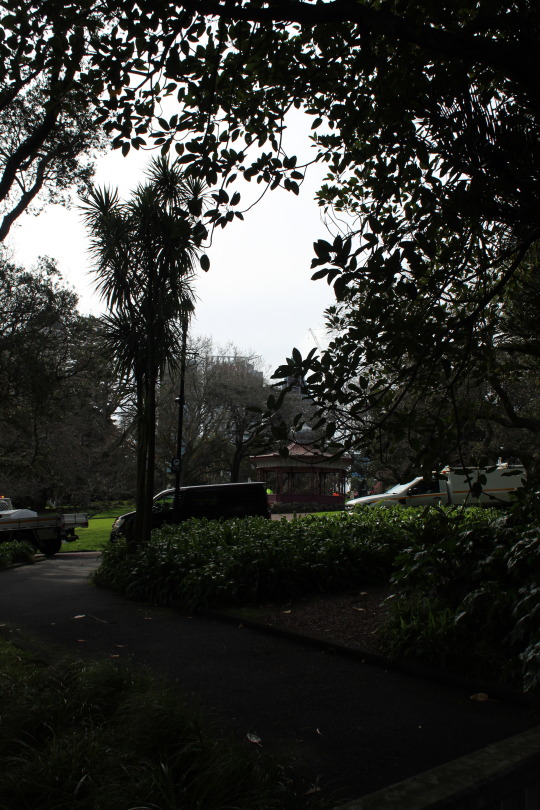
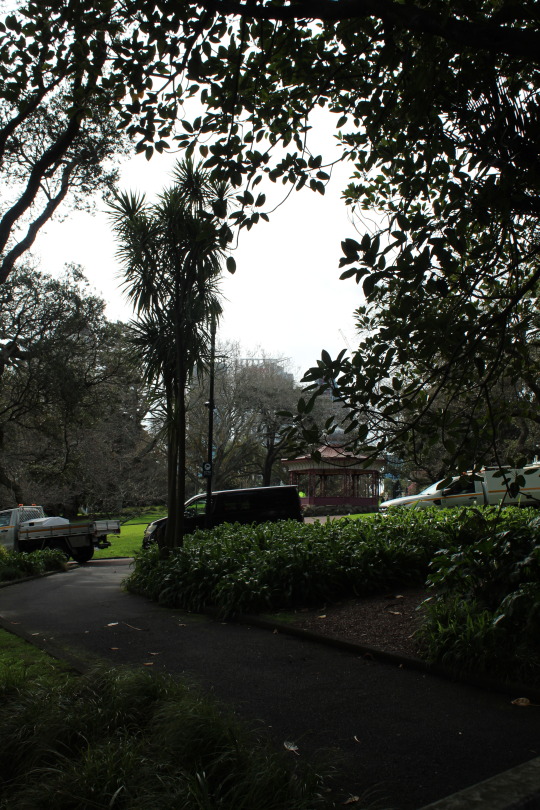
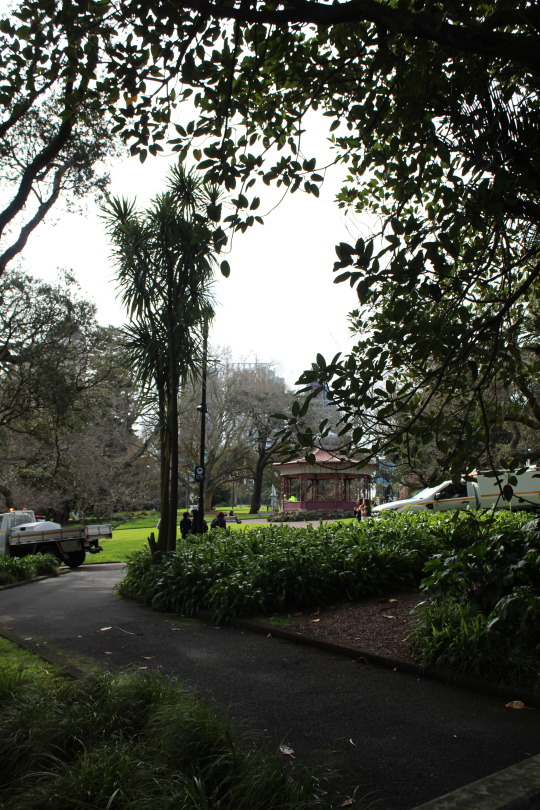
-> First photo is shot in a shutter speed 1/320, F stop 7.1, ISO 100 and an evaluative metering system. -> Second photo is shot in a shutter speed of 1/160, F stop 8 and ISO 100 and a partial metering system. -> Third photo is shot in a shutter speed of 1/200, F stop 5.6 and ISO 100 and a centre-weighted metering system.
These photos are quite different, probably due to the different settings

Task 2 : Produce a correctly exposed image using an aperture of f16, f8, f5.6, adjusting the shutter speed to suit the lighting situation. -> How will you ensure a correct exposure even though you are using a different aperture/shutter speed combination?
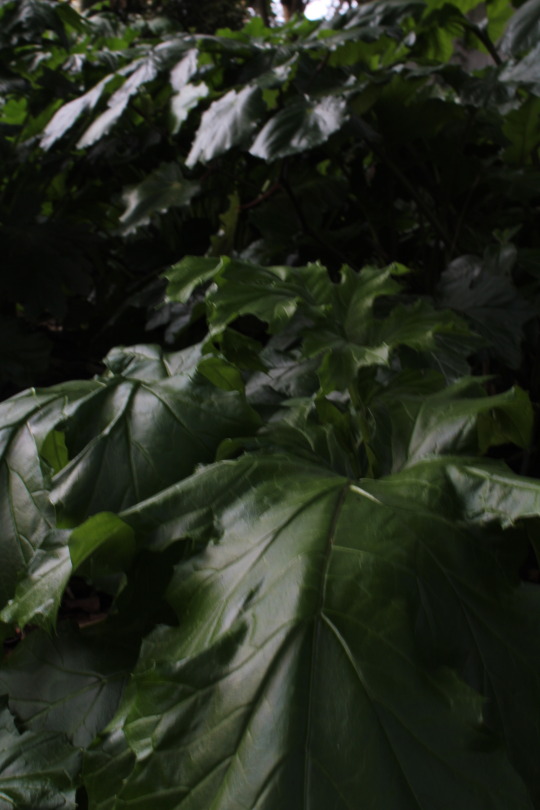
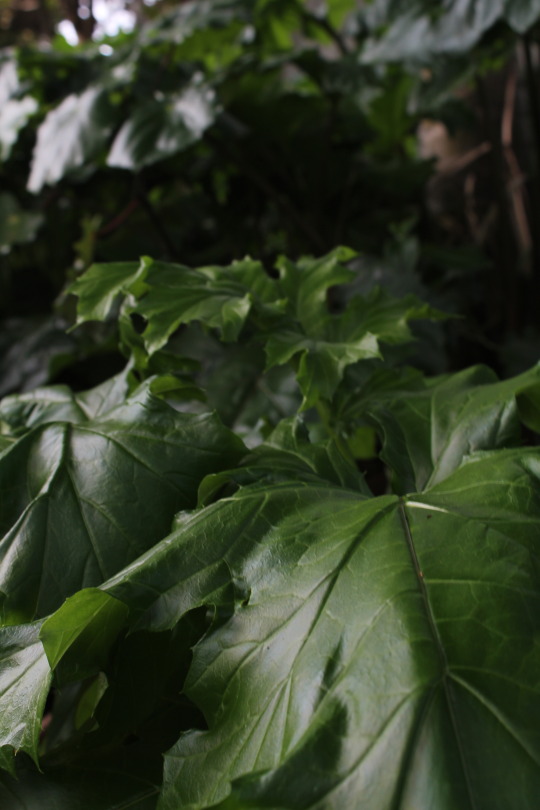
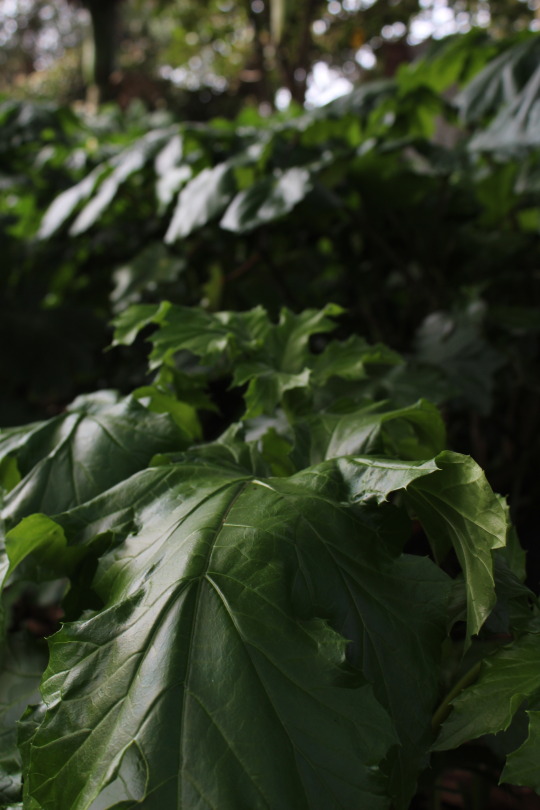
-> First photo was shot in shutter speed 1/15, F stop 16 and ISO 100. -> Second photo was shot in shutter speed 1/40, F stop 8 and ISO 100. -> Third photo was shot in a shutter speed 1/80, F stop 5.6 and ISO 100.
In order to keep the exposure correct, I kept adjusting the shutter speed but I had kept the same ISO (next time I think i'd adjust the ISO speed as there wasn't that much light and it was more gloomy). I had adjusted the shutter speed to a smaller for the first photo so that I could get more light into the photo but it's a little shaky/blurry so I would use a tripod next time so that the photo is more steady and clear. The second photo I made the shutter speed a bit slower so that light was still being let in but it was not over exposing the photo. For the third photo I made the shutter speed 1/80 as the aperture was quite small and already letting light in so I needed to balance the both out.

Task 3 : Set ISO to 100 and take an in-focus photograph at 9pm at home using the smallest aperture your lens allow. -> How will you determine if the shutter speed is too slow and thereby will cause camera shake? Will you need a tripod?

Task 4 : In low-light situation, produce a series of images from different ISO's of 100, 200, 400, 800 and 1600. Use F11 and corresponding shutter speed. -> Will you need a tripod?
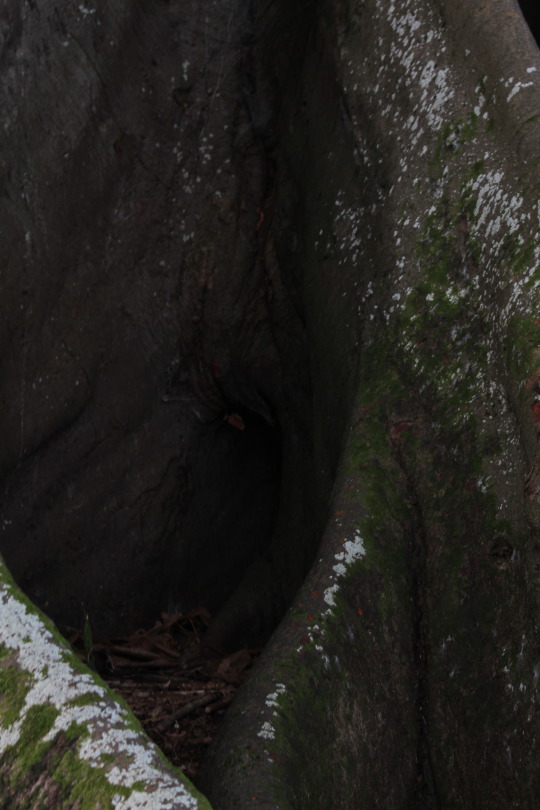
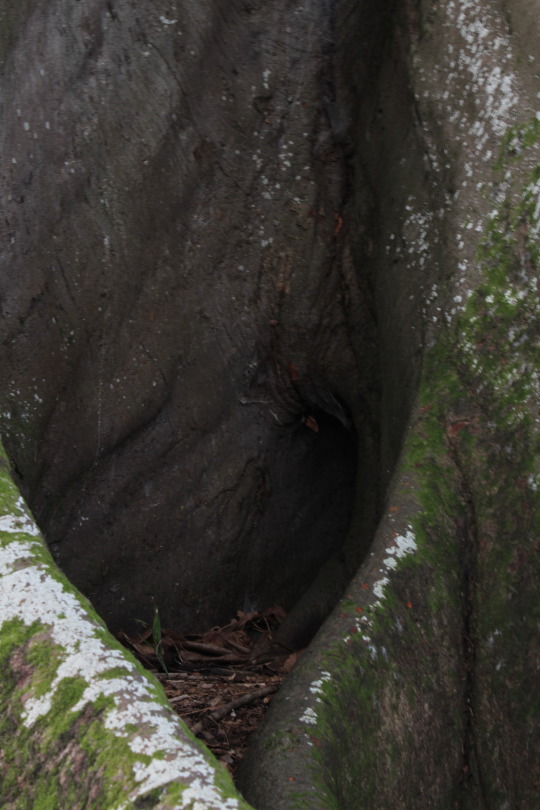

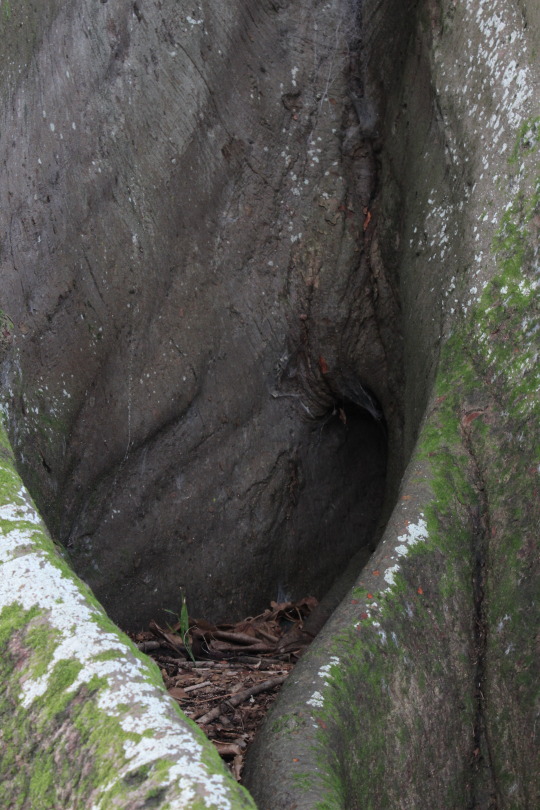

-> First photo was shot with a shutter speed 1/8, F stop 11, ISO 100. -> Second photo was shot with a shutter speed 1/10, F stop 11, ISO 200. -> Third photo was shot with a shutter speed 1/15, F stop 11, ISO 400. -> Fourth photo was shot with a shutter speed 1/20, F stop 11, ISO 800. -> Fifth photo was shot with a shutter speed 1/30, F stop 11, ISO 1600.
Photos gradually get better brighter as I made sure to adjust the shutter speed to produce somewhat of a equally exposed photo while using the different ISO's as they became less sensitive to light.

Task 5 : Photograph something placed in front of a window at around midday without it becoming a silhouette. -> Where will you need to take your exposure reading from?
Task 5.1 : Photograph a white T-Shirt outside in the midday sun and produce an exposure where you can see the detailed texture in the fabric. Then repeat with a black T-Shirt.
Task 5.2 : Repeat these with an aperture of f16. Make sure the object fills the frame.
0 notes
Text
Manual Mode / Same shot at different ISO
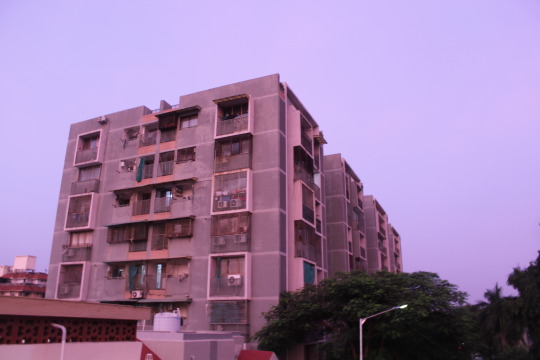
Shutter Speed: 1/4 | Aperture: f/3.5 | ISO: 100
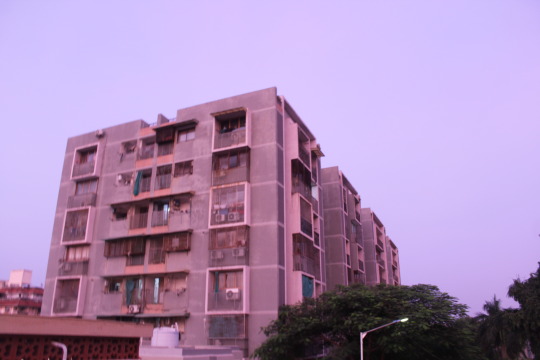
Shutter Speed: 1/6 | Aperture: f/3.5 | ISO: 200
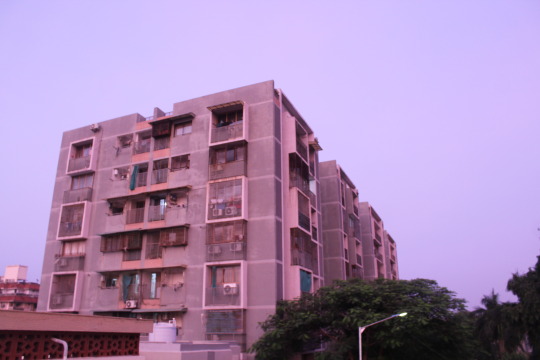
Shutter Speed: 1/10 | Aperture: f/4 | ISO: 400
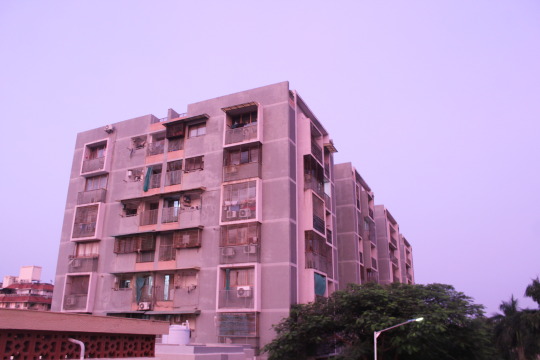
Shutter Speed: 1/15 | Aperture: f/4 | ISO: 800
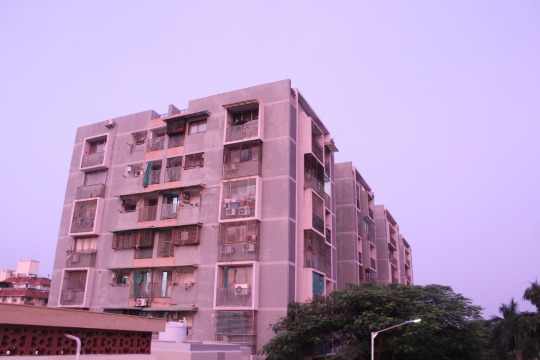
Shutter Speed: 1/25 | Aperture: f/4 | ISO: 1600
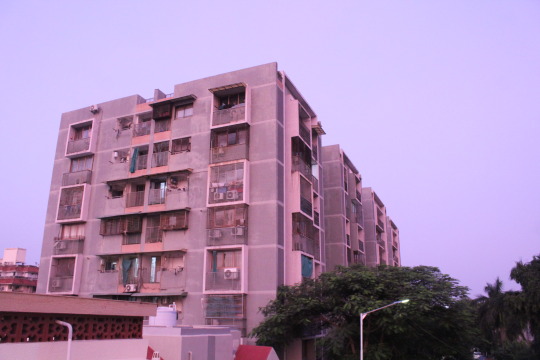
Shutter Speed: 1/30 | Aperture: f/5 | ISO: 3200
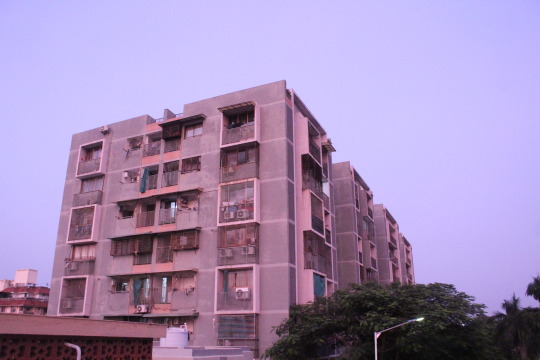
Shutter Speed: 1/60 | Aperture: f/5 | ISO: 6400
0 notes
Text
New Quay at night (an error.) Nikon F65. CineStill 800T. (Shot at 400.)
I have wanted to shoot an 800 iso film for a while but the price always gave me reservations. Around a two weeks before leaving for New Quay I was lucky enough to find three recently expired rolls of CineStill 800T on Facebook Marketplace at a price which was more than reasonable.
I had the idea to shoot a few frames at night on the front almost immediately after acquiring them and set off on my first night. However, I set the exposure compensation on the camera to -1 rather than +1. So, essentially I was shooting at 400 iso! I made a mental note not prepare adequately in future.


#liverpool#liverpoollomo#lomo#lomography#analogue photography#nikon f65#nikon slr#film slr#cinestill 800t#800 iso#800 iso shot at 400#night photography#fast film#new quay#Cei Newydd#ceredigion#west wales#cymru#film is not dead#don't think just shoot
3 notes
·
View notes
Text
ExposureWorksheet_task4
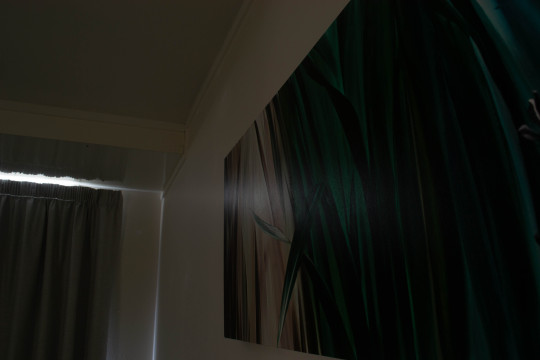
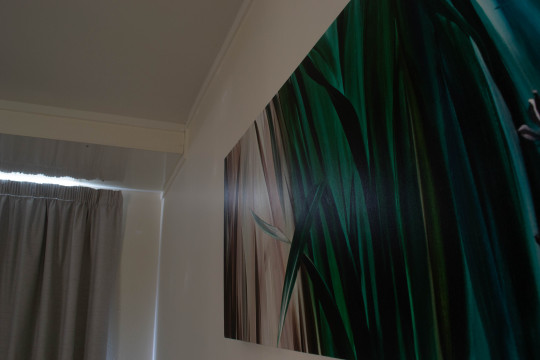
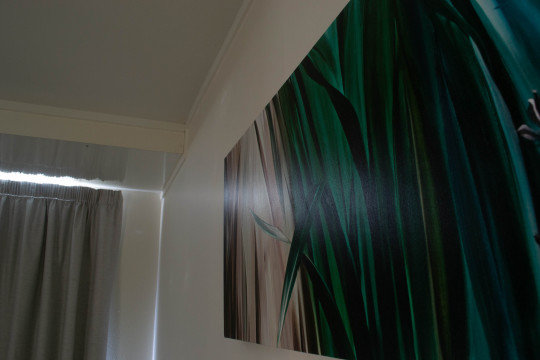
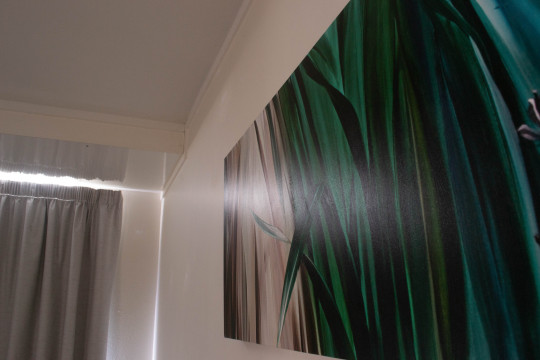
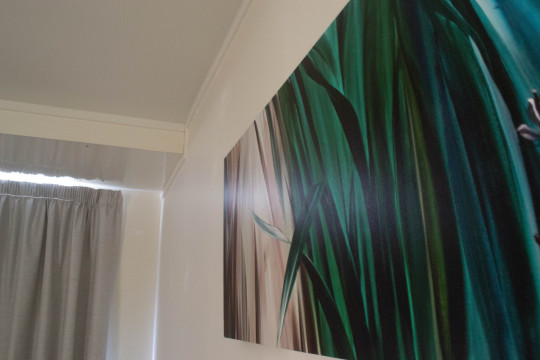
In order from top to bottom, ISO 100, 200, 400, 800, 1600 For these low light shots i used a tripod and long exposure times to make sure the image was of a descant even exposure, from 30s to 5s
0 notes
Text
Bad Film - push/pull
Sometimes the lighting is not ideal for your film ISO. Or, sometimes you want to achieve a certain look (like increased grain, altered contrast, etc). So, you decide to push or pull your film.
Many more before me have made great long blog posts about the actual technique behind it (favorites of mine are this Richard Photo Lab's article and the darkroom), so I won't go into a ton of detail, but I'll share the little bit I know
If your lighting is poor and your film speed is not sensitive enough, you would want to push your film. For the twenty one pilot's concert, I took Cinestill 800T, and realized that I would have been better off with an ISO 1600, which equates to pushing +1 stop.
Side note: film speed generally increases exponentially - 200, 400, 800, 1600 - which is why 800 -> 1600 is +1 stop
I reset the ISO indicator so my light meter would accurately read for ISO 1600, and shot the roll as normal.
I don't develop my own film, so then I asked the lab to push the film +1 stop when I had it developed. From what I understand, the actual science behind pushing/pulling is increasing or decreasing the amount of time the film is in the developing chemicals.
This technique really saved me for the concert film, as I would have missed out on some phenomenal shots. The only downside was that pushing the film did increase the amount of grain present in the images.
Also shoutout to @atimeofbeing who saw my vision when I posted some of the concert photos during the grain segment. This one is for you, friend :)
#bad film series#photography#photoblog#photographers of tumblr#photo blog#photographers on tumblr#film photography#35mm#35mm camera#35mm color film#35mm photography#35mm film#film#film camera#pushed film#iye415
13 notes
·
View notes
Text
Practice Exercise: Low Light Image Series
[1] F10 (Set 11), 30, ISO 125
[2] F10 (Set 11), 30, ISO 200
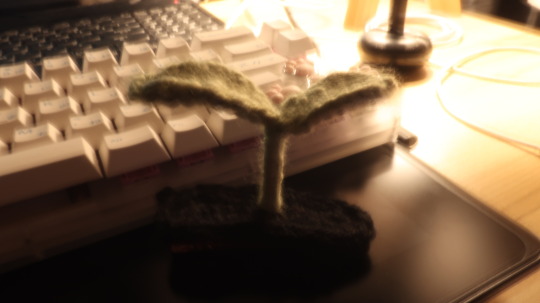
[3] F10 (Set 11), 1.1, ISO 400
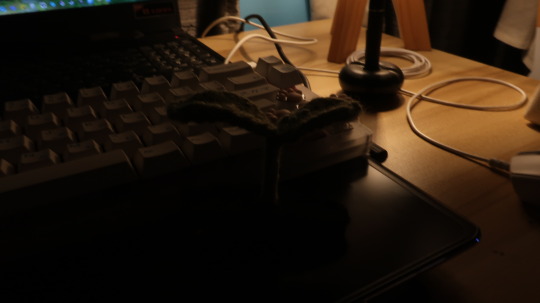
[4] F10 (Set 11), 1, ISO 800
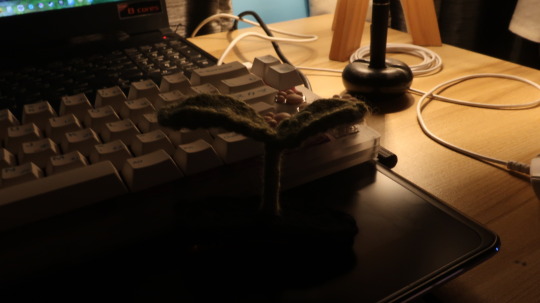
[5] F10 (Set 11), 0.6, ISO 1600
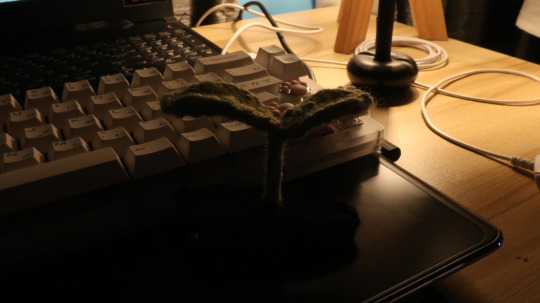
For these shots, I did also need a tripod for the first two shots; maybe even for the third as well.
0 notes
Text

OM2 Spot/Program with Tamron Adaptall 28-80mm f3.5 lens, shot on Agfaphoto APX 400 pushed 1 stop to ISO 800 and developed with Ilford Ilfosol 3
#photography#film photography#ishootfilm#analog photography#filmisnotdead#b&w photography#still life#piano#olympus om2sp#om2sp#agfa apx 400#tamron
4 notes
·
View notes