#*psd
Explore tagged Tumblr posts
Photo

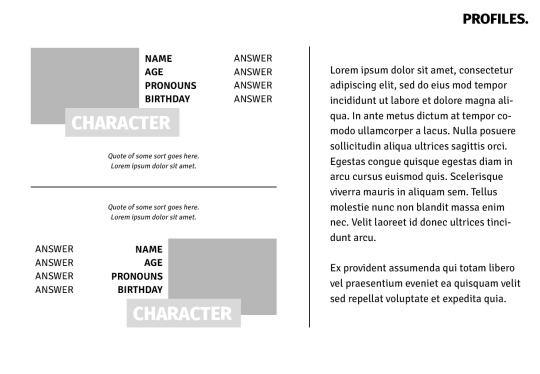

– PAIRING PSD 001. ↳ download ✧ font 1 & 2 ✧ reblog & credit if you use please!
#psd#character psd#oc psd#cpsd#ship psd#template#nuclearcreations#*psd#hehe. hi :]#the example i'm gonna post in a bit is very important to me ok. please look at it#thank you red for the help with the layout and the content also MWAH
2K notes
·
View notes
Text


we used to be a proper country </3
#seventeen#scoups#17net#svtsource#userzaynab#userzyx#alitracks#heyykass#userbexrex#usersemily#tuserflora#cheytermelon#usertheos#useryenas#*psd
133 notes
·
View notes
Note
Hi, I'm a big fan of your blog and your gifs in general! I was wondering if you had any tutorial on how you color? Particularly your Wicked and Hadestown gifs look incredibly gorgeous and the colors really pop, and I'm so curious as to how you achieve those effects. Amazing work overall :D
hiii, oh my god thank you so much!! 🥺❤️
i'm happy to show you how i color my gifs but pls note that i basically have no idea what i'm doing, everything i know i taught myself via trial and error and this is just something i found works for me.
that being said, here's a quick (and very messy) bootleg coloring tutorial under the cut!
okay so, when it comes to making gifs and coloring in general, good source material is key. bright and clear videos make the coloring process SO much easier.
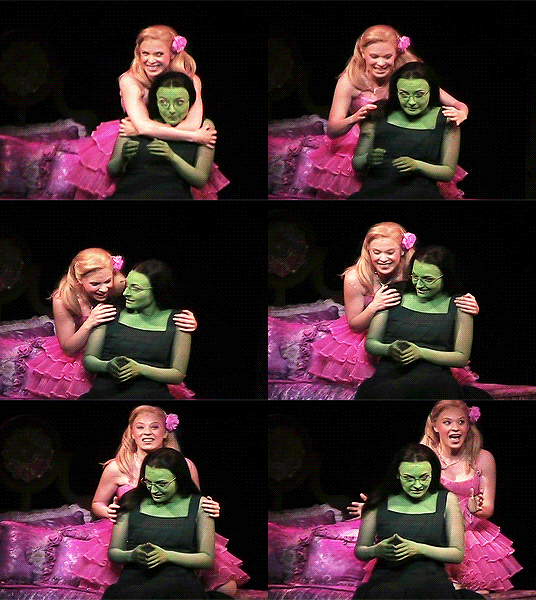
i picked an old 2010 wicked oberhausen boot for this tutorial. it doesn't have the highest resolution but the colors translate nicely and the lighting is pretty good as well.
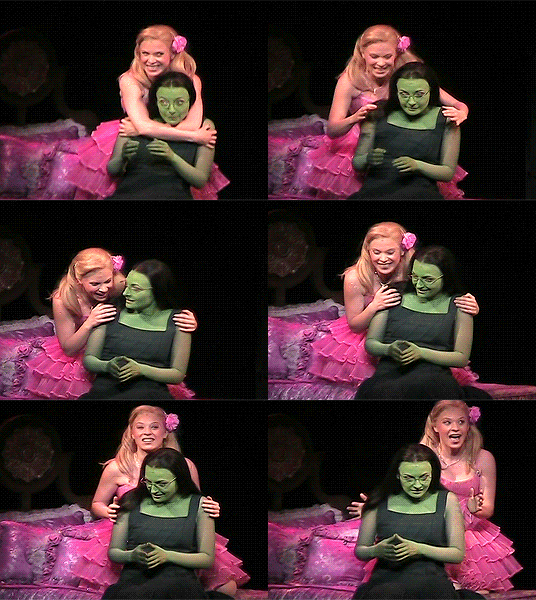
now, this is our base gif cropped and sharpened. i usually want my gifs to look as natural and as close to their base version as possible with just colors and contrast enhanced slightly. baby steps are important here!
first thing i do is add a brightness/contrast layer. these are my settings for this gif:
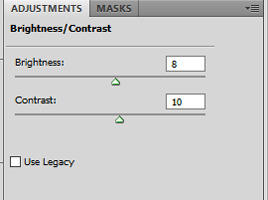
i rarely ever go above 20 with either brightness or contrast. adding too much early on will make your gif look grainy in the end. our gif now looks like this:

not much has changed but a little goes a long way, trust me. next up is a curves layer. i click the little arrow to open the drop down menu and select increase contrast (rgb). afterwards i reduce the opacity. for this gif i set it to 52%.
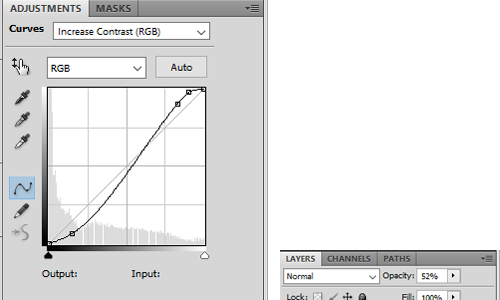
this will darken the gif again but it also gets rid of these white spots on elphaba's dress which is great.

next, we start playing around with colors. i usually use 3 color fill and one or two selective color layers. this really is just playing around until you find the settings that you think look good. for this gif i wanted to enhance the green and neutralise some of the yellow, so i went with two color fill layers first.

green to slightly enhance the green of elphie's skin and blue to neutralise the yellow in glinda's hair.
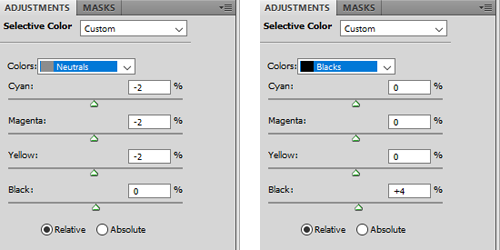
next we're going with a selective color layer. think of the colors you want to pop. for this gif the obvious choices are elphie's skin and glinda's dress.


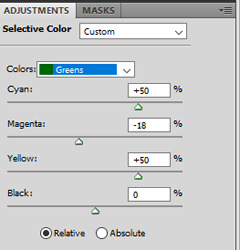
i added a second layer to further adjust the greens
and ended up with this gif

i then added another color fill layer, set it to multiply and reduced the opacity to 12

followed by a color balance layer

the purpose of these layers is to slightly "cool down" the gif, meaning they decrease orange/yellow undertones while enhancing the blue and purple ones.
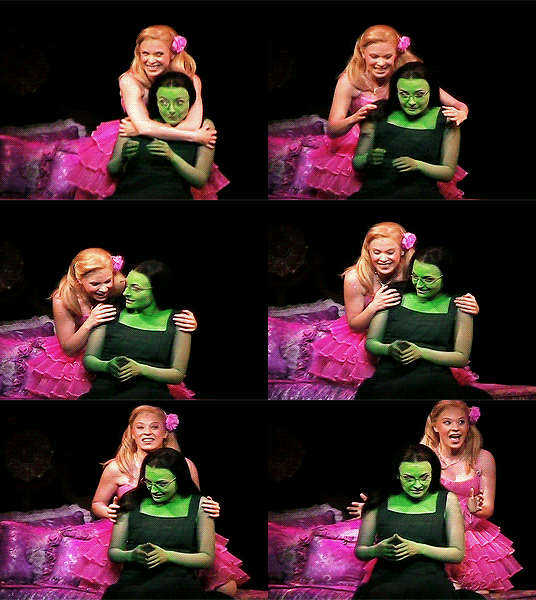
next up is a levels layer to add a tiny bit more brightness

followed by a vibrance layer to make existing colors pop

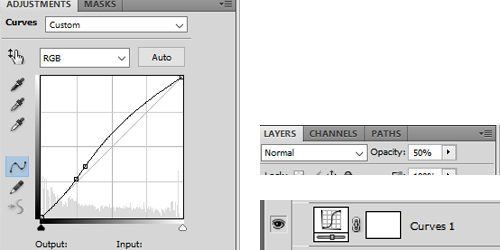
and another curves layer for more brightness/contrast with the opacity set to 50%
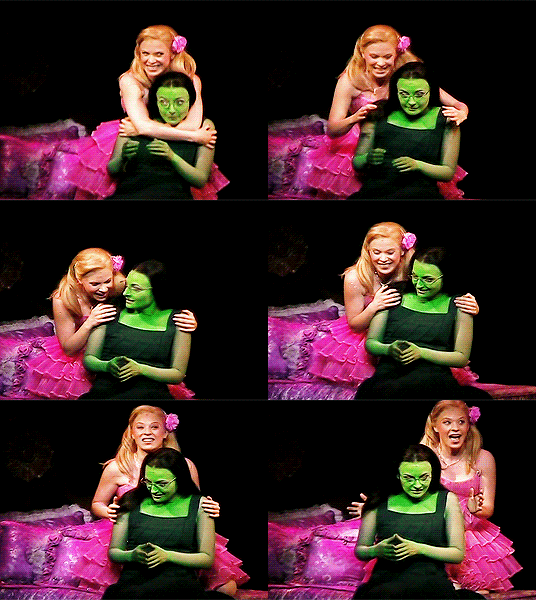
our gif now looks like this:
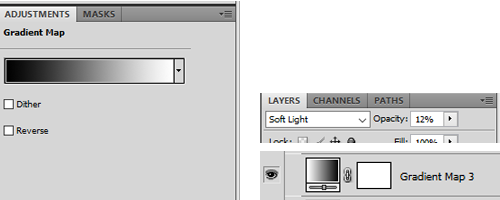
almost done! we're finishing up with a black and white gradient map layer for some more depth
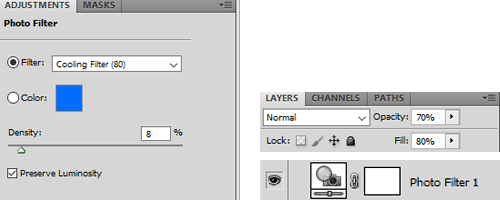
and a cooling filter to further reduce the yellow/orange tones of glinda's face and hair
and that's it!
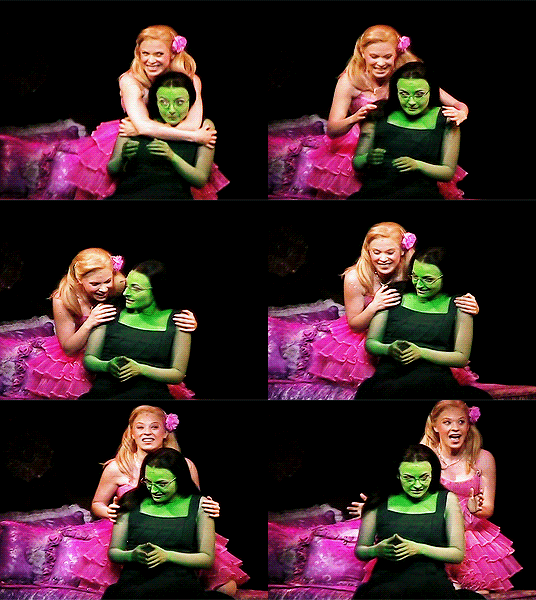
so, here you go. this is my coloring process most of the time. sometimes i add more layers (on top or in between), other times i use less, it all depends on the specific scene and the mood i'm in lol.
now, could you leave out some of these steps? yeah, definitely. some layers probably don't even make that much of a difference but i like adding them anyway.
you can download the psd here. feel free to play around with my settings and add or delete layers as you see fit. hope this was at least somewhat helpful!
#ask#coloring tutorial#photoshop tutorial#*psd#*tutorial#*ps help#i don't know how to explain things i'm sorry
10 notes
·
View notes
Note
do you still make psds? Because i just came across yours and they're lovely. Have a nice day
Thank you so much! I don’t really make them anymore but this definitely made me smile 💖
6 notes
·
View notes
Text
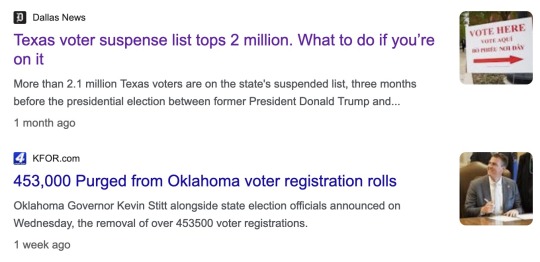
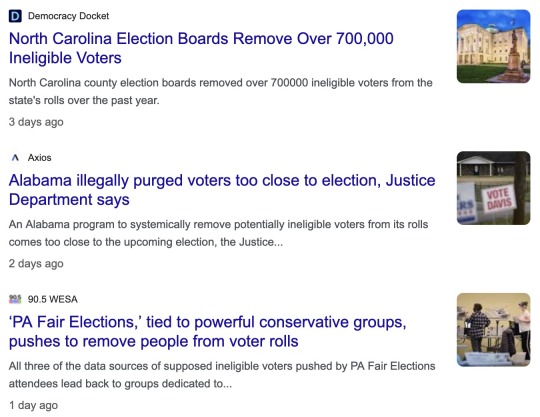
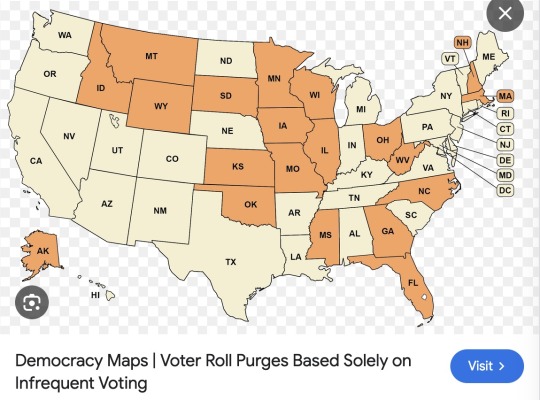
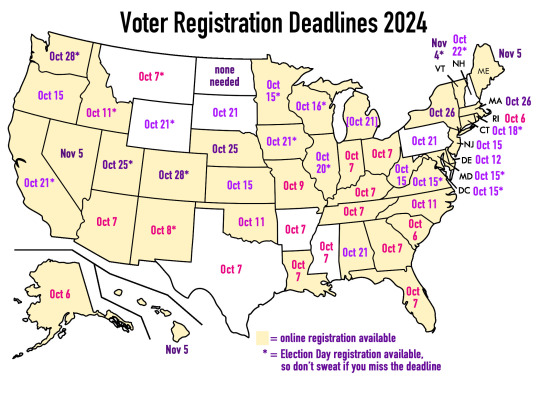
Oh look, it seems like there's a Republican-led movement to purge voter rolls in the lead-up to the election! It's almost as if your vote matters and they don't want you to vote! Anyway, I whipped up a quick map (based on this) that shows when the voter registration deadline is in each state. There are a few deadlines coming up in the next week or so.
If you live in a state that regularly purges voter rolls for infrequent voters (the orange ones in the first map), or if you moved recently, it's good to check if you're still registered to vote.
Vote.org makes it super easy to check your registration: https://www.vote.org/am-i-registered-to-vote/
Just put in your address and DOB and they'll tell you whether you're registered. (And they give you a quick link to register online if it turns out that you're not! Only the 9 states in white on my map don't have online registration, and for those they provide instructions on how to do it via mail or in person.) If you want an extra verification, find your state's election website and double-check there.
So yeah, give yourself peace of mind -- do a quick check. :)
#sorry that us election season plagues the non-usa folks on tumblr#took a break from binging more batfam fics to do this lol#i LOVE how easy vote.org makes things tho#lowkey was planning to do a gotv comic but the reg deadlines were coming up so#us election 2024#thank you past self from 2020 for already having a map in a psd file#i got my voter info booklet in the mail on friday and i'm so hype
30K notes
·
View notes
Text


FAVICON BUNDLE: RANDOM!
ko-fi
#carrd graphics#carrd moodboard#carrd resources#rentry graphics#old web graphics#carrd inspo#rentry stuff#rentry decor#rentry resources#webcore#favicons#favian#icons#messy icons#girls icons#icons with psd#layout#header#gg icons#early web#web resources#web decor#webdesign#web graphics#old web#web design#cyber
4K notes
·
View notes
Text

BeholLD MY TINKER HICCUP FAIRY DESIGN!!
Been having this on my head for a whilee and really wanted to give the desing a go. Why? I don't know, but a Neverland au sure it's fucking cool
#httyd#how to train your dragon#hiccup haddock#httyd hiccup#hiccup#art#my art#tinkerbell#psd thinking the design of the prosthetic was hard cuz I wanted to make it good#something that he would actually do#I'll give you guys a kiss if you know what the missing object is#ANYWAY CAN YALL RAMBLE ABOUT THIS SO I CAN TOO
10K notes
·
View notes
Text

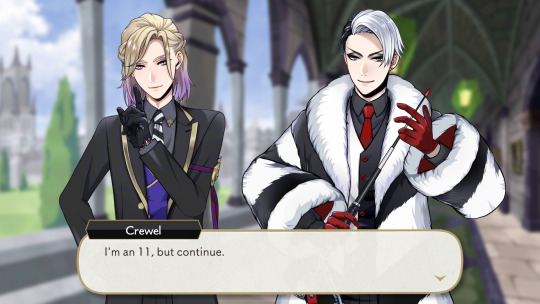
#twisted wonderland#twst#vil schoenheit#divus crewel#incorrect twst#incorrect twisted wonderland quotes#incorrect twisted wonderland#source: 30 rock#I finally stopped being stubborn and updated my PSD so now my quotes look closer to actual EN screenshots#I still think the font I chose was better though
2K notes
·
View notes
Text

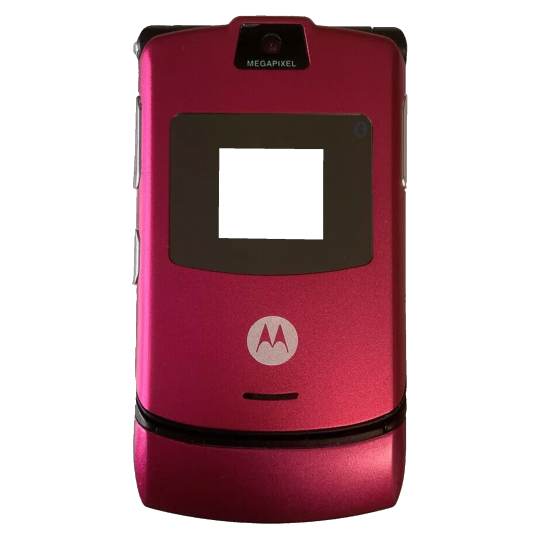


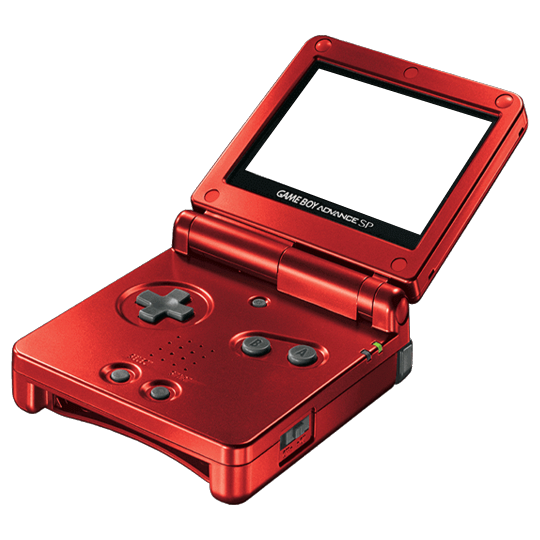
Y2K TECH ICONS (transparent screens!) -2000x2000px -use as you see fit.
#roleplay resources#psd#psds#rph#rp resources#free rp resources#psd coloring#rp aesthetic#indie rp#free rp template#transparent png#random pngs#pngimages#cute pngs#y2kcore#y2k moodboard#2000s aesthetic#y2k icons#webcore#old web#nostalgiacore#pngs#transparents#carrd#aesthetic#png#icons#layouts#moodboards#resources
4K notes
·
View notes
Photo


– CHARACTER PSD 004. ↳ download ✧ font 1 & 2 ✧ reblog & credit if you use please! ↳ the template is designed for characters for my original ttrpg darkwater creek, though can be easily adjusted to fit d&d or anything like it!
#psd#character psd#oc psd#cpsd#template#nuclearcreations#*psd#sorry man this took me five billion years but it's here. are you proud of me#anyway an example is dropping soon it's important that you see it#i have a vision for the circle image. it's Important ok
713 notes
·
View notes
Text
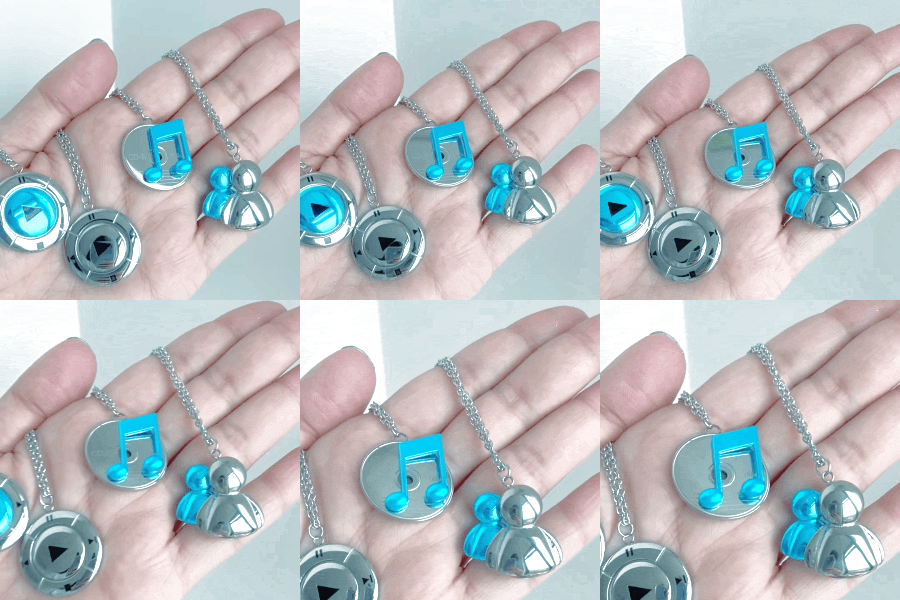

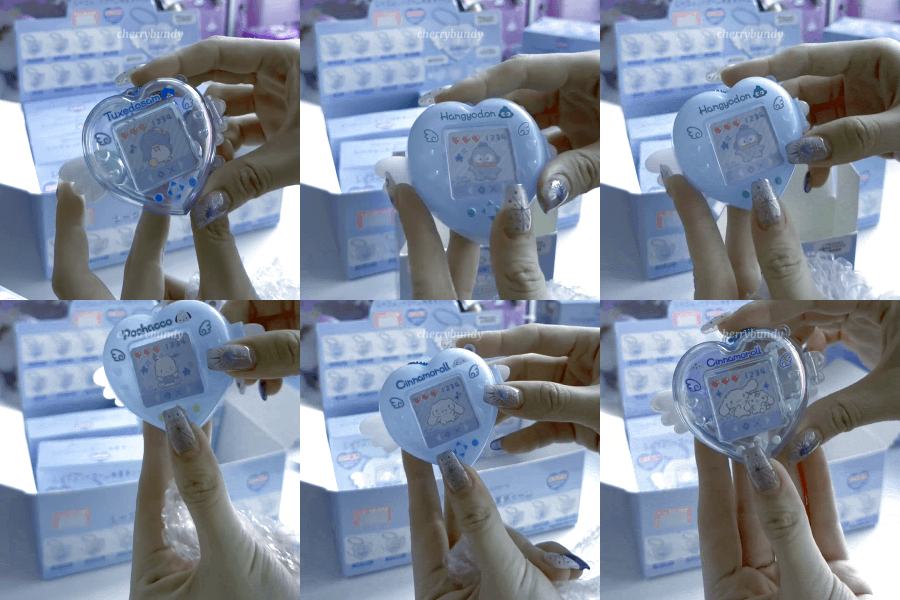

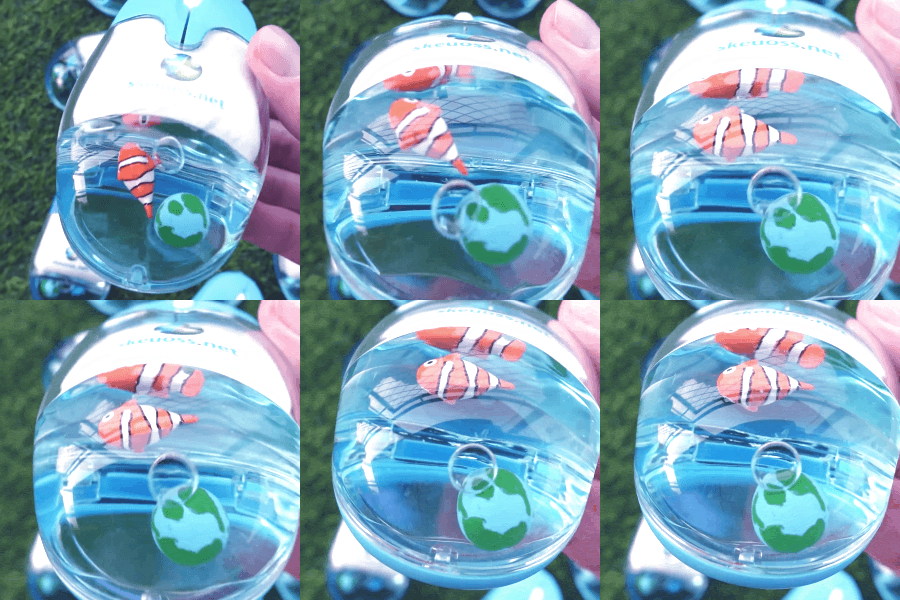
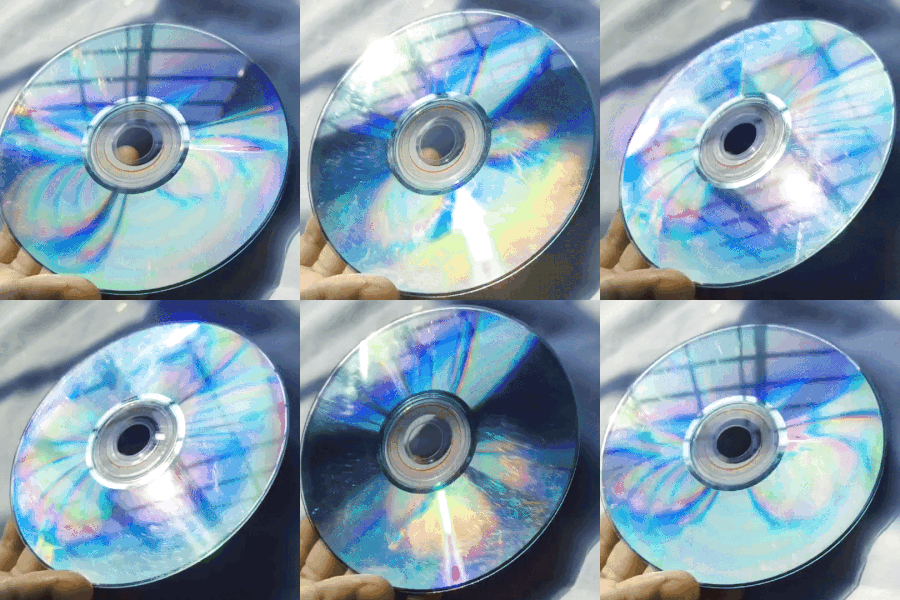
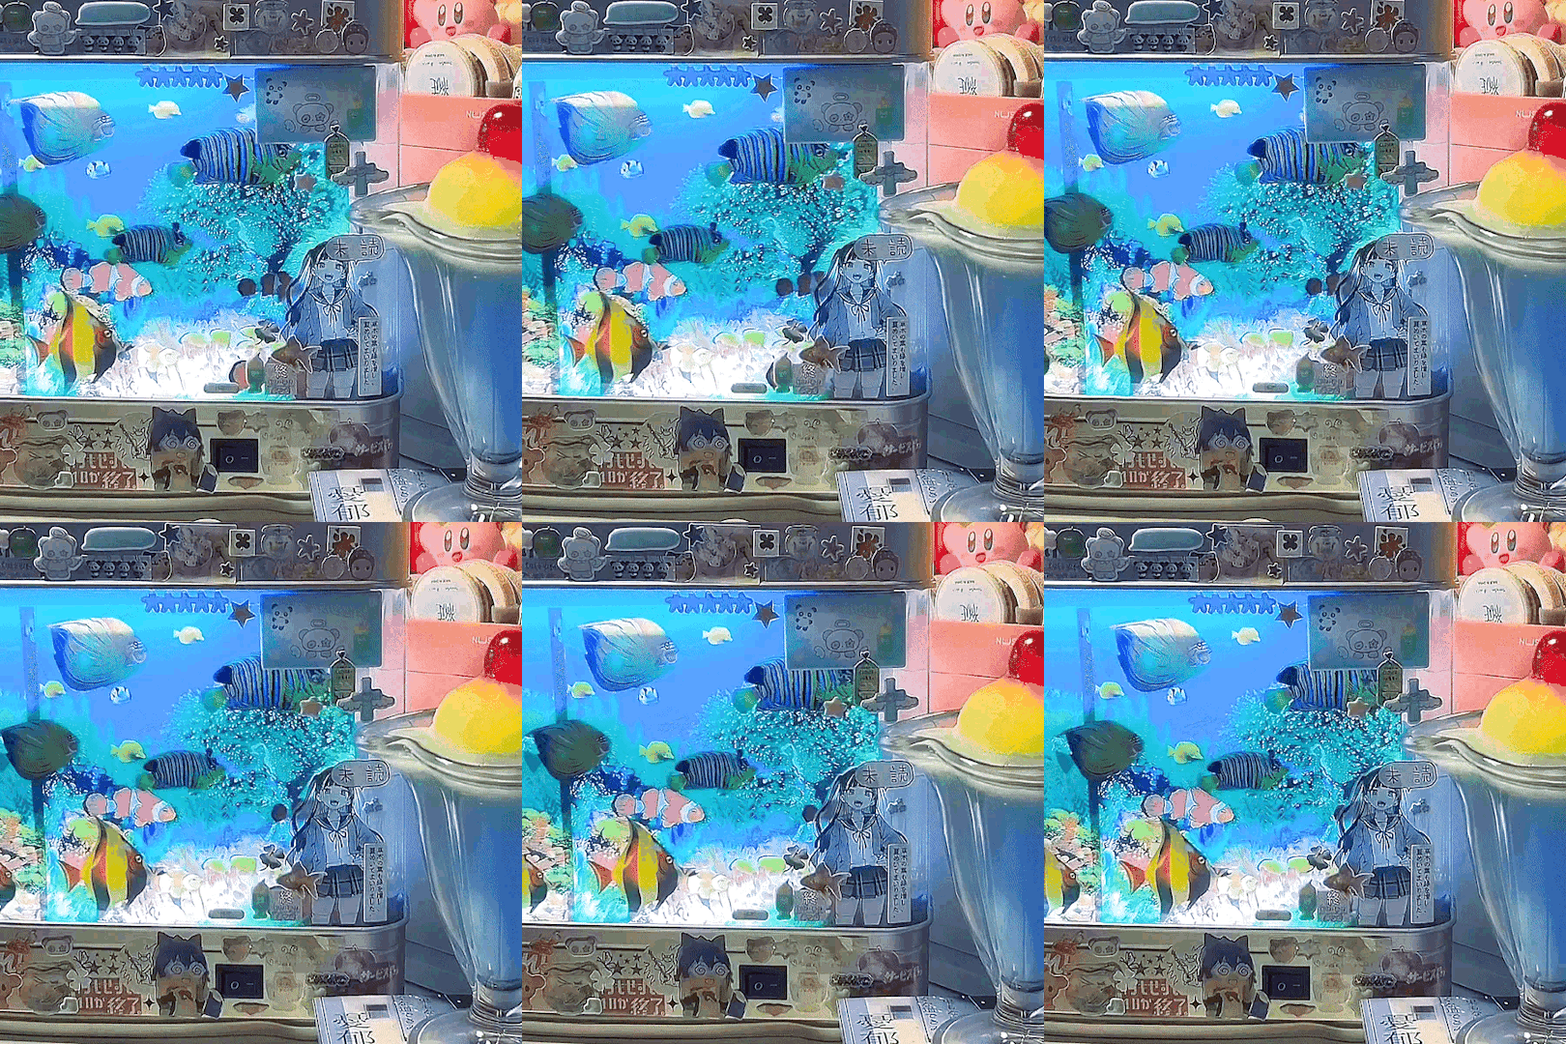
day 9 prompt: first pinterest image that pops up answer: cd!!
🌐 💿 🌐 / 🌊 x 🌊 / 🌐 💿 🌐
#stimboard#stimblr#stim#cupids400#couldve been better if i used a psd but im working w ez gif and i refuse to get another adobe product on my laptop ngl#2000s#nostalgia#nostalgiacore#y2k#frutiger aero#water#tech#underwater#wave#cd#holo#holographic#computer mouse#tamagotchi#disk#blue#white#light blue#clear
2K notes
·
View notes
Text


extremely old sketches
#ace attorney#phoenix wright#maya fey#pearl fey#franziska von karma#naruhodou ryuuichi#ayasato mayoi#ayasato harumi#karuma mei#these were found in a psd file titled simply “aa”#i believe i thought i wouldn't make any more ace attorney fanart after these#how wrong i was#art#digital art#aa#sketch dump
2K notes
·
View notes
Text


Zosan comic inspired by videos of otters holding hands so they won't float away from each other.
#roronoa zoro#sanji#black leg sanji#zosan#zoro x sanji#one piece#I have finally finished it!#I posted a rough sketch of this on discord server about 9 months ago and then I just abandoned it ;-;#this psd file has been staring at me for so long and now this comic is finally done!!!#I'm so happy but also now I know I can't post my WIPs because that's what happens to them XD
7K notes
·
View notes
Text
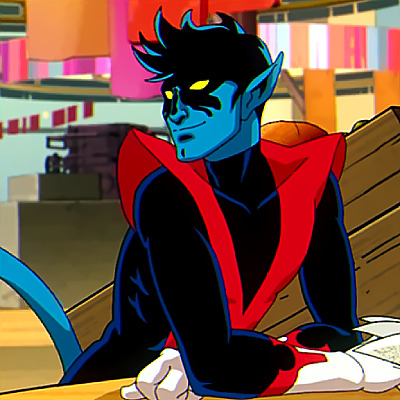
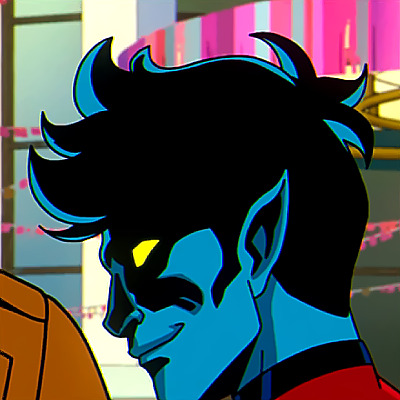
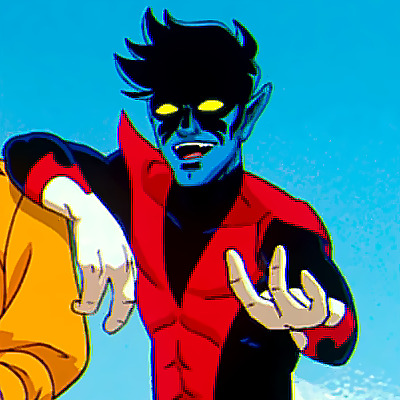
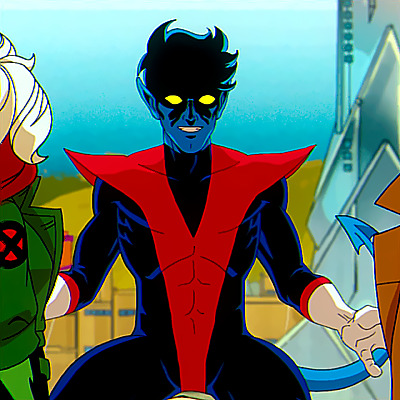
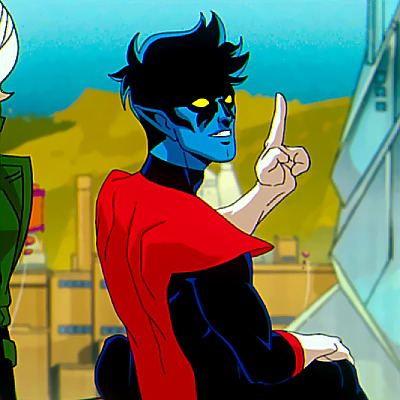
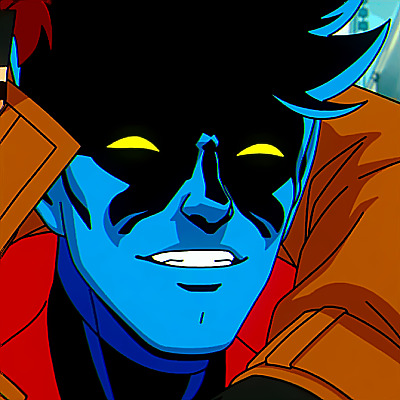
X-MEN '97 (2024) Remember It - 1x5 dir. Emi Yonemura.
#icons#tv shows icons#nightcrawler#nightcrawler icons#kurt wagner#kurt wagner icons#xmen 97#xmen 97 icons#x men 97#x men 97 icons#x-men 97#x-men 97 icons#marvel#marveledit#marvel icons#icons without psd#cinematv#tvandfilm#tvshowsedit#twitter icons#marvel animation#xmen97edit#1k#2k#3k
4K notes
·
View notes

