Photo
Spectacular. I am blown away by the tartan on the troll as well as the gemstone in his sword. Way above my level.
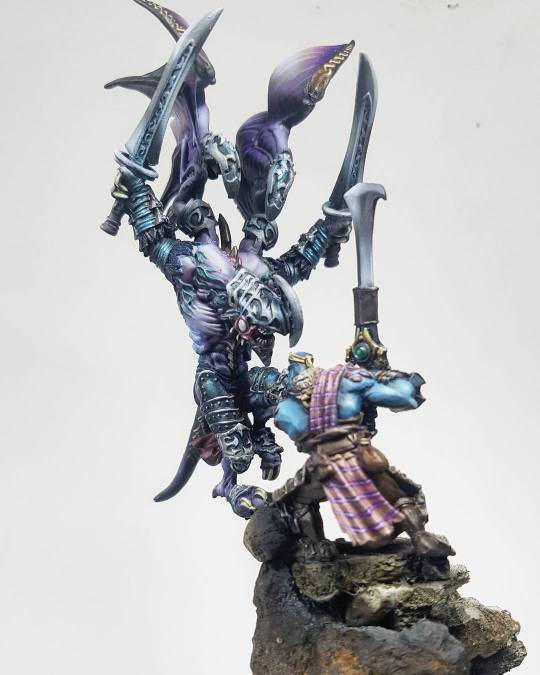
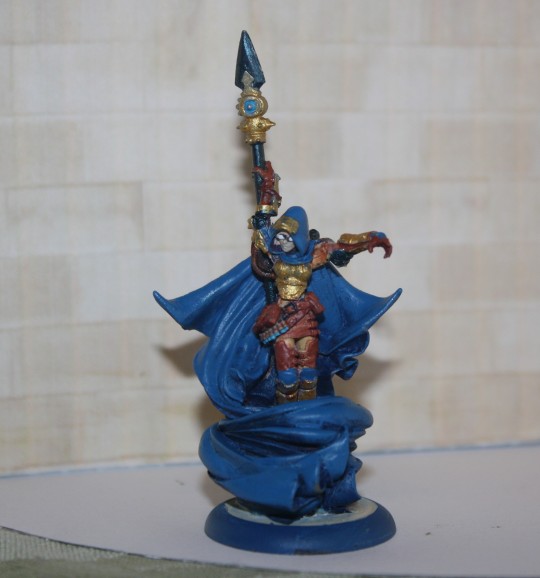
Alternate angles of Zuriel vs Fennblade. Loving how it shows up now . More to come. Follow my miniature painting journey here : @kung_fuhrer Painted with : @warcolours_com acrylics Airbrush : Harder and Steenback Ultra 0.2 Brushes : Windsor and Newton 7 Series Model by : @PrivateerPress Model : Zuriel and Fennblade #privateerpress #hordes #warmahordes #warmachine #legionofeverblight #everblight #trollbloods #cygnar #khador #cryx #wargaming #tabletopgaming #paintedminiatures #boardgamegeek #malifaux #infinitythegame #gamesworkshop #winsorandnewton #harderandsteenbeck #warhammer40k #warhammer #ageofsigmar #dragon #tyranids #kingdomdeath #miniaturepainting #fantasy #xwingminiatures #miniatures by kung_fuhrer http://ift.tt/1X4LNS5 May 29, 2016 at 07:35AM
9 notes
·
View notes
Photo
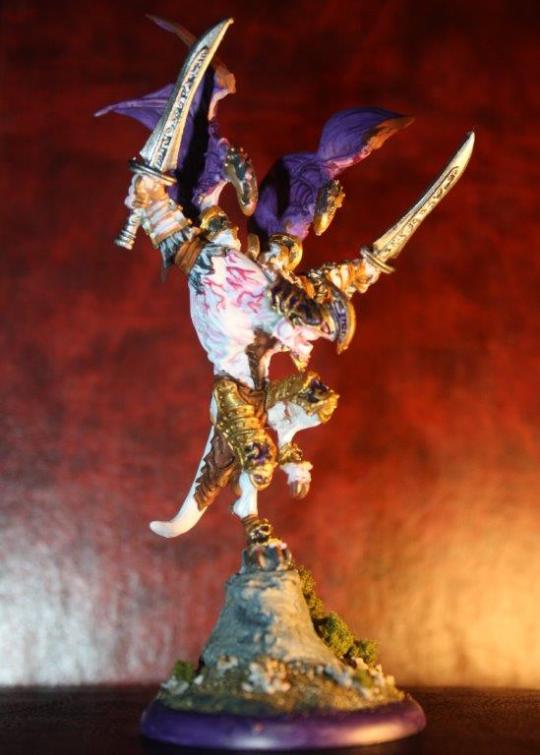
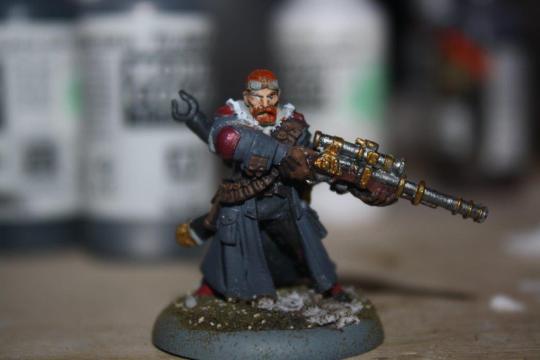
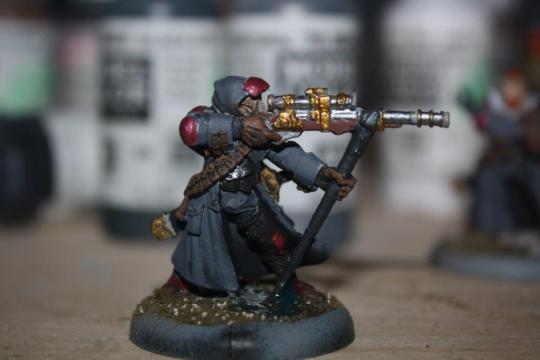
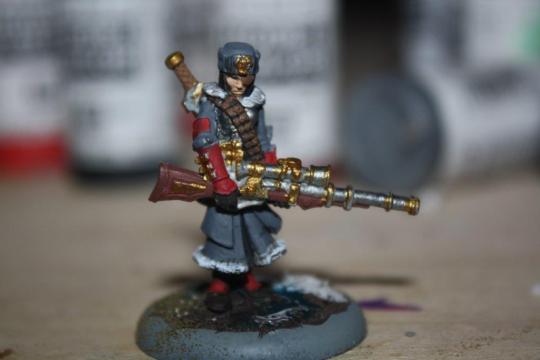
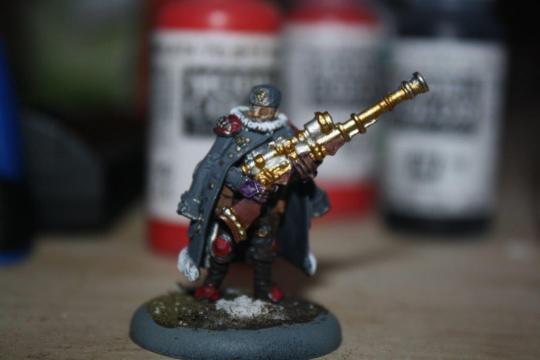
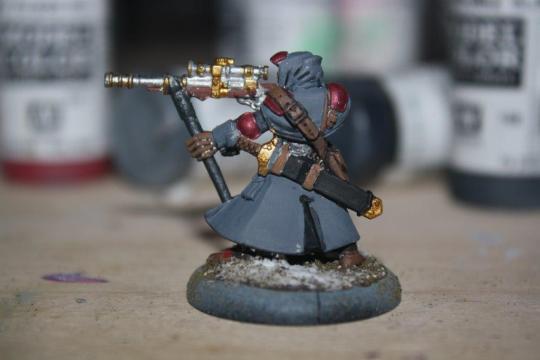
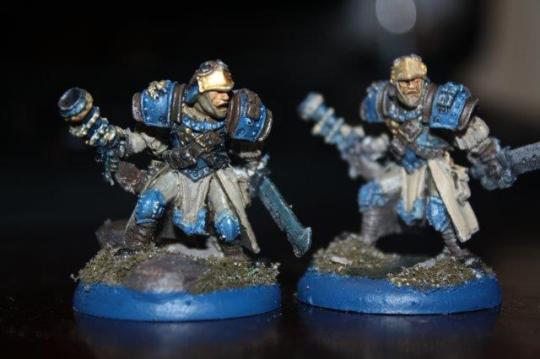
May's painting efforts. Legion of Everblight's Zuriel, Khador's Widowmakers and the Marksman, and two of Cygnar's Master Trencher Gunners. I tried some water effects, and even mixed some with snow. I'm feeling pretty good about May and looking forward to Mk3 in June!
0 notes
Text
Maybe I'll try this...
Greenstuff Basics: Or, How to Make Something Other Than a Lumpy Snake
Hey there, true believers! Today I’m going to walk you through the tools and techniques required to begin your foray into sculpting/modeling your own custom miniatures/details using Polymerics Sytems Kneadatite (Repackaged with a 300% markup by Games Workshop under the brand “Greenstuff”). The example today will be a simple 3D Insignia with a relatively flat plane. You can take these tools and techniques and do much more complicated sculpts, of course, but for the sake of the demonstration, we’re going to keep in simple. In your own endeavors, I highly recommend starting simple and getting a feel for the tools and the Greenstuff itself. It can be a cruel mistress to the uninitiated, but we’ll get there in due time. First up, the tools of the trade.
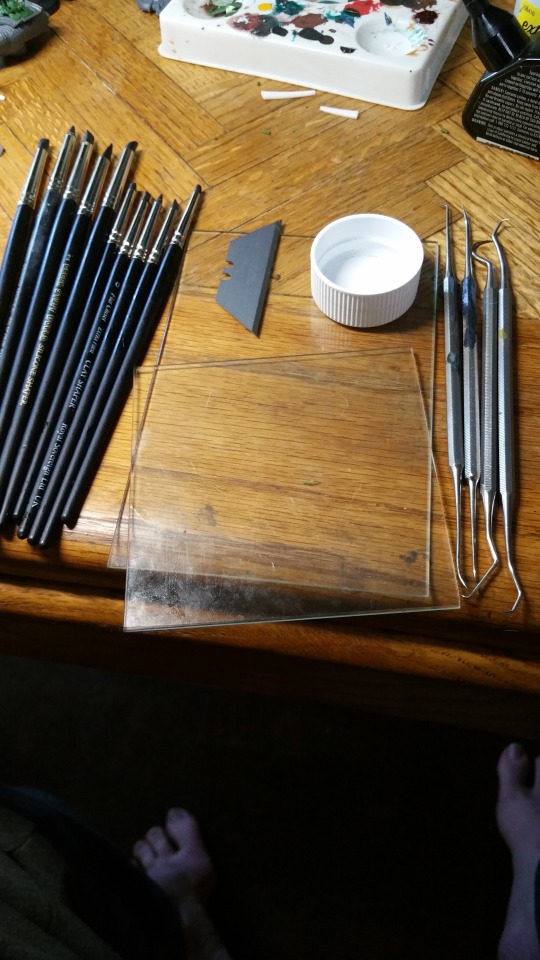
In the picture above, you see everything we’ll use to sculpt our insignia, sans the Greenstuff itself, and plus my especially ghoulish looking feet. On the left, you have the silicon sculpting tools. They’re, as the name implies, tipped with a semi-pliable silicon shaping tool. They’re indispensable for a couple of reasons. First off, you’ll find that greenstuff sticks to everything but the surface you’re trying to attach it to, this includes your tools. There is little more frustrating than finally getting a seam perfect in the fold of a cloak and then having the effect mangled by it sticking to your shaper. Silicon tools (plus a touch of good old fashioned MK I saliva) fix that issue quite nicely. Additionally, given that they generate a soft pressure, they can be used to smooth over rough areas in the sculpt without leaving tool marks of their own. I highly recommend finding a set of Size 0 silicon shaper tools. They’re not cheap (around $30 for a proper multi tool set), but if you’re trying to get serious about mini sculpting, you’ll be hard pressed to improve the quality of your work without these at your disposal. In the middle of the picture, you have two sheets of picture glass. You use these to mash balls of greenstuff into flat sheets (sans fingerprints) of the thickness you need for your next detail. With a little vegetable oil (also indispensable) and a straight razor, you can lift anything you’ve sculpted right off the glass sheet, and place it on your model. This allows for a 1:1 transfer of what you’ve sculpted, without it warping or distorting when picking it up. When combined with an illustration of what your attempting to sculpt, it can function like an animators lightbox, allowing you to “trace” the image with greenstuff by laying it in position on top of the glass over the image. To the left, you have the dental tools. They’re what you use to generate crisp & sharp lines, where you’re looking for hard contrasts between surfaces. They are for more fine detail than the silicon shaper tools, but lack the malleability of the silicon tools. Every tool mark will show the exact pressure exerted. You have to have a delicate touch when utilizing these (and just get comfortable with the idea that you’re eventually going to accidentally stab yourself with one), but after you’ve gotten acquainted with them, you’ll be amazed at the details you’ll be able to generate, down to the 10th of a millimeter or so. The rest is just a razor blade, a capful of vegetable oil and the greenstuff, but the greenstuff requires some explanation in and in of itself.
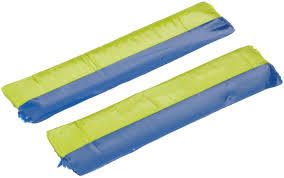
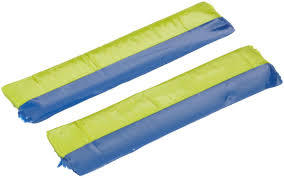
Kneadatite, or Greenstuff is a two-part epoxy/polyamide sealant/adhesive. It comes separated into two colors, The yellow, which is the basis of the putty, and the blue which contains the chemicals that activate the curing process. When you get it in the strips like this (it’s also shipped in tubes), make sure to cut away the bit in the middle where the two colors are joined. Otherwise you’ll find bits of cured Greenstuff in the surface you’re attempting to work with, and I can assure you that they rarely enhance the aesthetic. You can mix and match the ratios to make it harder or more malleable when cured, and to adjust the working time, but for just starting out, I recommend just cutting off equal lengths and mixing them together. They start out as a tie dyed mess of blue and yellow, but eventually form into a contiguous green ball. When it has softened from the warmth and pressure or you kneading it, and you can’t see anymore yellow or blue bits, then you’re good to go. Well, almost… I wasn’t kidding when I said that Greenstuff is a cruel mistress. Part of learning how to use the material is to understand its life cycle. When you first mix Greenstuff, it is very soft, and can easily be formed into whatever shape you please, but it will not hold sharp detail. Any fine lines you place in the sculpt at this point will be greatly diminished by the next stage in the life cycle, what I call the “Puffy Stage” The Puffy Stage begins about 15-25 minutes into having formed the greenstuff, when the curing process really starts to begin. you’ll note that the material becomes less pliable, and that any fine detail work you’ve put into it prior has been undone as the putty relieves the pressure you’ve accumulated on it with your tools by “puffing” back into the fine lines and rivet holes. If you’ve done deep lines or sharp clean edges, you’ll note that the edges of them have become slightly rounded and aren’t holding the crisp and sharp edges originally sculpted. Don’t fret. keep working with the shape until you have what you’re looking for, as the detail work can begin in earnest in the next step of the life cycle, the imaginatively named “Detail Stage”. The Detail Stage starts about 30 minutes after you first finished rolling the putty, but can be in as little as 20 or as long as 45, you’ll get a feel for it after working with the stuff for a while. You can tell that it is ready to hold detail work, as it ever so slightly attempts to hold it’s shape when you manipulate it. You don’t want it so firm that it won’t take a tool mark (the next stage) but you want to be confident that it is on it’s way to curing in the shape it’s going to set in. Another advantage of this patience is that since the putty has begun to cure, the area around the spot you manipulate with a sculpting tool will react less. This means you can be slightly more aggressive with your pressure and motions, and not have to worry so much about warping or distorting edges around the detail you’re working on. Then we’re onto the “Soft Cure Stage”. At this point (anywhere from an hour to an hour and forty five minutes), your silicon tools are useless. Any indentation you leave in the surface of the Greenstuff will pop right back into it’s original position. The putty will even begin to resist the dental tools. By now, you should have 99% of your sculpting done. Sometimes I remove a piece from the glass plate at this stage, if I’m going to wrap it around a part of the miniature. It’s still soft enough that it’ll bend into a different shape, but hard enough that it won’t warp dramatically while doing so. The final stage is the “Cured Stage”. At this point, you can poke it with a tool and it’ll hold it’s shape. It can be handled, shaved, sanded, clipped and glued, just like any other bit, but changing the sculpt has long since sailed. You’ll often find yourself waiting until the next day to attach Greenstuff bits to your miniatures, as they’ll have ample time to have cured, and you don’t have to worry about mashing a cheekbone with your sausage fingers, or leaving your fingerprints on a pauldron. SO! How do you apply all of this? Well, I’ll show you!
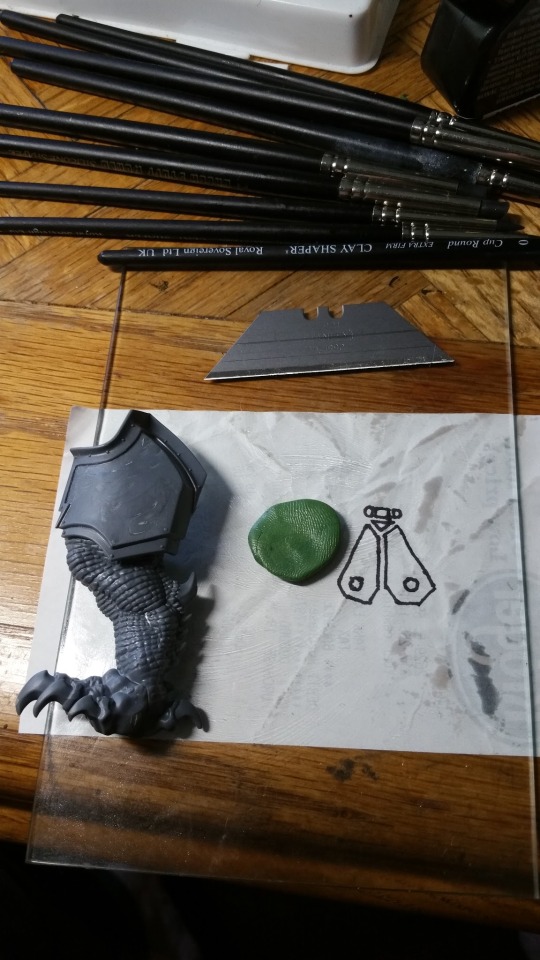
We start with the aforementioned tools, the surface we’re going to attach the new bit to (in this case, a dragon’s thigh armor) and an image of what we’re going to be sculpting. Sometimes, I draw the reference pic perfectly and precisely to scale with the space I’m attempting to fill, and then sculpt over the top of the image. For this example though, I figured I’d show you how you can use it as a loose guideline.
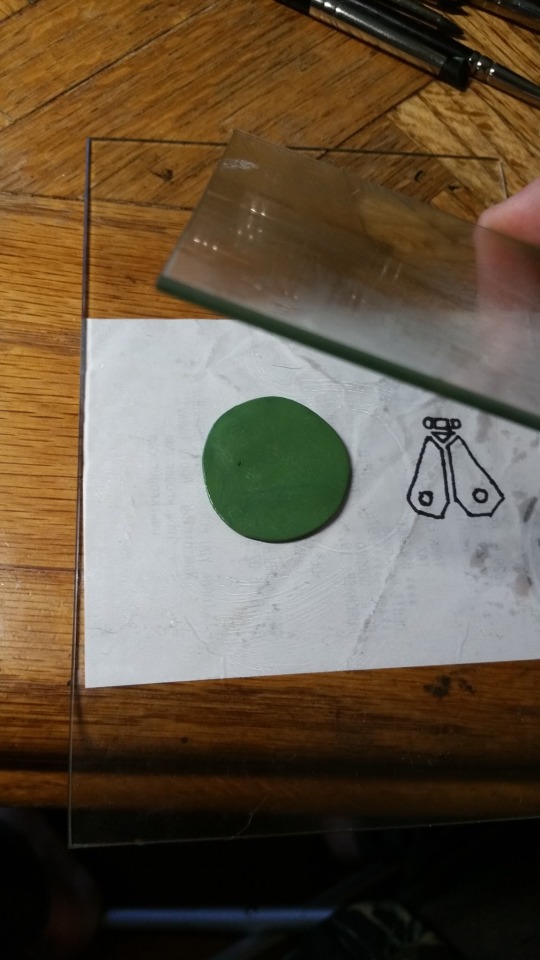
Using the two pieces of veggie oil lubed picture glass (just a dab will do you!) we mash our greenstuff ball down until it is flat, at the thickness we want and free of sausage fingerprints.
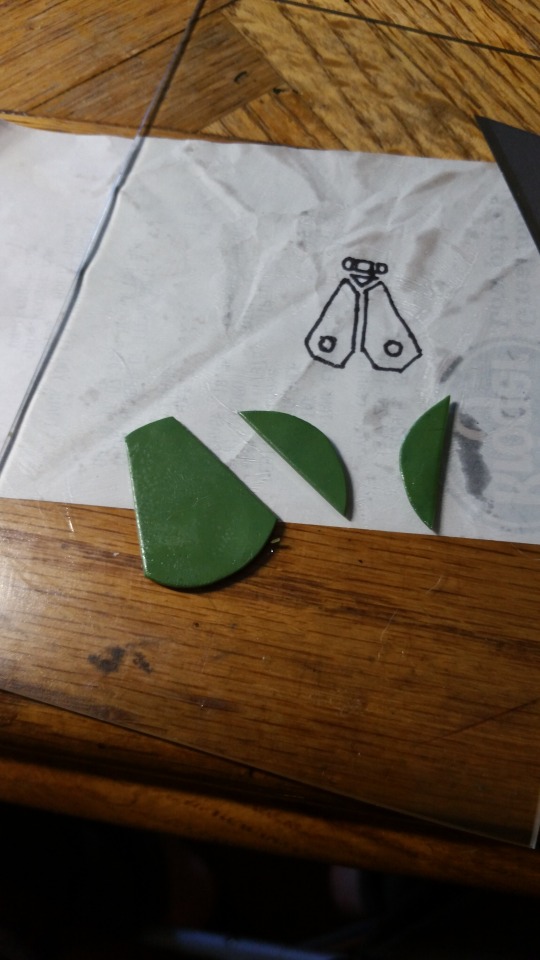
Next, we lubricate our straight razor, and begin making the cuts that’ll form the wings. In this case, it’s a simple geometric pattern. Straight lines are nice and easy with the razor, but symmetry can be hard to eyeball. I generally do this on a grid mat to assist with that, but it’s for Papa Nurgle, so it can be a touch sloppy.
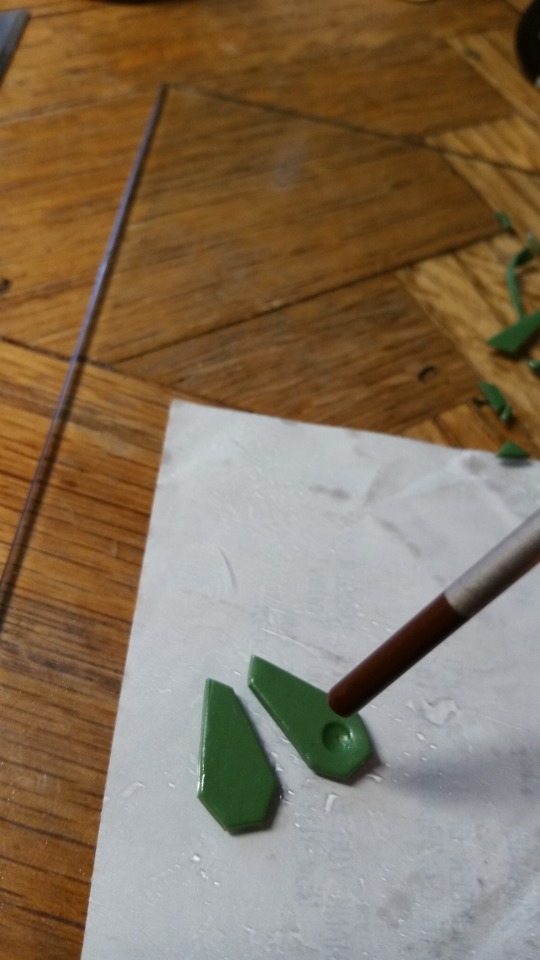
Having gotten our wings established, we use a lubricated tool to make the circular indentations. Can’t stress the importance of the oil enough.
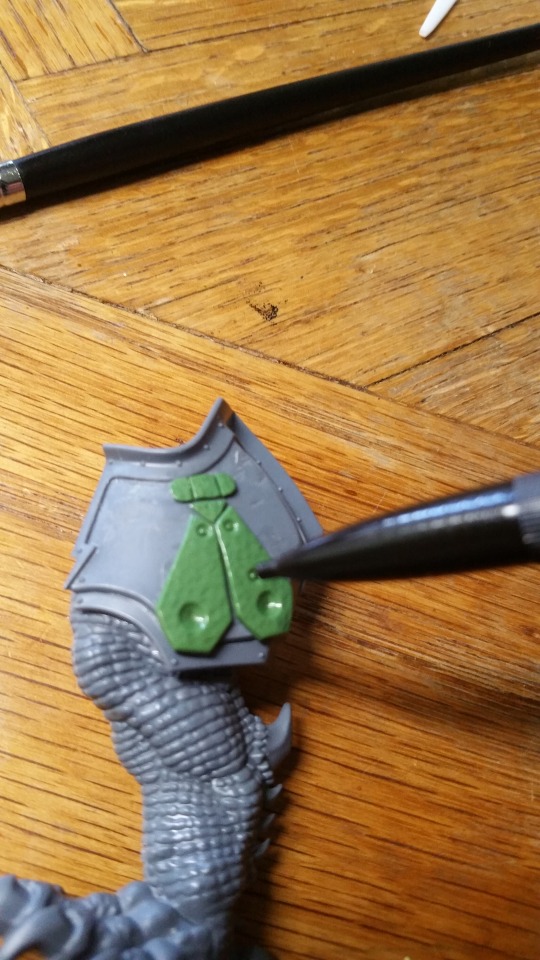
At this stage, we’ve cut out all the shapes of the fly symbol, and affixed them to the model in location using a dot of super glue for each piece. Word of caution. Make sure that you have the piece exactly where you want it to be when you have it superglued. Superglue and greenstuff LOVE eachother and want nothing more than to immediately settle down together forever. The pounded brass texture was accomplished using a rounded silicon tool. You can really see how they can be used to develop soft and subtle detail work, without leaving individual tool impressions. In the picture, you can see me using a normal (lubricated) mechanical pencil to make the rivets.
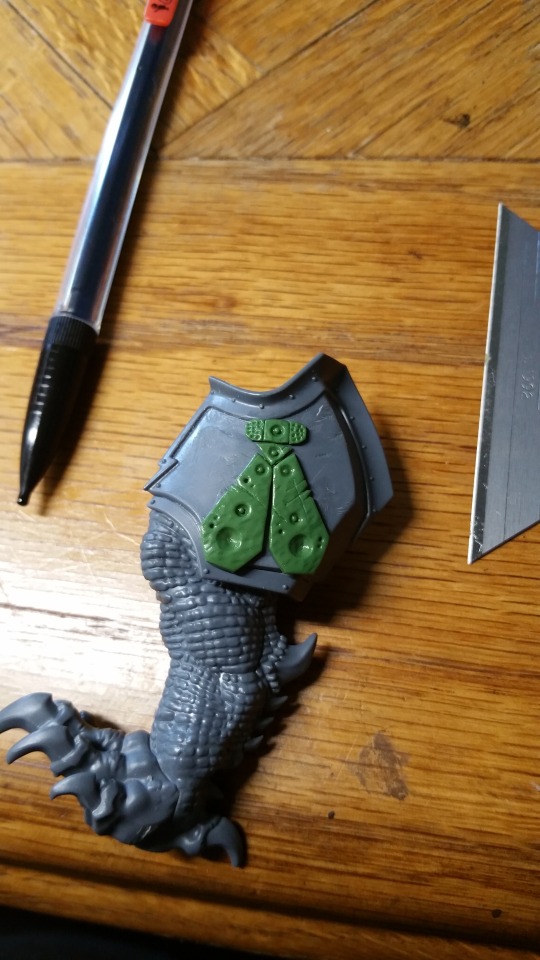
Finally, the result. I used the dental tools to create the wear and tear on the piece. took some little knicks out of the side to correspond with the scratches. There is no right or wrong answer at this point, you’ve got to go with what is most aesthetically pleasing to you as an artist. Go wild with it! Following these beginner guidelines, and practicing, you’ll find yourself turning out professional quality pieces in no time!
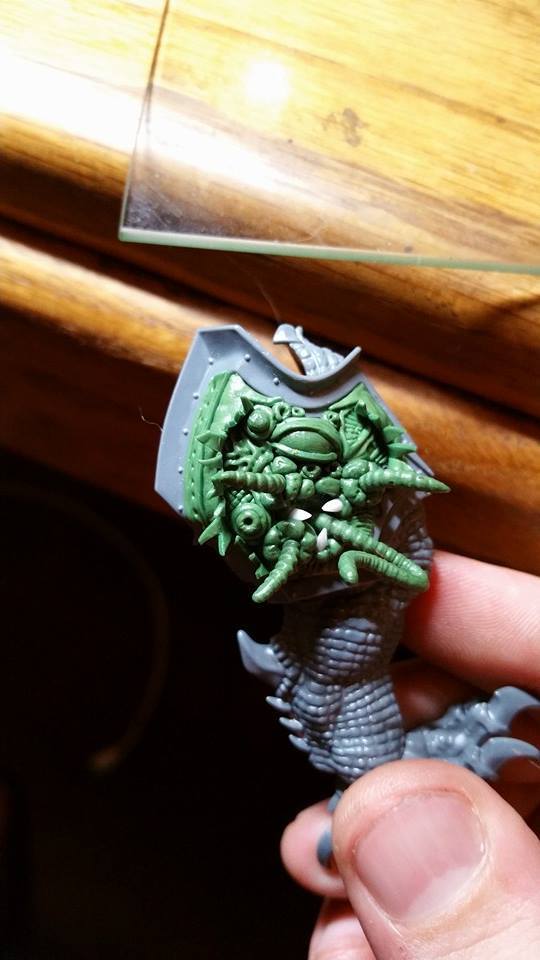
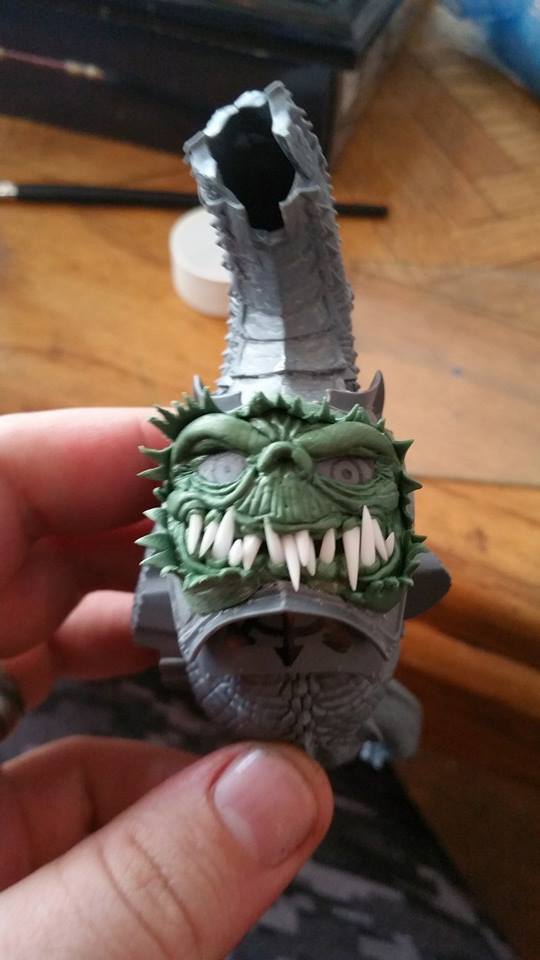
If you’ve any questions, feel free to drop me a line [email protected]. Check me out of Facebook by seaching for Miniatures of Tomorrow or go to My Website to check out a gallery of my completed works, or inquire about painting techniques or commissions. Keep your bristles damp! Will Tomorrow
1K notes
·
View notes
Link
0 notes
Link
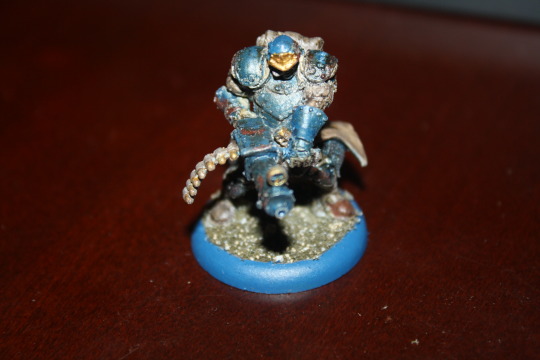
0 notes
Link
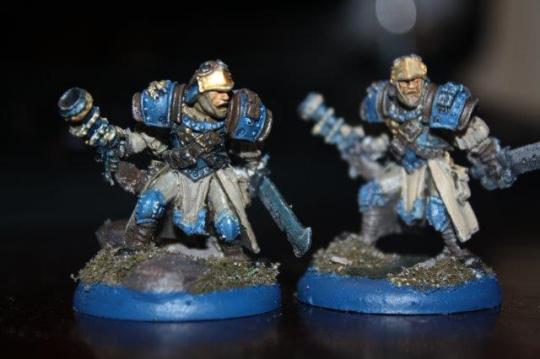
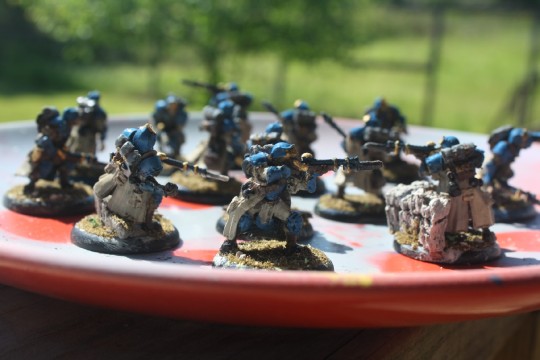
Completed a full unit of Cygnar Trencher Infantry today. Looking forward to fielding with the new MkIII rules this summer.
0 notes
Photo
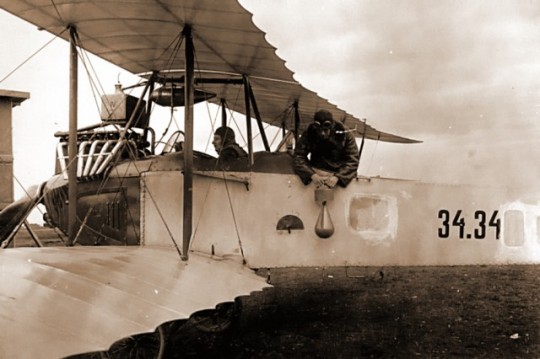
No, that is not a waterballoon filled with unsavory bodily fluids...
40 notes
·
View notes
Photo
These guys are probably why I'm never impressed by Protectorate of Menoth in Warmachine. Sorry, privateer.
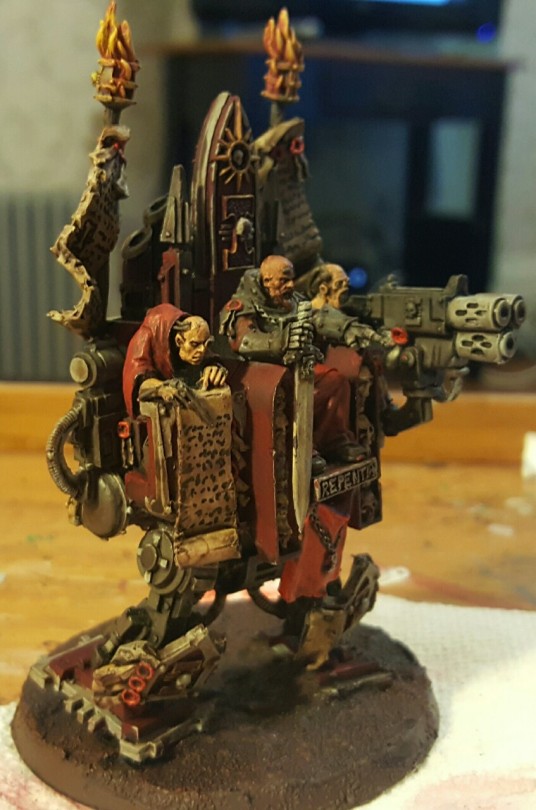
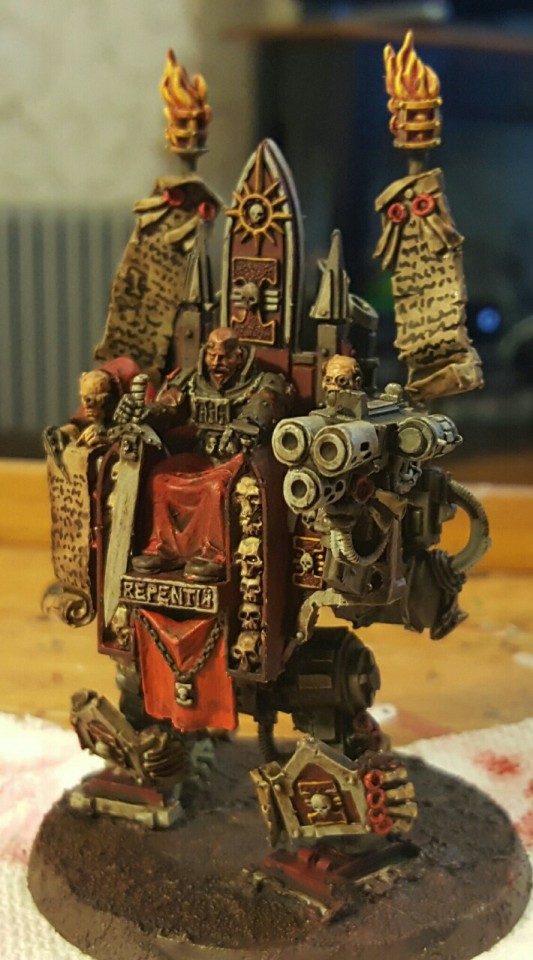
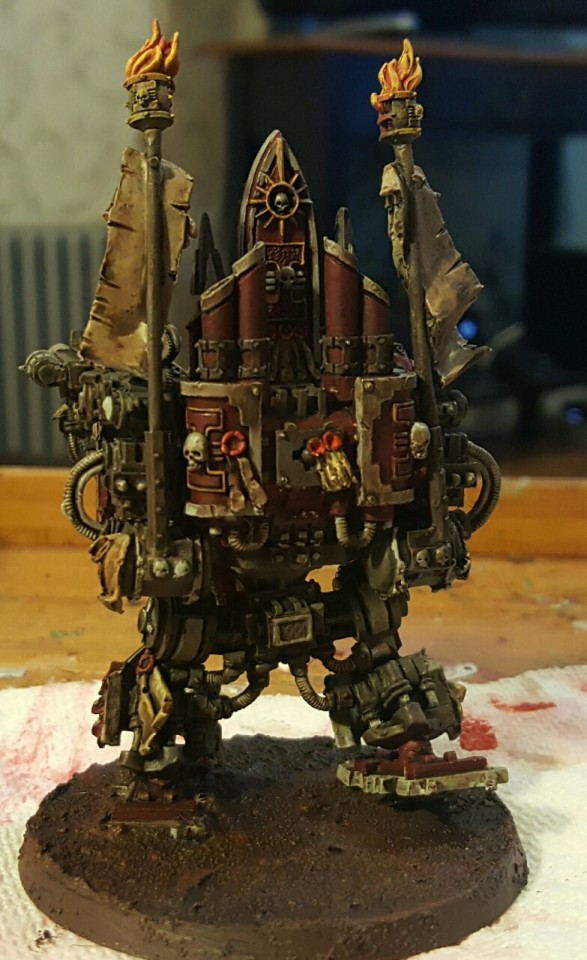
Inquisitor Karamazov in his throne of judgement.
200 notes
·
View notes
Photo
If there was ever a reason to pick up the trench busters, this is it. I don't even know if the guys are worth it, stat-wise or list-wise, but this paint job is great.
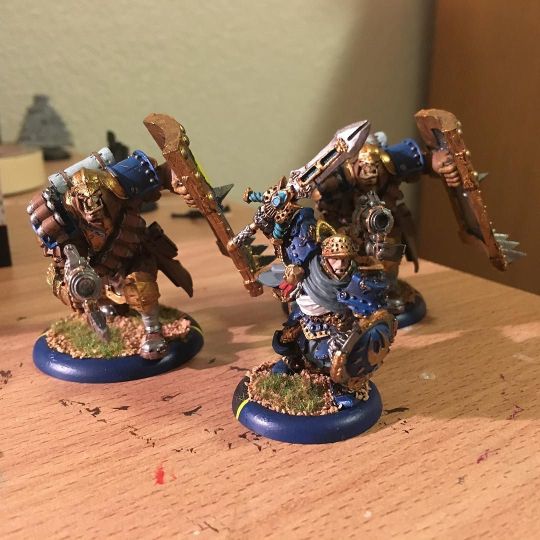
Painted up 2 Trench Busters and a Stormblade Captain #warmahordes #hordes #cygnar #warmachine #privateerpress by sonofachung http://ift.tt/228zcec April 05, 2016 at 10:32AM
4 notes
·
View notes
Photo
This is why we can have Storm Knights in real life.
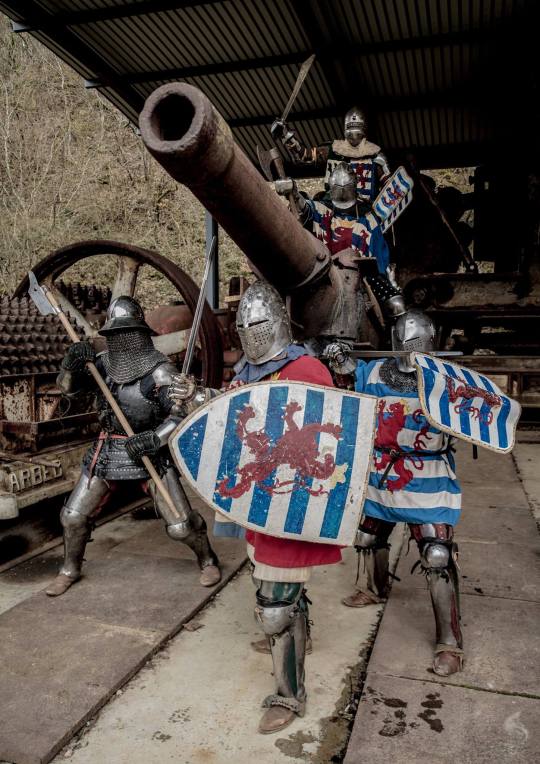
Team Luxembourg. I will be fighting them in Portugal this year
142 notes
·
View notes
Photo
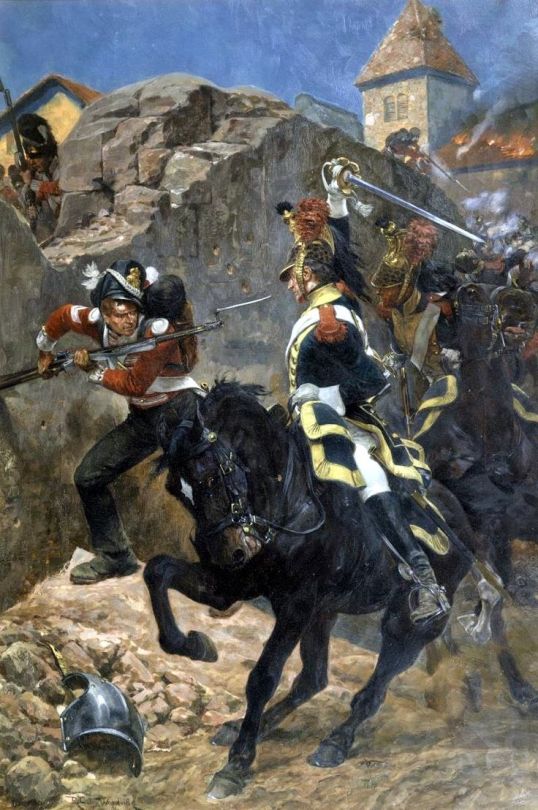
I love paintings like this. All I can see are warjacks in the background though. Too bad I'm not better at photoshop.
258 notes
·
View notes
Photo
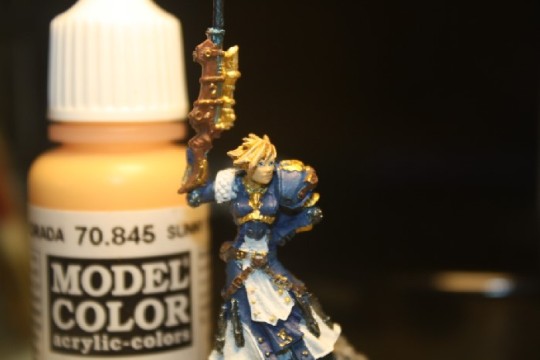
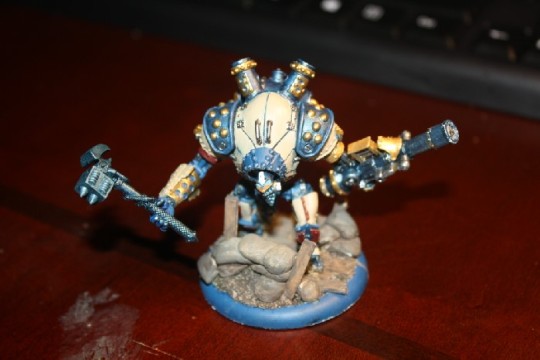
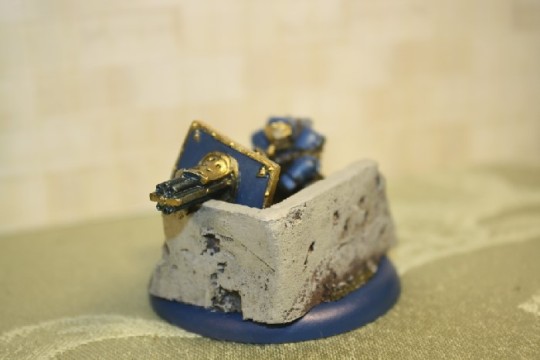
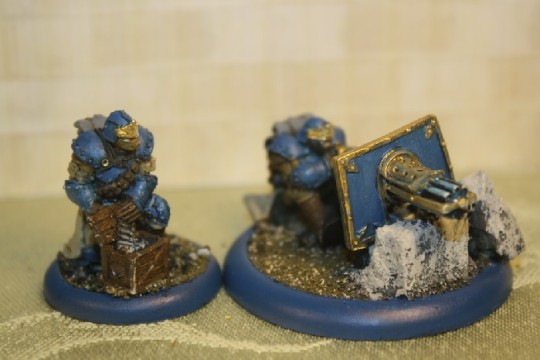
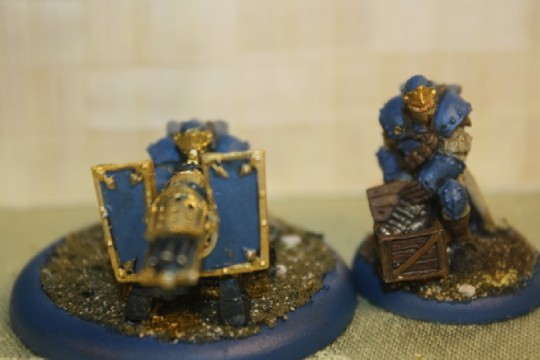
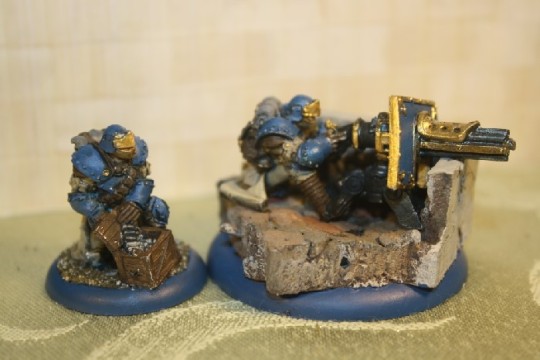
Models finished in March
Kara Sloane (although, she could probably use some work).
Defender (in Siege Brisbane's Trencher colors)
Trencher Chain Gun Crews (3 crews)
Head on over to the painting blog (at Disgruntled Wargamer) to see the whole process.
1 note
·
View note
Photo
Somebody knocked over the terrain again. Next time, they should use magnets.
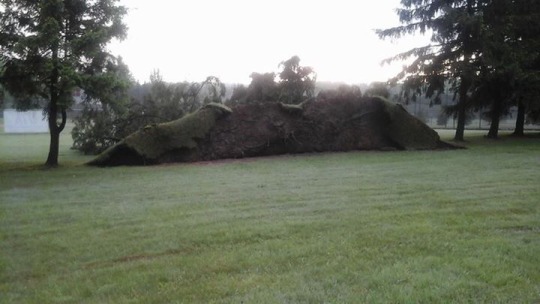
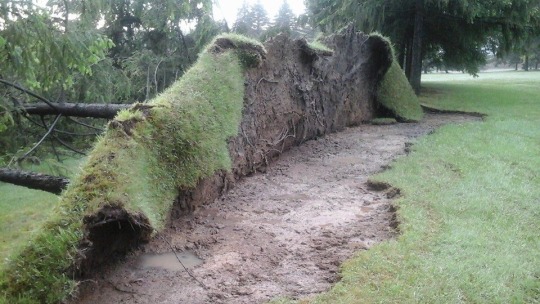
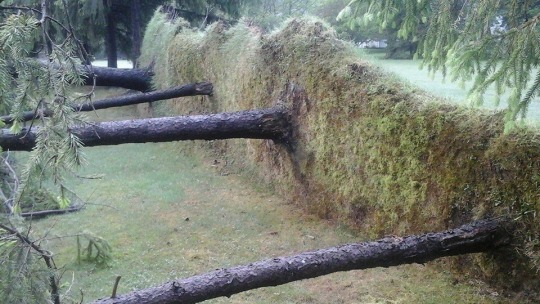
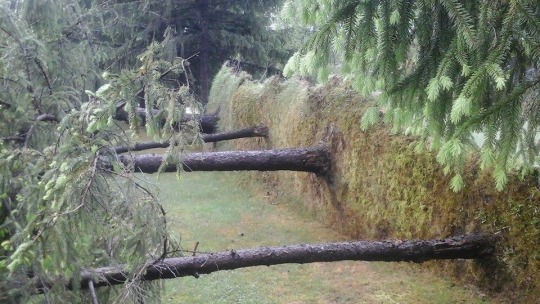
Reddit user Geophery13 posted this and said “A storm came through and knocked over a line of trees in the park last night “
18K notes
·
View notes
Text
Cylena Raefyll & Nyss Hunters
A week of painting in a nutshell. 8 days of Nyss. At an hour a day, they took me a grand total of 8 hours. Here's a shot of a Nyss who almost received an arrow to shoot.
I thought better of it, and just gave him a bowstring. I figure it looks like he just got done shooting.
For the whole saga, all the pictures and more, bounce back with these links:
Cylena Raefyll & Nyss Hunters Day 1
Cylena Raefyll & Nyss Hunters Day 2
Cylena Raefyll & Nyss Hunters Day 3
Cylena Raefyll & Nyss Hunters Day 4
Cylena Raefyll & Nyss Hunters Day 5
Cylena Raefyll & Nyss Hunters Day 6
Cylena Raefyll & Nyss Hunters Day 7
Cylena Raefyll & Nyss Hunters Day 8
#Acrylicos Vallejo#Cylena Raefyll#Mercenaries#Nyss Hunters#Paint#Privateer Press#Warmachine#cross-post
0 notes
Text
Major Markus Siege Brisbane
Finally Completed Warcaster Major Markus Siege Brisbane Painting I’ve put more paint than I wanted to on this model. After clearing my desk, I realized I forgot to add his gun, and so I had to both glue the gun to his strap and do some more touch-up. I decided early on that I wanted…
Read more at my original website, Disgruntled Wargamer
1 note
·
View note
Photo
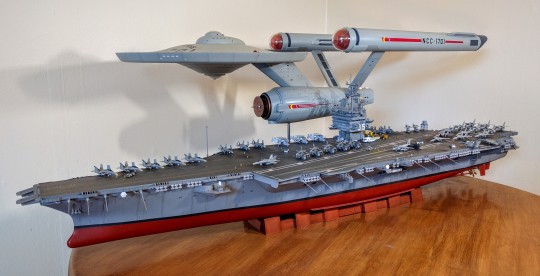
The two Enterprises, both 1/350 scale.
490 notes
·
View notes
Photo
So I’ve finished Major Victoria Haley to the best of my ability. And as always, the Cannon shows me exactly what I need to improve upon. I am really unhappy with having to detail out a face. Faces are the worst. I hate faces. I haven’t got the right wash/eye/highlight techniques figured out. I try…
[Read More...]
Major Victoria Haley was originally published on Disgruntled Wargamer
#81Points to Paint#Acrylicos Vallejo#Cygnar#Major Victoria Haley#One point per day#Paint#Privateer Press#Warmachine#cross-post
1 note
·
View note