Welcome to ArekuCosplay formally Areku's Crafts. Here I present the many nerdy products I make for myself and for friends. I'll be posting tutorials along the way and featuring items from my crafty friends!
Don't wanna be here? Send us removal request.
Photo


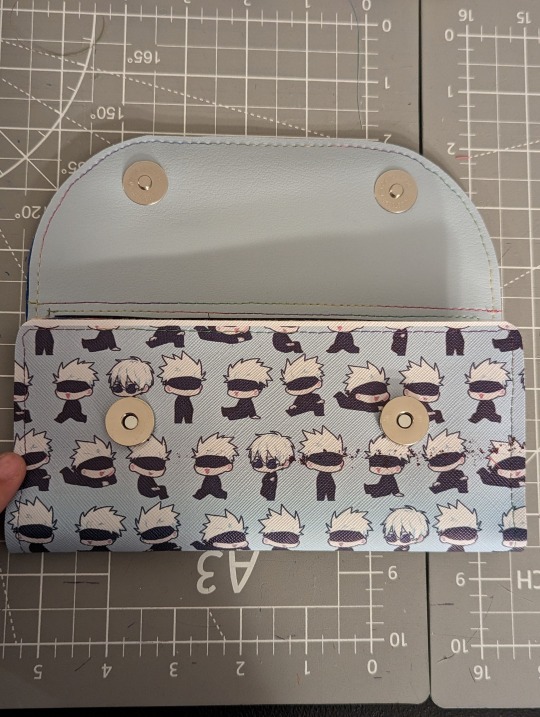
There is a ton of crafting I’ve done in the last year that I can’t wait to share and do a sew along with for this year with others. I have gotten a lot into bag making and finding easy patterns people can make on their domestic machines too. This wallet pattern will be my first sew along tutorial for 2023 I am working on and requires just a sheet of faux vinyl! The Sallie Tomato Lucky Wallet
3 notes
·
View notes
Photo

I want to thank those who have been sharing my Ita Bag insert tutorial despite having left the blog to death for the last four years. I hope to be able to bring you more tutorials this year on things to add to your itabag including rosettes, decorating can badge covers, and new methods on inserts. Here’s to more creating for our fandom bags!
36 notes
·
View notes
Text
Ita Bag Insert Tutorial

Today I will be showing you how to make a sturdy insert to give any of your Ita Bag flair like as seen with the Galaxy insert in my bag above!
Materials you are going to need:
-Fabric of your choice: Mine was from Joanns
-Piece of Foam: Depending on the size of your bag is your piece for this bag I used a 11x14 piece
-Scissors
-Tacky Spray
-Pen or Pencil: to mark the outline of your bag onto the foam

So for the first step I kind of got distracted and had already cut my foam but basically you are going to tuck your foam into your bag and go outlining the edge of the bag as close as possible. As you can see with the cut piece below, there is my pen markings for when I outline. Don’t worry about them since they’ll be covered by the fabric.

Next you’ll want to lay your foam on the fabric that you picked. You will be cutting a rectangle slightly bigger than the foam for when we attach the two together.


Next is attaching the foam and fabric together! You will want to place your foam against your work surface and lay the fabric over it. You want the right side (or your print side) to be facing you. You will fold the fabric over in half and spray tacky spray onto the foam surface. You are going to want to gently lay the fabric back over and go smoothing it out with your hand so there’s no bubbles or bumpiness.


Repeat the same fold over step for the other side until your fabric is adhered to the foam and it is nice and flat. Now you are going to want to trim the excess fabric from your insert. I like to use pinking shears for decoration and to help stop fraying.

Once you are fully done cutting around your insert piece should resemble the inside shape of your bag! Go ahead now and insert it into your bag to test for fitting.


Last step is put your bag together! This bag was going to be for my third JJ bag from Yuri on Ice and here it is semi-completed minus a few straps and lights going in it!

If you use my tutorial be sure to message me a link or tag me so I can share your bags onto my page also!
#ita bag#ita#ita bag diy#diy crafts#craft tutorial#crafting#ita bag insert#jean jacques leroy#jj bag#tutorial#no sewing tutorial#no sewing
1K notes
·
View notes