Don't wanna be here? Send us removal request.
Text
Placa Arduino
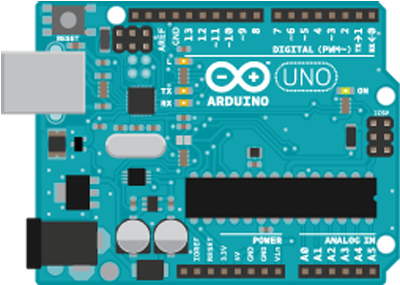
Arduino Nuestra placa ejecuta los bloques a gran velocidad. Concretamente a 16 Mhz, es decir que realiza 16 millones de operaciones por segundo. Por ello la velocidad con la que se maneja la información ha de ser tratado con una velocidad de comunicación medida en baudios por segnudo y el bucle loop se ejecutará una y otra vez sin descanso a esta velocidad de 16 MHz. Microprocesador…
View On WordPress
2 notes
·
View notes
Text
Bluetooth Control
Vamos a explicar de forma fácil cómo conectar y comunicar un módulo Bluetooth con Arduino, voy a dar un repaso a modo de tutorial. Para empezar solo deberemos de conectar el módulo Bluetooth a nuestra placa . Para este ejemplo disponemos de un módulo Bluetooth HC-05 que podemos conectar al puerto Serial de Arduino. Resumidamente hemos de conectar los pines de recepción (RX) y transmisión (TX);…

View On WordPress
0 notes
Text
Smart Car Chassis - 4WD Assembly
Smart Car Chassis – 4WD Assembly
Desarrollamos en este apartado todos los pasos para crear el Smart Car Chassis de 4 ruedas y así montar sin error cada una de las partes de nuestro modelo robótico que después nos dispondremos a controlar con la placa de Adafruit MotorShield. Chasis y Motores Primero debemos preparar los motores en la parte de abajo con las pestañas que nos dan en el kit Por último se añaden los encoders…

View On WordPress
0 notes
Text
PWM - Pulse Width Modulation
PWM – Pulse Width Modulation
En todo inicio de programador arduino deberemos enfrentarnos con el primero de los malos para pasar al siguiente nivel. Es bastante fácil ganarle y me refiero al servomotor. Los servomotores es un tipo de motor eléctrico de baja potencia muy utilizado en robótica, ya que su control es muy preciso y estable. Las partes de las que consta un servomotor se pueden observar en el siguiente video: Tipos…

View On WordPress
0 notes
Text
Sensor Ultrasonido
El sensor ultrasonido es un dispositivo que nos permite medir obstáculos que puedan a estar a una distancia de hasta 4 metros. Esto nos puede servir para hacer que nuestros robots puedan recopilar información de su entorno para no chocarse a medida que circulan por el suelo.
Se basa en el envío de una onda sonora que rebota contra una superficie y ésta es devuelta.
Esta onda es emitida por un…
View On WordPress
0 notes
Photo
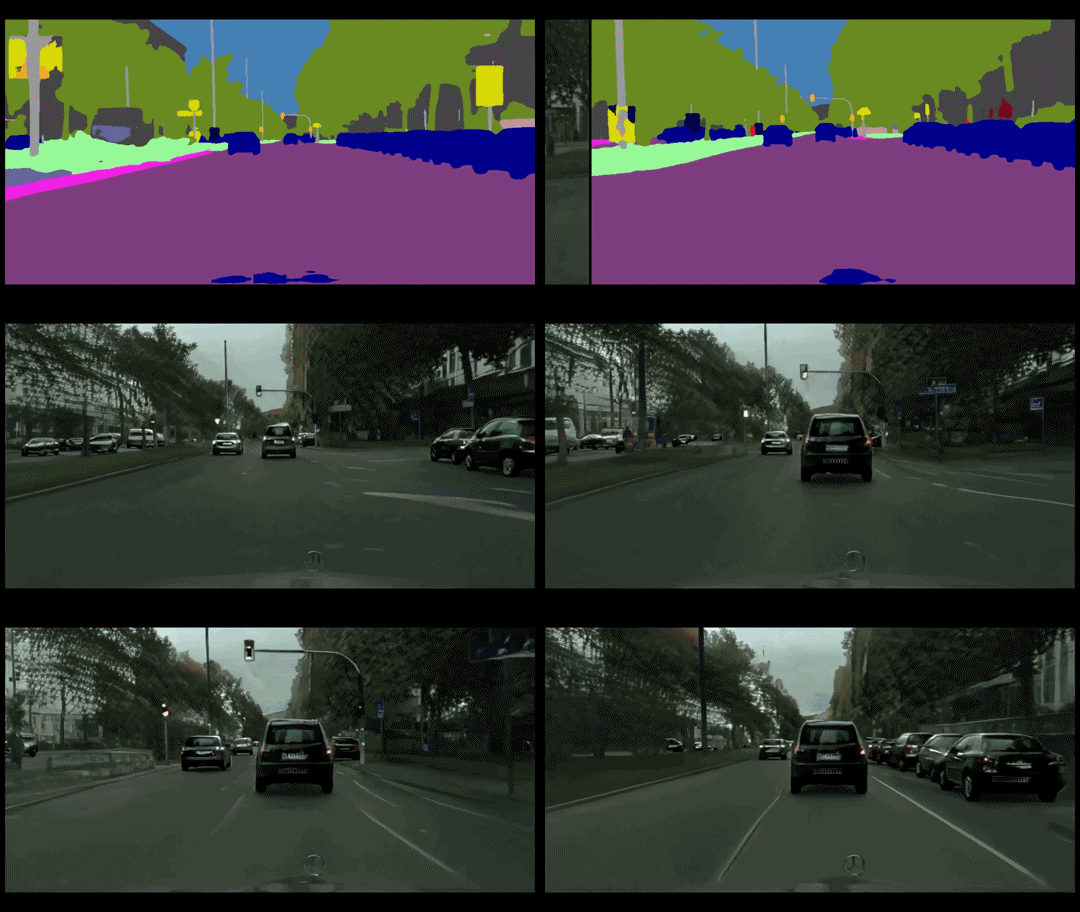


Video-to-Video Synthesis
Amazing graphics research from @nvidia and @mit is a new image translation / visual synthesis framework designed for moving image (or, to put it another way … a Pix2Pix for video):
youtube
We study the problem of video-to-video synthesis, whose goal is to learn a mapping function from an input source video (e.g., a sequence of semantic segmentation masks) to an output photorealistic video that precisely depicts the content of the source video.
While its image counterpart, the image-to-image synthesis problem, is a popular topic, the video-to-video synthesis problem is less explored in the literature. Without understanding temporal dynamics, directly applying existing image synthesis approaches to an input video often results in temporally incoherent videos of low visual quality.
In this paper, we propose a novel video-to-video synthesis approach under the generative adversarial learning framework. Through carefully-designed generator and discriminator architectures, coupled with a spatial-temporal adversarial objective, we achieve high-resolution, photorealistic, temporally coherent video results on a diverse set of input formats including segmentation masks, sketches, and poses.
Experiments on multiple benchmarks show the advantage of our method compared to strong baselines. In particular, our model is capable of synthesizing 2K resolution videos of street scenes up to 30 seconds long, which significantly advances the state-of-the-art of video synthesis. Finally, we apply our approach to future video prediction, outperforming several state-of-the-art competing systems.
You can out more here, as well as at Github for the code here
309 notes
·
View notes
Photo
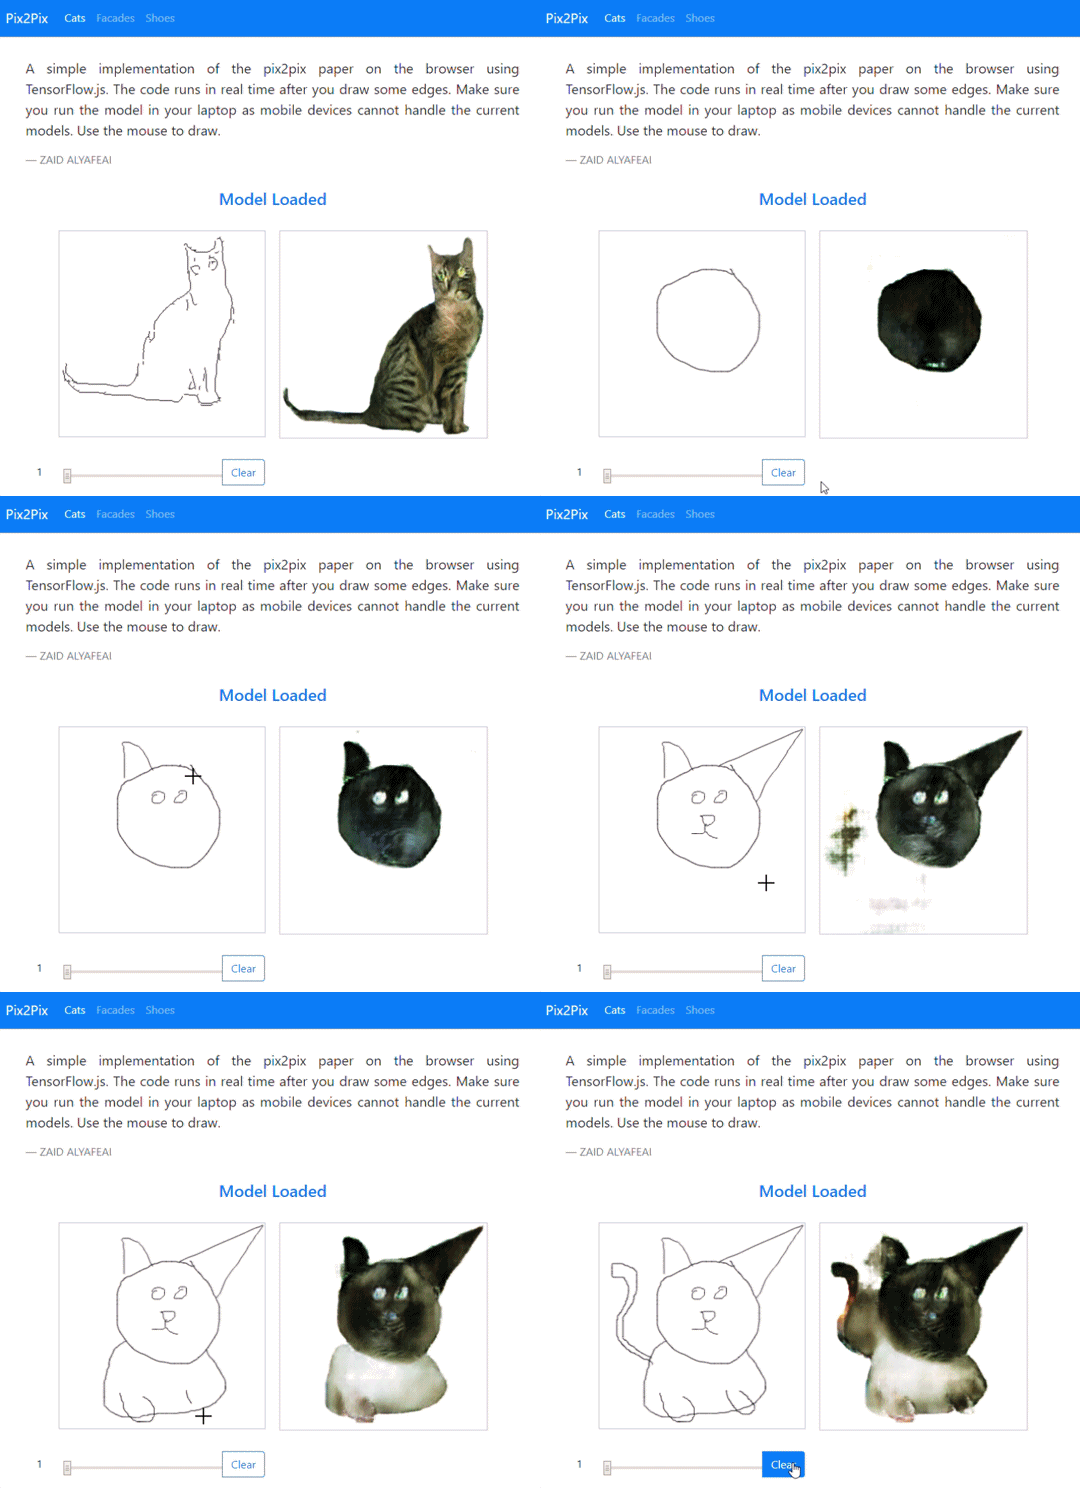
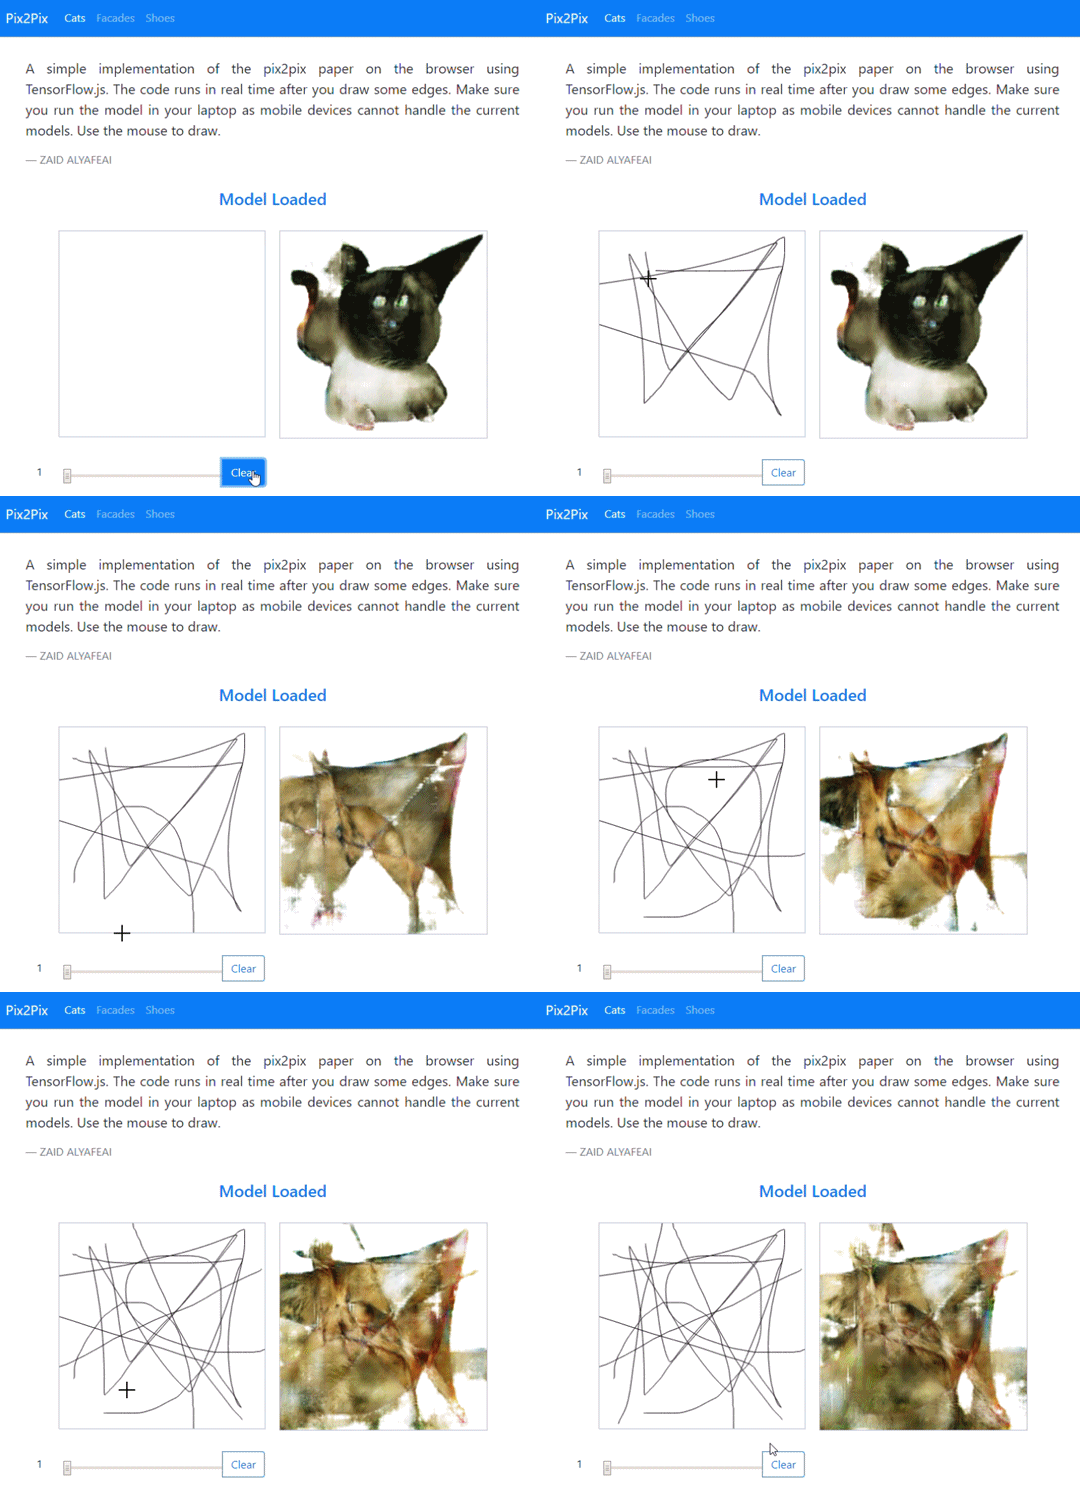
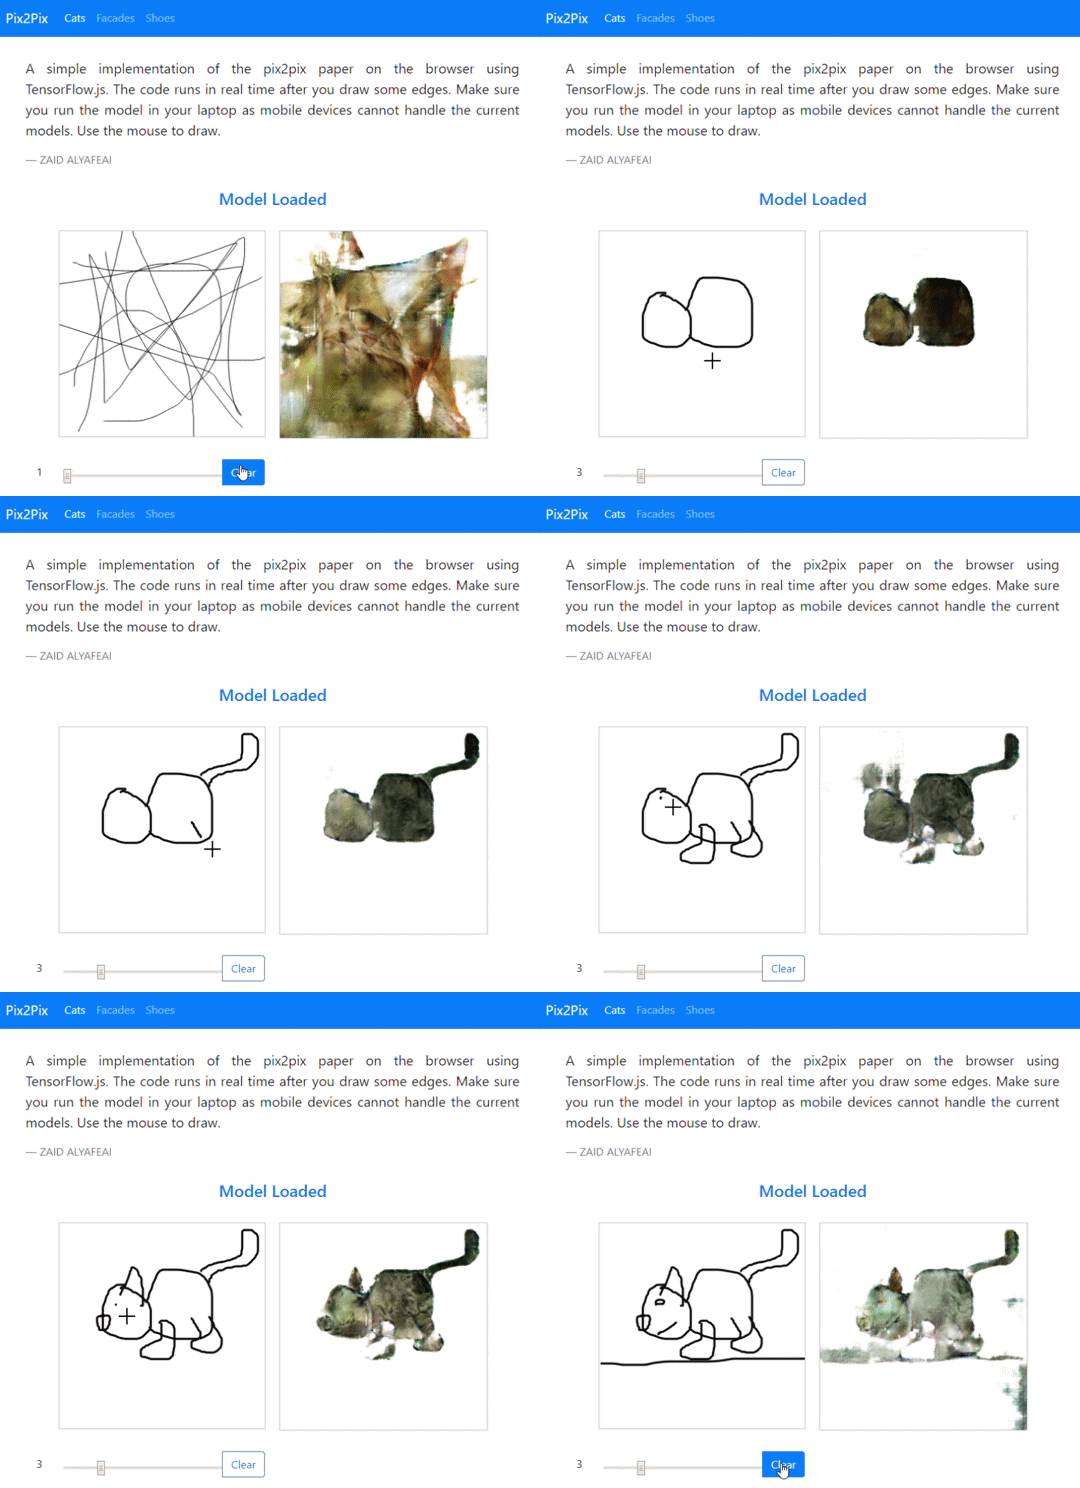

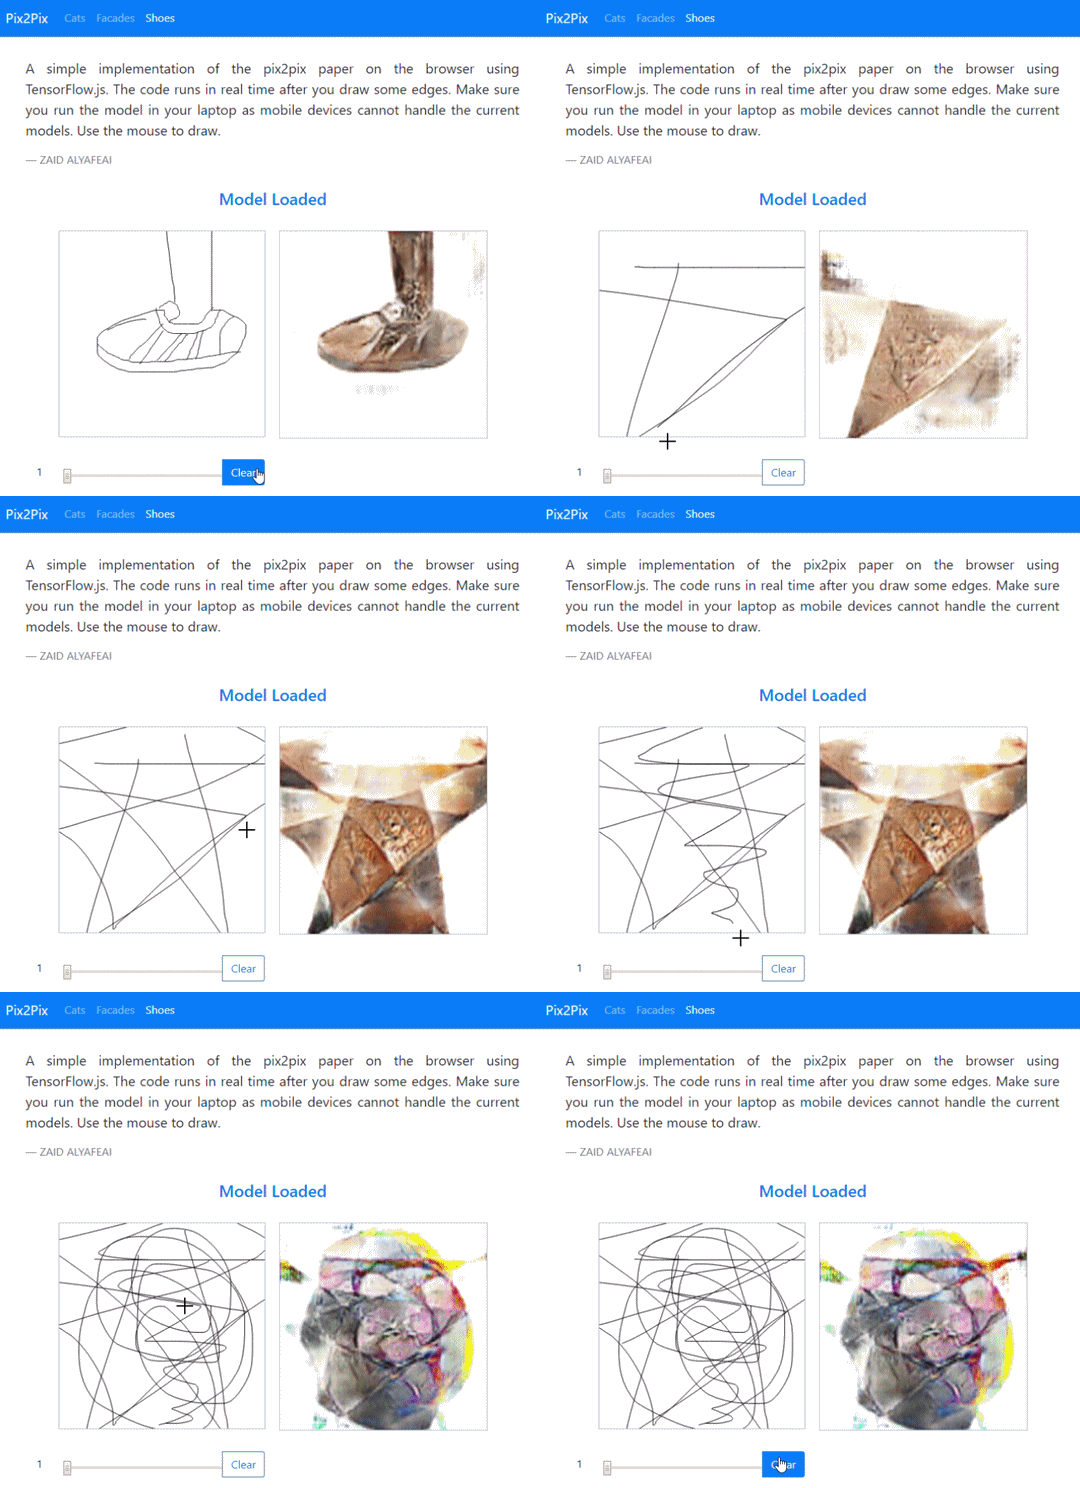
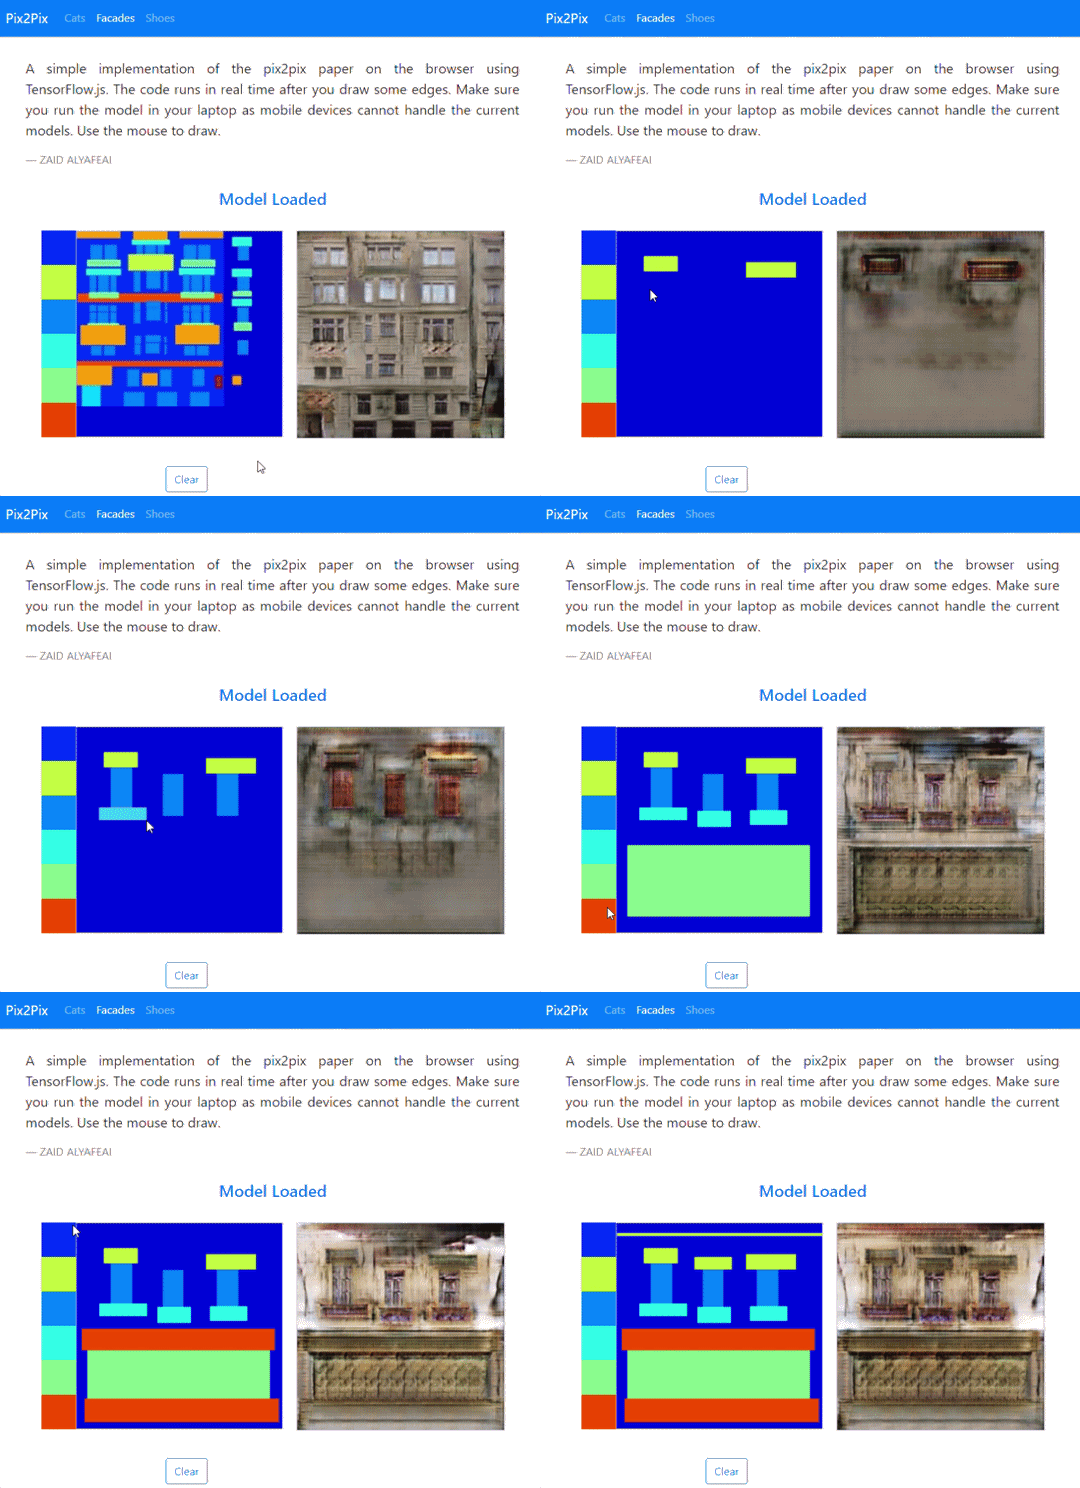
Fast Pix2Pix
Project from Zaid Alyafeai presents a faster interactive verson of familiar image translation demos which presents instant renderings after each drawn input:
A simple implementation of the pix2pix paper on the browser using TensorFlow.js. The code runs in real time after you draw some edges. Make sure you run the model in your laptop as mobile devices cannot handle the current models. Use the mouse to draw.
Try it out here
871 notes
·
View notes
Photo


Electronics
So now I have a Chassis for my Balance Bot, it consist of couple of acrylic sheets with a couple of cheap DC motors. The things to think about for controlling this bot are
Processor or brains
Gyroscope / accelerometer
Motor controller
Power system
Let’s start off with the processor. I normally use Raspberry Pi’s for this sort of thing, but for the actual balancing system I think a dedicated micro controller would be better. This will not get interrupted dealing with WiFi, reading controllers and any other high level stuff. I had a few 3.3v Arduino Pro Mini clones, so this is what I will use. This does not have a USB socket so to programme I needed to get a USB to serial converter, I used this one from Pimoroni
As mentioned in my previous posts, I have a MPU-6050 6DOF gyroscope/accelerometer and I’ve also seen a few projects on the internet use this device so this is exactly what I will be using. It connects to the Arduino over the I2C bus.
The are many options for motor drivers, they can be purchased in many shapes and sizes. I wanted to keep the device quite small and I had some L293D motor driver chips in my storage box, so this is what I’ll be using for this project. The motors I’m using are not high power so the little 16 pin DIP chip will be perfect.
Power systems can get complicated very quickly. The Arduino needs 3v3, the MPU 6050 needs 5v and the motors need at least 5v with the motor driver needing 5v to power the internals of the chip. I wanted to keep the bot light since the motors are not very powerful. In line with my current philosophy, I wasn’t going to start over thinking this again, I plumped for a 2000mAh 3.7v Lipo battery with an Adafruit 1000mA boost/charge board. This gave me a small battery with 1000mA current at 5v to power the other components. The Arduino I have has a built in voltage regulator so I could power from 5v and it would drop it down to the required 3v3. All the other components I could power straight from the 5v from the boost/charge board.
To give me flexibility, I cut a bit of strip board down to size, added some fixing holes and soldered all the components on and wired together. I put a quick sketch together to test the motors, powered it up and nothing. I spent some time checking my wiring with data sheets for the Arduino and motor controller and found a problem. It turned out I had wired the motor controller incorrectly. So I quickly corrected this and this time the motors fired up, both forward and reverse.
I mounted the battery and strip board circuit onto the chassis. I now had a platform that worked, all that was left to do was programme the Arduino to tell it how to balance. Easy right! Think I’ll leave his part to another day.
10 notes
·
View notes
Text
Curso Internet of Things
Curso Internet of Things
El Internet of Things está muy de moda para crear aplicaciones o robots que se comunican entre ellos. Aunque parezca que el IOT es muy reciente, en verdad lleva mucho tiempo funcionando, pero es ahora cuando existen recursos abiertos y hardware asequible para elaborar todos estos aspectos y desarrollar proyecto muy extendidos en el nivel de Internet.
El problema que nos encontramos muchas veces…
View On WordPress
0 notes
Video
instagram
Researchers from the University of Tokyo created a “drone dragon” which is able to fly through tight spaces 🐉🐲 | Our audience: #nasa #mavicair #universityofmichigan #djiphantom4 #djiglobal #uav #mavicair #djiinspire1 #quadcopter #spacecamp #drone #robotics #robot #aerialphotography #fpv #drones #skynet #octocopter #djiphantom #arduino #hobbyking #drone #multirotor #dronephotography #sparkfun #tesla #raspberrypi #mavicpro #tokyodisneyland (at University of Tokyo)
9 notes
·
View notes
Photo


ACHIRES
Robotics research from Ishikawa Senoo Laboratory is a fast running bipedal robot that can adapt to environmental terrain (and one step closer to real world mecha):
youtube
ACHIRES has been improved in the aspect of robustness. The posture stabilization control enables the bipedal robot to keep running on rough terrain and under disturbance force applied to the trunk. The control is based on the instantaneous recognition and behavior for falling avoidance with the integration system composed of high-speed vision and high-speed actuators. In this demonstration, robust running can be achieved without any information about incoming obstacles, but only detecting the body posture of the bipedal robot for balance by high-speed vision.
More Here
359 notes
·
View notes
Text
Clumsee 101
Clumsee es un robot que a medida que se va añadiendo módulo por módulo se va haciendo cada vez más grande y nos puede dar problemas asociados con la memoria.
Por ello, existe una alternativa estable de este Robot para llevarla a cabo con una placa Arduino 101.
Esta placa, nos da una mayor estabilidad con sus sistema de navegación CurieIMU y además su conexión Bluetooth CurieBLEnos permite ahorrar…
View On WordPress
0 notes
