Don't wanna be here? Send us removal request.
Text
Finished painting my first squad of dwarves (with bases)

Right shoulder is blue for all, but the left denotes the squad. This is the iron squad


And other details


1 note
·
View note
Text
Part 3 of making Cataphractii assault terminators:
All done
After a bit of a break, I finally finished my first assault terminator:


I am quite happy how he turned out. The "critical areas" are still visible, but from a little awkward angle and not very much. Most of it should also be improvable with a little more experience in smoothing out greenstuff.


All in all, I like it.
More tipps and ideas always welcome :)
15 notes
·
View notes
Text
Part 2 of making Cataphractii assault terminators:
Weapon arm and first model
Still taking the weapons from the Vanguard Veterans kit, I started with the hammer arm. The lightning claws could obviously be taken from the original kit.
I once again had two options. Using the original Cataphractii hand, cutting away the storm bolter and attaching the seperated weapon options, or just using the preattached hand. I decided against the first option, because it would have been a massive pain for an instabe build.
The Vanguard hand fit quite well, but needed a bit of modeling material to stand out a bit.


I am quite happy with this solutipn, since it also solved the problem of the smaller wrist by smoothing out the putty a little.
After that I assembeled the rest of the mini as usual (with a littke sculpting on the tassils, because I had green stuff left over from the hand) and can now present you a rough fit of the first mini


I was a little concerned with the shoulder plate on the hammer hand, but it fit under it quite well. It also would have been possible to offset the angle of the hammer a little, but it wasn't necessary for me.
Once again I would be happy about more tipps or ideas :)
3 notes
·
View notes
Text
Part 1 of making Cataphractii assault terminators:
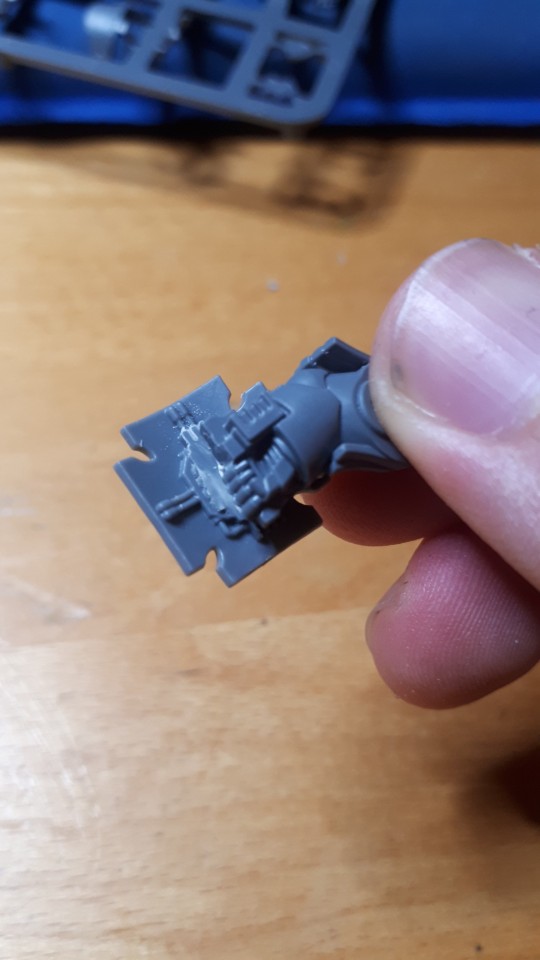
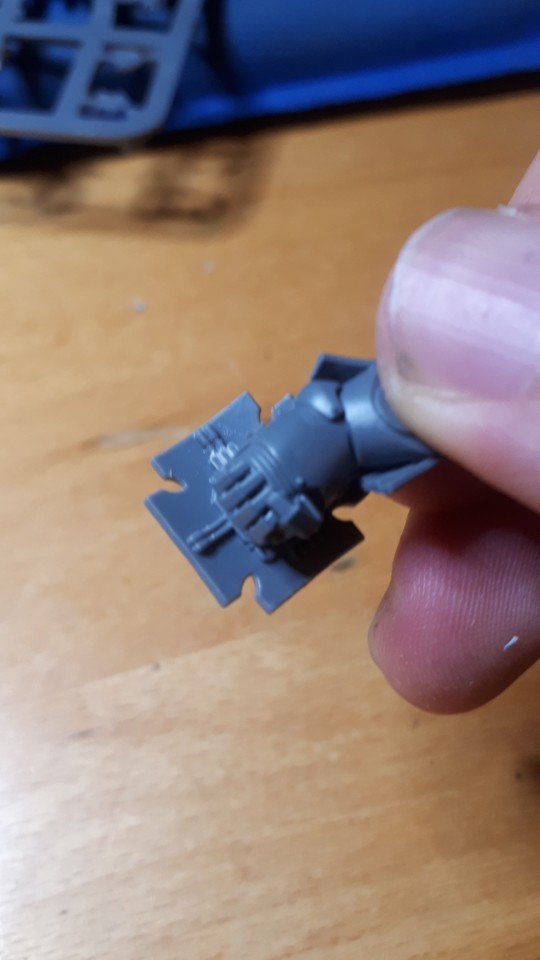
Prototype shield arm
I got the Vanguard Veteran squad for the weapons. I wanted to attach the shield to either a chainfist or powerfist arm. Keeping the hand on the shield would have required extensive resculpting of the arm, so I decided against it.
After clipping and sanding the hand on the shield away I had two options:


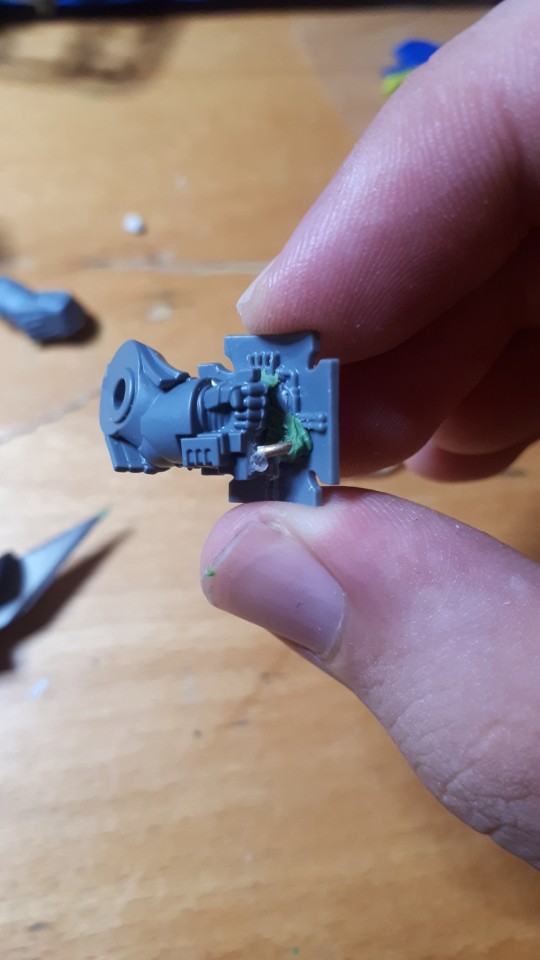
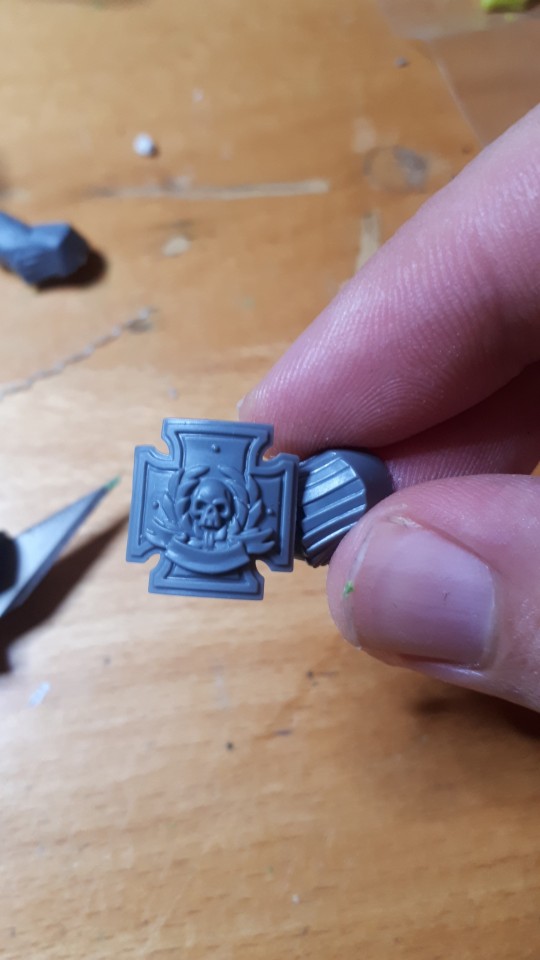
I decided on the chainfist, because the power fist still looked to power fisty with the shield. I used some greenstuff for a better fit and trimmed the outside of the armor a bit. The chainsaw part was also removed for obvious reasons. To cover up the blank space I glued some 1mm wire into it and made an entry point on the inside of the shield with a little blob of green stuff. In the end I got this


I am quite happy with the resutls. It took a bit over an hour but the process should be optimizable and included the descicion making.
The main problem for the next 3 will probably be the repeatability of the shield placement. I have tried to solve this by keeping she shield under the leathery bits from the shoulder but I'll have to see how this works with differing poses.
I would be happy about some more tipps or ideas
3 notes
·
View notes