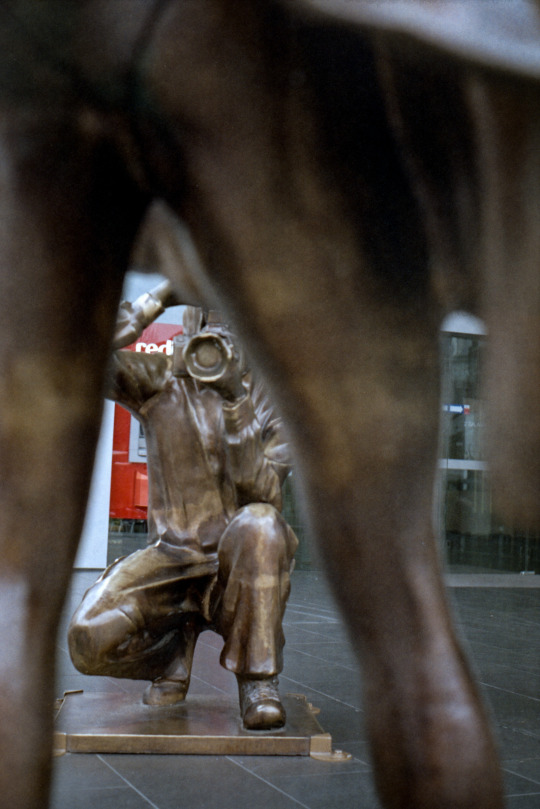
Statistics
We looked inside some of the posts by the-time-trapper-blog and here's what we found interesting.
Average Info
Notes Per Post
14
Likes Per Post
13
Reblog Per Post
1
Reply Per Post
0
Time Between Posts
23 days ago
Number of Posts By Type
Text
15
Photo
2
Last Seen Tumblr Blogs


Fun Fact
Tumblr’s reach among the 26-to-35-year-olds in the US is 11%.
Text
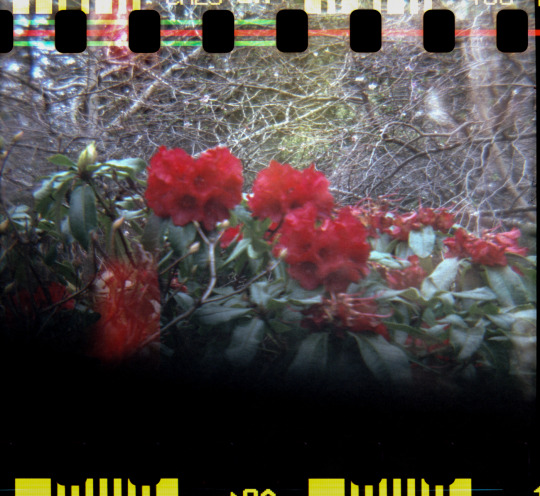
’When suddenly I am old, and start to wear purple.’
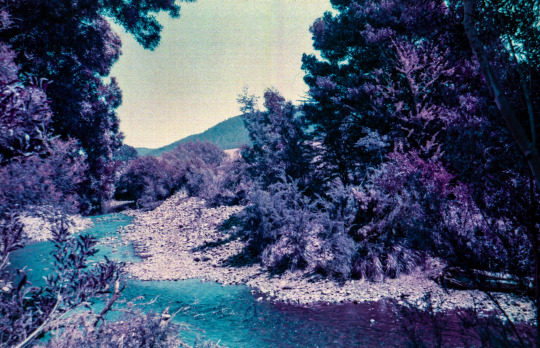
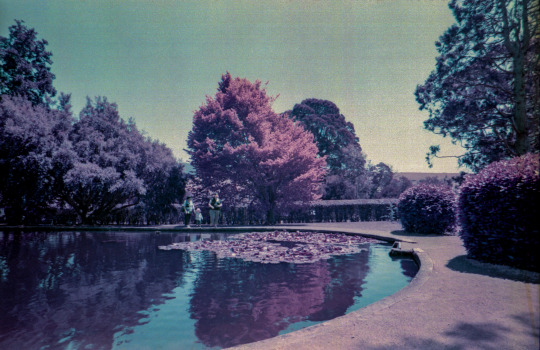
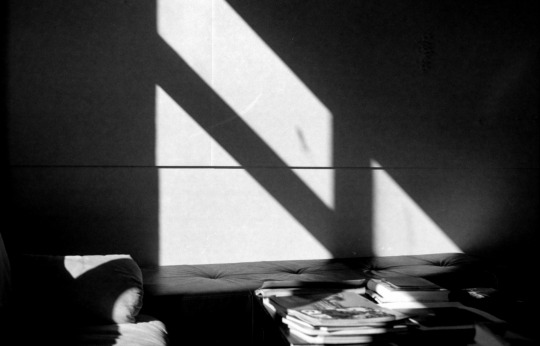
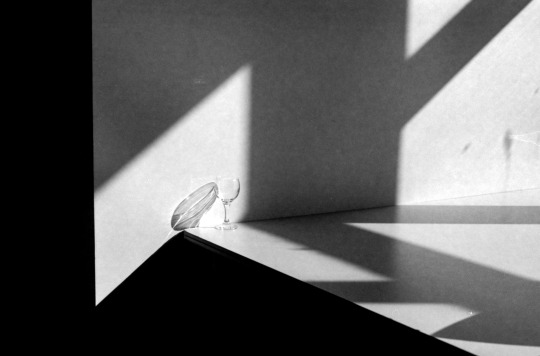
An inquiring shoot with LomoChrome Purple.
The line above is taken from the poem “Warning” by Jenny Joseph.
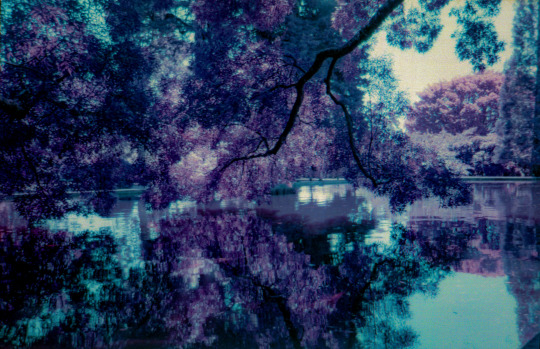
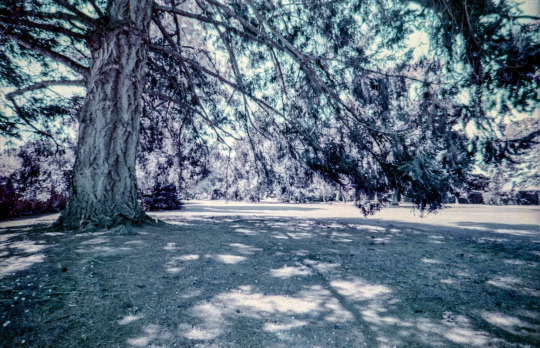
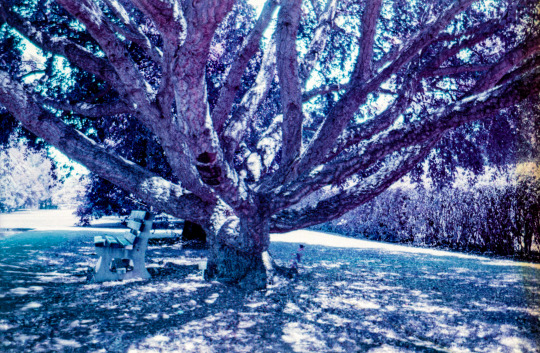
My current obsession with shooting black & white Infrared turned naturally towards colour. Real colour infrared film, if you can find any, is seriously expensive. Lomochrome Purple, a film sold by Lomography is a worthy substitute and can be used without special filters, red marks on lenses and a decent calculator of light.
The following photos were shot at Salmon Ponds, in Tasmania, on a stinking hot day. Lomochrome Purple can be shot at 100, 200 or 400 ASA - I chose 100 as the afternoon was really bright. Actually the conditions for taking photographs could have hardly been worse, but as I was also shooting pinhole and infrared, (yes I was hauling 3 cameras around) bright and shiny was exactly what was required.
My camera of choice was a Minolta A7 with a Tokina 19-35 autofocus lens. This lens....well it’s a cheapo and it shows. Not a single image on the roll was sharp. I deliberately chose autofocus because my eyes have been letting me down, fooling me into thinking I’m seeing a sharp image when in reality it’s a fuzzy mess.
Good thing I’m not adverse to the odd fuzzy mess, but sometimes it’s not appropriate. Fortunately in this situation the lack of sharpness isn’t a problem for me.
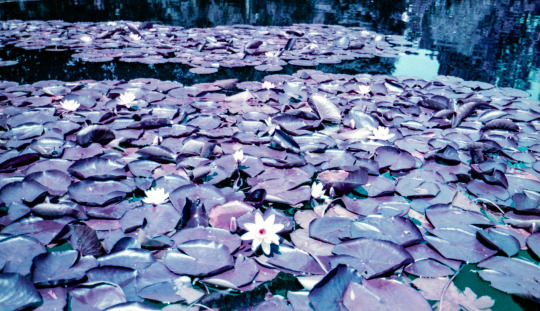
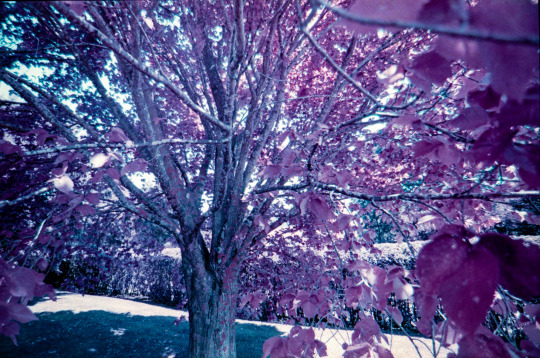
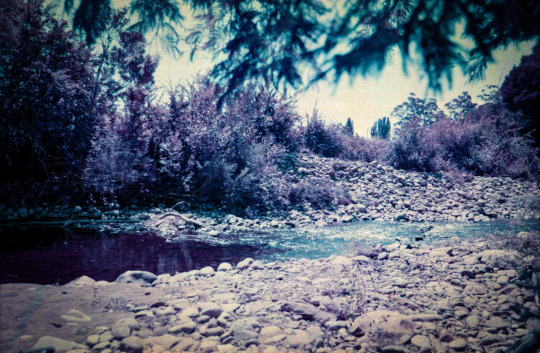
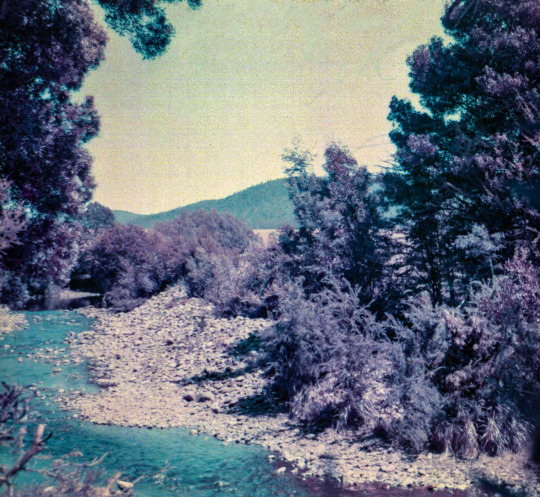
While the purple trees are trippy - I’m loving that cyan water!
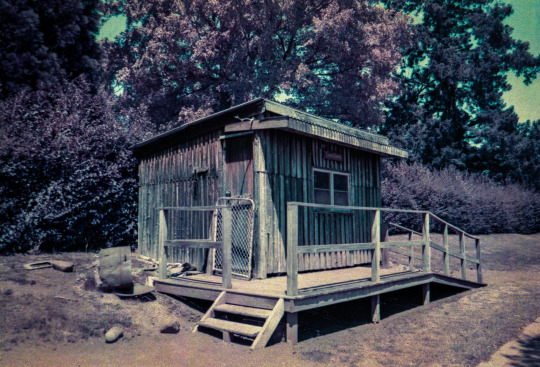
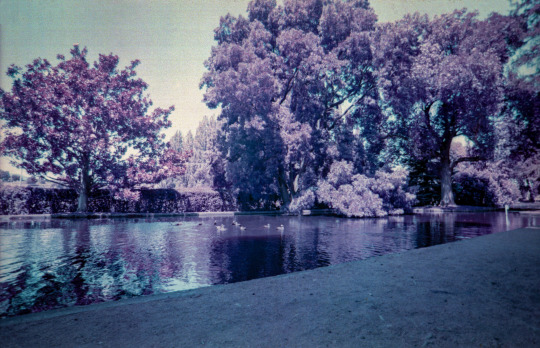
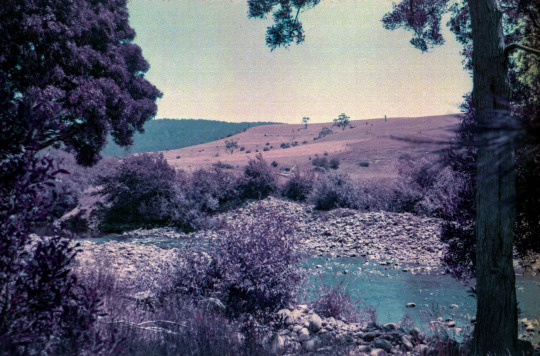
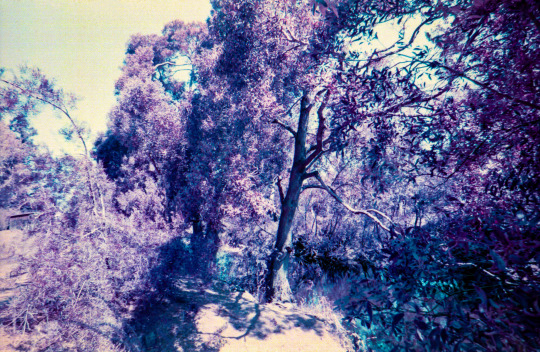
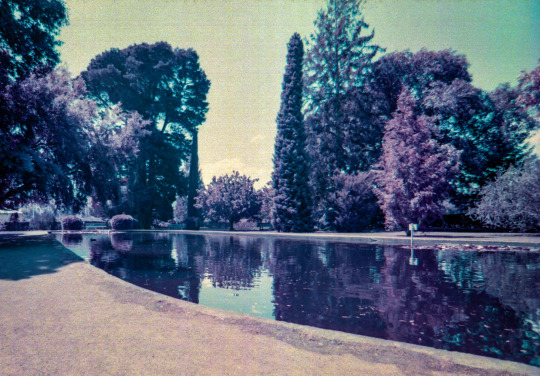
The roll takes 36 frames, there were more than these that I liked, but let’s not get boring.
I developed these at home using Tetenal C-41 chems and they came out really grainy. I don’t know if this is how the film is, or if it was my processing as it’s the first roll I’ve shot. I have a 120 roll of this stuff languishing in the fridge, so hopefully the next time I’ll get it right.
2 notes
·
View notes
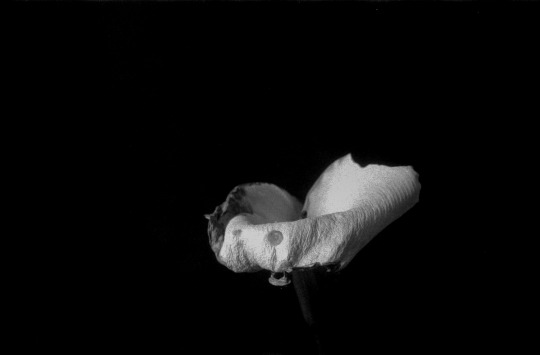
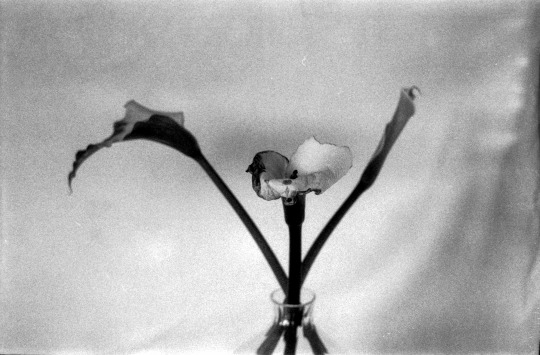
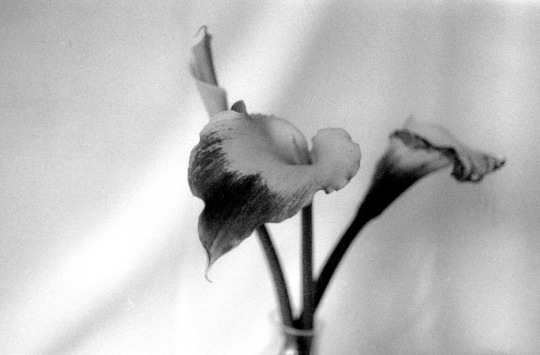
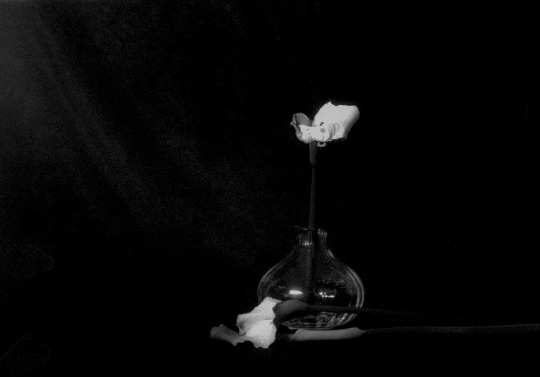
Text
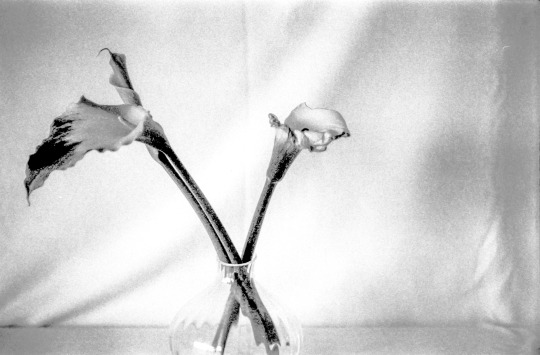
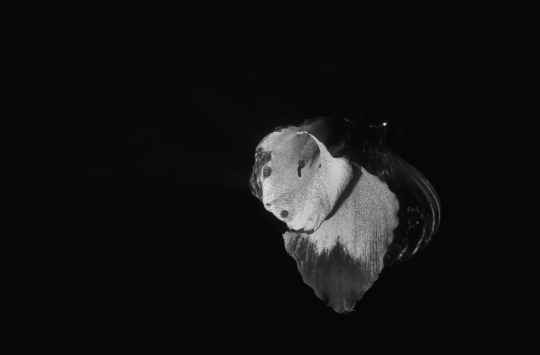
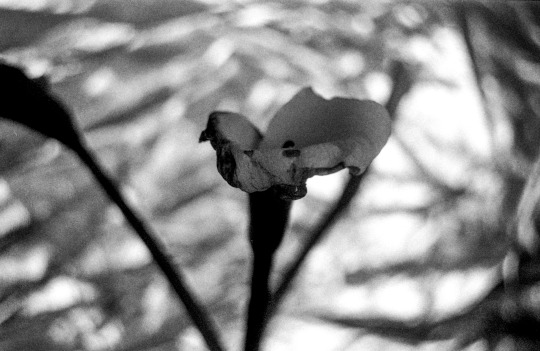
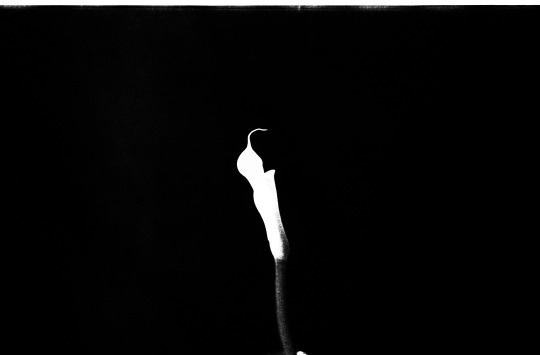
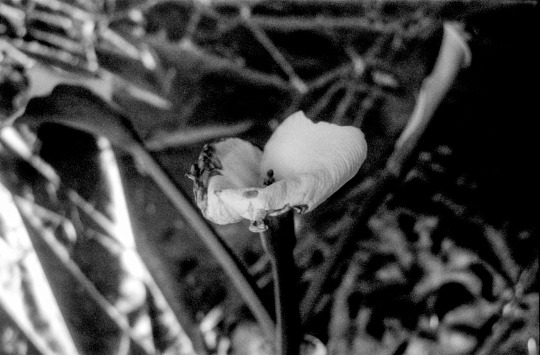
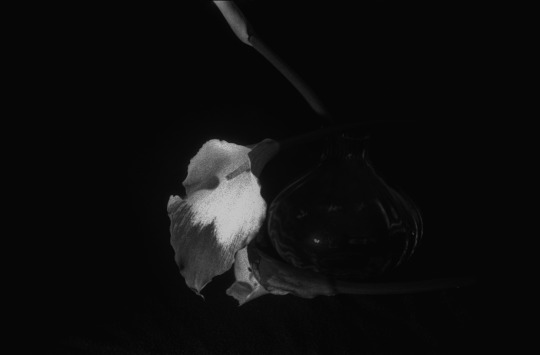
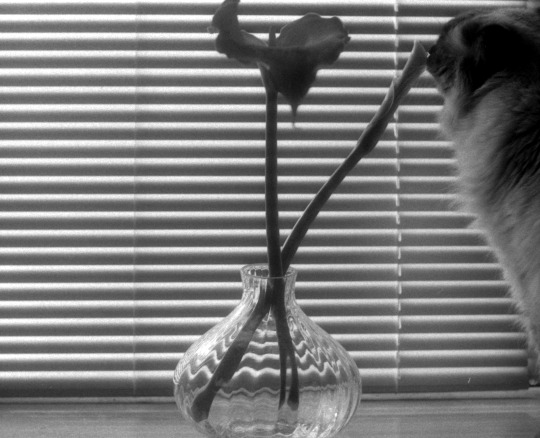
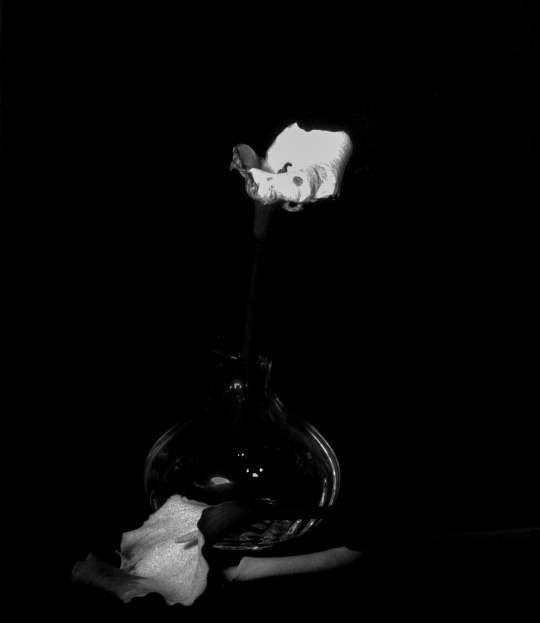
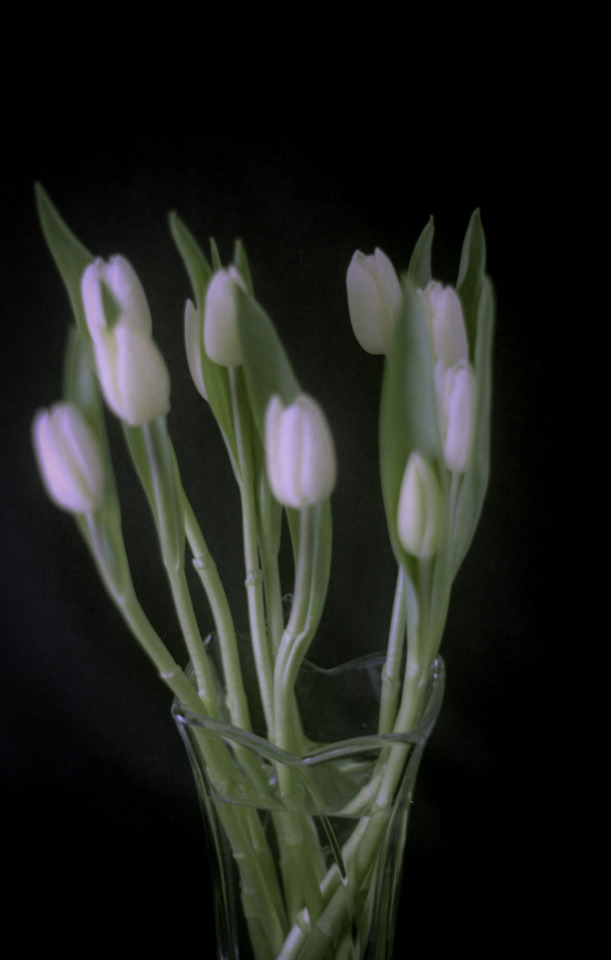
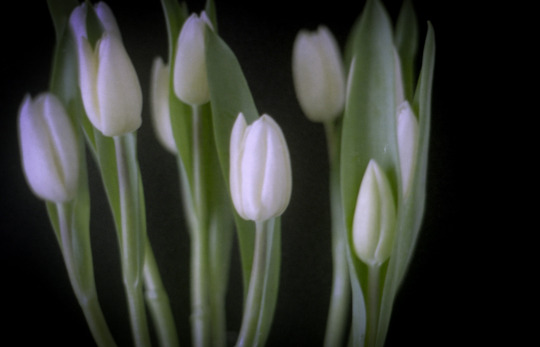
LILLIES OF THE VALLEY
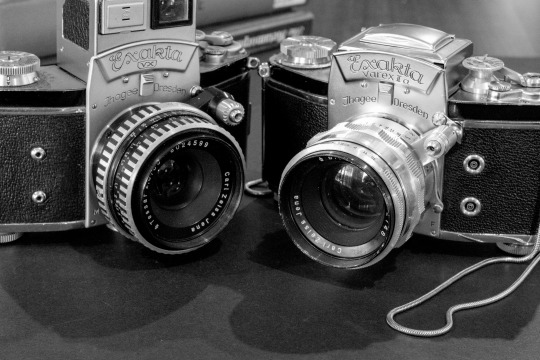
Yesterday I was practicing focus with a 60 year old camera, an Exakta Varex IIa. This is a beautiful looking camera but it's rather quirky and takes a bit of getting used to. I’ve been struggling to get sharp focus with the waist level finder.
I threw a budget film in it and played around with lighting, off camera flash and photographing my new favourite subject - dying flowers. I learned how to meter for off camera flash - yay thanks JD - and also used reflectors, but for the most part, the shoot was pretty simple.
I soon found that the problem with focus is not just my dodgy eyesight - the lens is soft as hell. I was using a Biotar 58mm F2 which has an excellent reputation as a fine lens, with sharp focus in the centre and lovely soft bokeh at the edges. While I was getting sharp areas, they were not in the places I thought I was putting them :) . The other lens I have is a Tessar 50mm F2.8 which is more conventional than the Biotar and behaved a little better.
After struggling with the waist level finder for half the roll, I switched to a prism finder with split screen focus and had much less trouble.
For some reason I decided to develop the roll in Rodinal, which I had to dig it out of the back of the cupboard cause I hadn’t used it in ages. Maybe I was hoping it would help with sharpness, cause that's a Rodinal trait, but I forgot that Rodinal can add lots of grain as well. My budget roll of Fomapan 400 comes with plenty of grain on it’s own - a brave combination.
What I got was rather interesting. Soft, grainy, high contrast images. Not what I was hoping for (sharp, focused images with lovely bokeh) but I actually really like these. I don’t think I’ll be using a Exakta as my goto camera, but when I want to play with something arty, I know exactly where to go.
I call this series Lillies of the Valley.

0 notes
Text
Going All The Way
Whenever I shoot film, I know that I’m going to get dud shots. Maybe, probably, hopefully, I’m going to get something good or at the very least something useable as well.
Recently, I developed 2 rolls of film which had been hanging around in camera for far too long. I had forgotten what was on the film, and even what film was loaded in the cameras.
One of them was a new to me camera, a rangefinder which I wanted to try because I’d not used a rangefinder camera in a very long time. I expected not to have anything very wonderful on this roll - it was a test roll. I’ll get to this one later.
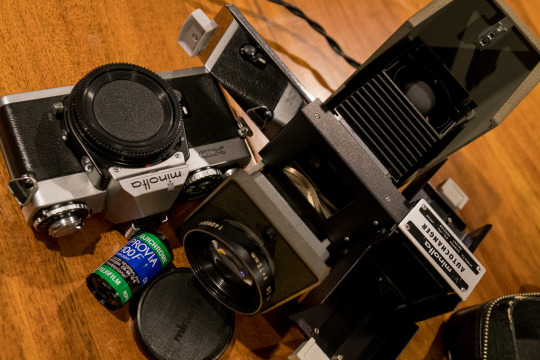
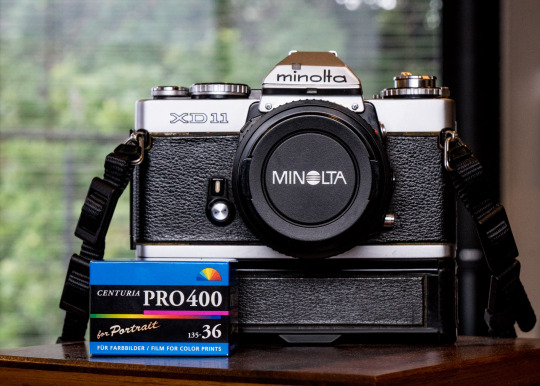
The other camera was my fav Minolta XD. I had film in it just because it’s my fav. - just a ready to go camera I could grab and throw in a bag when the mood struck. Inside the camera was a roll of cheap Kodak colour film. Here is what was on that roll.
A tree. This is a colour shot, believe it or not. Why did I take it? NFI.
I converted this one to black and white - because it looks better in black and white
Colour and sun flare
Old thing
Blurry thing

Fuzzy thing
Friends
More friends
flowers
same flowers
I took the camera to Uni, wandered around and shot off the rest of the roll in one hit.

??


So there you have it. A typical roll of film for me. Lots of duds. Lots of fuzzy. I do have trouble with manual focus. There are a few keepers, the rest, meh.
The other roll, the one in the rangefinder was a complete surprise. The Zeiss Ikon is a pretty basic rangefinder with a nice, fixed, 50mm lens on it. It was cheap. It was small. A nice ‘stick it in your pocket’ and walk around type camera. Trouble was, I hated using it. Focusing was clumsy, the viewfinder was dim. It was tricky to hold and focus and I took so looonnnnnggggg. fiddling around before I pressed the shutter.
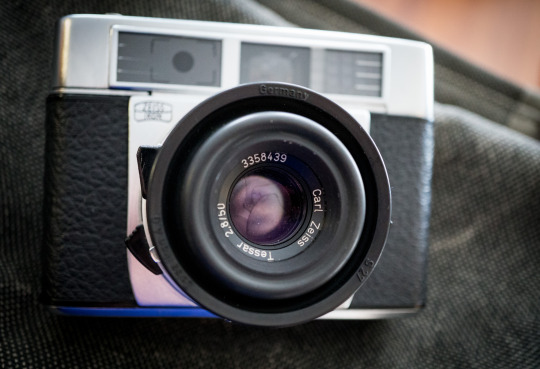
The little Zeiss Ikon. This shot wasn’t on the roll. It’s digital. Just so you know.
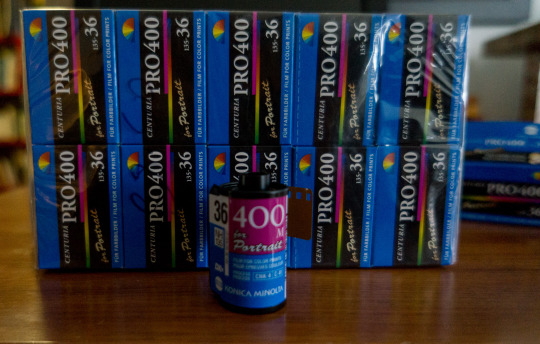
I was surprised to find inside, a roll of expired (2007) Centurian colour. I was expecting a fresh black & white which is what I usually use for testing. This particular expired film (I have a heap of it) is a bit hit and miss, mostly miss.
This is what I found on the roll. The colour is surprisingly good for this film.
Nope
Odd things spotted on travels
This isn’t all the photos from that film but most of them.
Funnily enough I seemed to have nailed the focus better with the clumsy, dim little Zeiss than with the split screen SLR. The colour surprised. I did very little processing on these once they were scanned, A touch of shadow, a bit of black, a tiny nudge to contrast if required. That’s it.
This is what film photography looks like. I could probably do better with digital. But I’d enjoy it less. A lot less.
0 notes
Text
Toying around
For the enthused amateur, student and pro, photography is a serious business. Sometimes so serious we forget to have fun, which (for me) is why I played around with photography in the first place. Fun - seriously.
I bought myself a toy camera with a plastic lens. Full on lomo baby!
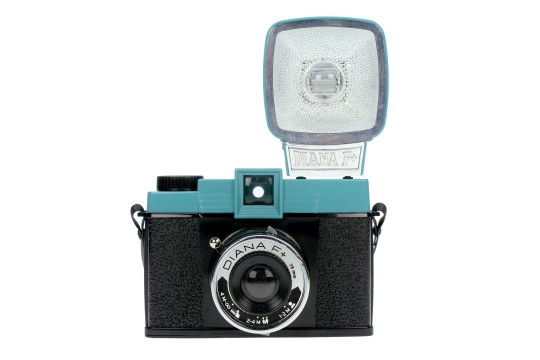
Go ahead, sneer. When you see the photos I took with this you will feel totally justified for that sneer. But I had fun. More fun than I’ve had snapping pics in a long while.
I picked her up second hand with a couple of lenses and something called a Splitzer - more on that later.
Loaded up with Lomo colour film, my goal was to shoot the roll without a single serious shot. Try all the lenses, the flash and the Splitzer thingy. I was most interested in the fisheye lens and making double exposures.
Instead of the 120 film normally used in this camera, I used a 35mm film which showed the sprocket holes. Just because.
My pictures were terrible.
What the hell are those oily type splotches? Meniscus lens dodo I reckon.

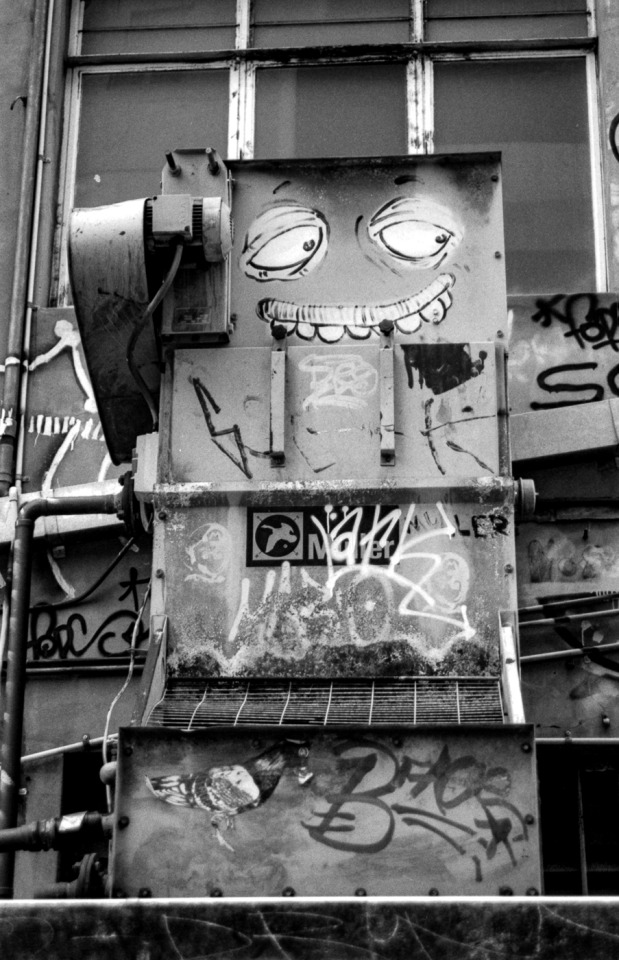
Fisheyed graffiti wall. Except I missed most of the wall. The Diana is tricky to compose with, the viewfinder being nowhere near the lens.
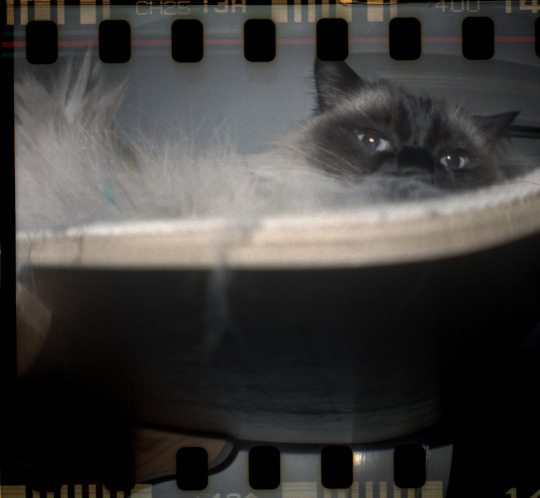
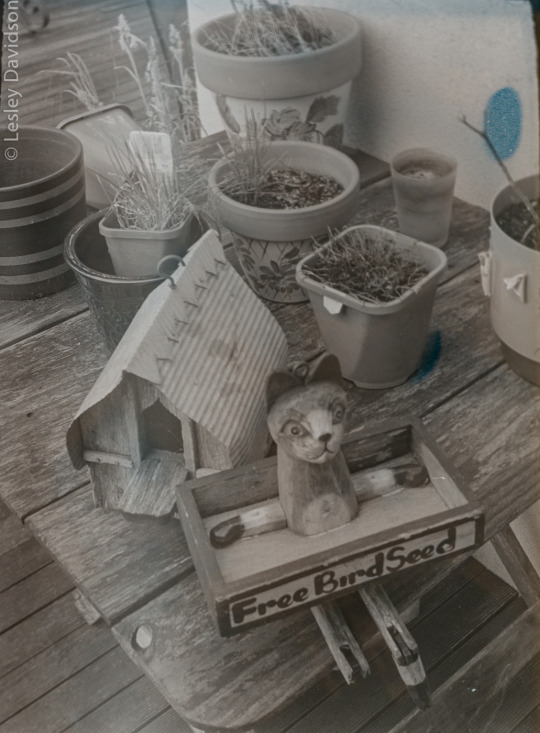
Scary cat photo
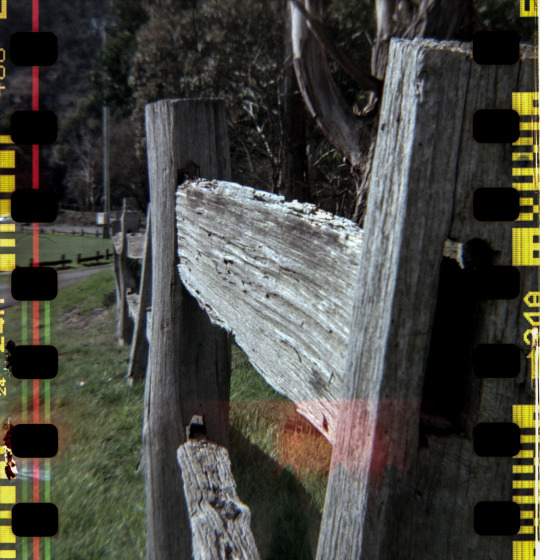
A fence with light leaks. I’m not fond of light leaks. Getting some black tape.
Okay so those were the successful shots, in that they actually look like something.
The Diana has 4 exposure settings, sunny, cloudy, really cloudy and pinhole. It’s really easy to bump the exposure setting knob, and I think I bumped it every time I changed lenses.
This is what the pinhole setting looks like when you’re not shooting pinhole style.
I have no idea what happened here and I don’t think I could achieve this if I actually tried. I like it!
I tried some double exposures, both the common type and with the Splitzer.
Tree and close up of the tree bark. :-/ Hmmmm
More like I expected. I don’t hate this one.
This gadget is a Splitzer. It pops on the front of the lens and has sliding parts to block off part of the image. You can block off halves or quarters of the frame, I suppose the idea being that you get more control over your double (triple, quadruple) exposures.

Googling images taken with these shows you some really interesting stuff, some of it really, really good. Sadly, all I managed were badly exposed jumbles of images. But I can see the potential!
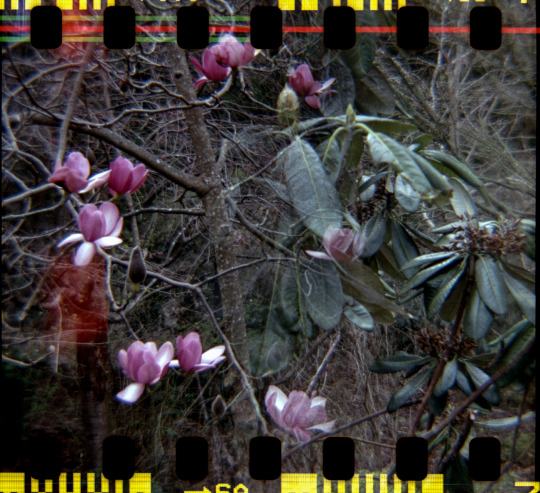
The right side has a magnolia in bud, the left side a magnolia in full bloom.
There was supposed to be a daffodil where that black section is. I screwed up.
Some random shots. There were some more but you don’t want to see them. Trust me.

Conclusion? Despite the awful results I can see potential here. I had fun playing around, I had fun developing the roll and the anticipation of seeing the final scans was not anxiety ridden as it usually is. Instead of dreading that I may have screwed up, I was excited to see what sorts of messes I’d made.
It was refreshing. Give it a shot.
0 notes
Text
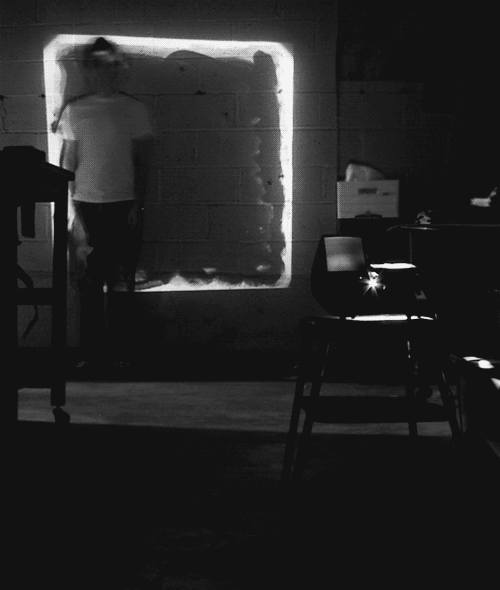
Bring out the popcorn....we’re having a Slide Show.
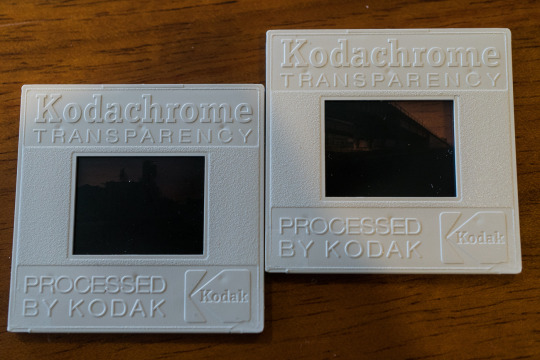
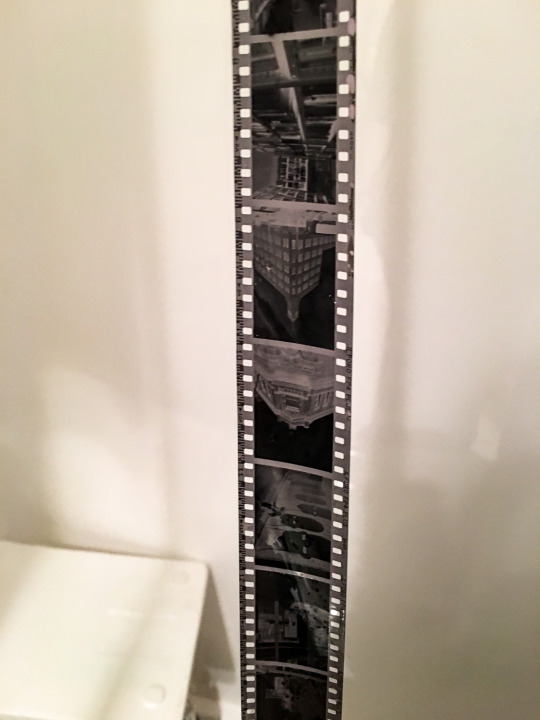
Way back, sometime in the Seventies, I actually went to Photography School. I didn’t go for long, just a term really. The person I was married to back then, um, strongly suggested that I quit. Anyway, during that brief time (which I totally enjoyed btw) it was mandatory that we shot our photos on slide film. Probably because they could be screened large enough for the whole class to see during critiques. So I had a collection of slides, but I never owned a slide projector. The boxes of slides had been squirrelled away unseen for decades.
Now that I’ve rediscovered slide film and also discovered that it’s entirely possible to develop the film myself, I have a renewed interest. Early on in this blog I found my old slides, tried ‘scanning’ a few, then put them away again.
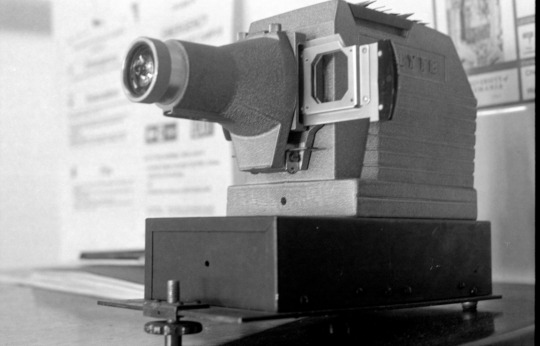
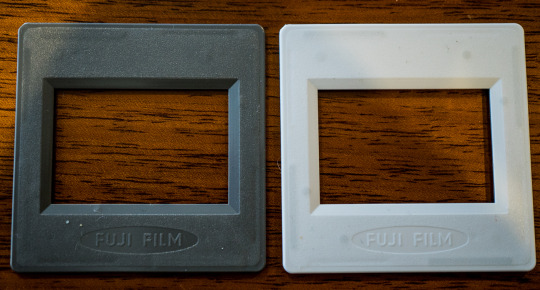
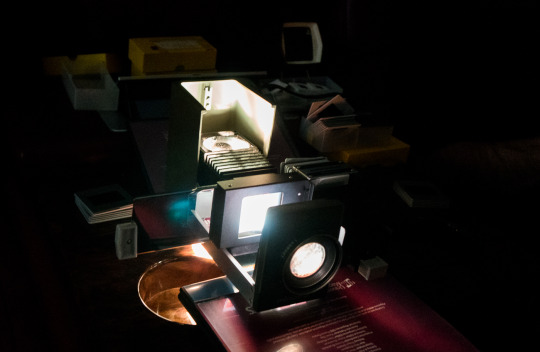
I’ve since found a tiny, cheap vintage slide projector which still works.
How cute is this thing. It comes with an auto changer and it’s own little bag. It’s time it was put back to work.
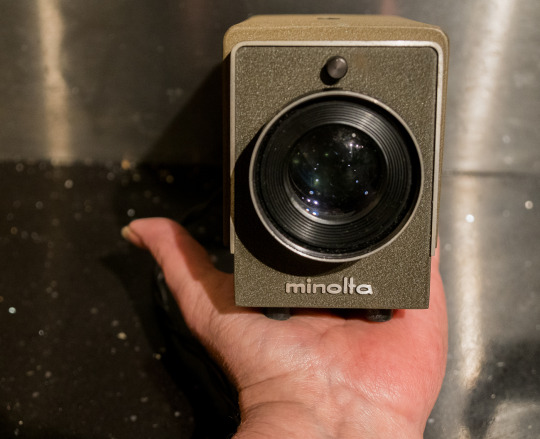
Little Minolta camera, little Minolta projector. Cuteness abounds.
To project slides though, you need slide mounts. I used to use slide film in my 110 Minolta. The tiny slides though, were too small to fit into a projector, so you needed some kind of adaptor. I dug through my old slide boxes to salvage the mounts. Some of the 110 slides were in proper adaptors.
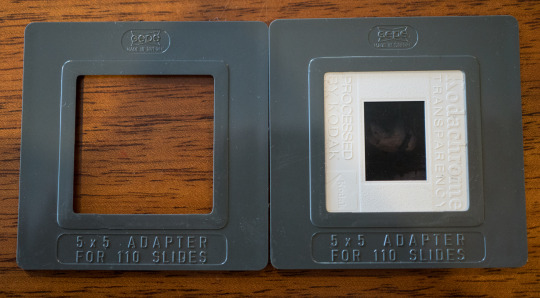
They just snap right in there.
They must have been a bit pricey though, because most of my 110 slides were stuck to full size plastic holders which I’d pulled apart. Because.....cheaper.
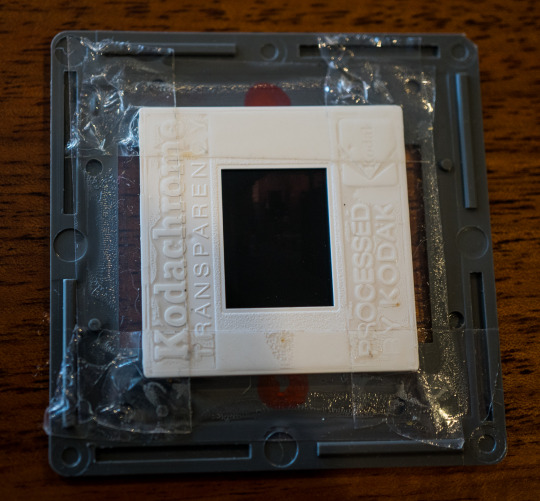
Not pretty.
The plastic mounts just click apart, click together. Nifty. Glad I didn’t have the cardboard holders.
So I spent an hour or so fiddling around, putting my new slides into old, rescued mounts.

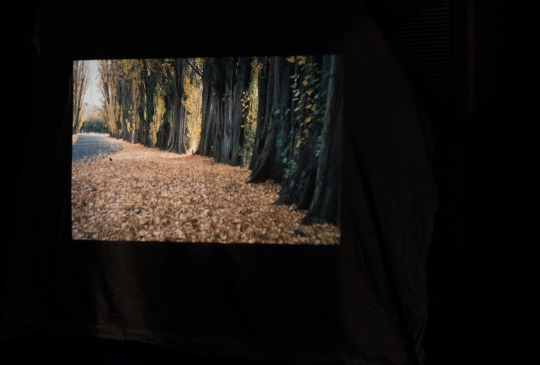
So now I have mounted slides, a projector....but wait. I need a screen. A wrinkled white sheet thrown over the furniture does the trick. I should have ironed it, I know.
Let the show begin!
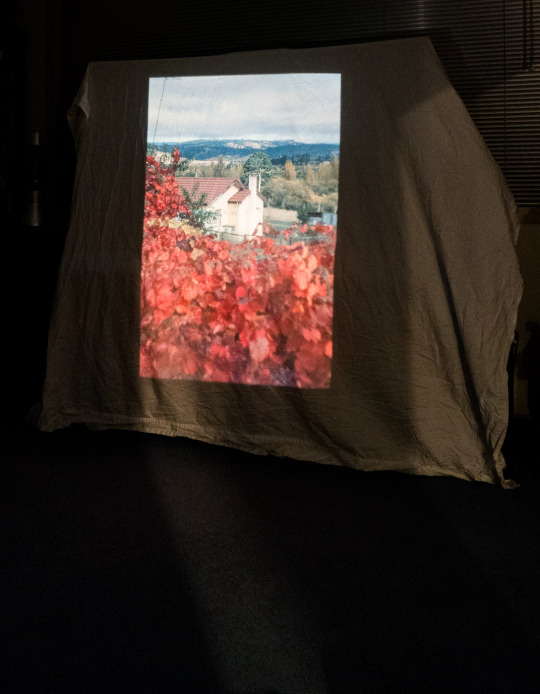
They show up quite well. And straight out of camera. No scanning, No Post Production. Which means no cropping, no colour twiddling, no sliders, no removal of unwanted stuff, SCARY.
The little projector worked a treat. We started off using the auto-changer thingy, but it was a bit of a pain because if you had a slide in upside down, you couldn’t fix it. You need get the whole load of slides through the changer before you can fiddle around and rearrange things. Fortunately, the kit came with a manual changer as well, which turned out to be quite fun to use. Very old school
And of course I had to project those old slides from the 1970′s. Street stuff in South Melbourne (for school, really boring). The Westgate Bridge, during construction (interesting). Melbourne Zoo (sad). Family stuff (what a hoot)!
1 note
·
View note
Text
Slide on over.........
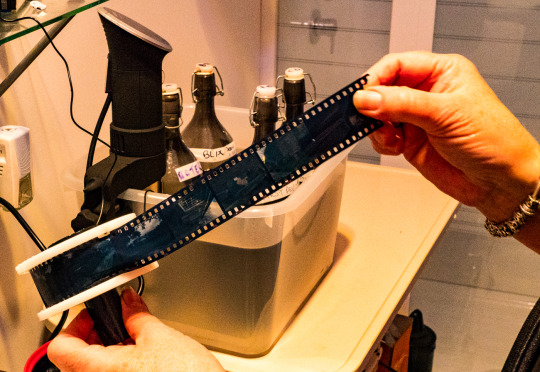
Processing my first roll of slide film.
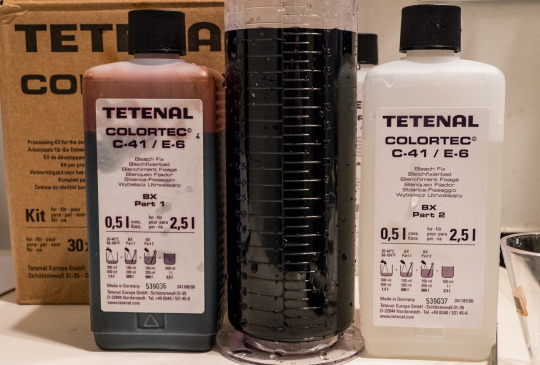
The trick to processing slide film, says everyone who knows what they’re talking about, is temperature control. So even though I had the chemicals to develop slides (aka as chrome or positive film, or E-6 process), I didn’t have the proper equipment. According to the instructions I needed a JOBO film developer - a machine which automates film development at home by providing a temperature controlled water bath, amongst other things, automatic. I’m kind of old school - I want to learn to do things by hand before allocating the job to a machine or computer.
Hello Google my old friend. Google introduced me to the Sous Vide. Those of you who enjoy cooking will probably know about these and are currently eye-rolling at the obvious.
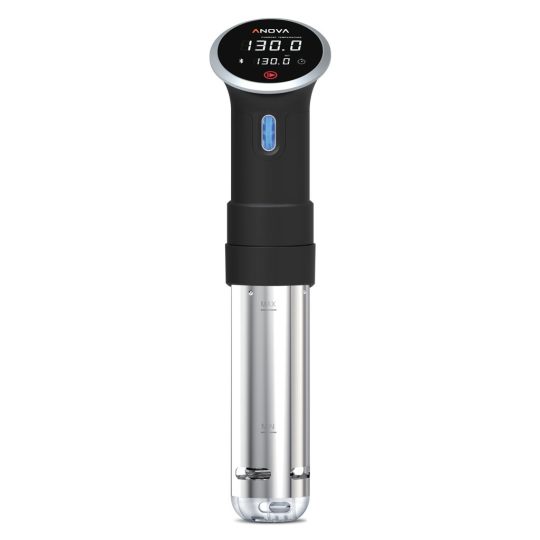
This clever gadget will keep water at a constant temperature and agitate as well. Brilliant!
For colour film processing I was using a fish tank heater. All well and good but slide film needs to be processed at 38 degrees Celsius. No argument, no compromises, no deviation. I was able to process my colour negative films at a more moderate temperature of 25 degrees, a level of warmth suitable for fish which didn't cook them alive.. My aquarium heater didn’t go up as high as 38 degrees - I wonder why?
The E-6 process uses a 3 bath procedure but my kit provided me with 6 bottles. A bit daunting. A first developer, a colour developer, blix (bleach & fix combo) and stabiliser.
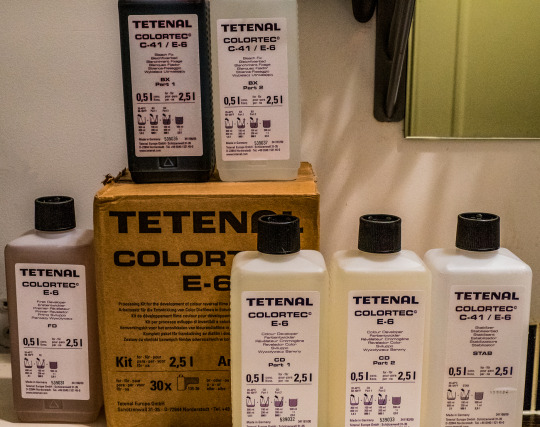
These had to be pre-mixed exactly. I must admit to being a little bemused and amused when reading that even the fumes from the first developer can contaminate the colour developer if allowed to mingle. Maybe I could make little filter masks for the bottles.
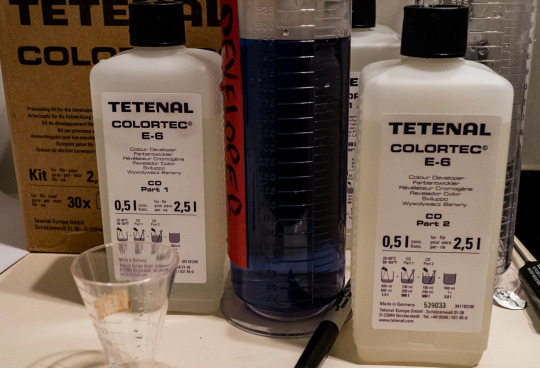
The colour developer - mixed!
Blix mix - it’s blood red, I kid you not.
After pre-mixing the chems, I poured them into bottles and plonked them into the water bath, which was warm and happily agitating away courtesy of the Sous Vide.
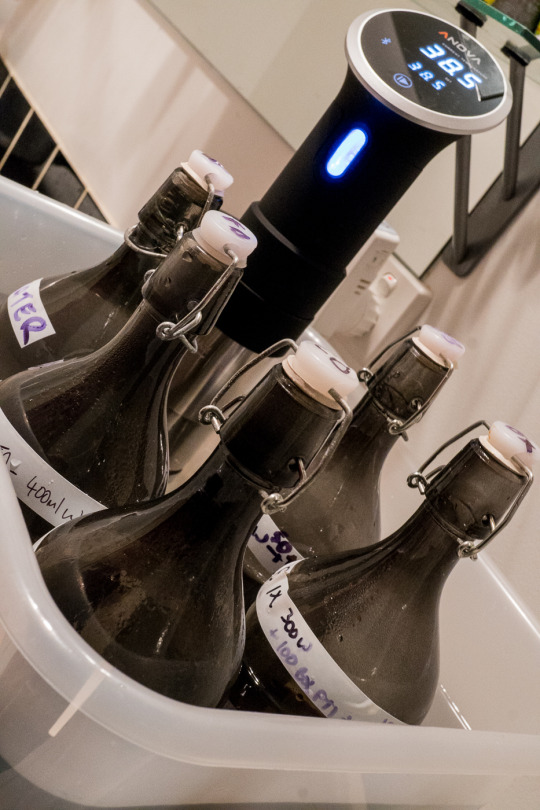
Yes it’s heated the water to 38.5 - a tad extra for heating through the glass. Worked a treat. I pop them out of the tank just before dumping the previous chemicals so they are exactly 38 degrees when I pour them over the film.
Spool up the film and go through the process. I used Digitaltruth's lab timer app to count me through chem changes and agitations.
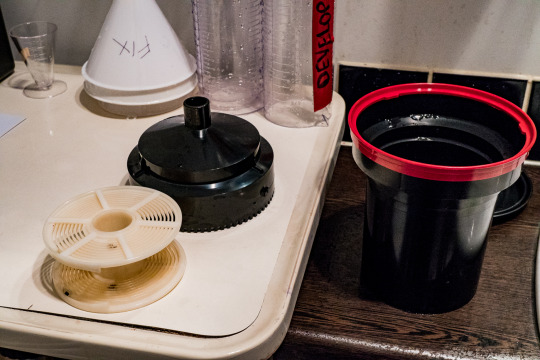
The film spool, the tank all ready to go - not much more to see here - turning off the lights now.
All done and into the final wash. For those who care, this is the actual process - (for those who don't care, just skip ahead to the final results).
Preheat the film in the tank to 38 degrees,by setting it in the water bath for 5 mins.
Add the first developer (FD), agitate for 15 secs, then 2 agitations every 15 seconds for 6.15 mins
Dump the FD and wash with 38 degree water for 2 mins
Dump the water then add the colour developer (CD), agitate for 15 secs, then 2 agitations every 15 seconds for 6 mins.
Dump the CD and wash with 38 degree water for 2 mins
Dump the water then add the bleach-fix (Blix), agitate for 15 secs then 1 agitation every 15 secs for 6 mins
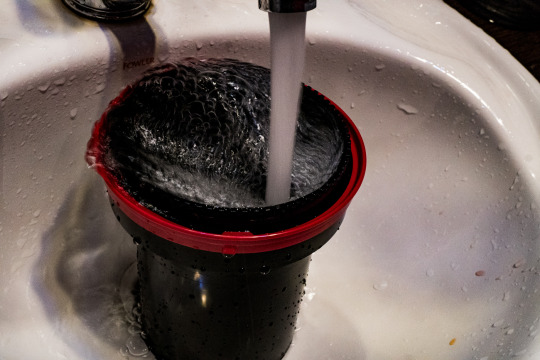
Dump the blix and wash the film (still in the tank) under running water for 10 mins. Try to keep the running water at around 38 degrees.
Add the stabiliser, agitate for 15 secs, dump after 1 min.
That’s it. Done. Just note, when I say dump, I mean pour the chemical back into the bottle it came out of, using a clean funnel, uncontaminated with any other chems.
Everything else is the same as developing other films. Mix the chems according to the instructions. Tap the tank after agitation (to remove air bubbles), Keep equipment clean and uncontaminated. Don’t pour chemicals down the sink. Keep consistent temperatures.
Take out the spool and have a look at the film.
It looks a bit blue right now, but it got better as it dried. Here are some of the photos....
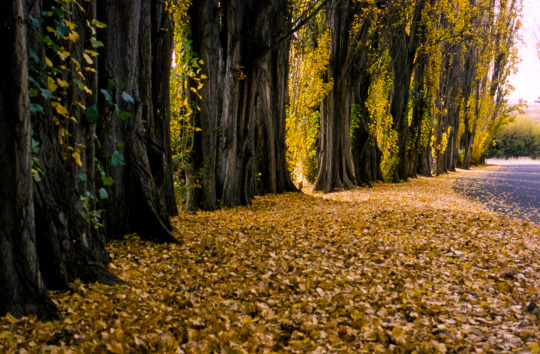
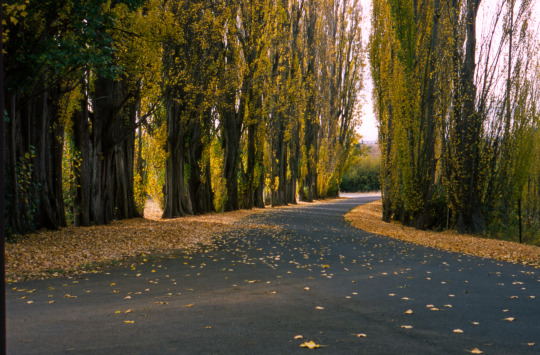
Autumn colour (yes I had the film in the camera for a while)
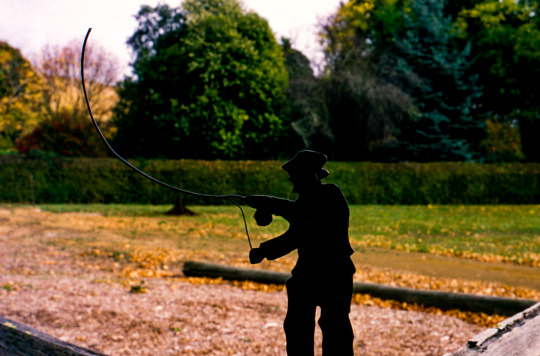
This is a photo I took accidently. I was practicing focus while waiting for lunch ... yep a bit too firm half press on the shutter button. It’s in focus though!
Pub
This one is a bit hazy. From this pic on, things started to go a bit wrong. Slide film is really picky about exposure, while I can be a bit slapdash. Also, the end of the roll had some developing issues, which weren’t apparent on the first photos on the roll. Some research is in order.
Badly over exposed. Lightroom helped a little, but this is a fail. Grainy too.
Badly underexposed with strange streaking. Not a light leak so I think a problem in the developing.
Ok not the most inspiring photos I know, but it was a test roll after all. I’ll def be doing this again.
Stay tuned for a real, honest to goodness slide show, No, not an electronic one, a slideshow with a projector and screen and film in little plastic holders. Yep, just like the ones I had in the 1970′s. It’s gonna be a hoot.
1 note
·
View note
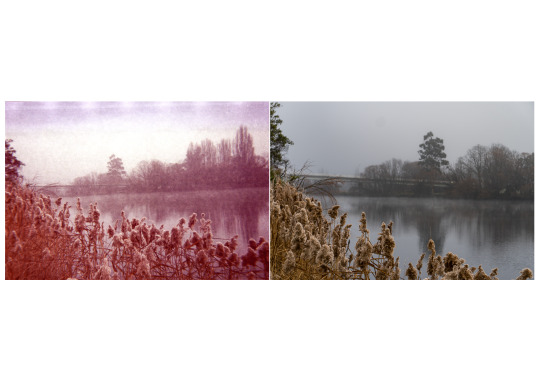
Text
What would happen if......
I used a RED FILTER on a digital camera?
Last week I found this in a junk shop.
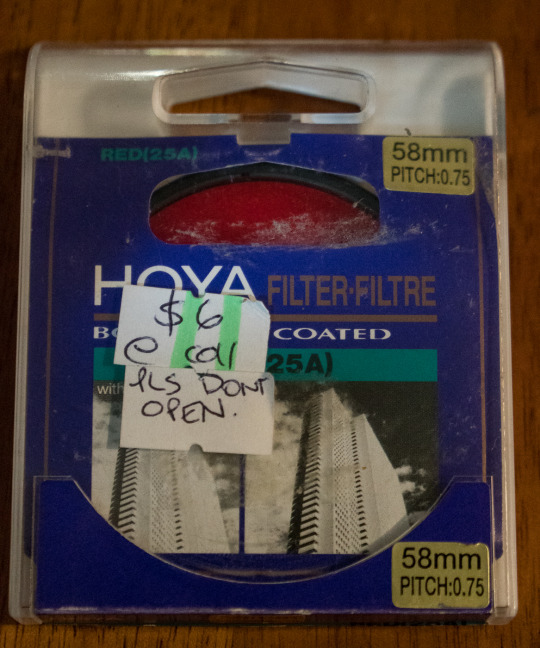
$6 bucks for a decent quality Red 25A filter? Yes please! These things sell for about $45 new.
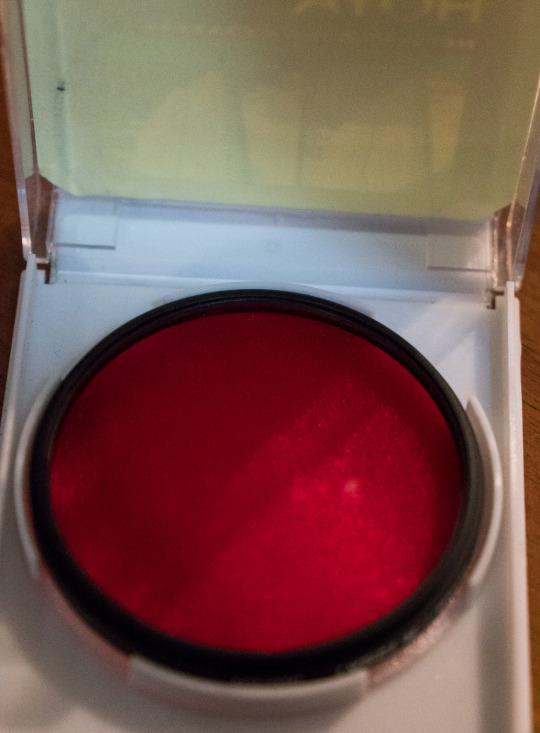
A few tiny scratches, nothing which will show up in a photo. So what would I want a red filter for? Traditionally they are used with black and white film - they make blue skies dark to better to see the clouds and to bring out other details which may be lost in a wash of greys.
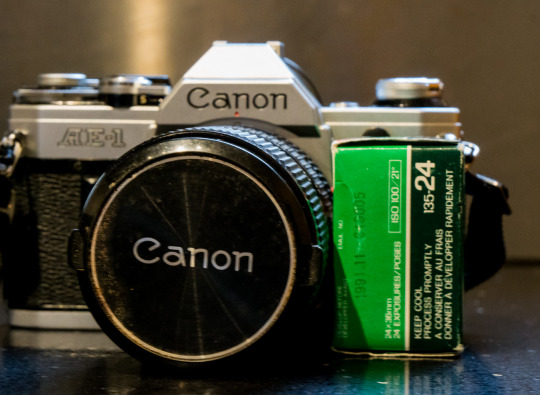
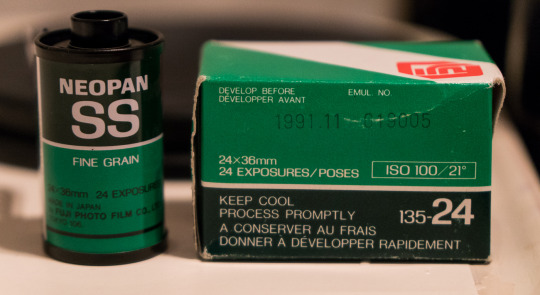
I had an expired black and white film loaded up in a Canon AE-1 (circa 1976). The film was a Fujifilm Neopan SS 100 which expired in 1991.
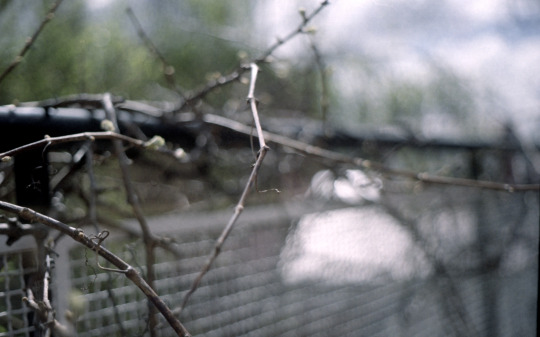
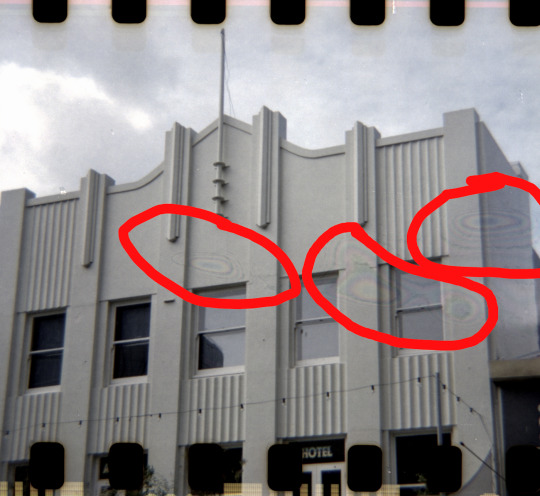
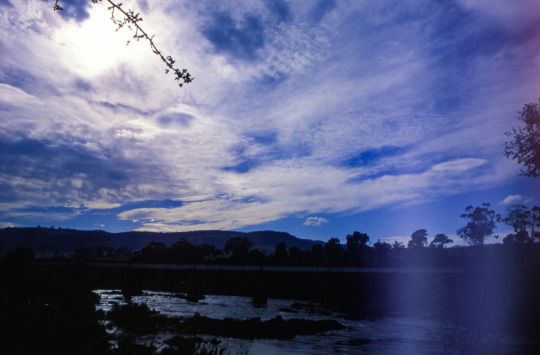
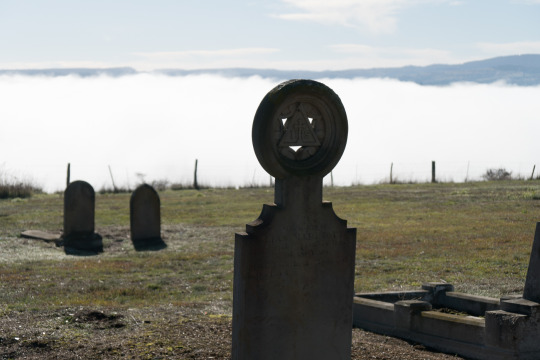
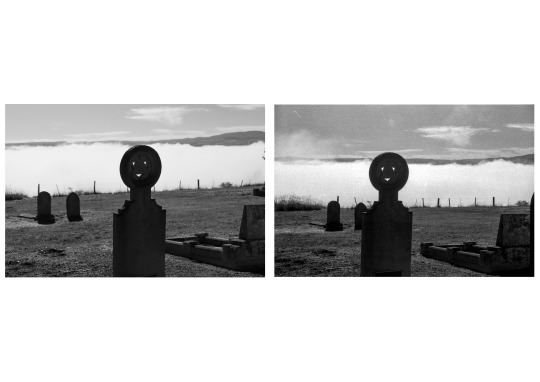
Sunday morning was cold and foggy and I had a hankering to take a classic ‘forest in the mist’ photo, which everyone but me seems to have done already. Getting a tad distracted, we ended up in a cemetery and I had a play with my red filter.
I had my Sony digital with me as well, for use as a (rather expensive) light meter, cause the one in the Canon was a tad unreliable. I composed my shot and took it on the Sony to gather the numbers. I then set my digital to black & white mode, and shot the scene again while holding the filter over the lens.
Holding the red filter over the front of the lens, as it was the wrong size (hey, I’m not that lucky) I took the same shot on film.
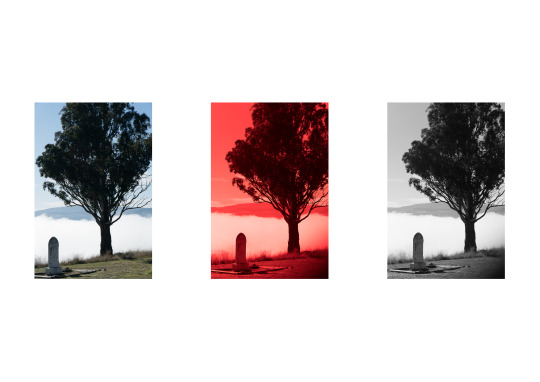
The original colour digital photo

Digital black and white through a red filter.
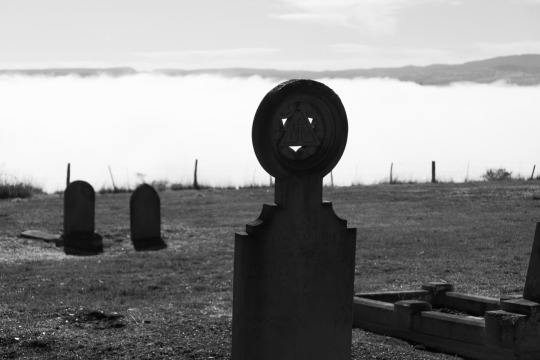
Black & white digital with red filter pre-set.
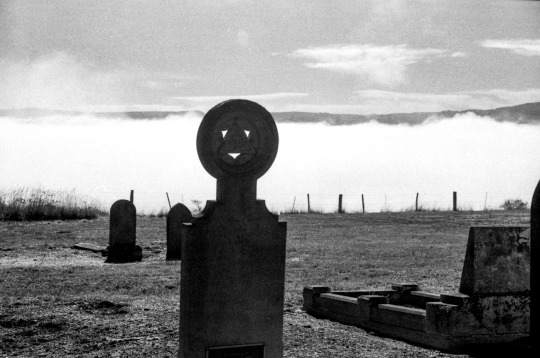
This is the film shot. The sky is not as dark as I expected, but I do have cloud detail, which would have been lost without the red filter.
Here’s a side by side comparison....
The pic on the left is digital with fake filter and film effects. The pic on the right is expired black & white film with a red filter.
Here’s another example....
Digital colour, digital b&w with red filter, digital b&w with fake filter & film effects.
So I’m not setting out to compare, to say that one is better than the other, that wasn’t the intention, I was just playing around and asking ‘what if’....?
So my expired film was a bit grainy, not unexpected but some of the pics were ok.... take a look. For the tech-heads who, for some reason, need to know this stuff.... I shot the film 2 stops down at 25 ASA, then developed in X-tol 1:1 for 8 mins.
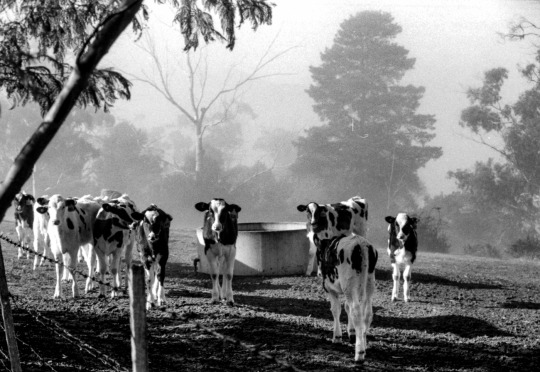
Cows in a muddy field. They were hoping I had food as the paddock was bare.
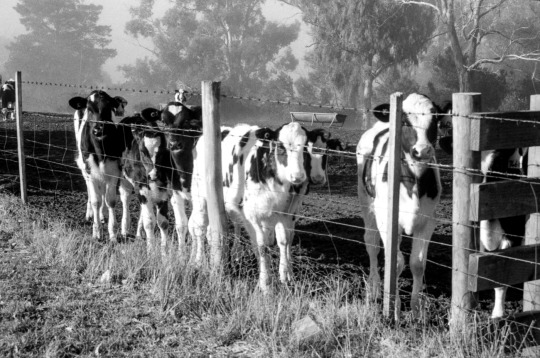
The calves weren’t shy. They ran to the fence, crying for food. Sad.
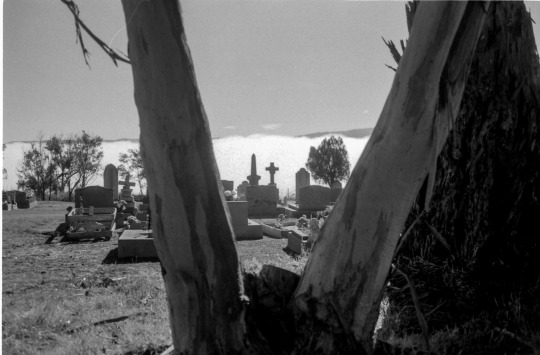
Cemetery in the mist. Artfully shot through a tree.
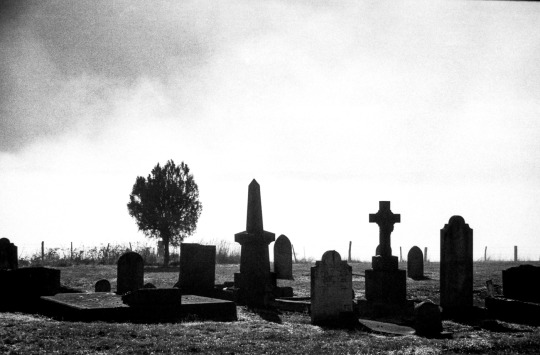
Silhouetted gravestones. Grainy. Let’s call it Art.
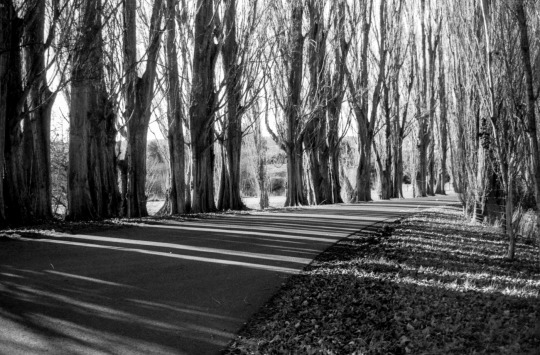
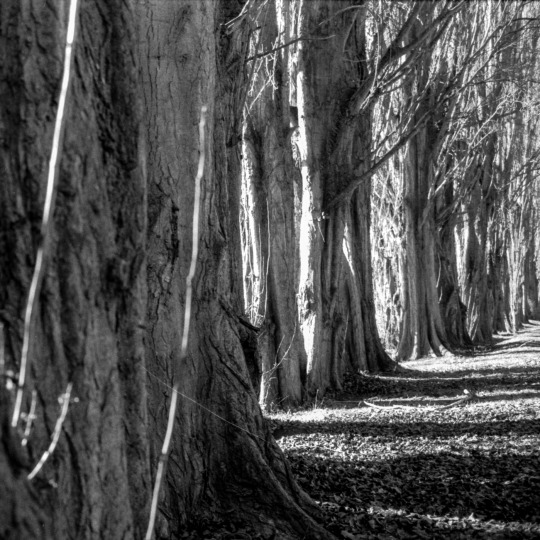
Not a forest, but a driveway. No mist. Shadow will have to do.
Trees.
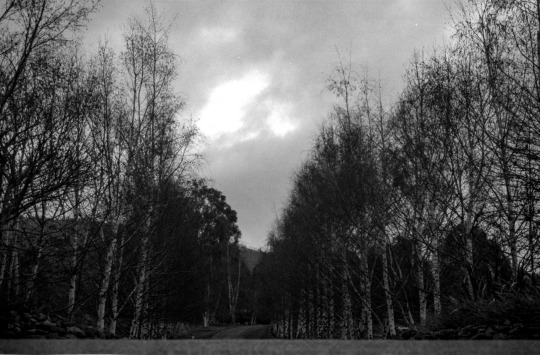
Another driveway. This time with silver birch trees instead of poplars. No filters.
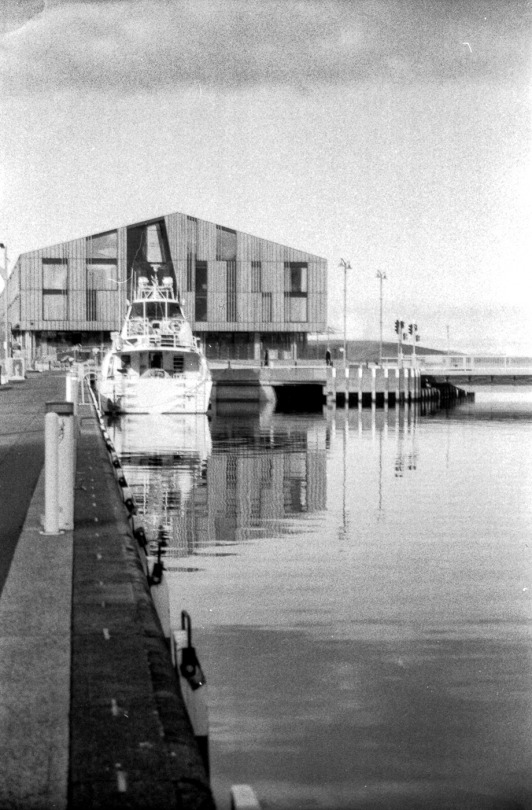
A boat. Out of focus. Art.
2 notes
·
View notes
Text
Nice vs Interesting
Nice is nice but not always interesting. Interesting can be nice, but usually isn’t.
So I took my home made camera out for a walk. It was early, cold and foggy. A hangover Sunday morning, not many people around. I also took two other cameras with me. A digital and a film camera with a good quality lens. To level the playing field just a bit, I loaded the plastic camera with fresh colour film, the Minolta with 25 year old film and the digital with... um fresh pixels. I should end up with a good transition from poor to good to nice.
Sadly, the expired film turned out to be fogged and the very faint images unusable. So, now we jump from cheap, lo-fi plastic to expensive hi end glass, which is pretty unfair really.
The cheap film photos are very interesting while the digital photos are very nice. One might even say one set were very bad and the other very bland. But it’s a subjective thing isn’t it.
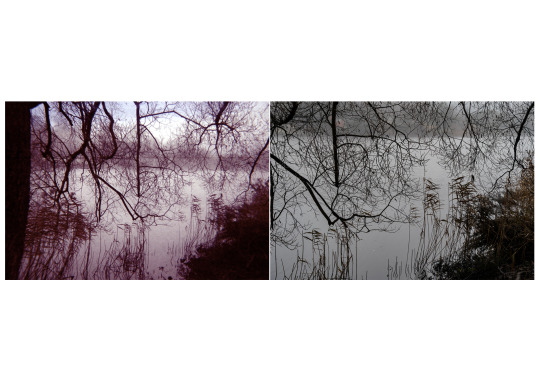
So I set out to photograph my little town, pop. around 5,000. First the main street, then over to the left where there is an abandoned mental asylum and a garden full of abandoned cars. (what do you mean your town doesn't have that)? Then head over to the right where there is a river, and a park and a bridge - all the pretty stuff. Off we go.
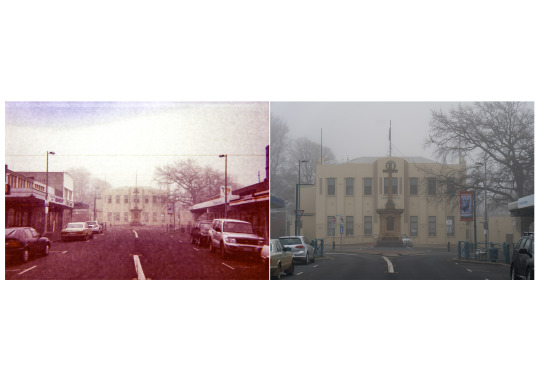
The main street and the town hall. The film started off being really magenta, but got better as the fog lifted.
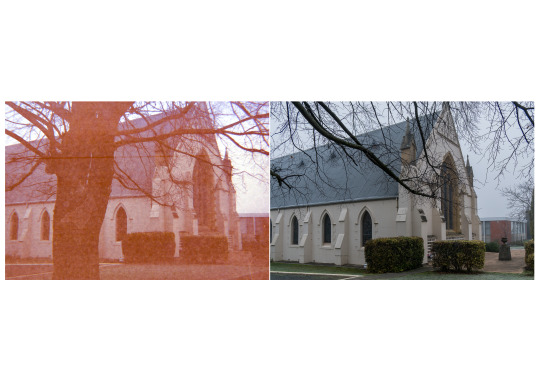
Church - heavily tweeked to remove some of that red cast.
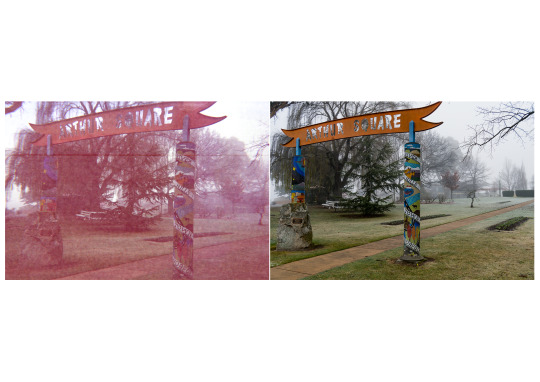
The town square. It’s not looking good for plastic lenses and cheap film is it?
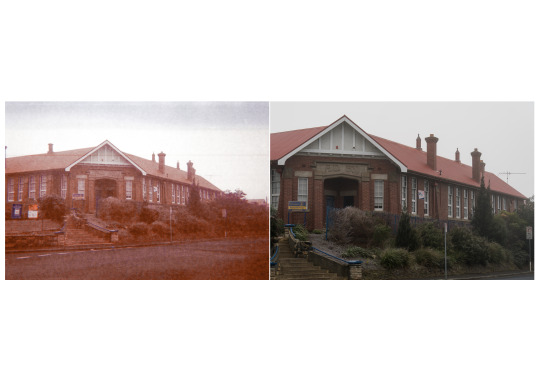
The school. A lot of tweeking here. But so too are the digitals, because you know, RAW.
So town is a bit boring this time of the morning. Heading over to the asylum. Now things start to get interesting. Or bland, depending on which pic you look at.
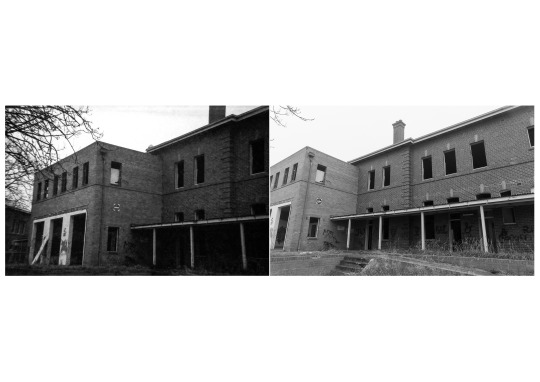
How about if I change both pics to black n white? Now the film gets a bit of an edge - abandoned mental asylums aren’t meant to be ‘nice’.
This one I left totally without any post processing. Straight out of camera, both of them. Oh, except for a bit of cropping on the digital. The plastic lens is 45mm and the digital was set at 50mm, but I forgot I was using a crop sensor. opps.
I’ve only got 24 shots so across the road I go to the abandoned cars and things. There was some shutter trouble, sometimes it would not ‘click’, so I thought I’d had a misfire and took the pic again. I ended up with a few doubles of some scenes and sometimes it actually did misfire and didn’t take the photo at all. Hit and miss and impossible to tell.
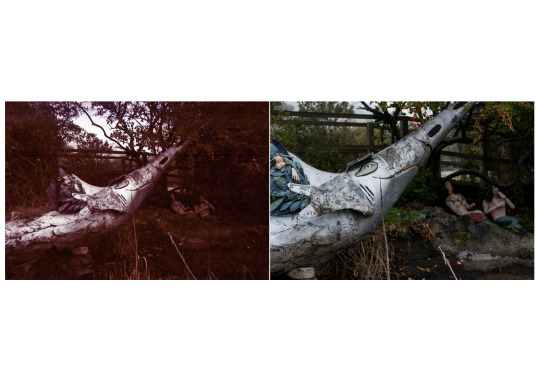
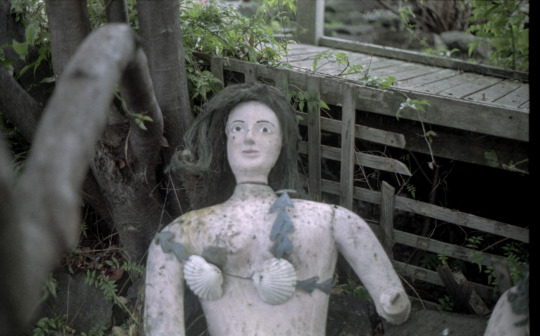
A giant metal fish and some mermaids. As you do. Time to leave this strange place and head for the pretty side of town.
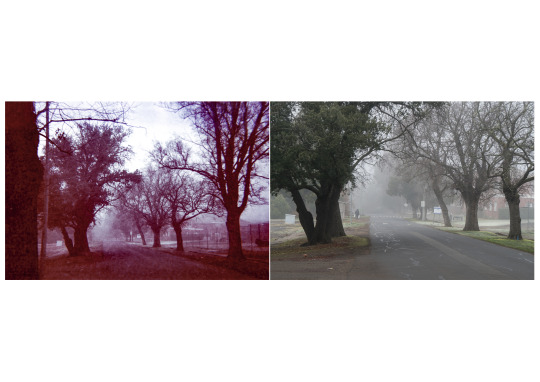
The river with the bridge in the mist. Romantic in red.
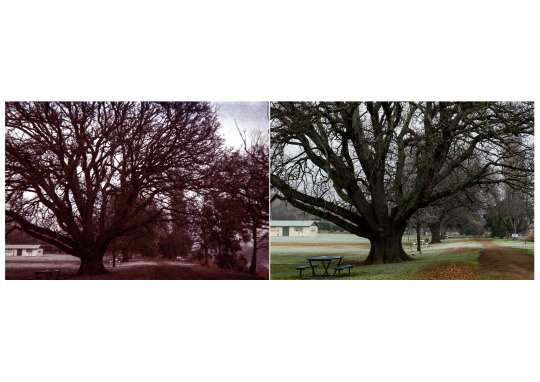
Picnic grounds. I know which photo I prefer, and it isn’t the bland one.
Another view of the river. Pretty.
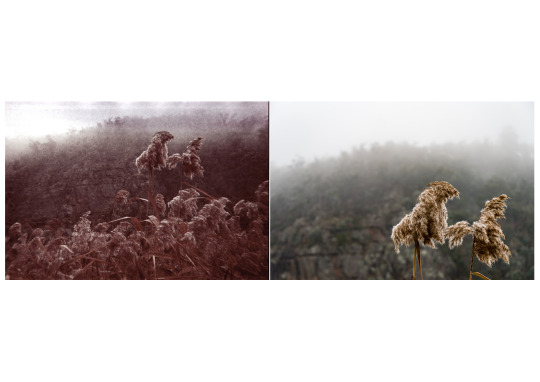
Rushes and reeds
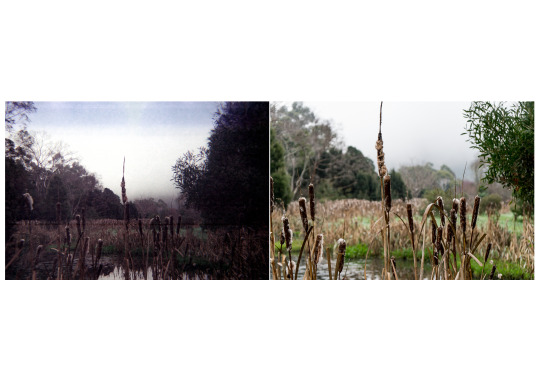
Reeds and rushes and a duck pond. Sadly the pics of the ducks were a shutter misfire. I got nothing!
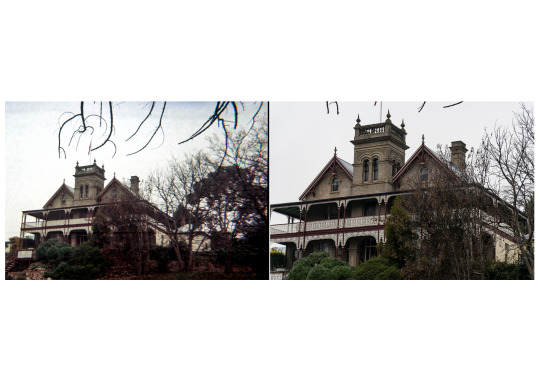
Local creepy house, which doesn’t look at all creepy, even in the mist. As the fog lifted, the colour in the film got much less red. Sadly by this time I was almost out of film.

A person pic. Pics of a person, processed black and white. Film on the left. I added grain to the digital pic but it doesn’t look anything like real film. And there’s that crop factor again.
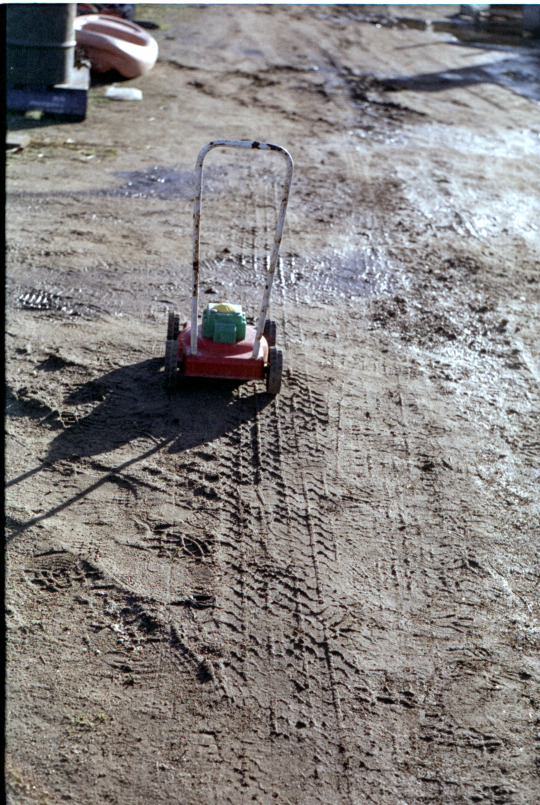
So there you go. My cheezy home built camera actually works, even if the results are very ‘interesting’.
2 notes
·
View notes
Text
Getting it together.
or how to build a tiny plastic camera when your fingers are fat.
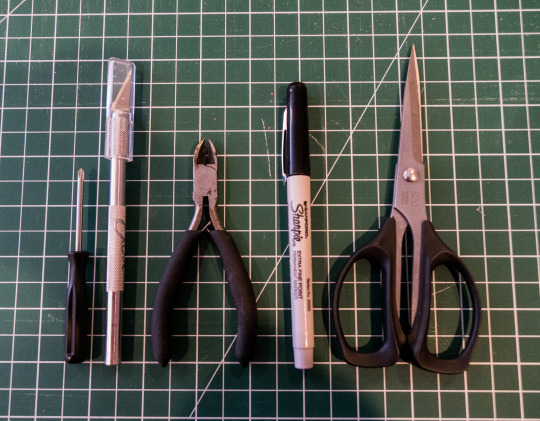
Tools at the ready......
The viewfinder......
ridiculously small bits......
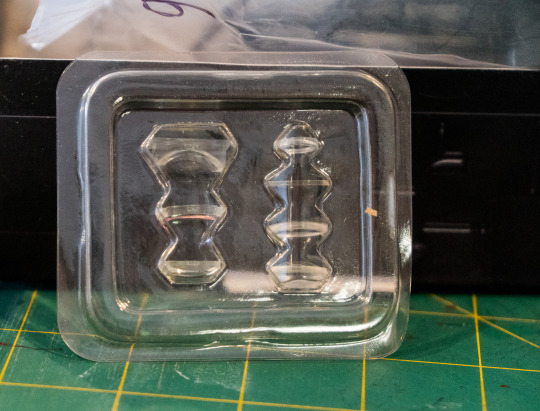
the high quality plastic lenses......

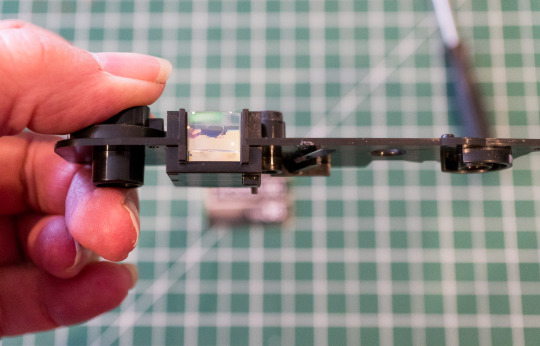
The all important lens assembly......
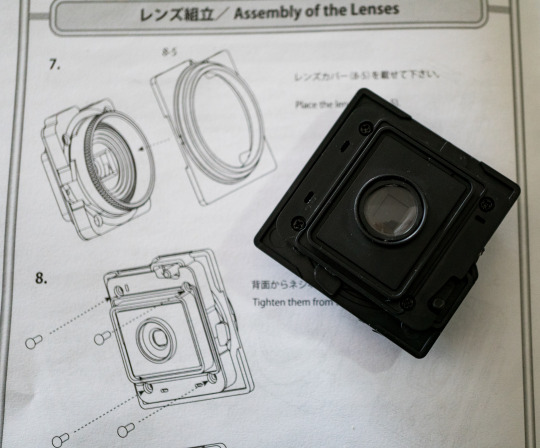
Another picture of the lens, cause it was really hard to assemble......
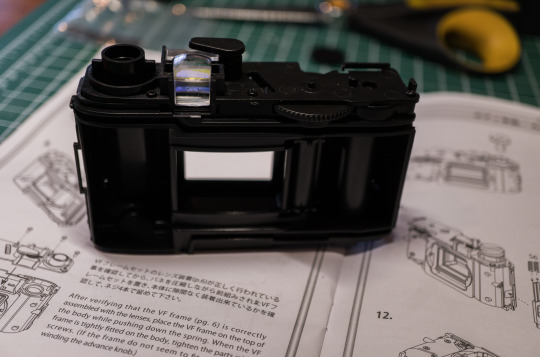
Almost there......
Fiddly bits......
Tiny numbers - cute......

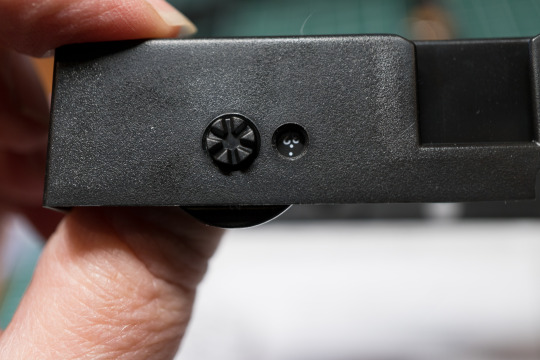
A tripod mount. They’ve thought of everything......
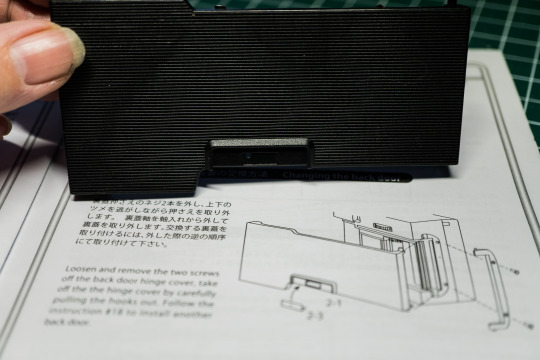
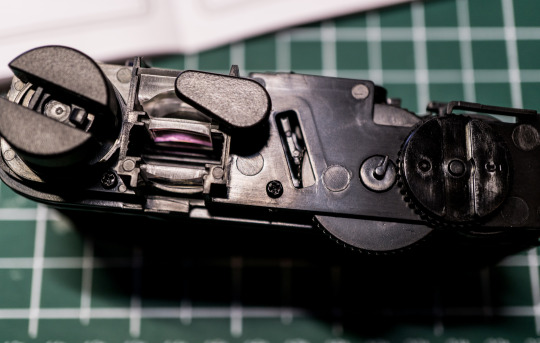
2 Back doors. One has a deliberate hole for light leaks. I chose the other one, because I can pretty much guarantee light leaks anyway.
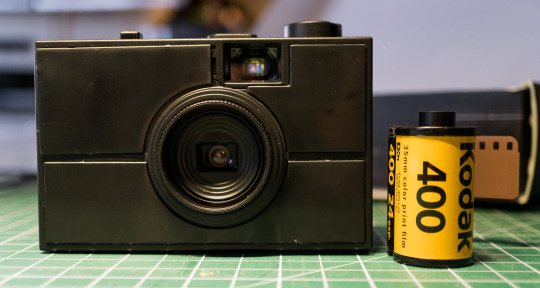
And done. It took 3 days. I have a cheap roll of colour film ready to go. It’s not pretty is it.
But Wait! The shutter has a problem. Calling in the emergency services who diagnosed incorrect spring selection. Bummer.
Fin and working. Tomorrow I’m taking it for a walk in my little town and documenting all its attractions. Should be exciting.

1 note
·
View note
Text
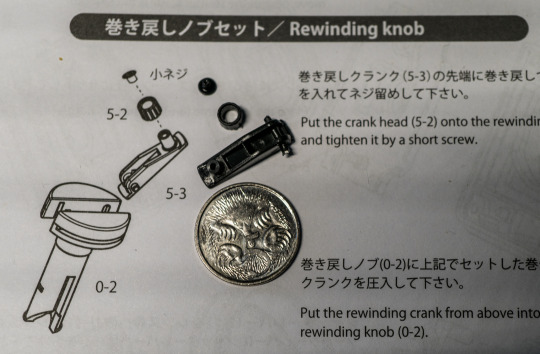
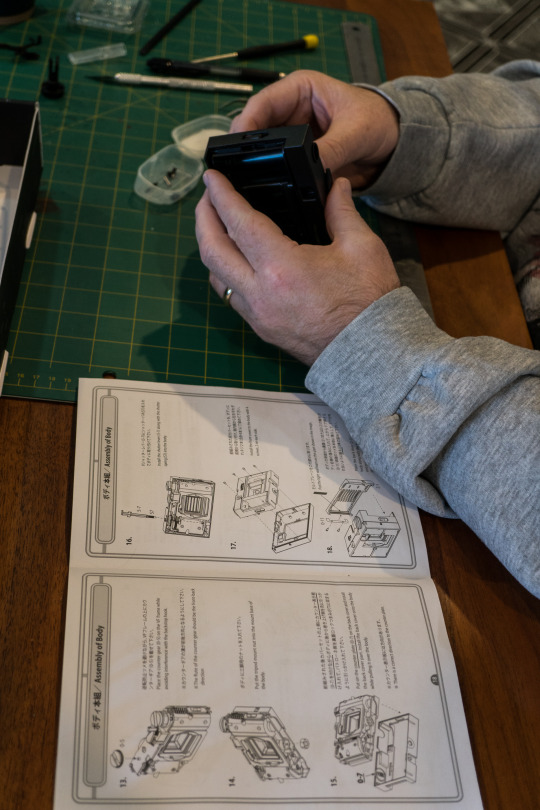
BUILD IT UP BUTTERCUP
I’m going to build my own camera.
No, it’s not a pinhole. If I wanted a pinhole, I’d use one of these..........
Actually I have one of these, I just haven’t used it yet. It’s a bodycap with a pinhole in it.
I’m going to build a real camera. Last Christmas I was gifted with this.....
It’s a build your own camera kit. It’s been sitting lonely for 6 months. It’s time.
Here are the instructions......wish me luck.
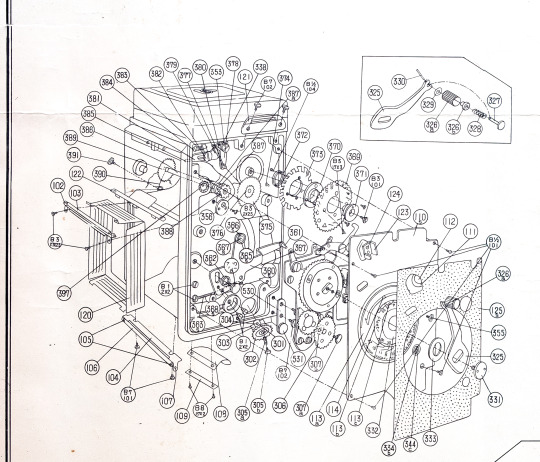
Kidding
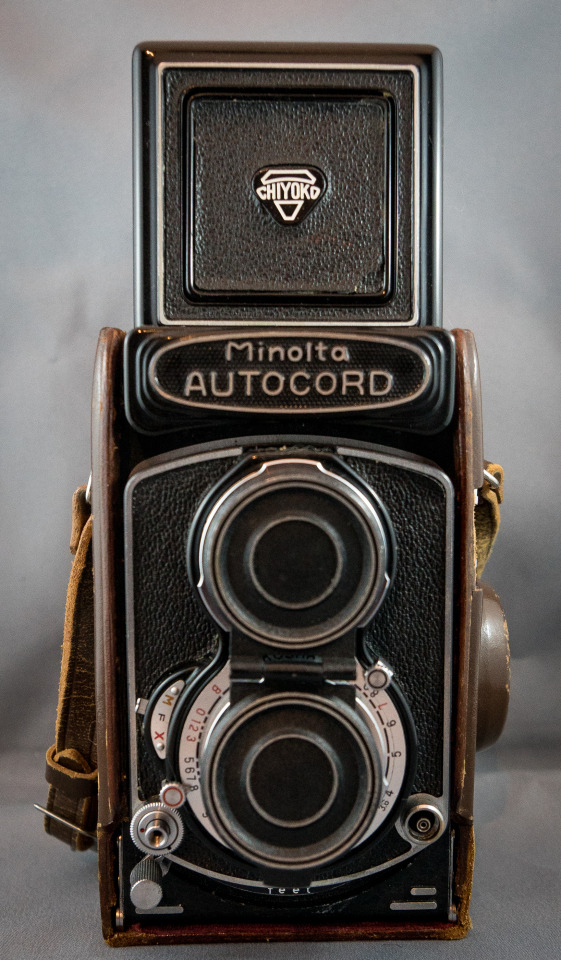
That is part of a schematic for an Autocord. Here is a gratuitous pic of my beloved Minolta Autocord. Which is still broken.
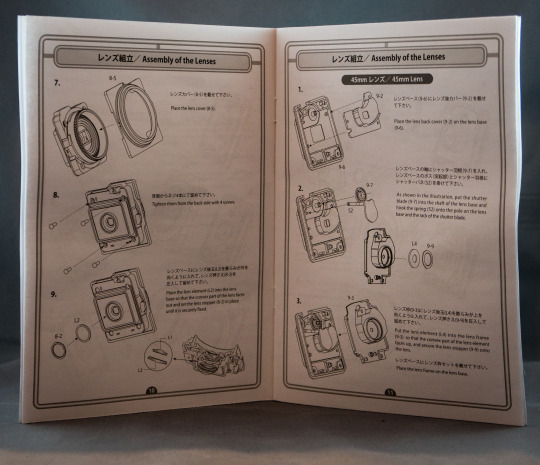
Here are the real instructions...for the lens assembly. Plastic lenses. Very high quality. :)
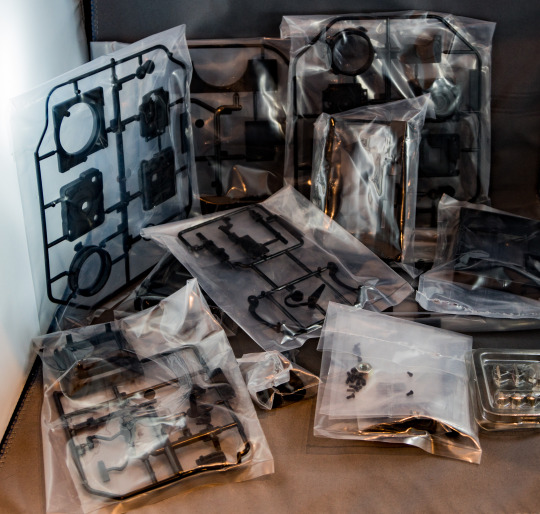
Here’s the bits.
I’m scared.
But in case of emergency, I have help on standby.
Watch this space.
1 note
·
View note
Text
Coffee anyone?
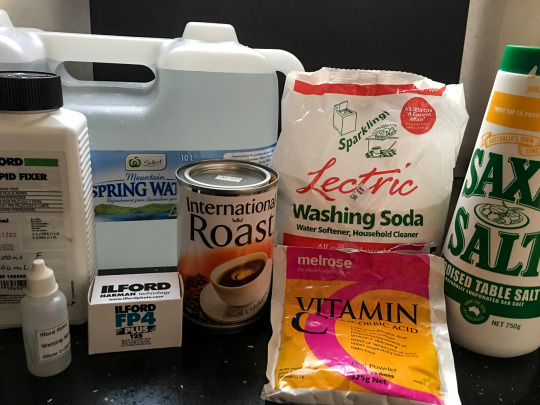
DEVELOPING FILM IN COFFEE AND VITAMINS - YES REALLY!
I had to have a go at the caffenol thing, everybody’s doing it - or so I thought. Yes I read the necessaries and bought the stuff and mixed it all together. And there is it.......
A perfectly ordinary black and white film developed in perfectly ordinary kitchen ingredients (although you do also need the fixer which is not a common kitchen ingredient). Or use vinegar if you must. I didn’t, I used proper photo fixer.
So anyway I posted this pic online and had a lot of interest, surprising really because I thought I’d be the last one to try this in the film/home processing world. Not so.
I got asked for my ingredients list and process....so here it is.
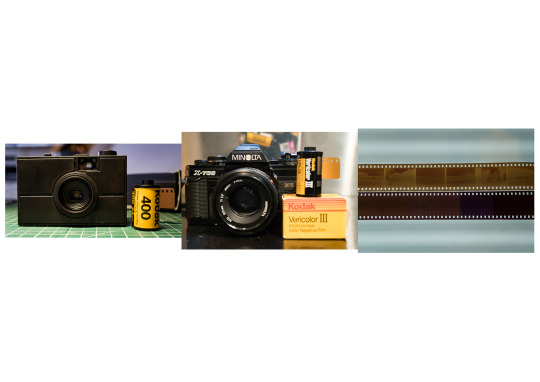
First you need an exposed film. Teacher and I went out snapping stuff - I had a colour film in a $5 Olympus XA2 I found in a junk shop, testing it out to see if it worked ok.
He had a Minolta x-700 with a b&w roll of Ilford FP4 plus 125. A nice film, not a cheapy. So apart from a couple of frames, I didn’t take the photos I just asked him to snap off a roll so I could develop them later in the coffee soup. Here’s how it went after he gave me the exposed film ..........
Spool the film in the dark and pop it into a developing tank.
Developer Ingredients
I chose this recipe by Marina Woll. from The Caffenol Cookbook Bible, It’s a good choice for processing slow films, 100 iso or lower.
5 gms = 1 American teaspoon.
500 mils of water. I used spring water but you can use tap water if you know what’s in it or don’t care. This should be at 20 degrees C
20gms Washing Soda or Soda Ash (cheap at the grocer, expensive at the art supplier).
7.5 gms Vitamin C powder (ascorbic acid) You can get this at Chemist Warehouse or a health food shop.
2.5 gms iodized salt (optional but a good idea if you don't want fogged film)
25 gms of coffee - granules or powder and the cheapest, nastiest coffee you can find. Decaf doesn't work btw.
Mix everything up in that order, mix well and let it sit for 5 mins or until the froth/bubbles disappear. I suggest dissolving the coffee in hot water first, then letting it cool before adding it to the mix. I didn’t do that and got spots and smears on my negs.
While waiting, pre-soak the film in 20 degree C water for 5 mins.
When ready, pour out the pre-soak water and add your coffee developer mix.
Agitate for 30 secs, then do a couple of inversions every 30 secs for 11 mins.
Pour out the developer (into the sink is fine). I chose to do a water stop for about 1 min before pouring that out and adding the fix. I used Ilford Rapid fix for 5 mins, poured it out (saved for re-use) then washed the film for 10 mins. I added a drop of Ilford wetting agent and swished for about 30 secs. Done.
So here are some of the pics. Scanned into Lightroom and tightened up slightly but pretty much as they came out of camera.
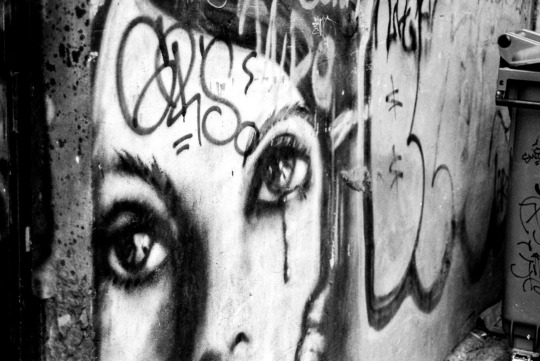
.
So I’m pretty dam happy with these. The tones are great, there is grain but I like the grain for these urban shots.

This one is straight out of camera and you can see the dark blobs. These, I suspect are lumps of undissolved coffee. Shame but a lesson learned.
2 notes
·
View notes
Text
Photograms. What the f&^% is a Photogram?
Having been given a heap of darkroom gear, and setting it all up, I haven’t really used it. Oh I’ve been developing films, but printing? Nah. Apart from playing around with some contact sheets, I decided to wait until I start my Photography module at Uni, cause I really have no idea what I’m doing.
It’s kinda a shame though. All that lovely gear and chems just sitting there. Waiting.
Photograms. Those are photos made without a camera. Or a film. They are simply made with photo paper. No, not the inkjet printing on kind of paper, I’m talking about the light sensitive, silver halide coated paper. Old school.
I put a mangy looking goose feather down onto my light-sensitive Ilford photo paper (in the dark of course) then switched on the enlarger light for 5 seconds. Excitement!
Nothing happened. No no no. The photo paper has to be developed, the same way a photo print is made - the whole developer, stop bath, fixer, wash thing.
Ok cool. I went through the steps and voila! A photogram of a grungy feather. An under-developed photogram of a grungy goose feather, but an image, right there on the magic silver coated paper.
Despite the not quite right beginnings, I was delighted with my no camera, no film photo.
Calling on reinforcements in the shape of a husband who knows more about this stuff than I do, we played.
I am now a printmaker of goose feathers. And the odd duck feather. Oh and a dandelion.
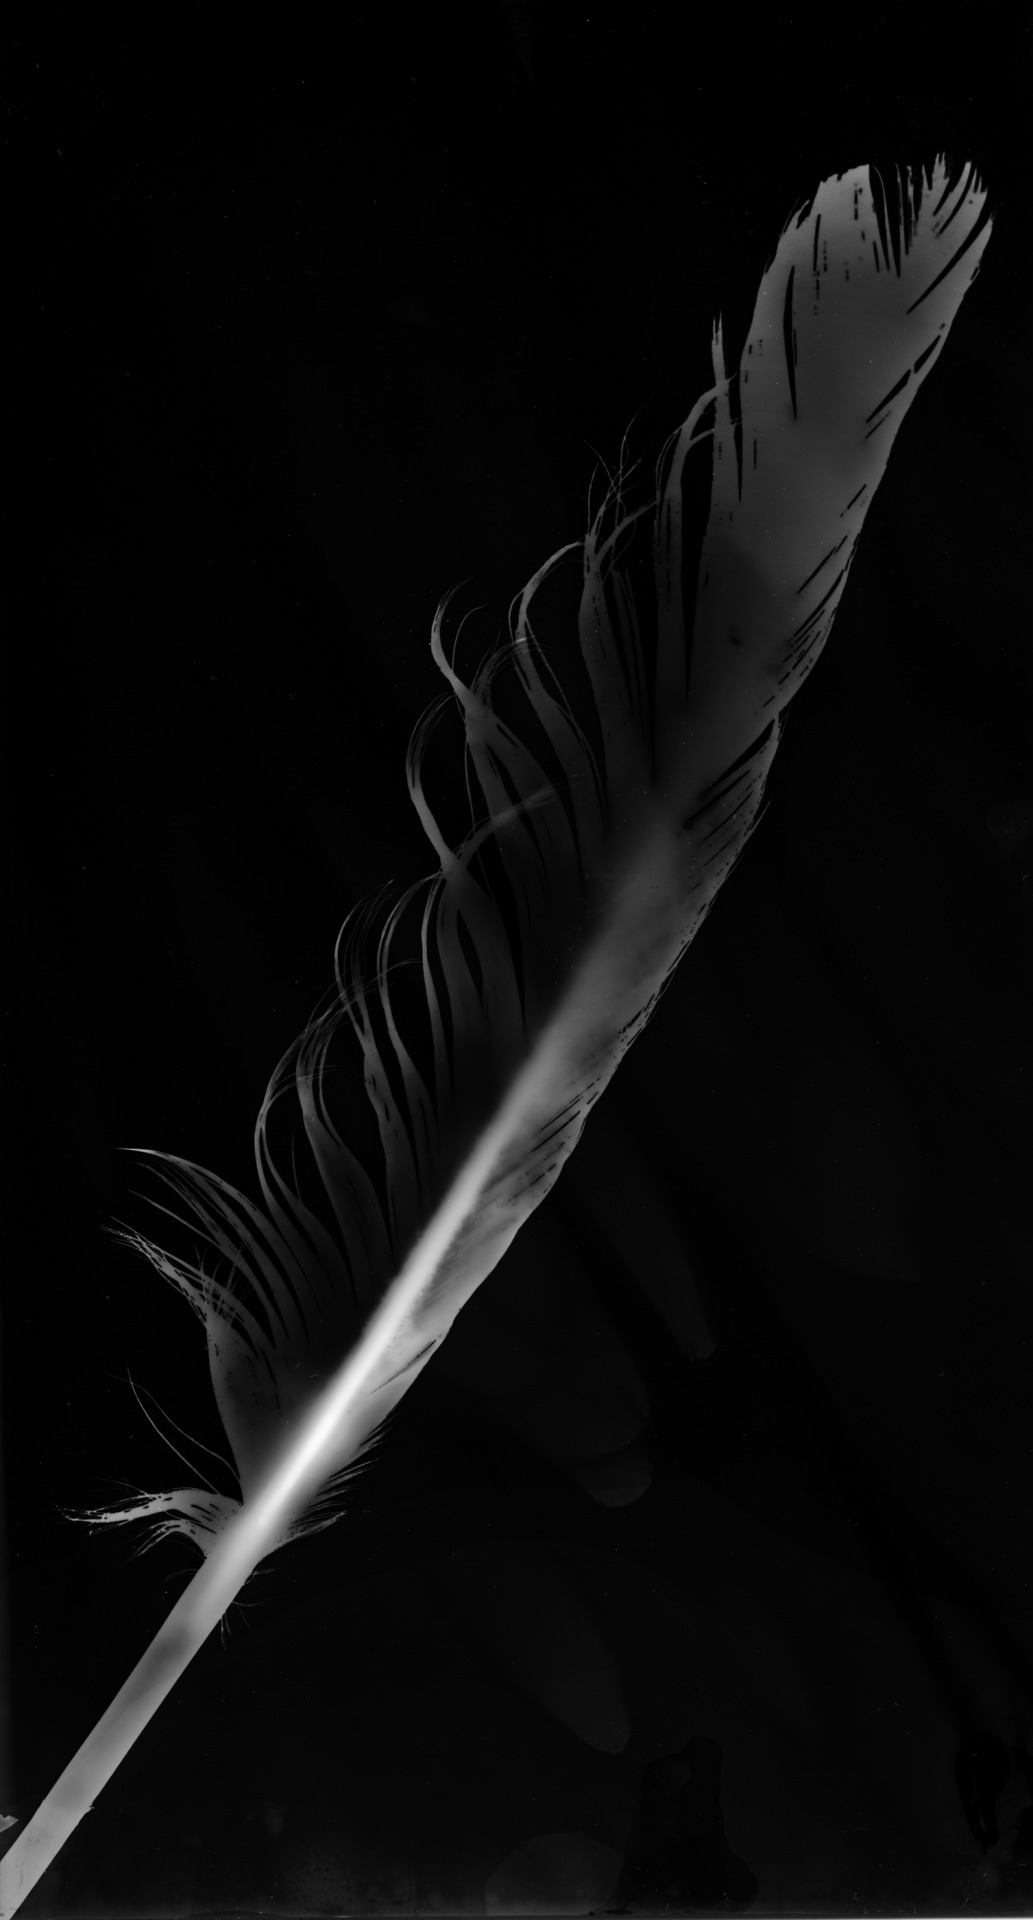
Underdeveloped - but those grey streaks are kind of nice really. Arty.
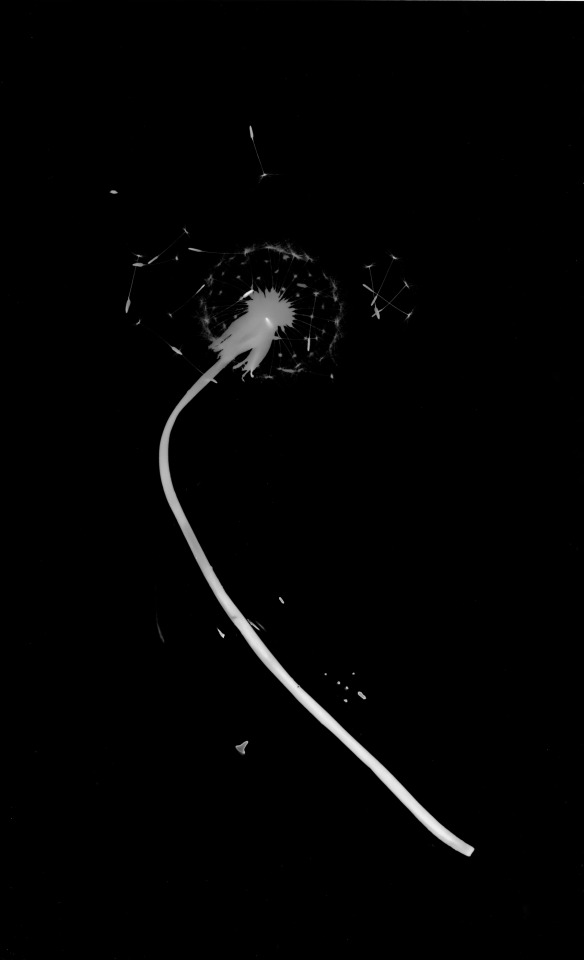
Interloping dandelion. I tried some other objects too, but I prefer the results of translucent things.
HAPPY ACCIDENTS
It’s tricky to tell right sides from wrong sides in the dark you know.
So what happens if you lay the goose feather on the wrong side of the paper and make your exposure? What happens is you flip the paper over, lay down your feather and turn on the light again. Because the feather is translucent, it makes a kind of double exposure. The results were quite beautiful.
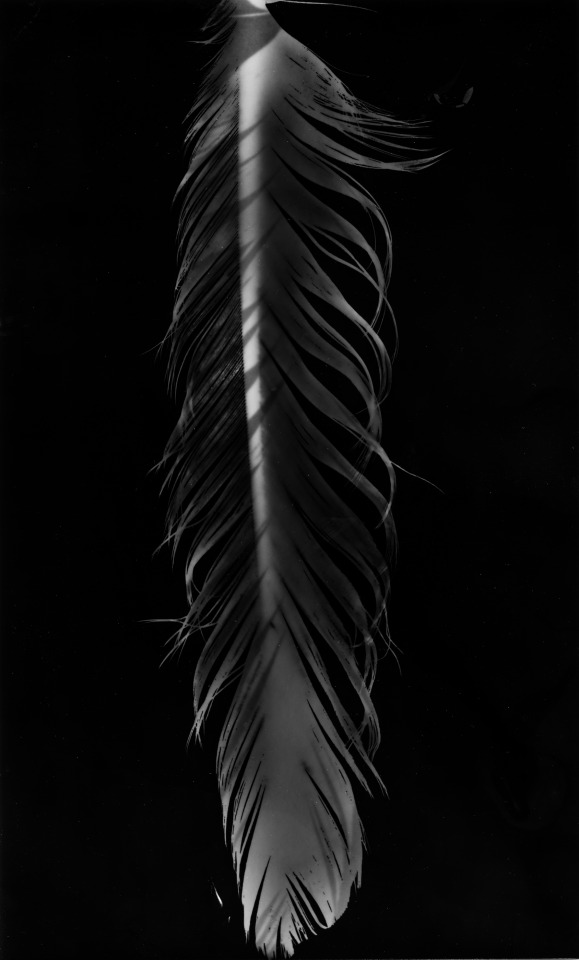
See those stipes down the spine there? Double exposure from the wrong side of the paper. Gorgeous. So I made some more. Deliberately.
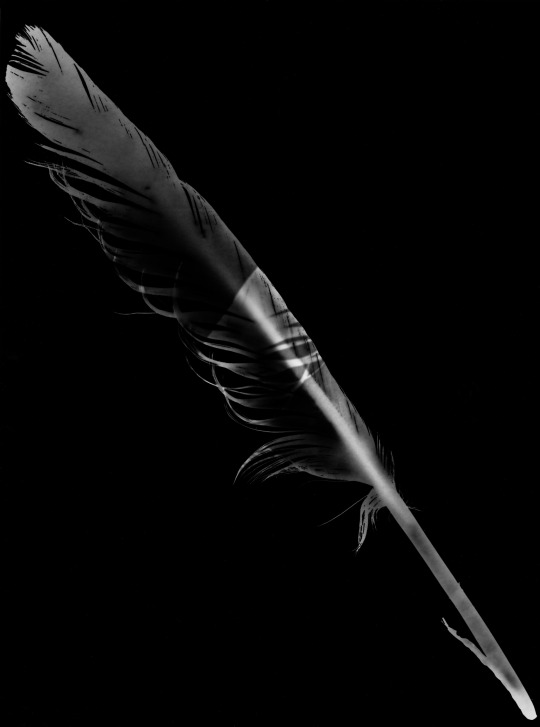
Stir in some duck feathers..........
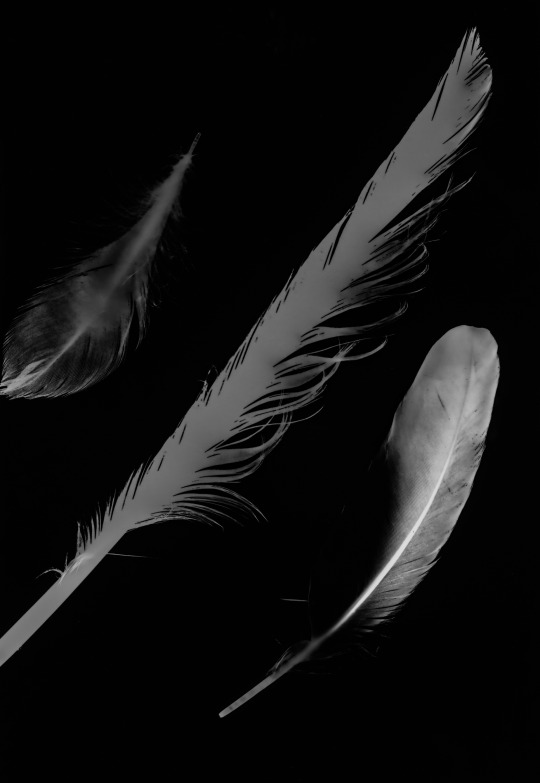

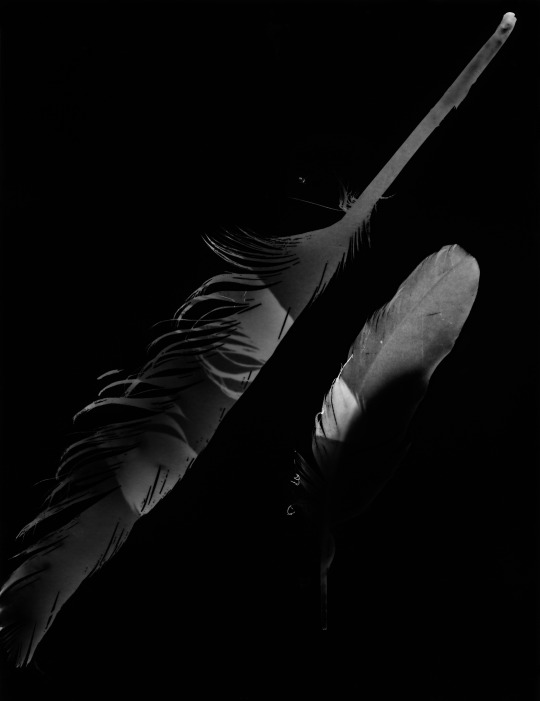
I love these. Yes I’m going to make more of them. Yesterday I found a black feather. I wonder.............?
0 notes
Text
Vintage Camera. Expired Film. Cross Processing. What language is this?
I’m learning to speak analogue. Last week I was given 30 rolls of 10 year old colour film.
Ditch it they said. It’s no good. Colour film doesn’t last that long if it hasn’t been frozen. The colours will be off. The grain will be high. The film is unusable. This film wasn’t frozen for 10 years or even refrigerated, It was stored in a box. In a shed. So the outlook wasn’t great.
Not everyone was so negative though (see what I did there)? Give it a go, they said. Shoot a roll and take a look. Become a Lomographer!
I’ve been wanting to practice on the newly arrived Minolta XD-11. This camera was destined to become my goto vintage, my manual everything camera. This was the camera that was going to make me into a real photographer! If only I could focus the thing.
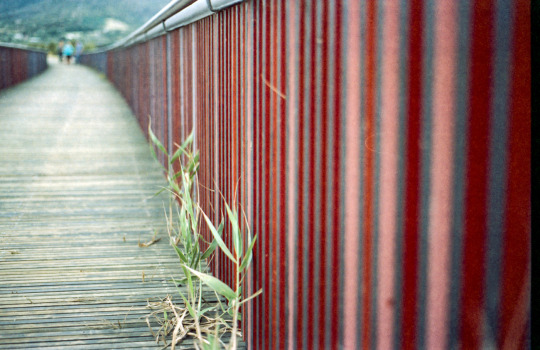
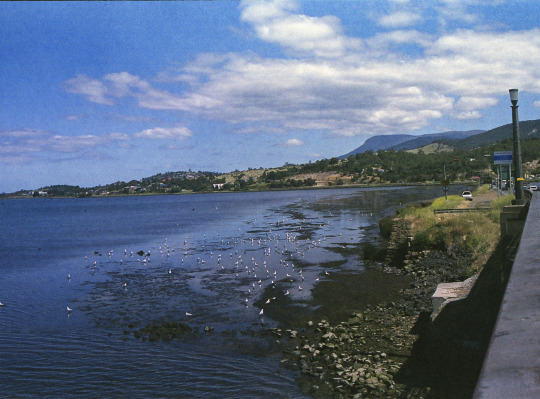
Off we went. I wandered down to the DEC (Tasmanians will know where this is, everyone else shouldn’t care) and set off down the walking path along the waters edge. There is stuff here, random stuff and random people, enough stuff to shoot a 36 roll of film I reckon.
I developed the roll as soon as I got home and it was scanned by evening. Is my anxiety showing?
Here are some of the results. Not too shabby! The colours are subdued, but it is a specialist portrait film, so no surprises there. The grain is a tad ..um..grainy.
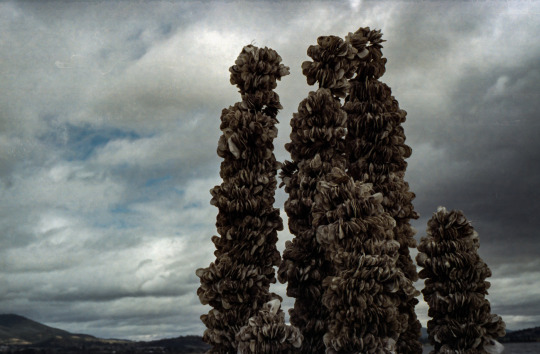
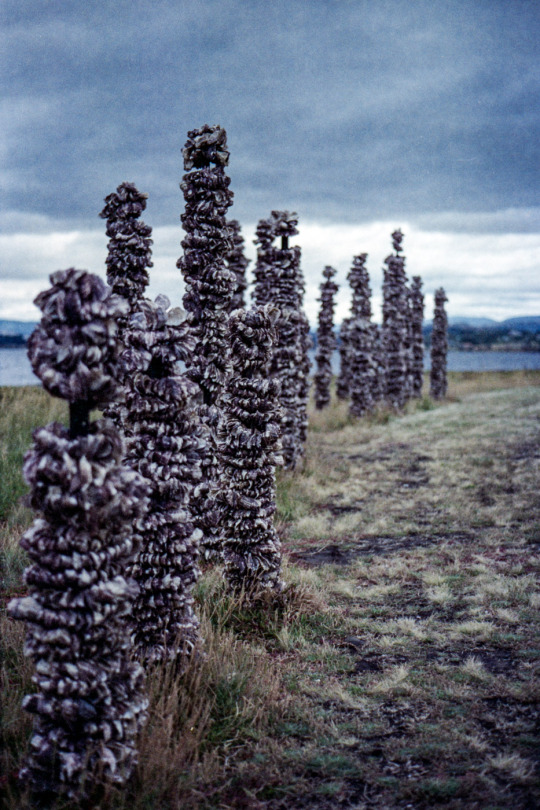
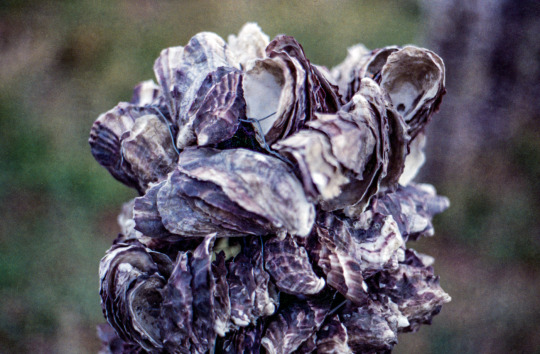
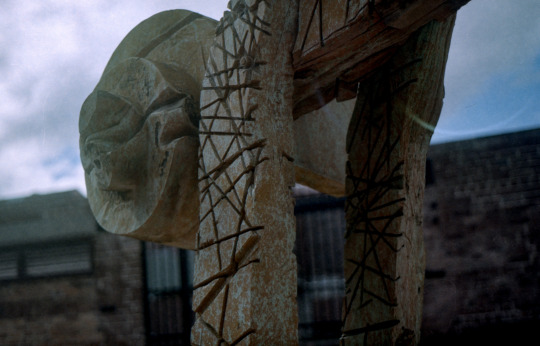
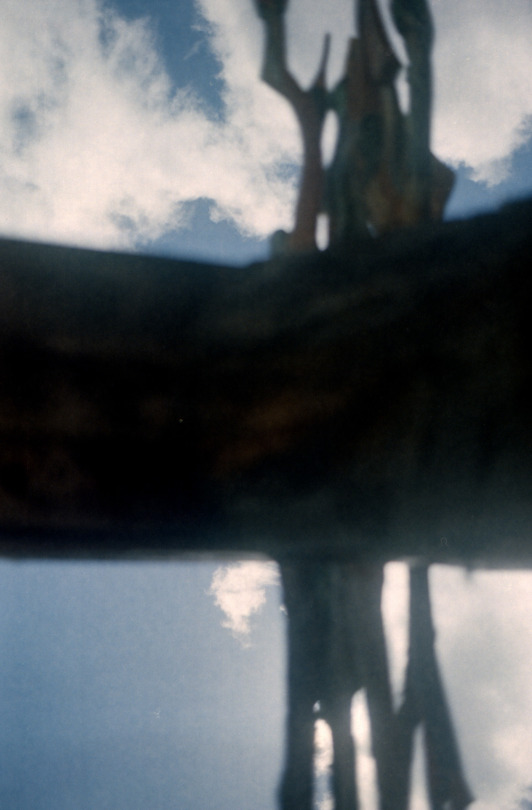
These are strange ‘sculptures’ made of shells stuck on posts. I like them!

Random child - lovely boy I named Grumpy Face

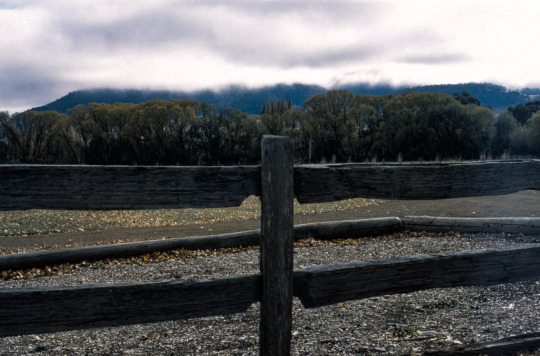
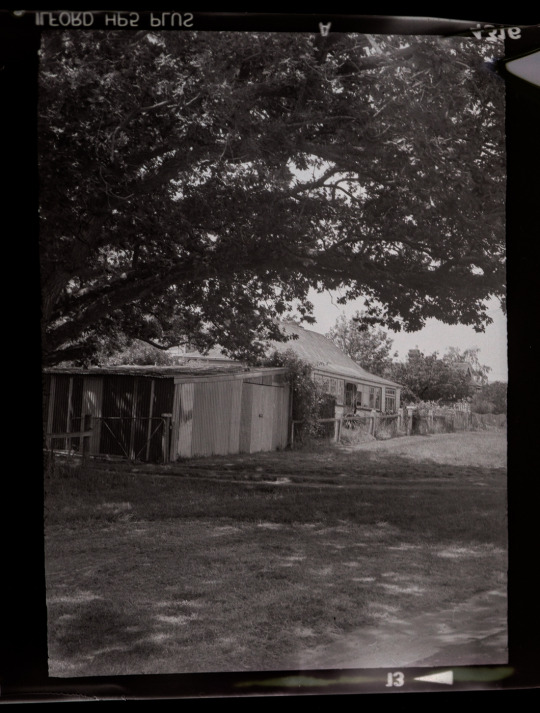
A fence.
A stick.
So not too bad and quite usable for those of us who like the look of film and don’t need super processed super perfect photographs.
Then I converted one of the photos into a black and white. Voila!
Now this has potential. Do you know how much a roll of T-Max costs? $12.95 Ilford FP4 - $15 Fuji Acros - $16. Hey I’m loving this free film!
My next roll is destined to be cross-processed in Rodinal - and if you know what that means you are as sad as I am :)
And the focusing issue? Hmmmm still working on that........
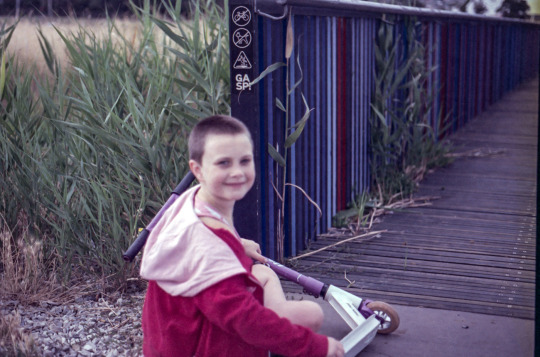
Grumpy faced boy’s smiley sister (I mean fuzzy sister).
1 note
·
View note
Text
Some Christmas Gifts are Just ... Special
Remember back to my first post.. http://the-time-trapper.tumblr.com/post/152832317391/beginnings
Now 56 years after coveting my older sister’s camera, finally it’s mine.
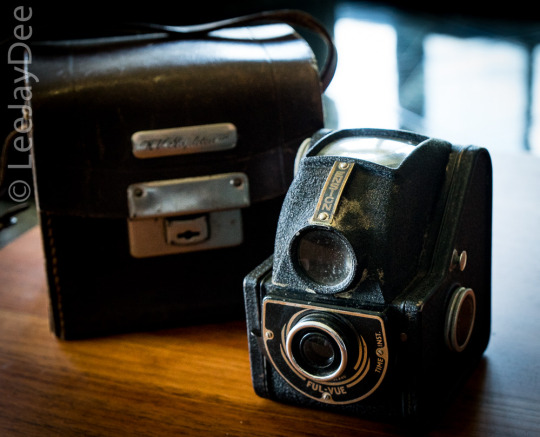
It’s an Ensign Ful-Vue from around 1950. It needs some work but fingers crossed I’ll be running some film through her later this week.
Gestures, big or small can mean so much. Thank you Kaye.
0 notes
Text
Things are Developing......
After a shaky start, my black & white processing is improving, but there’s still a lot to learn and a long way to go.
So why then, am I so keen to move onto colour processing? Just because.
Apparently it’s tricky to do and most people don’t bother. I had a go anyway.
I was given a roll of film which I was told “could be a bit old” and “probably expired”. No worries I thought...it's something to practice with.
I processed the film this afternoon and I’m thrilled. They are not great but not terrible either. Especially considering the film expired in 1992!!!
Can’t wait to head out with fresh film and have another go. :)
1 note
·
View note
Photo
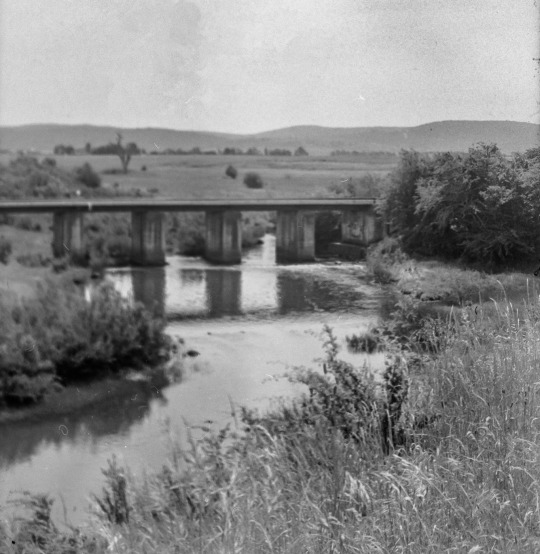
Photo 1 - the negative from my home processed film
Photo 2 -inverted in Photoshop - its rather overexposed!
Photo 3 - basic pp in Lightroom - exposure, clarity, contrast.
Photo 4 - more excessive pp in Silver Efex Pro 2
These pics are all from the 60 year old Ensign medium format. They are not high quality pictures :)
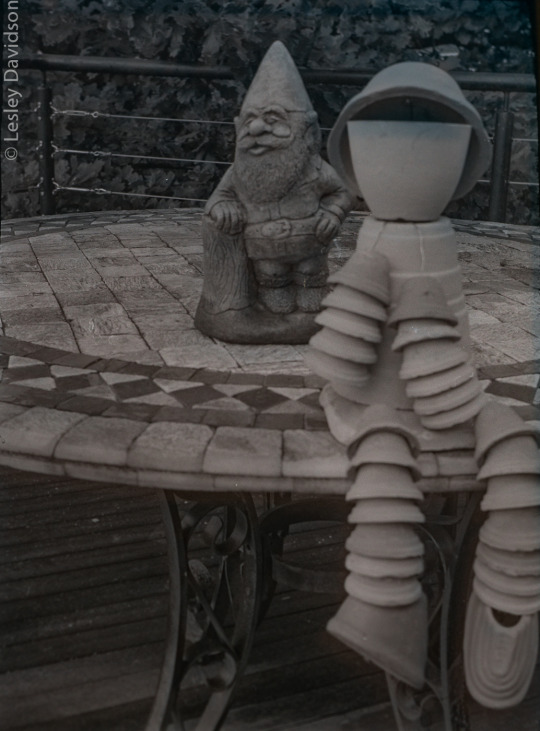
My 2nd foray into home developing had interesting results. Some of the developer failed to reach all of the film, causing large pink splotches.
The pictures are strangely composed and focused, but this is a camera issue not a development one.
I had a variety of colours within the same roll. B&W, beige and pink.
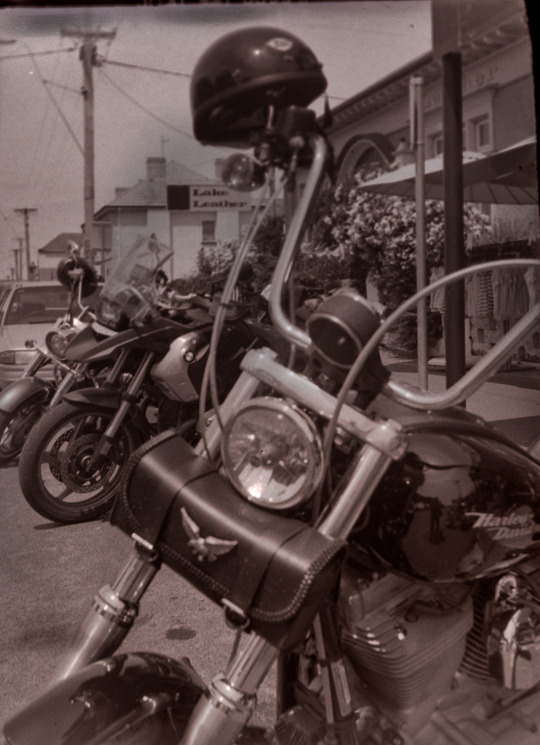
Pink Harley?
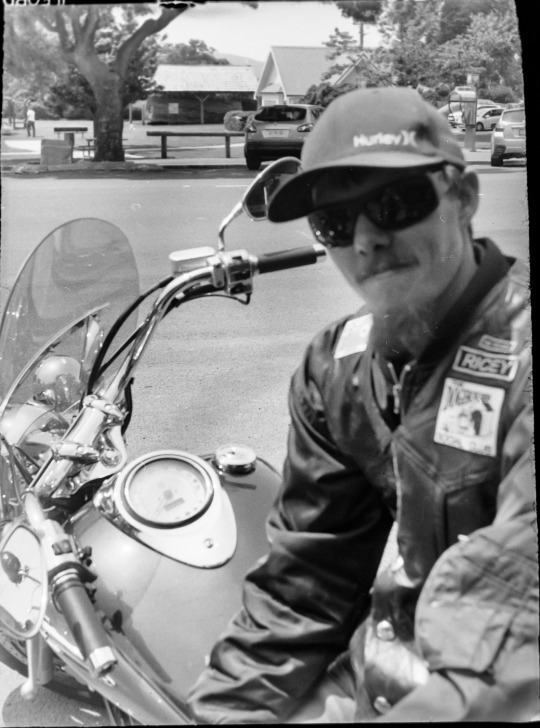
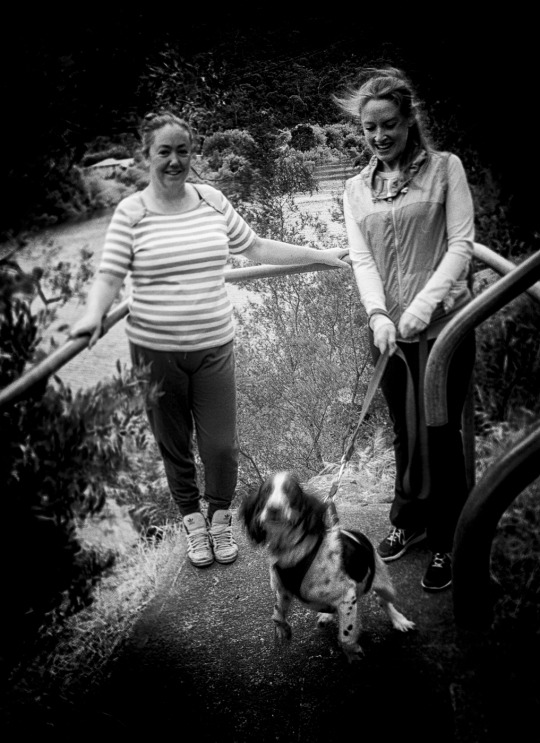
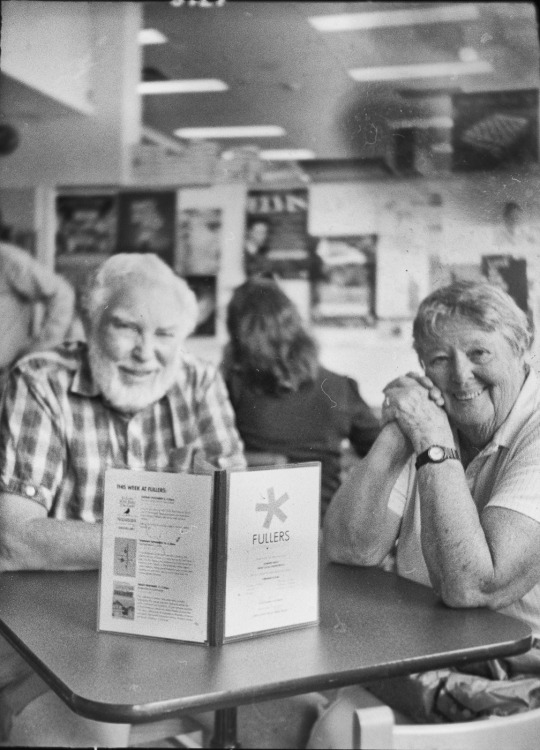
This is Mitchell. He was rather interested in my camera.

Interesting blue bits on this beige one.
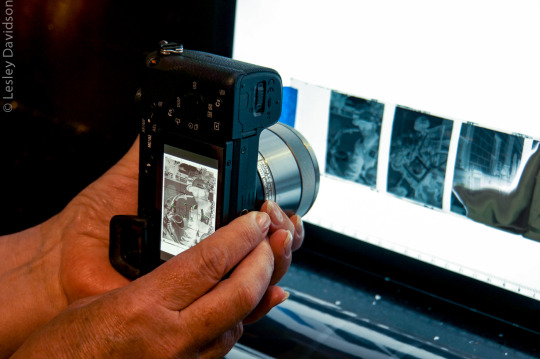
I wonder if the strange colours has something to do with the way I scan them. I stick them onto a lightpad and take a digital photo using a macro lens.
I changed the intensity of the light from the lightpad, which is the only reason I can think of for the differing colours.
0 notes
Photo
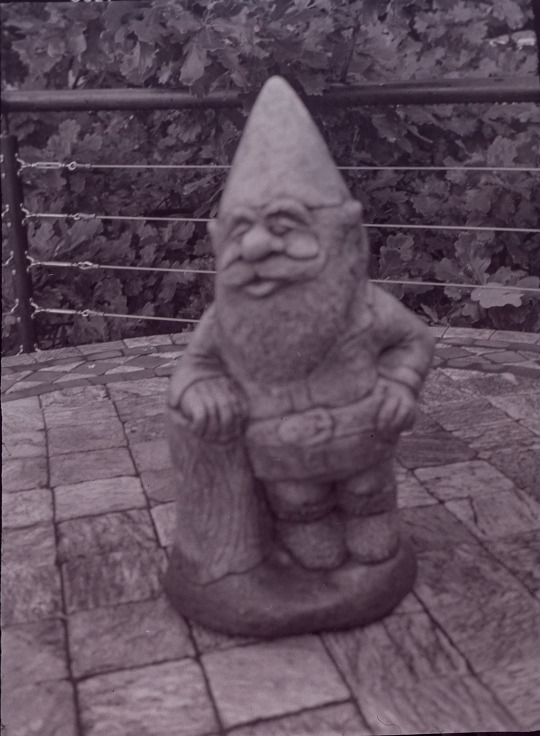
The result of my first try at film processing. Why is my black ‘n white film pink?
and now my black ‘n white film is beige (with interesting blue blobs and edges)
The focus on this camera (60 year old Ensign Selfix) is challenging too. The edges are sharp and the centre is soft. Those table legs look awesome.
an ugly blob - and they told me film processing was easy!
more mysterious blue blobs but at last a b&w image.
Despite all the interesting results I am super pleased and excited to do more.
0 notes