#tiffen pro-mist filter
Explore tagged Tumblr posts
Text
GO Filming Tidbits - Lens Filters
DO NOT ASK NEIL ABOUT FAN THEORY
After reading through this lovely article, which Neil shared and specifically mentioned, has many secrets in it, I was definitely drawn to the descriptions of the different filters used to characterize people and locations in the show so I decided to do a little digging on them and their effects! I think it's so interesting to give characters their own filter, a lens for which we're seeing the world through their eyes! So let's take a look at the three filters mentioned in the article below:
Tiffen Bronze Glimmerglass - Bookshop Scenes The bronze tint provides additional warmth, and softens skin details and blemishes, it gives a slight reduction in contrast for a more ethereal image appearance.
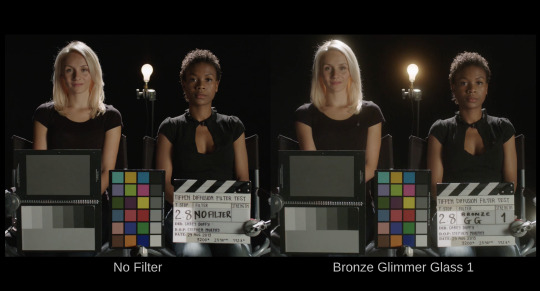
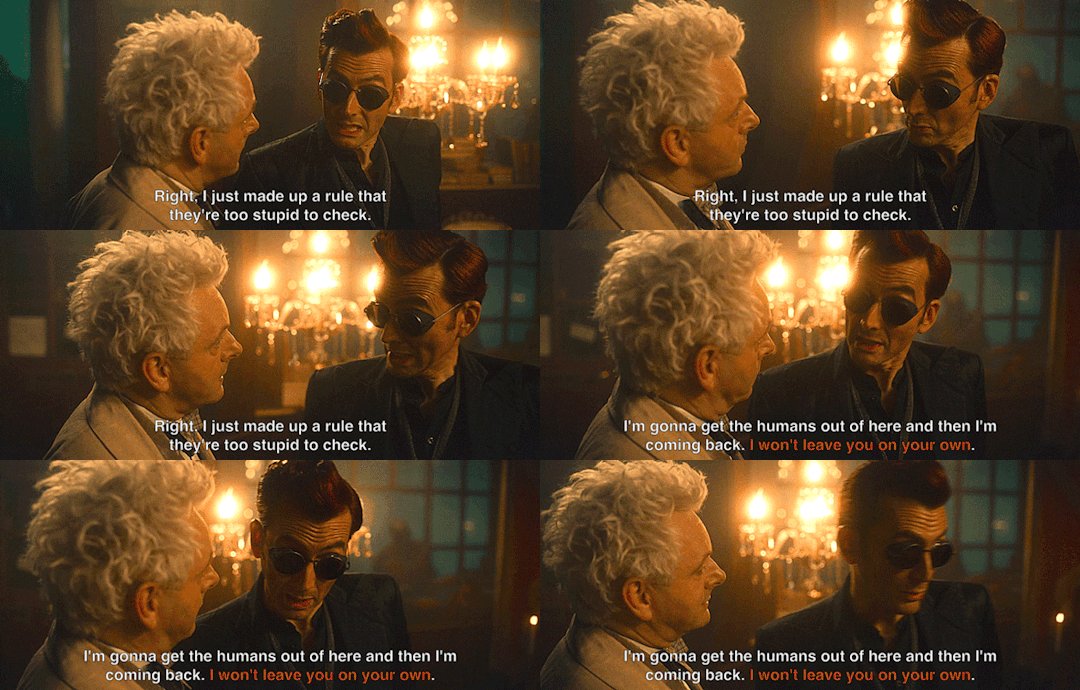
The bookshop scenes look warm, & hazy. You might think of the look as a bit of a sepia effect. There are soft halos around light fixtures and the filter provides a warm toned pop to yellow, gold, and orange colors. This filter is really helping give the bookshop its cozy, safe, and welcoming vibe.
------------------------------------------------------------------------------
Tiffen Black Pro-Mist - Hell This filter reduces highlights and lowers contrast, softens wrinkles and blemishes, and creates a soft quality of light.
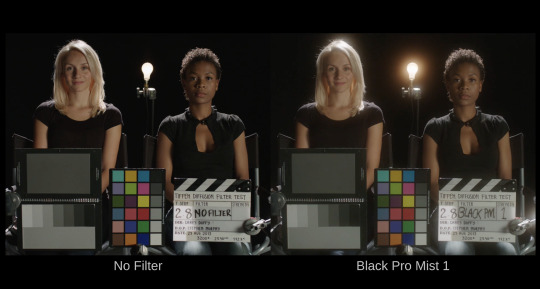

Very similar to the Bronze glimmerglass, the Black Pro-Mist filter provides scenes with a very intense 'hazy' effect, but we're missing that warm tone that you see in the bookshop. It makes hell seem cloudy, like maybe you haven't quite wiped the last bit of sleep from your eye, or the air is just so thick and gross that its visible. Fitting for hell. We also see the effect when demons attack the bookshop, and whickber street becomes a green hazy hellscape.
------------------------------------------------------------------------------
Tiffen Black Diffusion FX - "Crowley's Present Day Storyline" Diffuses strong light entering the lens and produces a glowing effect, the resulting image appears soft and ethereal, there is little loss of clarity or detail and the image does not lose saturation.
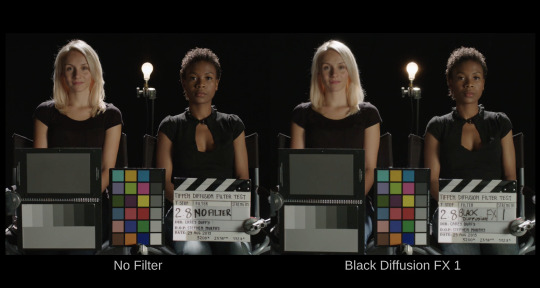
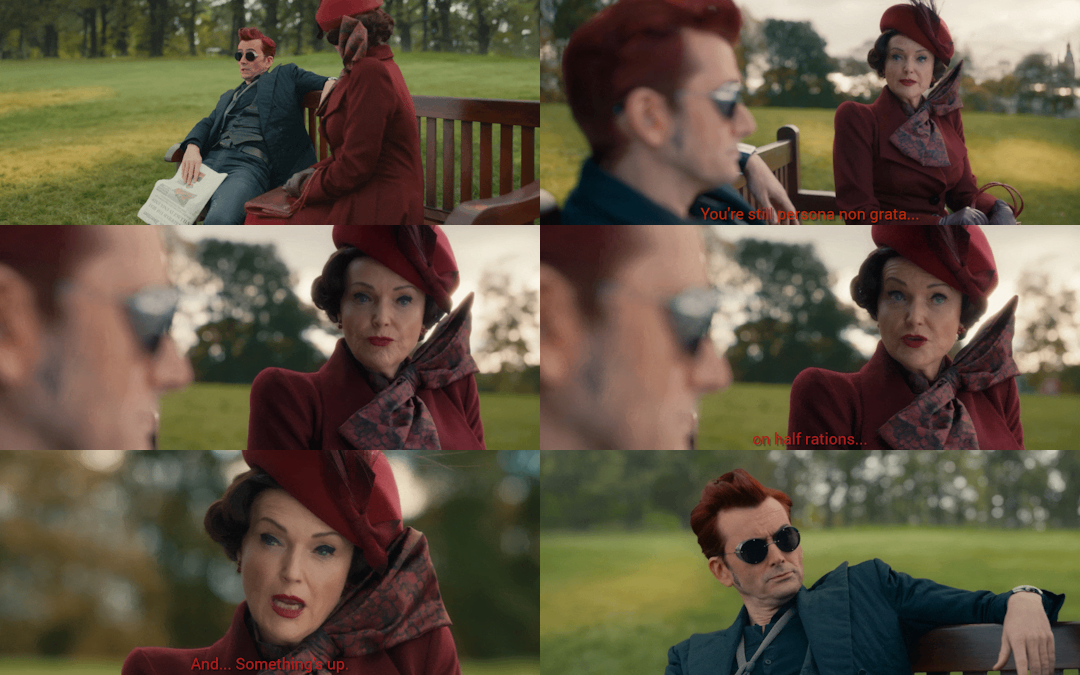
This filter was the most interesting one to me for sure. First of all "Crowley's Present Day Storyline"? Why not just Present Day Storyline, or Crowley & Aziraphale's Present Day Storyline, or Whickber Street's Storyline? I know we're already questioning timelines and narrators so that wording definitely made me raise my eyebrows. The effect keeps the shots very saturated, compared to the others we've been introduced to, and very clear, but there is still a magical ethereal quality to the picture. I think the effect is painfully obvious in Episode 1 scene of Shax and Crowley meeting on the park bench. No shortage of people have pointed out how saturated this scene is, and now I think I know what filter to thank by name.
------------------------------------------------------------------------------
#good omens#good omens meta#good omens 2#crowley x aziraphale#good omens theories#crowley#michael sheen#aziraphale#david tennant#good omens clues#good omens clue#good omens theory
177 notes
·
View notes
Text
Clues on Neil Gaiman's Tumblr
Three identical posts of a script preview with one changed word
Crowley's Present-Day Filter
No nightingale
I'm still combing through Neil's Tumblr and I'll add to this if I find any more.
Case 1: Neil posting this message about the script three times; twice with the word "Dailies" and the most recent one with "Sides". Neil claims it was a Tumblr error but it's too fishy to not be intentional.
Case 2: Anytime the screen is slightly darker, it's considered "Crowley's present-day storyline".
For example, Tiffen Bronze Glimmerglass were paired with bookshop scenes; Black Pro-Mist was used for Hell; and Black Diffusion FX for Crowley’s present-day storyline.
Neil mentions there are a lot of secrets in that article and this stood out the most. I'm going to rewatch the series and see which scenes are dark.
The Gabriel memory scene seems to also be a clue which I'll expand on at a later time.
Case 3: There was indeed "No nightingale" but there was a lark
There's a huge emphasis on Crowley saying "It's too late" throughout the series (plus Anges Nutter and her time of execution) and the "No nightingale" line comes from Romeo's speech to Juliet. which is another metaphor for lateness.
It was the lark, the herald of the morn, No nightingale: look, love, what envious streaks Do lace the severing clouds in yonder east: Night's candles are burnt out, and jocund day Stands tiptoe on the misty mountain tops. I must be gone and live, or stay and die.
Which seems to mean:
"No nightingale; the lark was there instead. It is morning and it is too late. I must leave."
If the lark was there instead of a nightingale, does this point to a wrong timeline? Or maybe that their story doesn't end here and they must continue on?
The lark can be heard when Crowley leaves the bookshop.
Scene:
youtube
Lark sound:
youtube
Morever I feel like "Night's candles are burnt out" can go hand-in-hand with Job's passage on the matchbox which is "Out of his mouth go burning lamps, and sparks of fire leap out."
Side Thoughts:
Is Crowley the key to all of this? His memories being different from everyone else's, the oddly specific filter for "his present-day" scenes, the fire needed to light the lamps/keep the lamps going, him noticing there is no nightingale singing... (Btw, he is now one step closer to be eligible to ask God questions after fulfilling the ostrich question; not too sure about the peacock part though.)
What if there are actually three timelines if you consider the rule of three in a lot of scenes? Including the three concept art illustrations of the bookshop, the three telephone booths on the promo posters, etc.
107 notes
·
View notes
Text
The Tiffen Warm Black Pro Mist Filters are a Photographer's Dream
I’ve been in love with Tiffen filters for years now. Often switching between Glimmerglass and Pro Mist Black filters, my images often have a look that mimics the way that I see the world. Sure, everyone calls it a vibe. But I call it kerataconus — and it’s a condition that I’ve had for years. Recently, I wanted a Pro Mist filter that also combined warming characteristics on top of locking my…
0 notes
Text
youtube
This Video Covers: 🎥 Examples of Tiffen's Black Pro Mist 1/8th Strength Filter in various conditions, lighting setups, contrast levels, etc. to show how the filter performs and effects the image quality, contrast, bloom, etc.
📹 Gear Discussed and Used Affiliate Links: +Tiffen Black Pro Mist 1/8th 82mm: https://amzn.to/3LP47fR +Tiffen Black Pro Mist 1/8th 72mm: https://amzn.to/3WzlO7N +Tiffen Black Pro Mist 1/8th 67mm: https://amzn.to/3WvM03d (Some of these above are currently on sale!)
😍 Ways To Support My Free Cinematography Videos 😍 +Patreon: https://www.patreon.com/TrentonHoshiko (Watch ad-free, vote on video topics, & some exclusive videos!!) - Tiers start at only $2!
#black pro mist#photography#filmmaking#cinematography#indiefilm#photo filters#photograhy equipment#Youtube
0 notes
Text


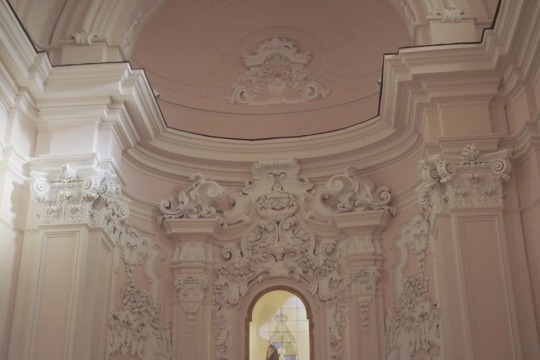
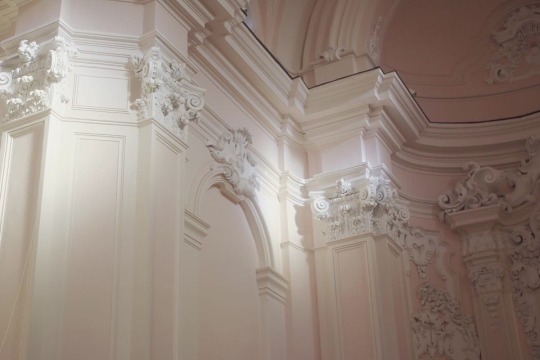

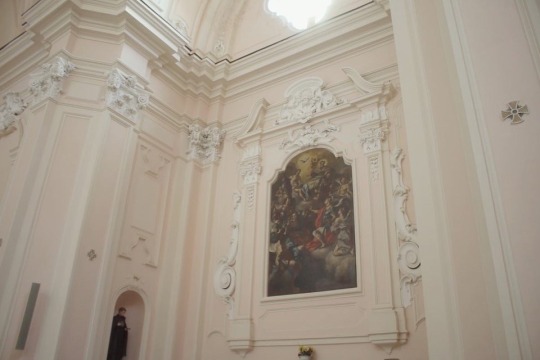
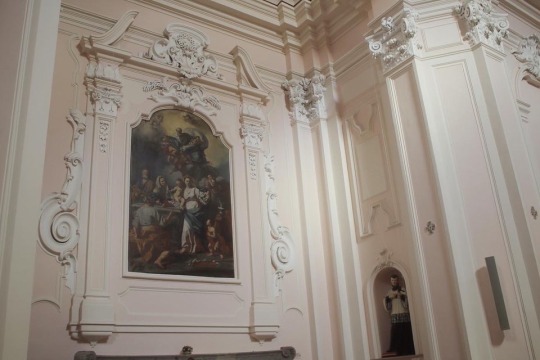
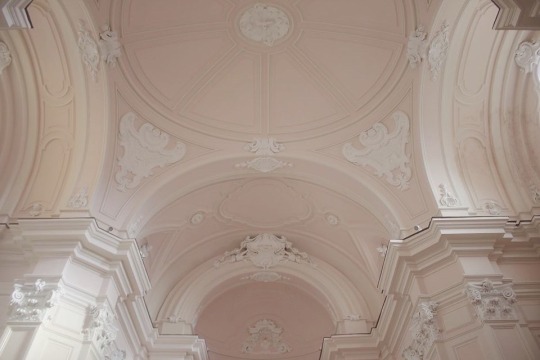
https://www.instagram.com/thepinkballettshoes/
Photos I took of the most beautiful church in Sorrento, Italy using the tiffen black pro mist 1/2 filter ☁️👼🏻
3K notes
·
View notes
Text
8K Test Tiffen Black Pro-mist 1/8, 1/4 & 1/2 filters
8K Test Tiffen Black Pro-mist 1/8, 1/4 & 1/2 filters
This video I am testing if it is still useful to use Tiffen Pro-Mist in 8k, as many often use this filter to soften the image to get a more filmic look when using high resolution cameras, but does it actually soften the image or does it do something else to make it appear softened.
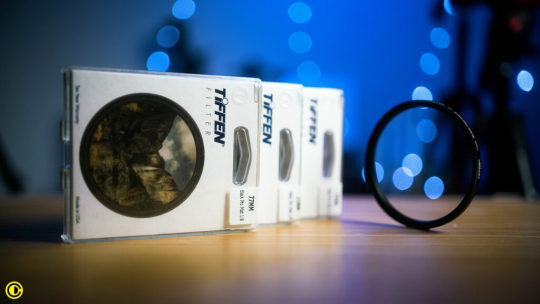
Tiffen Black Pro-Mist
Extra tip: Purchase Tiffen Pro-mist filter in the largest filter thread size of a…
View On WordPress
0 notes
Text
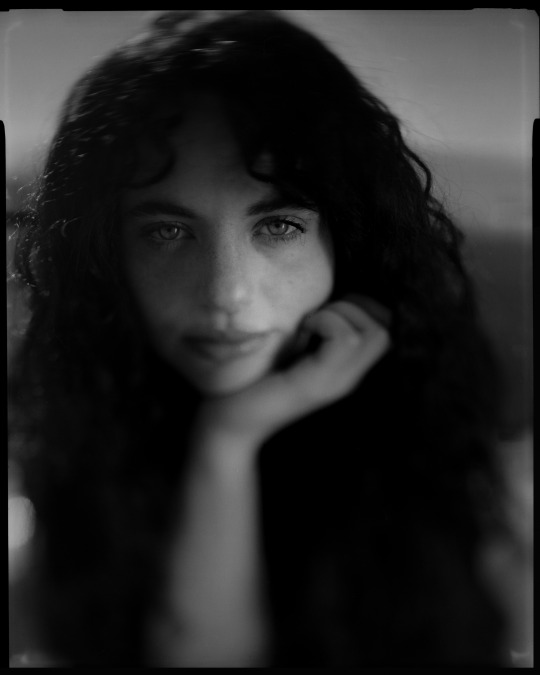
Sommer
Shoot Date: October 24, 2022
I had been wanting to shoot with Sommer for awhile, and when I reached out to her it turned out that she'd been wanting to shoot with me as well. Because we admired each others work, I felt we knew what to expect from one another. It made the collaboration easy...except for the weather.
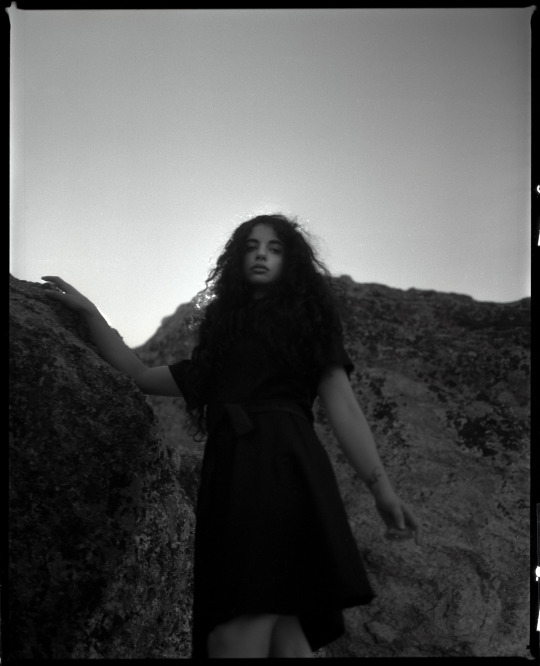
Difficulty With On-Location Shooting
We arrived at Mt. Lemmon, AZ at around 7:30am. It was very cold. I had anticipated the cold, so I brought extra jackets as well as a blanket that Sommer could use between shots...but I felt it wasn't enough. The temperature was around 35°F degrees. But we carried on.
As a photographer, I tend to make shoots very difficult for myself. I rarely use assistants, and I bring heavy equipment. For this shoot my setup included a 4x5 press camera, a Mamiya RZ67 (people that have shot with these know how heavy they are), an AD400 Godox light with modifiers, a C-stand, and two 15lb sandbags. My Pelican Case weighed about 80lbs. The location was also about a 1/4 mile from where we parked. So I dragged an 80lb Pelican Case while also wearing a backpack through 1/4 mile of rough terrain. Luckily Sommer was there to carry the C-Stand for me, as well as the dress I'd made for the shoot.
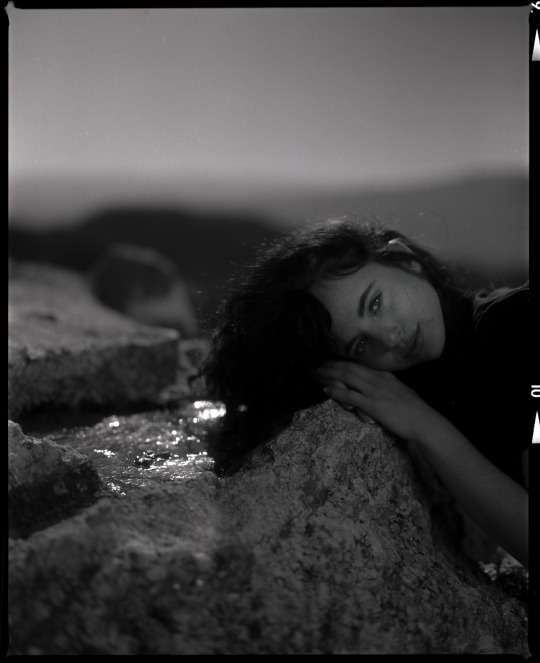
Other than dealing with the wind (this is why I bring sandbags) and the freezing temperature, the shoot went very well. We shot for about an hour before we had enough of the cold and decided to pack up.
The Technical Stuff
As I mentioned above, my equipment consisted two different cameras, and one flash with a 48" Strip Softbox.
Large Format
I hadn't shot large format in some time, so I thought this shoot was a good opportunity to dust my Busch Pressman Model D.
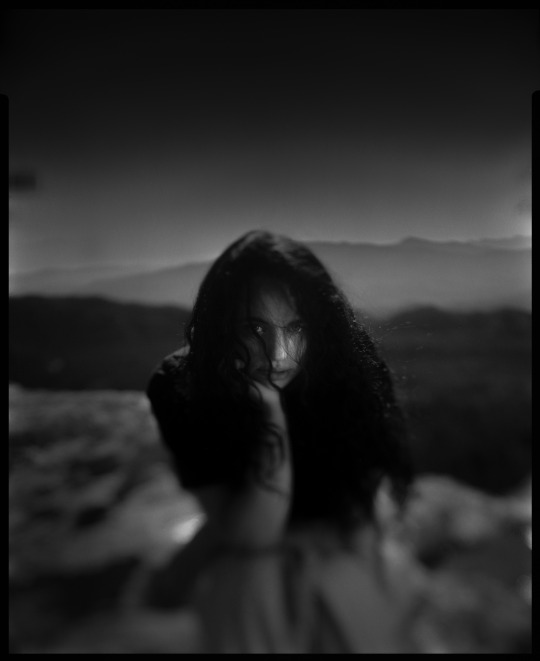
I loaded four sheets of 4x5 Ilford HP5. My plan was to take four "primary photos" and supplement each with a set of medium format photos. But due to the wind and cold weather, I felt I didn't have the time to setup some of the more complicated shots that I wanted to capture on large format. So I went with "plan b" and decided to keep the shoot simple. I did a handful of basic setups and primarily focused on shooting medium format, and if I liked a composition enough I'd quickly setup the large format camera.
The photo at the top was the very first photo I took, and honestly turned out to be my favorite. I've been experimenting with tilting the bellows of my camera which gives the portrait the tilt-shift effect. I feel it gives the photo more depth than with traditional focus, almost a 3D effect. I plan to continue experimenting; I want to find more subtle ways to use this method.
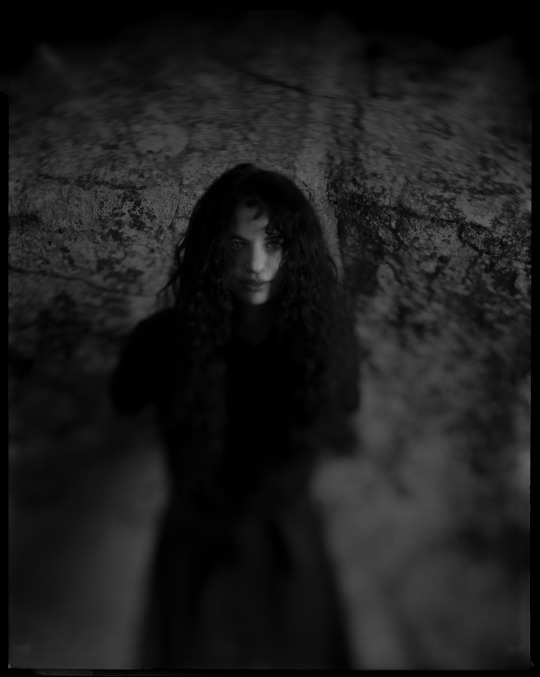
Medium Format
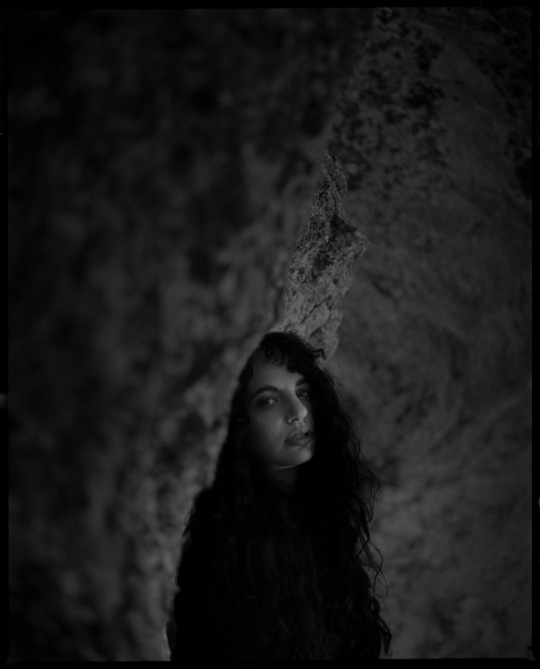
I brought my Mamiya RZ67 and two backs loaded with Ilford HP5. I shot with a 110mm f/2.8 fitted with a VND and a 1/4 Tiffen Black Pro-Mist filter. I like the 1/4 Pro-Mist filter because it adds just the smallest amount of softness to the photos without looking like an 80's music video.
It was very bright out, so the VND was set to it's darkest (2.1 which is a 7 stop reduction). The RZ67's shutter speed was set at 1/250 and an aperture of f/2.8. The 4x5's settings were set at 1/60 and a f/4.5 aperture. I got consistent exposure between both cameras.
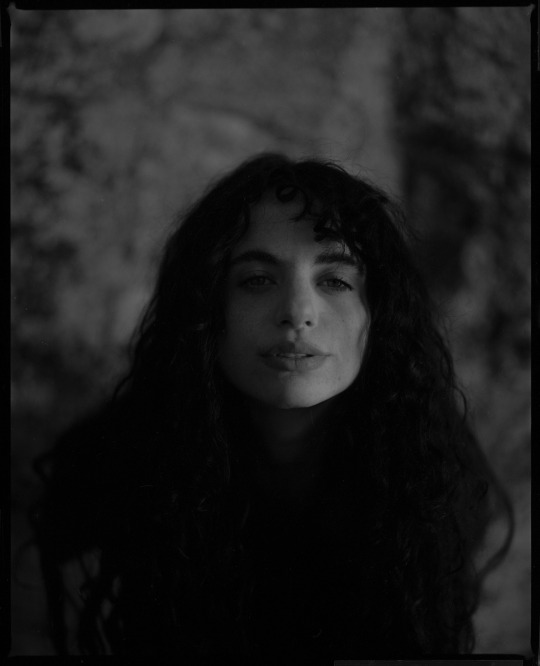
Lighting
I did standard Rembrandt lighting (pretty much the primary way I light most of my photos) using a Godox AD400 fitted with a gridded 48" strip softbox. I don't recall the power level, but it wasn't at full power. I typically try to make my lighting look natural, so I kept the power low enough so the photos didn't look like they were obviously lit by a flash. I used a gridded strip softbox to keep light spill onto the environment to a minimum. The photo below looks the most un-natural of the bunch.
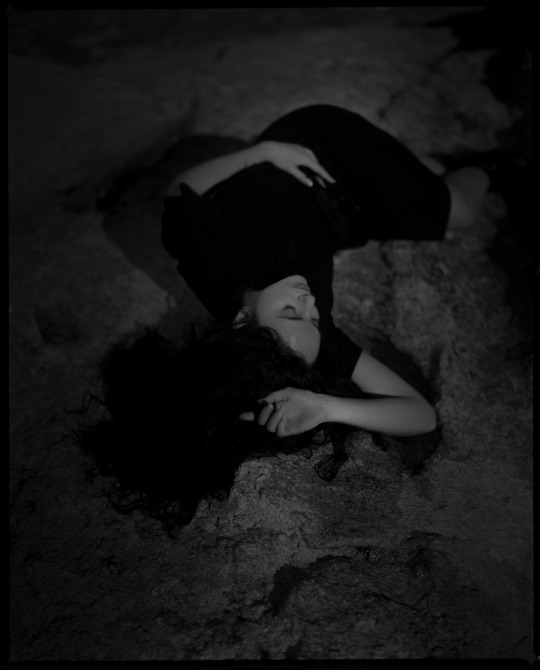
As you can see, the flash casted an un-natural looking shadow. If I'd been able to lower the flash down to her level, and moved the light closer, it might have given a more dramatic look as well as softer shadows. But when it's 35°F I couldn't spend too much time thinking about it.
Developing & Scanning
I developed two rolls of 120 and four sheets of 4x5 in Kodak D76 developer at 1+1 dilution. Nothing exciting.
I scanned everything on my Epson V850 at 3200dpi, converted the negatives using NLP (Negative Lab Pro), cleaned up dust and made basic exposure/contrast adjustments in Photoshop.
In Closing...
I don't have anything else to add. It was a good shoot and I'm very happen with how the photos turned out.
This was my first full blog post in years, and I apologize if my thoughts are all over the place. I do enjoy writing about my work and I hope to keep up with at least a weekly schedule and hopefully over time I can improve my writing.
Thanks for reading!
Links
Website
Instagram
Flickr
#photography#fashion#black and white#film#art#120 film#medium format#4x5photography#large format#dress#model#dark aesthetic#dark
11 notes
·
View notes
Photo
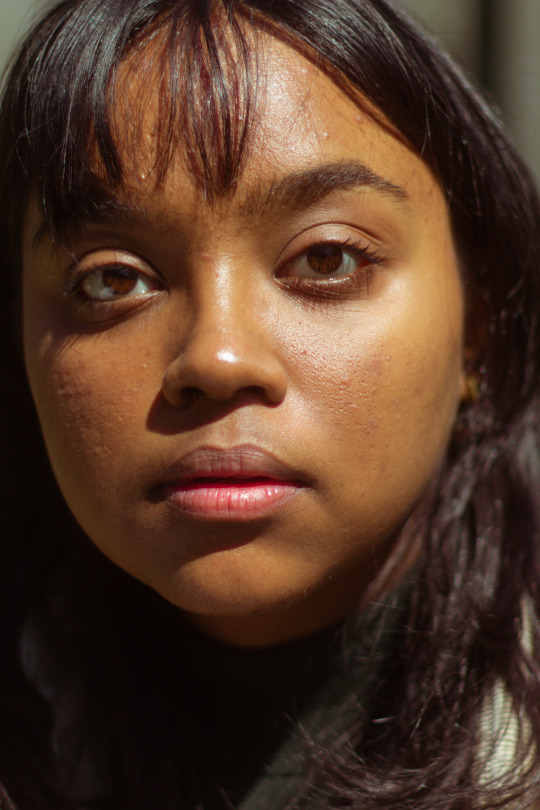
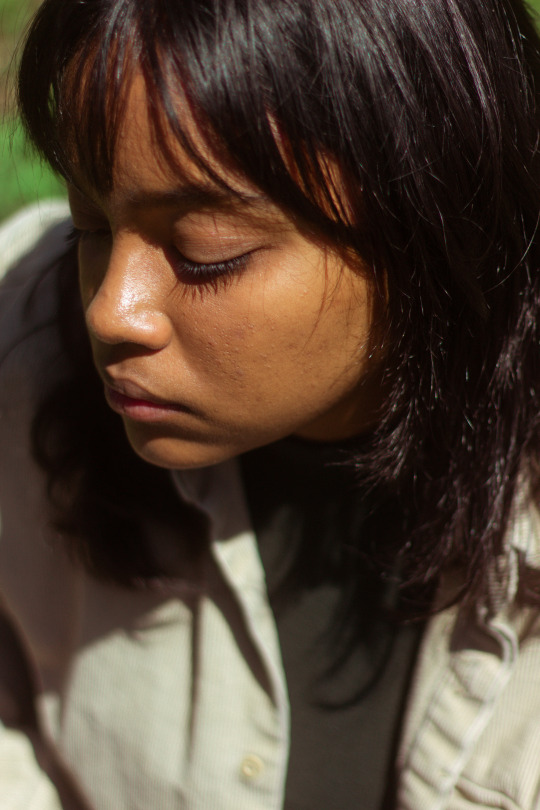
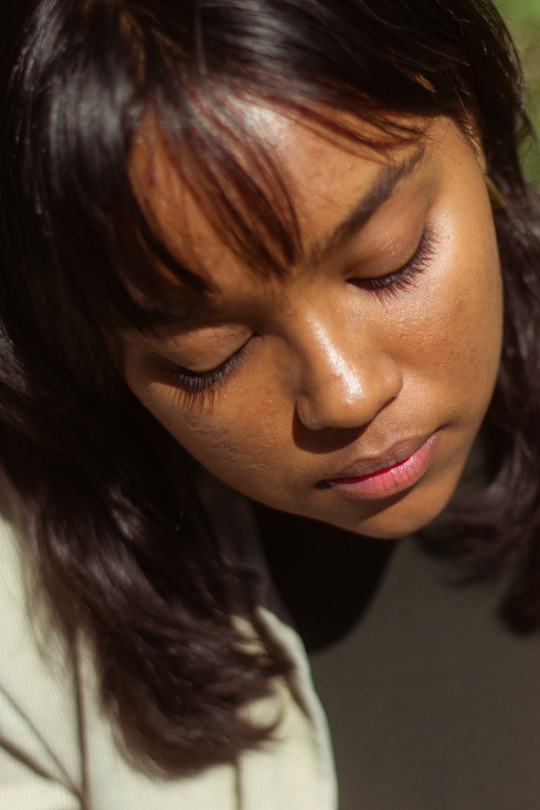
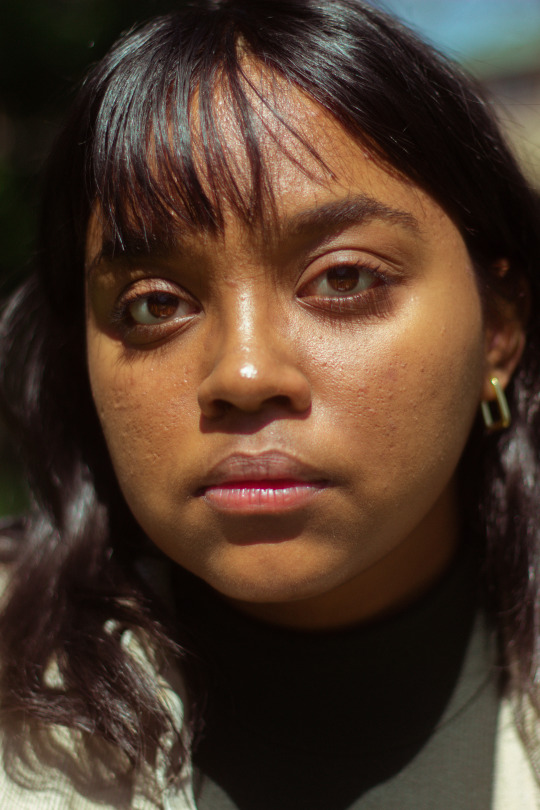
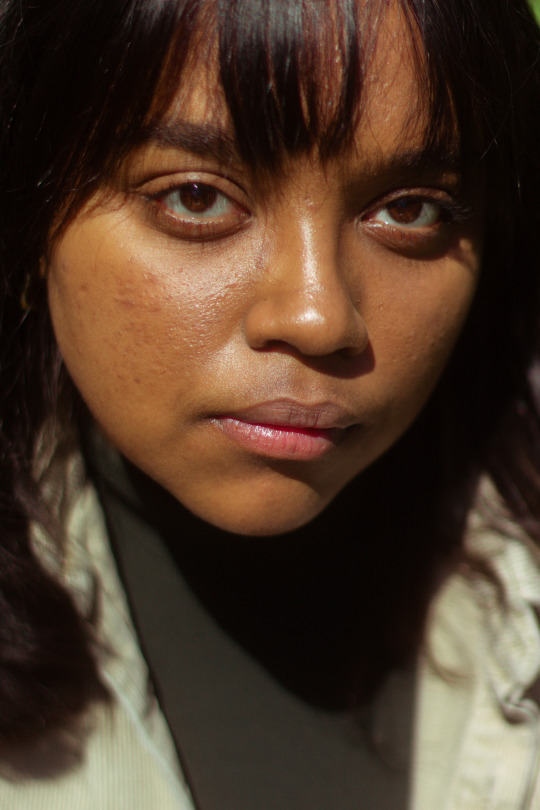
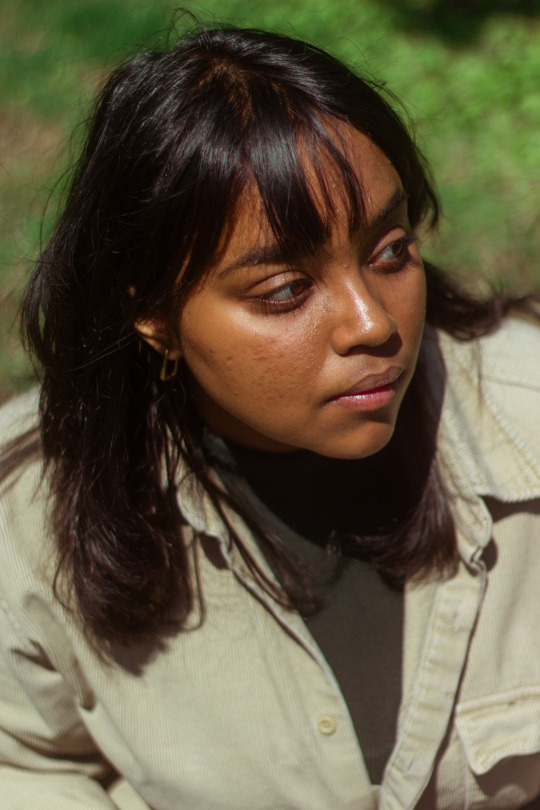
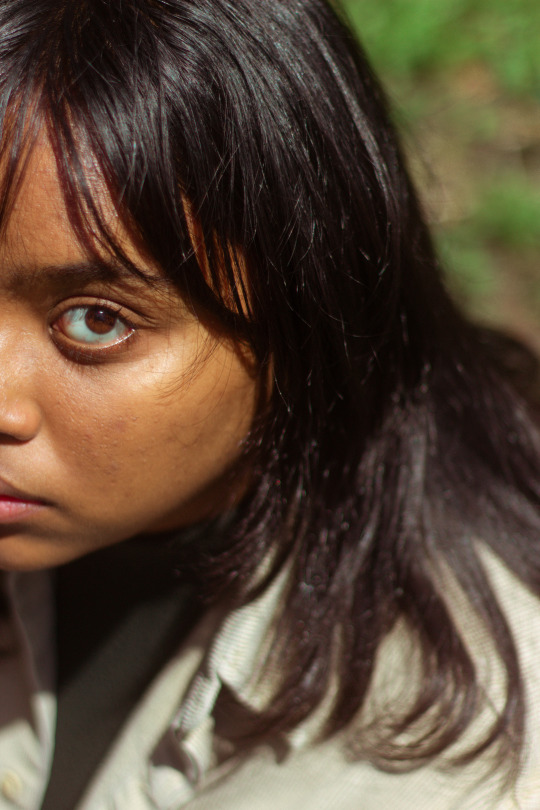
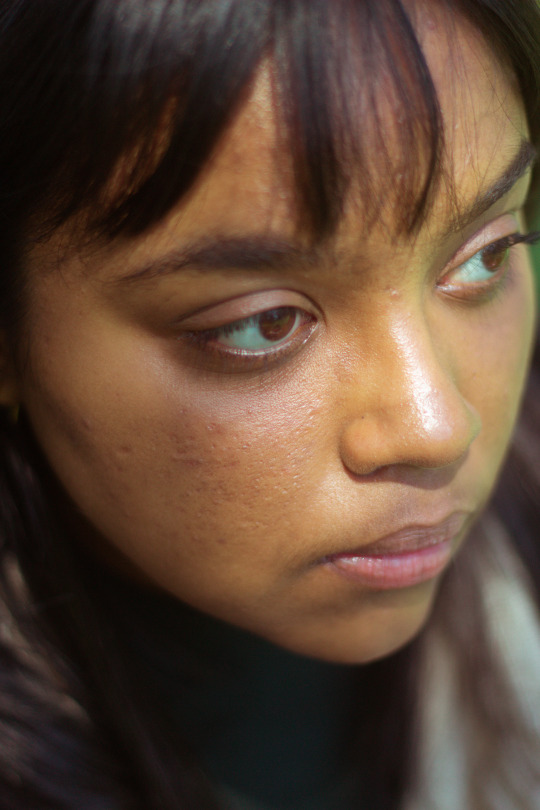
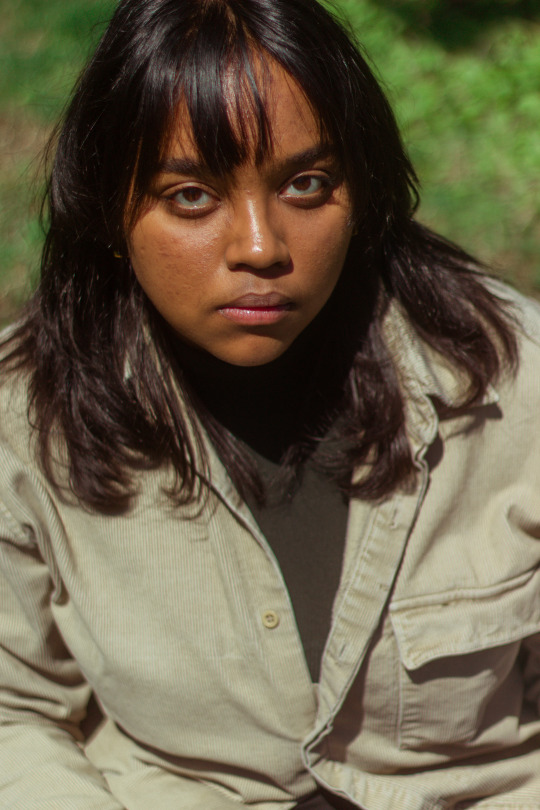
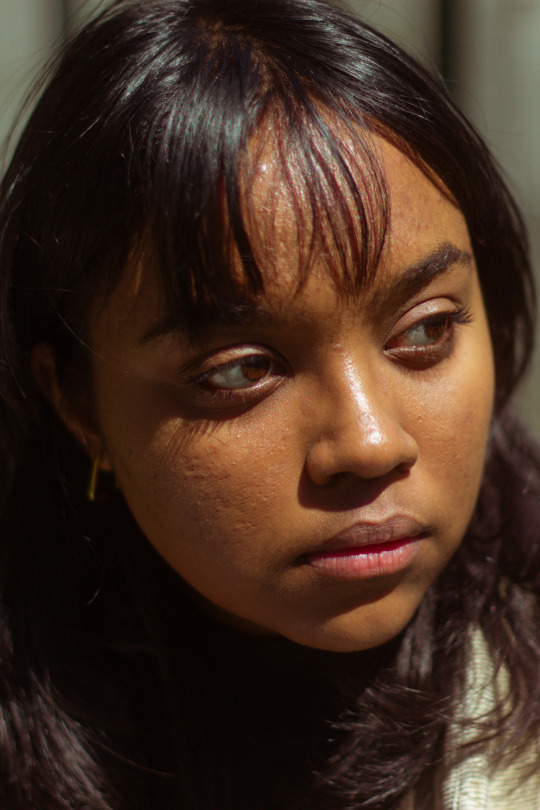
absolute YA protagonist :3
shot these a few weeks ago! first time doing direct sun self-portraits and it was v difficult, but I think these turned out nicely! Used my Tiffen Black Pro Mist filter (1/4 strength) over my nifty fifty, edited in Lightroom.
April 16th, 2021
45 notes
·
View notes
Video
vimeo
Original caption: "Joshua Tree's prehistoric terrain makes you feel like you're visiting an alien planet, so it was easy to give this footage an atmospheric structure in post. Everything was shot using my BMPCC 4K and Canon FD 50mm F/1.8 with FD-MFT Metabones Speed Booster Ultra 0.71x. For filters, I used a Tiffen Black Pro Mist 1/4 and my NiSi IRND 0.9 with a 4x5.65 Tilta Matte Box. Editing and grading were done in Premiere using the Crunchy Gold LUT by BUTTERY LUTs."
40 notes
·
View notes
Photo
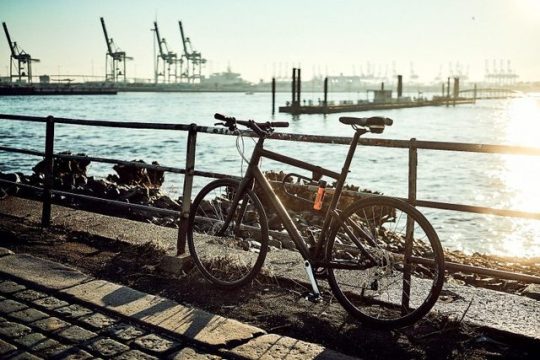
Das kleine Schwarze - als Fahrrad
0 notes
Photo
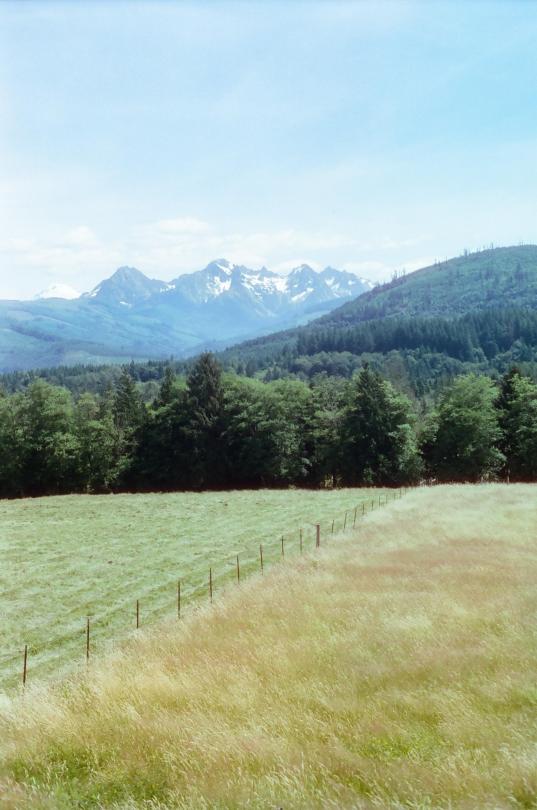
Layers. Taken near Acme, WA along the Cascade Valley Highway. Shot on Cinestill50d with Tiffen 1/8 pro mist filter [OC] [2048x3089]
2 notes
·
View notes
Text
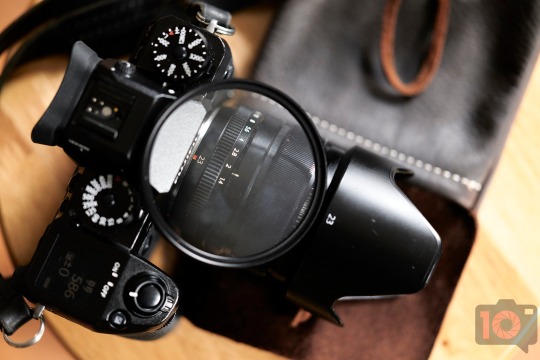
Tiffen Pro Mist Filters Return the Magic to Your Lenses
Soft. Not clinical
We’re streaming daily on Apple Podcasts, Google Podcasts, Stitcher, Pocket Casts, and Spotify! For years, I’ve complained about overengineering in camera lenses. Japanese manufacturers have worked to create a crystal clear look with no character. It’s all sterile. You can fix it in post-production, but many of us don’t want to do that. We’ve spent years honing our craft, and we know exactly what…
View On WordPress
2 notes
·
View notes
Text
youtube
This Video Covers: 🎥 Comparing 3 different lens diffusion methods, both physical and digital: a 1/8 Black Pro Mist filter, a DIY diffusion filter I made for photography, and the Bloom and Halation tools inside of the Dehancer Pro suite. I LOVE diffused lighting and was curious how these side-by-side tests would stack up to each other. In the end, I think each has its own unique characteristics, as well as strengths and weaknesses, making for the opportunity to match tools to your budget and style!
📹 Gear Discussed and Used Affiliate Links: +Tiffen Black Pro Mist 1/8: https://amzn.to/4cCVd0X
+SAVE 10% ON DEHANCER PRODUCTS WITH CODE: THCINEMATOGRAPHY at https://Dehancer.com
1 note
·
View note
Text
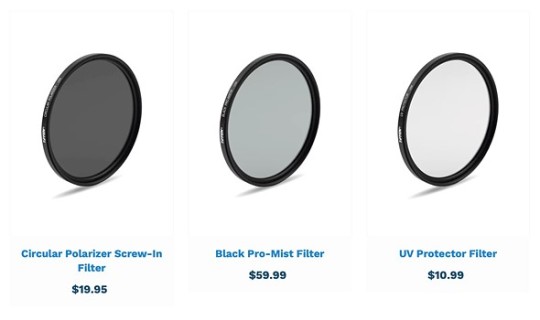
Tiffen's new 39mm UV, CP and Black Pro-Mist filters are perfect match for two of Fujifilm's prime lenses
Tiffen’s new 39mm UV, CP and Black Pro-Mist filters are perfect match for two of Fujifilm’s prime lenses
Filter manufacturer Tiffen has announced it is adding a new 39mm filter option to three of its most popular filter lineups. This new size brings new options to smaller optics that would otherwise need step-up rings to work with Tiffen’s expansive lineup of filters. As more lenses get released for compact APS-C camera systems, we’re starting to see more optics using 39mm front filter threads.…
View On WordPress
0 notes
Link
looking into different brands and filters.
0 notes
Video
Commercial: Rainbow Chicken from Rick Joaquim, SASC on Vimeo.
Director: Mo Matli + Justine Puren-Calverley Producers: Bryony Webster + Lebo Production Company: First Pencil
Shot on: Sony FX9 Contax Super Speeds Tiffen Black Pro Mist Filters
0 notes