#those are my silly little greebles
Explore tagged Tumblr posts
Text

Happy Pokémon day I drew my kids :)
#pokémon#pokemon day#trainersona#fanart#pokemon art#I love them ur honor#those are my silly little greebles#kiddos supreme
44 notes
·
View notes
Text
Part 3. It all comes together.
Primed in gold to save myself the hassle of painting it on later. Added turret hatches, heavy stubborn, hunter killer missiles, a few more greebles to the sides, and fixed the main gun. I didn't mind the big goofy cork gun, but somebody said it looked a little silly and I was inclined to agree. Greenstuffed some donuts and topped them with parts pulled from an old dreadnought kit. Made more reasonable gun barrels.

Add paint. Almost passes the glance test already!

Let's fix those sides. Added some metal wire to be... wires. Painted those to be visually interesting and look like electrical wire of the stripped out sides. Also made a wash for oil and grease, and added a few other greebly bits. Some Tau parts in there? I don't know what all exactly, I just stuck things in until it looked good.

Now we're customizing, because my Chaos tanks can't be fully uniform. First tank was a "cult" tank. Icons and spikes, traditional chaos flavor. Printed off the symbols on the sides. The blades and spikes are mostly dark Eldar and tyranid bits. Also, I'm really happu with the spiked plow on the front. It's just a sharpened section of sprue that came in the right shape!

Next we have the "camouflaged" tank. I've got a snow basing theme for my army, and so I liked the idea of covering on in snow and camouflage. It's also a good way to hide our mistakes and modeling crimes. I had this old hair net that I cut up to make a camo net, along with some strips of paper towel stippled with paint to make a winter camo pattern. I also had this weird knobbly tree in my bits box for ages, so I painted that up as a dead limb and strapped it to the side of the tank as camo/protection for the exposed siding using the elastic band of the hair net as rope. Covered the whole thing in liberal amounts of snow thereafter.


And lastly, I didn't have a strong creative direction for the third tank, but most of my vehicles are heavily mutated in the rest of the army, so I just did that. Took some genestealer infestation nodes and painted them up to be suitably daemonic and had them growing off the side of the tank. Simple but effective! I really need more of these infestation nodes, I'm running out, but they're great bits for me.

And there's all of our scratch built tanks. They're not perfect, but they honestly came out very well, and I've got no reservations about bringing them to the table in the future.
Let me know your thoughts, and I encourage you all to get out there and make something as well!
I built some tanks from scratch. Part 1.

We started with this.

Took measurements and made some templates. Used those to make more.

Started putting it together. Took a lot of hot glue and determination.
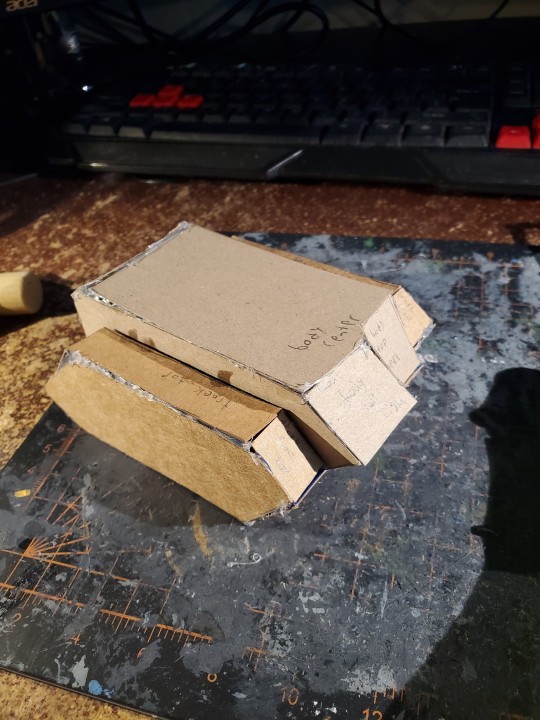
Only had measurements for the body, and needed a turret. Guessed at measurements on the turret.

Needed a gun barrel big enough for a tank. Had a few of those cheap rubbery wine corks lying around. Seemed about right for a big boom gun. Sealed it in with bits of sprue so it's push-fit. You can raise and lower the gun, though admittedly it's a bit wobbly.
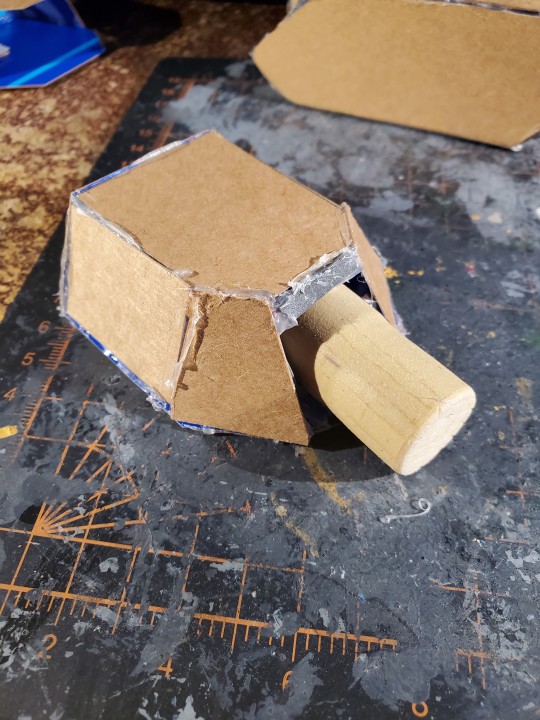
Needed to affix the turret to the body, and I wanted it to swivel properly. The answer? More sprues in push-fit fashion. Punched holes in top of the body and bottom of the turret. Chose a hook-shaped length of sprue and that was that. Honestly, works better than a proper tank kit.

Tank needed treads, so I went back to cardboard. The corrugated kind this time. Split it open and sectioned it out.
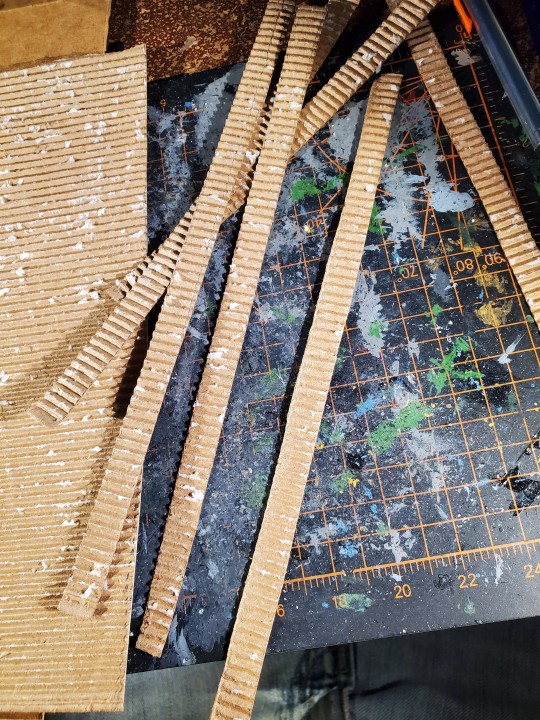
Affixed it to the sides of the tank.
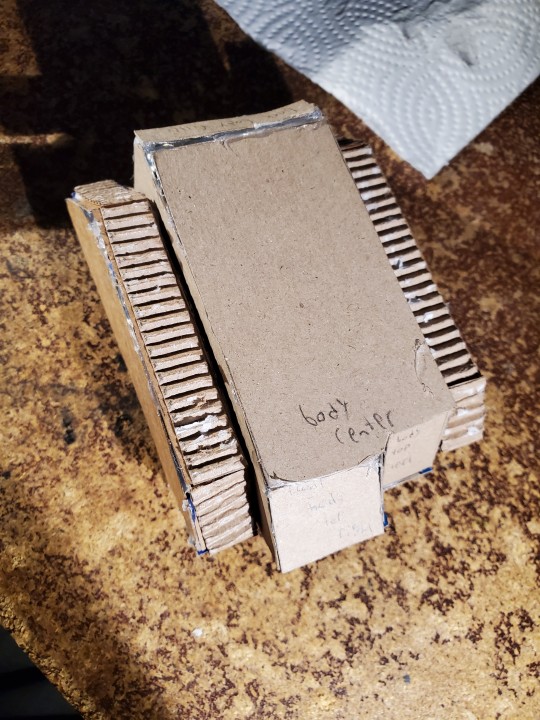
Now we've got the rough shape of a tank!
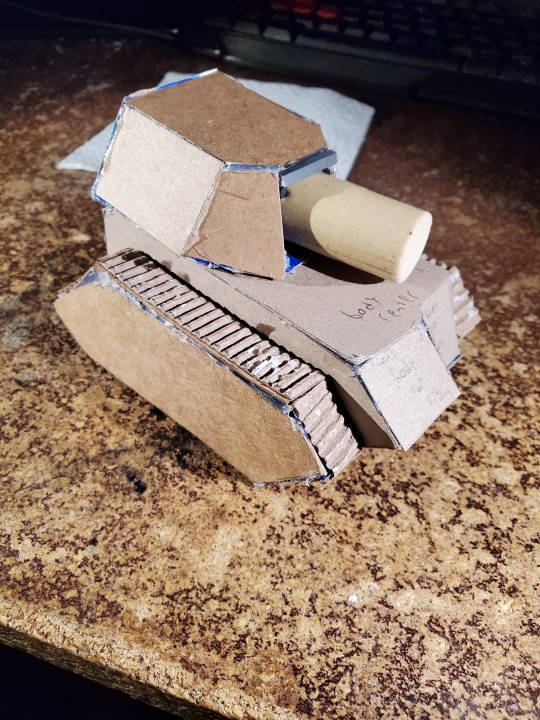
Ran out of images for this post, so detailing in part 2.
#warhammer 40000#warhammer community#warhammer40k#astra militarum#scratch build#tank#miniature painting#miniaturepainting#wargaming#kitbash
51 notes
·
View notes